We’re so pleased to welcome back to the blog the wonderful Erica, who always manages to create beautiful things with our patterns. Most recently she has been on the blog to share her Camp Shirts and her Rush Hour Blouses. Today she’s back to show you how to convert our new Montauk Trousers pattern into shorts!
The Montauk Trousers might be one another one of my “Tried and True” patterns. I can already attest that it is very comfortable. There is enough ease in the hips for long bouts of sitting and walking, but not so much that it looks baggy. The elastic waistband makes for a quick sew and convenient wear.
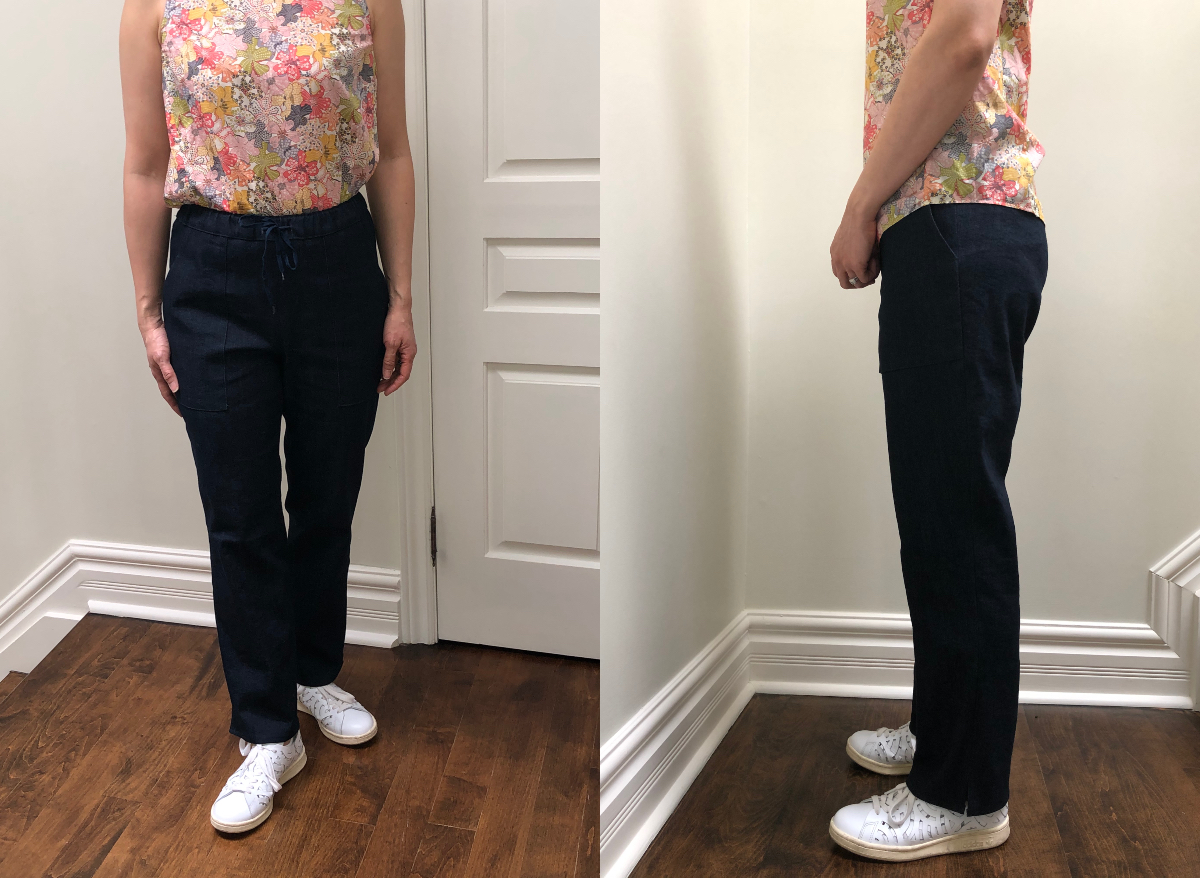
I first sewed it in View B, with back welt pockets in a midweight stretch denim, when I made a tester version (which I styled here with a Breezy Blouse). I’m sure I will continue to refer to these clearly written instructions if I ever want to add welt pockets to another pattern. These pants, plus leggings, have been my stay-at-home wardrobe workhorses. I call these my “lounge jeans,” and they are an ideal combination of comfort and polish.
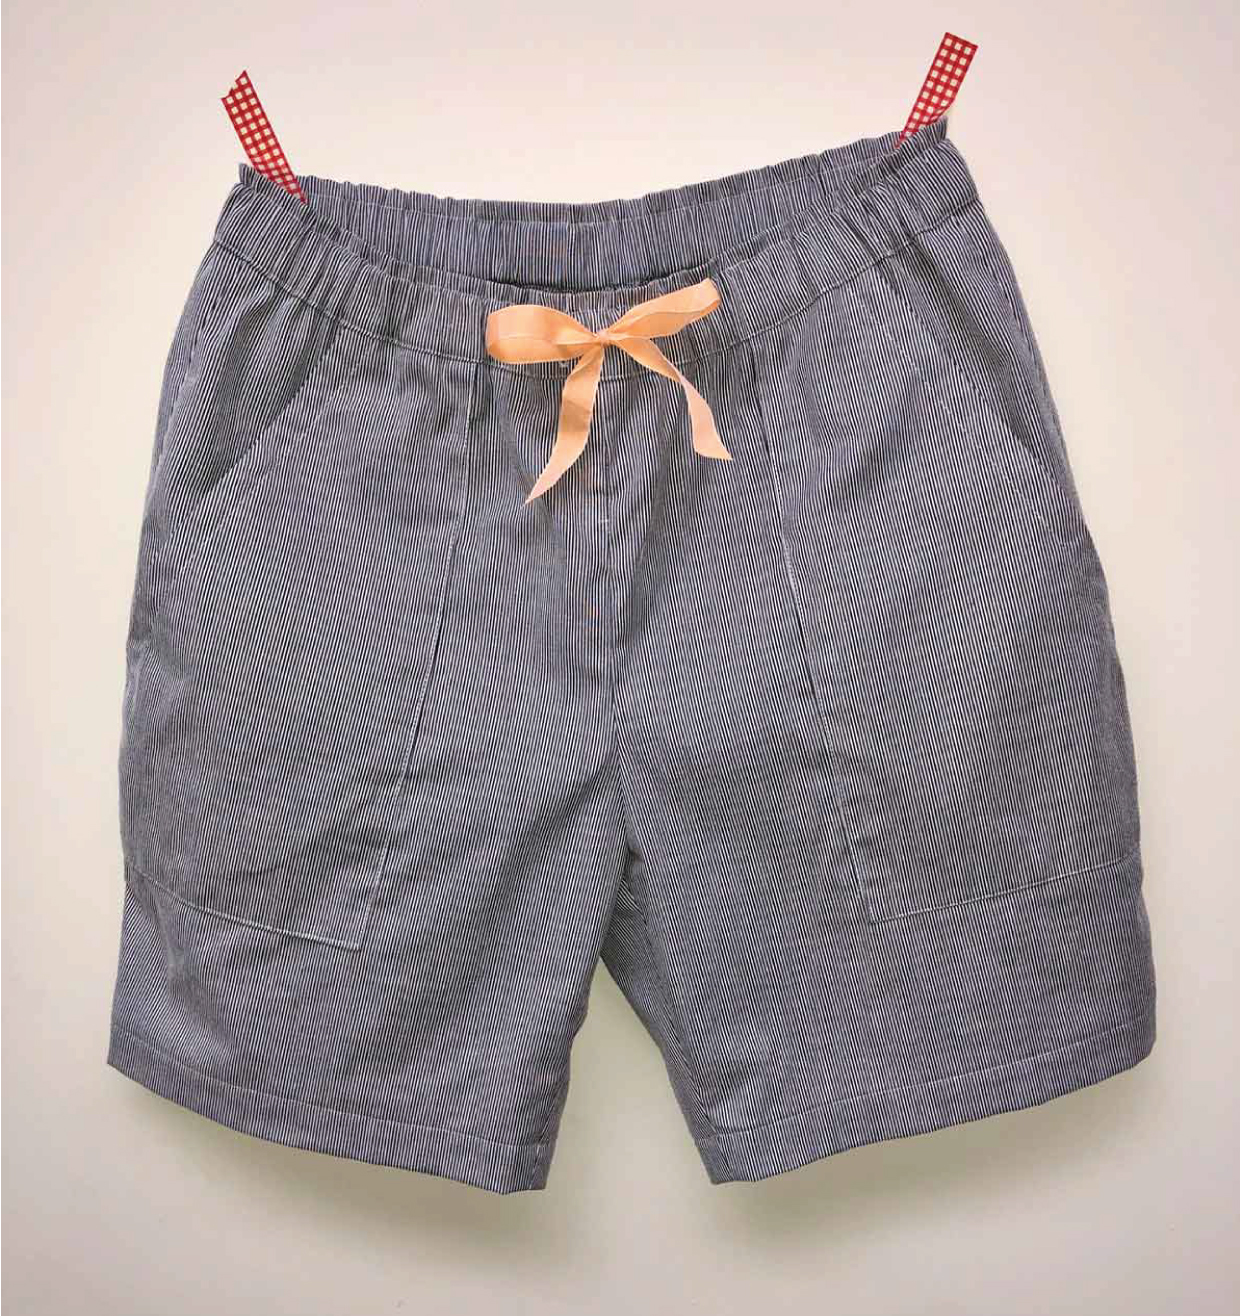
After this initial version, I knew immediately that I wanted to make a pair of shorts from the Montauk pattern. Shorts are an ideal stash-busting project when fabric stores are closed! Almost every summer, I make Art Museum shorts for my eldest son out of this baby corduroy, and I had approximately two 1/2-meter remnants in my stash, which was just enough to make shorts in my size with the View A back pockets. I measure between sizes, and after making the larger size for trousers, I decided to make the smaller size for spring/summer shorts.
Here is a quick tutorial for cutting down the pattern for shorts. It involves a couple of simple steps beyond just slicing off some leg length.
Because the leg tapers in towards the ankle, I wanted to make sure that the hem would be smooth when the hem allowance is turned up. After taping together my PDF print-out, but before I cut out the pattern pieces, I cut the legs along the “lengthen/shorten” lines on both front and back pieces. I wanted my shorts to have a 7″ inseam, but feel free to pick any inseam length you prefer. Add 1/2″ to that number to account for the seam allowance at the crotch, and then use a tape measure to mark on the pattern where the hem would end on a finished pair of shorts with your preferred inseam length (in my case, 7 1/2″ along the inseam, following the edge of the pattern). This is my pink line, indicating the finished hemline.
Then, decide how deep you would like your hem to be and mark it further down the leg. I made my hem allowance 1 1/2″. For convenience, I used my clear, 24-inch quilting ruler and drew 2 parallel lines (1 1/2″ apart from each other) at these markings. I confirmed that each line was parallel to the lengthen/shorten line already marked on both pattern pieces. The pink line indicates the hemline of the completed shorts, and the yellow line is my new pattern cutting line.
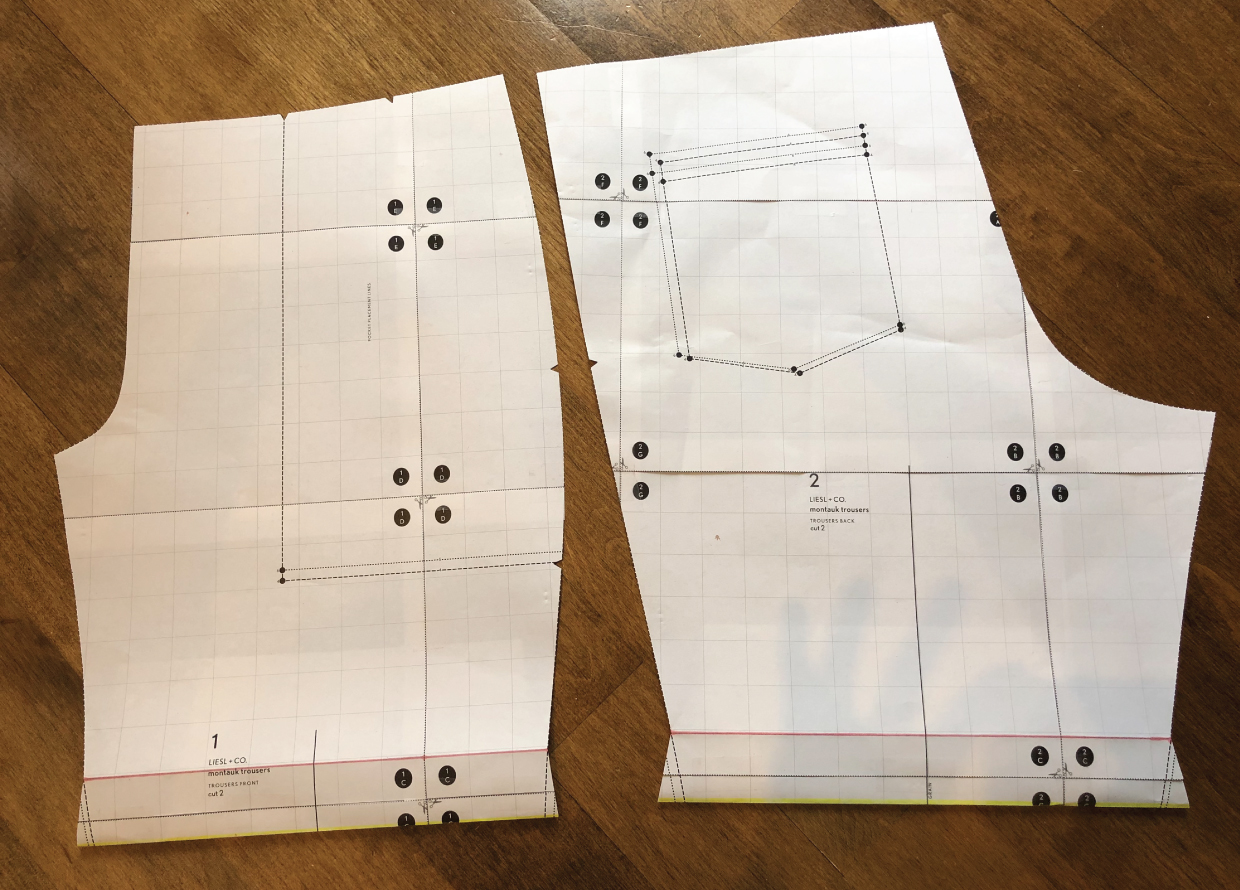
Fold the pattern along the pink line, and then cut the rest of the paper pattern along the size markings for your size. The goal is to create the odd angular notches along the side seams. If you unfold the pattern again after cutting along your size lines, you should end up with front and back pattern pieces that look like this.
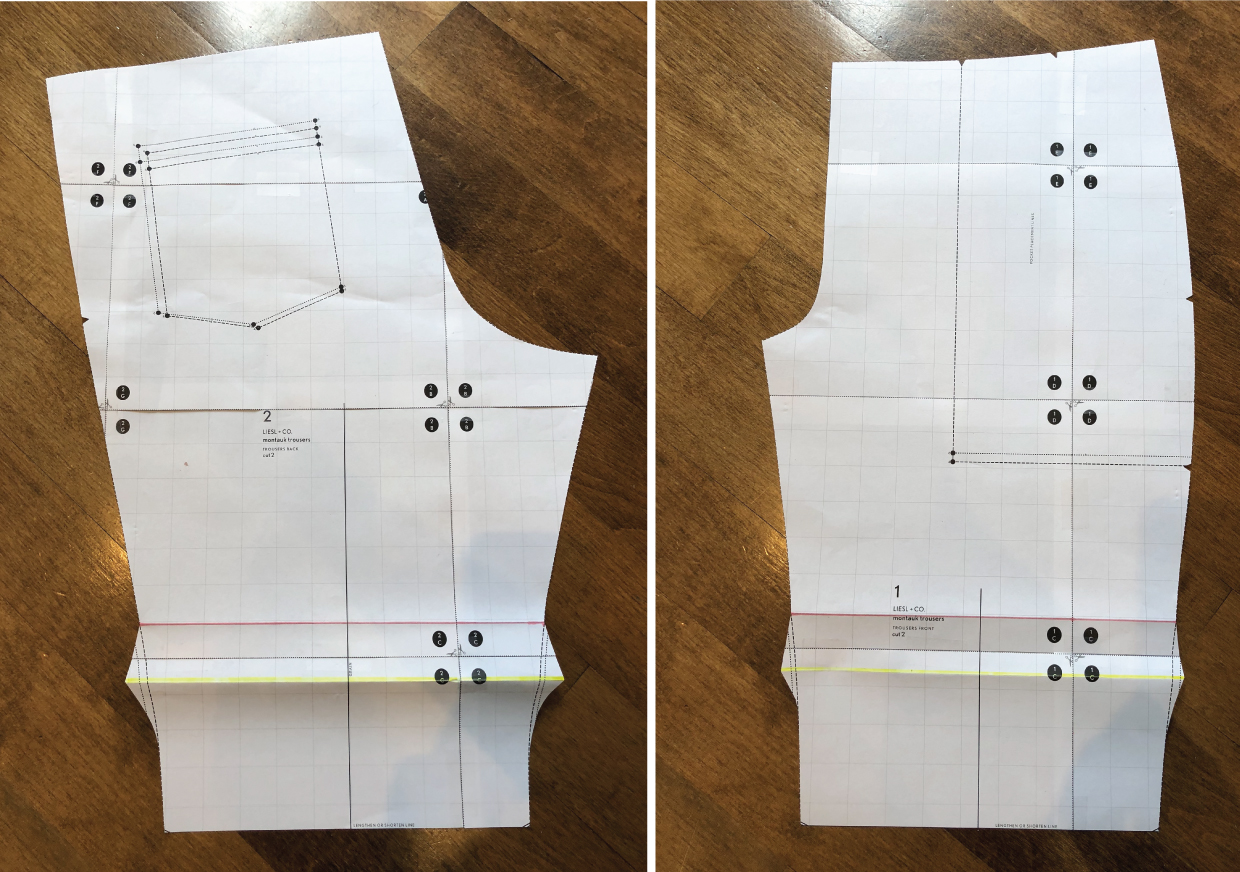
You may cut off the leg length below the yellow line if you wish (personally, I folded back up the extra leg length along the yellow line to conceal it for now, in case I want to reuse the pattern for full-length trousers another time). Now you are ready to cut out your fabric!
I did not alter any of the other pattern pieces (i.e., the pocket pieces and waistband). To finish the hem, I folded and pressed the bottom edge up by 1/2″, and then up again by 1″. From the right side, I topstitched the hem at 7/8″ from the edge to finish it, but a hand-sewn hem also would be nice.
Isn’t is convenient that Liesl + Co. PDF patterns are layered, so that you only need to print out the sizes you are using? I find it so much faster to cut out my size if there isn’t a jumble of other size lines that I have to ignore.
Just like the Sunny Day Shorts for children, I also feel that these shorts provide a foundation for endless design and style modifications in the future. Maybe next time I will include a small side slit on each side seam. I’d also love to make a slightly shorter pair of shorts in a solid color with a scalloped hem. Or, add mini pom-pom trim on a pair of short shorts. And, another pair of shorts with thin insertion lace at the hemstitching line. And, I’d certainly wear a version with piping along the pocket lines and side seams, too! This is an ideal pattern for showcasing your special trims, including drawstring, as I did here with cotton twill tape from my stash.
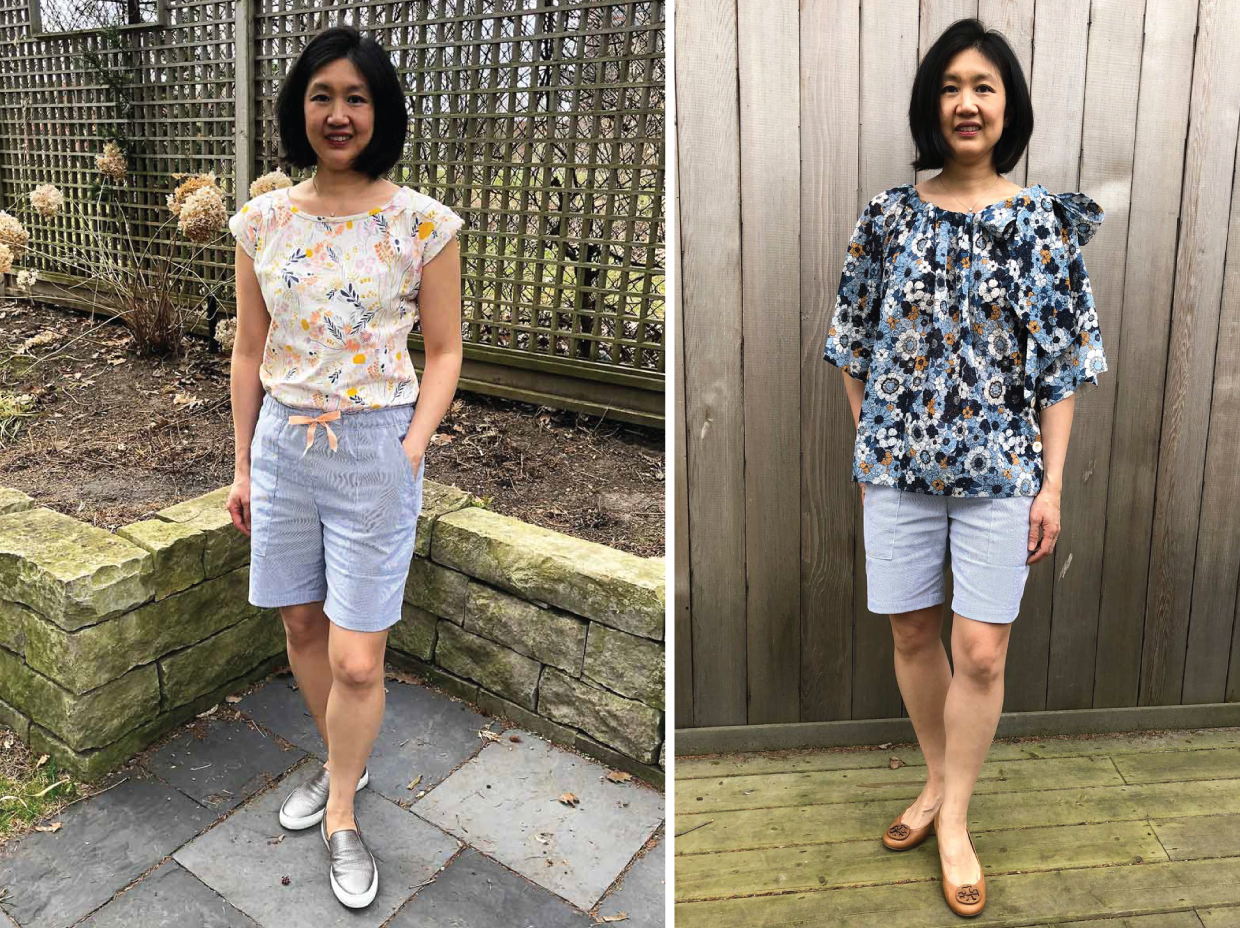
Paired with a Chai Tee for chasing my children on the beach, or styled with a flowy blouse and heels for summer cocktails in Montauk, I’m sure these shorts will be a warm-weather staple.
Have you ordered your Montauk Trousers pattern yet? It’s available on our website in digital format. Don’t forget to enter our spring pattern challenge if you’re sewing the trousers, or either of our other two new patterns, the Belgravia Knit Dress and the Kensington Knit Skirt, this spring!
No Comments yet.