Lightning McStitch
@lightningmcstitch
Active 2 weeks agoForum Replies Created
-
2 weeks ago LINK
 Lightning McStitch
@LightningMcStitch
Lightning McStitch
@LightningMcStitch
Hi Amy,
It’s not so odd at all, but very common for men’s shirts to need a sloping shoulder adjustment.
It appears he could use a minor adjustment on his left shoulder and obviously a more dramatic one in his right side.
– my husband also has slightly sloping shoulders with a big drop on the right side due to a (twice) broken collar bone!
This explanation by Male Pattern Boldness is a good one:
male pattern boldness: Men’s Shirt Sew-Along 15 — Addressing FIT: The Sloping Shoulder https://share.google/OTWyLXN51Vq9zYRdH4 months ago LINKLightning McStitch
@LightningMcStitch
Hi Amanda
You’re talking about the bodice side seam that becomes the underarm capped sleeve seam, right?
Yes, I would cut a few little notches at the most curved part and then serge the seam allowances with that extra bit of give in the seam allowance.
Cheers,
Shelley8 months ago LINKLightning McStitch
@LightningMcStitch
This one has lots of t-shirt options and there are links to blog posts about lengthening and making A-line
8 months ago LINKLightning McStitch
@LightningMcStitch
Hi Kim,
Three granddaughters to sew for, what a treat!
I feel like using the Hopscotch pattern as a base for a dress that you want to look like the Girl on the Go is over complicating things a bit. Not that that’s not what I normally do!
Here’s a few other options to think of:
1: just make the size 8 for the size 6 kid anyway. It’s a t-shirt dress so it doesn’t need to be particularly fitted designwise anyway, and kids grow.
2: use the size 8 pattern but redraw the lines a bit when tracing the pattern to make it a bit smaller, or simply assemble it with a bigger seam allowance.
3: use the Schools Bus tee as your bodice/sleeve option in size 6 then add some length and flare to give it the Girl on the Go shape.
The School Bus tee would be a much easier pattern to start with if you really want to pattern mash as it doesn’t have the surplice front and empire line of the Hopscotch.
I’ll add a link below for all the School Bus customisations as there have been lots of dresses. You might find some inspiration there.
Have fun,
Shelley10 months ago LINKLightning McStitch
@LightningMcStitch
Can you post a picture or some more detail about where you’re confused?
This was the first Oliver + S pattern I ever sewed back in 2007 and I recall it being so clear compared to the Burda pattern I’d just tried making 🙂
It’s been a long time but I’m sure I can talk you through it if you let me know where you’re stuck.
Shelley-
This reply was modified 10 months ago by
 Lightning McStitch. Reason: Autocorrect is nuts
1 year ago LINKLightning McStitch
@LightningMcStitch
Hi Phyllis, can you add some pictures of your pattern (maybe the original pattern, any tracing you made, and your cut fabric)?
There are notches to align the cuff and the sleeve, and dots to help work out where to pivot when sewing on the cuff.
I’d love to have a good sewing studio/video set-up so I could video this for you. It is very neat and easy…1 year ago LINKLightning McStitch
@LightningMcStitch
Hi Bonnie,
I’ve seen it done with toggles, buttons and even a zipper.
As for sizing and closure tips if you click on the School Days Coat subforum (where you’ve correctly posed your question) you’ll find lots of info.I always liked making my kids their true size. It was a bit big immediately, a perfect fit the following winter and a wee bit small but wearable the year after. Obviously that depends on how fast they’re growing and limb length!
Personally I found the toggles to be ideal for kids and the only tip is to use poly cord (like paracord) rather than leather thonging. Kids will love fiddling with the toggles and twisting them and leather won’t last.
Have fun, you’ll be delighted with the outcome.
1 year ago LINKLightning McStitch
@LightningMcStitch
Hi Mia,
It’s been a long time since I’ve seen a bubble dress (so cute!) but ni, there aren’t any exposed seams.
You create the outer bodice, then a similar bodice lining, then sew them together all around the neckline and armholes.
It’s a lovely clean finish.
You can look ahead in the pattern instructions to see how it will come together or just trust Liesl and follow each step 🙂
Happy sewing.1 year ago LINKLightning McStitch
@LightningMcStitch
Hi Carol (@psgfinn)
Many of the patterns, including the Geneva blouse (your query is in that sub forum) include different pattern pieces for different cup sizes.
Liesl explains in this post how to choose your correct size:
In short: go with high bust size then select your cup size by high bust/full bust difference. If you’re making a different pattern without the cup sizes drafted into it, then you might need an FBA or SBA
But with this pattern it’s done for you. Just jump straight in!1 year ago LINKLightning McStitch
@LightningMcStitch
Hi @pegalot
The instructions for finishing the bell sleeve are on page 3. There are detailed steps there that show how the sleeve is finished using the sleeve facing.2 years ago LINKLightning McStitch
@LightningMcStitch
Edit: of course it does matter how you line the pattern grain line up with the fabric grain. I worded that badly.
What I mean is that you lengthen your pattern first, using a cut that’s perpendicular to the line on the pattern tissue. That part is the same whether you’re dealing with a pattern piece cut on the grain (the back bodice) or off-grain (the front bodice).If the amount you’re increasing the length by is giving you some crazy angles then break it up. Add half at the split line and the other half at the lower edge of the pattern piece
2 years ago LINKLightning McStitch
@LightningMcStitch
Hi @caroljohnson , there’s a nice blog post about lengthening patterns here:
Use the grain line as it’s marked on the pattern to ensure that you spread your pattern pieces evenly. It doesn’t matter whether it’s the cut on the grain or on the bias when you lay it on the fabric.
It will require some blending by eye where you split the pattern as they won’t be straight lines.
Also, be careful with the depth/width of the bottom of the V neck if that’s not above the point where you’re lengthening the pattern.
2 years ago LINKLightning McStitch
@LightningMcStitch
@whimsy hi Mary, depends on what you want to have “work”.
From the pattern pieces, and the way the underarm gusset becomes part of the sleeve, if you want to match the pattern of a plaid that sounds like a nightmare.
If you don’t care about pattern matching, or want to embrace the “lines” of the pattern by highlighting them with mismatched plaid then go for it.
If you’re referring to the weight/handle of the fabric rather than the pattern, then yes, it can work in a flannel type fabric, you’d just have to underline it with something more substantial.
I’ve made Yanaka in a fairly drapey tweed coating and underlined it with a stiffer cotton canvas.2 years ago LINKLightning McStitch
@LightningMcStitch
Hi @mollyshark
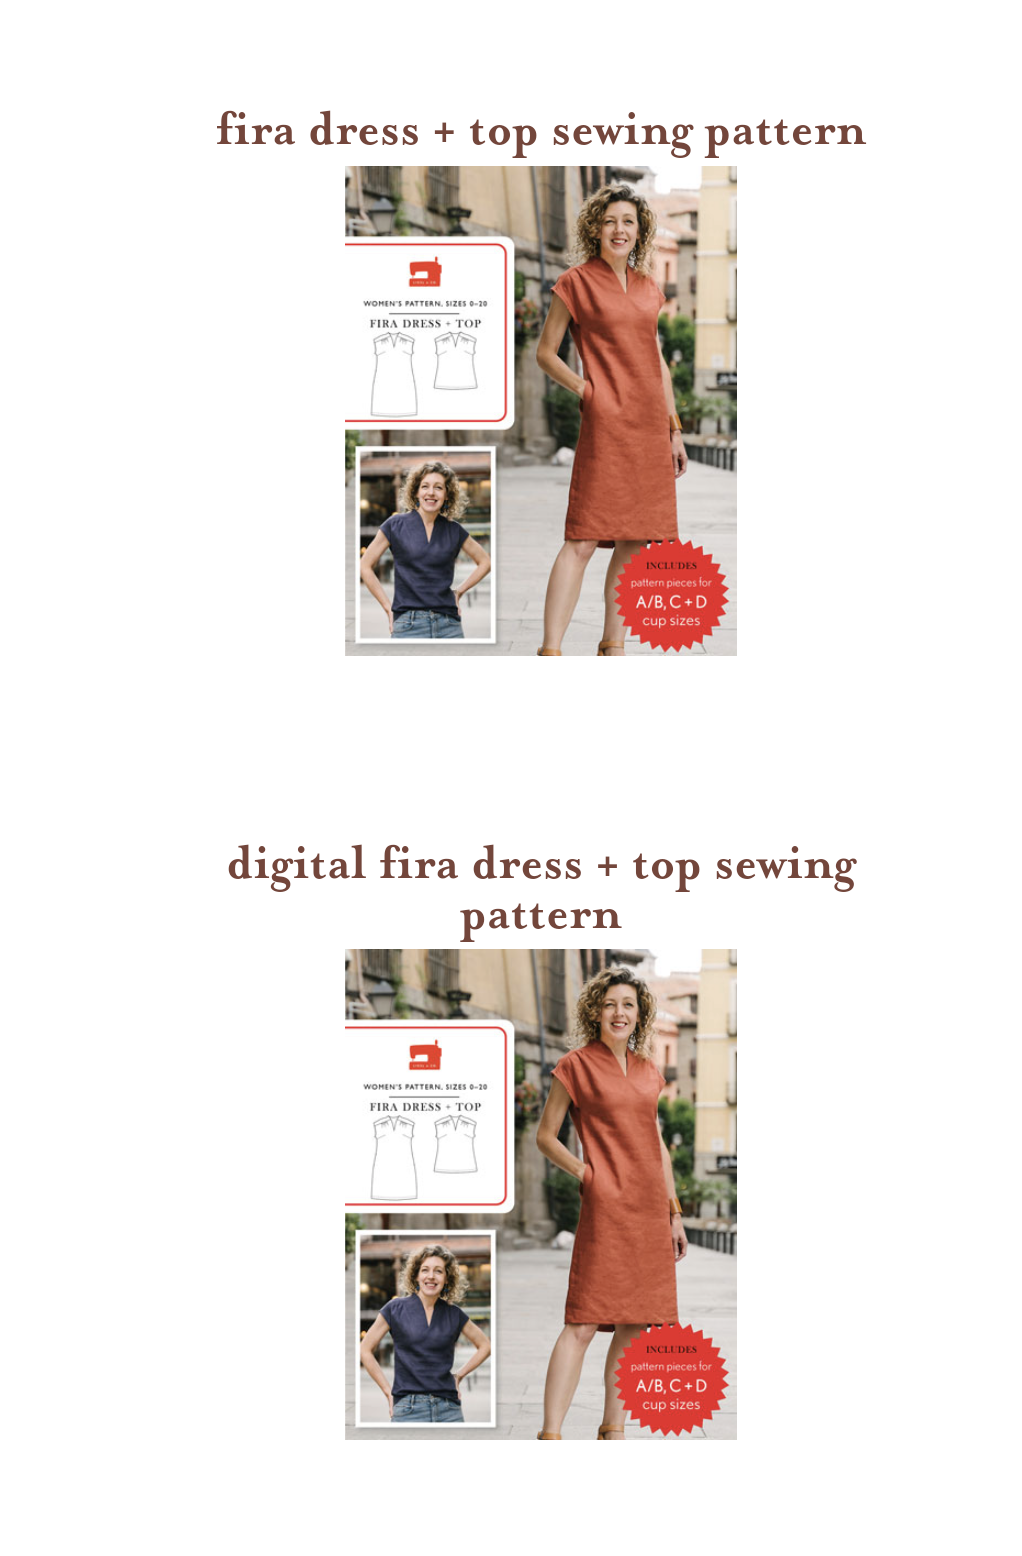
There are two versions of the pattern you can click on to purchase.
The first: ‘Fira Top + Dress Pattern” is a paper pattern that will be posted to you.
The second: “Digital Fira Top + Dress Pattern” is a digital pdf pattern that you download. You can print at home, or at a copy shop on A0 or 36″ plan printing. I don’t believe they are projector enabled, but @todd can correct me if that’s wrong.Attachments:
2 years ago LINKLightning McStitch
@LightningMcStitch
By the “big bump out” I’m guessing you mean the extension of the dart that goes beyond the side seam?
If you include that when you box and slide the dart then you’ll have the dart meet the side edge nicely after you’ve sewn it.
You’ve got the right technique in mind for what you want to do.
If that’s not what you mean, then maybe a picture will help explain your question? -
This reply was modified 10 months ago by
copyright
Unless otherwise credited, all work on this blog is © Liesl + Co., Inc, 2008-2025. You are welcome to link to this blog, but please ask permission before using any text or images.