Very Stuck on Collar Stand and Collar
-
6 years ago LINK
Chey @Chey23
I am doing this shirt as my first ever button-down and am having trouble with the collar. My collar stand is significantly longer than the shirt neckline, and I also feel that the shirt neckline is going to be quite tight if it buttons at all. (I need it to button I will be wearing a bow tie with it).
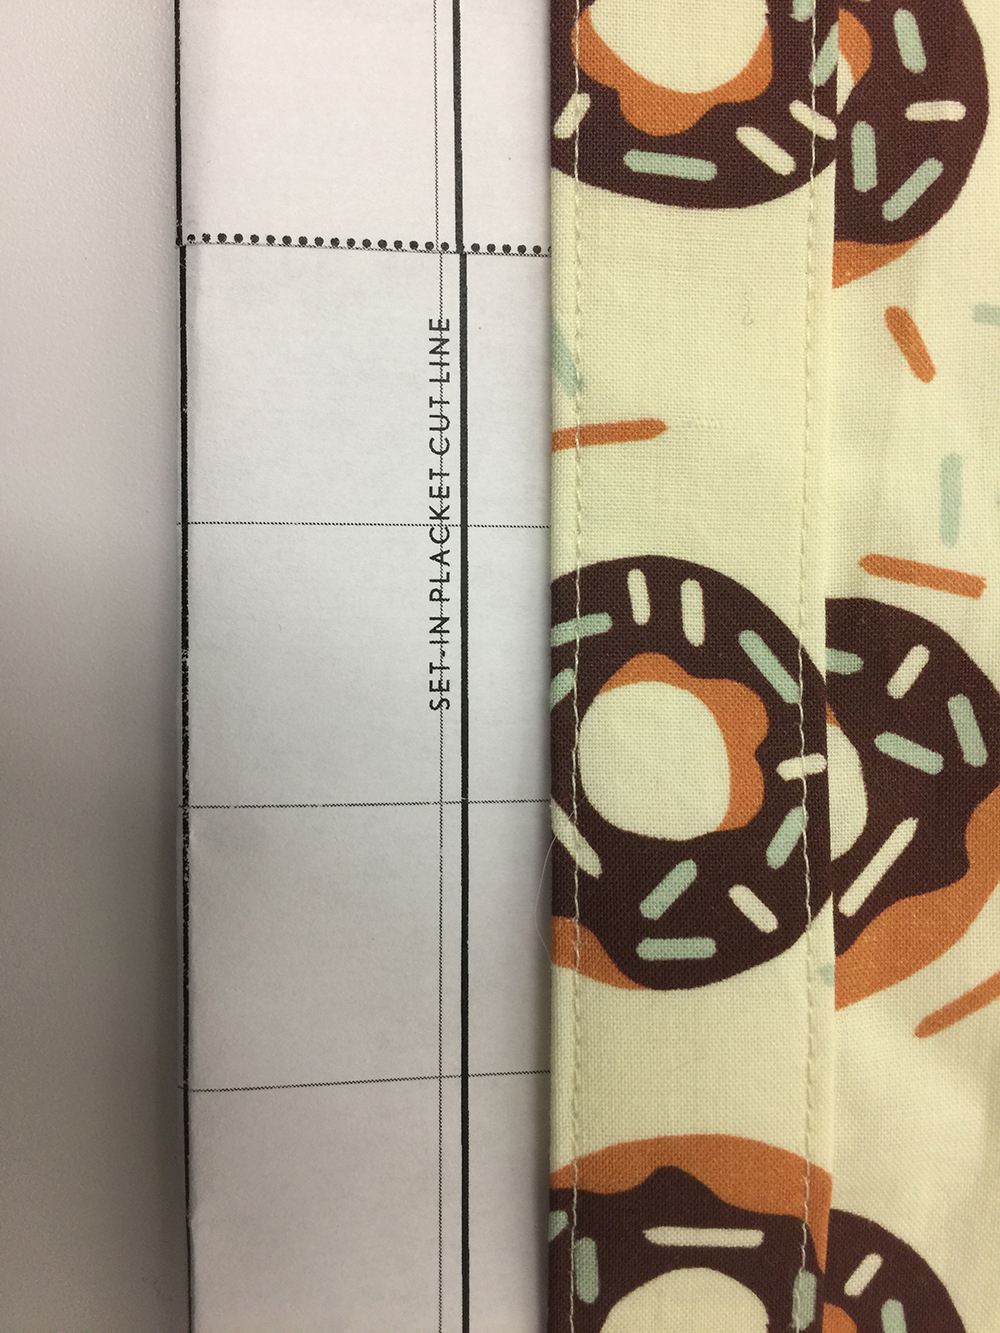
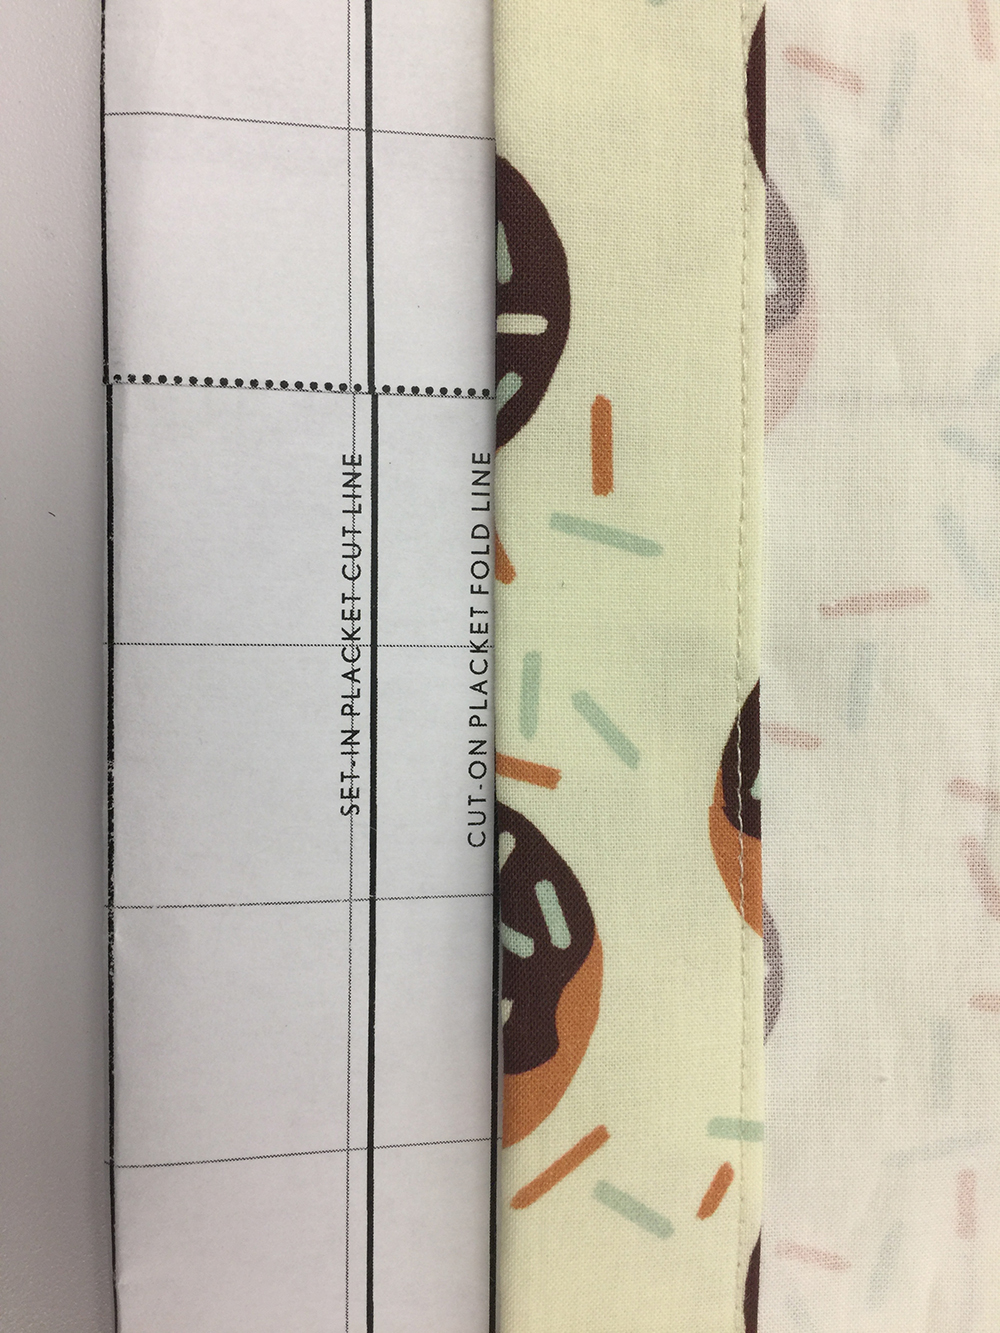
I am wondering if I did the front placket right. I did view A and cut the required inch off the front panel piece then adding the front placket for A. Was I not supposed to cut that front piece or—-? I am doing the sew along on the blog as well as the actual instructions but I am so lost. Thanks so much to anyone who can help me.6 years ago LINKI think I figured out what I did wrong. I seem to have cut my pattern on the line that is meant to cut out the placket. I think I can figure out how to do it over.
6 years ago LINKOh, I hope so! There is a sew-along for this one if it helps. https://oliverands.com/community/blog/2017/05/liesl-co-classic-shirt-sew-along.html
6 years ago LINKSarah Ann Smith @sarah@sarahannsmith.com
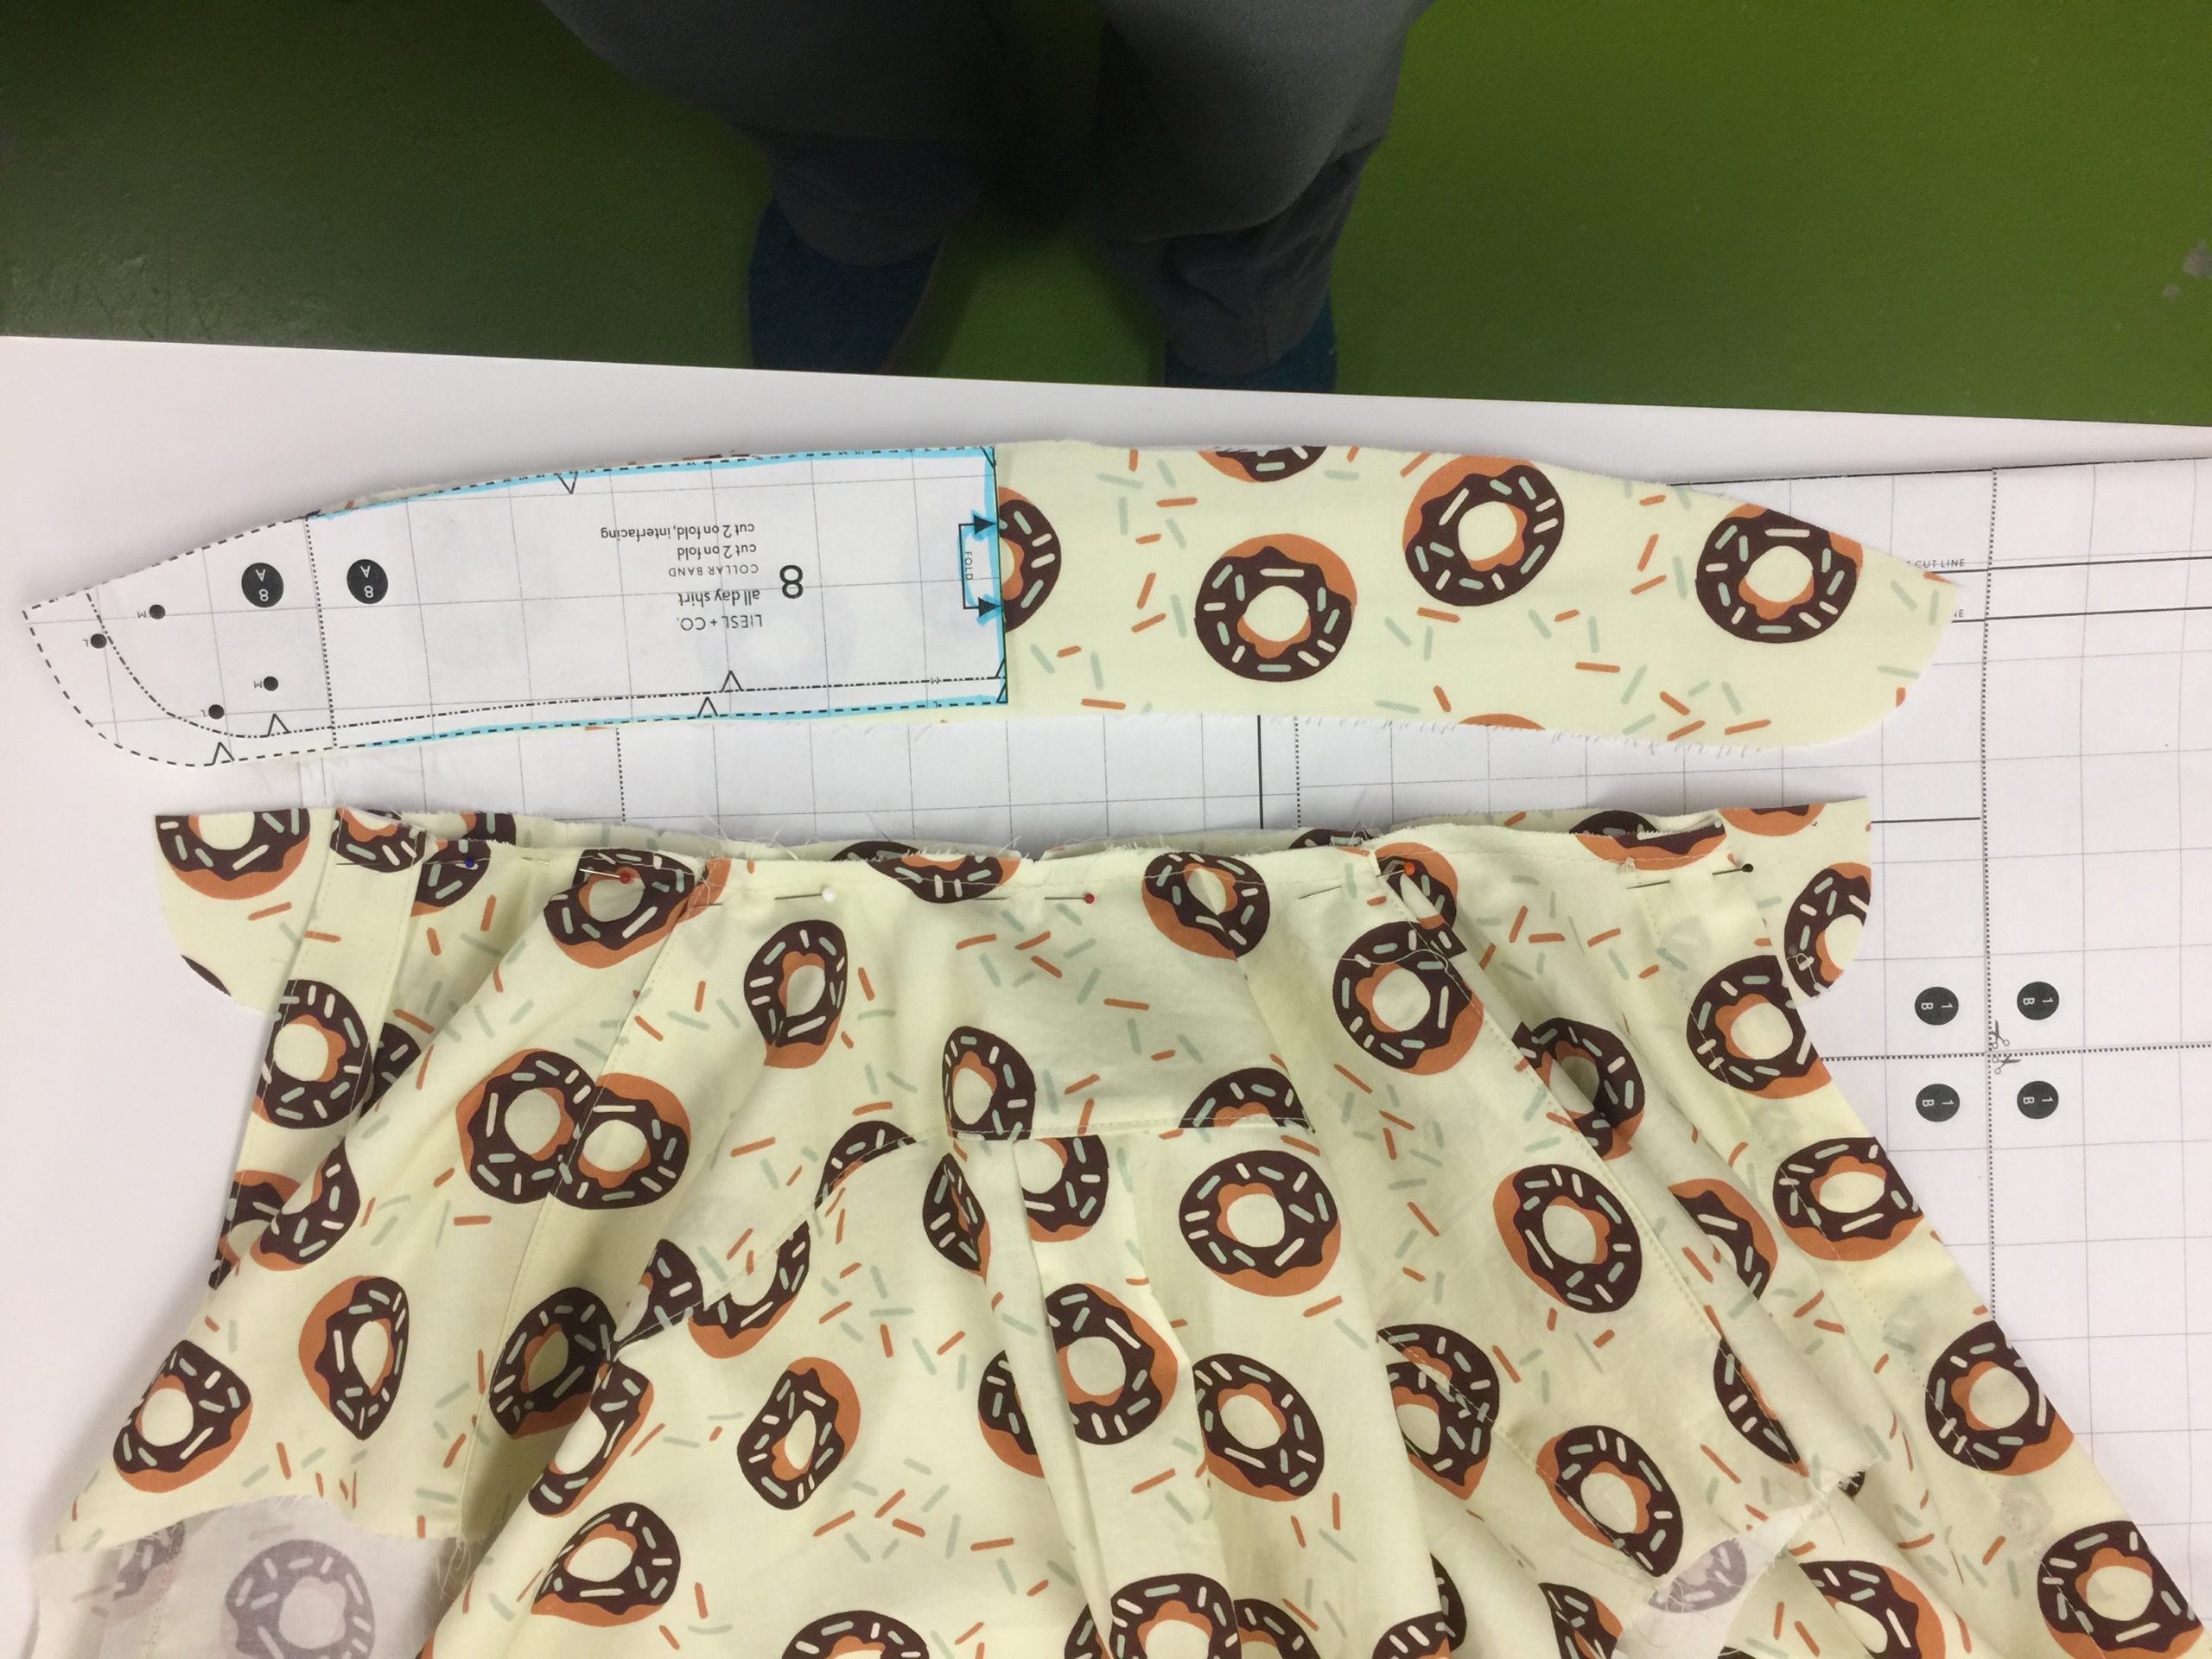
I am having the same problem, but am pretty sure I cut correctly. I am making a men’s Medium, with the neck, collar stand and collar cut size L. I have checked (repeatedly) to make sure the pattern pieces printed correctly (using both PDF and Adobe Acrobat). The grid is exactly 1 inch. But My collar stand is about 2″ too long for the shirt (but matches my son’s shirt collar perfectly). I have placed the shirt fronts and yoke on the pattern pieces, and they match perfectly (photo below). You can see that when I pin with the notches, there is WAY too much fabric to ease in. When pinned sorta flat, it is about 2″ too long. I have reviewed the instructions for applying the button bands/self placket and believe they are done correctly–I was able to attach only 4 photos, but on shows the stitched front on the pattern, and it all matches up. HELP please? This son probably won’t wear the shirt buttoned at the top, but the other one will, and I want to get it right. Thanks!
6 years ago LINK Lightning McStitch
@LightningMcStitch
Lightning McStitch
@LightningMcStitch
Hmmmm…. I’ve made both the M and the L of the All Day Shirt and found the collar matched the neckline with notches aligning and only a ” regular” amount of easing to fit.
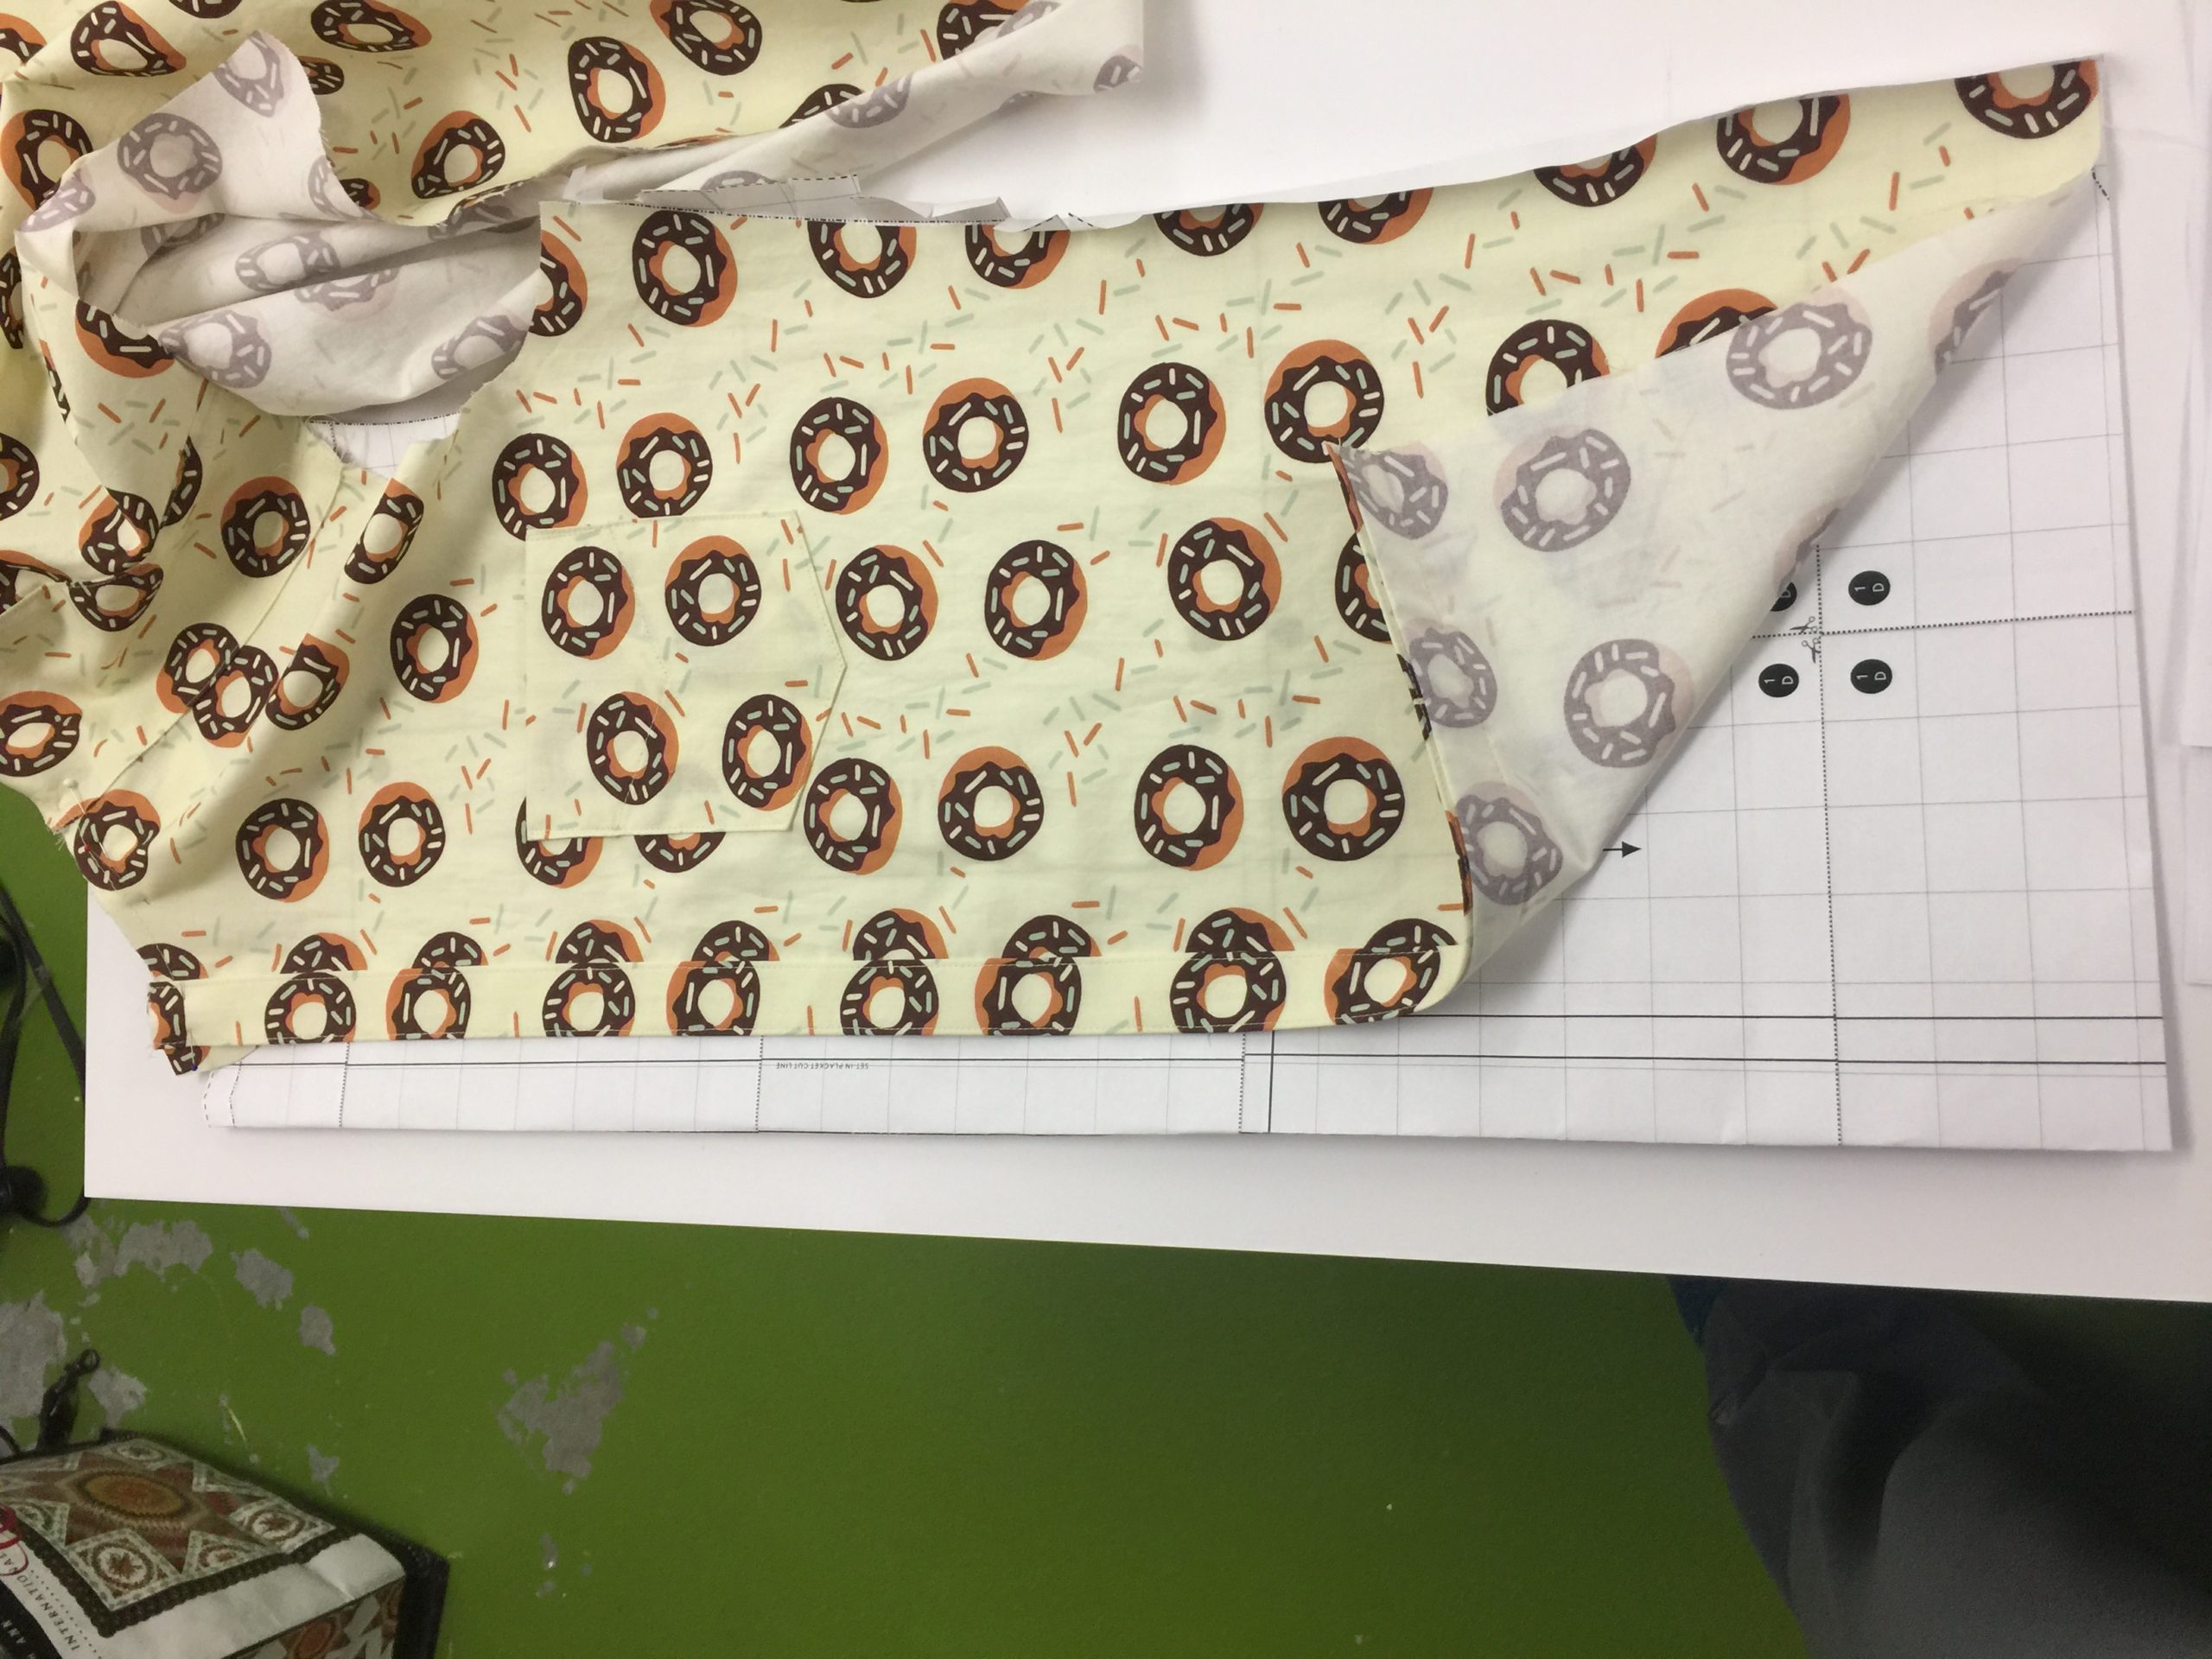
Is there any chance you did the same as the OP and cut the shirt on the placket line not the front cutting line? Your collar looks fine, so us the shirt too small?6 years ago LINKThanks so much for your reply! I have measured and double and triple checked and it really looks like I cut it correctly. I took the measurements of the shirt as well to cross-check with the finished garment measurements. Under the armpit I have a width of about 48 not having used up the seam allowances, which brings it down to 46″ which is just about right. I’ve added two photos. The shirt front is placed on top of the pattern piece with raw edges at the side, hem, neck and armscye matching perfectly. The sewn button band and button placket (fold under) match up perfectly with the indicated fold line for the placket (right side/underneath piece) and the top piece with sewn-on button band (the gap you see of about 3/8″ is the take-up in the seam allowance).
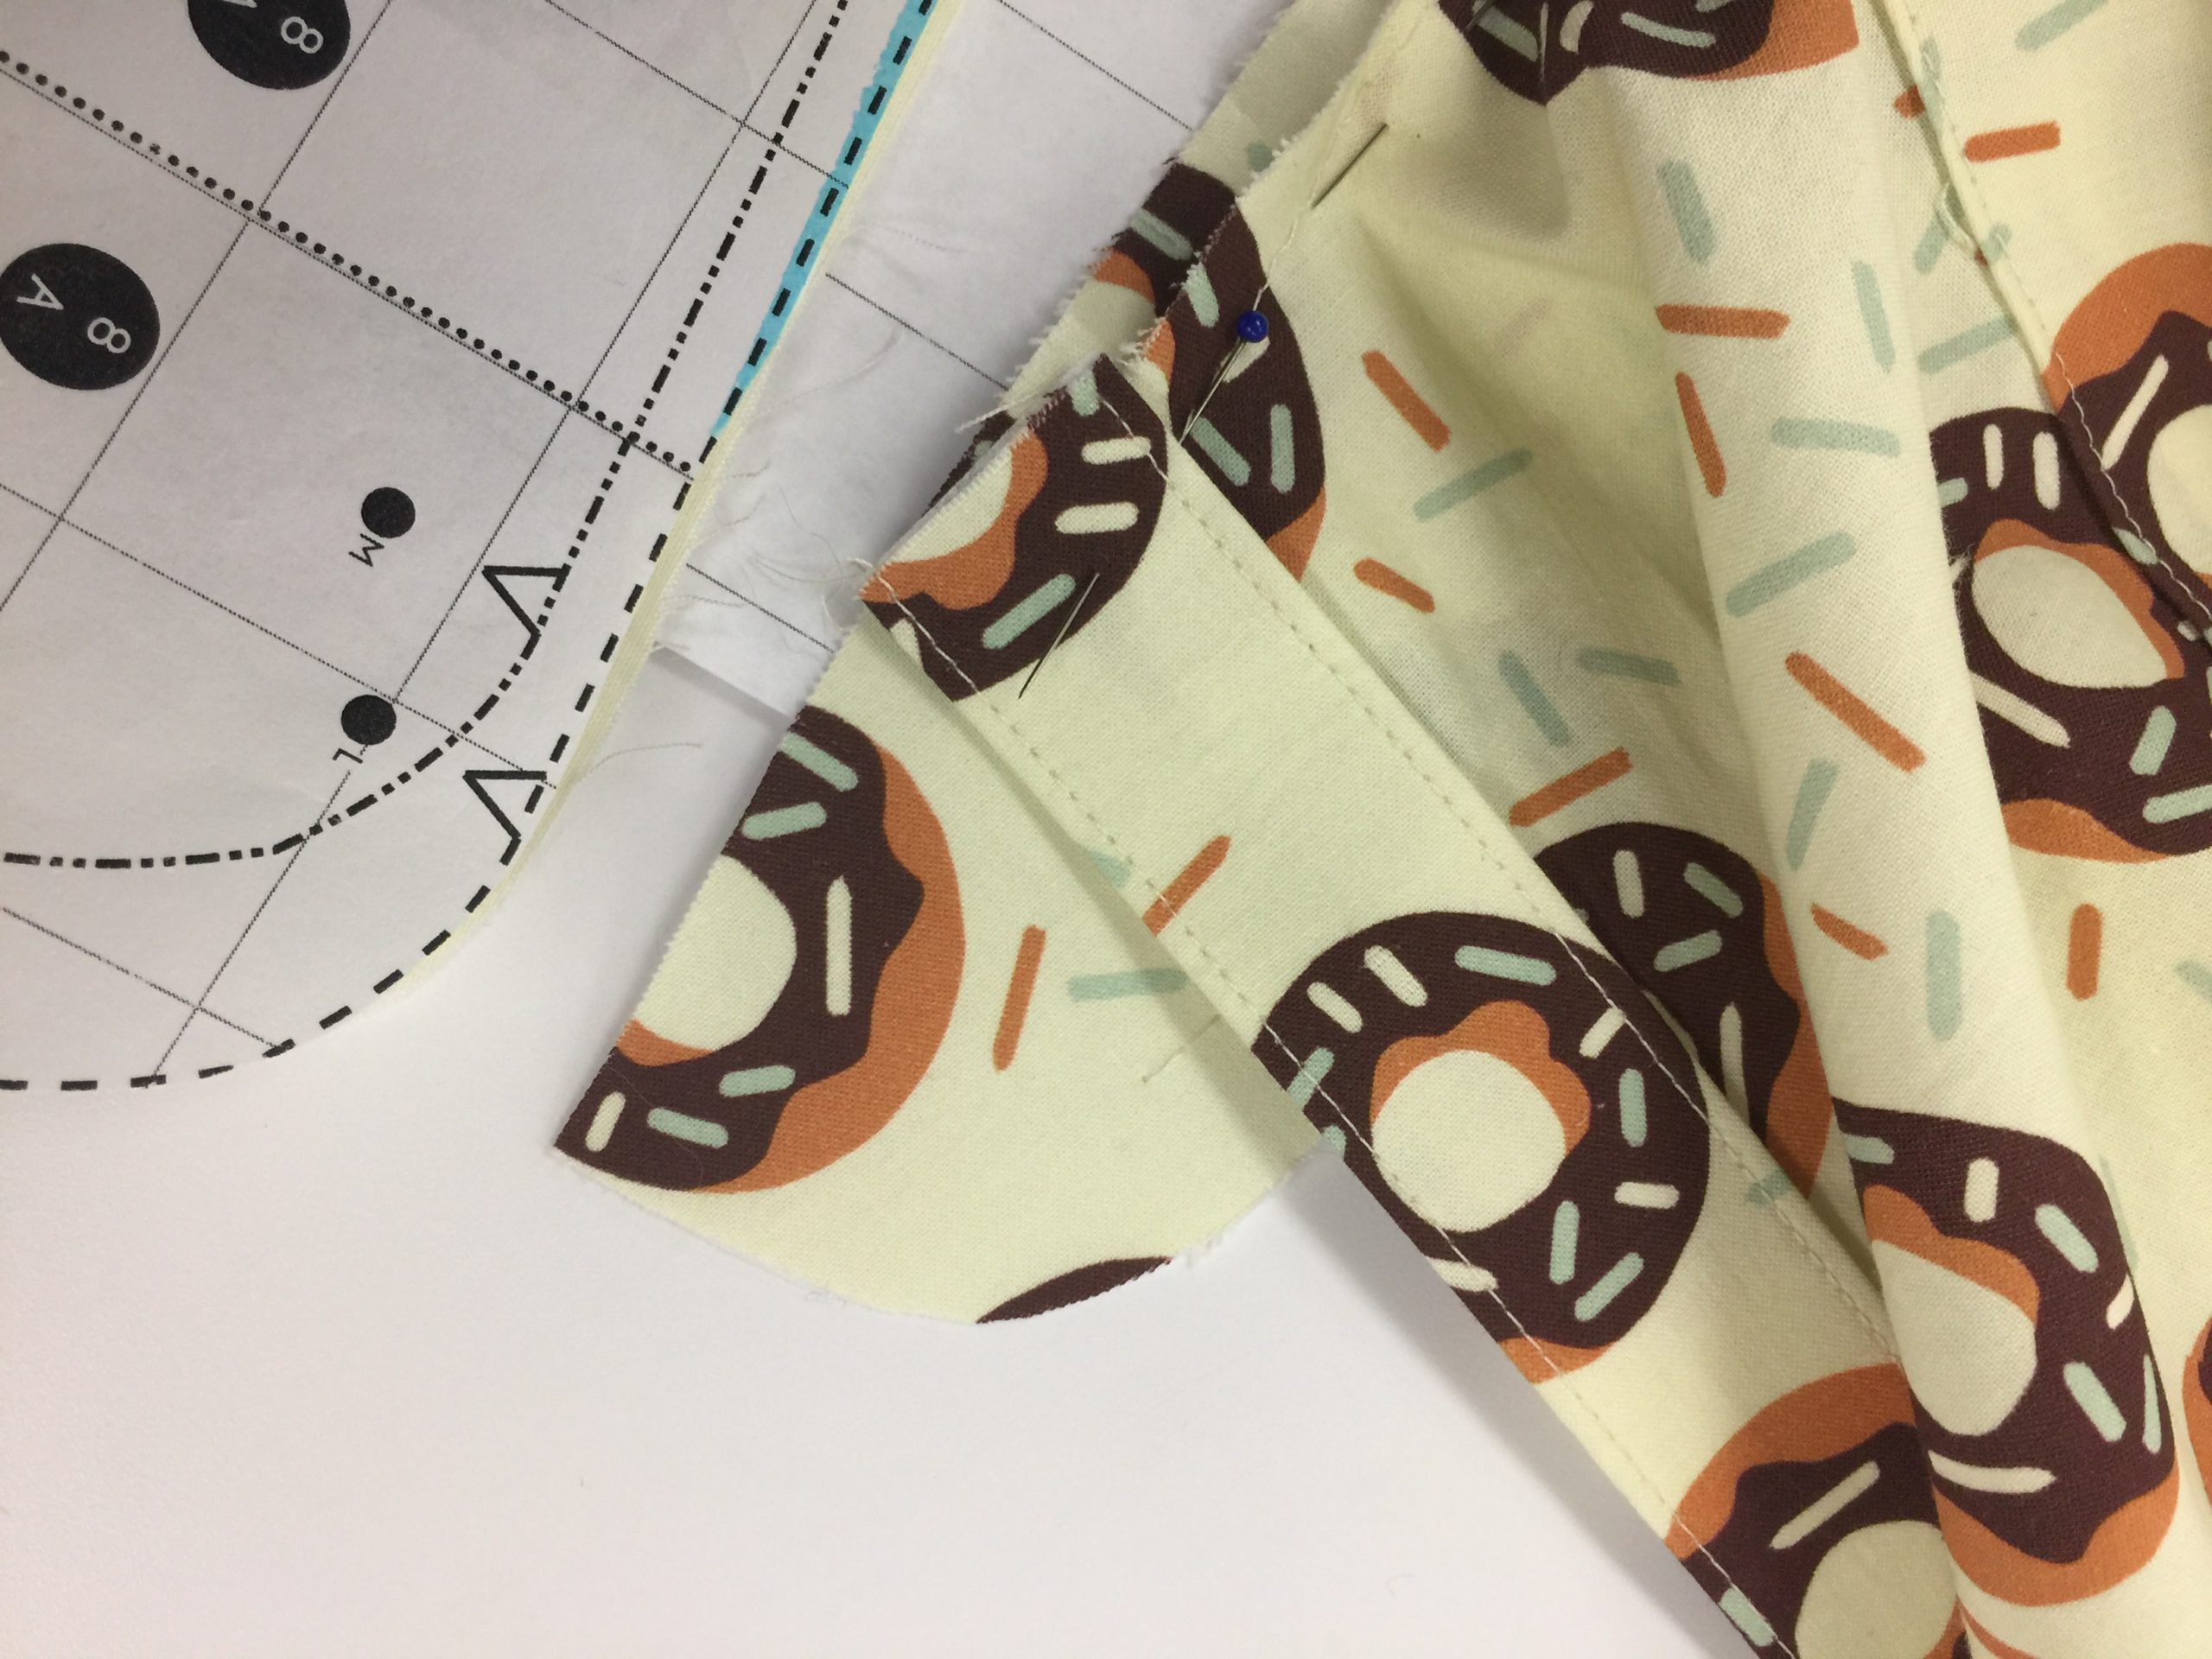
The opening for the neck on my shirt measures 16 1/4″ at the raw edge. The neckline (not collar) edge of the collar stand pattern piece measures 19 inches! I just double checked, and the measurements on the pattern pieces are the same. On p. 2 of the pattern, the neck measurement for size L is given as 16 3/4, which is exactly what I need for my son. With the neck raw edge (which I realize is smaller than the sewn edge) at 16 1/4″, there is no way I can take a 1/2 or even 1/4″ seam allowance and be larger than about 16 inches.
I figure I can trim about 1/4″ off the raw edge of the neckline opening, sew on the collar stand, and re-shape the excess to match properly after seaming.
BUT, that said, I’d still like to understand what went wrong. I can see making this shirt again and again for both of my sons, but I need to understand what is wrong and why.For the company, I downloaded the pattern about a week or two ago, and it is edition 2. Since it has been out for a couple years I can’t imagine that I’m the only one having this issue. Totally weird.
Thanks again for commenting, Lightning McStitch. I appreciate your help and any thoughts you may have. Sarah in Maine
6 years ago LINKHave reduced file size and trying to upload again. Sorry about the clutter…OK to delete the previous flubbed attempt to upload pics. No idea why the first ones uploaded without having to resize!
Attachments:
6 years ago LINKI’ve got no idea either. The only suggestion I can think is to go back and triple-check everything again. Sorry I can’t be more helpful! It can be difficult to determine what went wrong, I know. Keep up posted, ok?
6 years ago LINKThanks Liesl. I SO appreciate the responsiveness of you and Todd. I did one thing last night: measured the Men’s L neckline opening on me, 5’6″ female. Too tight to button even for me, so will triple check how I cut the neckline opening. Then I grabbed a couple of younger (slightly larger) son’s shirts to compare. The collar stand pattern piece is a perfect size, so it has to be the neckline opening. I will likely end up trimming the neckline raw edge to a comparable spot on his commercially made shirts–after checking (again) on the pattern that I cut the necklines correctly. Will let you know. Thanks.
6 years ago LINKI figured it out! And my error may help you with others. I cut the pattern as a size medium because the only adjustment I needed to make was the neck opening, so I cut M but used the higher neckline for the L, even though that seemed odd to me that it should be higher, not lower. After a good night’s sleep I looked at things again, and (having cut the pattern to both M and L to use for both sons) unfolded the shoulder section for the Large size. Instantly I realized the issue: in folding that bit under to customize the size, I had removed 1.5+ inches of neckline. I marked the L neckline on the shirt body, trimmed, and presto: perfection!
And I’m guessing someone else might on a pattern only have a single modification as I did. The key for me is to remember patterns are graded from the center waist **out** and adjust accordingly!
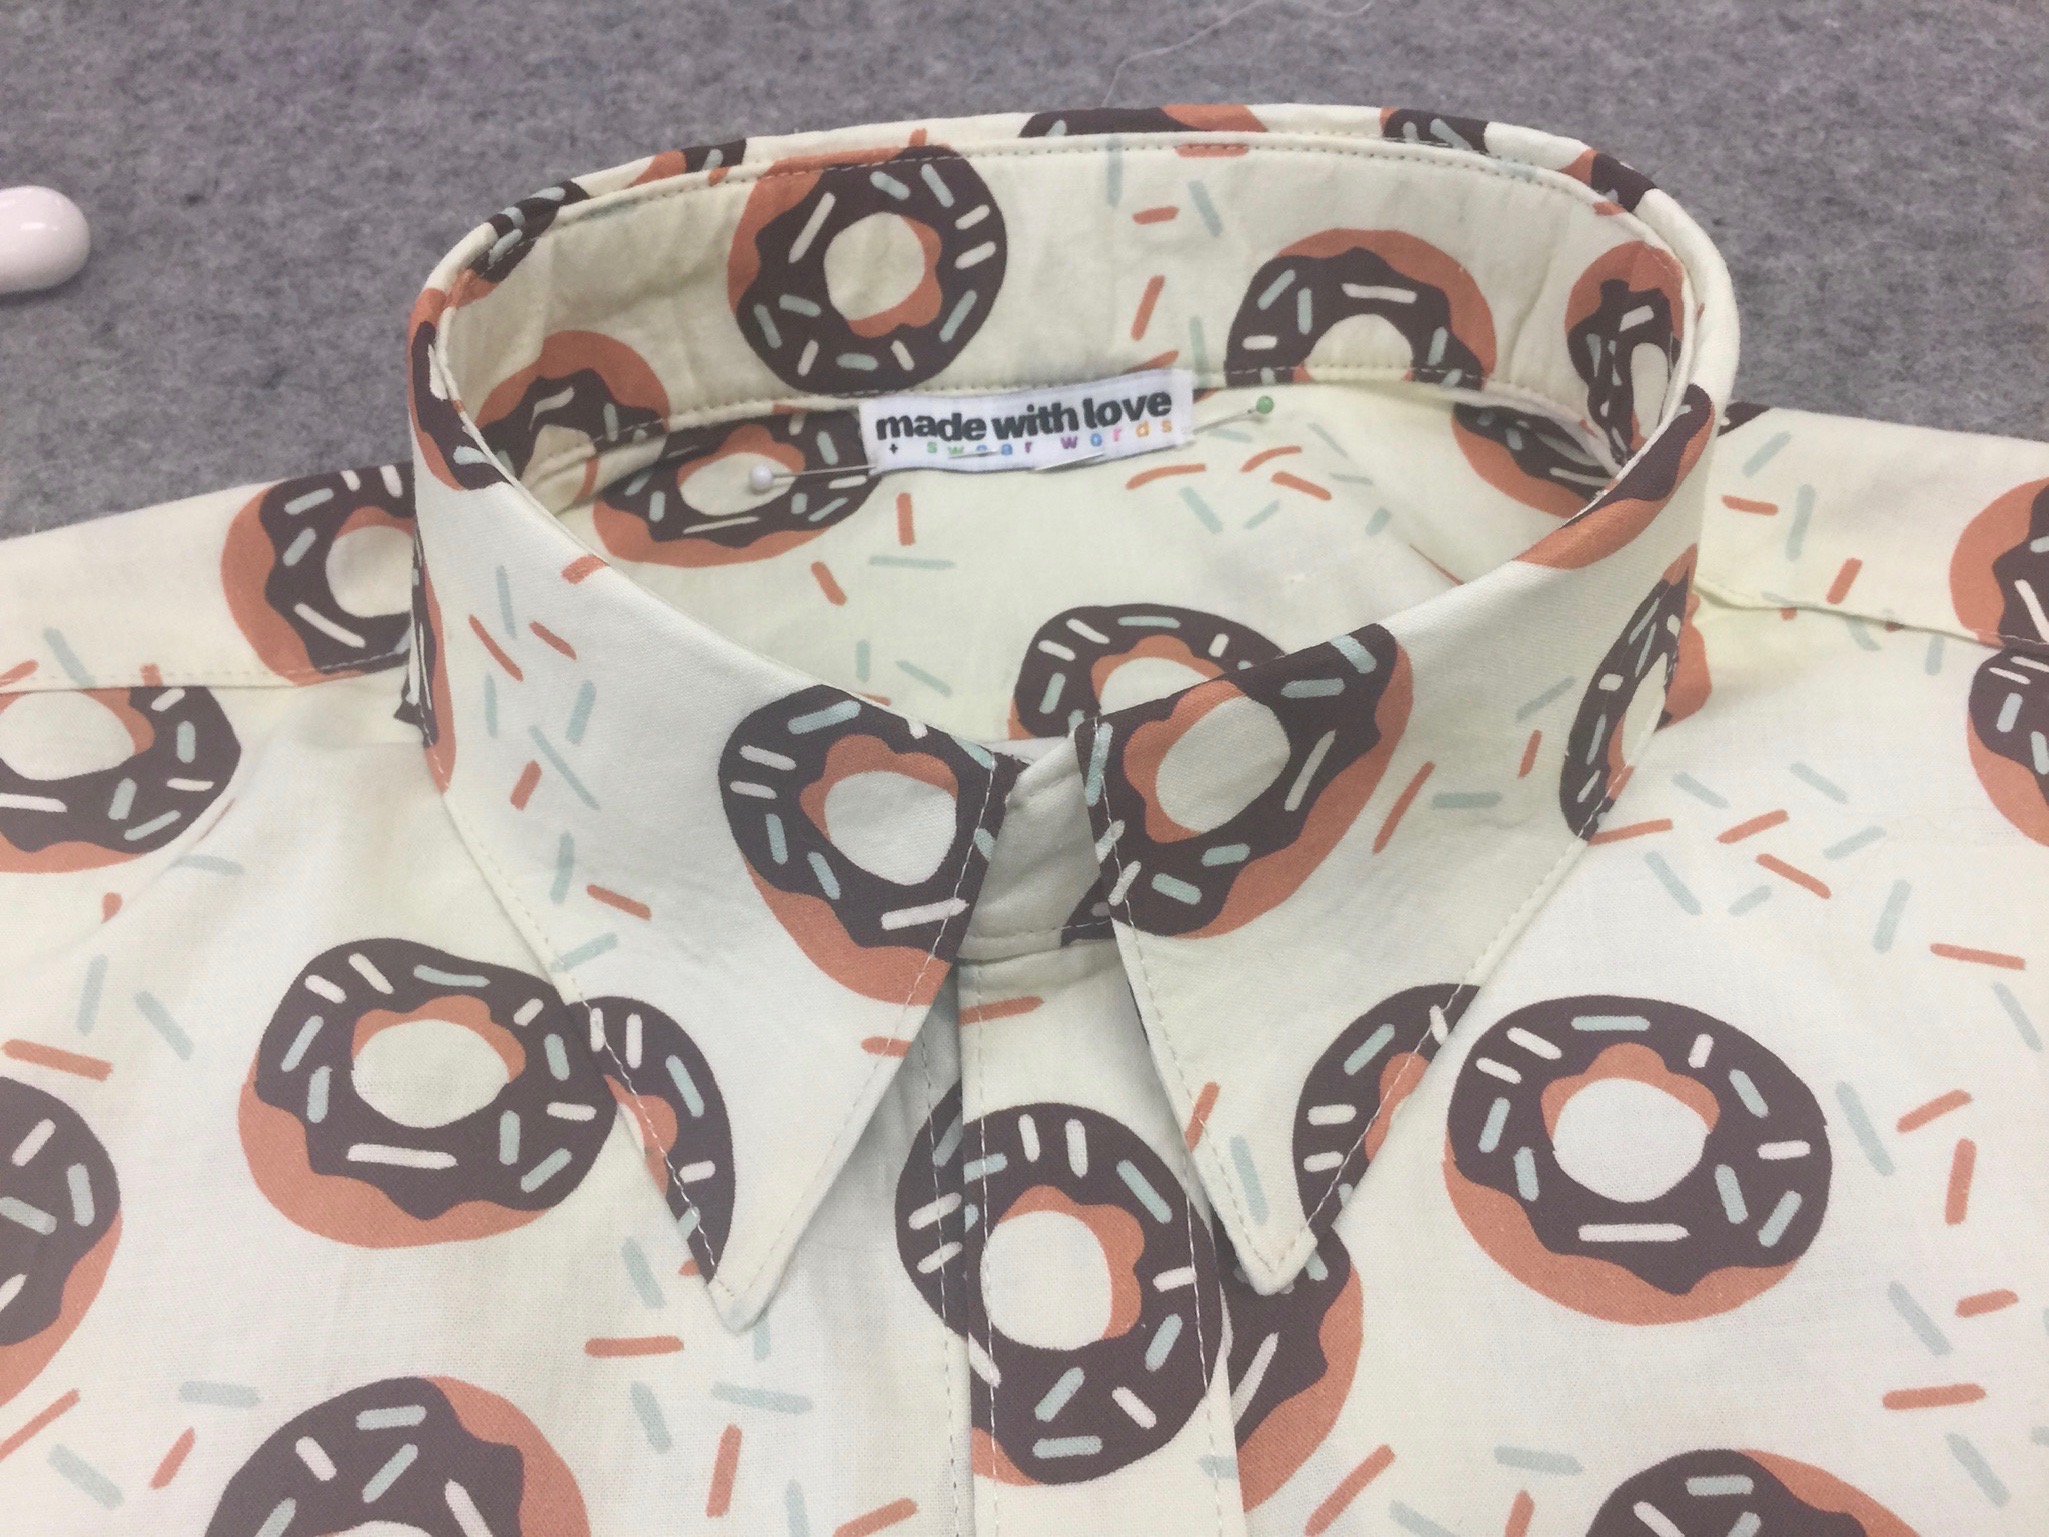
I’ve been sewing forever (about 55 years!), but learned a couple new tricks from the detailed instructions (the yoke thing where you topstitch the second layer in place which means topstitching turns out perfect, and closing up the collar stand at the collar, not the neckline). Between my new Janome M7 (I’m a brand ambassador, a Janome Artisan) and this pattern, this is turning out the best shirt I’ve ever made.
Again, THANK YOU BOTH so much for your responsiveness. WELL DONE! And yes, once given at Christmas I’ll blog (sarahannsmith.com/weblog) about all of this with links and recommendations and kudos.
Attachments:
6 years ago LINKHa! I love the tag you put in the collar. I’m thinking this particular shirt was made with more swear words that most!
So glad you figured out the issue, and thanks for providing an update.
6 years ago LINKI’m glad you figured it out as well. And here’s a little more information to help you in the future. Patterns are graded from the center-front or center-back neck, but when I lay out the patterns I often nest them differently than they are graded in order to make the various size lines more visible. If you need to make a change you’ll have to take this into consideration. It’s usually best to trace one size, then lay it back onto the pattern to make your changes. And yes, for a larger neckline you’d be cutting away, not raising the neck. Holler if you’re ever confused and I’ll be happy to take a quick look.
6 years ago LINKThank you Todd and Liesl…and glad you liked the tag LOL…actually no swear words, just befuddlement. And thanks Liesl for the info on laying out…yes, your lines were easy to follow, and the thing in Acrobat about being able to turn off the layers like in Photoshop is brilliant! Slowly I am being dragged into the PDF pattern era. Thanks again for the outstanding responsiveness, and
MERRY MISTLETOE, Sarah


You must be logged in to reply to this topic.
copyright
Unless otherwise credited, all work on this blog is © Liesl + Co., Inc, 2008-2026. You are welcome to link to this blog, but please ask permission before using any text or images.