Adding Piping
-
12 years ago LINK
mrskanuckles @mrskanuckles
I’m new to adding piping and recently got a piping foot I want to try out.
I am trying to wrap my brain around adding piping to the pjs. I think I can add piping to the pant cuff easily at the facing seam for the cuff (Is that where you would add it?)
But, how should I add piping to the facing on the top? If I just place it under and sew as I sew down the facing, I am afraid the stitching on the piping would show. Any thoughts.. I’m sure there is a simple solution, but I can’t get there.
12 years ago LINKSherry @mim22
I love piping, it seems to take the finished garment to the next level somehow. Have a look at http://www.francessuzanne.blogspot.com.au they do some amazing things with piping with lots of photos, it might help. There is a tutorial on piping in a peter pan collar, it shows how to snip to get it all to lay flat.
Good luck and looking forward to seeing your finished pj’s. Sherry
12 years ago LINK Tamara
@justsewit
Tamara
@justsewit
You can add piping just about anywhere. It is mostly seen on collars but yes you can certainly add it to cuffs and the facing of your pj top.
This is what I do to sew it on (and yes I have a piping foot). Firstly with such a large length as the facing, I pin the piping to the edge I want to stitch it on to. Then I go along with a normal sized stitch close to the stitch line on the piping itself. Then I go around again just inside that stitching line so that the stitching from the piping doesn’t show. On collars, I go around again but about 3mm away from the first stitching line I did and this is to maintain the round curve of the collar.
On the pj facing however, you don’t have to do that but you will still have to clip into the seam allowance to get the nice rounded edge. Add the piping BEFORE you fold in the seam allowance because it is easier to do it before rather than after. This way it will become a part of the seam allowance.
So next step, once you have sewn the piping to the facing and the seam allowance is pressed under and ready to go, you just go along the “ditch” as it were and carefully sew in the stitching line made from attaching the piping. This can be tricky so go carefully and you will get a great result. The piping will LOOK as though you just popped it under the folded seam allowance but between you and me we know its more than that to keep this baby in check.
I hope these instructions are simple enough to follow. You don’t have to clip the seam allowances on a straight seam only a curved on (to stop the wrinkles basically). Good luck and cant wait to see a picture of them all done.
Piping os one of the simplest ways to embellish without going overboard.
Tamara
12 years ago LINKThanks Tamara, I think that is what I need to do is sew on the piping to the shirt facing before I fold it over. I couldn’t get there with my own brain. I appreciate it.
Thanks Sherry.. I will check out your link.
12 years ago LINK Jane
@jesims
Jane
@jesims
I am lazy and don’t want to sew something twice, so I use Wonder Tape to hold the piping in place while I stitch the facing (or whatever) to the front piece (or whatever piece I am attaching it to). Works great!
Jane
12 years ago LINK Nicole
@motherof5
Nicole
@motherof5
I am with Jane.
Unless it is a formal or paid garment I pin and sew slowly.
10 years ago LINKSChude @Constainia
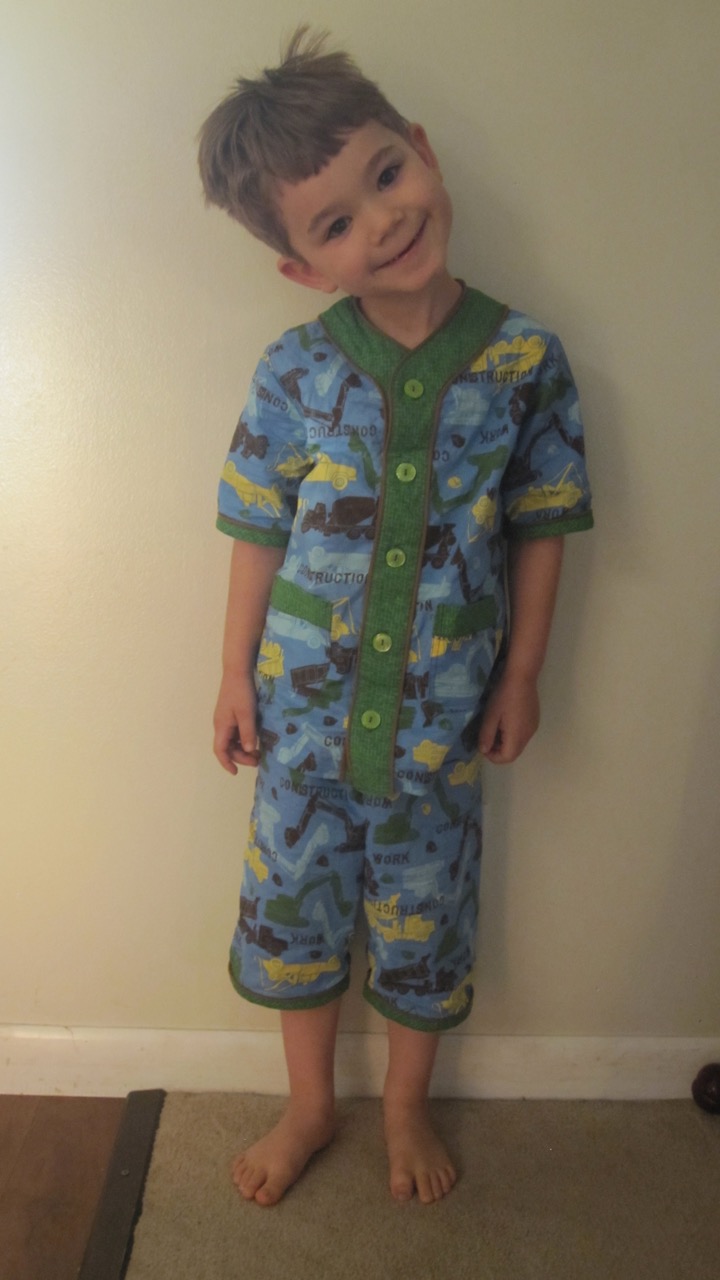
I just made my first set of these jammies and added piping. I wish I had remembered the piping when I made the pockets. I put it on both sides of the facing before attaching it to the top, at the sleeve and leg edges (attached to bias binding first), and between the waistband and the shorts (attached to waistband first).
Attachments:
10 years ago LINKReally cute, @constainia!
You must be logged in to reply to this topic.
copyright
Unless otherwise credited, all work on this blog is © Liesl + Co., Inc, 2008-2026. You are welcome to link to this blog, but please ask permission before using any text or images.