Adding a lining to the Everyday skirt =)
-
10 years ago LINK
Elena @elenac
I made my first one in a very lightweight, see-through wool blend which meant I had to line it and I thought I’d share how I did it here (since then I also made (lined) one in heavenly Japanese triple gauze…a tiny bit heavy, it worked well for this pattern – for winter/spring).
A note the process: if you value your sanity, don’t try to work out how to line this skirt on your first try + with small kids running around. =)
But working out how to line it did make me deconstruct this pattern and appreciate it in a completely new way: I can now see this skirt with a flat front panel, pleats or even as culottes – all while keeping the pockets and the ease of being pull-on…
So, how I eventually lined the Everyday skirt:
1. First I adjusted some pattern pieces to make the lining pattern pieces:
– the 2 side panels (unchanged),
– the back panel (5 cm/ 2 inches taken off the top (as you don’t need the fold over bit of the back (elastic) waistband for the lining)),
– and the front panel (minus the gathering as I didn’t want more bulk in the front: to do that, compare the width of the front waistband between the center front and the notch where the pocket goes, and the width of the front skirt panel, the difference will be the amount of gathering, take it out from the center front and you have your flat front lining pattern piece).Note: you could just stick the side panels to the front piece and cut it as one piece ( I did this on my first skirt), however the fit is better if you keep them as separate pieces…
I cut the lining from Bemberg-type cupro – it’s lovely to sew with and zero! static when wearing.
For the main fabric pieces, I made 2 adjustments: I reversed the notches on the front waistband (so that the 2 notches are on the bottom rather than the top) and I cut the back waistband to the fold over line + 1.5 cm seam allowance.
The reasons for those last two adjustments are that on the front, I sewed the front waistband to the front first (right sides together), rather than to the inside first as indicated on the pattern. And on the back, I didn’t want the bulk of folded over main fabric: instead I opted for a “reversible” finish if that makes sense – the seamline runs along the top edge of the back, inside the skirt.
It’ll make more sense further along.
2. Sewing
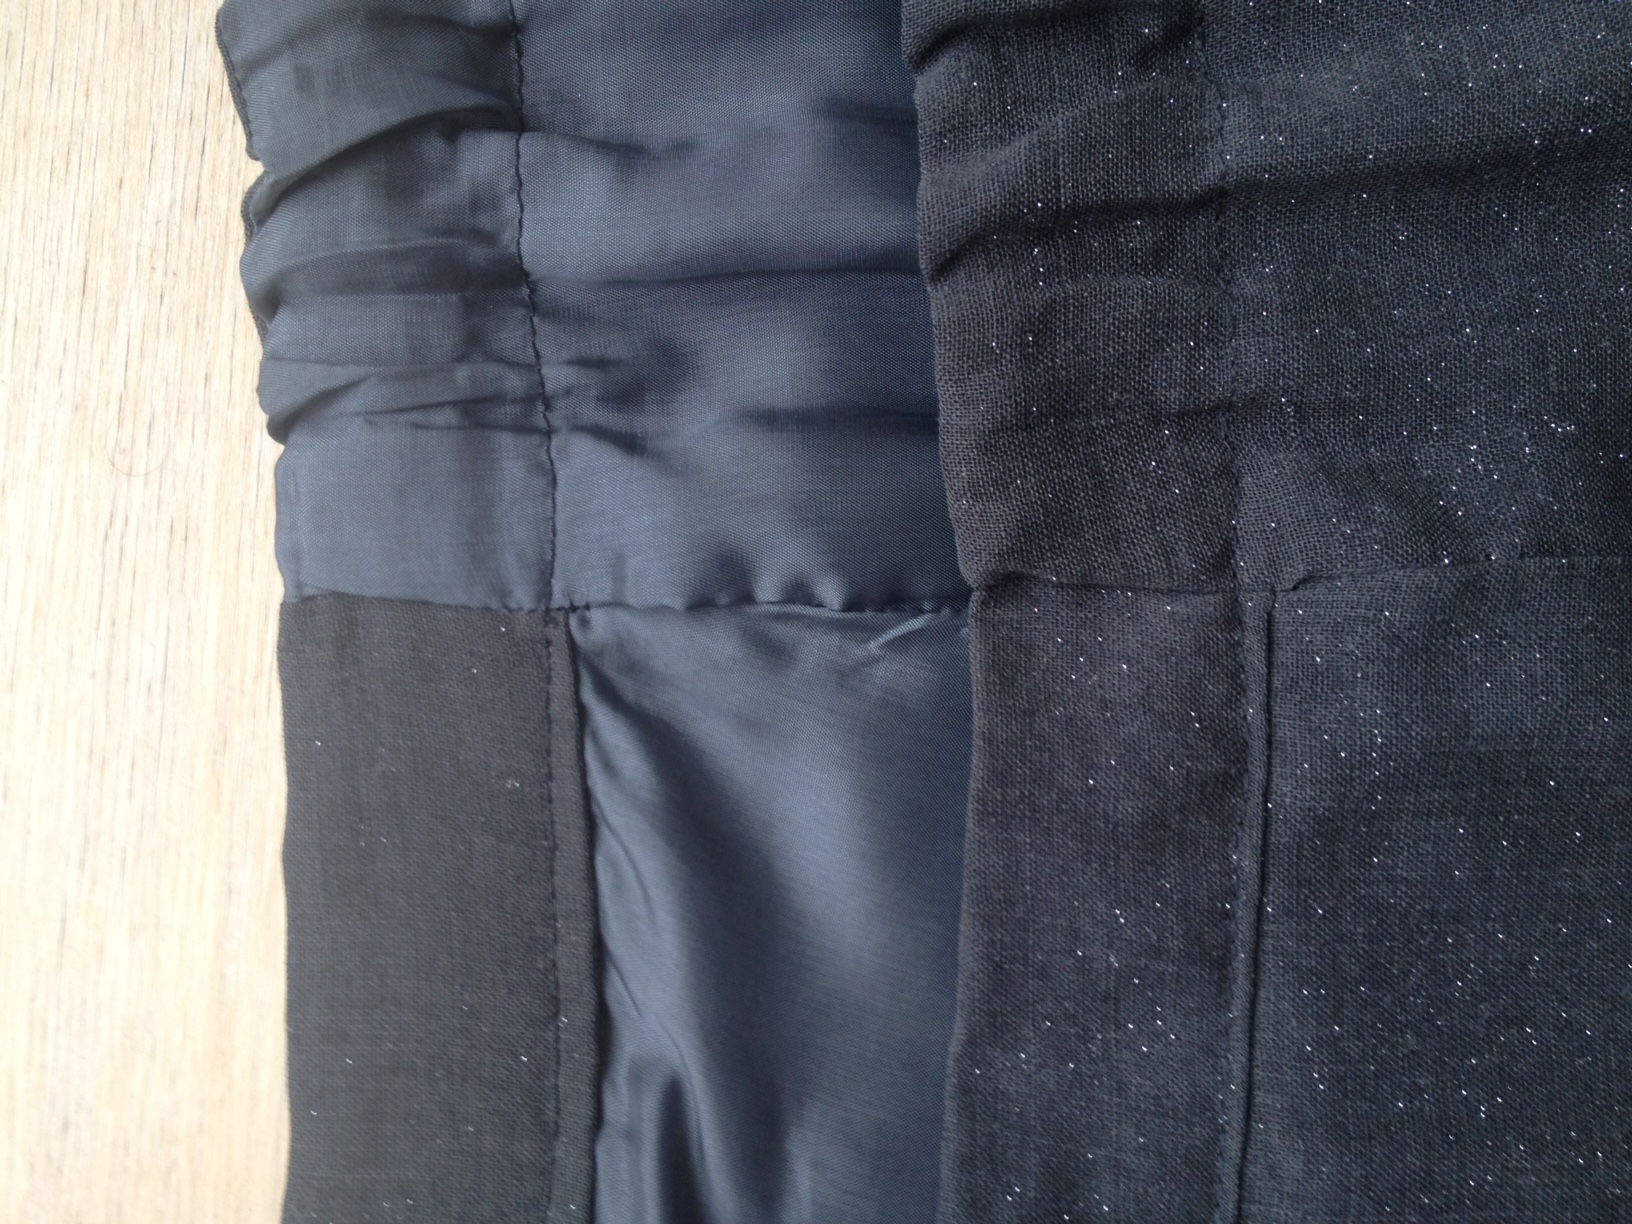
I made the skirt front following the skirt instructions, then as explained above, sewed the front waistband to the front panel right sides together (lots of basting to keep the pockets etc in place), then folded over the waistband and stopped – because the lining needed to go on the inside under the folded over waistband.At this point, I made the lining by sewing all the pieces together (front, sides and back), starting from the bottom, and for the “back-side” seams, stopping 10 cm before reaching the waistband.
Then I put the front lining under the front waistband, folded it over and machine-basted in place (I left the only bit of top-stitching (the waistband) to the very end in order to do the back and front in one go).
Then, I sewed the main fabric back panel to the main fabric front/side panels right sides together.
Then, turning the skirt inside out, I stitched this time the lining back and front panels (side seams) together. Still inside out, I stitched the back main fabric piece and the back lining together along the top edge.
At this point the skirt is missing 3 things: the elastic in the back waist, waistband topstitching and hemming the bottom. Woo-hoo! =)
This is the moment to determine the length of the elastic for the back: for that, I tried it on and pinched out the excess fabric in the back panel. Back panel width minus the pinched out amount = width of elastic necessary, roughly, as the elastic will stretch out under the weight of the skirt (so you’ll need less of it in fact).
Then I turned the skirt inside out again and stitched the elastic to the seam allowance of the front waistband, machine basting one end for adjustment (this way the elastic tugs on the front waistband rather than standing away from the side seams, if that makes sense), turned it round the right way, tried it on (had to take another 6 cms (2 and a bit inches) off my elastic! – depending on fabric weight and stretchiness of the elastic, this could vary, so don’t skip this step), adjusted elastic.
Then I topstitched the waistband starting at the side seam, doing the front (smooth) bit first and then smoothing the fabric of the elasticated back waist and pulling the elastic along – this bit is slow, but nothing complicated.
Then I hemmed the main fabric and the lining (lining a bit shorter so it doesn’t show).
That’s it!
I’m sure there are short cuts to the process and I intend to try them on my next Everyday skirts – for there will be more, for sure! For example, the back waistband could just fold over the back lining… Anyway, for now – this worked on the 2 skirts I made so far, hope it’s useful to anyone else thinking to line the Everyday skirt. =)
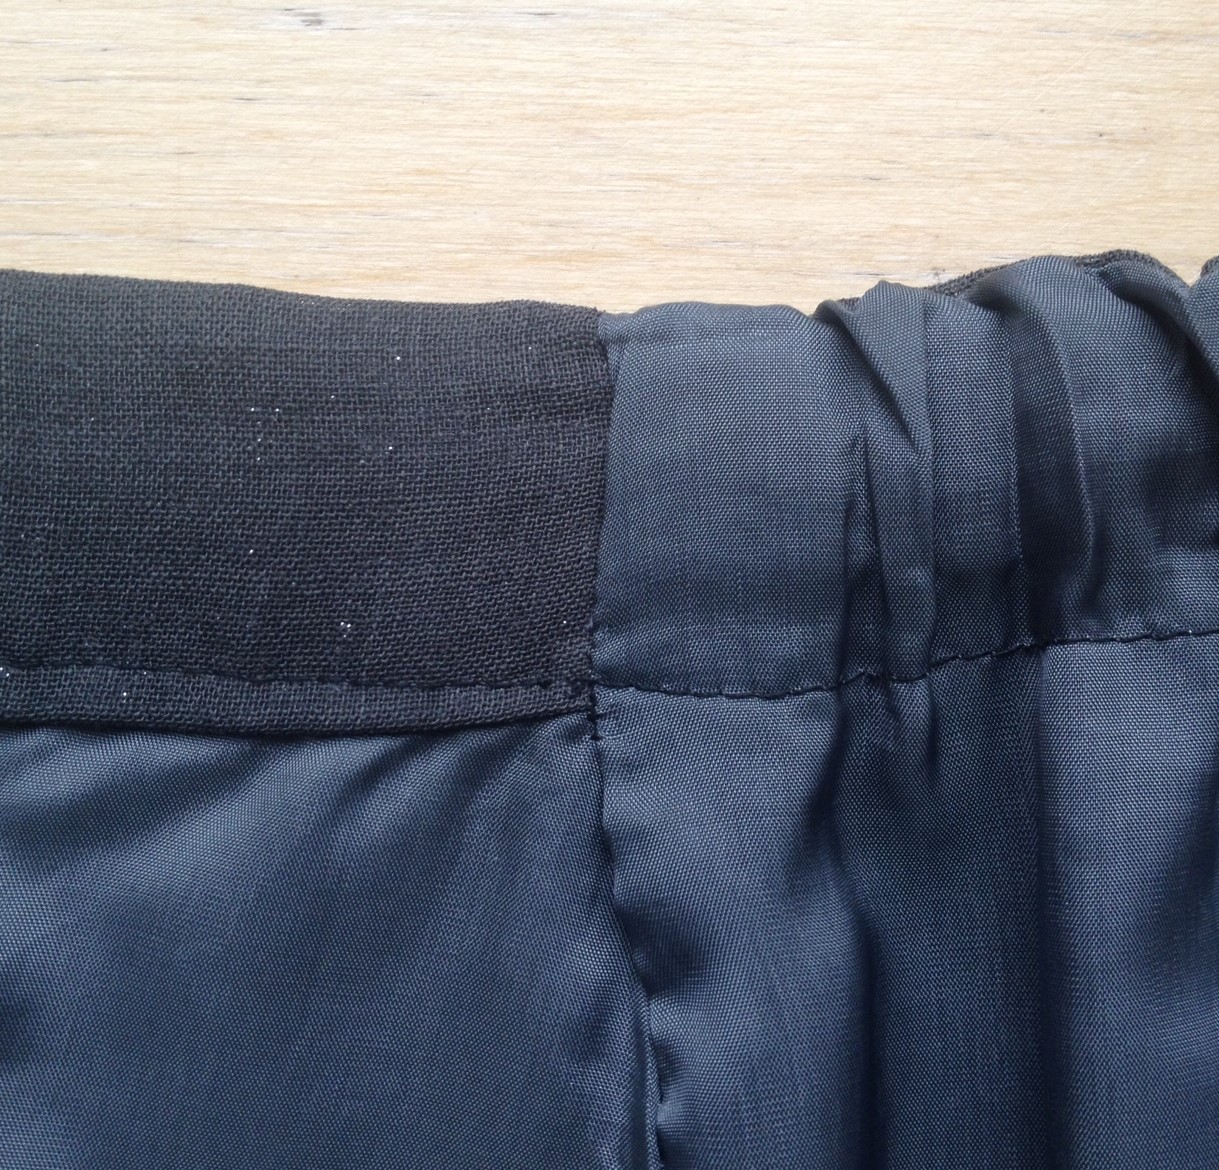
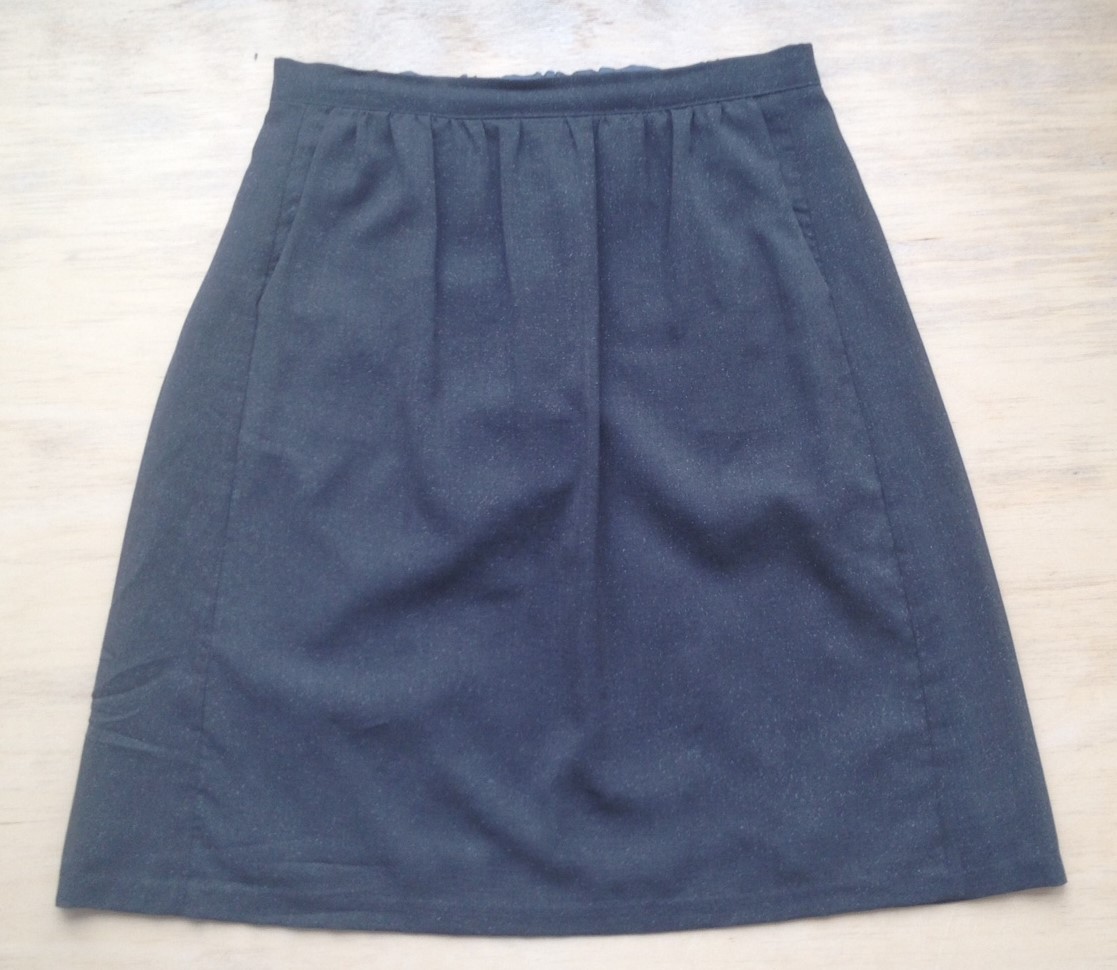
Note: the pictures show the inside and the outside of the side seams, a close up on the inside and the finished skirt.
10 years ago LINK Nicole
@motherof5
Nicole
@motherof5
This is really useful, thank you so much for sharing it.
xx Nicole
10 years ago LINKneedlewoman @needlewoman
Ditto; so generous of you to take the time to ‘write’ all your work.
You must be logged in to reply to this topic.
copyright
Unless otherwise credited, all work on this blog is © Liesl + Co., Inc, 2008-2026. You are welcome to link to this blog, but please ask permission before using any text or images.