Lori is here today from the Advisors Circle to show off her new Montauk Trousers and to teach us her ingenious method of matching patterns on a patch pocket.
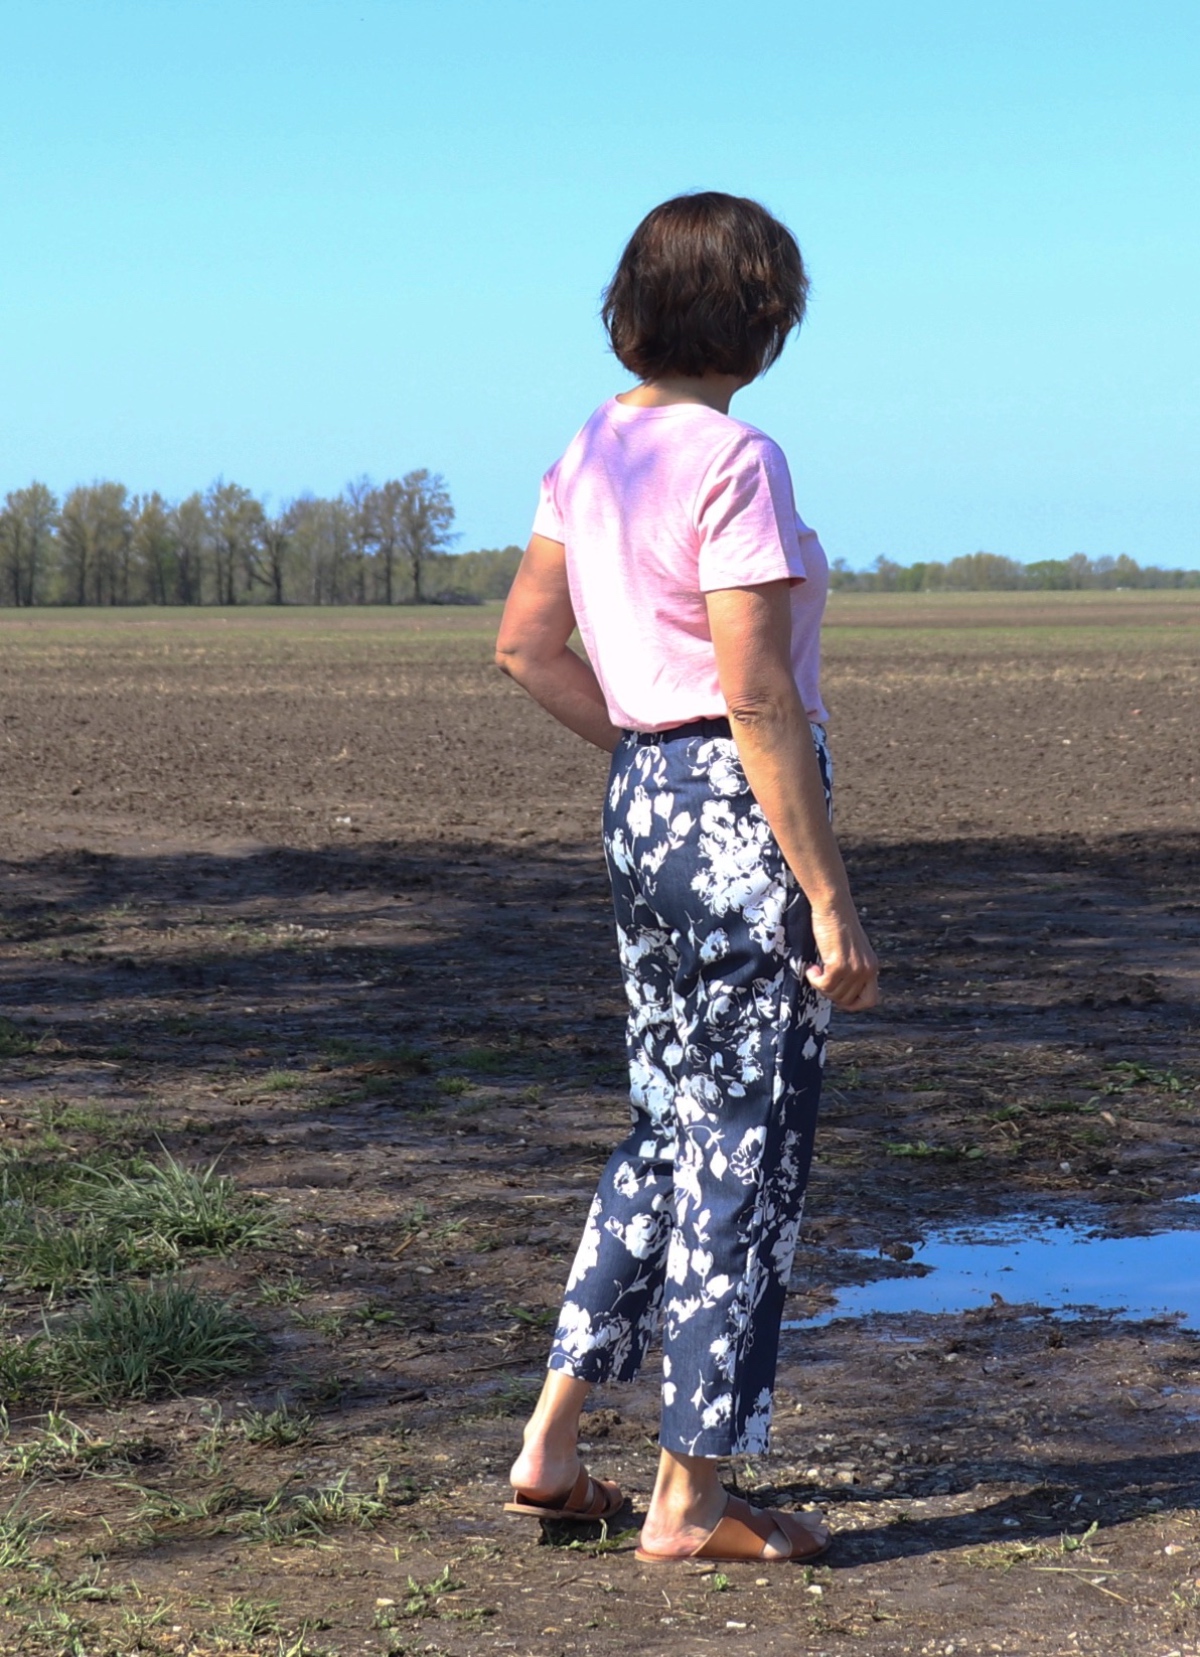
The Montauk Trousers might be the perfect summer pant. A bit slouchy and relaxed with an elastic waistband and drawstring, the pattern makes for cool and comfortable summer garment. I had the pattern for a month and was debating what type of fabric I wanted to order. Then I remembered this floral chambray with a bit of stretch. It was perfect for the pants and Liesl has those beautiful floral ones on the pattern cover. The perfect pattern-fabric match.

I sewed view A minus the back pockets. My floral fabric is very busy and I didn’t feel I needed the back pockets. The front patch pockets are big and my cell phone fits right in.
So let’s talk a bit more about this floral fabric. I wanted to match my front patch pockets, and here is how I go about that. I am going to refer to matching the florals in this post but you can substitute any other pattern – paisley, animal print, geometric design – the method is the same for all of them.
You will need:
Extra fabric
Frixion Pen (the marks disappear with heat).
Tracing paper (I use medical exam paper, which comes on a big roll and is easy to use).
Method:
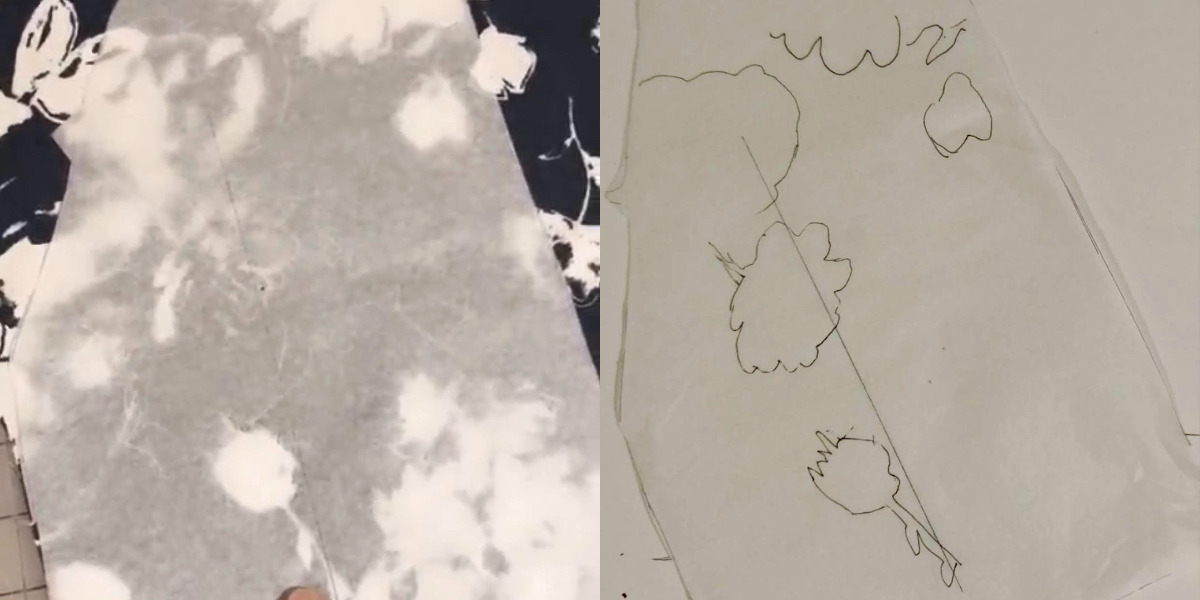
Cut out your pocket piece using sheer tracing paper. I cut my PDF printed patterns to my size, and then I trace the pattern onto the medical exam paper and cut it out. Liesl’s patterns are layered, so you can print just one size or a couple of sizes if you need to blend between them. This is such an amazing feature!
Next, place this front pocket piece on the front leg, lining up the pocket piece to the fabric, matching side and top seams.
Then pull out that handy Frixion pen and outline a few of the larger flowers.
I like to pull out my extra yardage and examine it for a minute. I look for those large florals, just to get an idea of placement.
Place the traced pattern piece down on your yardage, matching the tracings. Then pin and cut out.
Now the easy part: turn under the seam allowance, pin on the pants front and stitch into place. Take the pattern piece, run your iron over it, and, ta-da! the marks disappear. Use this pattern piece for the other pant front, remember to flip it over! Do note that if you use the Frixion pen on fabric, you should test it first. I have one garment on which the pen markings didn’t fade with heat.
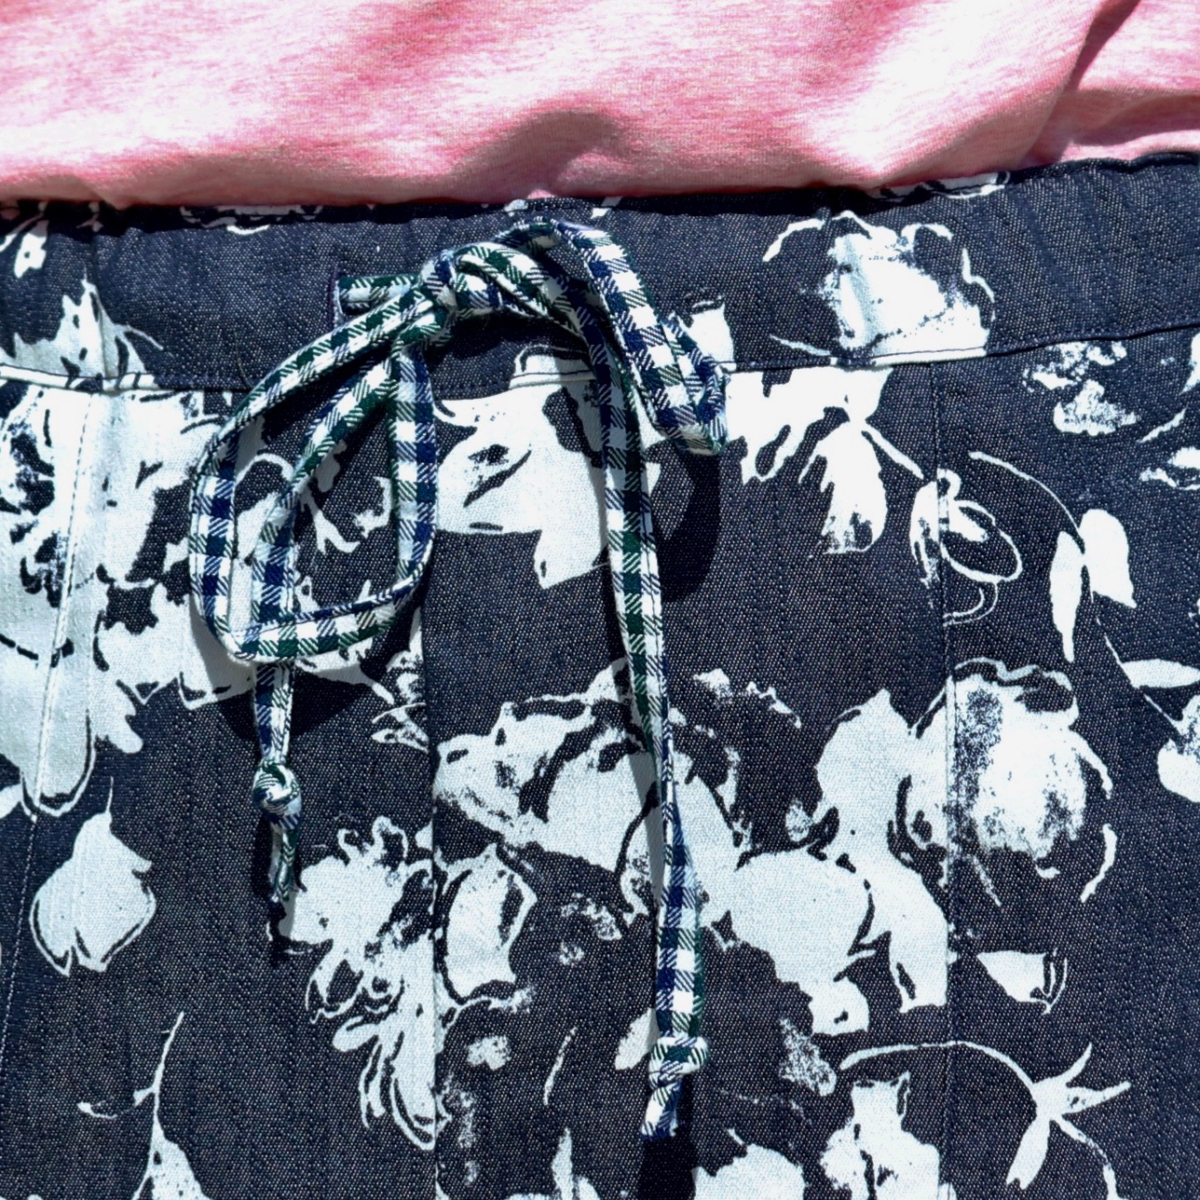
After matching the front pockets, I didn’t have enough floral for the drawstring but I did have a navy gingham. I love the gingham and floral together.

I love my new floral Montauks and they will be great for summer. Thanks, Liesl, for another fabulous pattern.
I have a feeling this tutorial just made a lot of lives easier!
Have you tried the Montauk Trousers yet? If you have, don’t forget to enter our spring pattern challenge! You can enter by sewing this pattern, our new Belgravia Knit Dress or the new Kensington Knit Skirt pattern. Check out the pattern challenge blog post to learn how to enter for a chance to win two PDF patterns from one of our lines. Happy sewing!
The gingham is super cute with the floral- and pants look great! Thanks for tutorial.
Nice tip! Thank you!