It is my pleasure to introduce Anna. She’s sharing a fabric manipulation technique called the tuck and fold technique. She was kind enough to take the time to do a tutorial for us today. Thanks Anna for this wonderful tutorial!
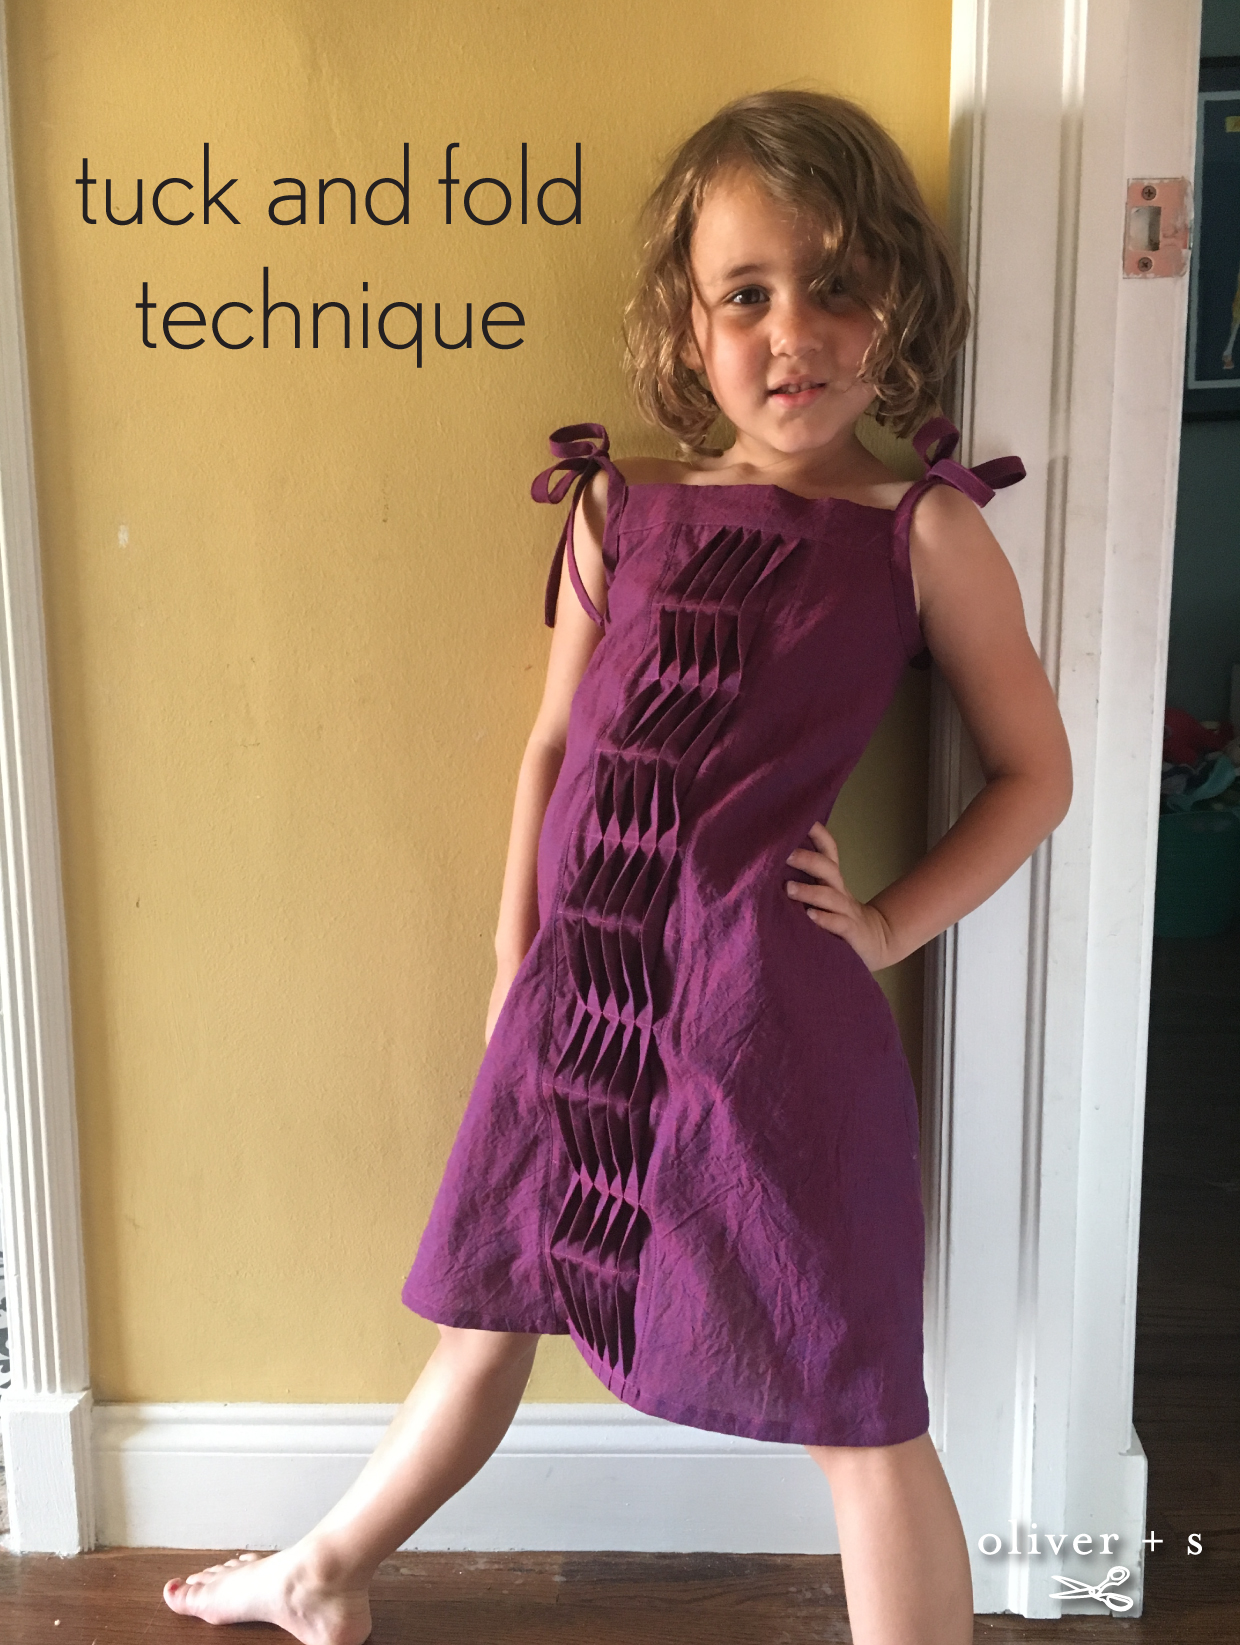
A few months ago, I tried out a technique I’d seen on a few other blogs, using tucks to make an origami/wave look. I like this technique because it looks a lot harder than it actually is, and it worked well on the Popover Sundress.
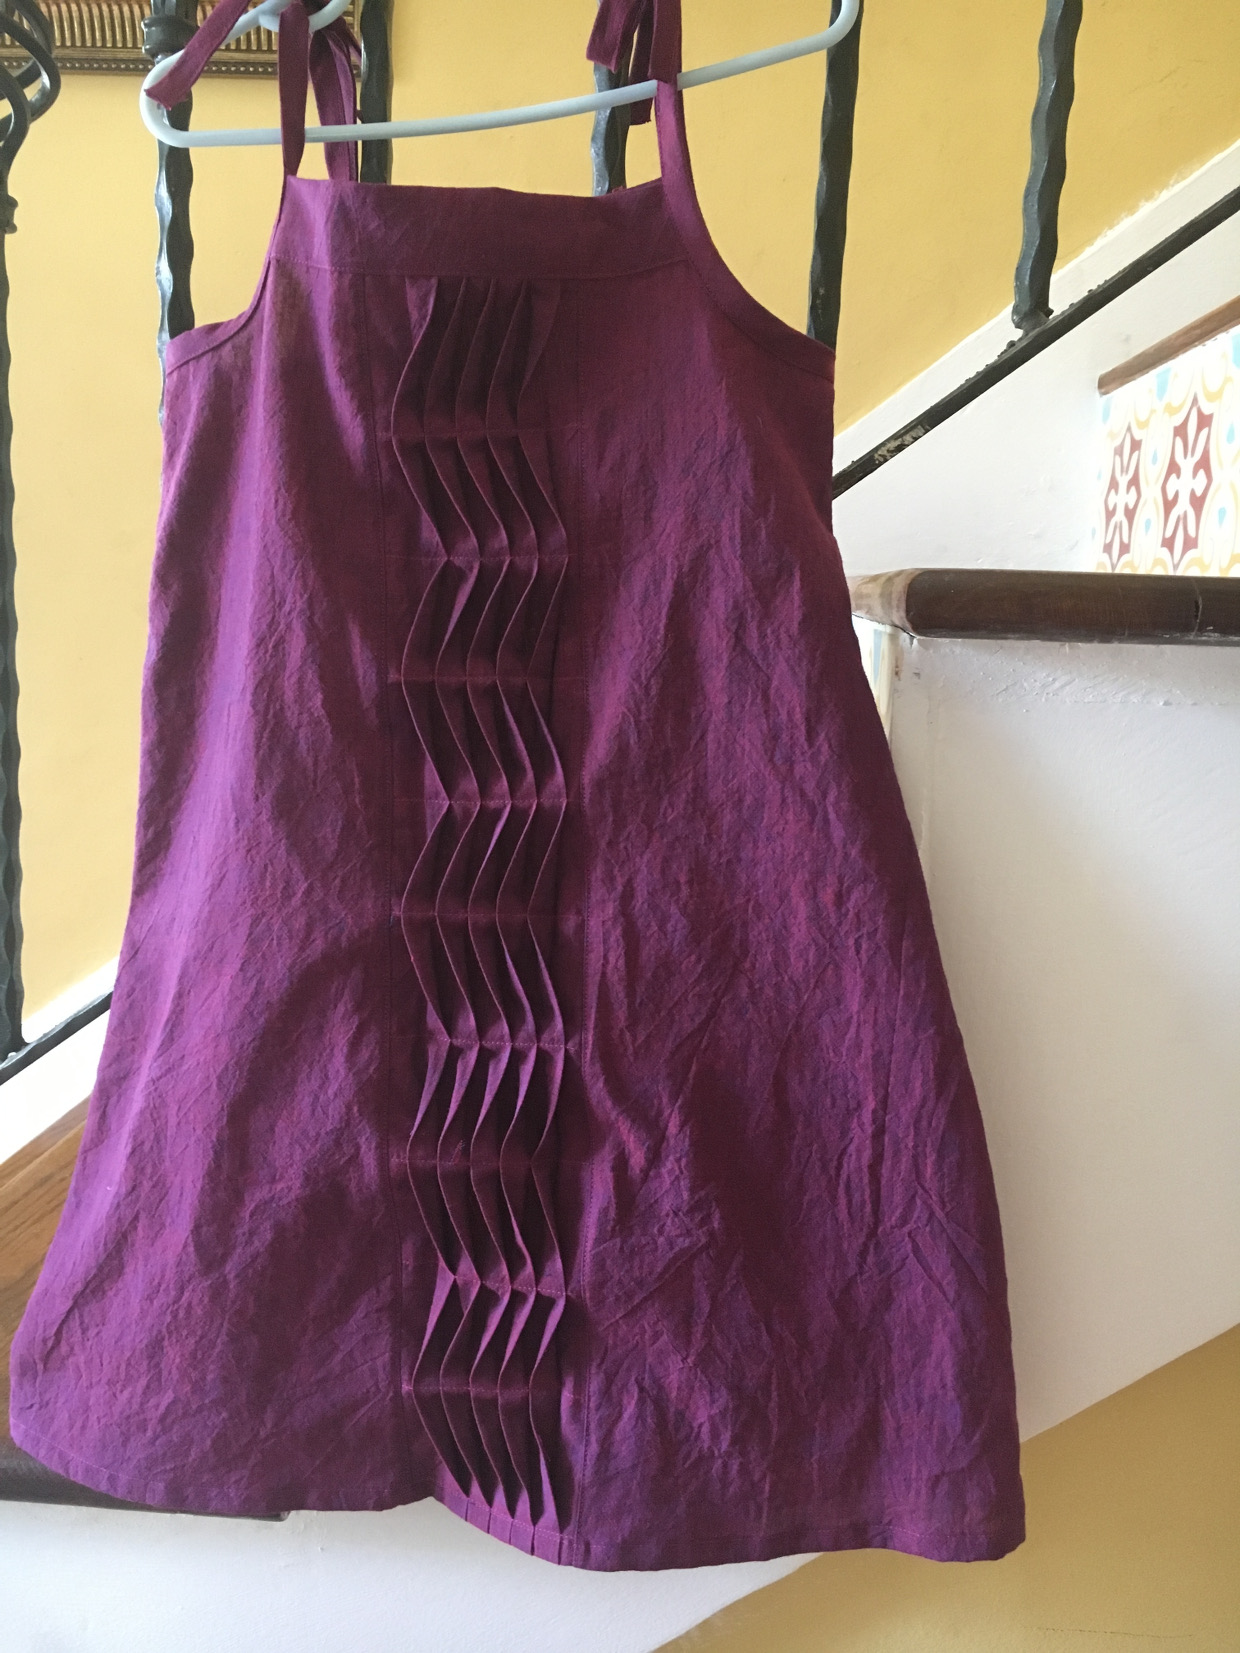
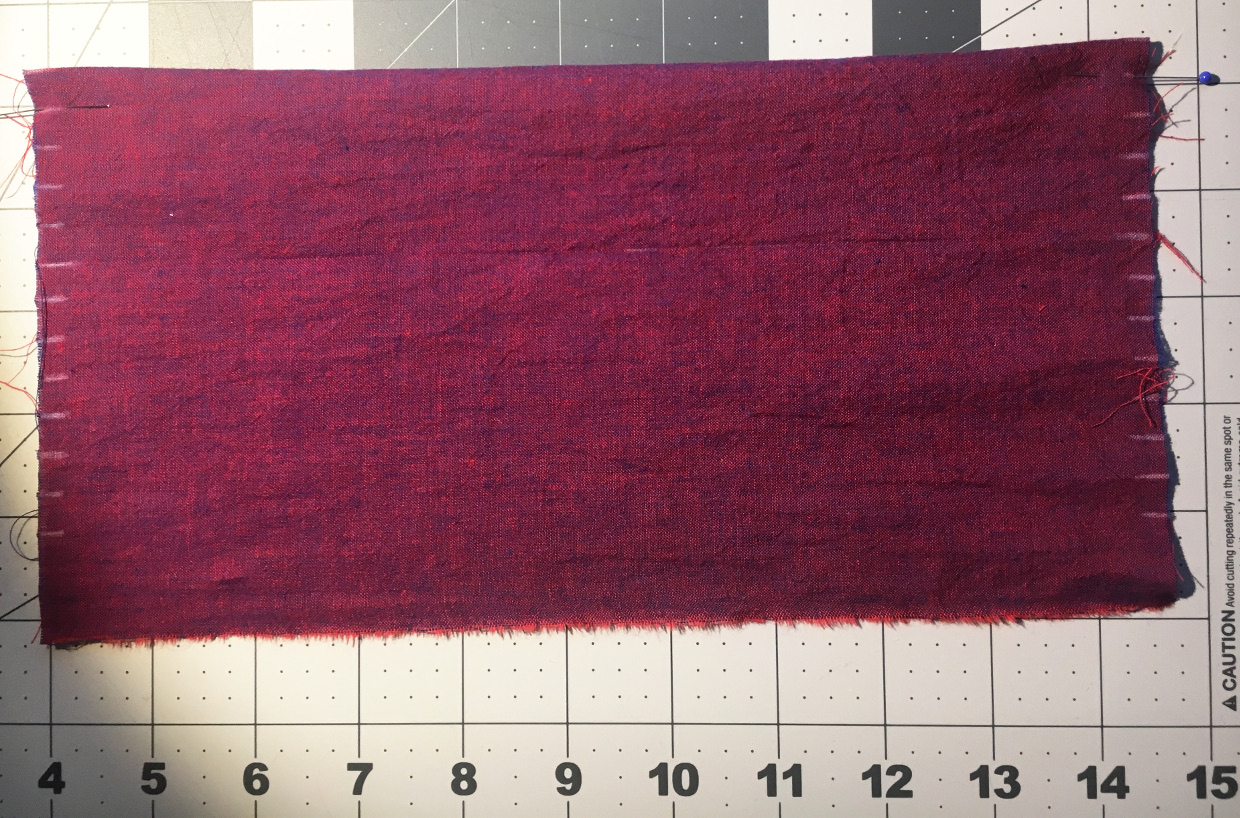
I had enough fabric left to make a matching doll dress, and this time I took pictures along the way for a tutorial. The fabric I used is grape colored Kaffe Fassett shot cotton. Linen would also work well.
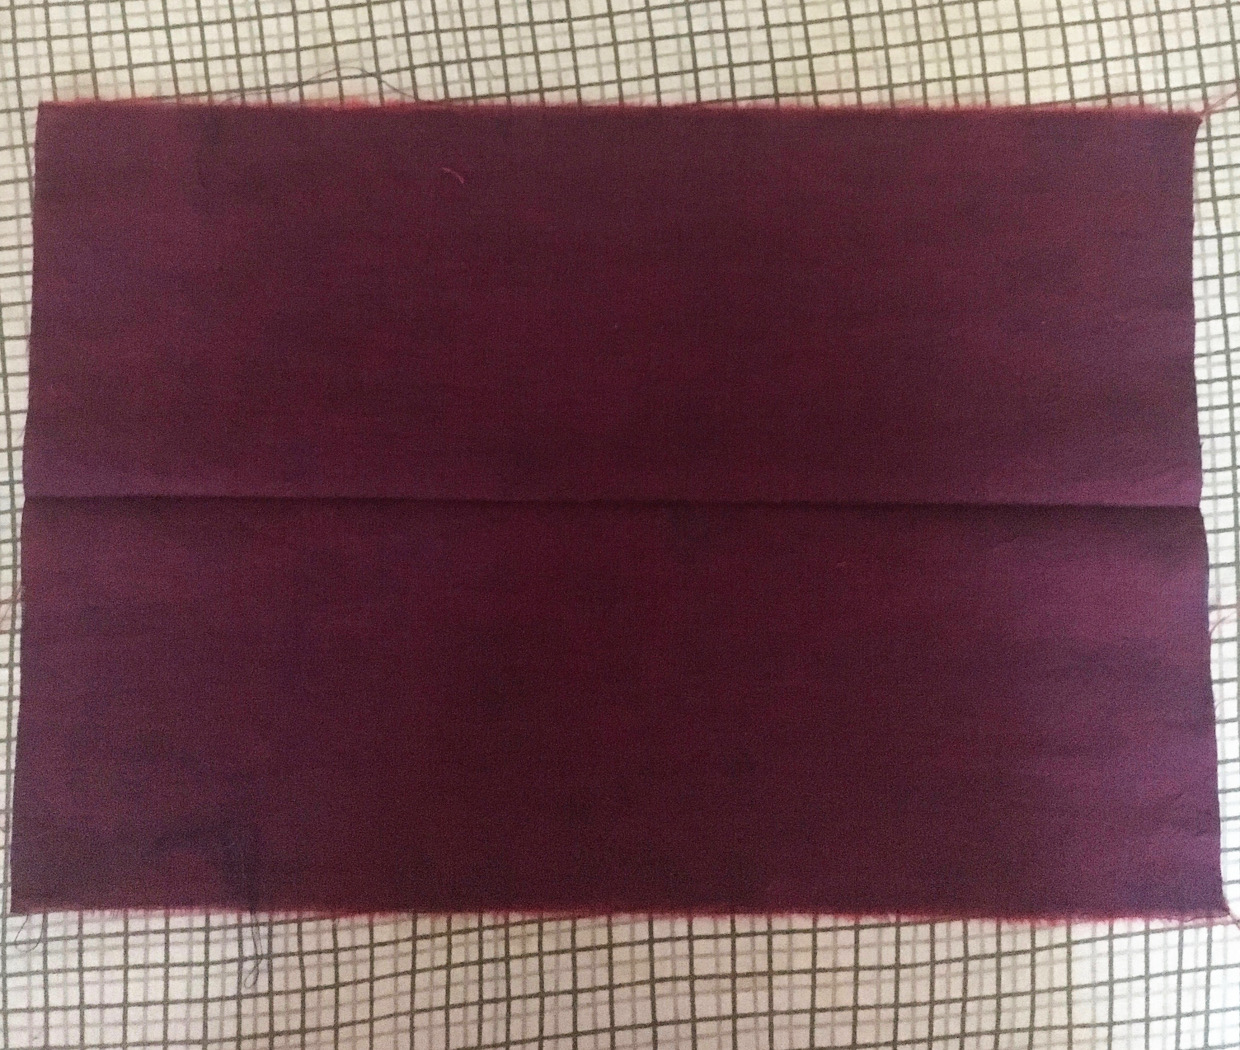
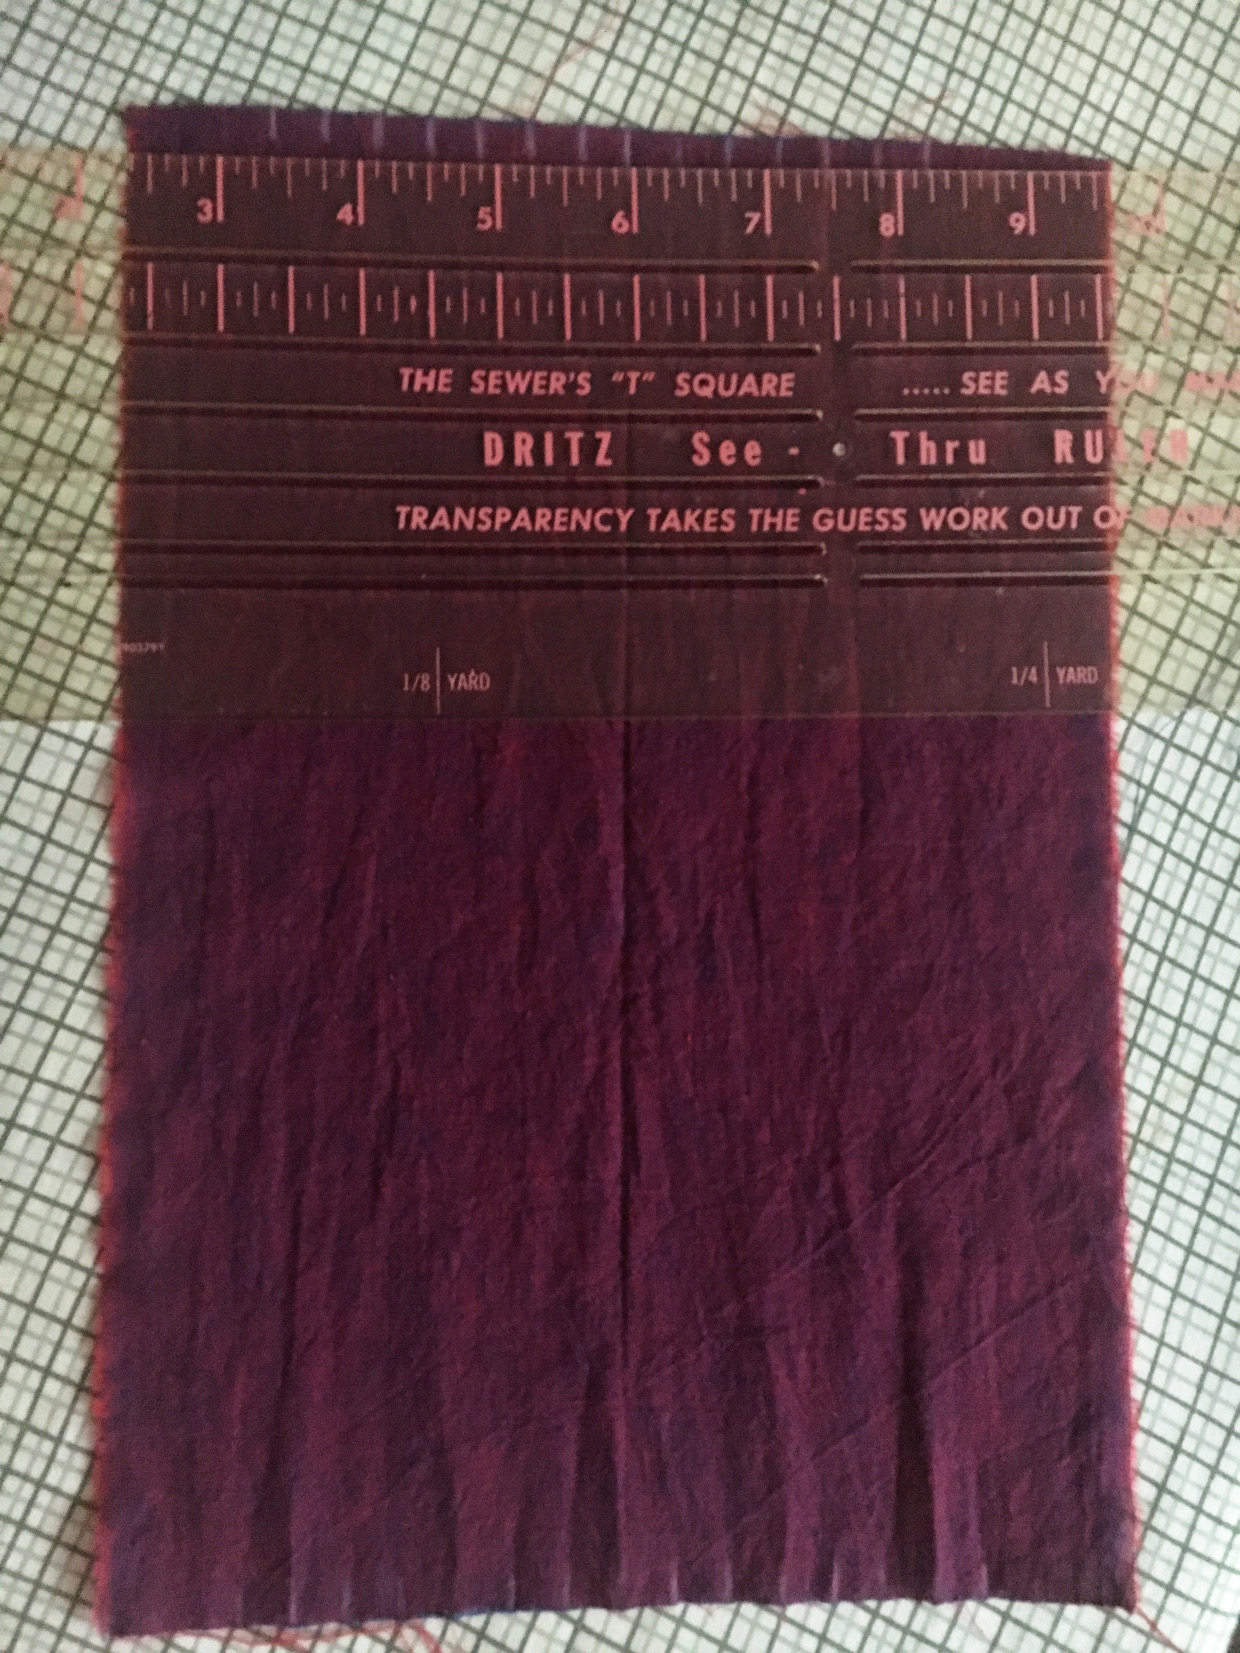
Begin by cutting out a rectangle a little longer than the pattern piece. That rectangle will become the center panel of the dress. Fold it in half and press. Using that center crease as a starting point, mark points 3/8” apart on both ends. (For the full size dress, I did ½”.) No need to mark all the way to the edges; you’ll need fabric on the sides to connect to the panel to the rest of the dress.
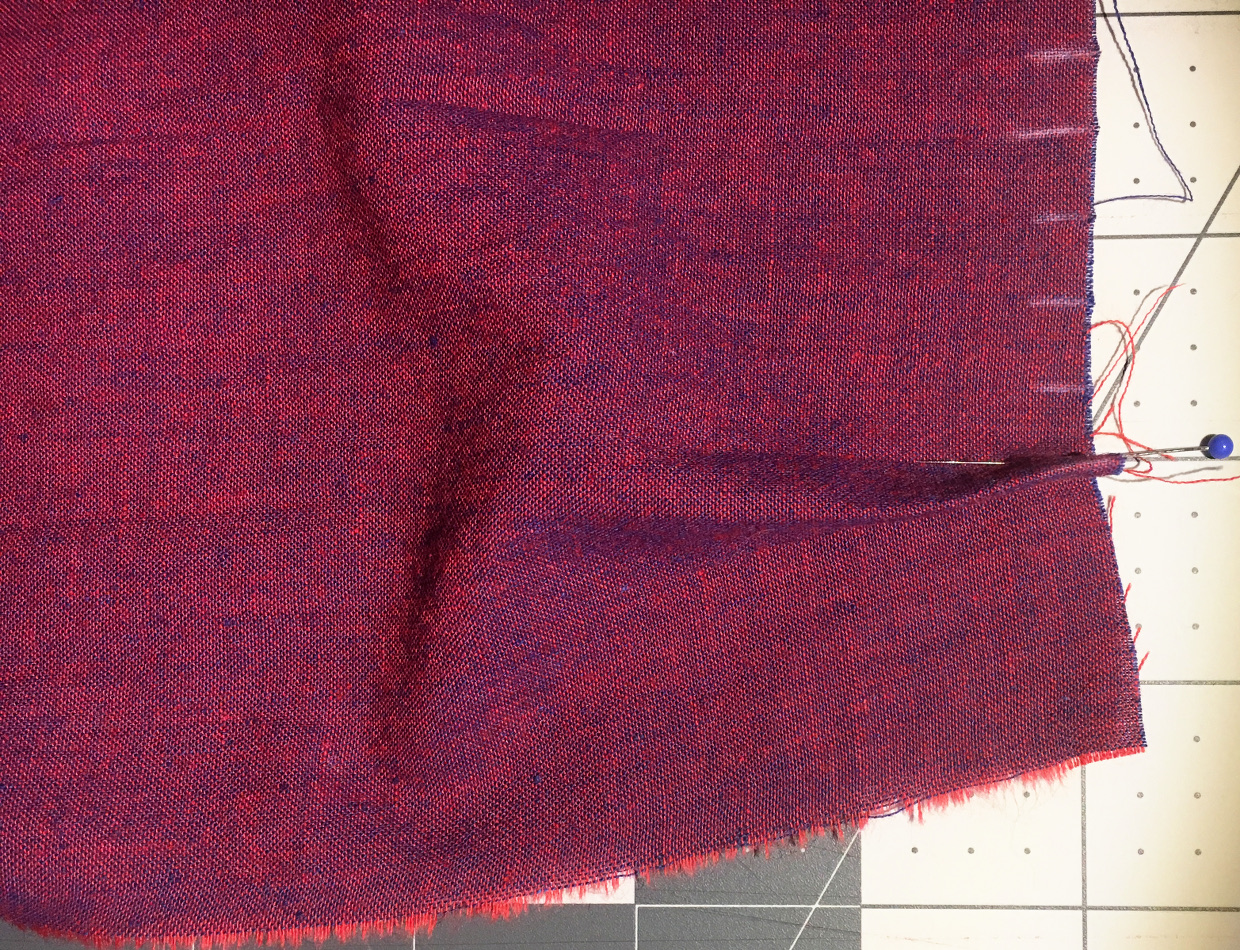
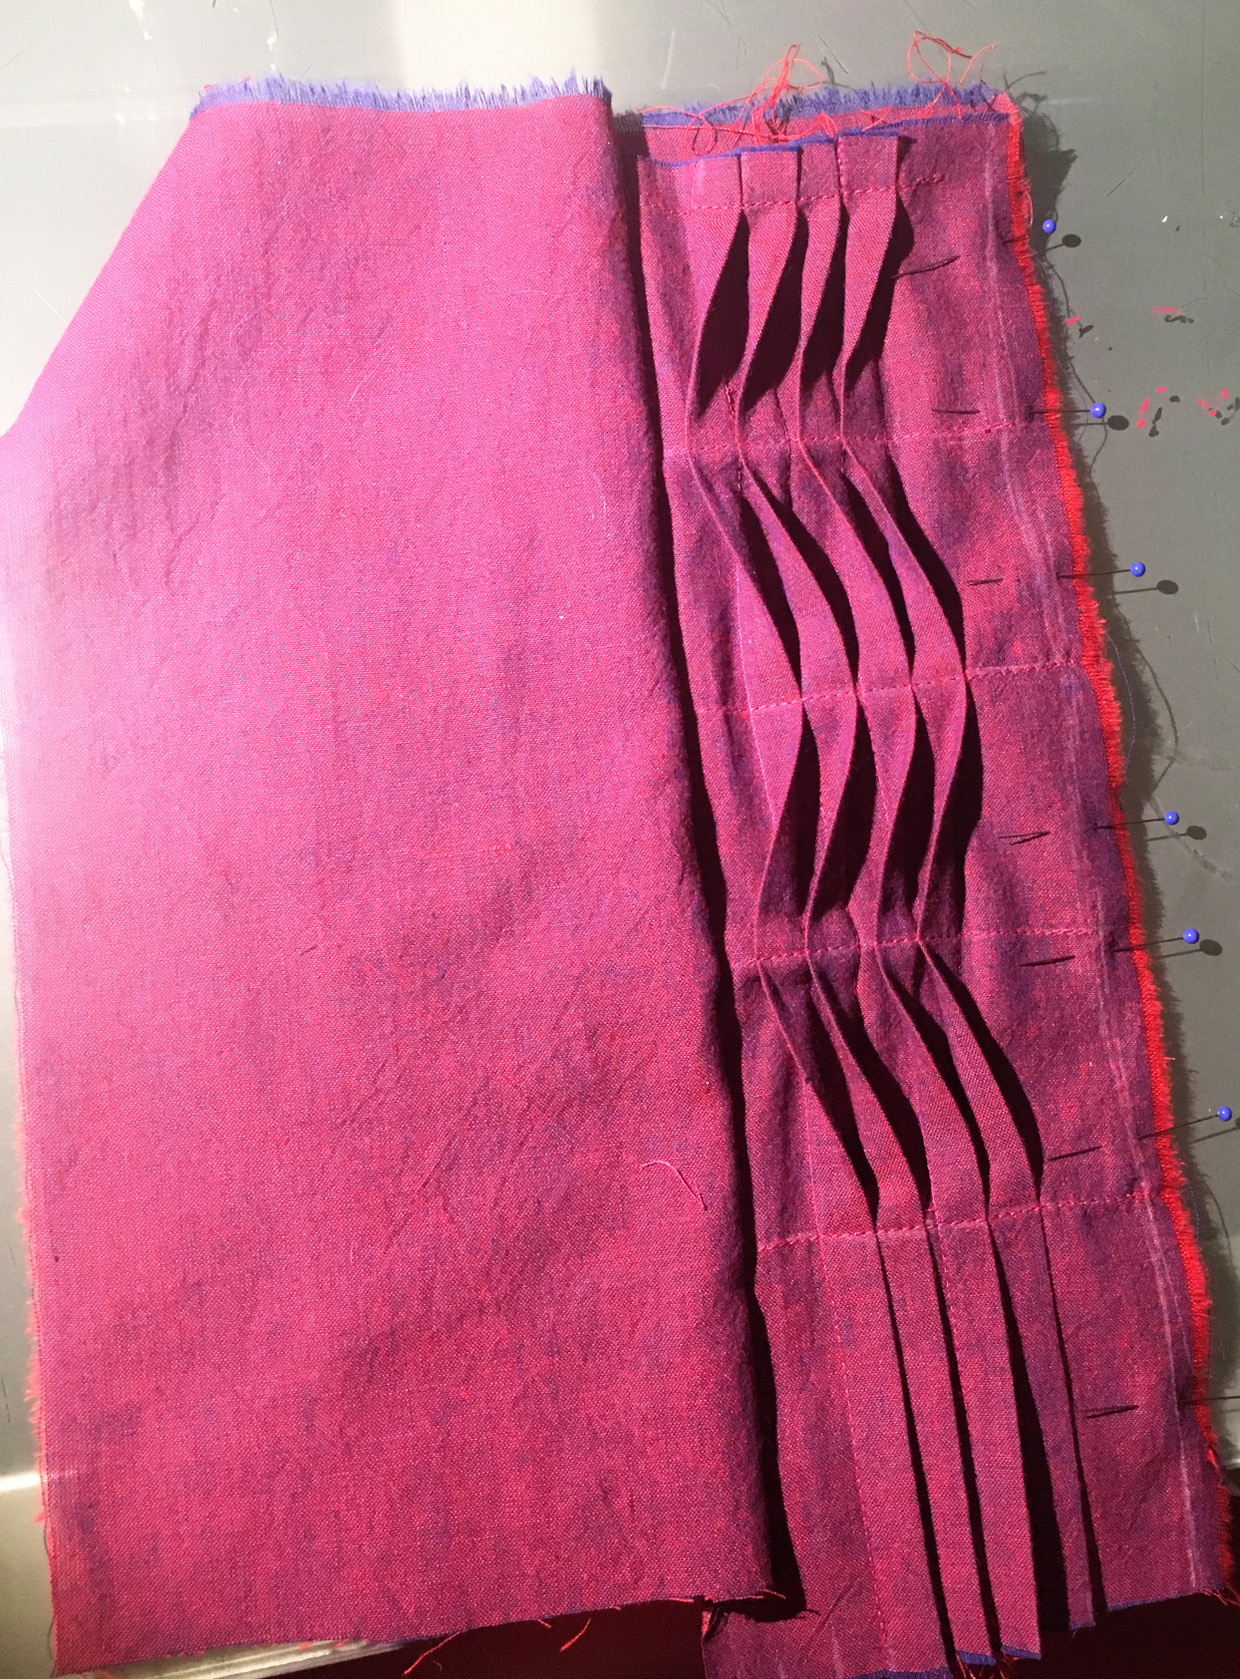
Next, make the first tuck. With wrong sides together, fold the first mark to meet the third at each end of the panel; the second mark is at the crease of the fold. Press and stitch.
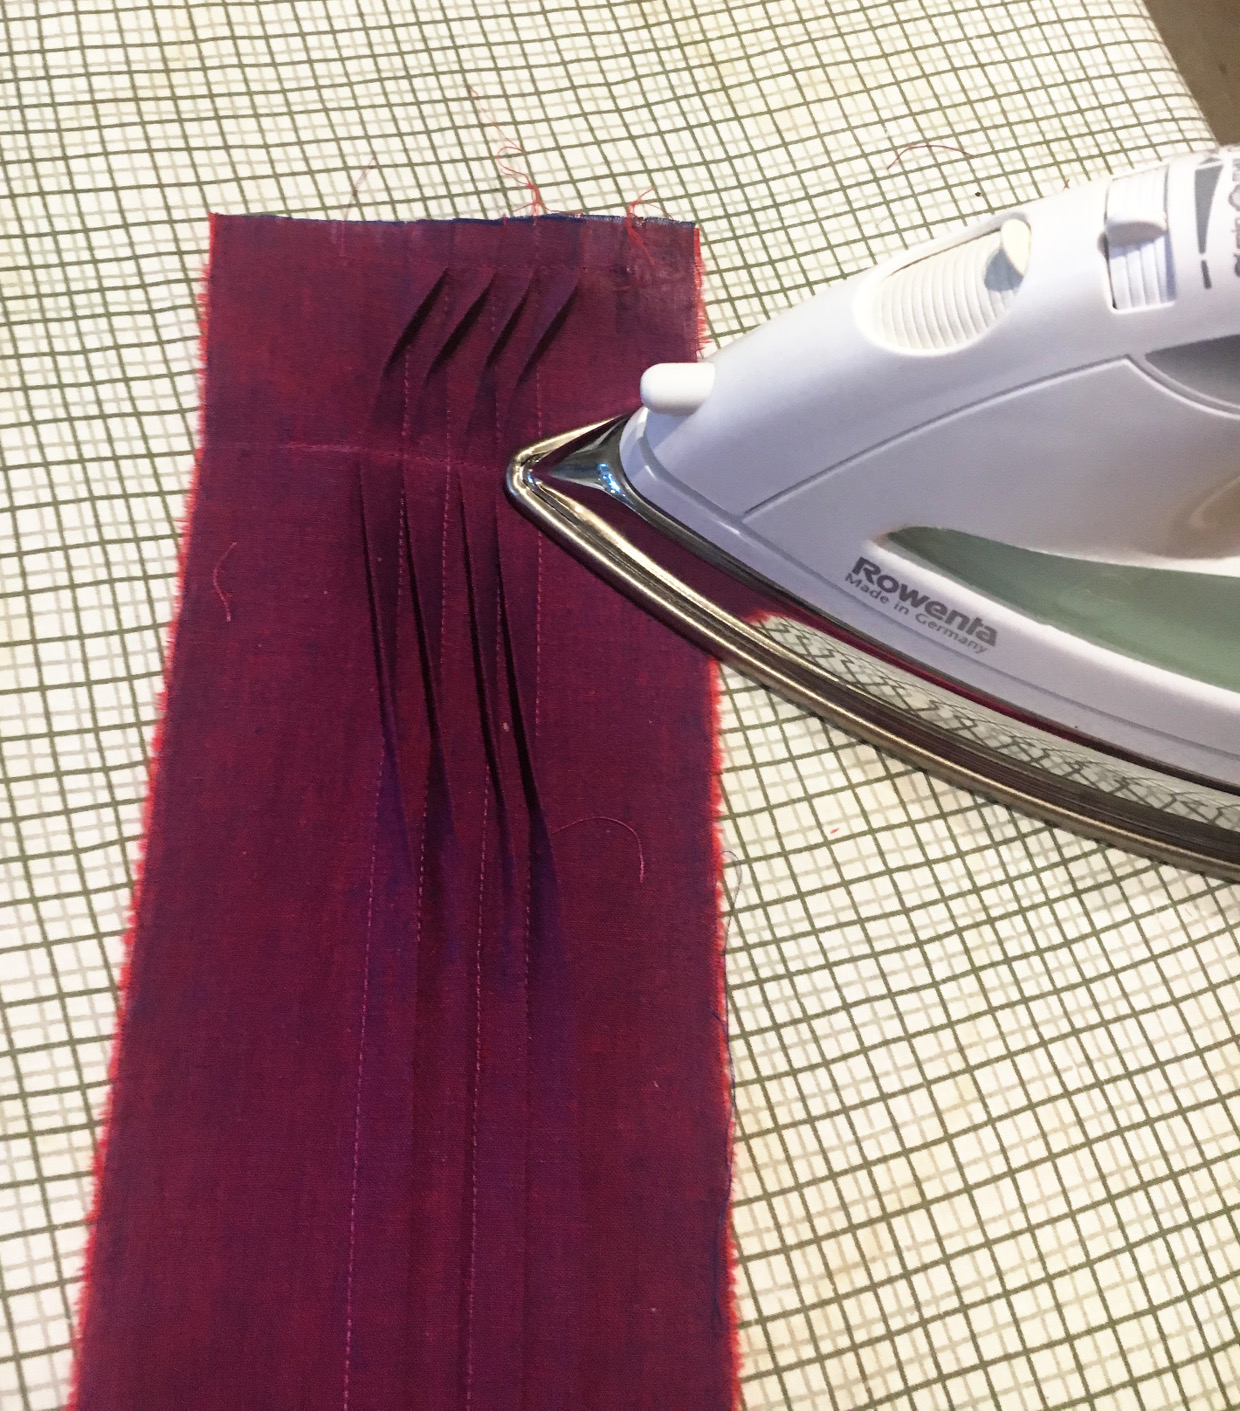
Press the first tuck to the side. Continue sewing tucks across the panel until you have as many tucks as you want, using each cluster of three marks as guides and pressing as you go. Stitch a line across the top of all the tucks.

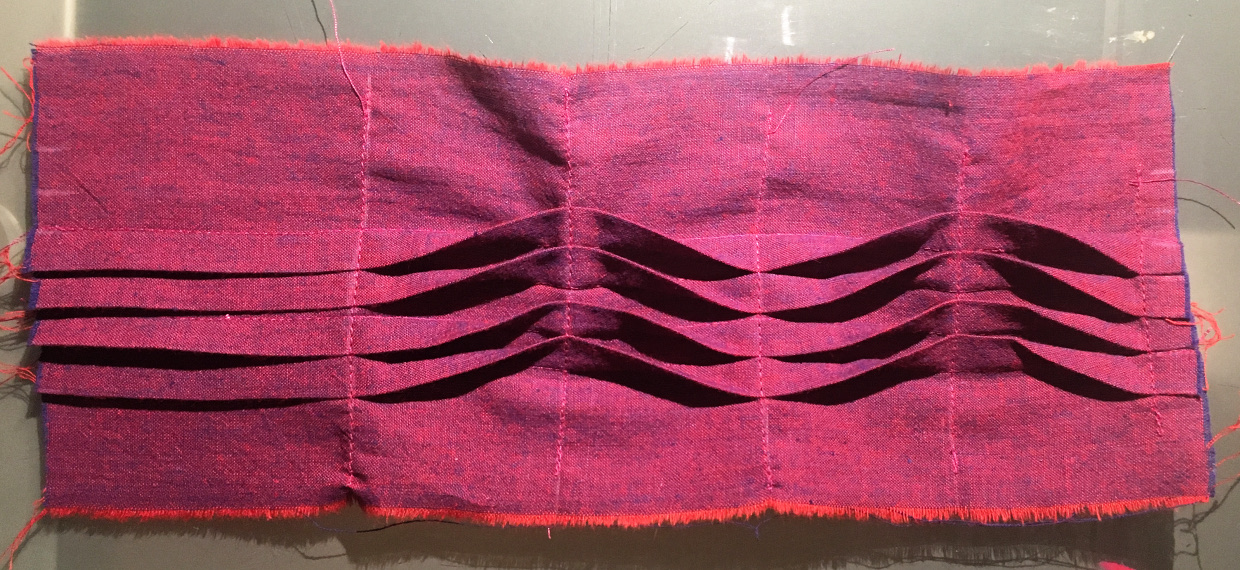
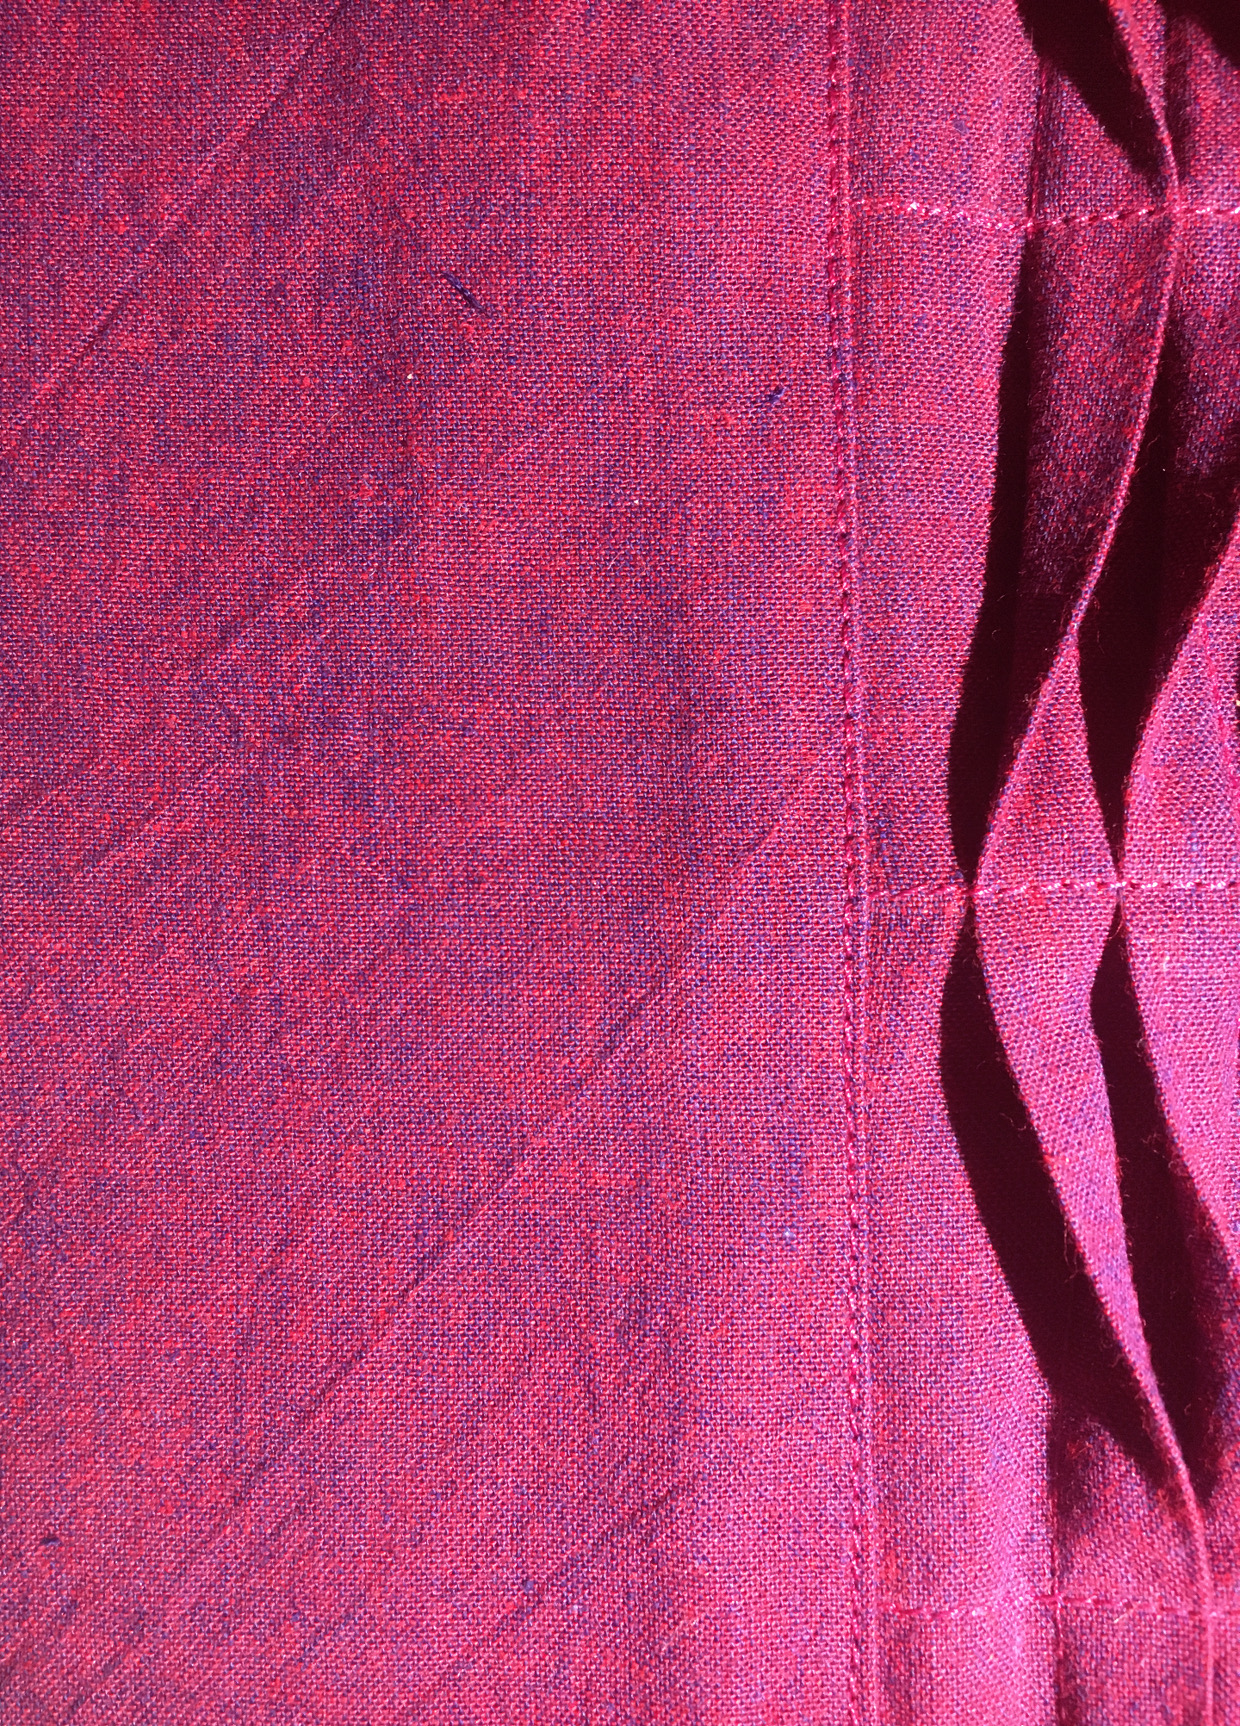
Mark a line about 2” from the top stitch line. Flip each tuck over and pin in place. Then stitch along that line and press. Repeat the process, changing directions every 2” or so. (Use a shorter measurement if you want more waves.)

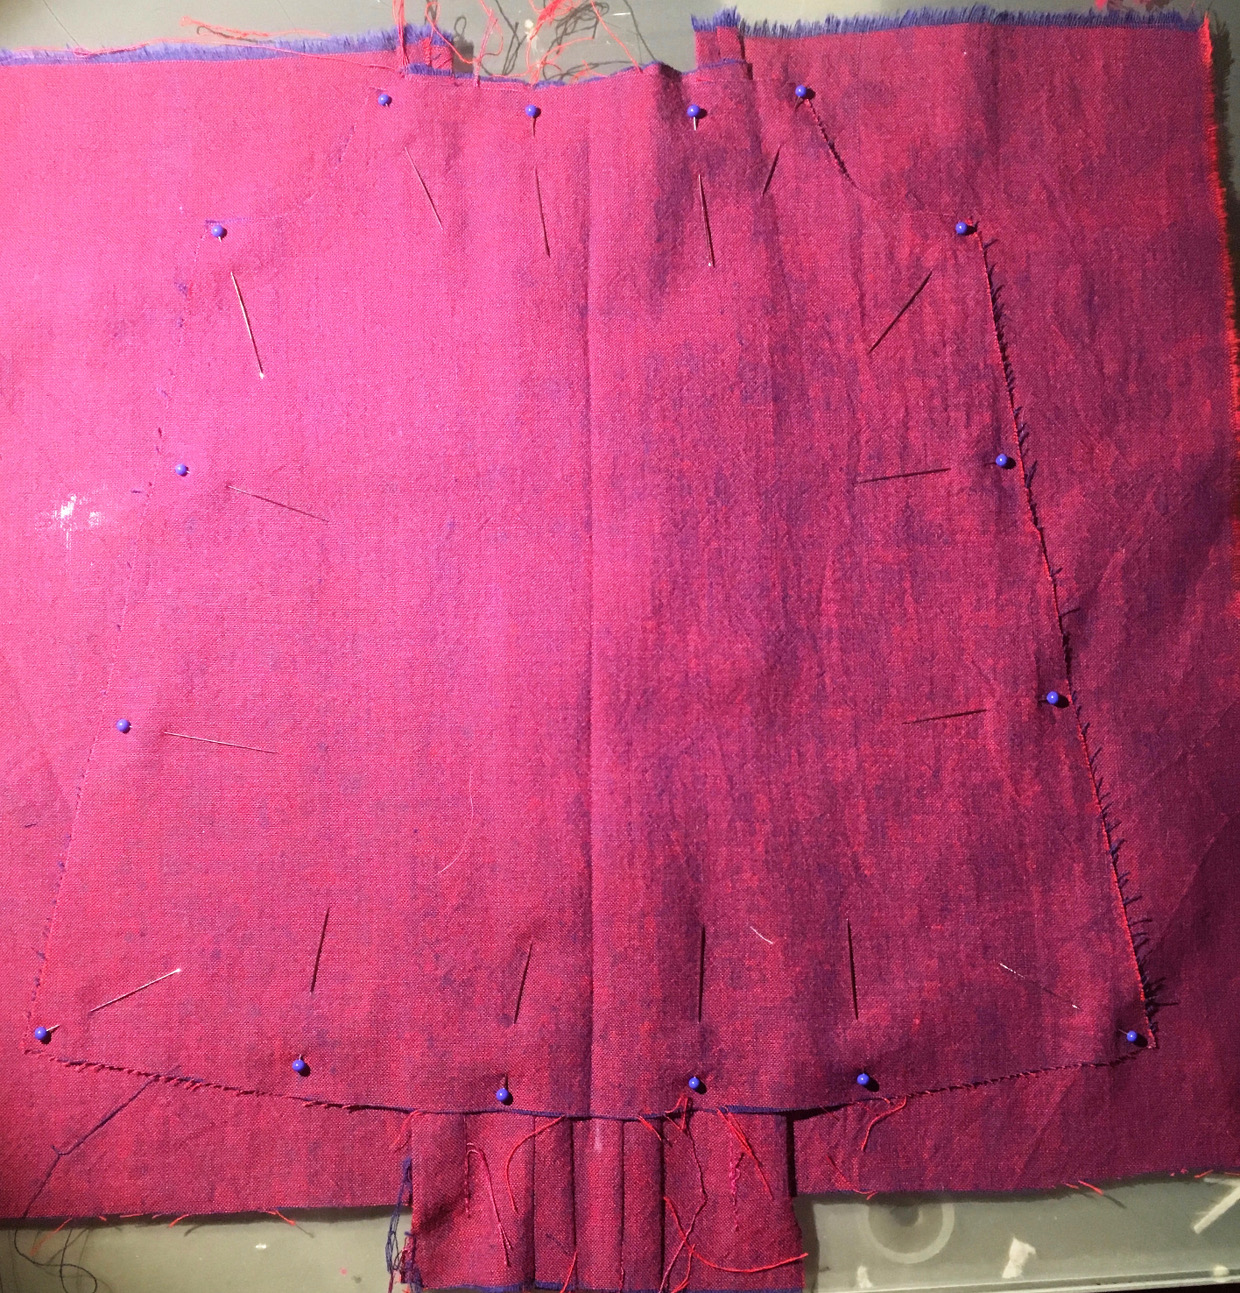
Sew more of your fabric to each side of the panel. I used French seams to keep the inside neat and top stitched along the side.
Cut the pattern piece out and sew the Popover Sundress as you normally would. It’s a little hard to see in this picture, but I used the back piece as my pattern piece because cutting on the fold would be a little tricky.
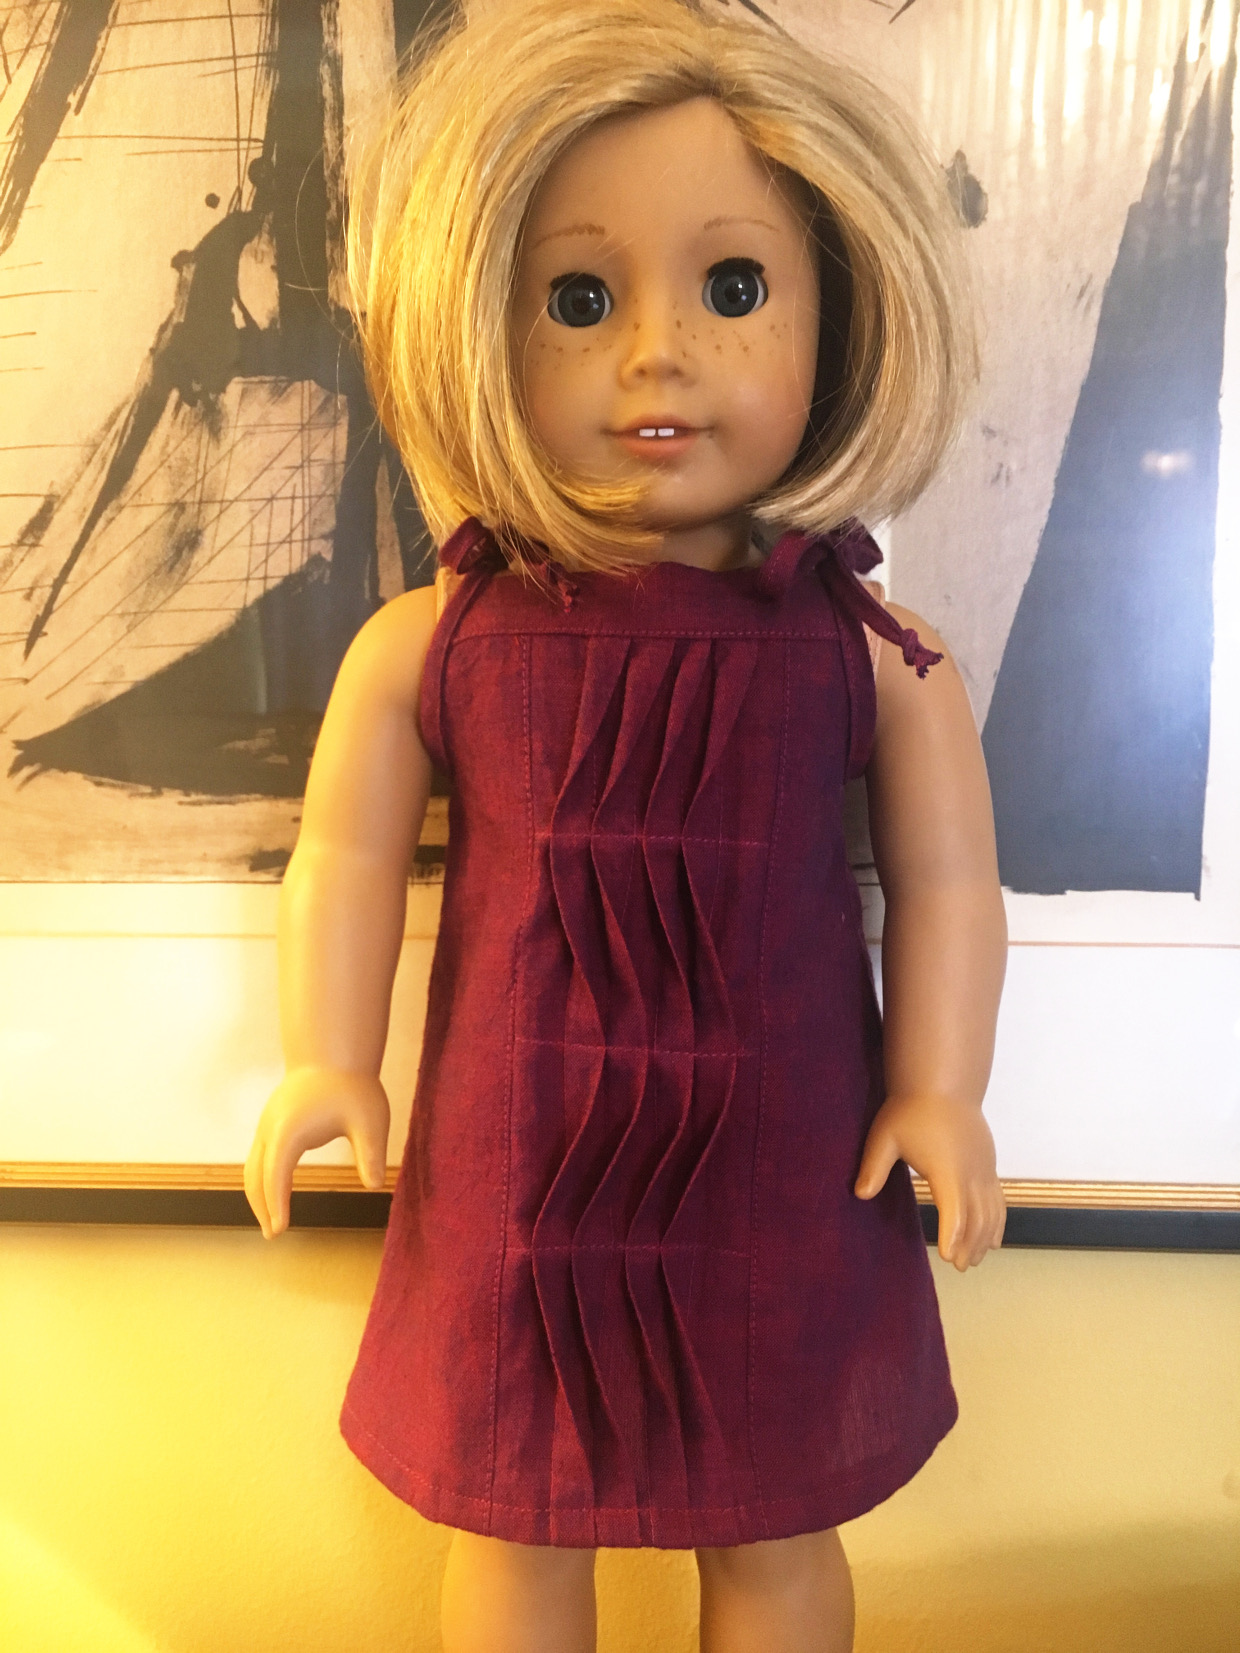
All done!
And in case that wasn’t enough of a fix for you, here’s even more inspiration for the Popover Sundress pattern:
- popover sundress tutorial
- popover sundresses for dress a girl around the world
- tiered maxi dress
- popover sundress inspiration
Wow!! What a great idea and so well executed!!! Anna, you are so talented with your idea and perfect stitching. Keep up the good work.
Aw, shucks! Thanks!
I am so proud of you!!!
Wow stunning. So do you just stich and edge stich on the crease like 1/8 away? Does the stitch length matter?
Thanks! Do you mean the crease along the side of the panel where it connects to the rest of the front piece? If so, then yes, I like to edge stitch along that seam.
If you’re asking about sewing the tucks, I stitched only one line for each. After folding the fabric and pressing, I stitched 3/8″ from the edge. I didn’t edge stitch on the actual tucks.
I didn’t change my regular stitch length (2.5) for any of this project. I hope that helps.
Maybe a clearer explanation if you were asking about sewing the tucks: The line you end up stitching goes through the first and third marks on one side down to the first and third marks on the other end. That second mark is just to help make sure your folds are lined up. It doesn’t get stitched.
Holy moly! What craftsmanship! I’m terrible at French seams. You make it look so easy. Keep up the great work and thanks for sharing.
Yes I was asking about the actual tuck. Got it. So you’re stiching on the actual 1sta nd third mark which will line up once you fold on line 2.
Super work Anna! Very inspiring and has got me thinking – looking at the doll’s dress, I’m imagining if you reversed the way you pressed the tucks on the right hand side to create a mirror image, you would create a cable/elongated oval effect instead of a wave.
Wow, thanks for the tutorial. This is an interesting technique. I like the sculptural quality and will be thinking over a pattern to try it with.