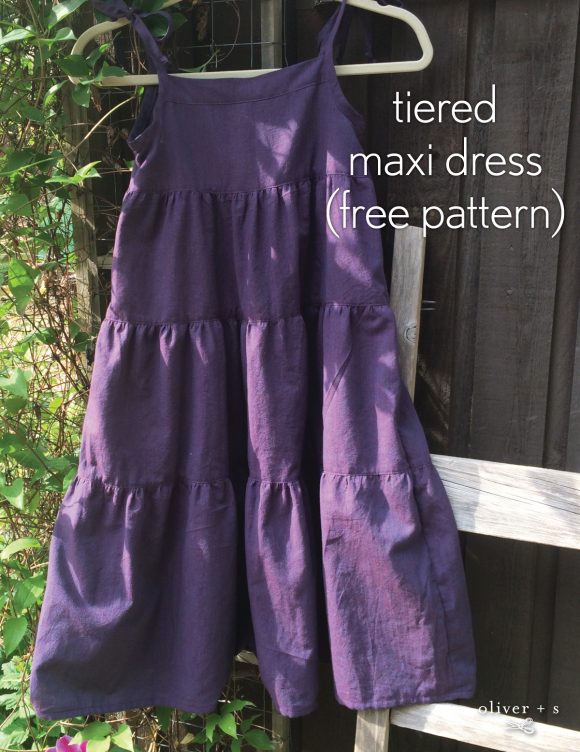
Today Wendy will generously show us how to make a tiered maxi dress using one of our free patterns–just in time for a gorgeous summer day! You can find Wendy on Instagram, Flickr, and Pinterest. Thanks for stopping by to share your tutorial Wendy!
The hot weather came on fast and furious this year on the West coast of Canada where I live, and suddenly there was an urgent need for comfy and fun dresses for my ever-growing six year old. These days my work schedule leaves me with not as much time as I’d like for sewing little frocks, but I’m reluctant to let go of the fun and satisfaction of making a quality garment from scratch and watching it being enjoyed all season.
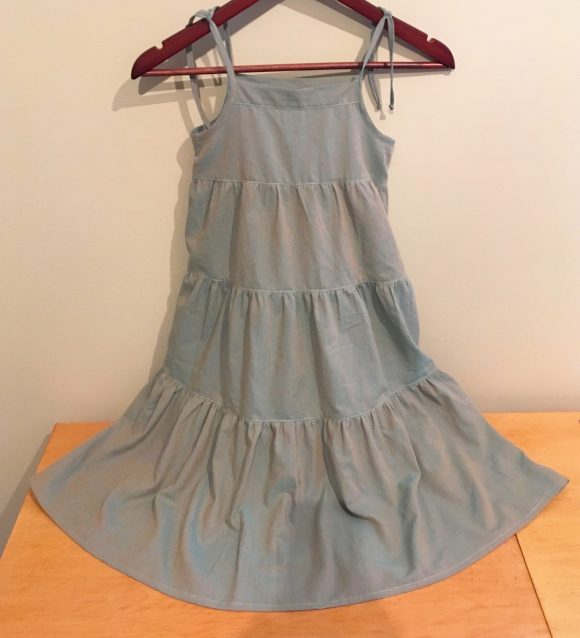
Enter the Popover Sundress! It’s a blazingly fast sew, easy to wear and looks sweet in a variety of fabrics. I got the idea to alter it to make a tiered, ruffled maxi dress after seeing a few ready to wear kids maxi-dresses on-line, and also to satisfy my daughter’s current penchant for flounce. We’re both really pleased with the results and it’s become the go-to dress around here. If it’s not being worn it’s in the washing machine, and if it’s in the washing machine there’s often an anxious six year old with her nose to the glass waiting for the cycle to end. Obviously we could use a few of these on rotation!
I’ve since made a couple more and in this tutorial will walk you through the modifications that I made. The fabric I’ve chosen is Kaffe Fasset shot cotton, which is nice and breezy for summer and available in a great range of colours. Being cotton it washes well and one added bonus of this fabric, to me at least, is that it actually looks kind of awesome when it wrinkles.
You will need 2 yards of 44” wide fabric to make the largest version of this dress, which is an 8. The dress I’m working on is a size 7.
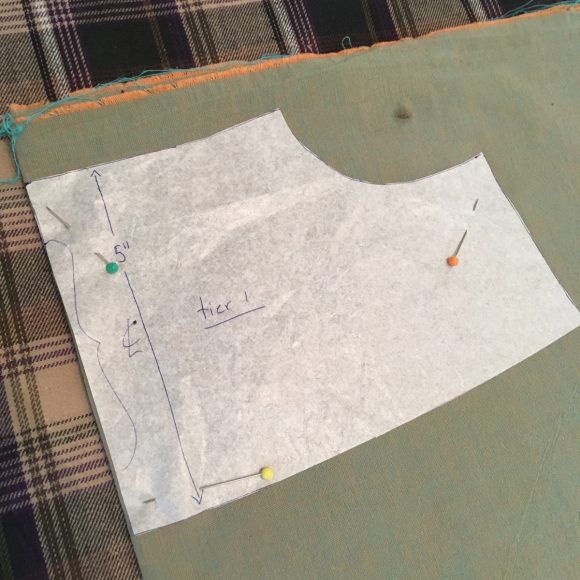
There is no need to print out the entire pattern, as you will only need the yoke and top 5” of the front/back pattern piece. To modify the front/back pattern piece, measure and mark 5” down from the centre and about 3 1/4” down from the side. Now join these marks by improvising a gentle curve. This will be the cut line for tier 1 of your dress.
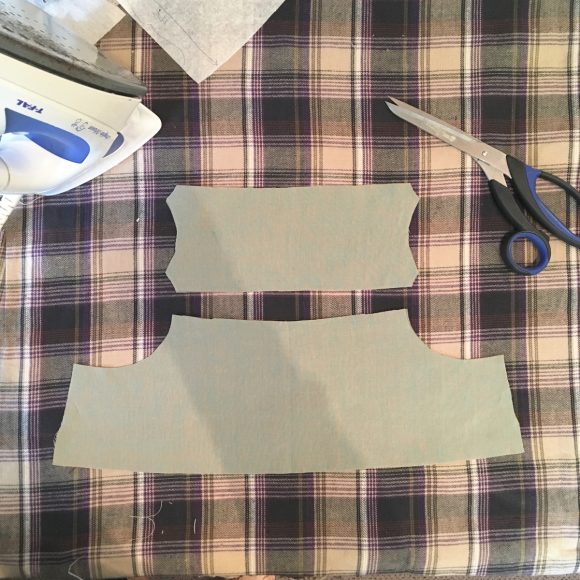
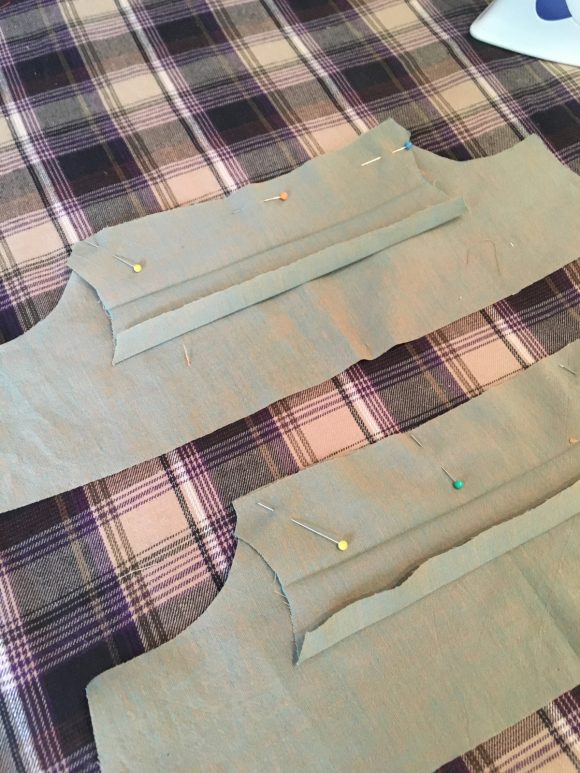
Cut out the yoke and tier 1 and sew them according to the original directions:
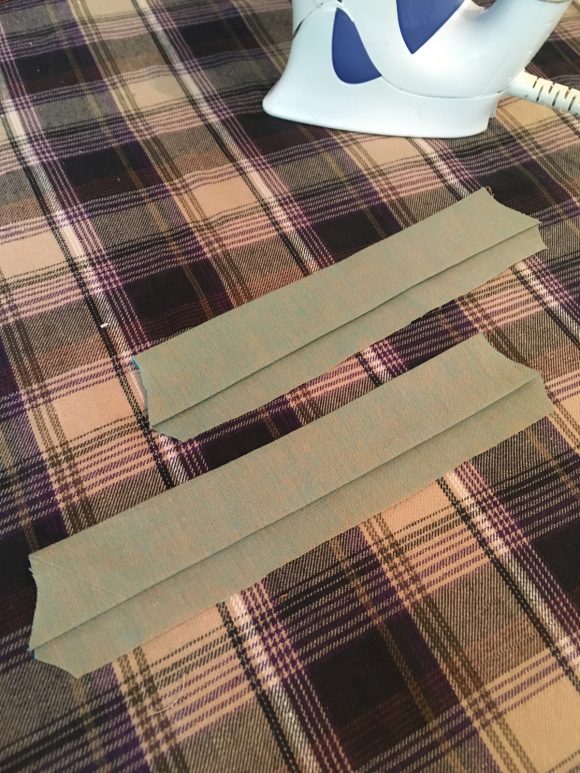
Fold and press each yoke piece in half lengthwise and press the seam allowances on one long edge up 1/2”. Pin the other, unfolded, edge of the yoke to the top of tier 1 with right sides facing. Sew with a 1/2” seam. Trim the seam, press it towards the top of the yoke and pin the folded edge into place. Top stitch.
Prepare your strips for the ruffles:
The yoke aside, I’ve divided the main body of the dress into four sections. Having covered tier 1 already, the remaining sections are made up of strips which measure, from top to bottom, 8″, 10″ and 13” in width. For my original dress, I eyeballed the length of my strips because that’s kind of how I roll. I find the typical ruffle formula, length=1.5 times the finished length, to be a bit full for this dress. You can of course adjust the fullness of your ruffles according to your taste but the formula I settled on was roughly 1.35 times the finished length. If you stick to that then none of your strips will exceed 44”, the standard width for most fabrics, even if you are sewing the largest size for this pattern. Here are the exact measurements for the size 7 dress:
Tier 1: pattern piece chopped off at 5” from the top edge.
Tier 2: 2 pieces of 8” by 22”
Tier 3: 2 pieces of 10” by 30”
Tier 4: 2 pieces of 13” by 40.4”
If you are sewing a different size, then you will of course need to adjust the length of each strip. Start by measuring the bottom of the pattern piece for tier 1. Multiply that measurement by 1.35 to get the length of tier 2, and so on until you have your 4 measurement.
To determine the length of your dress, measure the wearer from mid-chest, where the bottom of the yoke sits, to ankle. Add 3.5” to this measurement for the seam allowances and hem and then divide this number up proportionally. I chose to make each tier progressively wider from top to bottom.
I chose to rip my lengths to save time. I know that this particular fabric can handle it and also that I will be trimming off the untidy edges with my serger, and so I find ripping the lengths of fabric and pressing them back into shape a very convenient option.
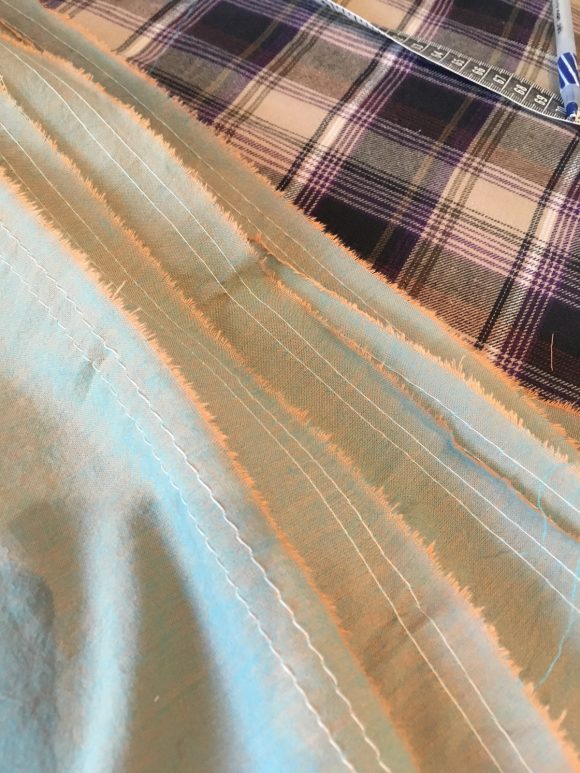
Prepare your strips by sewing gathering stitches along one long edge of each one, at 3/8” and 5/8” from the edge.
Now the fun part:
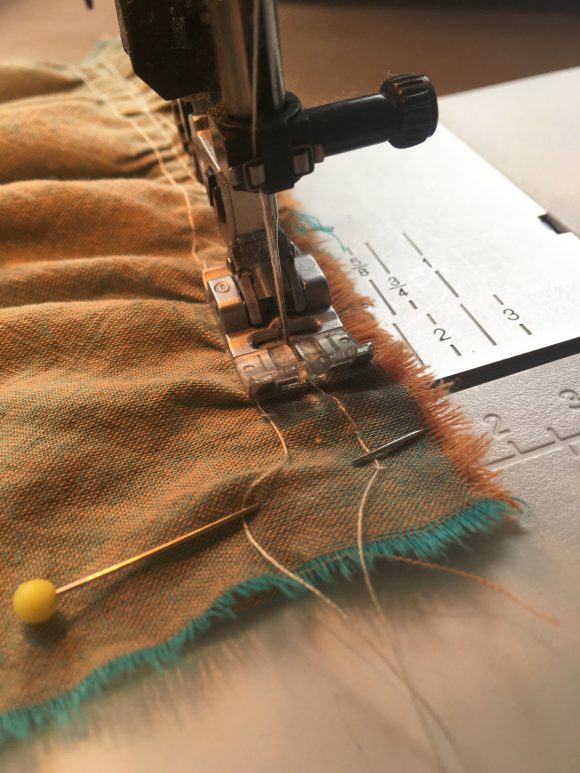
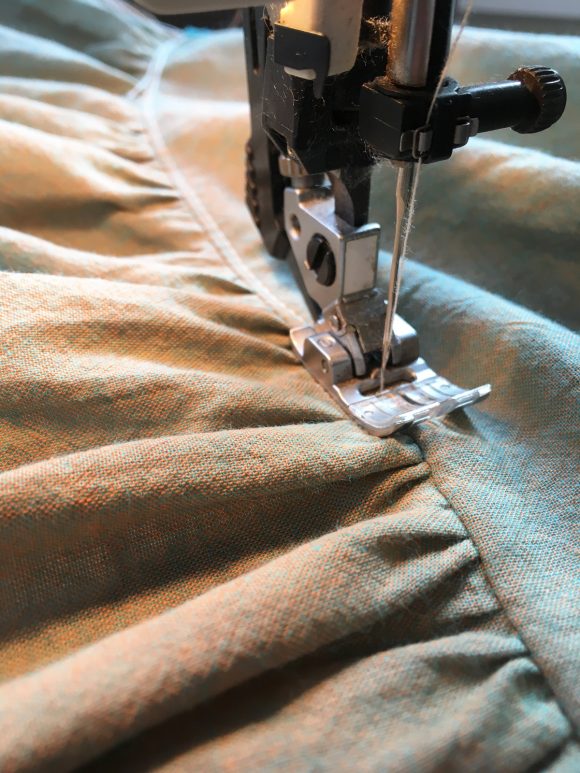
Start gathering! Wrong sides facing, pin each end of tier 2 to the bottom of the tier 1. Pull on the gathering stitches until all of the excess fabric is evenly distributed along the edge, excluding the ½” seam allowance at the beginning and end of the rows of stitches. When you are happy with your gathers, sew the seam at ½”. Repeat for the back panel and all of the remaining tiers, front and back.
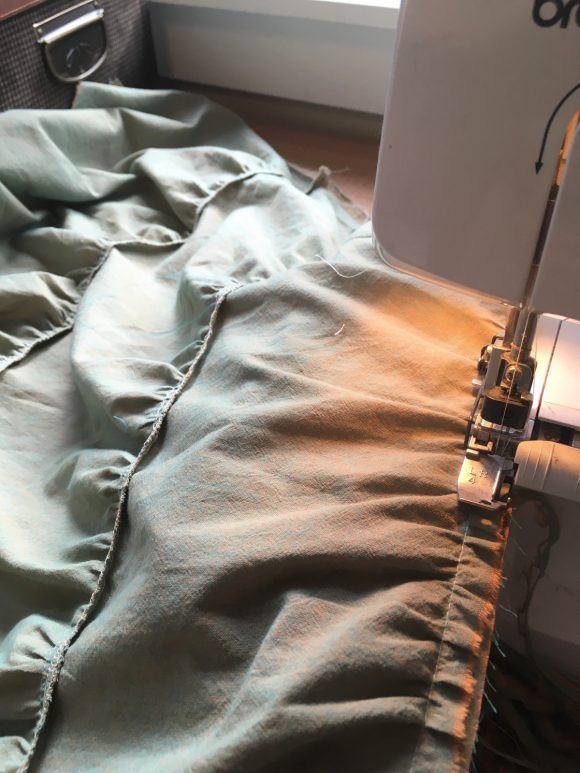
Finish your seams with whatever method you prefer. I like to use my serger for this.
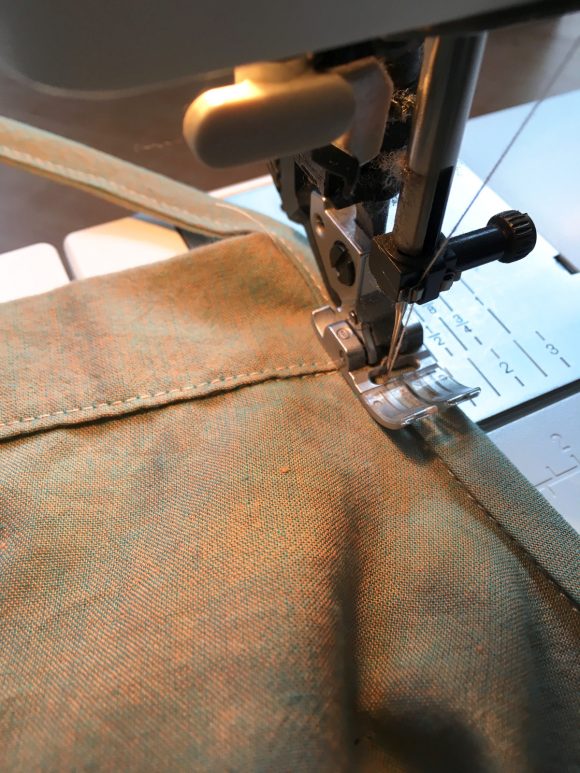
Press your finished seams towards the top and topstitch them into place on the right side of the dress. This will make them sit pretty.
Now it’s time to attach the front of the dress to the back. With wrong sides facing, pin the front to the back taking care to match up all of the seams nicely. Sew together and finish the side seam. Repeat for the other side.
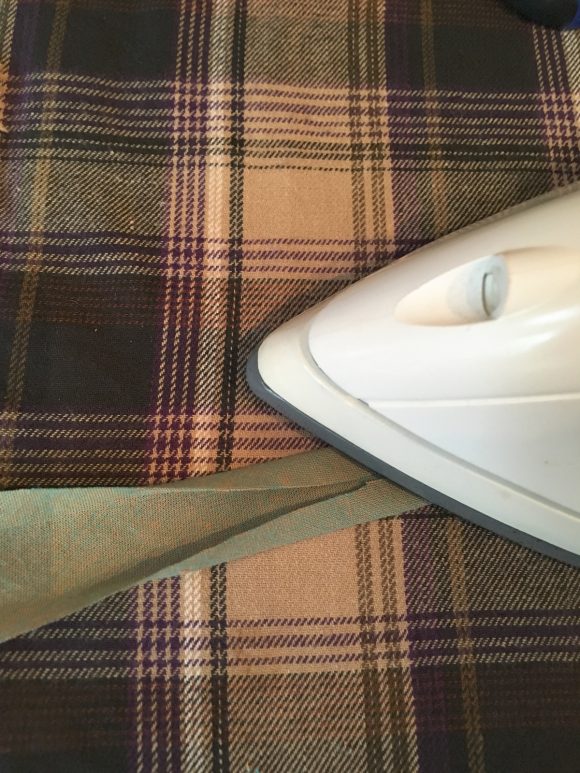
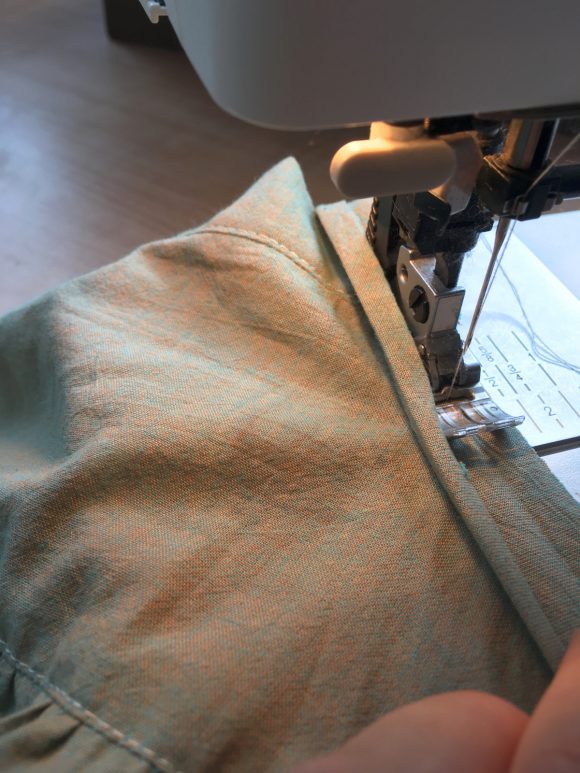
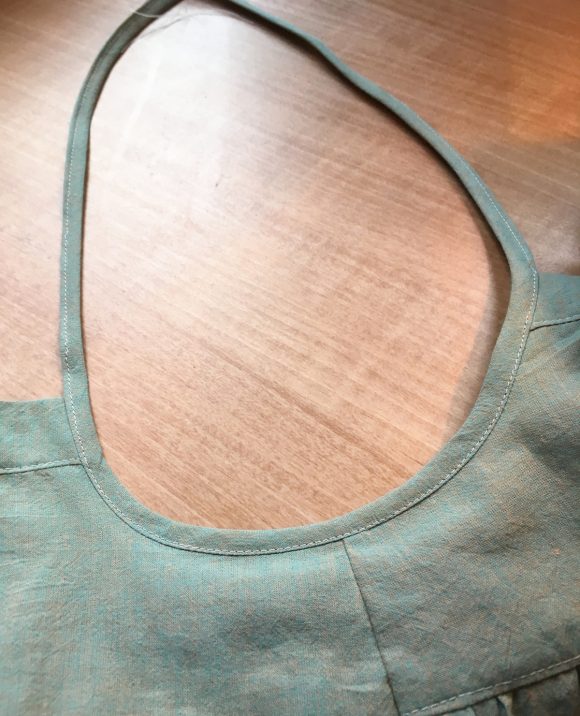
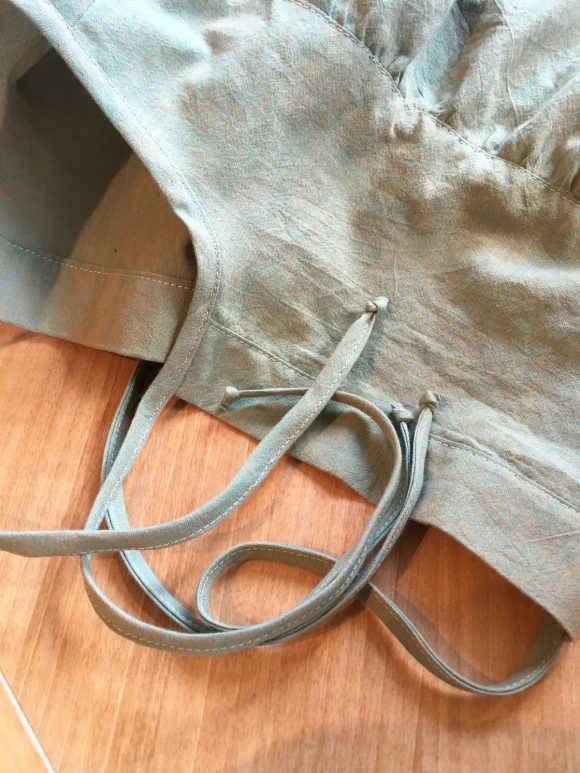
If you haven’t yet cut out the bias strips for the straps, now’s the time. Prepare the strips and attach them to the dress as per the original instructions.
The result is a nice and tidy way of finishing the underarm area and creating a strap all in one go. I like to knot the ends of my straps and cut them close to the knot to finish them off.
Now hem the dress with a narrow seam and you’re done!
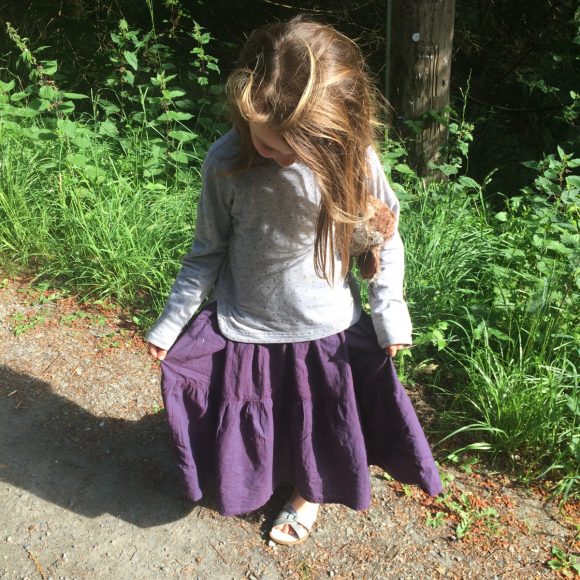
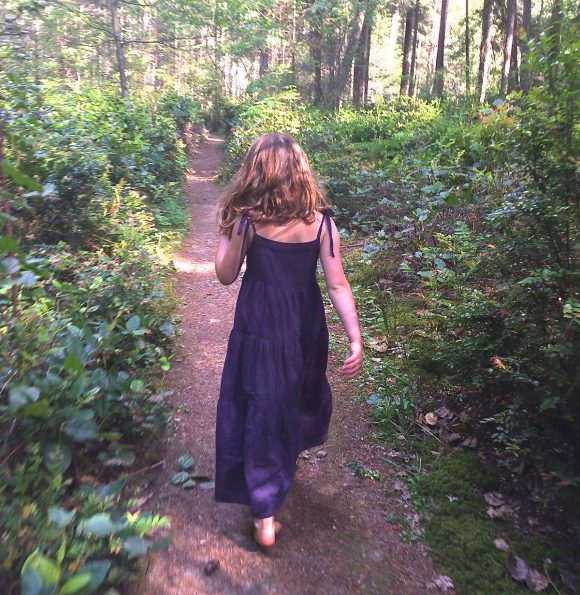
This style looks pretty adorable with legging and an oversized sweater or cardigan on cooler days, pairs great with sandals, runners or big old gumboot as the case often is in our neck of the woods. And one added bonus is that, with the easy fit and long length, it could work for a couple of seasons. If these survive the many washings, snags and rips from tree climbing, beach combing and other adventures, I expect they will be worn next summer as a ‘midi’ dress.
I can think of a pile of variations that would be fun to try. Colour blocking, topstitched horizontal pleats on the bottom panel, lace overlay on the yoke, or even a faux lace underskirt poking out the bottom. Part of the fun of a simple construction is the time it opens up for improvisation and embellishments! I hope you enjoy this tutorial and have some fun with it, and I’m looking forward to seeing your creations!
This is awesome. Totally going to make this sundress. Thanks!
Just beautiful, thank you for sharing
Great tutorial, Wendy – I just might have to make a maxi dress!
That last photo totally sold me on this! So beautiful. Thanks for the tutorial.
It really is pretty, isn’t it Shelley? Thanks for doing this, Wendy!
It’s my pleasure! I’m about to make a purple colour blocked version for my daighter’s best friend. Happy sewing!
This is so beautiful!! I need to try this out for my daughter! Thank you for sharing.
Thank you for the tutorial! I found the directions for calculating the measurements of your tiers a little confusing. I figured out the width measurement eventually after cutting my first 3 tiers incorrectly. I think you kept saying length because you were discussing the length of the ruffle but I read it first as the length of the tiers, not width. And I’m still unclear how I was to calculate the progressively lengthening tiers with your formula. I ended up taking off a bit from your length measurements (my daughter is a size 3) on each tier than trying it on my daughter for proper fit as I added tiers. Again, I really appreciate the tutorial, I just might suggest an edit for clarity.
Just beautiful!!!! I am teaching a young ladies sewing group and I think this will be perfect for them to try!!! Thank you!
Thanks so much for the tutorial. I made this for my four year old who kept asking for a long dress (and of course it had to be twirly). I’m a beginner, and it’s easily the best result I’ve had so far thanks to the clear instructions!
Now I’m trying to figure out how to make a popover sundress for my 18 month old because it’s so cute. Obviously something shorter, but maybe with a ruffle at the bottom now that I know how!
I love this. I have some blue cotton that would work beautifully. Thanks for the tutorial!
Hello! I love this tiered dress but would like to make it in a UK 16 if possible (in baby fine cord for winter) ….could i convert it do you think? Thank you! Louise
Hello,
How do the sizes work? Is it size 8 for an 8 year old, etc?