Elisabeth is here from the Advisors Circle. In the past, she’s shared her favorite Oliver + S pattern, Henley T-shirt Tutorial, and striped Cartwheel Wrap Dress. She’s back today to show us how to add ruffles to the Liesl + Co. Recital Shirt. Thanks Elisabeth for this wonderful tutorial!

When Liesl posted the introductory post for the Recital Shirt, two of the inspiration pictures included a ruffle inserted into the princess seams. It was love at first sight, and I knew I would need to make that modified version for myself! Here’s the tutorial if you would also like to insert a ruffle.
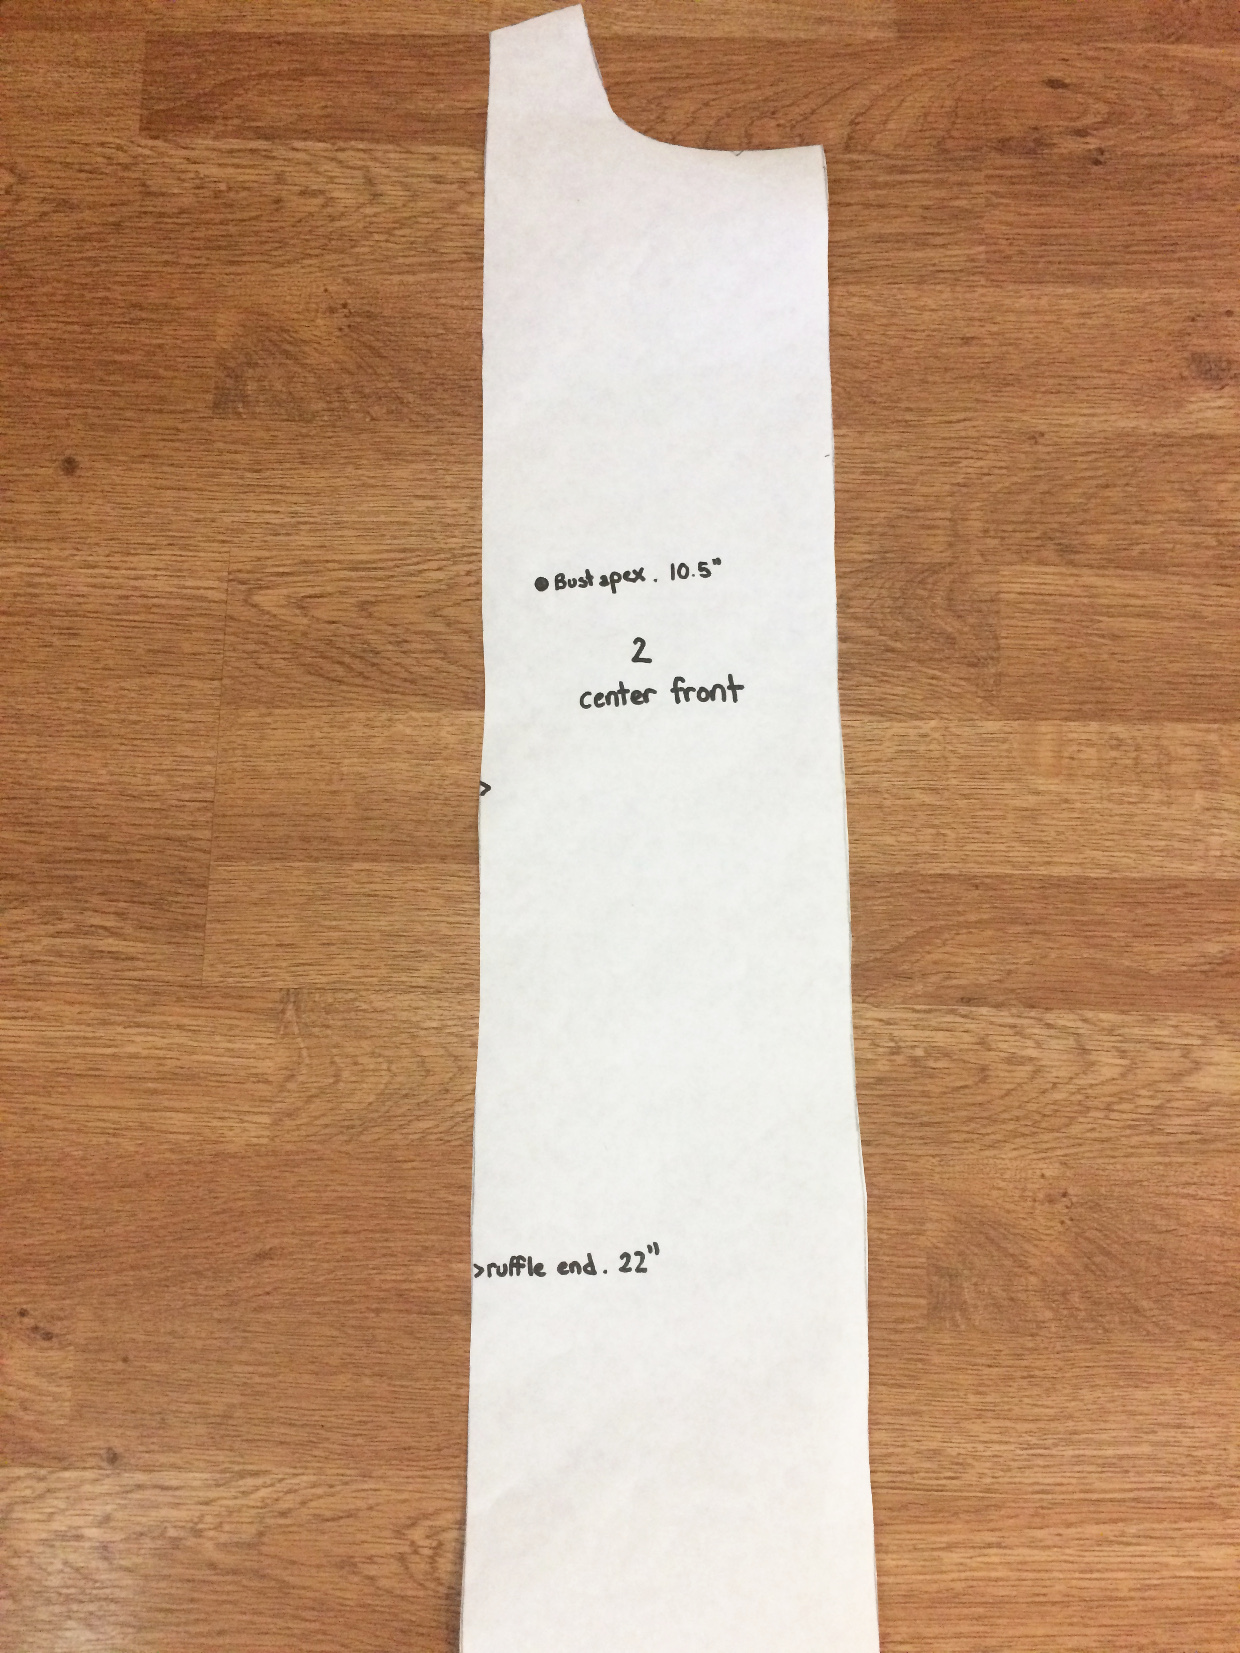
First, you need to cut out your pattern pieces. You are going to cut out all of the standard pieces for view A except for the neck ruffle piece.
The next step is to draft your ruffle. I strongly recommend doing a muslin for this step just to make sure that you like the way the ruffle works on your body!
Using the center front piece (piece 2), determine where you would like the ruffle to end. For me, I wanted the ruffle to end right where I would be tucking the shirt into my jeans so it wouldn’t be too bulky. That was 22 inches from the top of my shirt. Also take a note in this step of the length to your bust apex measurement (10.5″ for me).
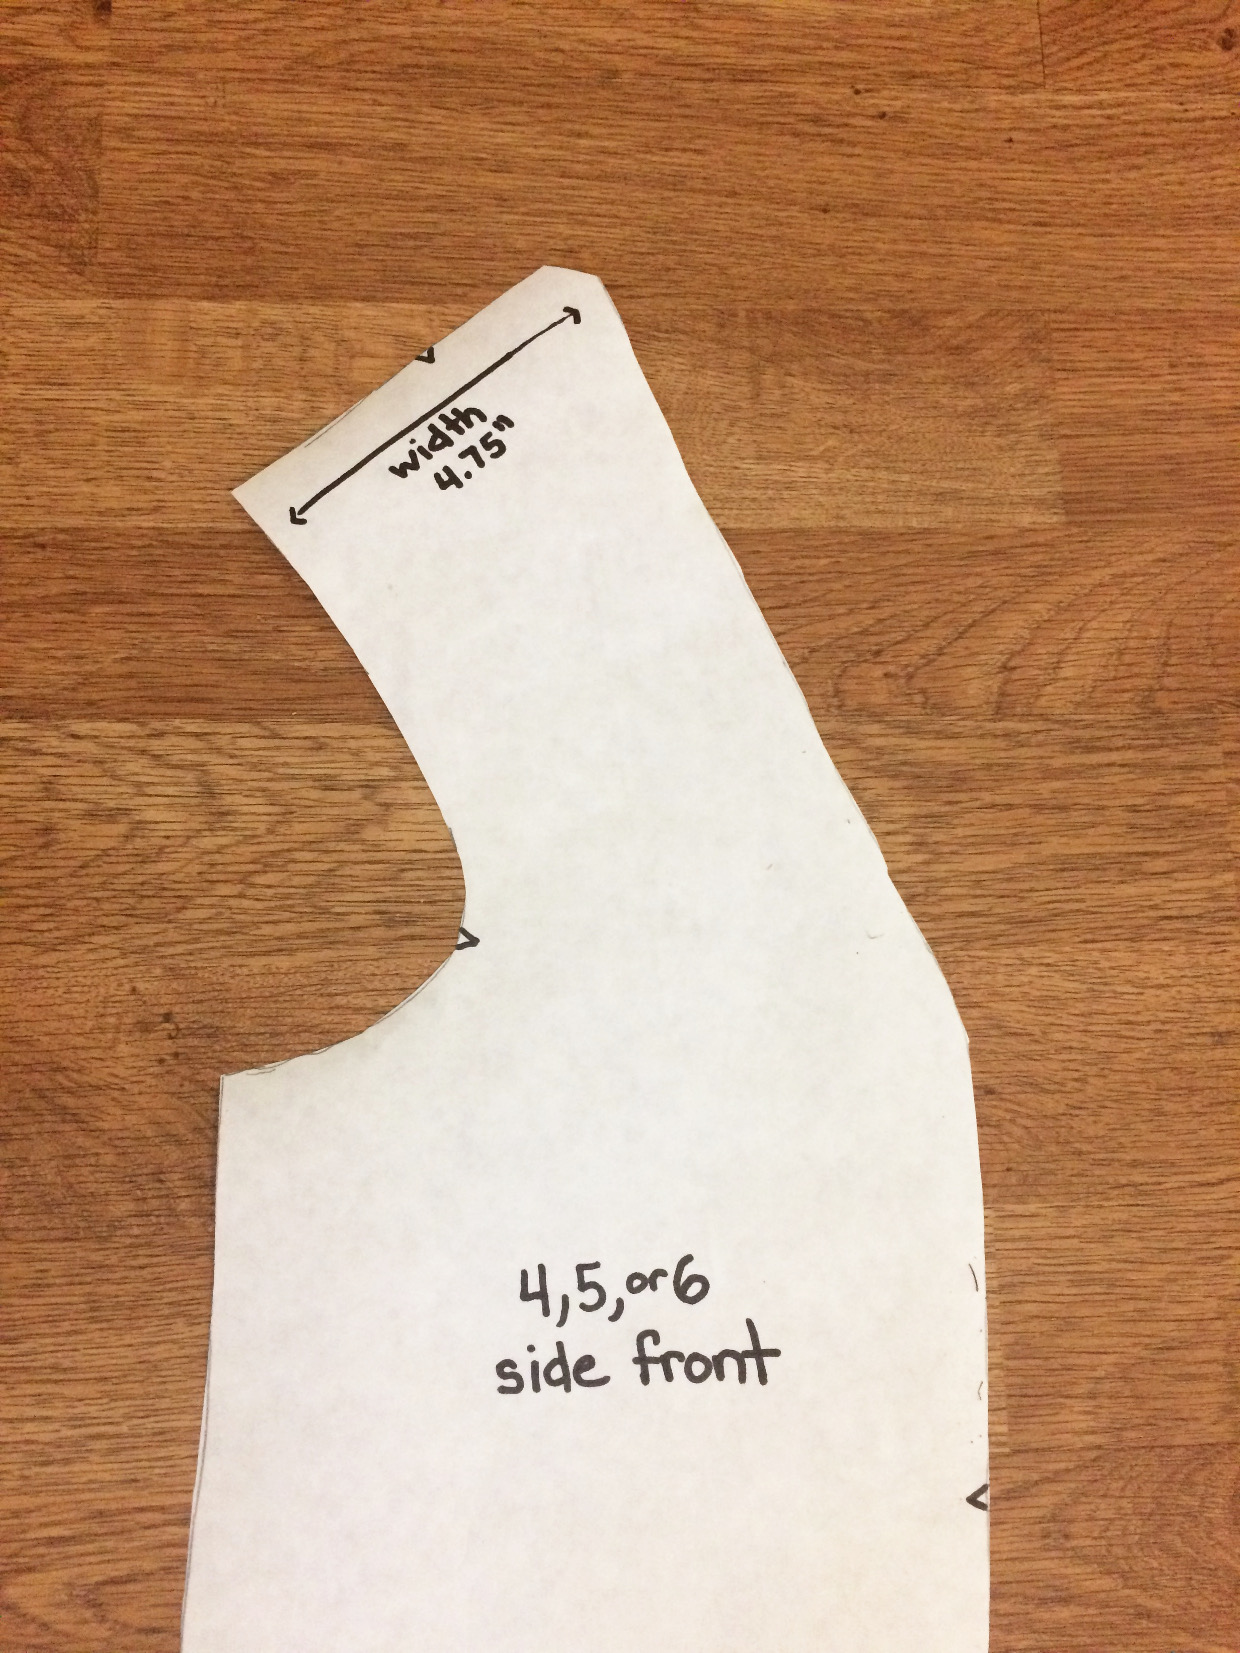
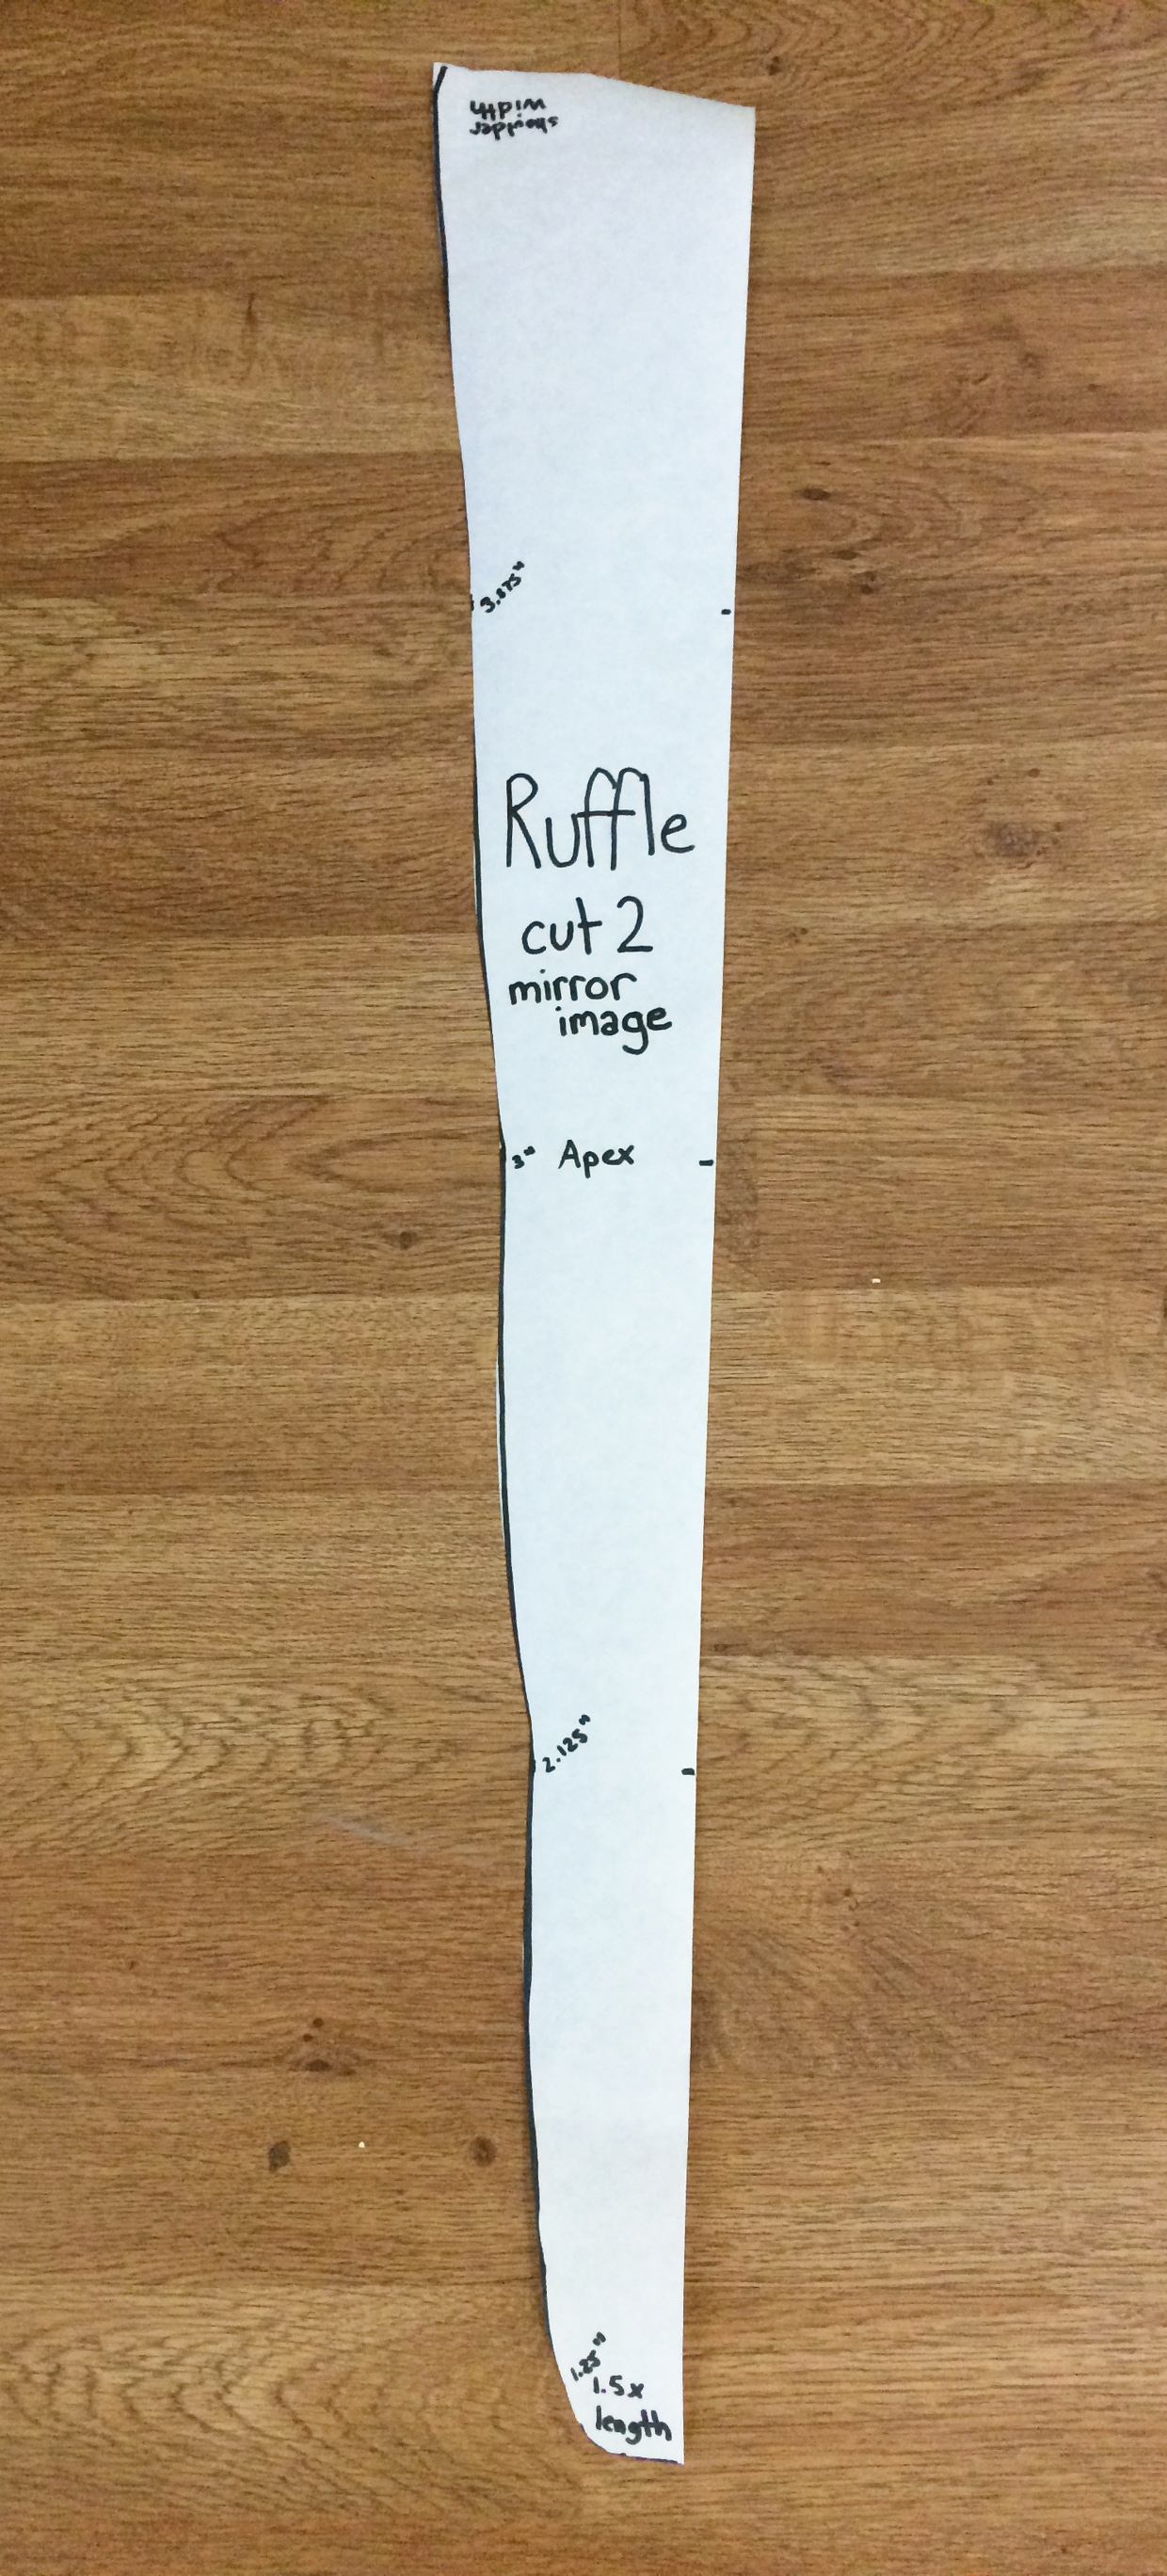
Using your side front piece (piece 4, 5, or 6 depending on your cup size), determine the width of your ruffle. The ruffle I’m showing here changes width, but I measured across the top to determine the widest part of my ruffle (4 3/4”).
If you want a ruffle that is the same width for the whole shirt, you would use this step to determine one width that would work for the entire ruffle.
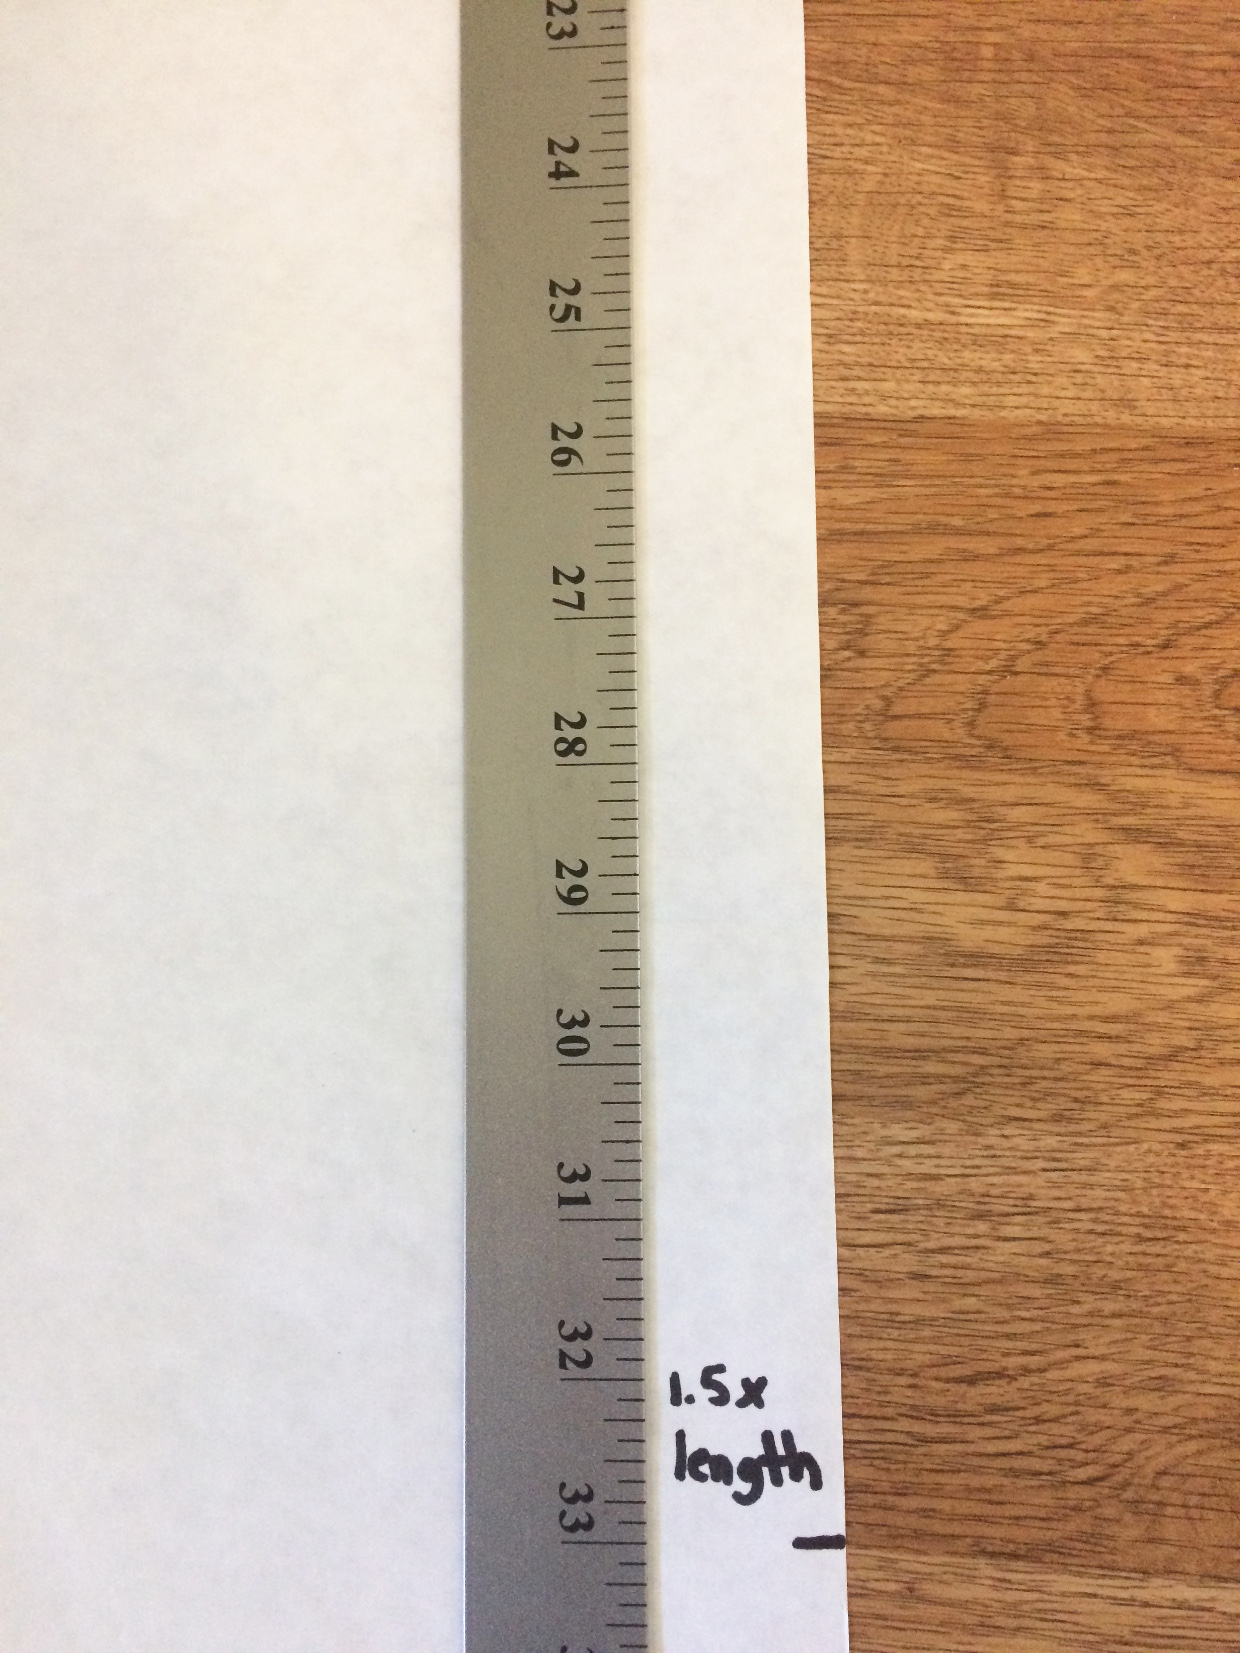
You will now use those measurements to draft your ruffle. For the length of your ruffle, you will multiply your original length (22 inches for me) by 1.5. If you want a fuller ruffle, you may multiply by 2.
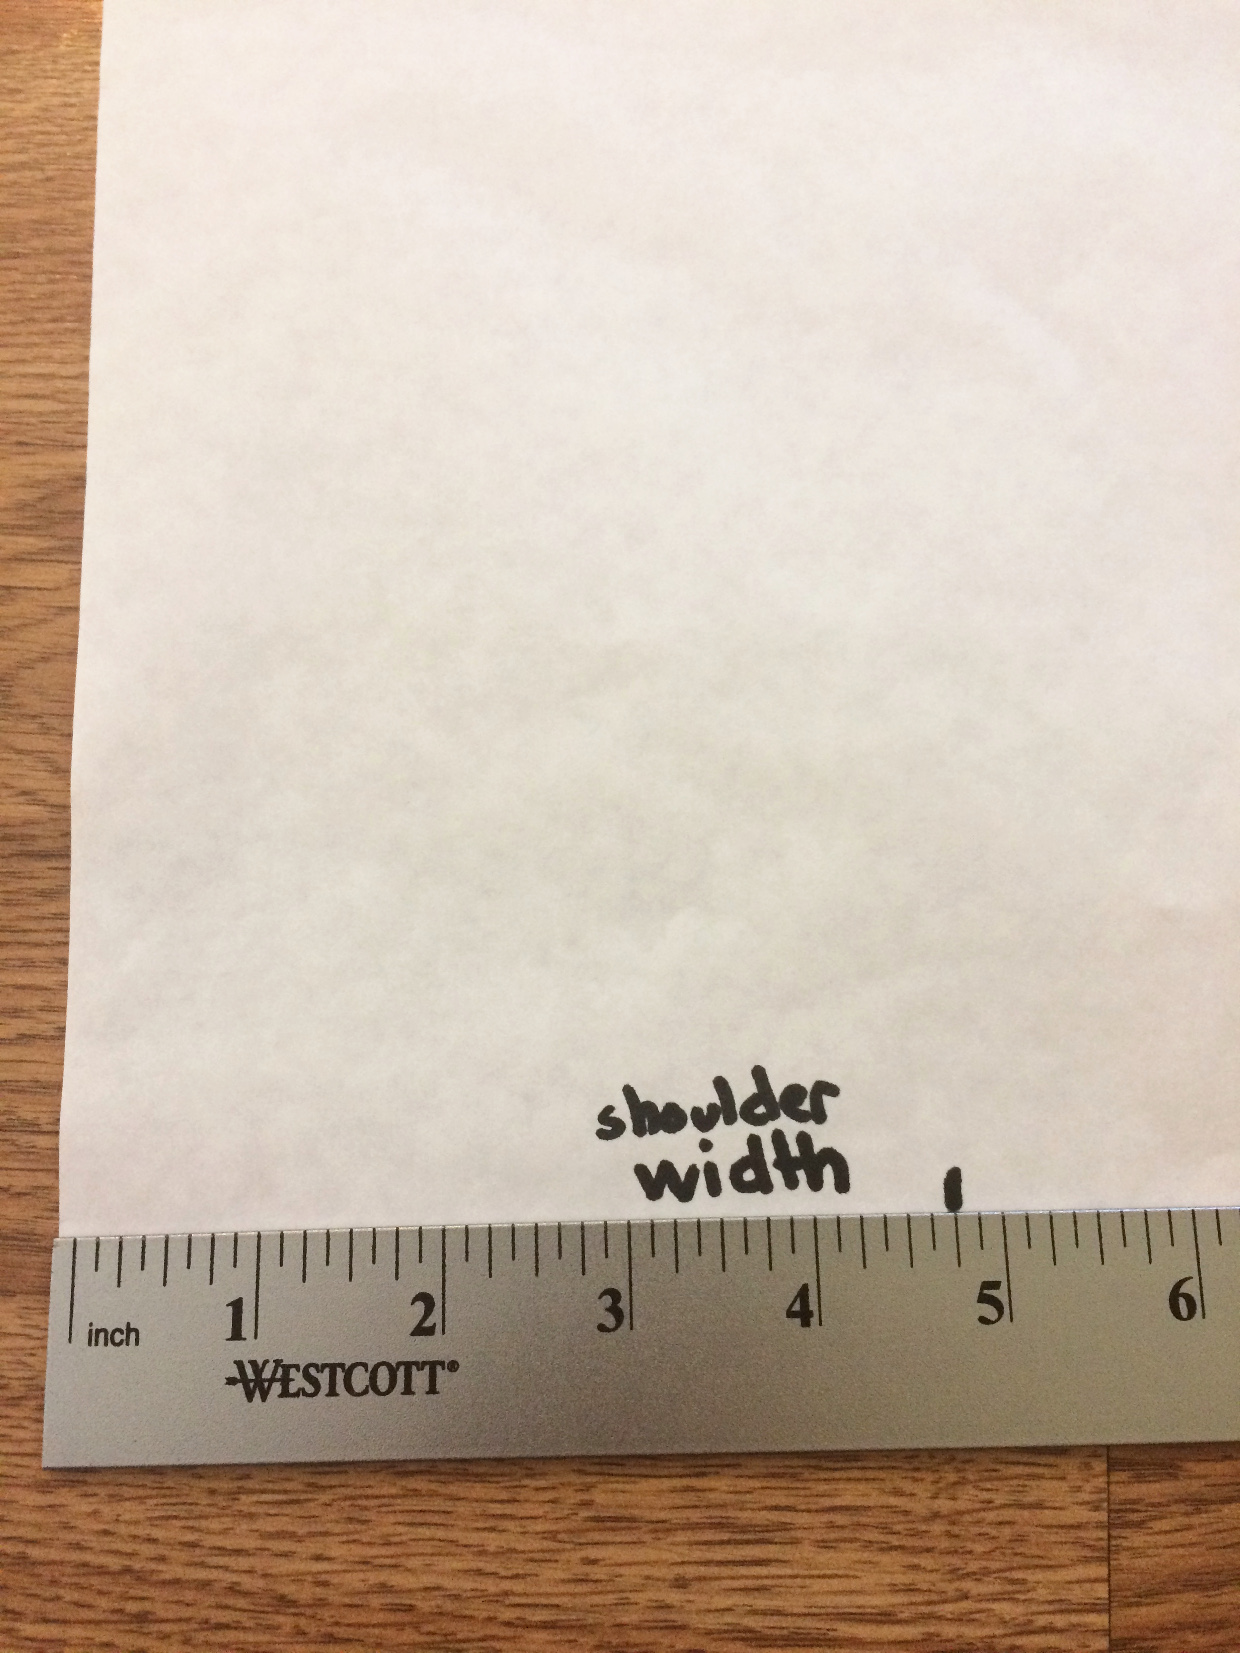
For the width at the top of the ruffle, I marked the width of the shoulder. Keep in mind that for any width measures, you will lose 1/2″ on one side for the seam and 1/2″ on the other side for the hem!
Your next step is to determine how wide you want your ruffle at the bust apex. I measured this on myself in the mirror and realized I wanted the finished ruffle to be 2 inches wide, so I added 1 inch (1/2″ for seam, 1/2 inch” for hem). I multiplied the bust apex measurement by 1.5 to account for the ruffle, so I placed this 3″ width at 15 3/4″ (10.5″ x 1.5).
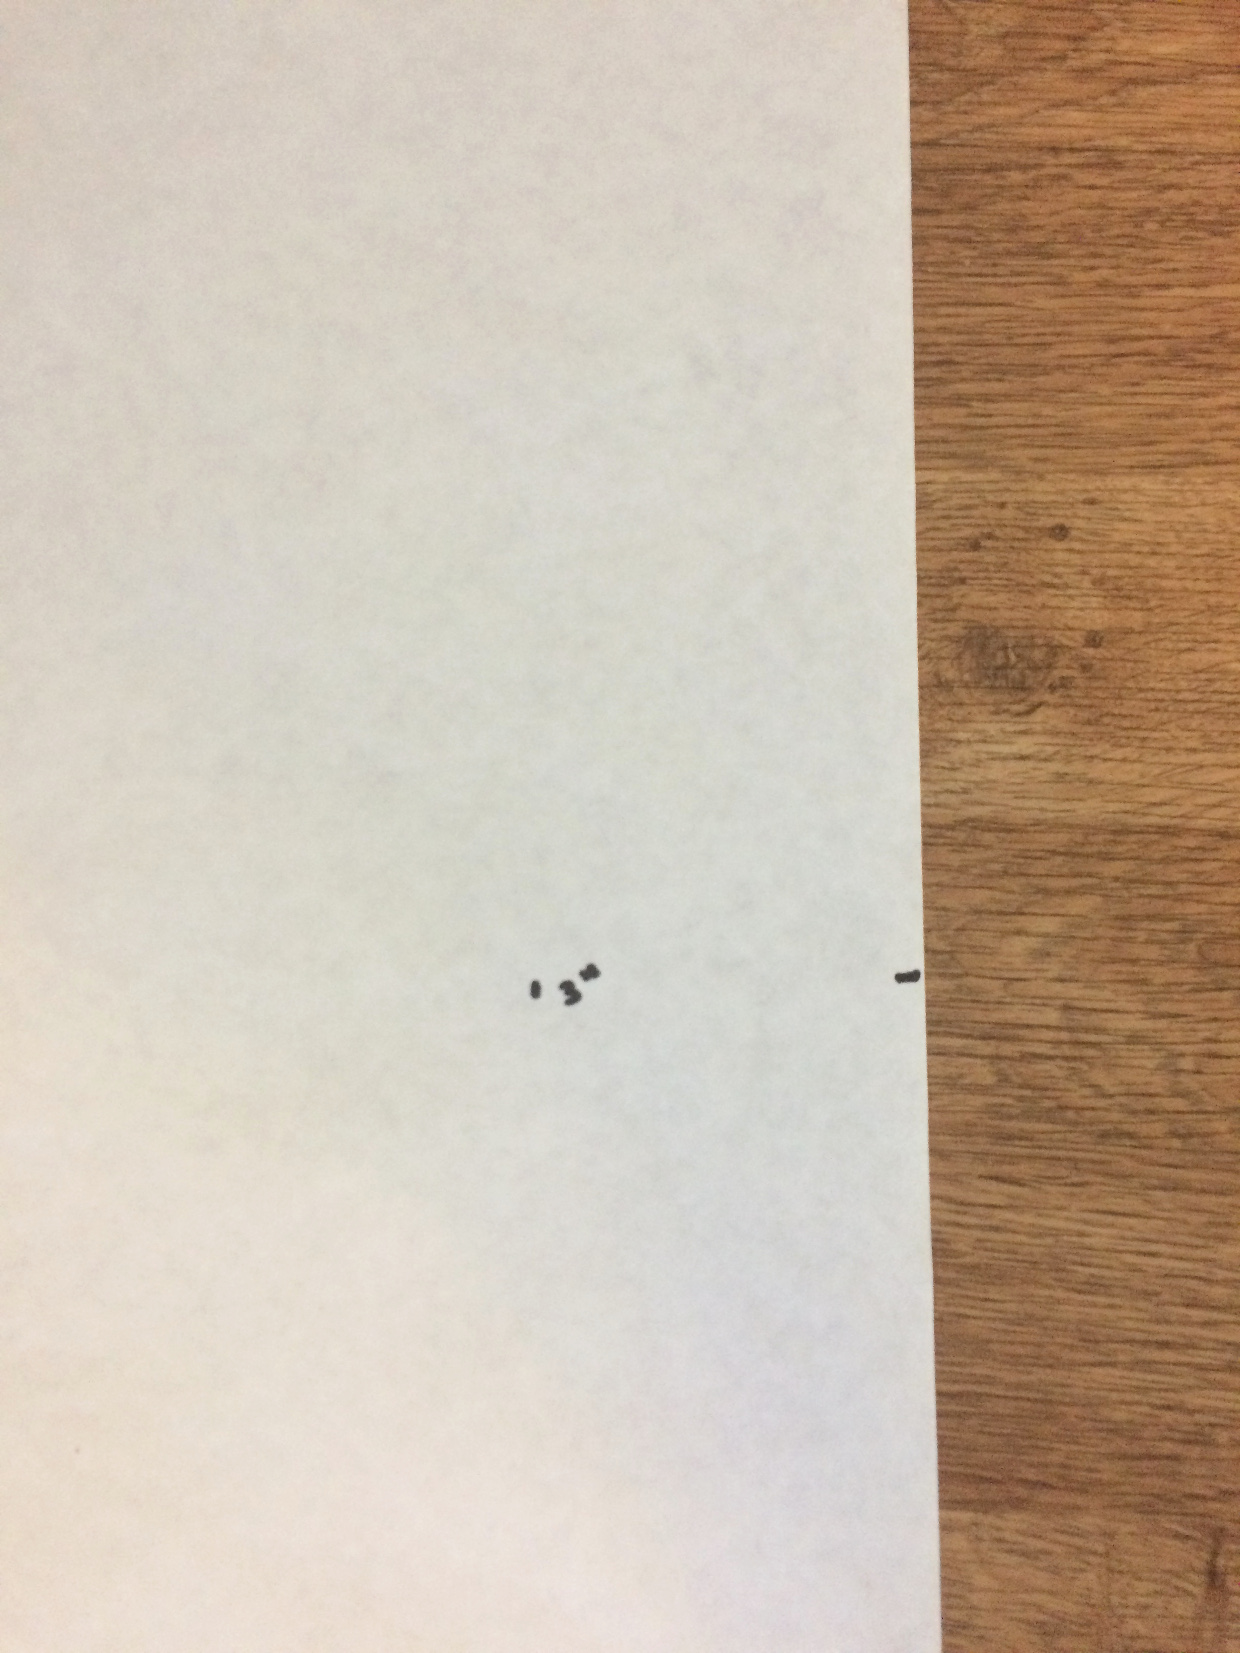
To make an even curve for your ruffle, mark the halfway point between the top of the ruffle and the bust apex and mark a width halfway between the width at the top and the width at the apex.

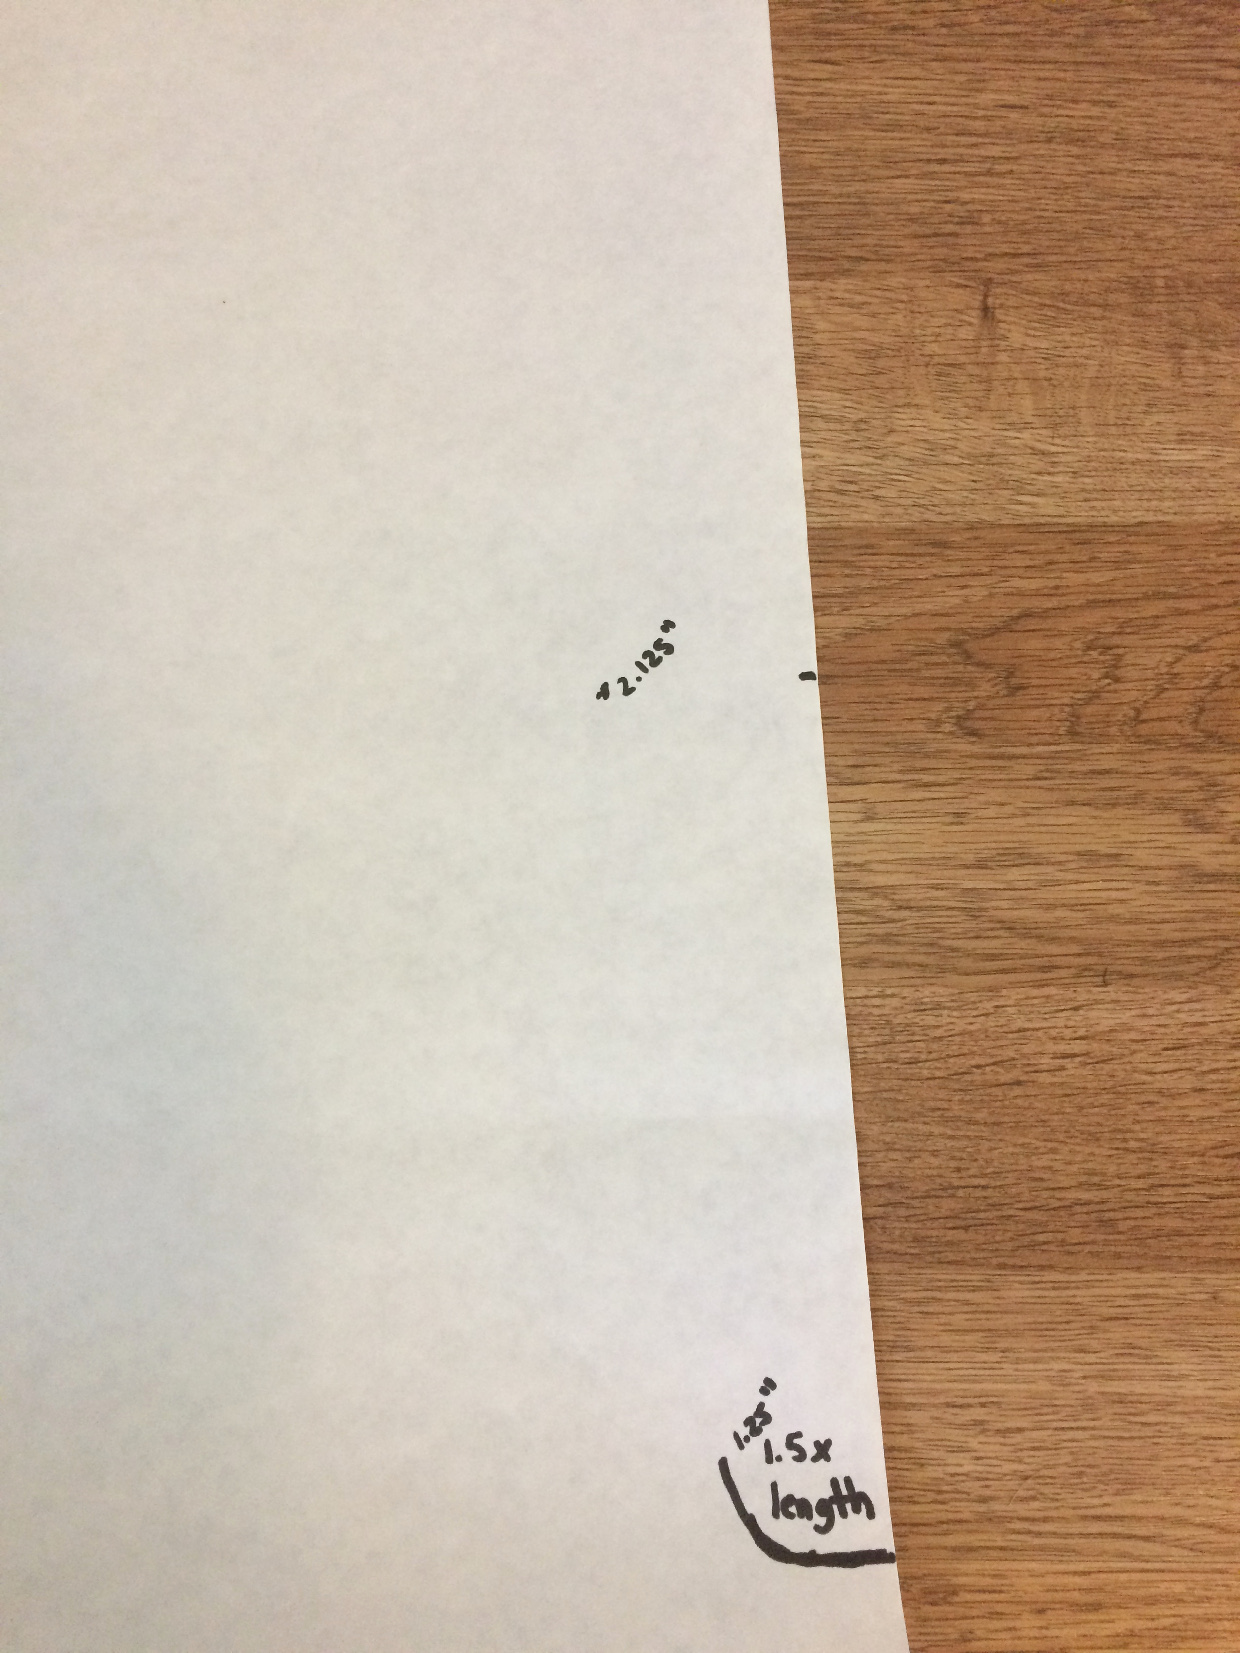
Mark your desired width at the bottom of your ruffle. For me, I wanted a 1/4″ finished width, so I marked 1 1/4″. Find the halfway point between the bust apex and the bottom of your ruffle and mark the width halfway between the width at the apex and the width at the bottom.
Draw a curve connecting all of your width points and then cut two ruffle pieces as mirror images of each other.
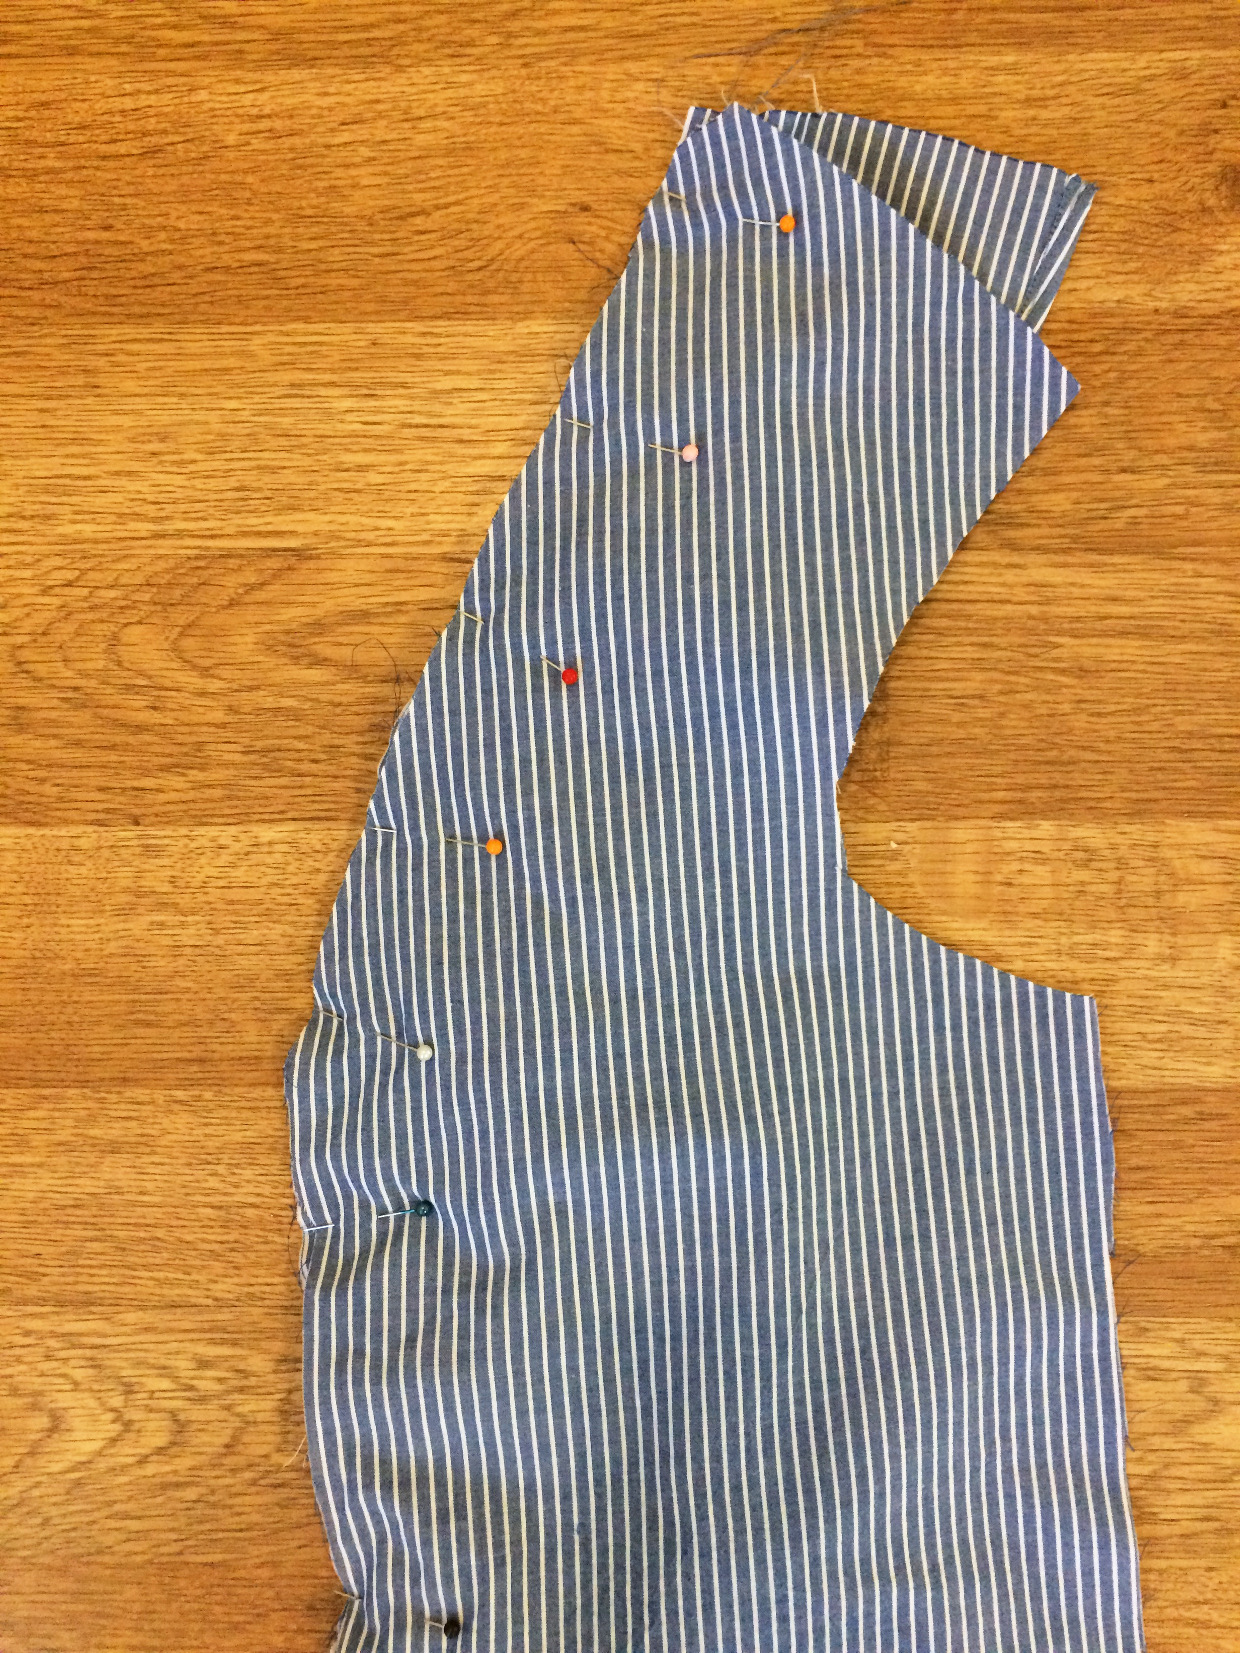
You are now ready to sew your shirt! Follow the pattern instructions up to the portion where you sew the princess seams.
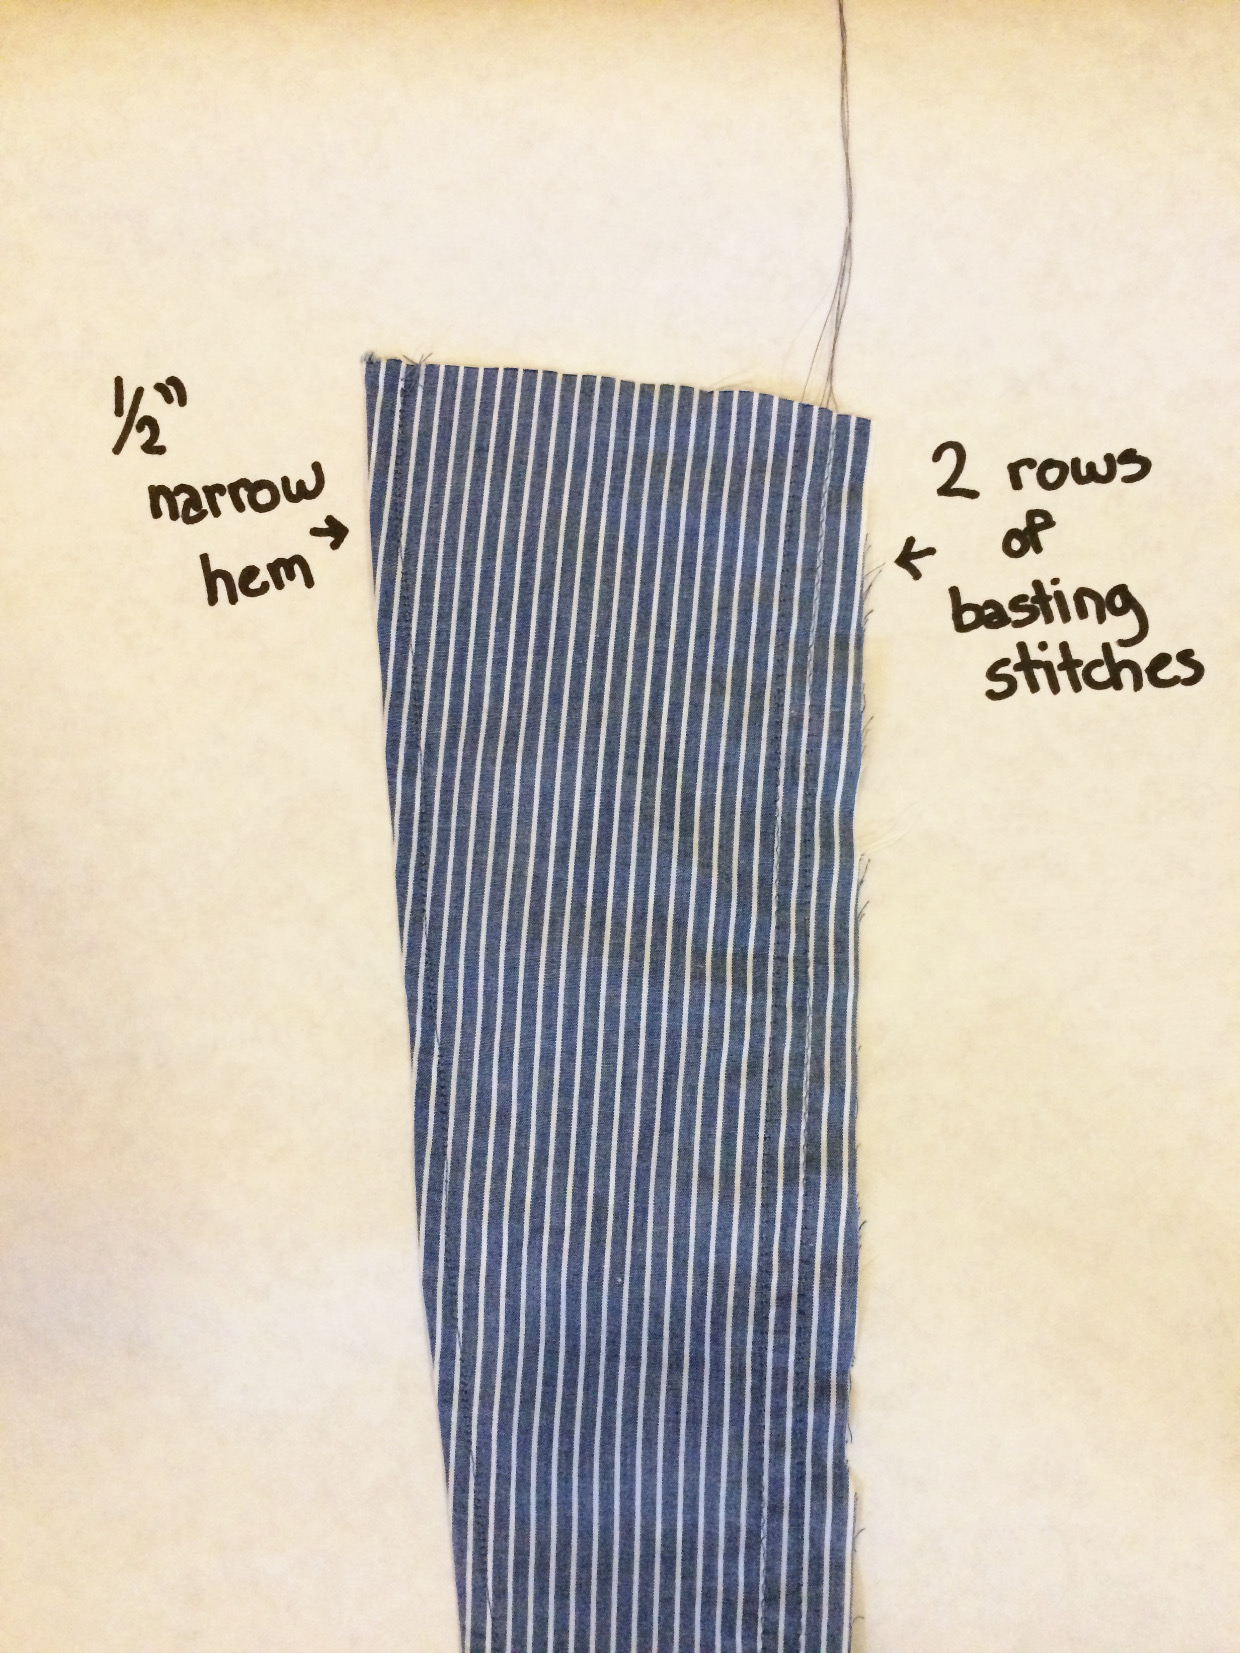
First, prepare your ruffle. On the curved end of your ruffle, you will do a 1/2 ” narrow hem. Sew a row of basting stitches at 1/2″ Fold the raw edge to your basting line, and then fold at the basting line to enclose the raw edge. Remove any visible basting stitches.
On the straight side of your ruffle, you will sew two rows of basting stitches, one at 3/8″ and one at 5/8″. Gather gently until the ruffle is the desired length that you marked on your shirt.
If you made a muslin, you may now want to baste or pin the ruffle between your pieces before proceeding. This is the very first muslin I made when I decided it would be a great strategy to just eyeball things. I realized that the ruffle was too wide at my bust and too narrow at the bottom and made those adjustments using my real fabric.
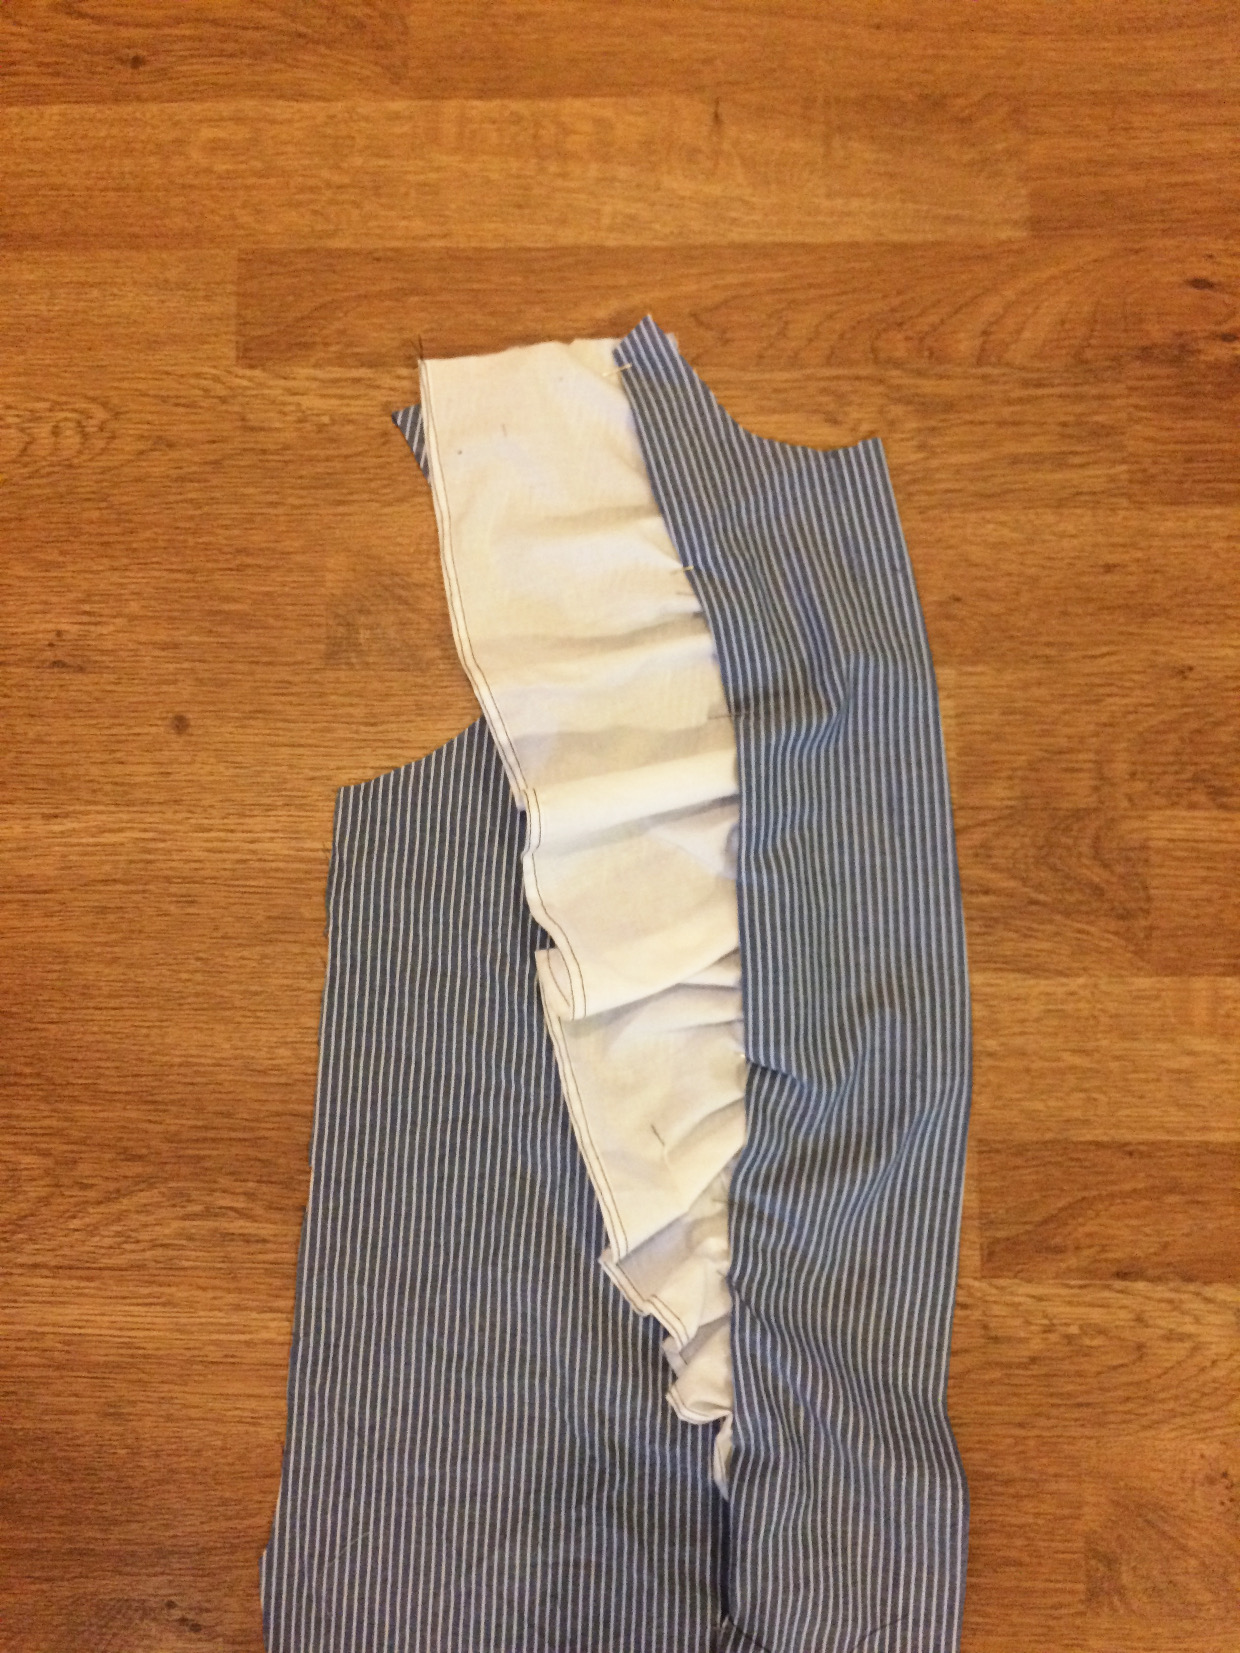
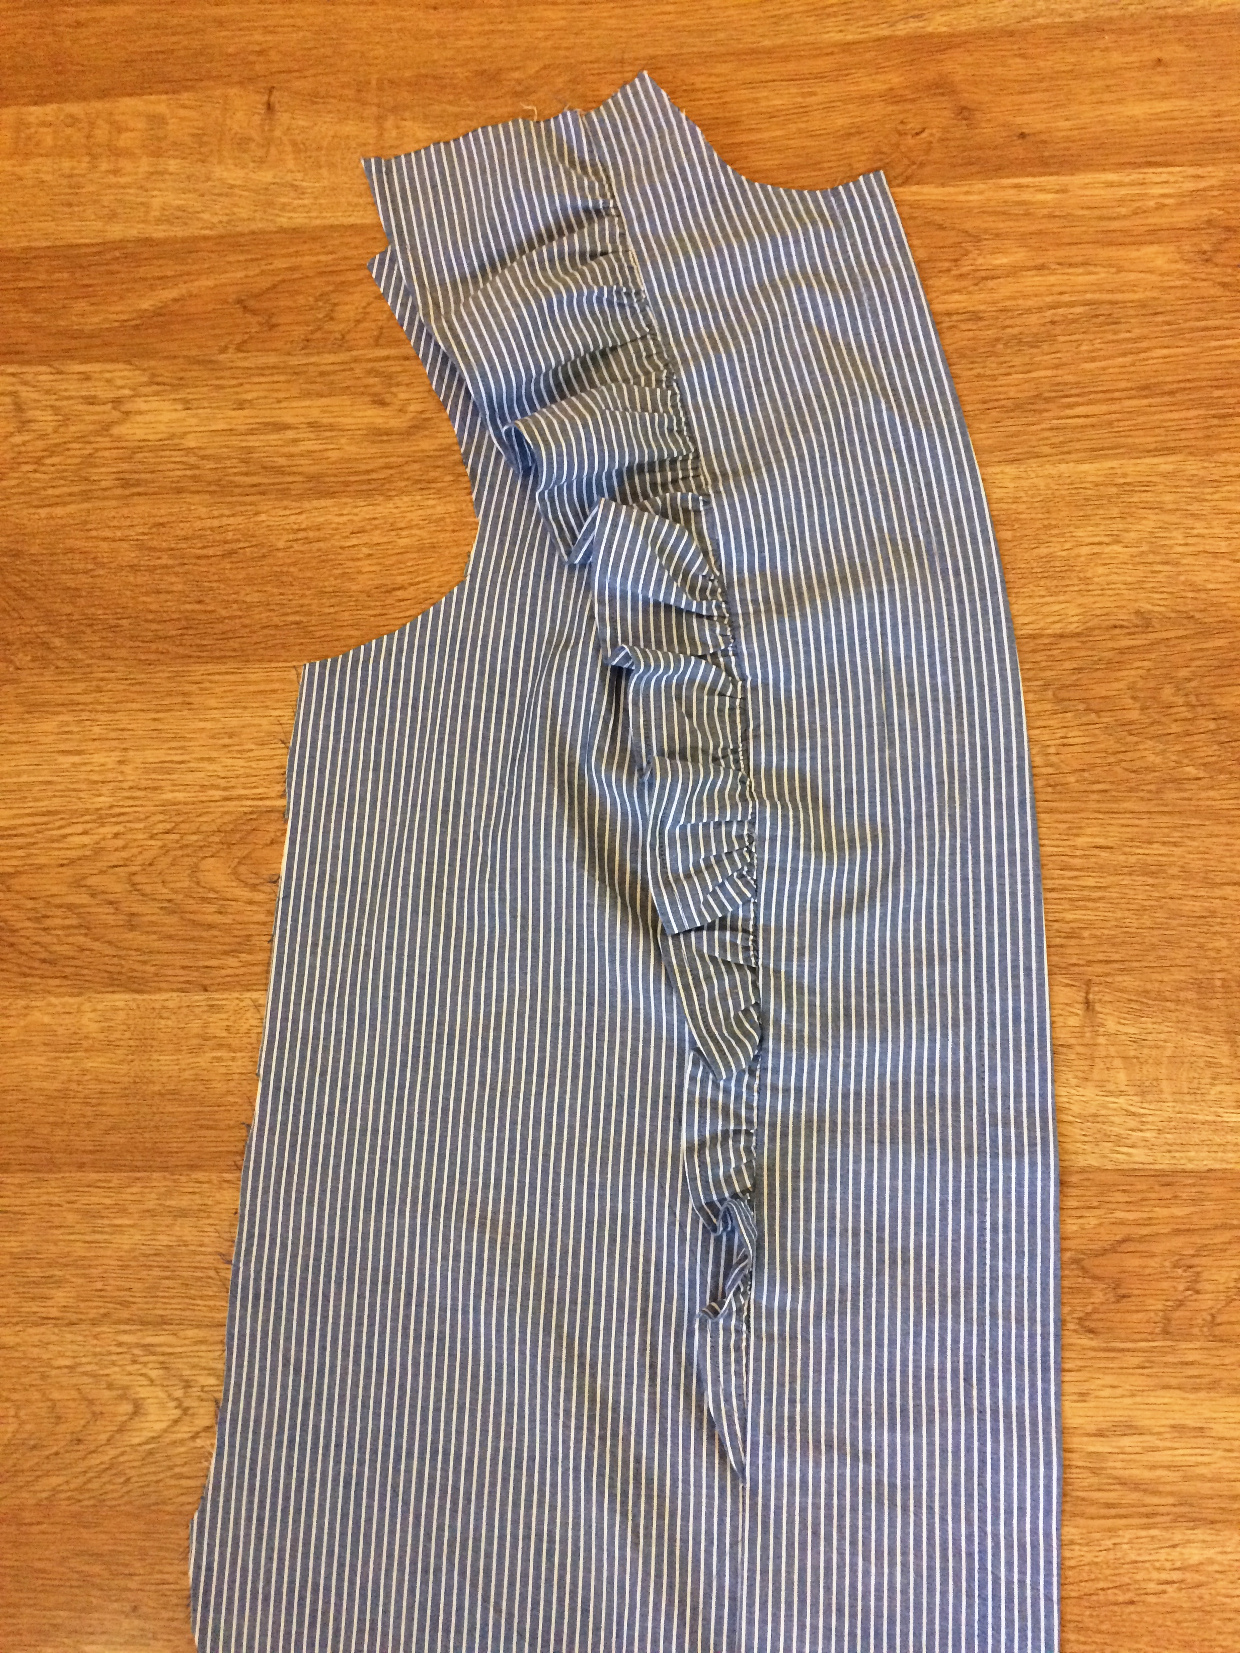
Place the ruffle and the center front piece right sides together and baste with a 1/2″ seam. This basting makes it much easier to do the curved princess seam and also much easier if you would like to do a french seam on this step.

Place your side front piece and your center front piece right sides together. This means that the right side of your side front will touch the right side of your center front, but the wrong side of your ruffle. Sew with a 1/2″ seam and finish according to pattern directions.
Press seams and ruffle and repeat with the other side. Continue with the rest of the shirt as written!
It would be so cute to use this same method on a Building Block Dress! I can imagine a darling summer dress with those ruffles.
This is my finished shirt! I usually wear it tucked in with jeans, but it’s also really cute with a skirt or trousers for a dressier look.

Love the ruffles idea! Your shirt is beautiful. Thank you for the tutorial.
This is so lovely! The proportions of the ruffle are just right and so flattering! Thanks for the tutorial!
Your tutorial is so nicely laid out, and perfect timing as I’ve just come across the Recital shirt pattern and also fell in love with it! I like the attention to detail with pin stripe & ruffle!