Please welcome Elisabeth back to the blog today. She stopped by with her favorite pattern post, and now she has a henley t-shirt tutorial which she was kind enough to take the time to do. Enjoy!
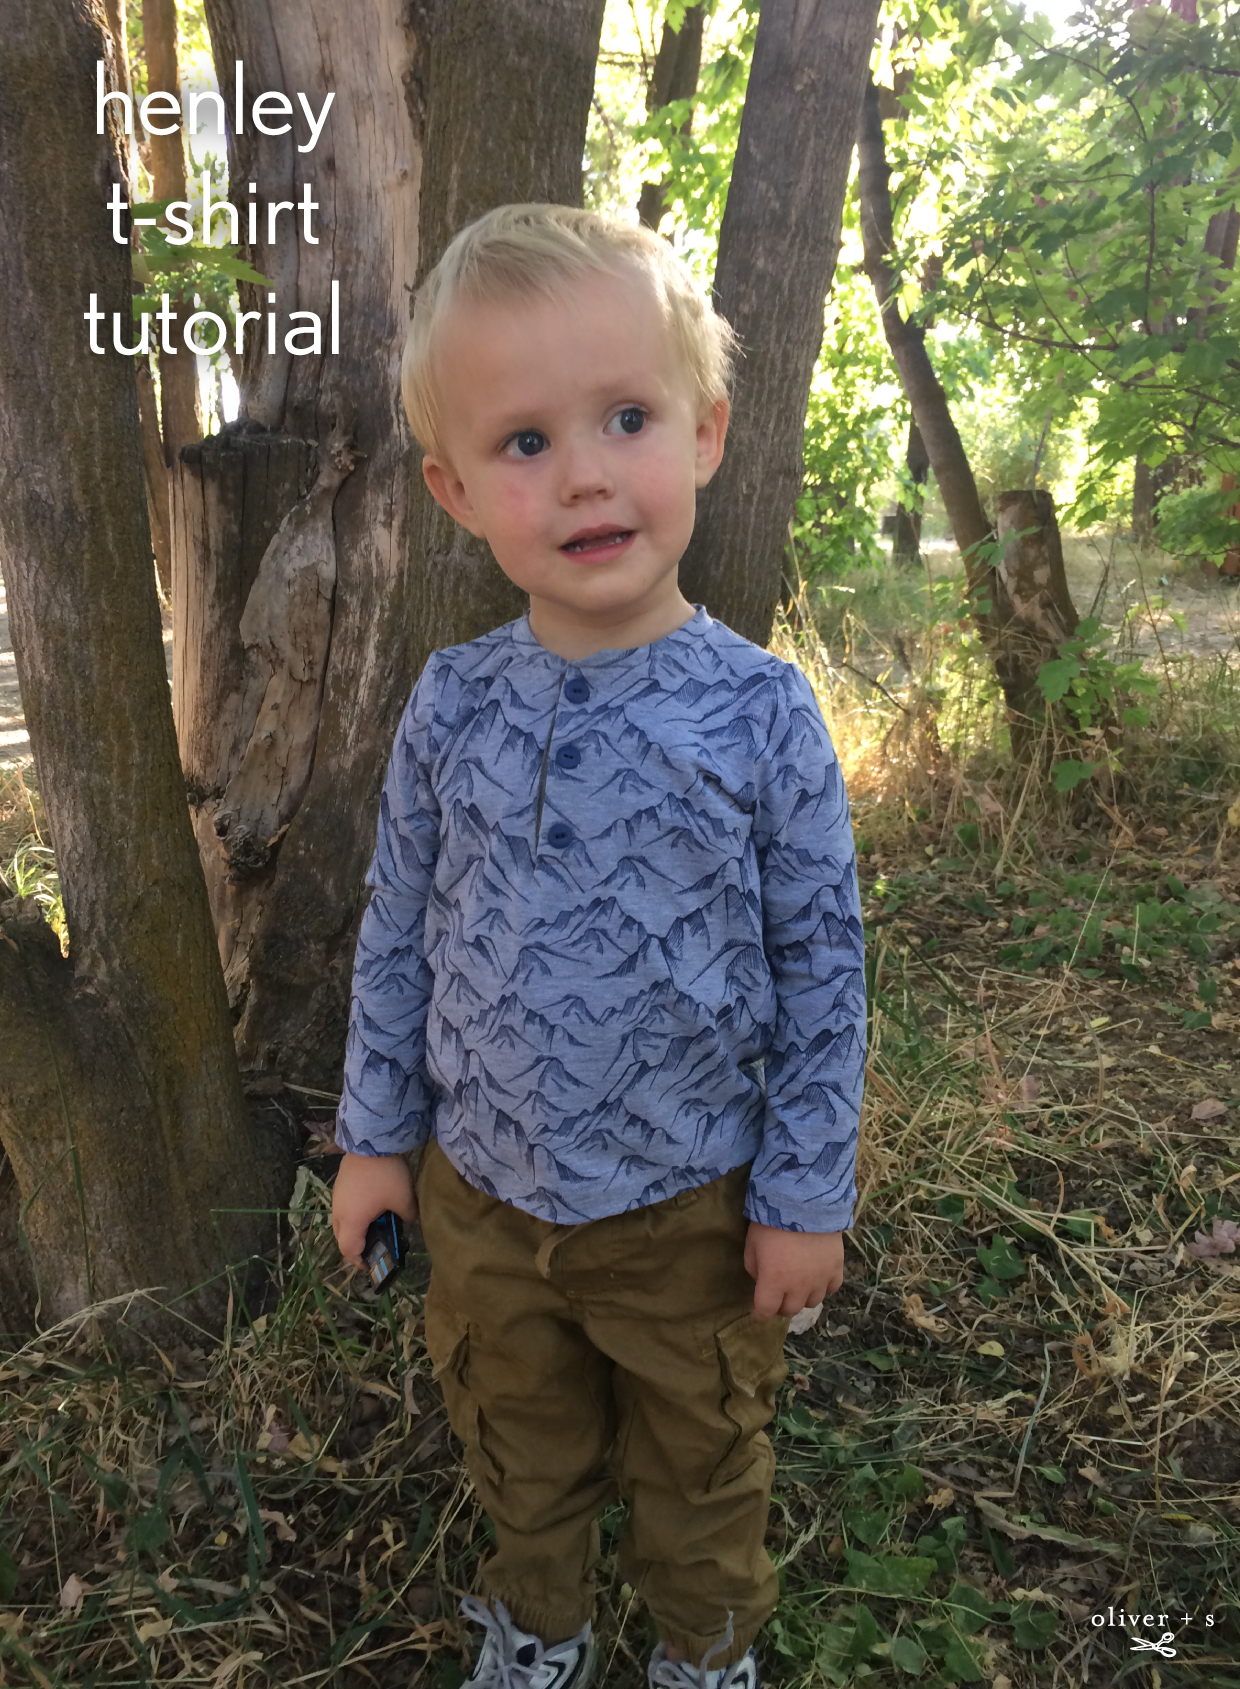
I adore the School Bus T-Shirt pattern! It’s so easy to adapt and the fit is perfect. Recently, I was wondering how to add a henley placket, when I realized that the Parachute Polo pattern already has the perfect button placket! This tutorial shows how to combine the two patterns to make a henley t-shirt.
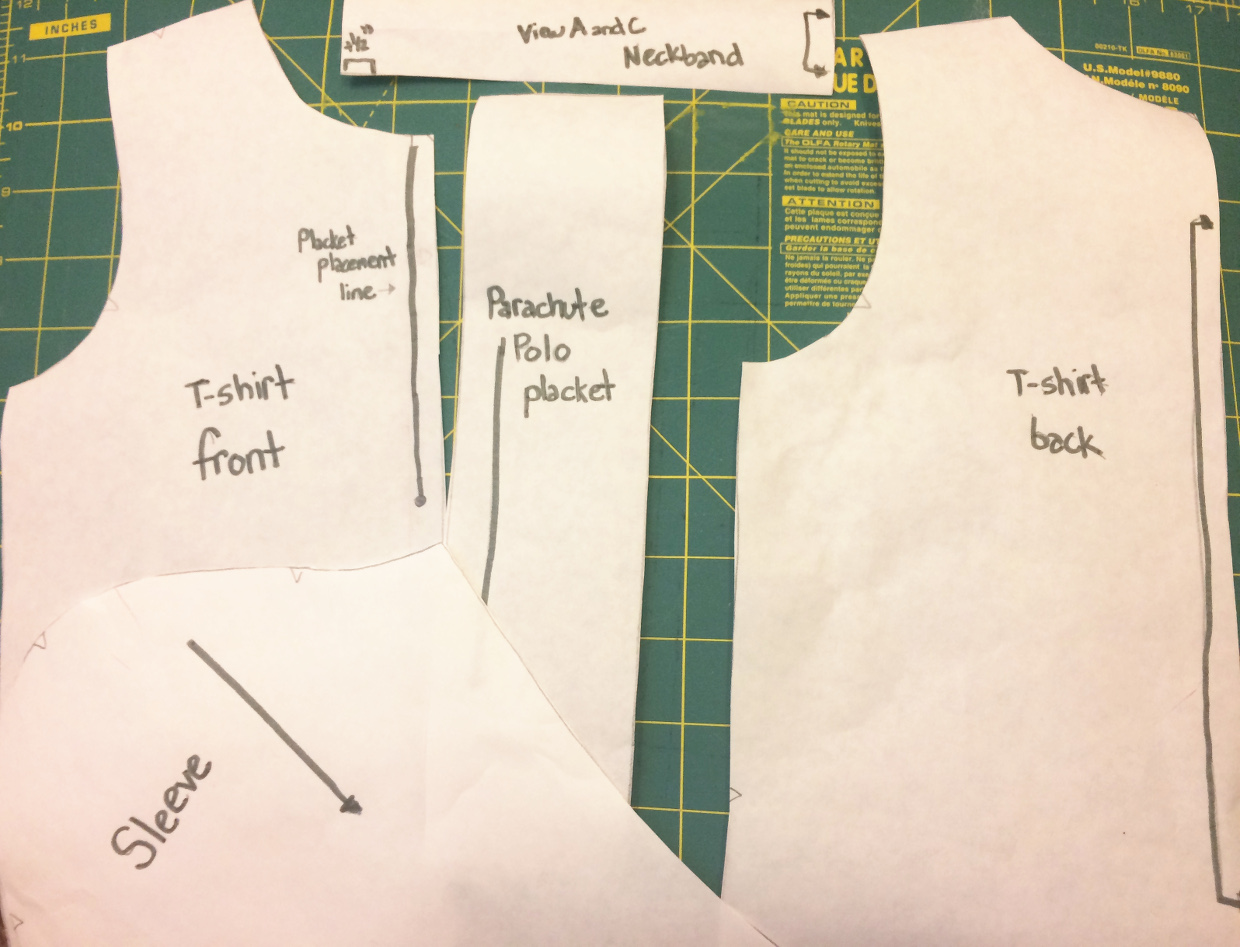
First, you need to cut out your pattern pieces. You will cut out the placket piece (number 6) from the Parachute Polo along with all the pieces from the School Bus T-Shirt.
You will need to make two minor modifications from the original.
I recommend adding 1/2″ to your neckband. You’ll be changing the shape of the neckband later and having the extra length gives you a little more room to maneuver. If your fabric is really stretchy, this might not be necessary.

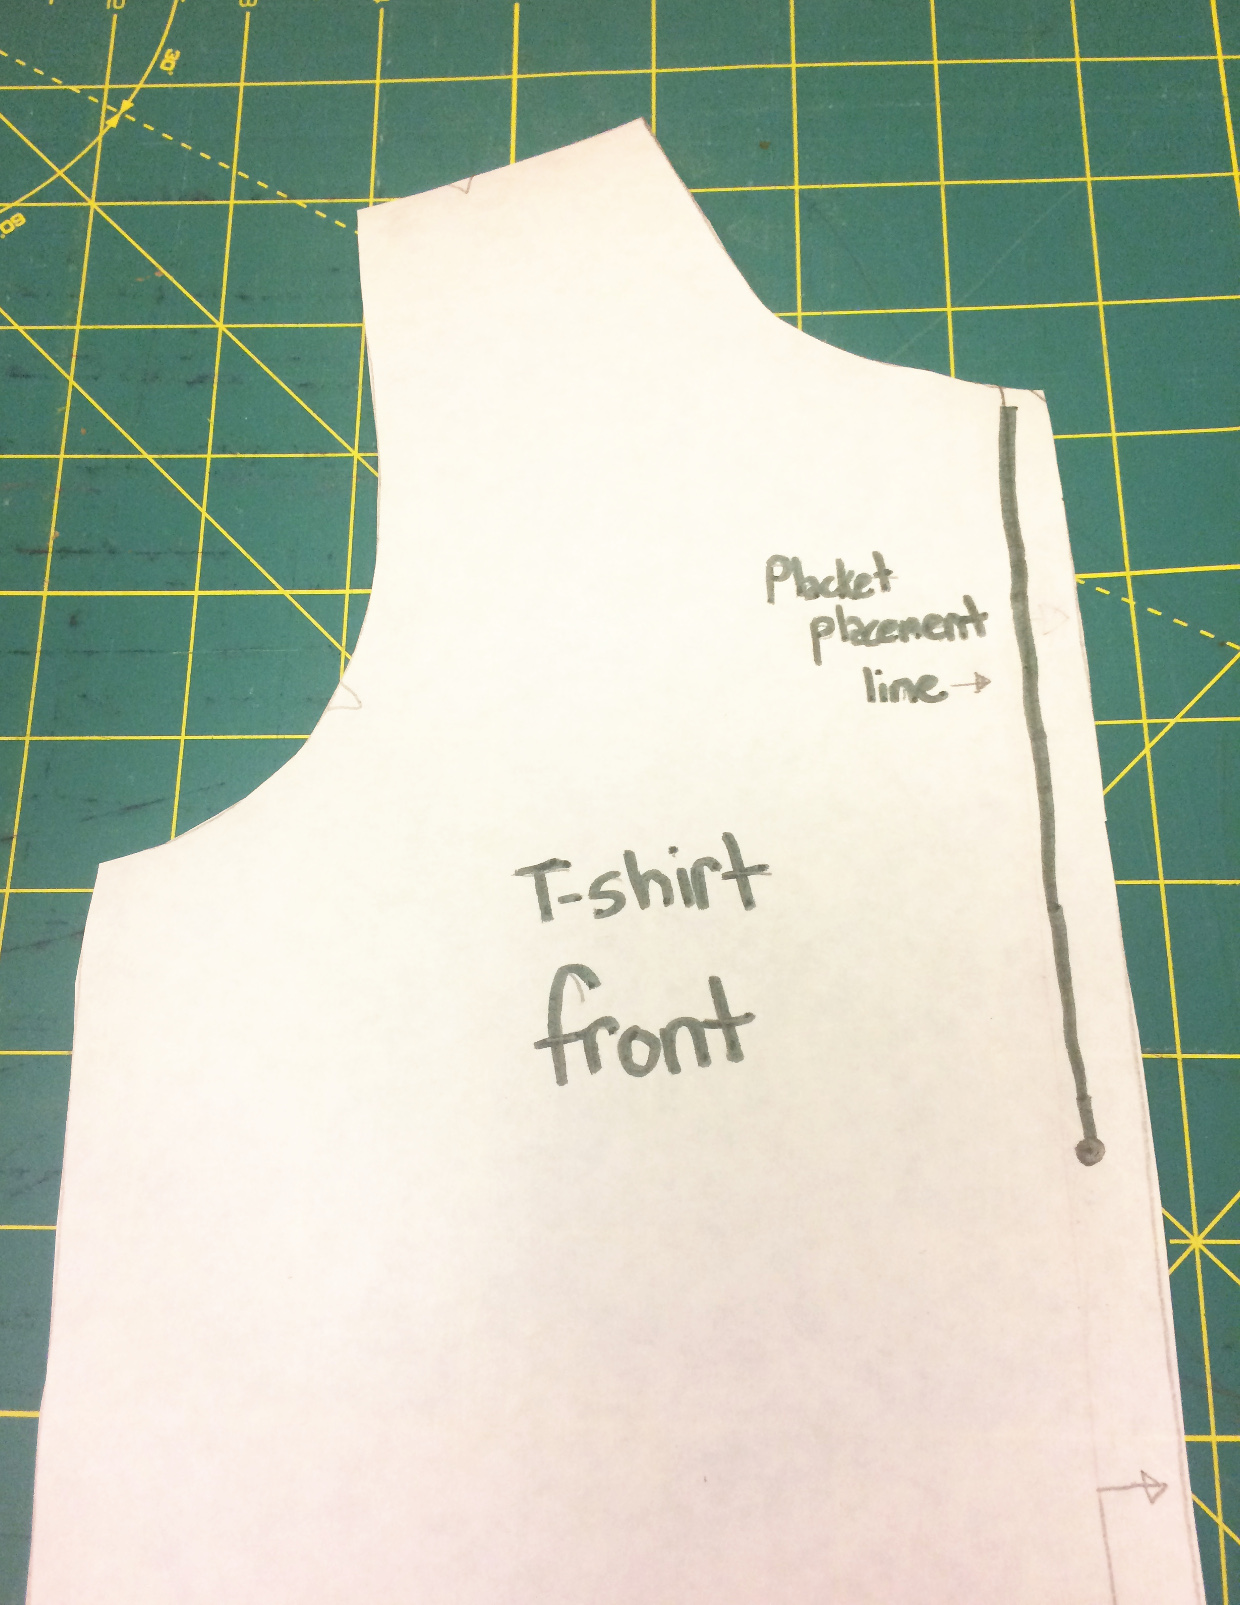
You also need to add the placket markings from the Parachute Polo shirt front piece to the School Bus T-Shirt front piece.
These are all the pieces you should have! Remember that the placket from the Parachute Polo is a woven, so you’ll need a small piece of a contrast woven. I used a very lightweight denim here and I’ve also used chambray and have loved both.
You will start sewing using your Parachute Polo instructions. Transfer your placket slash line and stabilize the shoulders, then skip to “Prepare the Front Placket.” Follow instructions until you finish the final step of “Sew the Placket.”
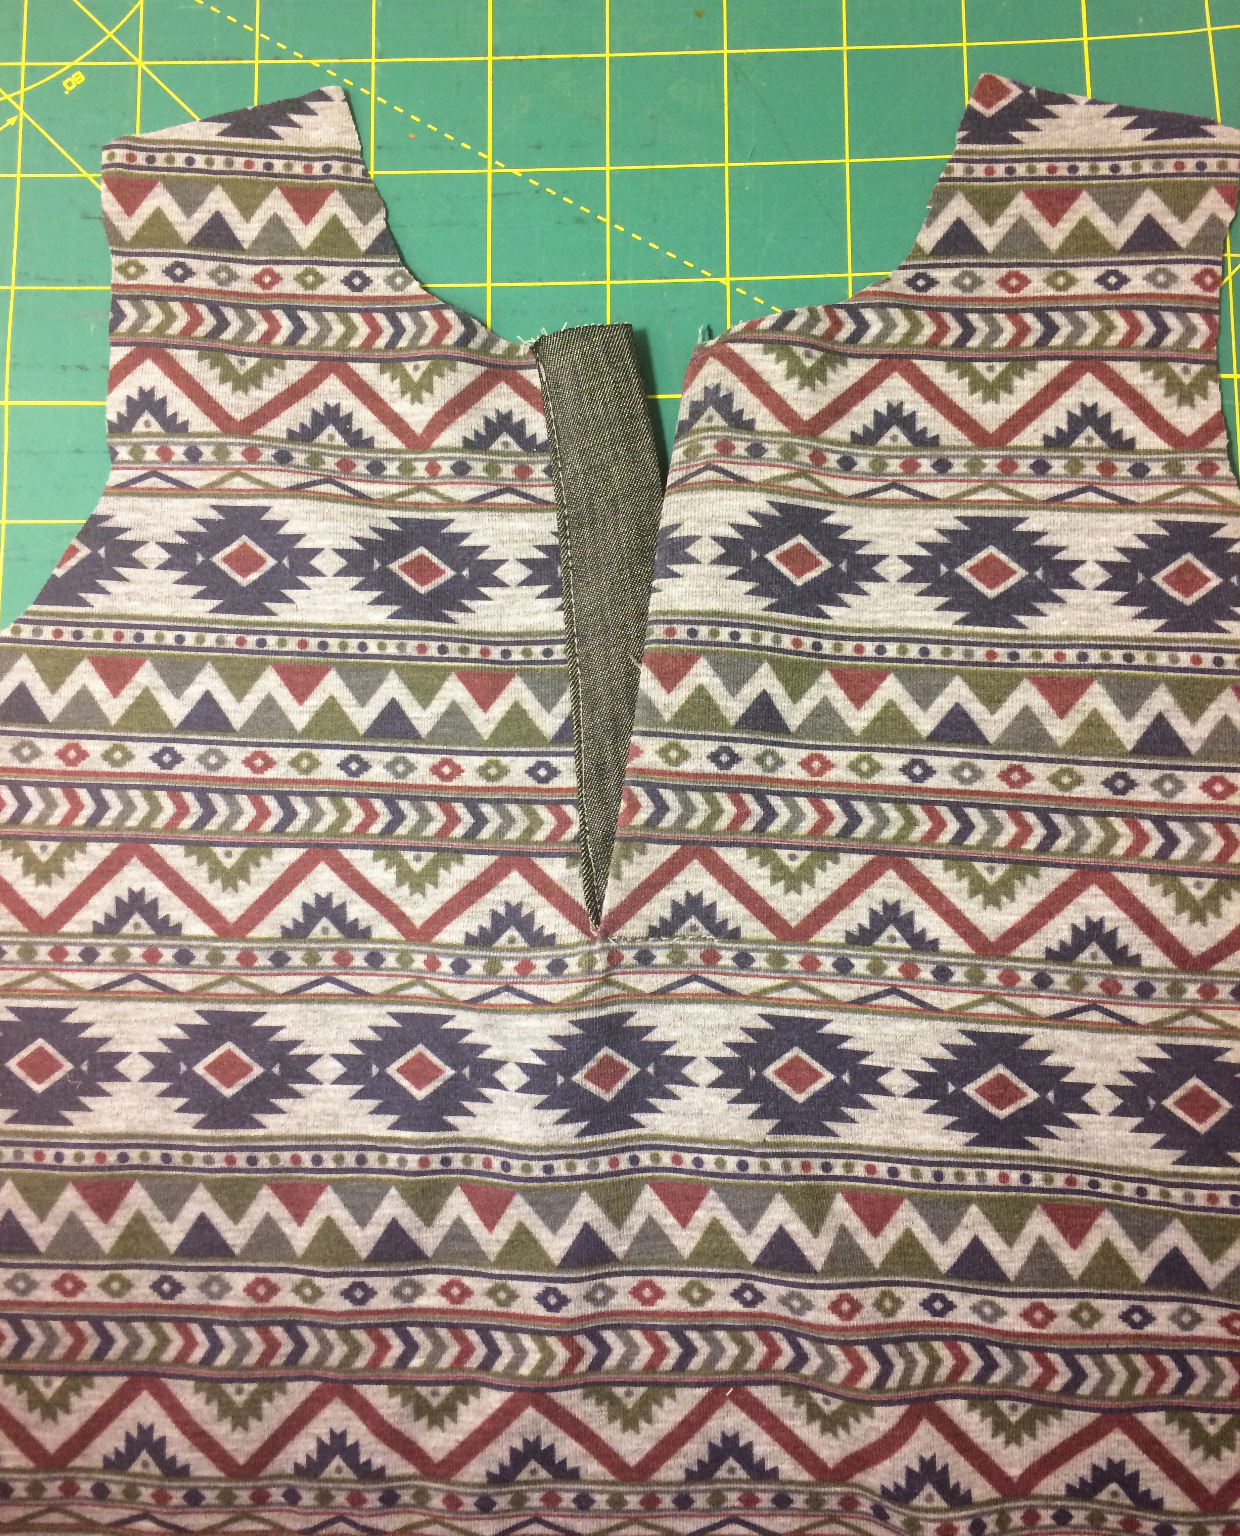
Congratulations! Right now you have a shirt front with a beautiful woven placket. Sew the shirt front to the shirt back, right sides together.
A henley generally has a different style of neckband than a standard t-shirt. It has rounded edges at the edge of the placket instead of going straight around. The next steps modify the neckband to give you those rounded edges.
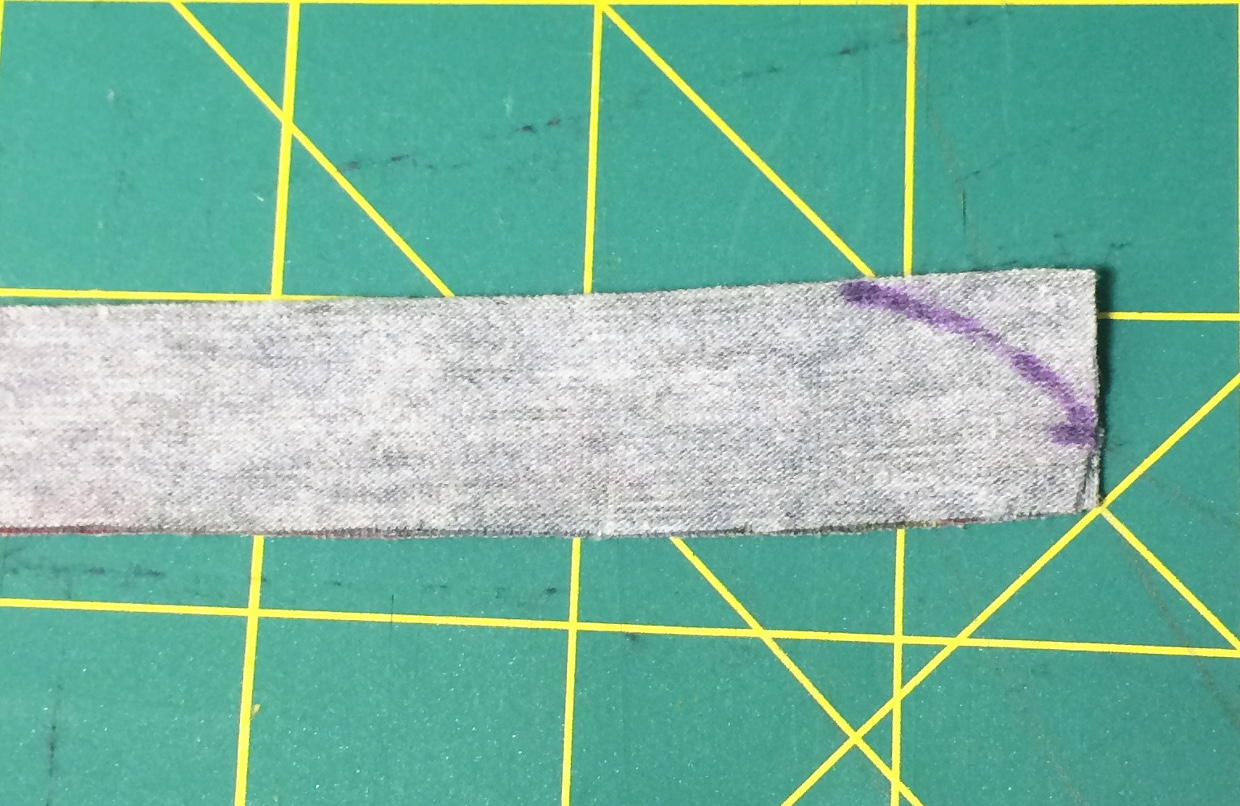
Fold your neckband right sides together. Mark your seam allowance (1/4″) at the bottom and mark where you would like your curve to begin on the top. I chose 3/4″, but the look of the curve is up to you. Use a marking pen to draw your curve.
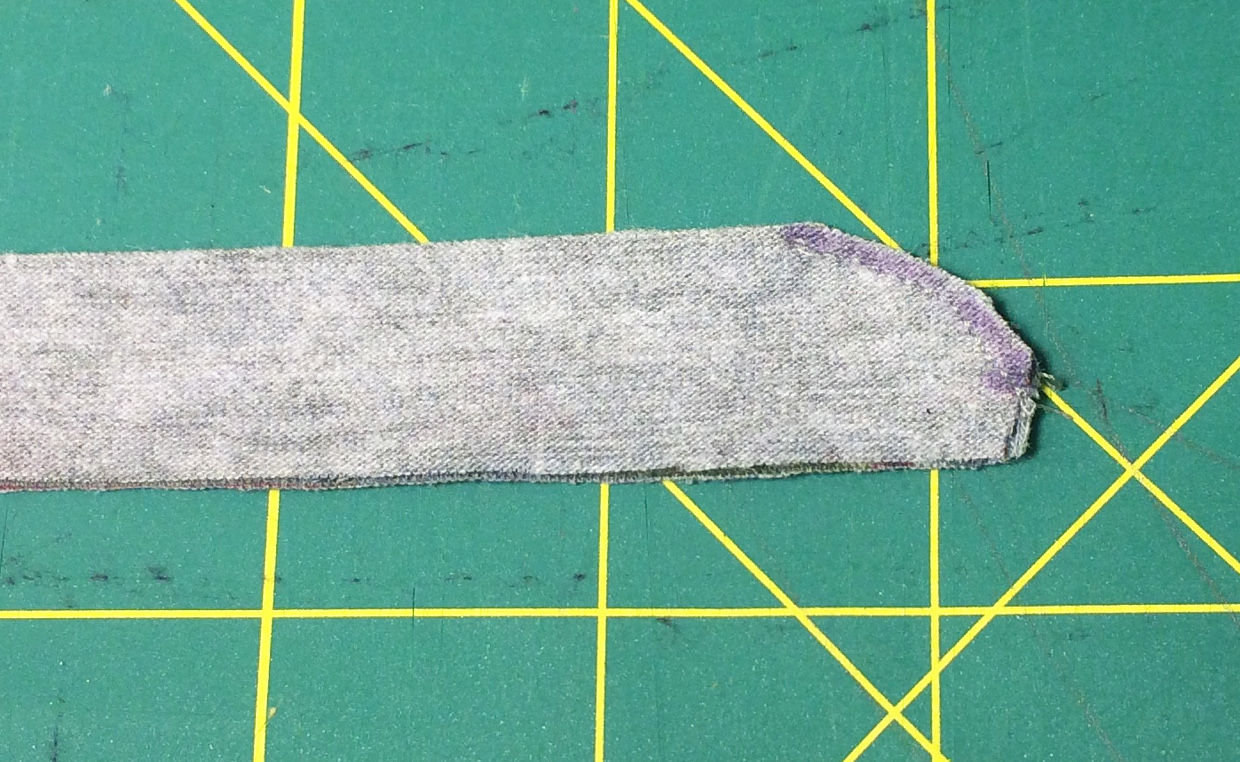
Sew along the line you drew and then sew straight down parallel to the short side at your seam-allowance marking. Having a straight edge here makes it much easier to attach the neckband in the next step!
Trim close to the sewn line. Repeat on the opposite side of the neckband. You should now have a neckband that is folded in half with two curved edges.

Flip your neckband right side out. Pin neckband to the right side of the shirt neckline, matching the curved ends of the neckband to the end of the placket on either side. Stretch the binding to fit the neckline and pin together at regular intervals. Stitch with a 1/4″ seam and finish with your preferred method.
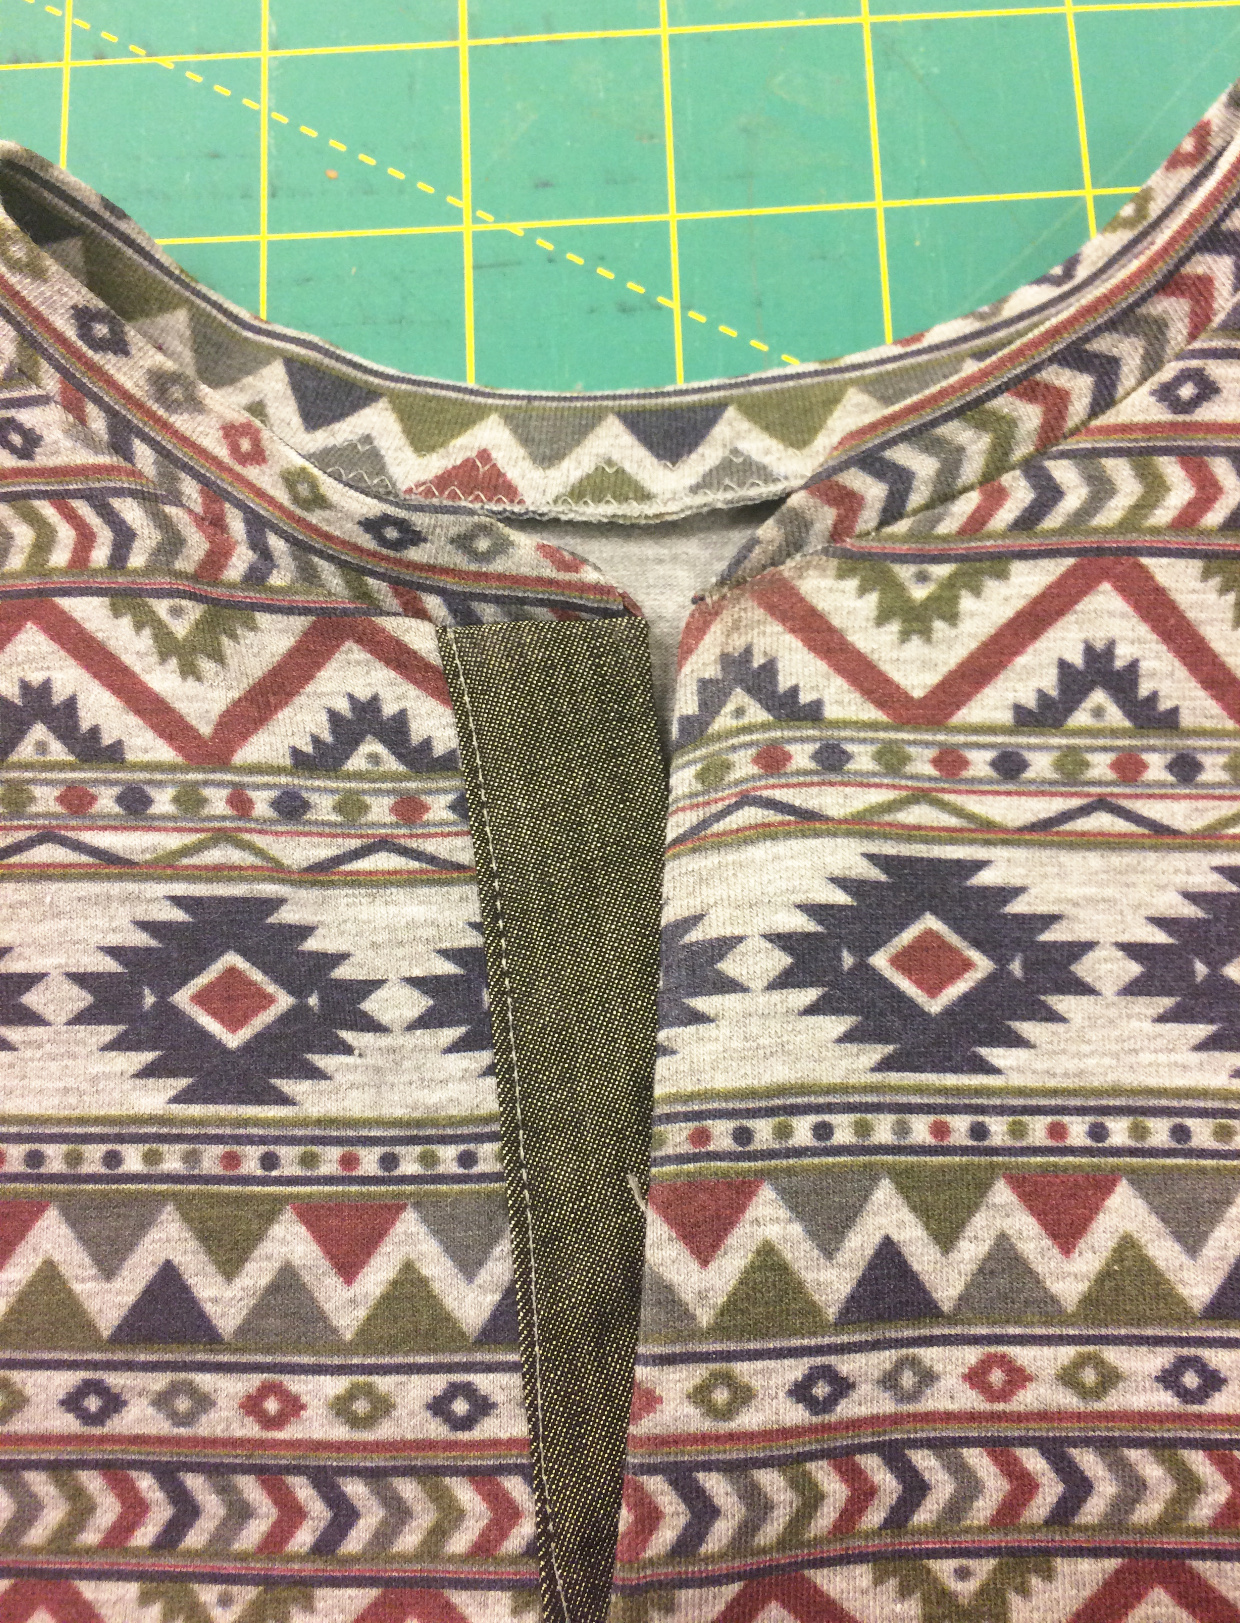
You will want to press the seam allowances toward the shirt and may also want to give it some steam. This is what your finished neckband will look like.
Finish sewing according to the school bus directions. Add buttonholes and buttons using the markings from the Parachute Polo.
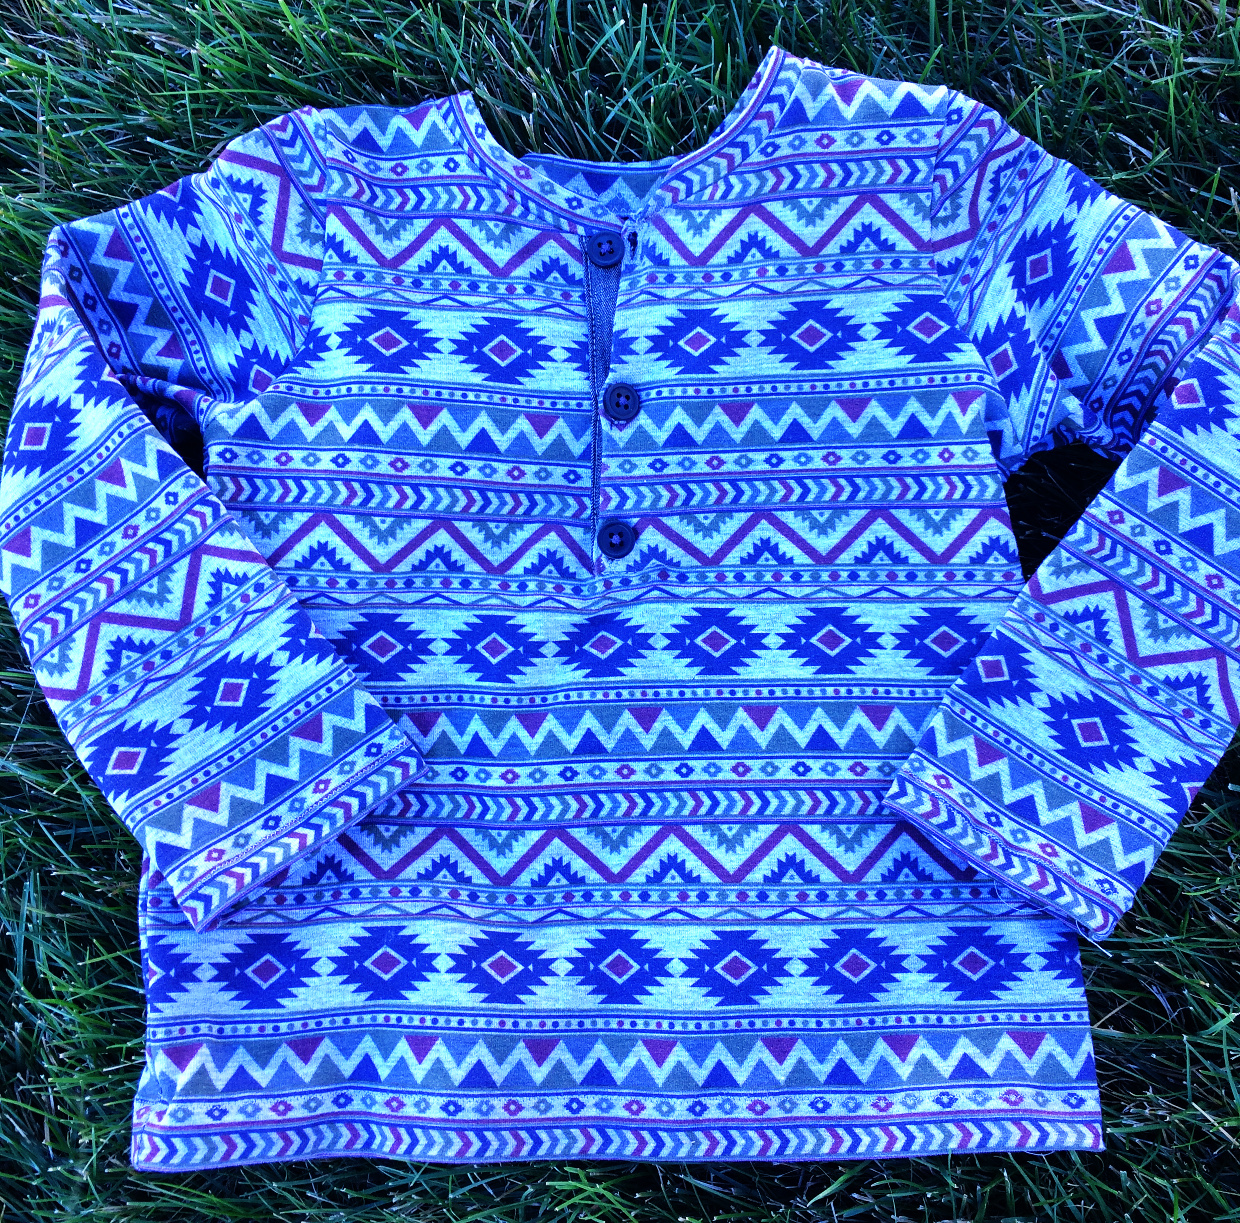
Congratulations! You have made a henley tee!


If you enjoyed this post, you might also like our 20 T-shirt Tutorials.
thanks for this tutorial- I have been wanting to make a henley for my son. Now I just have to figure out the larger-sized placket to go with a man’s metro T since he’s gotten gigantic lately 😉
very cute shirts, even cuter boy!