We are excited to welcome back Meagan. She stopped by with her faux chenille yoke and marbled yoke tutorials, and now she has a ruffled sleeve tutorial. 2017 seems to have become the year of the sleeve, so now is the time to have fun with sleeves and make a statement. Ruffled sleeves would work for women, too. Try the Maritime Top or Bento Tee. Is there anyone who would like to sew up a women’s version to share with everyone? Let us know. Now I’ll hand it over to Meagan.
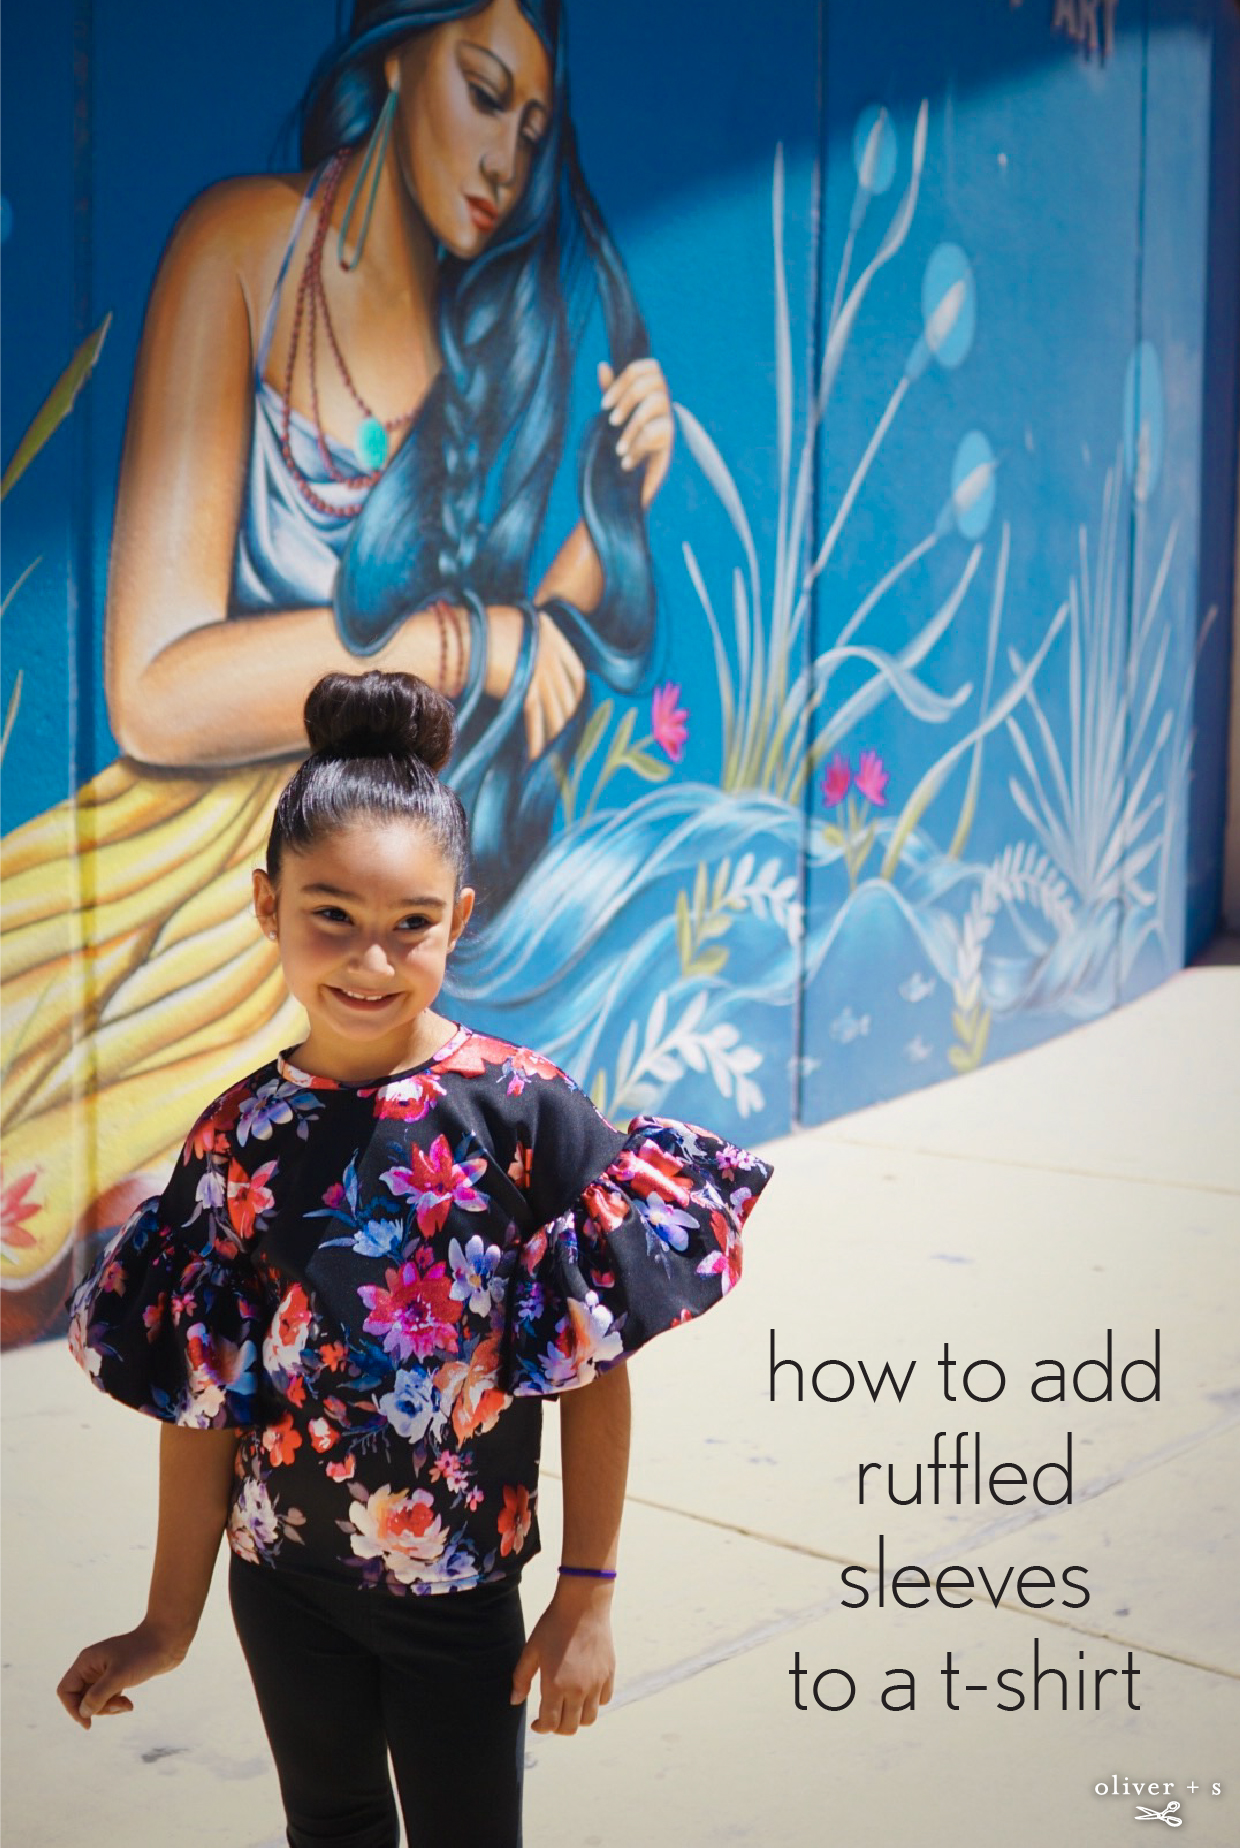
I’m so excited to be back on the blog today. I have a fun tutorial for a ruffled sleeve Lunch Box Tee. I’ve had the urge to make Ava a ruffled sleeve top that I’ve been seeing trending around lately. That’s when the Lunch Box Tee pattern popped in my head, which I’ve used many many times. I even shared my love for it on a previous blog post here.
It has such a great base shape that I knew would lend itself well for what I was going for. I decided to follow the pattern for everything else aside from the sleeves. I’ve used this technique twice thus far. I originally made it with a crushed velvet fabric, which turned out great, you can check that out here.
Today I’ll be sharing my second attempt, this time I decided to use a thicker floral print scuba knit fabric and add a bit more volume to the sleeves. To start, construct the Lunch Box Tee following the pattern instructions with the only exception being to leave the sleeves off.
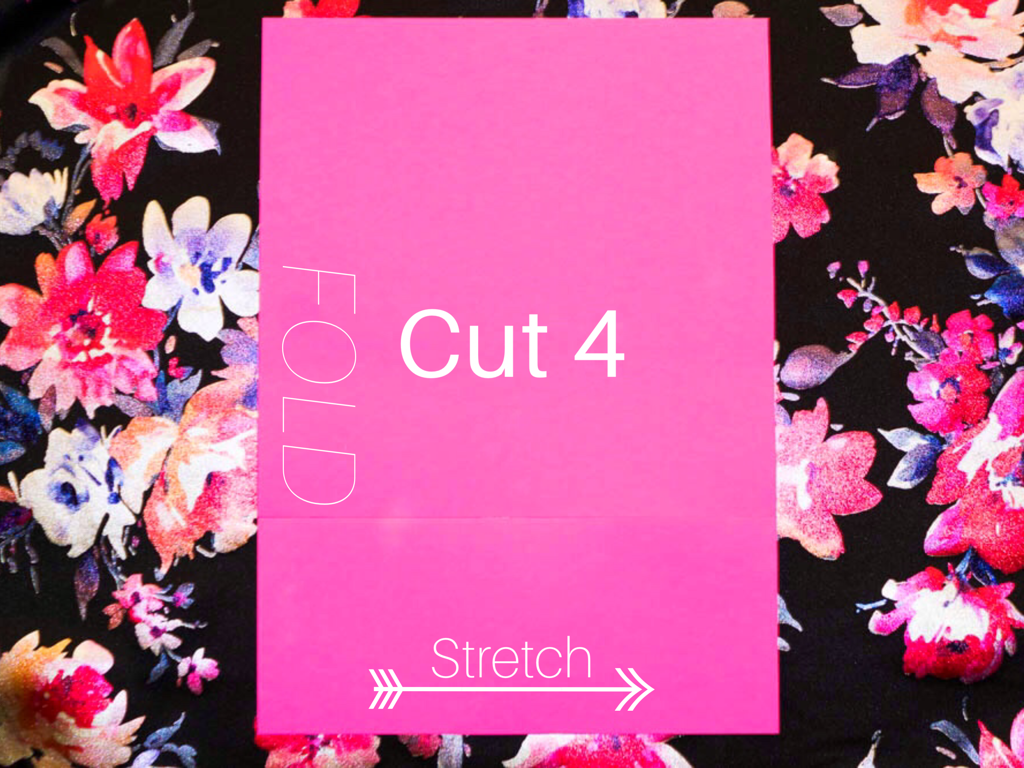
To achieve the gathered effect in the sleeves, l drafted a simple rectangular pattern. For the width, I measured the sleeve opening of the front piece on the Lunch Box Tee pattern. I took this number and multiplied it by three. Then I divided this number by two so that I’d have the measurements for a pattern piece that can be cut on the fold. For the height of the sleeves, I measured where I’d like for the sleeves to hit on Ava’s arm, for her that was around 6″. Since I wanted as much volume as possible, I doubled the length so that instead of hemming the bottom, I could just fold it in half. Once you have your pattern cut out, you need to cut four pieces on the fold.
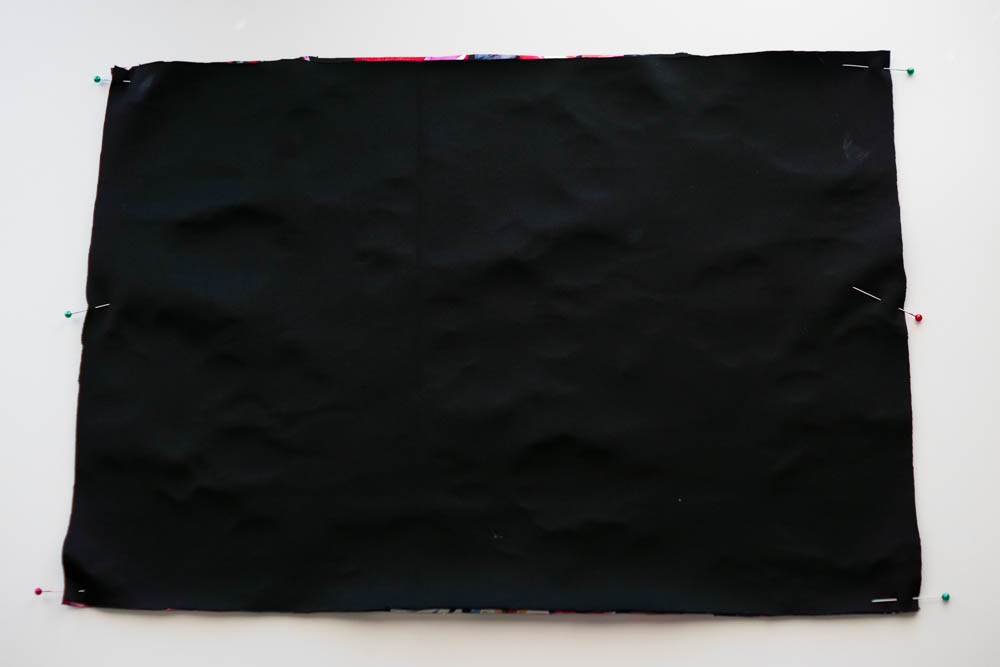
Then, place them right sides together and sew up the sides, forming a loop. Don’t forget to press and trim your seams!
Next, fold your loop up against itself wrong sides together.
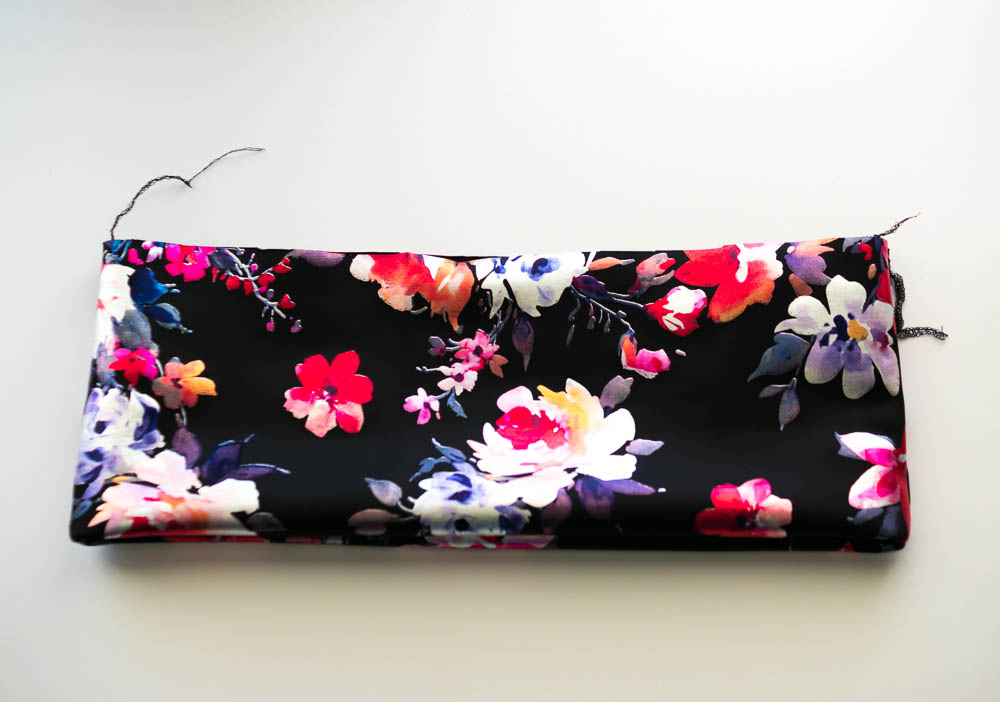
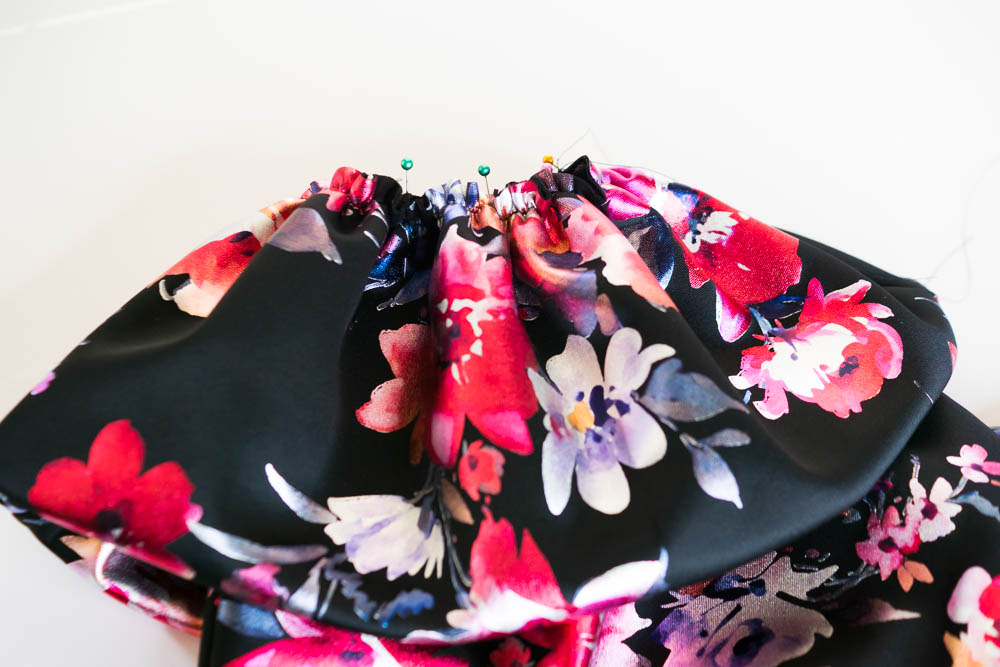
Now, sew two rows of basting stitches across the top so you can gather it to fit on the sleeve opening of the tee.

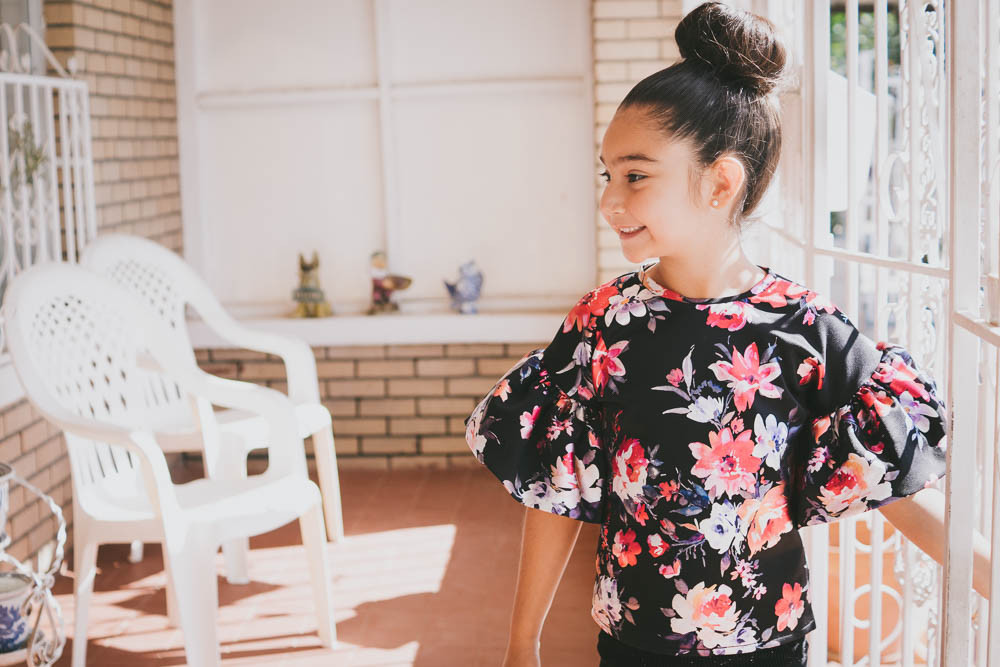
Sew the sleeves on to the tee right sides together and voilà! You’re done!
For me this was the trickiest part because my fabric was so thick. I may or may not have had a needle break off and fly at my cheek. Sewing can be a dangerous hobby! Haha!

All in all, once you get past the measurements and calculations, it’s a super simple project. It’s awesome what a small change can do to transform a pattern. I was very pleased with how this top came out. It definitely has the ruffled sleeve factor I was going for. It was also exciting to see how the different fabric choices affected what the overall shape and form a piece can take. The velvet version I made draped softly, weighing down the sleeves while the scuba knit version held the volume of the sleeves very well, giving it a more exaggerated full bell shape. The options are endless and can be used in so many ways.
Thanks so much for having me!
Simply beautiful! Thank you!