Shelley, everyone’s favorite pattern modifier, is back with us on the blog today to share a fun tutorial for adding cuffs on knit patterns in order to make pajamas. This would be a perfect project for any time of the year but especially right now for Christmas pajamas, since now is a good time to start holiday sewing. Keep in mind that for babies and toddlers, you could use the Lullaby Layette pants for pajama bottoms using this tutorial. Now I’ll hand it over to Shelley.
When I joined the Oliver + S community I learned of this lovely North American tradition of sewing a new pair of pajamas for the kids for Christmas. While I think the ruffled version of the Sleepover Pajamas should be on everyone’s sewing bucket list, I know how busy we can all get in December and that’s not a project to be started after the 20th!
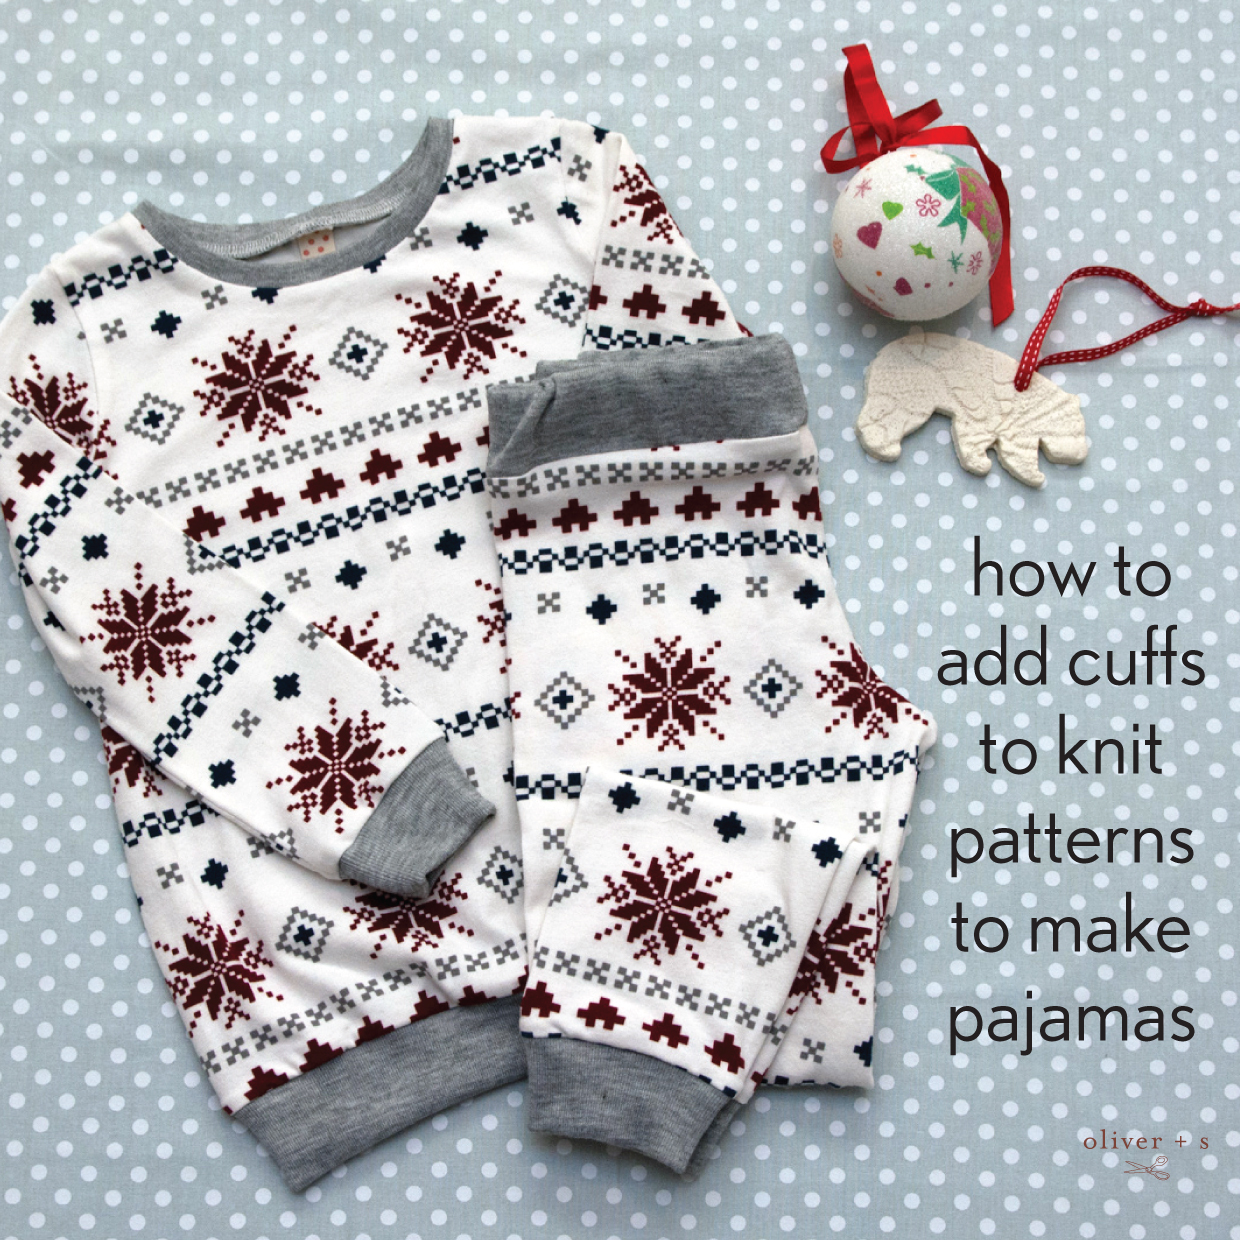
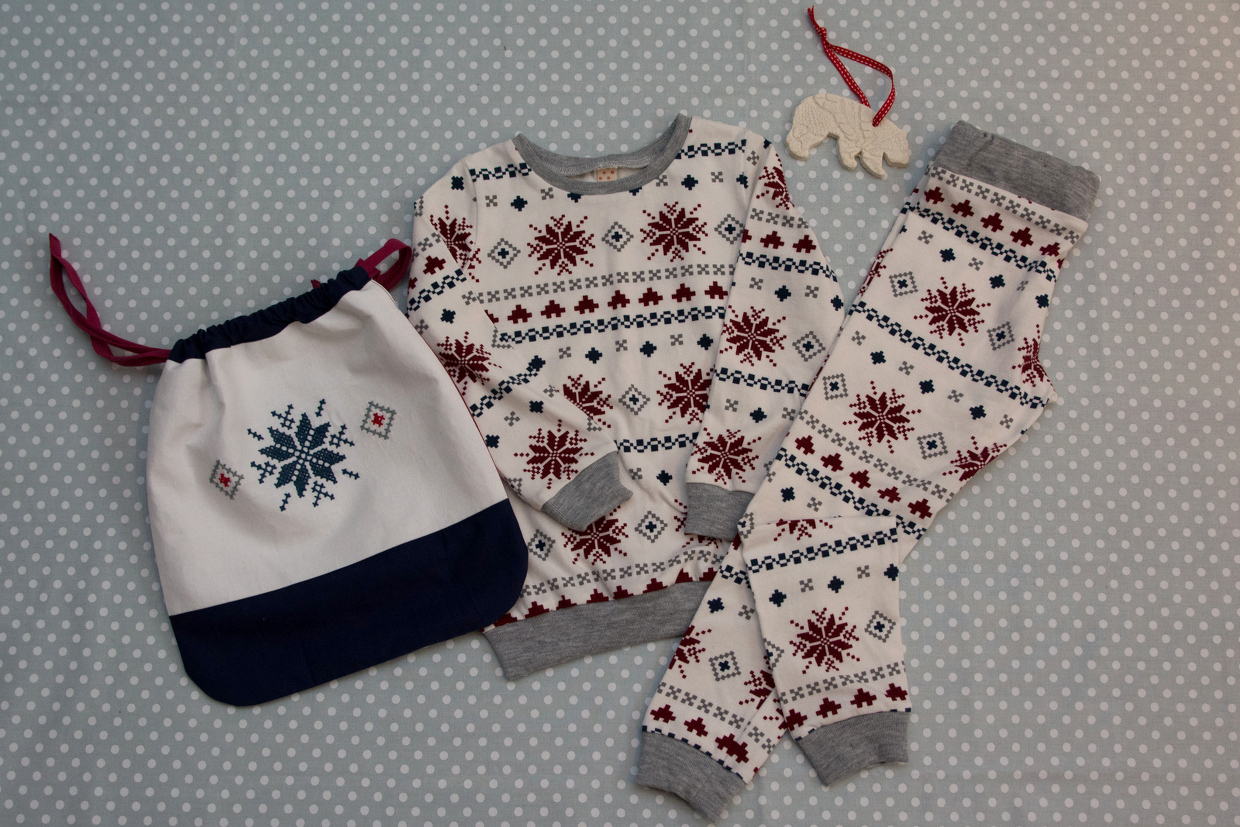
So, here’s a really quick and easy way to make some new Christmas pajamas. Just add cuffs to a School Bus T-Shirt and a pair of Playtime leggings. But of course, adding cuffs isn’t just about pajamas. A cuff can also be a great way to extend the life of a long-sleeved tee or a pair of leggings if your kids grow up faster than they grow out.
What makes them look like pajamas? I think it’s down to the tops and bottoms matching and the fabric you choose. But hey, if your kid wants to pair jeans with that pajama top, or throw a skirt over those pajama leggings, who’s to know they’re not dressed for the day!
The “technique” for adding cuffs is exactly the same as how you attach the neckband. It’s perfectly set out in the School Bus T-Shirt pattern instructions, the only difference being that the circumference of the cuff is much smaller and hence it’s slightly fiddlier. Be sure to use either a stretch stitch on your sewing machine or use your serger so that hands and feet can easily get through.
What I will talk about is how to determine the dimensions for your cuff pattern pieces. The first thing to consider is how deep you want the cuff to be. It’s entirely your choice and simply a matter of aesthetics. Anywhere from ½” up to 2 or even 3 inches can work. For the pajamas I’ve sewn here I’ve chosen a cuff that is 1 3/4” deep, yet for the short summer versions on my kids I went with a slightly narrower 1 ¼”.
The height of your cuff pattern piece needs to be twice the desired cuff depth plus ½”. Then, when it is folded in half lengthwise there is a ¼” seam allowance for attaching the cuff.
If you’re lengthening an outgrown T-shirt, or sewing for kids with monkey limbs (like mine!) then you may not make any changes to the sleeve length. To achieve the length as per the pattern you trim your pattern piece as follows:
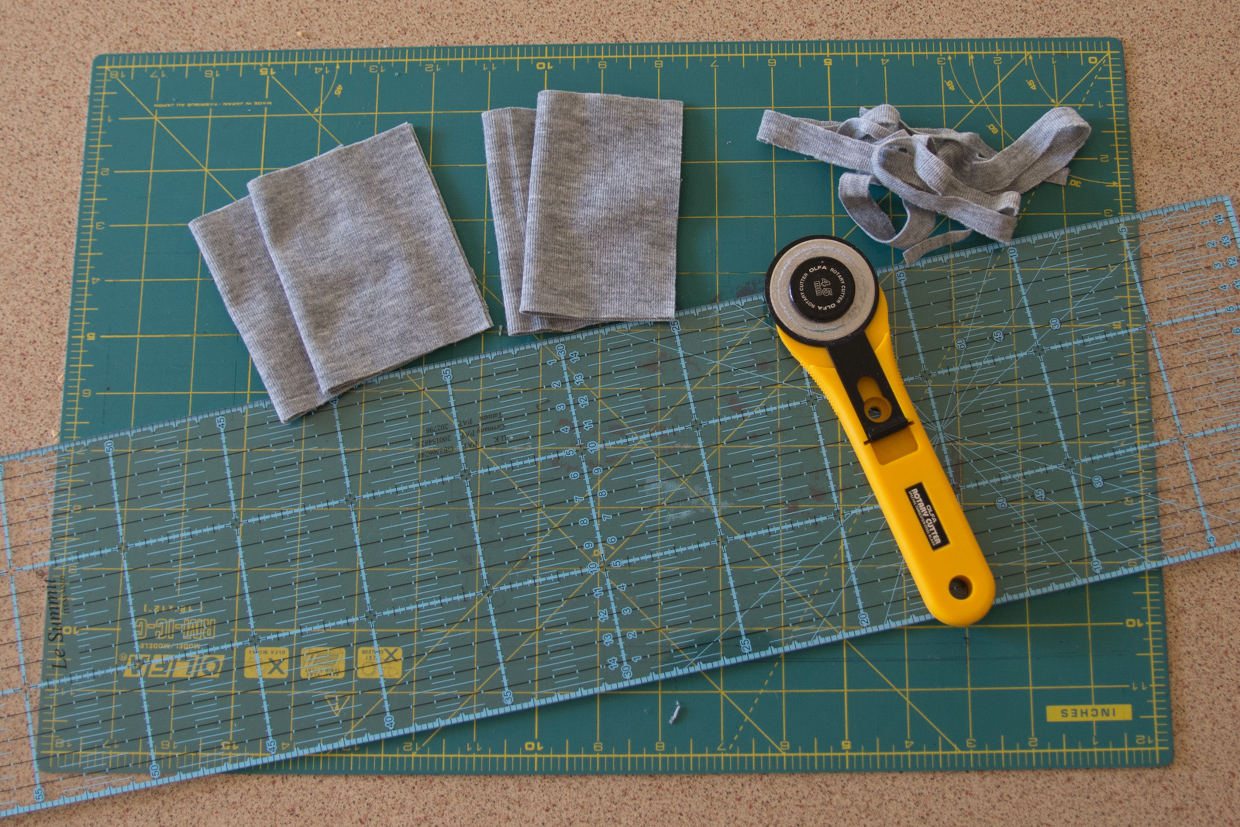
Cut the cuff depth plus ½ an inch from the bottom of the sleeve and the same for the hem of the leggings.
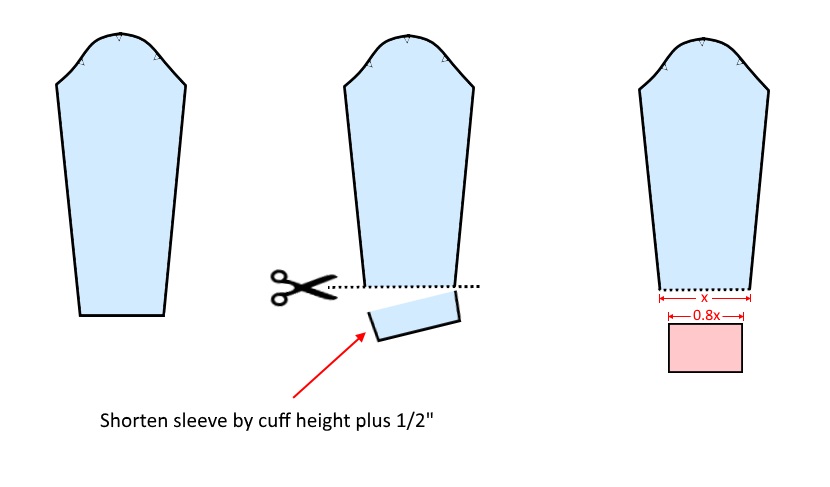 The width of the cuff piece doesn’t need to be precise, I’ve cut mine at about 80% of the width of the new bottom edge. In the same way, a band can be added to the bottom of the T-shirt saving any requirement for hemming.
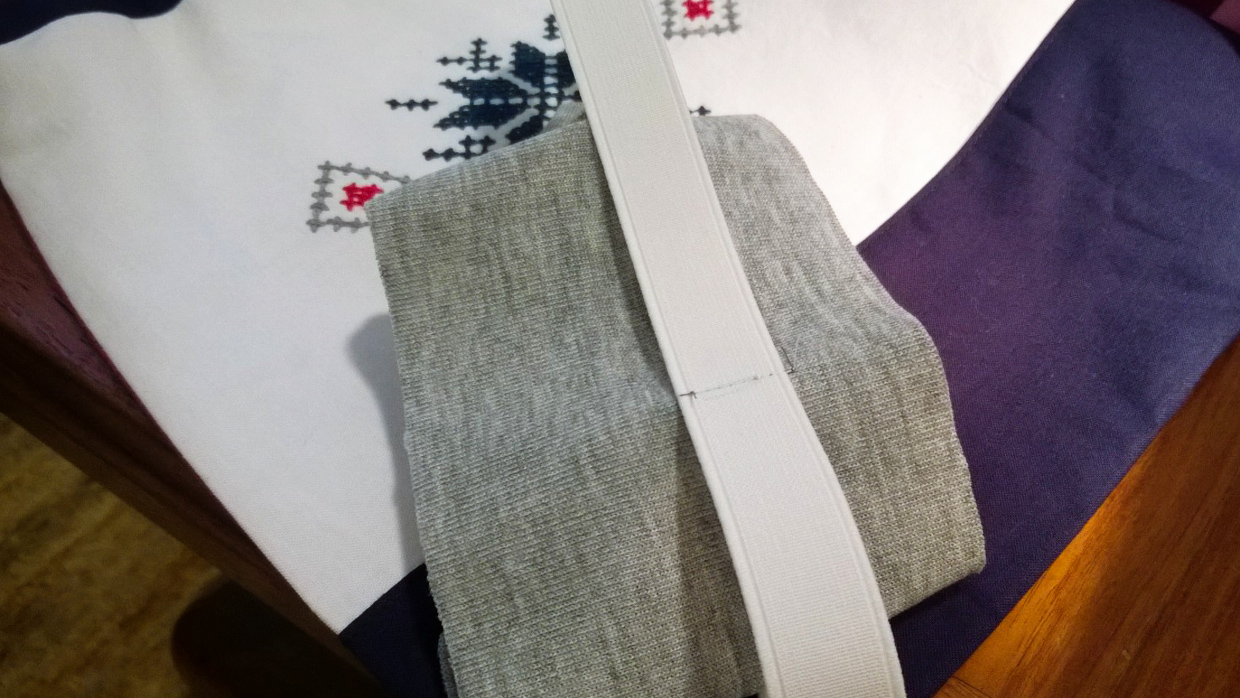
Finally, you can even add a cuff style waistband at the top of the leggings. Normally the top waist edge is folded to the inside by 1”. We’ll remove that one inch, plus the height of our waistband, but then add back in ¼” for seam allowance.
The waistband elastic is sewn into a loop, then marked into quarters. Mark the waistband cuff similarly. Align the join in the elastic with the back of the waistband, then stitch the elastic at the sides, where marked, to the sides of the waistband. This will stop the elastic from twisting or rolling inside the waistband.
If that looks familiar, it’s because it’s exactly how you do the waistband and elastic in the Nature Walk pants pattern. And of course, they would make a great alternative pajama pants pattern.
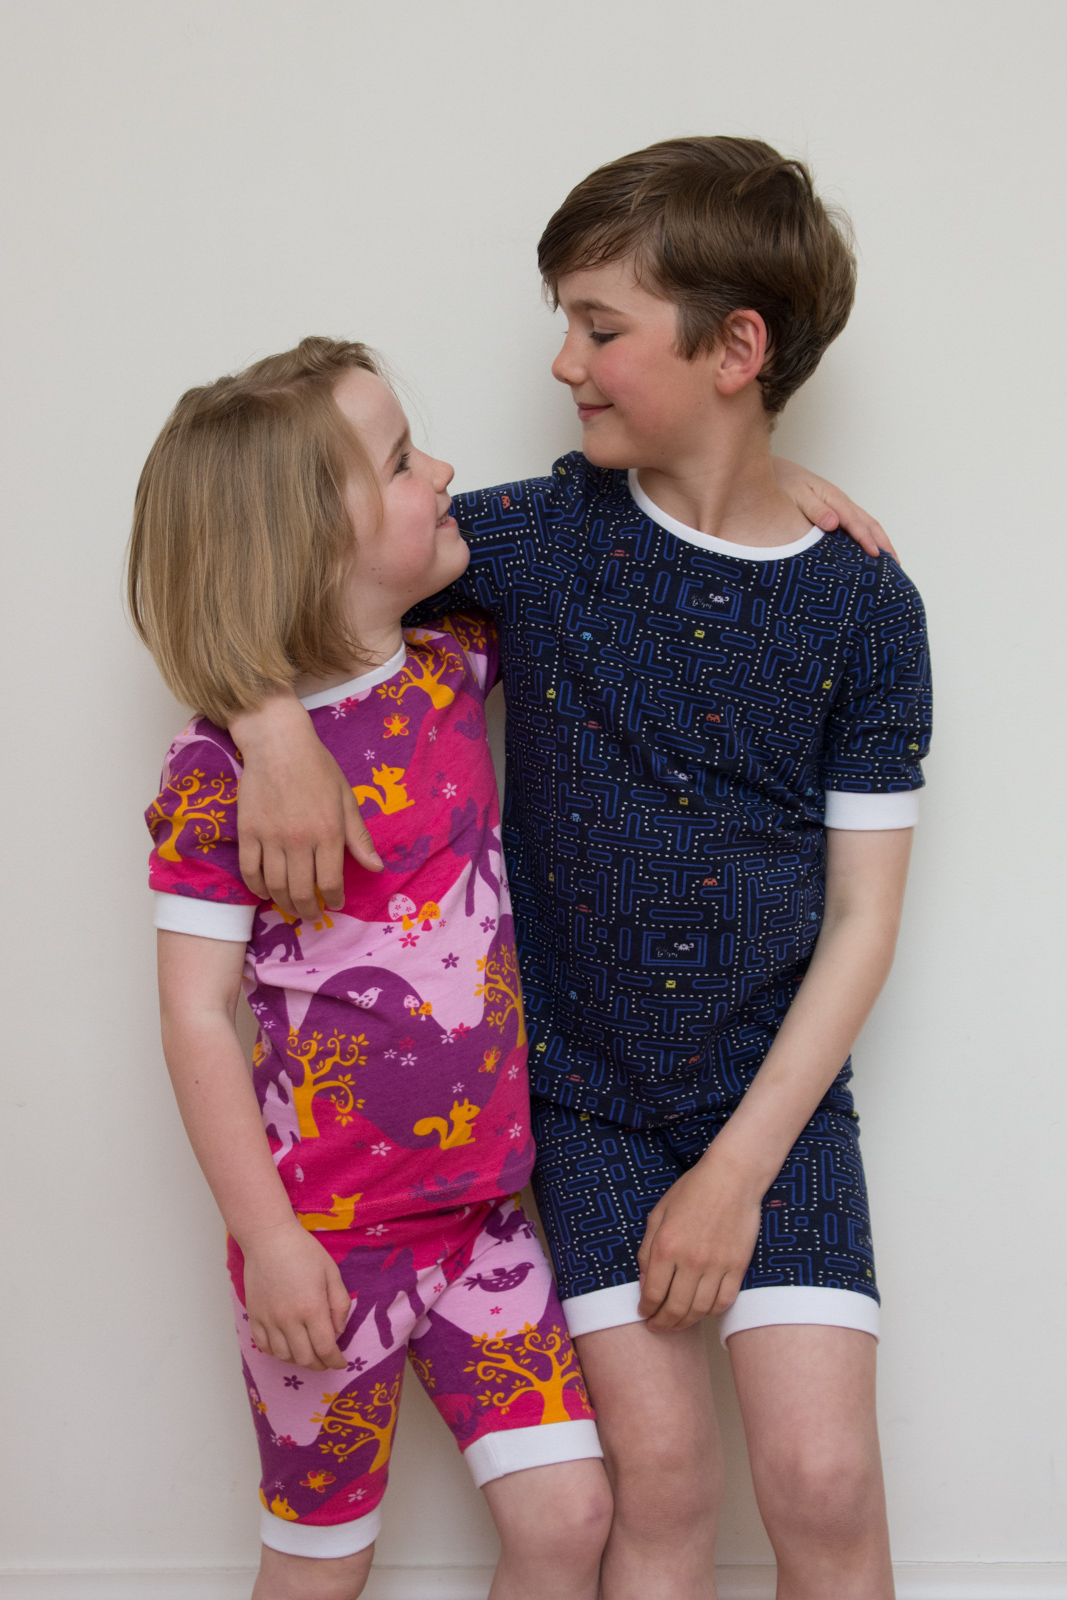
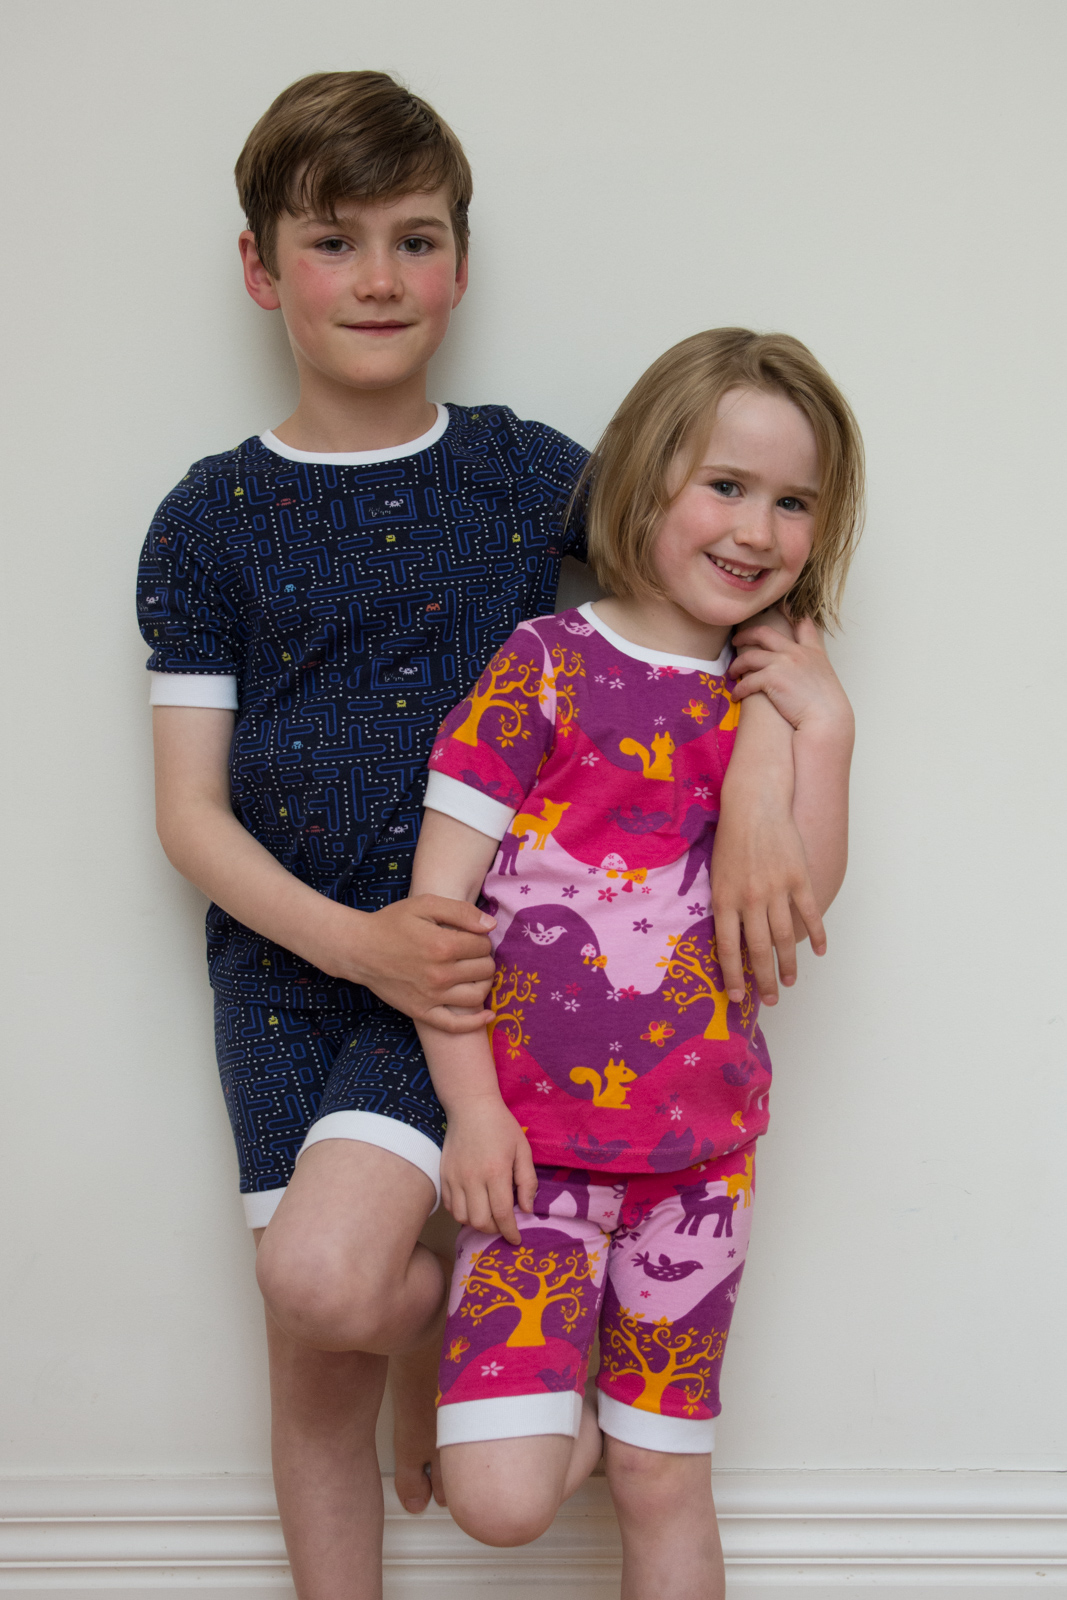
Since it’s heading into summer in Australia I went with short sleeves and short legs for my kid’s pajamas. Both kids measure true to Oliver + S sizing for their age, and you can see the leggings are perfectly snug. If your kid prefers looser pants (especially the boys?) consider sizing up on the leggings, or using the Nature Walk pants instead.
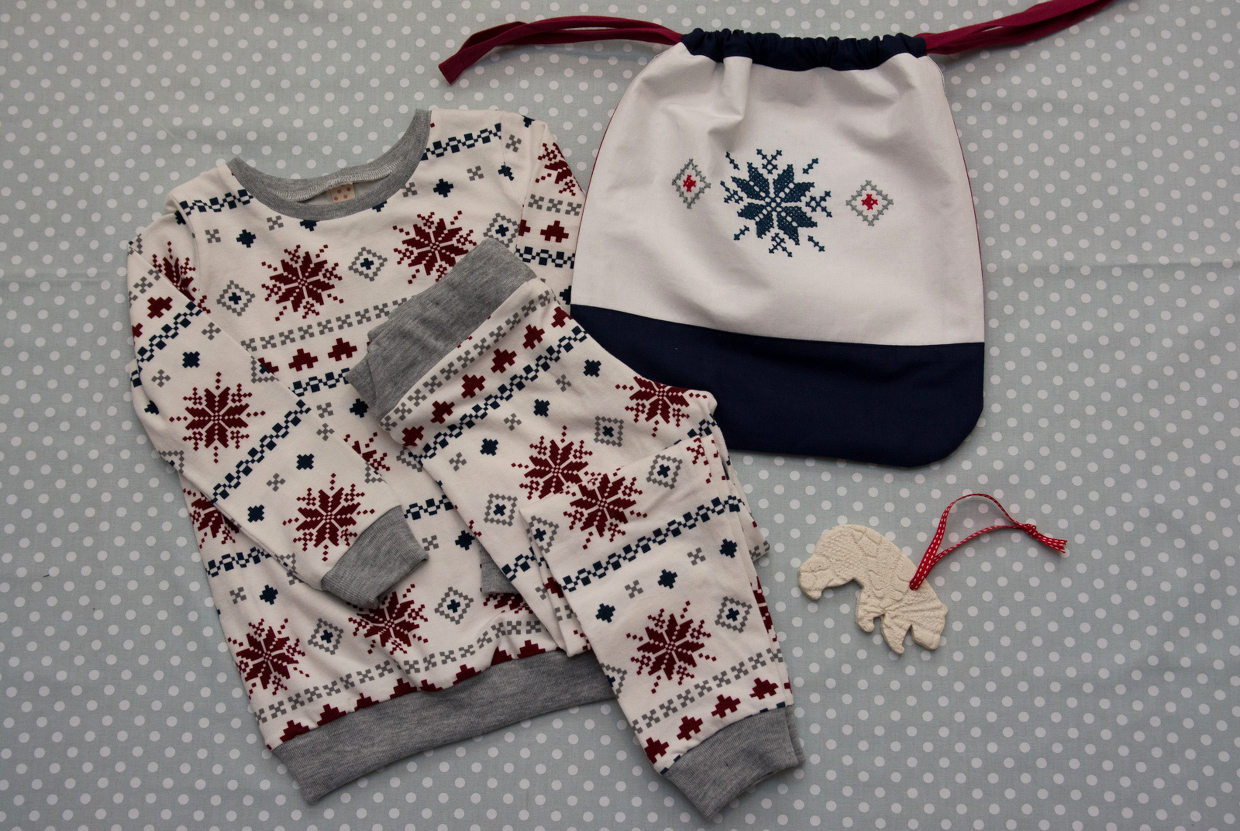
Finally, don’t forget that if you’re presenting these as special Christmas pajamas, nothing beats a matching drawstring bag from Little Things To Sew to pop them in.
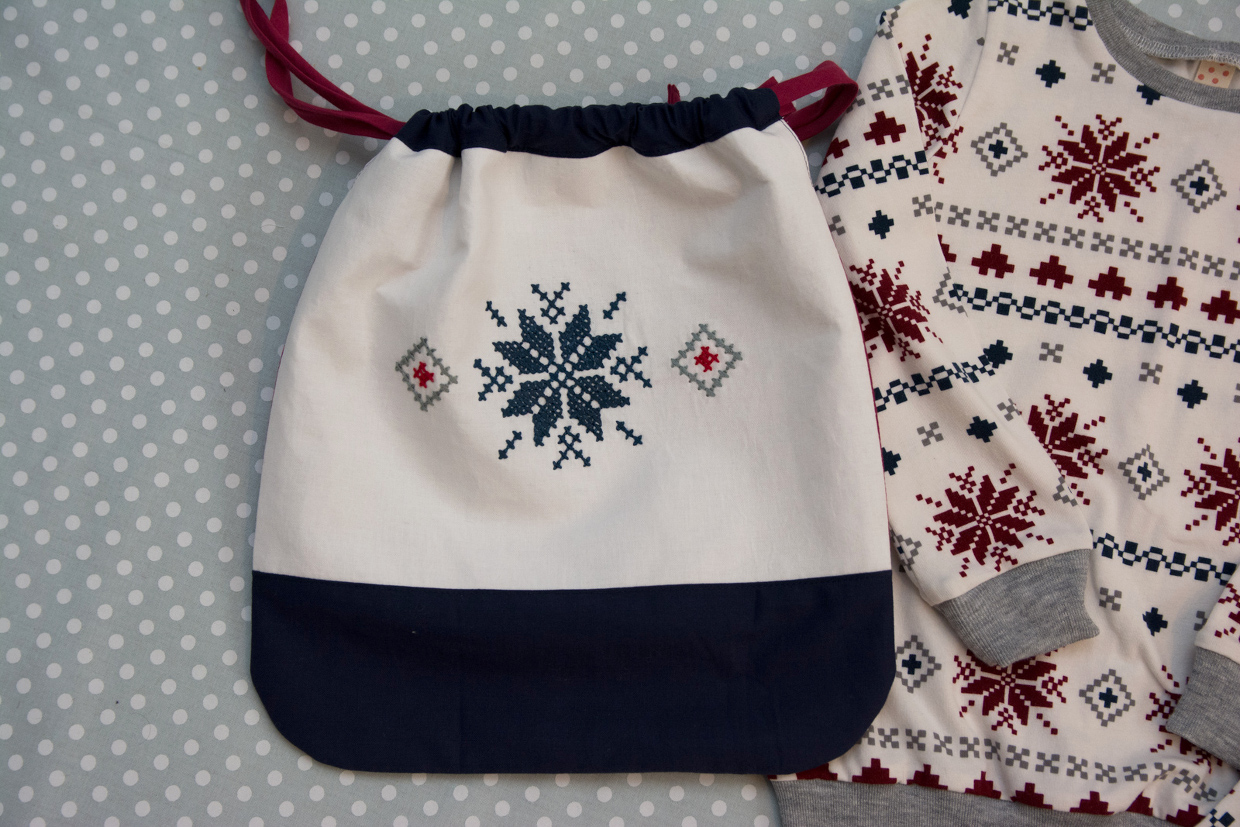
When I discovered my scraps bucket had all the right fabric colours and some embroidery floss I couldn’t help myself but embellish the bag. I’ve used waste canvas to mark out the grid for my cross stitch. Watching that stuff disappear in warm water and seeing my stitching remain is a bit of Christmas magic right there!
Warm, snuggly pajamas and snowflakes don’t suit our Aussie Christmas at all, but I loved the idea of sewing some Christmas pajamas and joining in with this lovely tradition. If you’re curious to know who they’ll be gifted to now that they’re made, then visit my blog Bartacks and Singletrack.
If you haven’t tried sewing with knits yet, or if you’re nervous about hemming knits then I’d be delighted if I’ve inspired you to give it a go. Cuffs are not just a design element but also a secret way of making knit sewing even easier.
Thanks Shelley!
If you enjoyed this post, you may also like:
- Holiday PJs
- Inspiration: Holiday Pajamas
- Christmas PJs
- Fabric Ideas for Holiday Sewing
- Lettuce Hem Using a Serger
- Lettuce Hem by Sewing Machine
- Sew and Tell: Lisette Pajamas B6296
Thanks! What a great, easy tutorial.
Thank you Gwen. Sometimes simple and easy is the best.
Darling!
Thanks Emily. Nothing says “love” quite like handmade pajamas!
I also use this when making pants for my baby (3 months). The cuffs in the bottom stop the pants riding up and the ‘cuff’on the top is perfect for giving a bit of extra room over cloth nappies. It even works well with woven pants (they end up kind of gathered). I haven’t tried putting elastic in the top though – rather relying on the stretch of the knit. I’ll give it a go. It’s good to see the tutorial- as I usually just fumble through.
For a baby you can probably get away with omitting the elastic, but I’ve made a bunch of these for my 2-year-old, and without elastic, I don’t think they’d stay up!
That’s great Stacey, of course adding the waistband ON TOP of the regular rise is perfect for getting up and over a nice big, nappy covered backside!
I agree with Enbee though, that without that big butt they may not stay up without elastic
I love the knits you chose! Fun tutorial…hope I have time this season to sew some jammies for my kids.
This is perfect! I was *this* close to asking how to add cuffs and had even searched the forums looking for an answer. My kids love Hanna Andersson pajamas and I have been wanting to try my hand at sewing something similar.
Love the snowflake fabric where can i buy that.