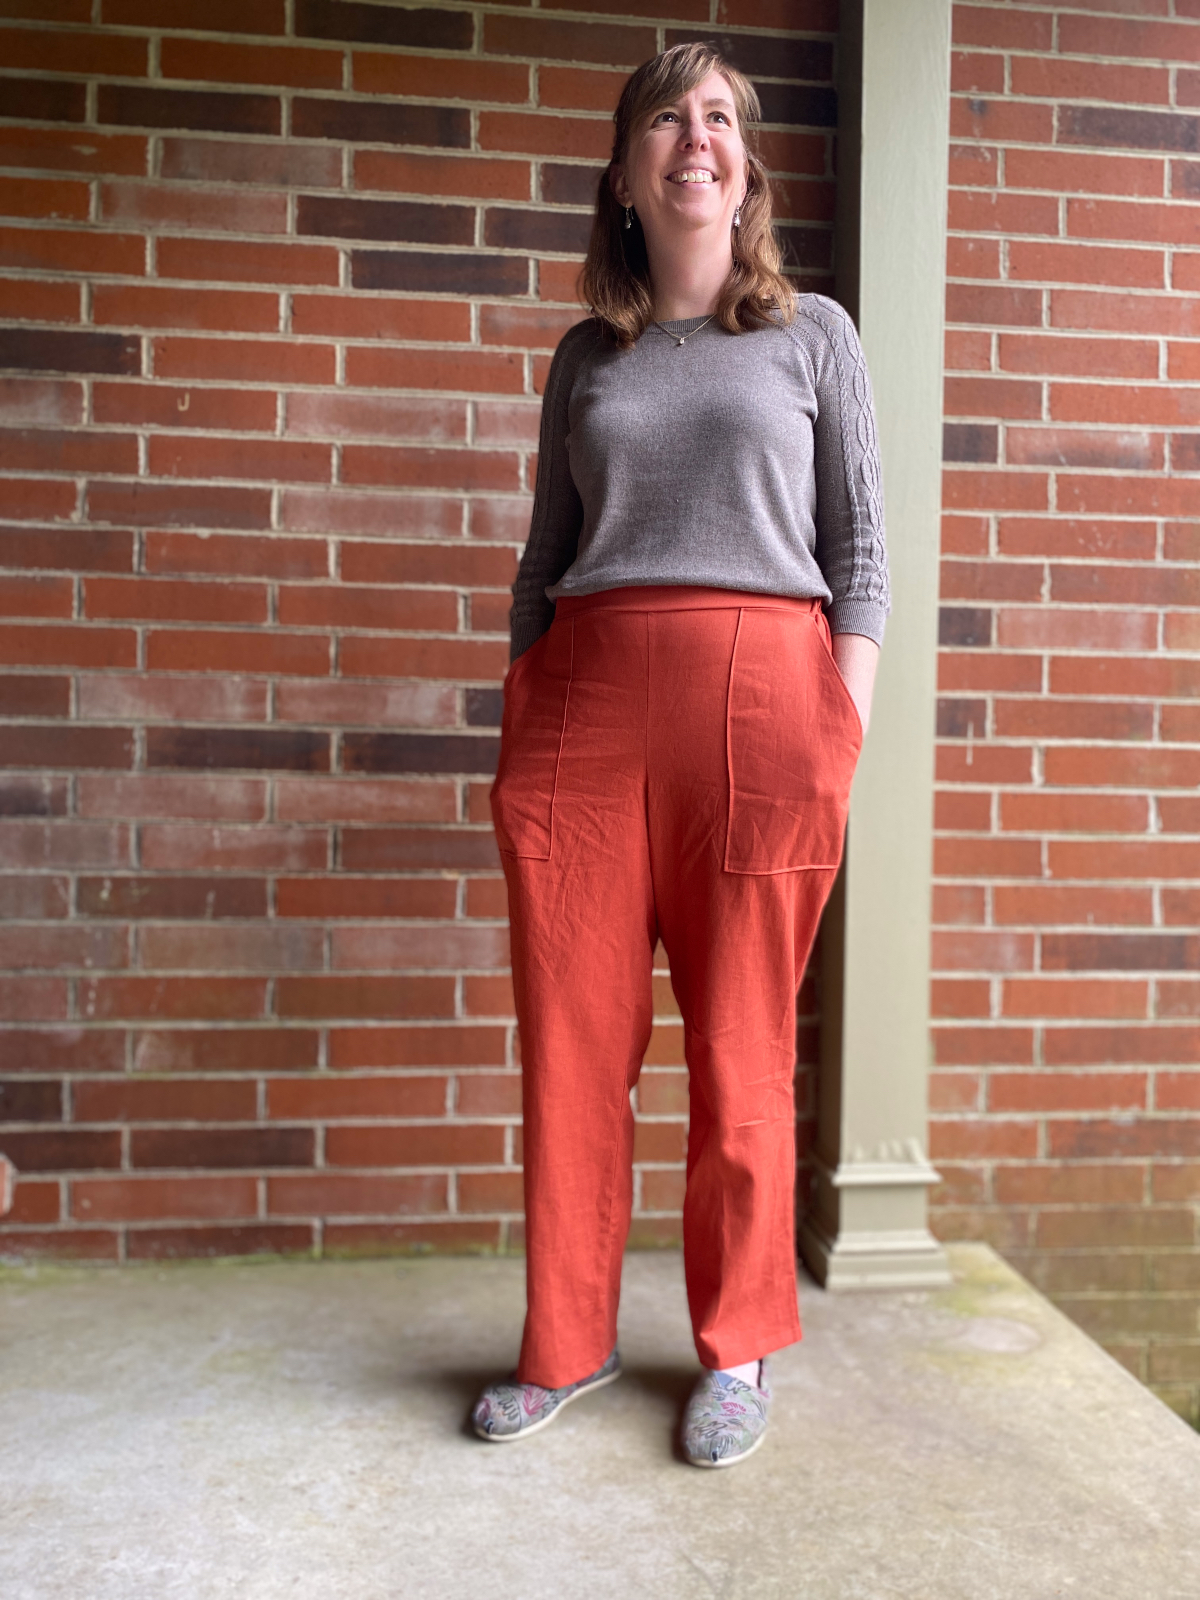
Our Advisor, Aimee, wanted a pair of flat-front pants, so she altered the Montauk Trousers pattern and ended up with a gorgeous wardrobe staple to carry her through the warm months. She walks you through her process in this post.
When I saw the Montauk Trousers pattern I loved the pocket details and the straight legs, but I wanted to alter them to have a plain front waistband. I’ve finally become confident enough in my sewing life that I felt sure that I could figure out how to do that.
If there’s anything I would love to convey to seamstresses around the world, it would be to go for it! I’m a total newbie when it comes to altering patterns and honestly the only way to figure it out is to just try.
I made the pants per the pattern directions, all the way up to the waistband. I went ahead and cut out the waistbands from the original pattern as a place to start.
My first attempt was using the basic instructions for the plain front waistband from the Everyday Skirt pattern. I had recently made this skirt and figured this might be a good starting point. I used the two pieces from the pants pattern, matched the seams to the sides, temporarily put some elastic in the back and tried the pants on.
Oh my! This attempt did not work! There was way too much gathering and puckering on my backside, making the pockets look totally out of place, among other issues. Back to the drawing board.
At this point, I did some research online. I looked at a bunch of different elastic waist patterns and ready-made pants to see where most people were lining up the seams and inserting the elastic.
After that, I decided to extend the elastic section of the waistband to the outer edges of the front pockets.

I measured the distance between the two outer edges of the front pockets, added a seam allowance and then calculated the length of the back waistband piece the same way. I cut a back and a front waistband and a back and a front waistband facing, each 2 3/4″ wide. I stitched each set together at the short ends. Then I stitched the waistband to the waistband facing right sides together and pressed and understitched the top. Finally, I folded the waistband and the facing wrong sides together and voila! I had a complete waistband piece ready to be attached.
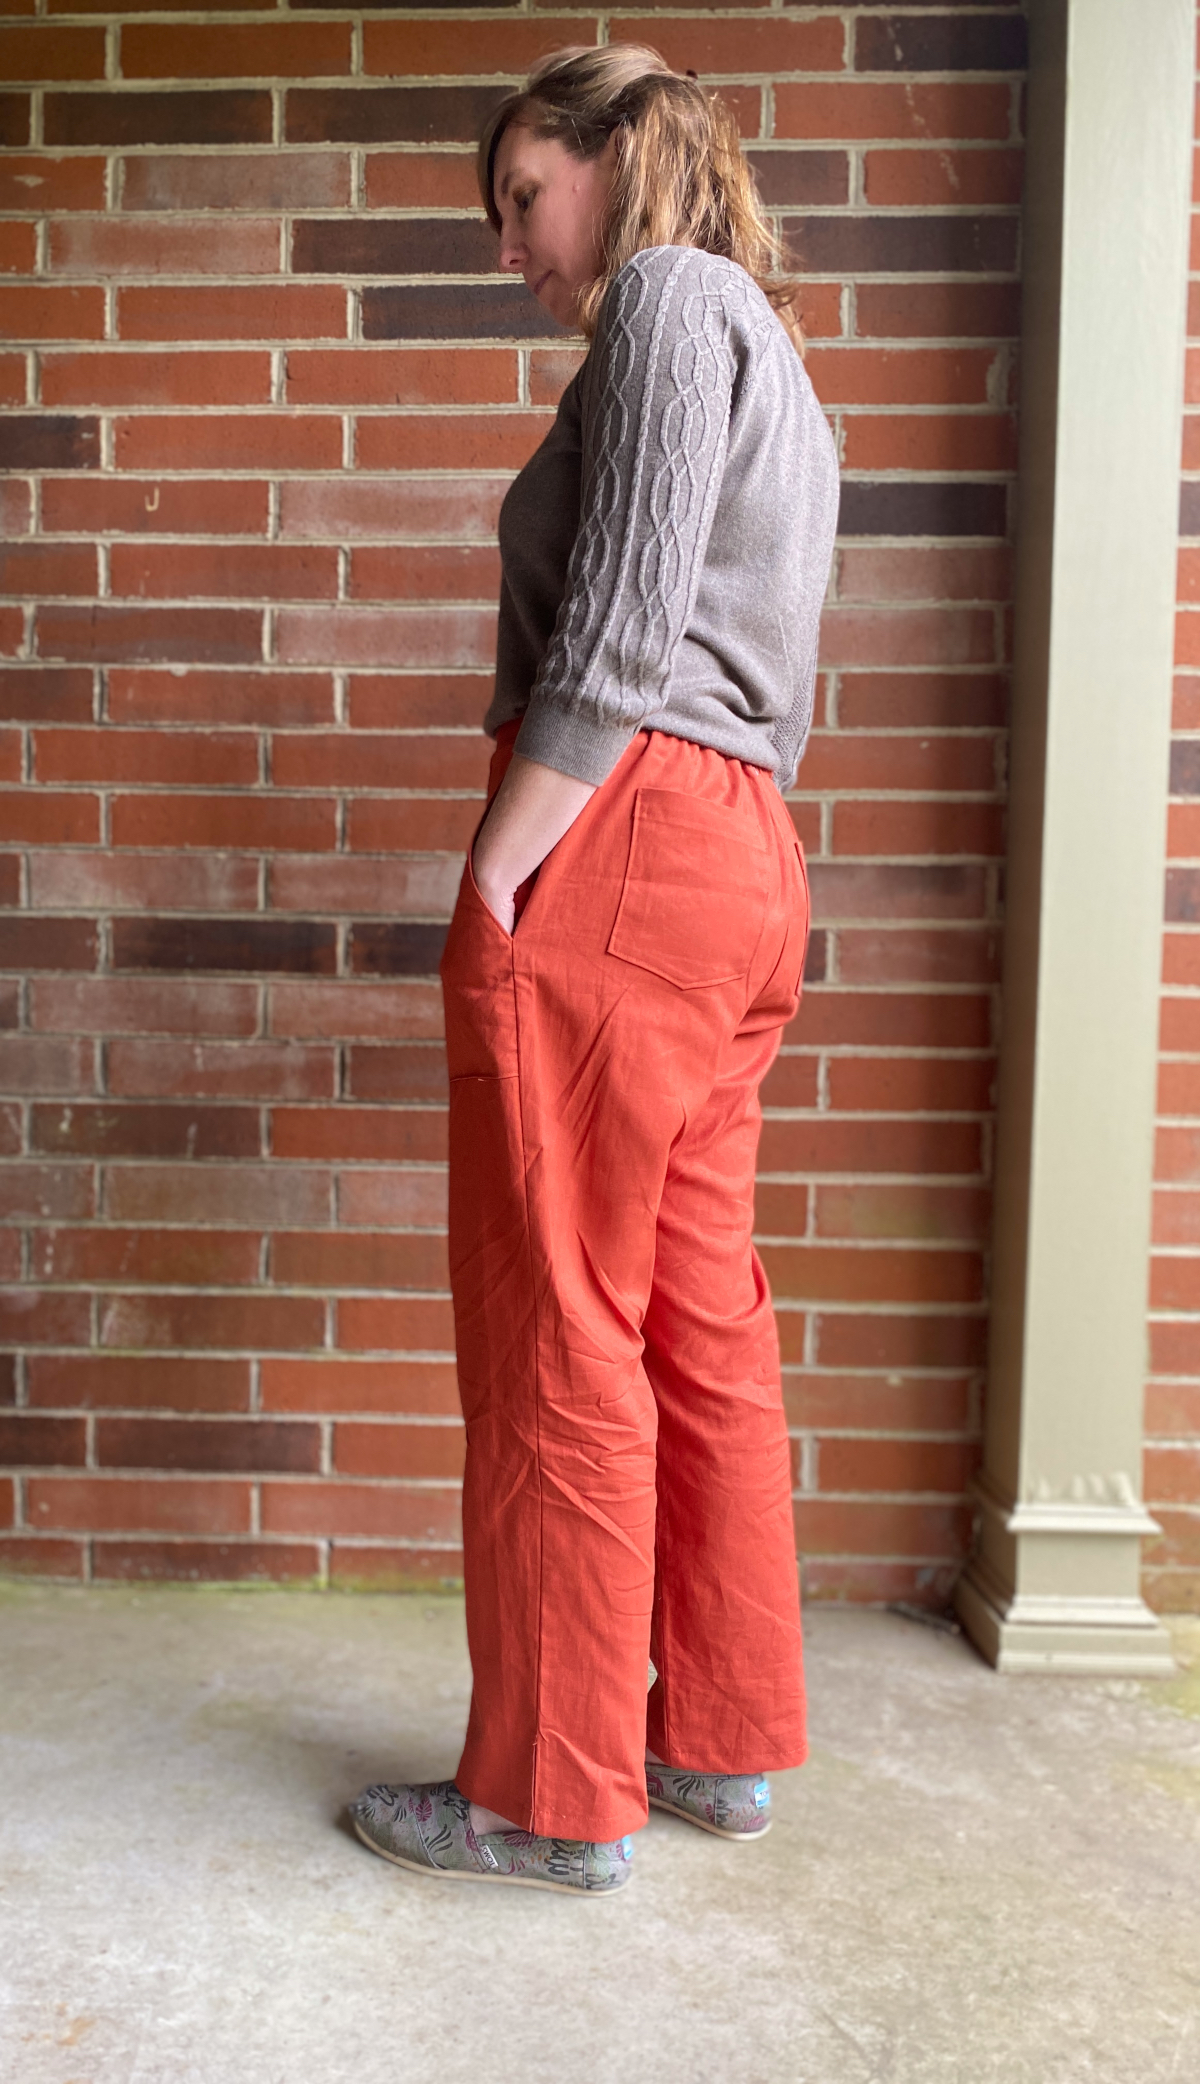
Matching the raw edge of the waistband and waistband facing to the raw edge of the pants, I stitched from the edge of the front outer pocket around the back to the edge of the other front pocket, leaving the front waistband unattached. I inserted the elastic and after playing around with the length I stitched in the vertical waistband seams to attach the elastic on both sides. After this, I finished attaching the front waistband.
Overall, I’m really pleased with how these turned out. Fit-wise they are perfect. The front pockets pucker out some, but I am honestly thinking that they might do that even if the elastic went all the way around. Also, I keep my hands in my pockets enough that I really don’t care.

I am 5’6” and sewed a size medium. The fabric is a linen-look in rust from Joann’s Fabrics and has a lovely drape to it. It makes a perfect pair of loosely fitting pants just in time for warmer weather!
I absolutely love these and would really like to make them. I also enjoyed reading how the process went. I haven’t made this in any version yet, but I had one question: did you add heavier interfacing then to the front so that it does not fold in any way? Also the back in this case, where there is elastic would not have any interfacing, correct?
I actually didn’t add interfacing to the front because honestly I was being lazy…so yes! I would totally go back and add that if I could. For this pair and fabric, I think I can get away with it.
And, right, no interfacing at the back with the elastic.
Nice job! I have the Montauk pants pattern but haven’t sewn anything with it yet. I need to buy suitable fabric. You are inspiring me!
Go for it! It’s a super pattern and a pretty quick sew with such lovely details that make it appear much more complicated than it is.
“If there’s anything I would love to convey to seamstresses around the world, it would be to go for it!”
Hear, hear! I couldn’t agree more. My mother, a potter, always unpacked her kiln after a firing with the expectation that she’d lose a few pieces. Her response to these losses was always, “It’s just dirt!” I’ve taken that to heart when I sew, and when I’ve had a failure, I remind myself that it’s just cotton. Nicely done, and what a lovely pair of pants you’ve made!
What a perspective!! Love it
Thanks for sharing 🙂
Thank you!!!
Ah! Thanks! Love this story so much and it’s so true.