While we all want our handmade garments to fit exactly perfectly the first time around, sometimes it takes some experimentation to get there. In today’s installment of our Fitting Room series, we are welcoming Meg from Cookin’ and Craftin’ to discuss how she custom-fit the Classic Shirt pattern to her body over several iterations.
Hello Liesl + Co. and Oliver + S readers!
Today I’m here to share all the different versions of the Liesl + Co. Classic Shirt pattern that I’ve made, and describe some of the fitting adjustments I made along the way to tailor the pattern to my body. Here we go!
Version 1: Wearable Muslin in Seersucker
My first version of the Classic Shirt pattern was a wearable muslin that ended up being very wearable! Almost three years later and this version, made in a cotton seersucker shirting, is still going strong.
For this version, I chose my size based on my full bust, which put me at a size 16, and then I chose a cup size D, which corresponds to my bra cup size. Size 16 seemed to work well for me in the shoulders and bust.
My hips were between 16 and 18, so I graded out to 18 to be safe, but in the end I think that was unnecessary; there was a lot of extra room in the hips for this version. I’m also found it to be a little bit long through the bodice. (Note: see Liesl’s tutorial for grading between sizes here.)
I did a tissue fit of the sleeve piece and decided it was likely going to be a bit snug (this is a problem I commonly have). So I did a 1″ full bicep adjustment on the sleeves, which worked out well.
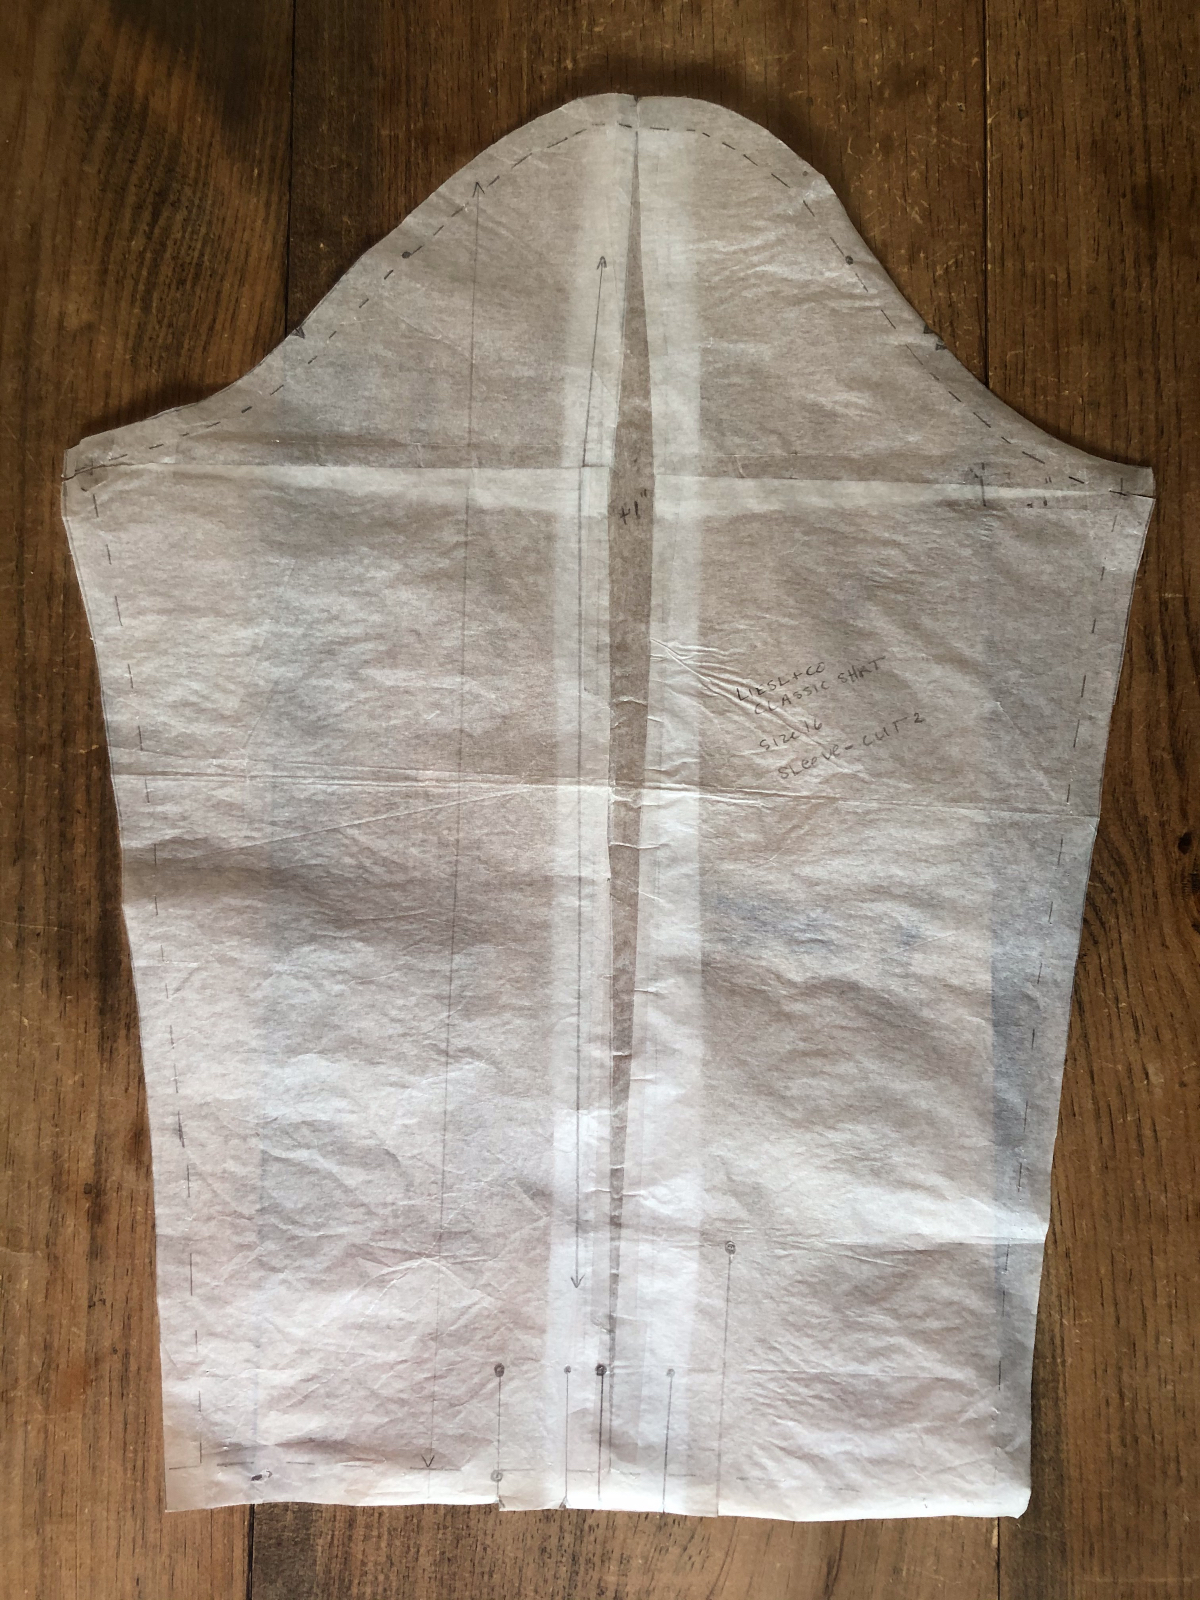
I used a tutorial from the Curvy Sewing Collective for my full bicep adjustment. I left the length of the sleeves unchanged, they were perfect as is. (Note: Liesl wrote a full bicep adjustment tutorial a few years ago, which you can see here.)

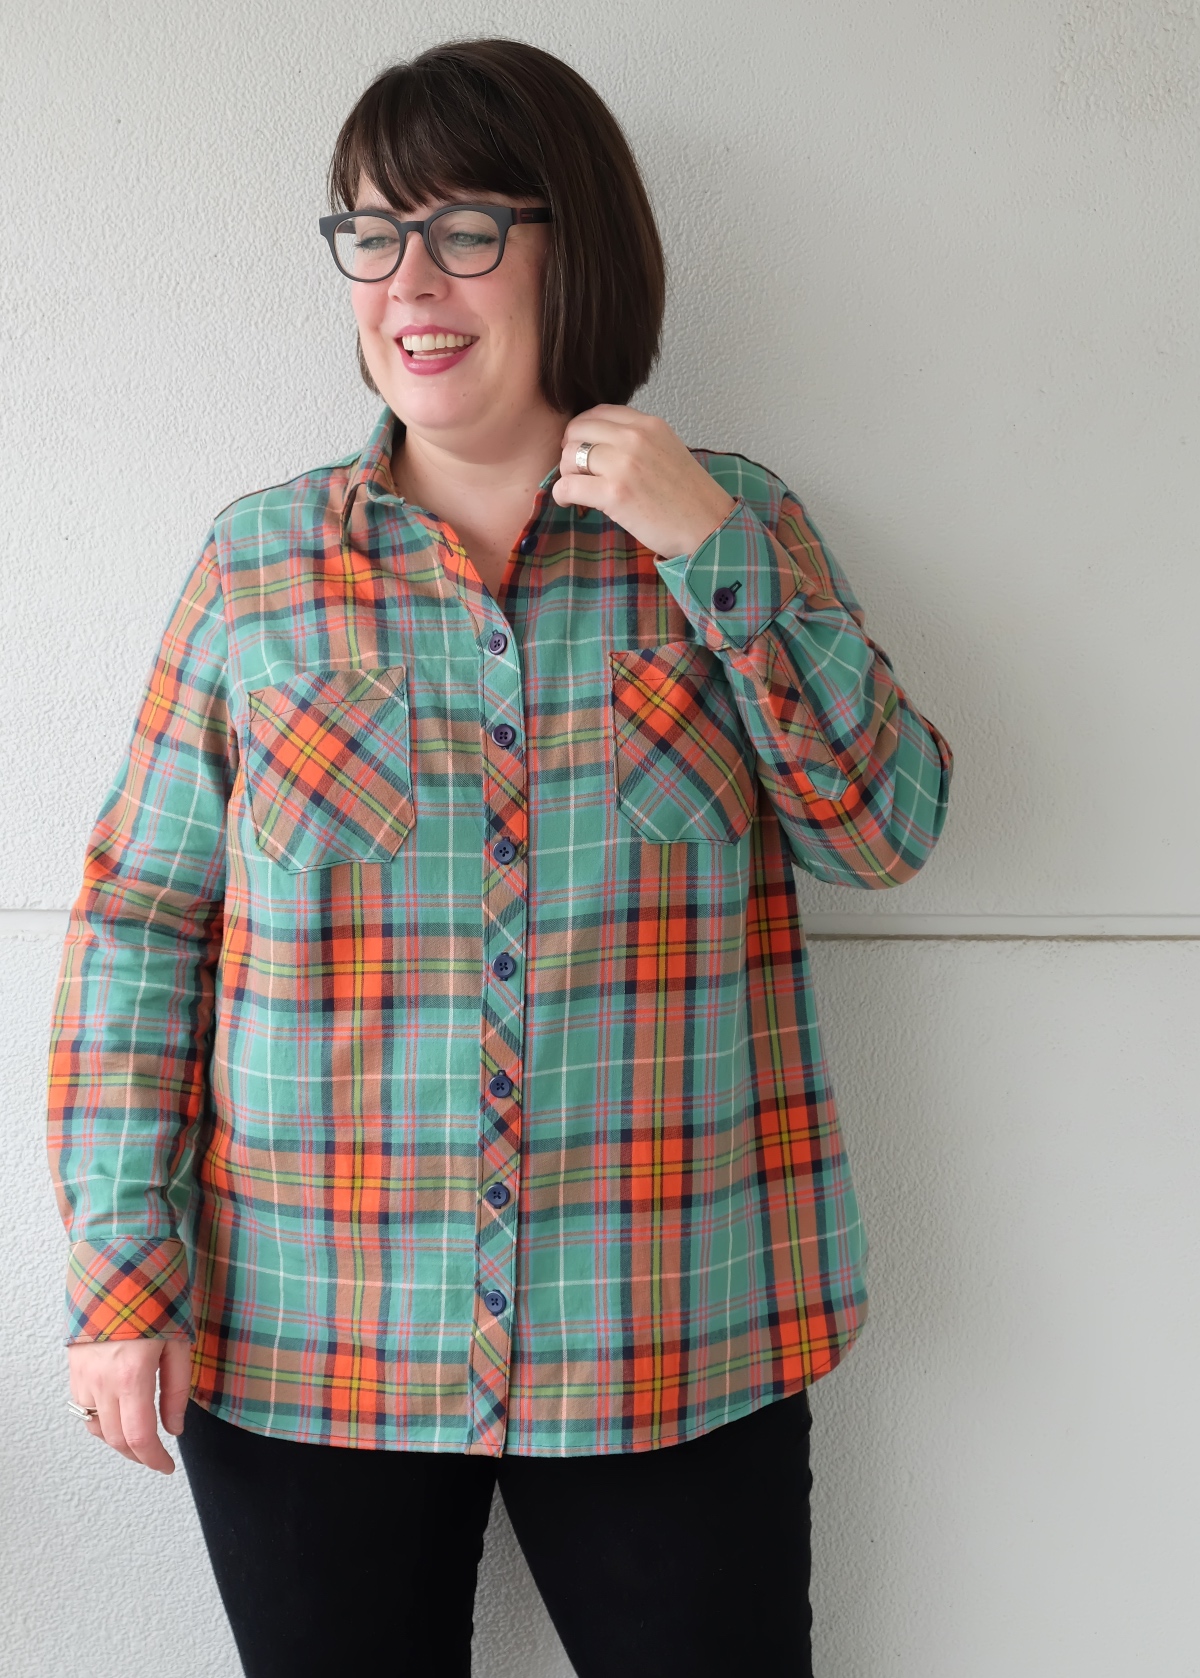
Version 2: Brushed Cotton Plaid
After making my wearable muslin of the Classic Shirt, I almost immediately cut and sewed a second one. The pattern held a lot of promise and only required a few minor tweaks to be my perfect boyfriend-style plaid shirt!
I cut a straight size 16D (instead of grading out to 18 at the hip as I did for my first version) and I shortened the bodice by 1″, as you can see in the photo below. Remember, I had also made a 1″ full bicep adjustment, which I carried through to this version.

Fit-wise, this was just what I was looking for! My Classic Shirt felt like it was exactly the right amount of slouchy without being oversized.
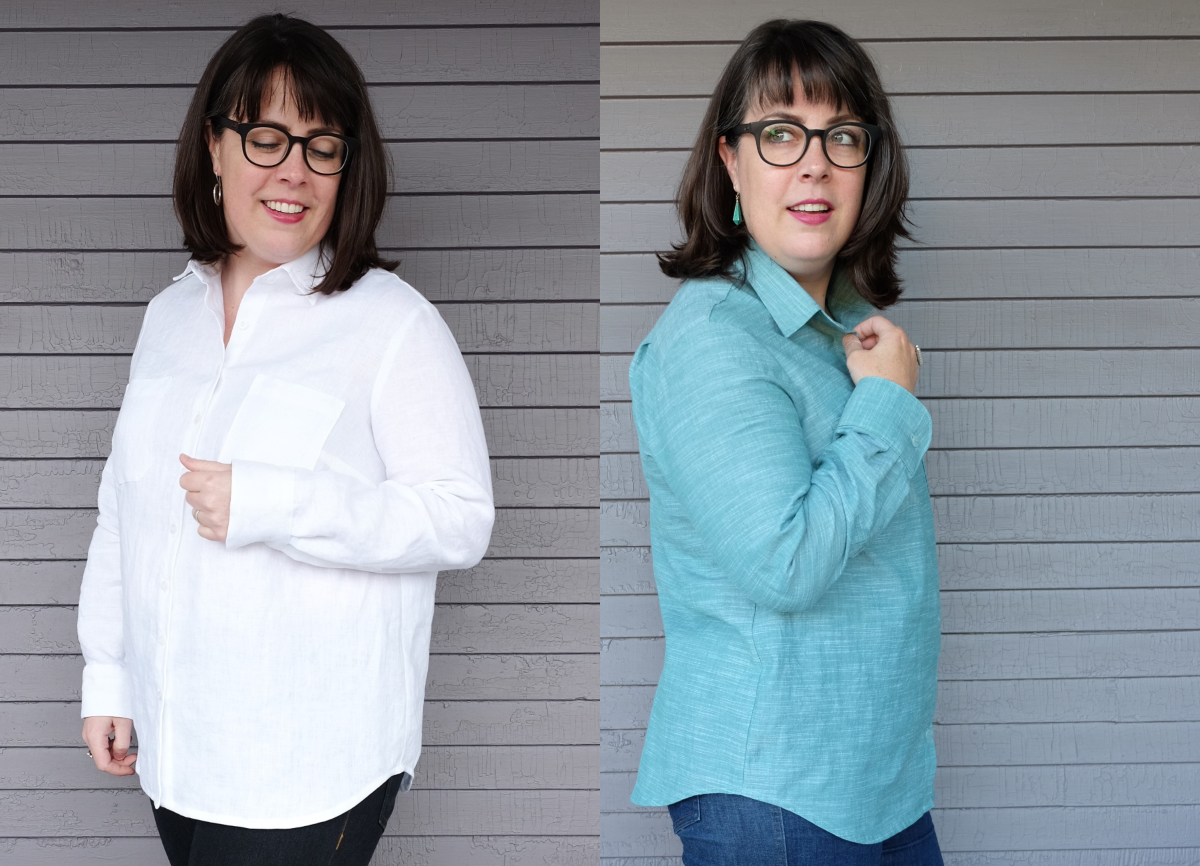
Versions 3 and 4: Linen and Chambray
For my third and fourth versions, the only additional change I made was not really a fit change, but a small style tweak: I curved the hem at the side seams so it met more smoothly, using the All-Day Shirt hem as a guide.
Since I primarily wear the shirt untucked, I like having that smooth hem curve to show off!
It took just a few minor tweaks to get me to my personal shirt perfection with the Classic Shirt pattern. I love this shirt. It’s such a versatile pattern that works with so many different fabrics and with so many different outfits. Truly a classic.
Looking for more information about fitting? We have a number of fit adjustment tutorials as well as posts about general fitting topics on the blog. You can see them all here.
No Comments yet.