Visiting us today from our Advisors Circle is Claire who has stopped by in the past with her Weekend Getaway Blouse with Bias Bound Edges and her tried and true sewing pattern. Today she’s here with her Breezy Blouse project. Now, I’ll hand it over to Claire.

When I checked out the new collection from Liesl for spring, the Breezy Blouse immediately jumped out at me as being the sort of wardrobe staple-with-a-twist I’d been searching for to fill some gaps in my current wardrobe.
I very much liked the idea of the contrast side panels and so decided that for my wearable muslin I’d use a fabric I’d been dying to try out, which is this Alison Glass Mariner fabric. It is a medium-weight cotton with a thick slub accent line. This gives it a certain firmness, although it’s still very soft. I decided to contrast two different shades: thistle and raspberry.

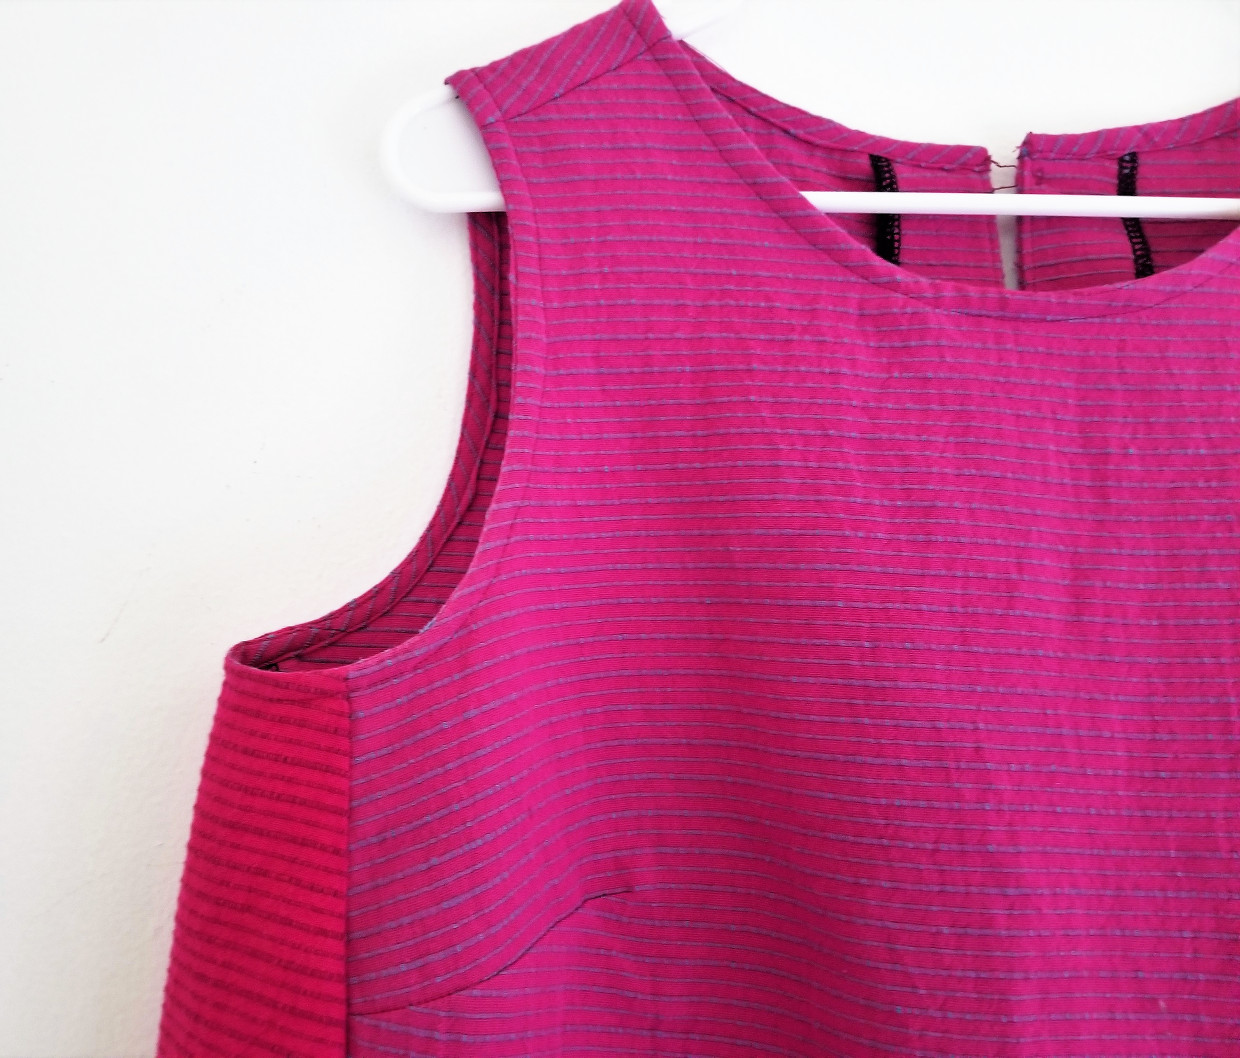
I made my usual calculations, which is to use my high bust measurement to get the right size (in this case a 14) and then make a full bust adjustment. Of course, with the Breezy Blouse, I didn’t need to because the pattern comes with bust sizes up to a D cup. Happy days! So I used the 14 D cup front piece and then graded the waist and hips out to a 16.
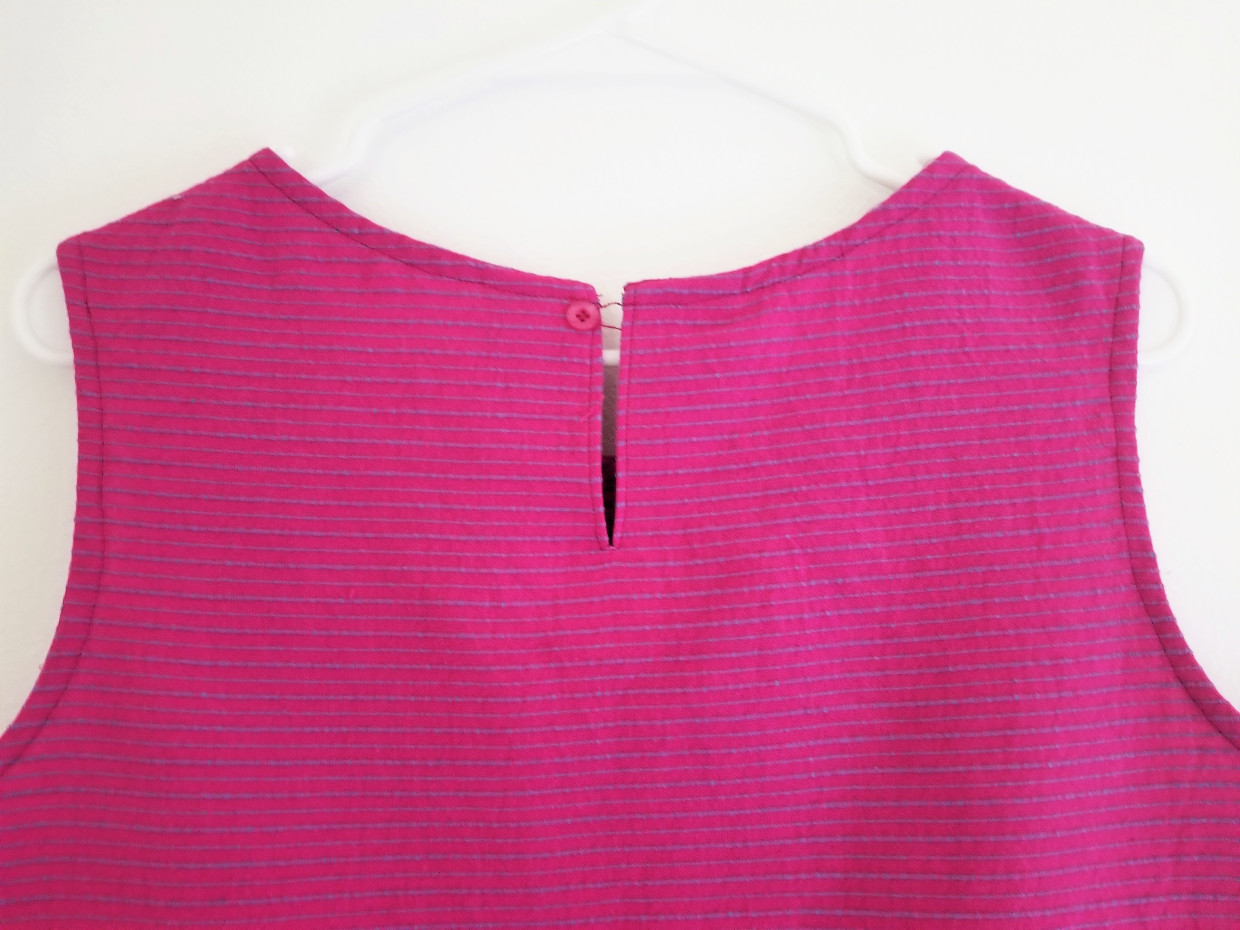
I really love the keyhole detail at the back, and this was my first time ever creating a little thread chain. The tutorial on the Oliver + S website is extremely clear, and I had it done within minutes. It didn’t half make me feel dainty, I can tell you. This is the sort of sewing that I really love–learning little techniques like this.
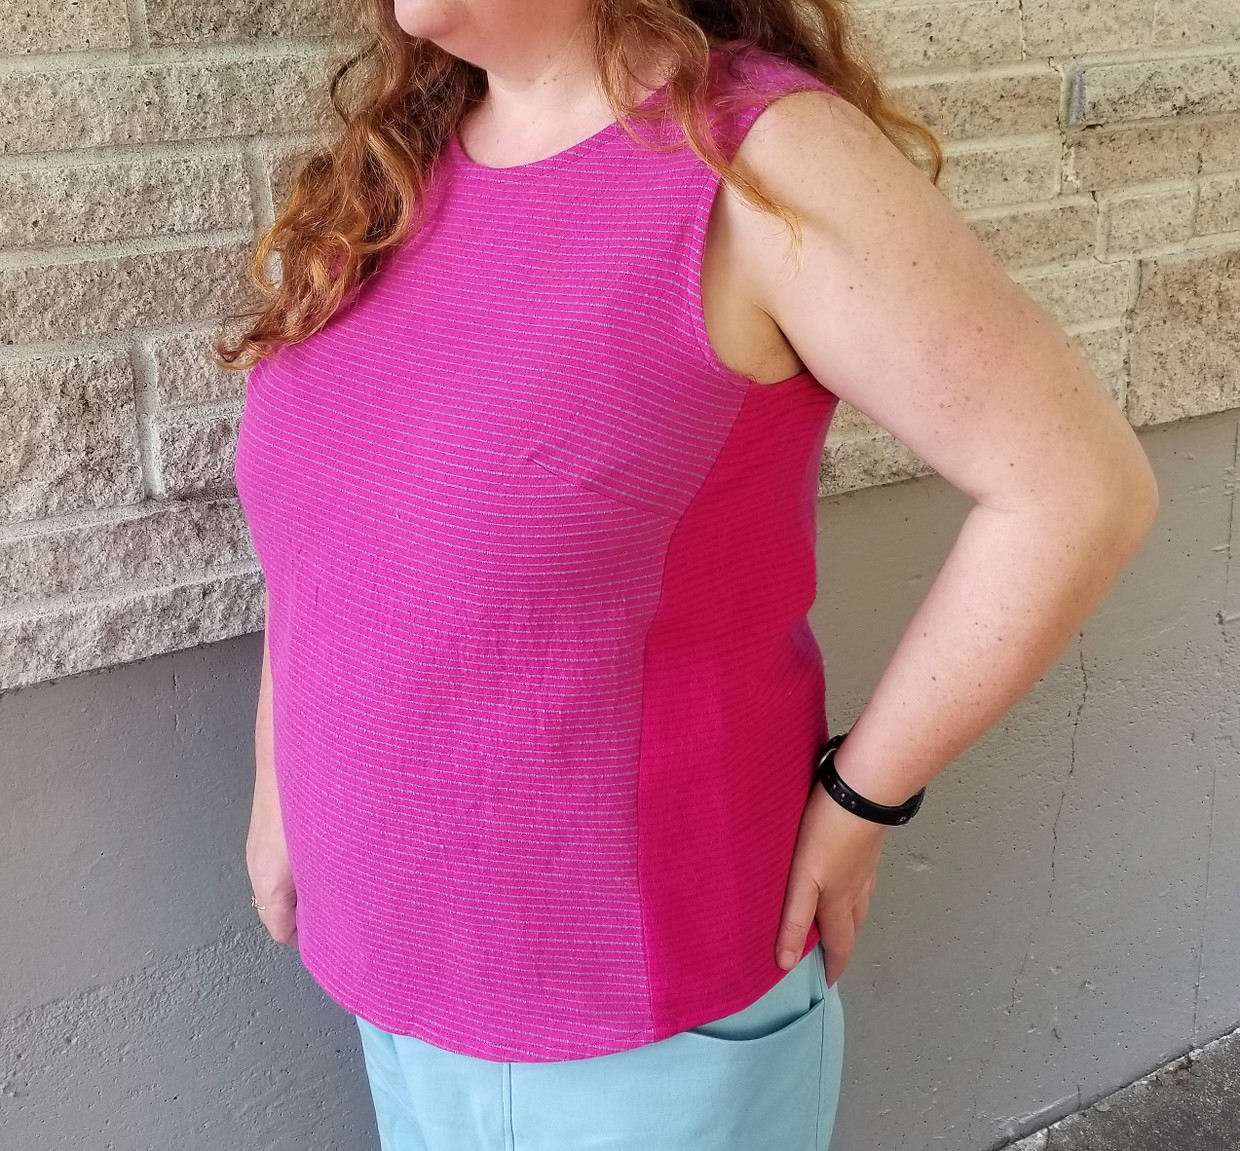
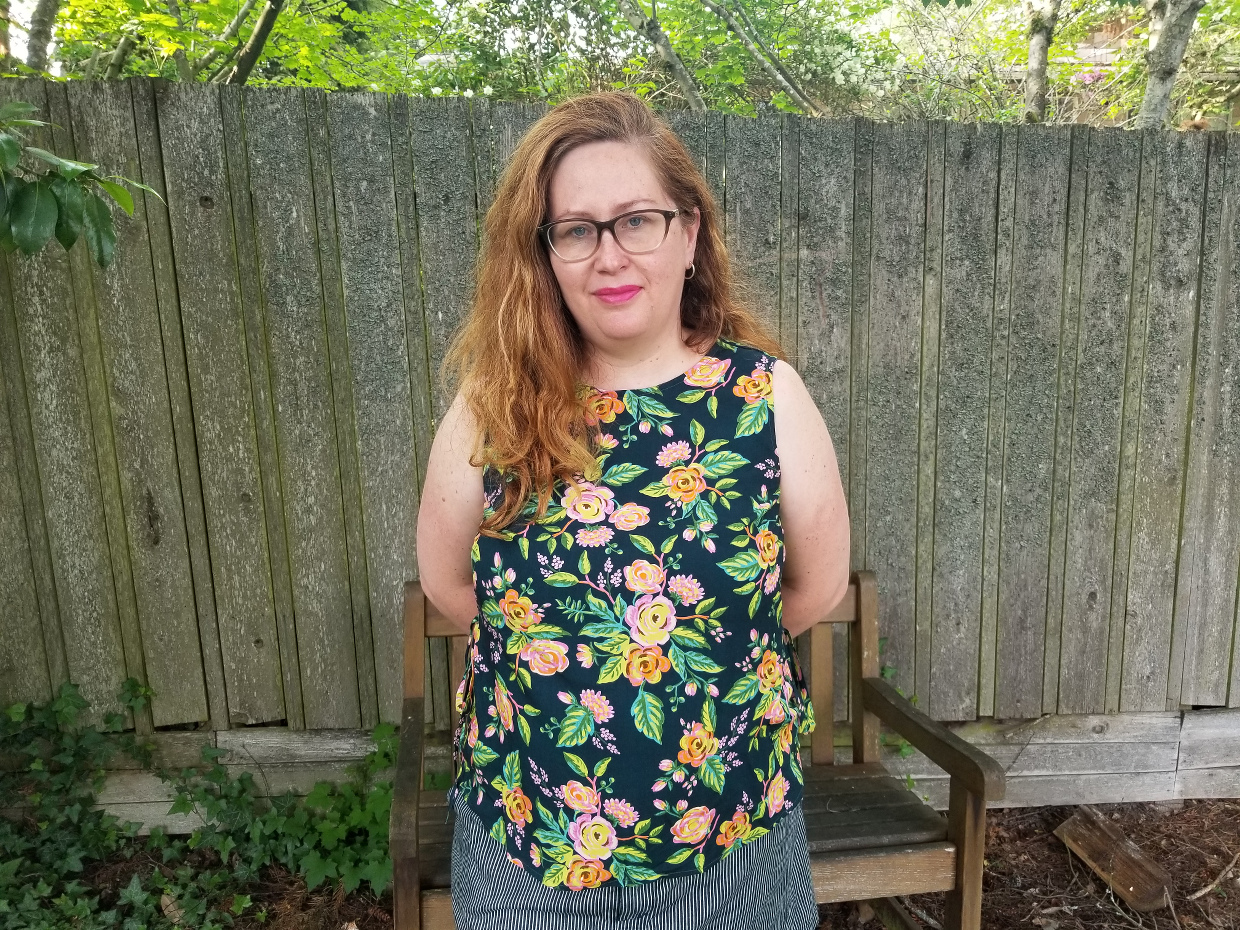
I was pretty happy with the way my muslin turned out (I did lower the bust darts slightly), but I decided I wanted to try a little variation. The Breezy Blouse is drafted as a fairly linear style–that is, it falls from the shoulders in something approaching a straight line. I have a curvy figure and so thought it might be interesting to add some ties at the side to cinch it in a little after seeing an inspiration picture Liesl posted.
First of all, I decided to grade the waist and hips out to size 20 to give me a little extra fabric to cinch in, which is a fast and easy way to change the shape. I then created little ties by cutting two lengths that were the width of fabric x 1 inch. These I then halved, giving me four 1-inch strips of fabric. I stitched them right sides together at approximately ¼-inch seam allowance and turned them out before pressing to give four cute little ties.

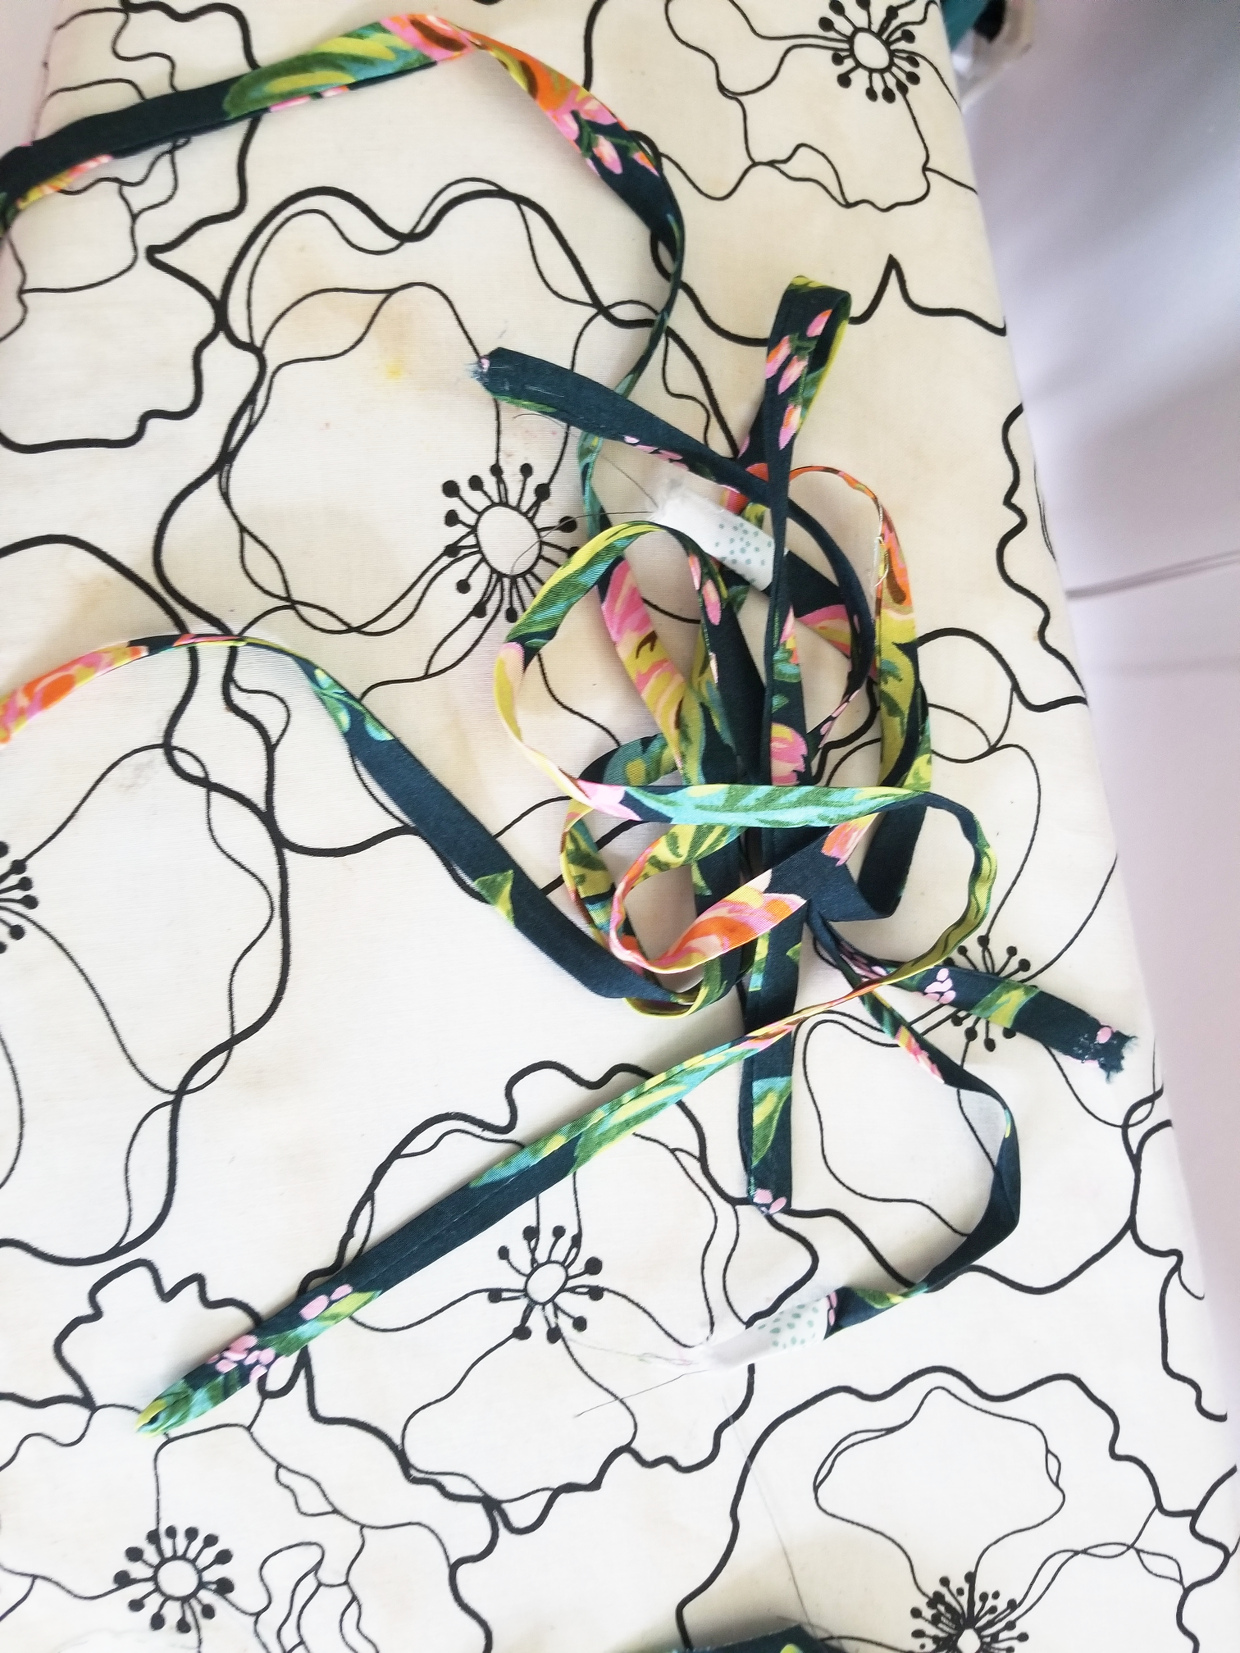
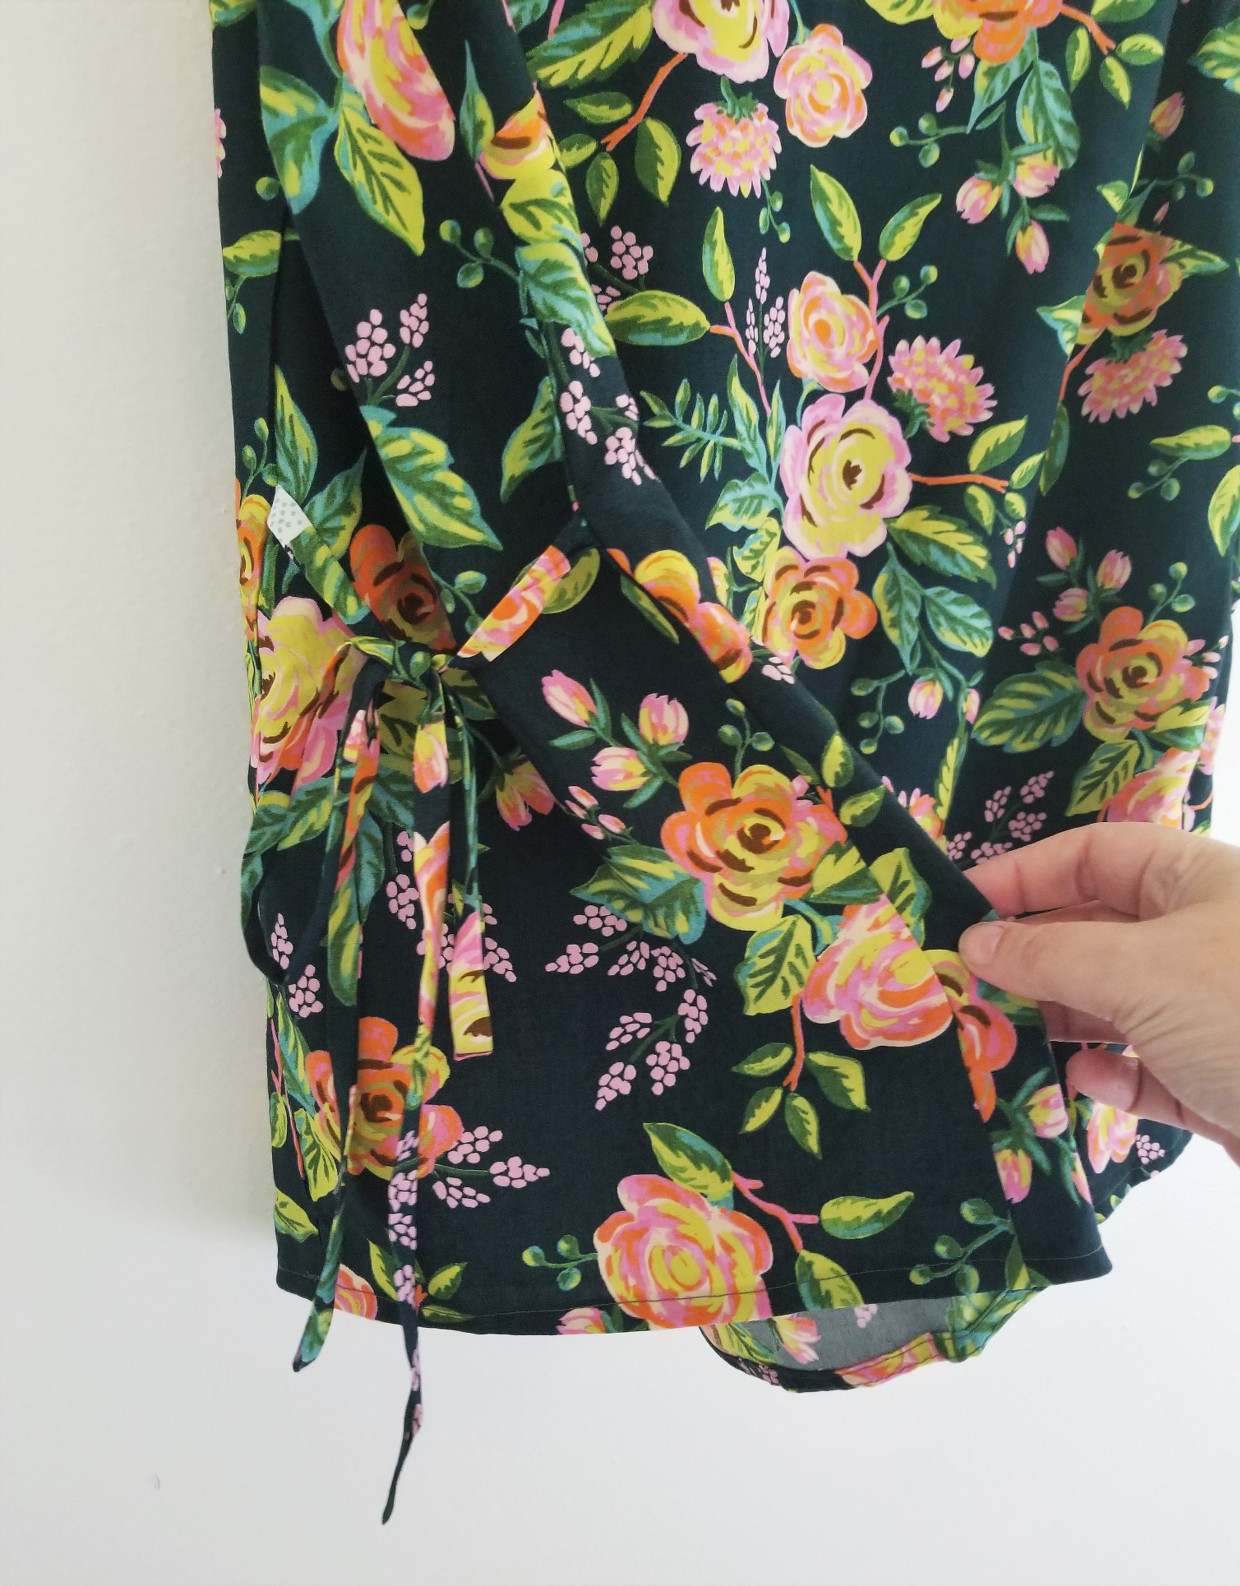
To add them in construction, you simple place each tie between the front or back piece and the corresponding side piece as you’re sewing the body. I wanted them at my natural waist, so I measured the depth with a measuring tape and then sewed them in at that point on the body.

I must admit it’s a little tricky to see them with this Cotton + Steel Les Fleurs rayon challis, but I think you can see that it does change the shape of the blouse a little. Of course, you can cinch the waist in quite dramatically if you like and also increase the size of the ties to make a statement detail. Another idea would be to use a contrast fabric for the ties and then they would really pop!

The Breezy Blouse is a super stash-buster with the inbuilt color-blocking possibilities and I’m definitely going to hunt through my pile of “small pieces” (you have them as well right? Too small to make anything, but can’t bear to throw them out.) to see what I can use next!
This is just a great idea! Such a small change, and now it’s a totally different top! Both of your blouses are beautiful.
Thank you so much Enbee! It’s crazy how something so simple can change the look so much. 🙂
Ha! Yes to “small pieces”, how did you know?! I love this variation for the Breezy Blouse. Thank you!
It was just a lucky guess Liz! 😉 I may or may not have an overflowing bin of those pieces! I’m happy you liked the blouses – thank for your comment.
Help please!
I’m a beginner in sewing and have a quick question.
Please forgive if it’s silly.
When you graded the pattern out to 16, did I you also grade out the pattern piece B to a 16?
Thanks so much
Pat
Hello Pat, I apologise for the late reply – I just saw these comments on my post. I hope the answer is still useful and it’s definitely not a silly question at all. By piece B, do you mean the side panels? Someone else asked me the exact same thing and the answer is yes: I graded out the front, back and side panels. I did it mostly because I wanted to create some “swing” at the bottom and so wanted to maximise the extra width at the bottom of the pattern. So I graded out everywhere! 🙂 Hope that helps.