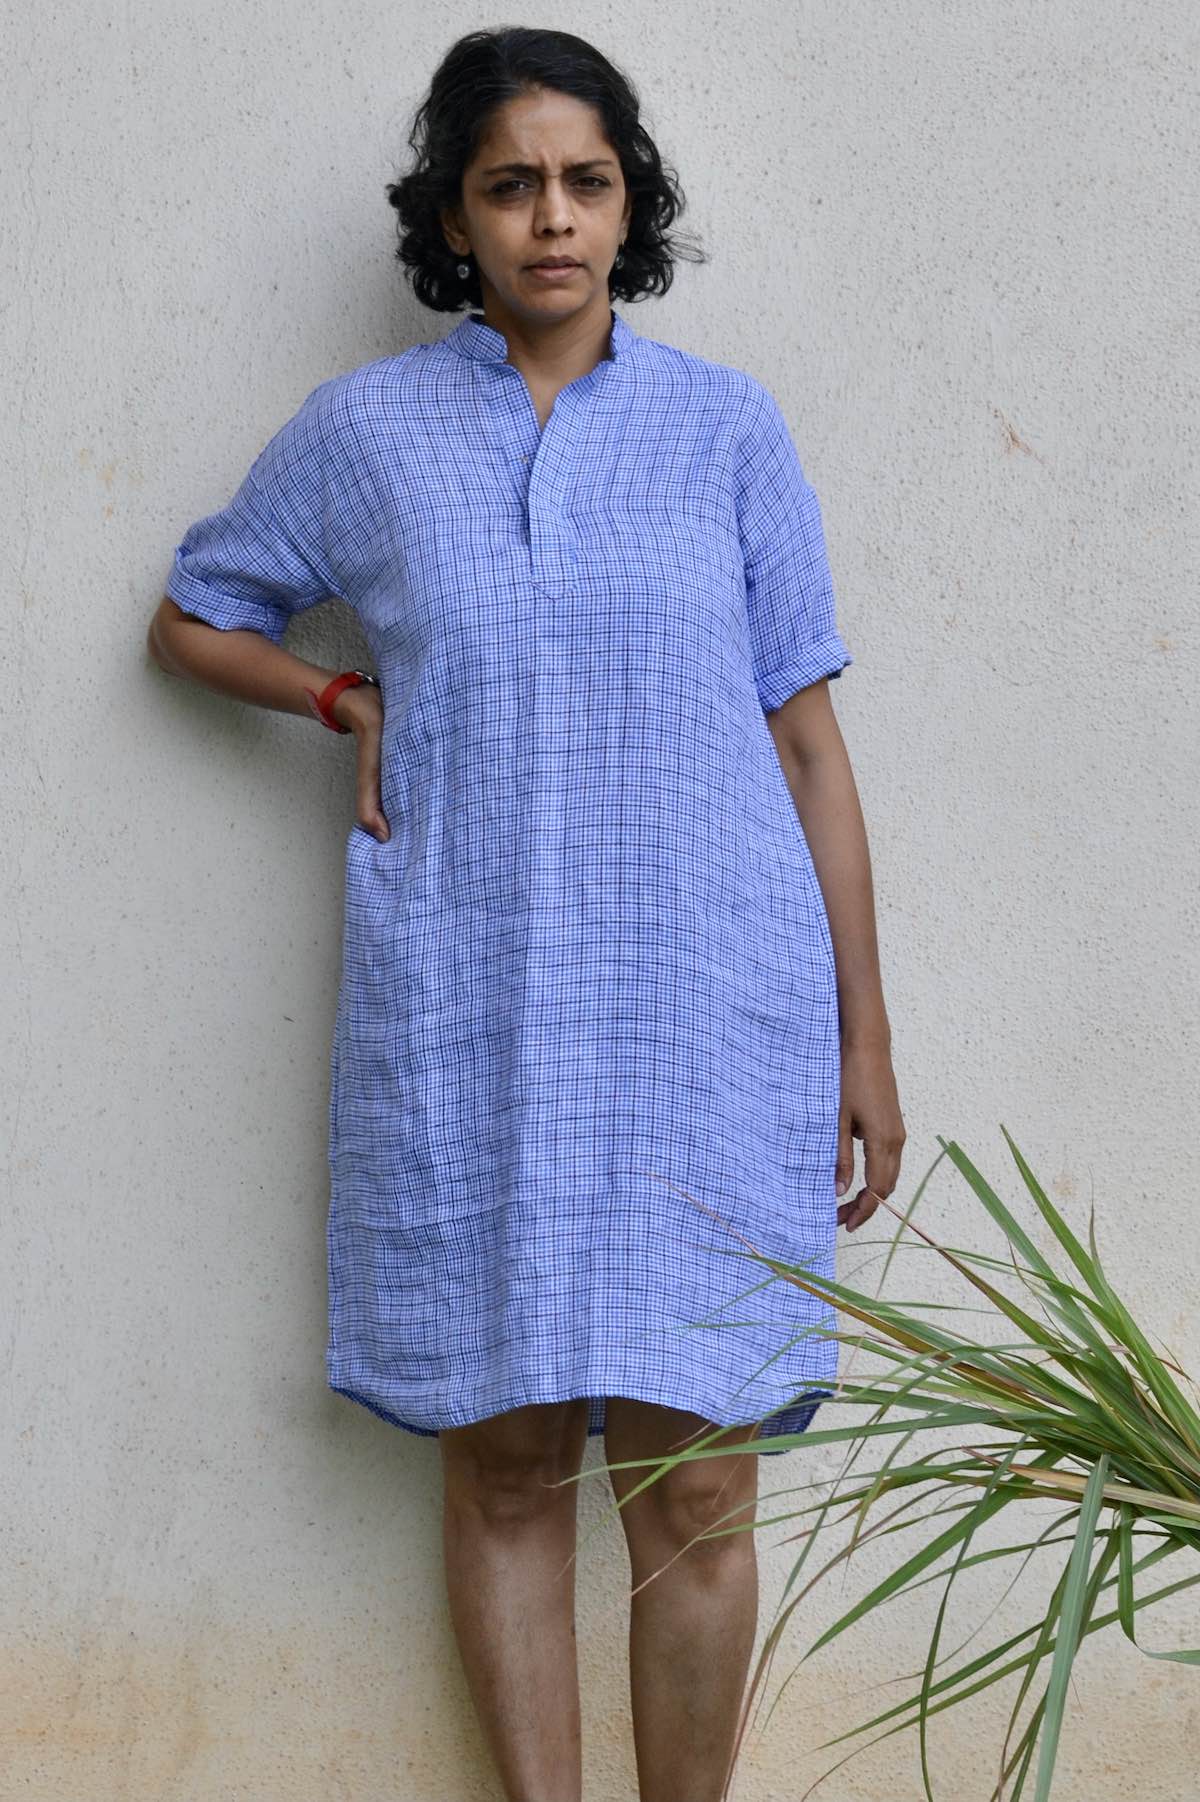
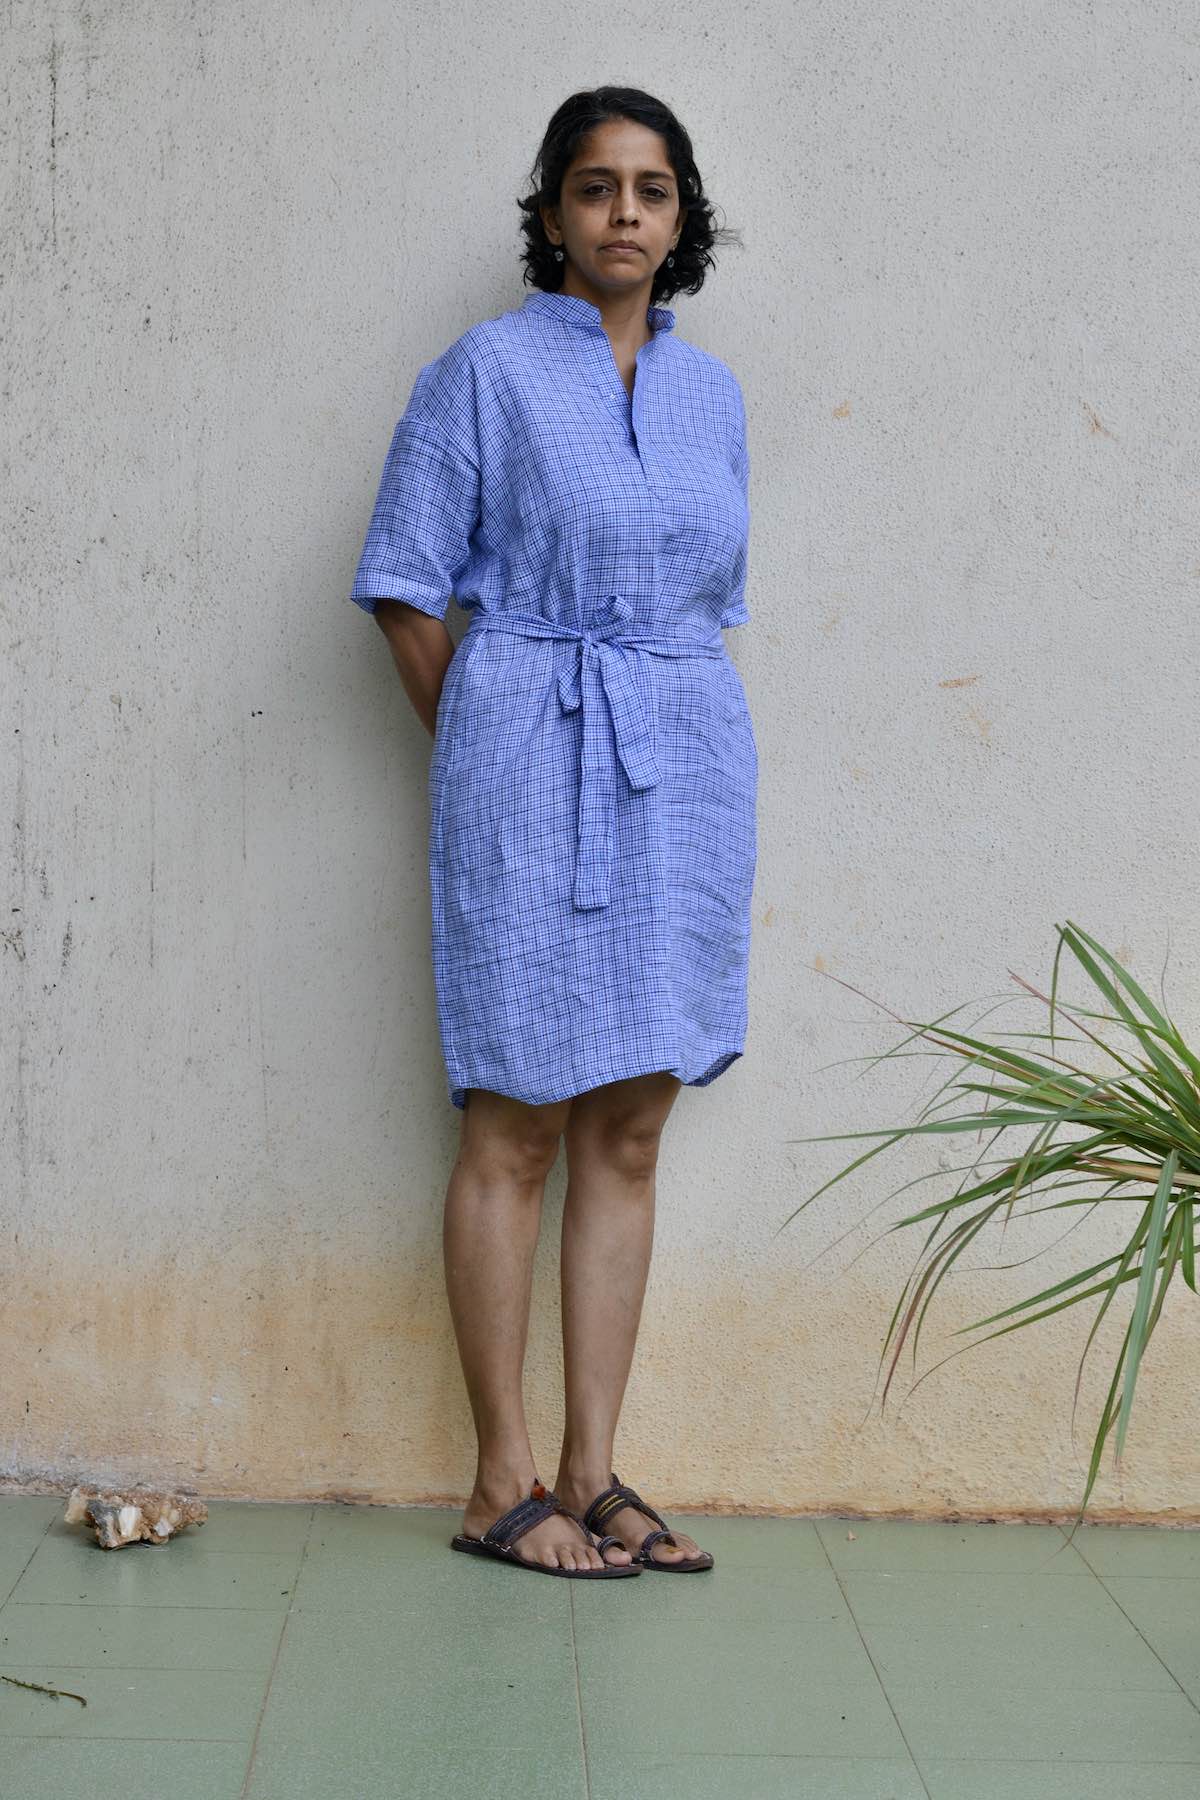
We love Asmita’s new Santa Rosa Dress! She has created the perfect warm-weather dress in a beautiful linen. This looks like a dress that you could live in! Here’s Asmita to walk you through her fitting process.
How do you decide whether to make the dress or the top version of a new pattern that appeals to you? I am not sure how others decide this, but my decision is usually based on the amount of fabric required for making the said dress or top. Not surprisingly, the top wins—it requires less fabric—and I feel that making a top first gives me a fair idea of the fit and whether I would like to wear it as a dress at all. When the Santa Rosa top/dress pattern was released, I made an almost instantaneous (and unexpected) decision to make the dress version. The simple A-line shape appealed to me, but even more than that it seemed like a perfect summer dress, with sleeves (I am not so fond of sleeveless summer dresses). I also almost immediately knew that it was going to be made in one of the more expensive linens I already had in my stash—a big and unusual decision for me because I am usually reluctant to cut my better linens and want to know how the dress (or top) will feel before I make it in my fancy fabric.
Sizing
So, with the decision to make the dress already in place, the next thing was to choose the size and make a muslin. My measurements are as follows: UB 33”, FB 35.5”, W 31”, H 40.5”. Looking at the finished measurements it was clear that I needed to make a garment grading multiple sizes on the paper pattern. I was sure I would start with a size 4 for the bust but wasn’t sure if I should skip a size and move to an 8 at the waist and a 10 below. In the matter of choosing the size, Erica of Advisor’s Circle gave me excellent advice and one that I will keep in mind as I go forward. She simply suggested that I hold the finished measurement circumference of size 6 around my waist and that of size 8 around my hip to see how much ease it afforded me. This was a brilliant suggestion—I realized that a 6 at the waist and 8 at the hip gave me plenty of ease. Thus, I graded out the pattern from a 4 to 6 at the waist and from a 6 to 8 going down from the waist to the hip. Had I gone by my actual measurements I would have made something between a size 10 and 12 on my hips, which in retrospect would have been huge and tent-like. The idea of looping the measuring tape and holding it around my waist and hip (with finished measurements of size 6 and 8 respectively) saved me from making multiple muslins.
Modifications
After I had decided on the size, the other modifications I did were quite basic:
- I lowered the dart by 1” and shortened it by 1.5.”
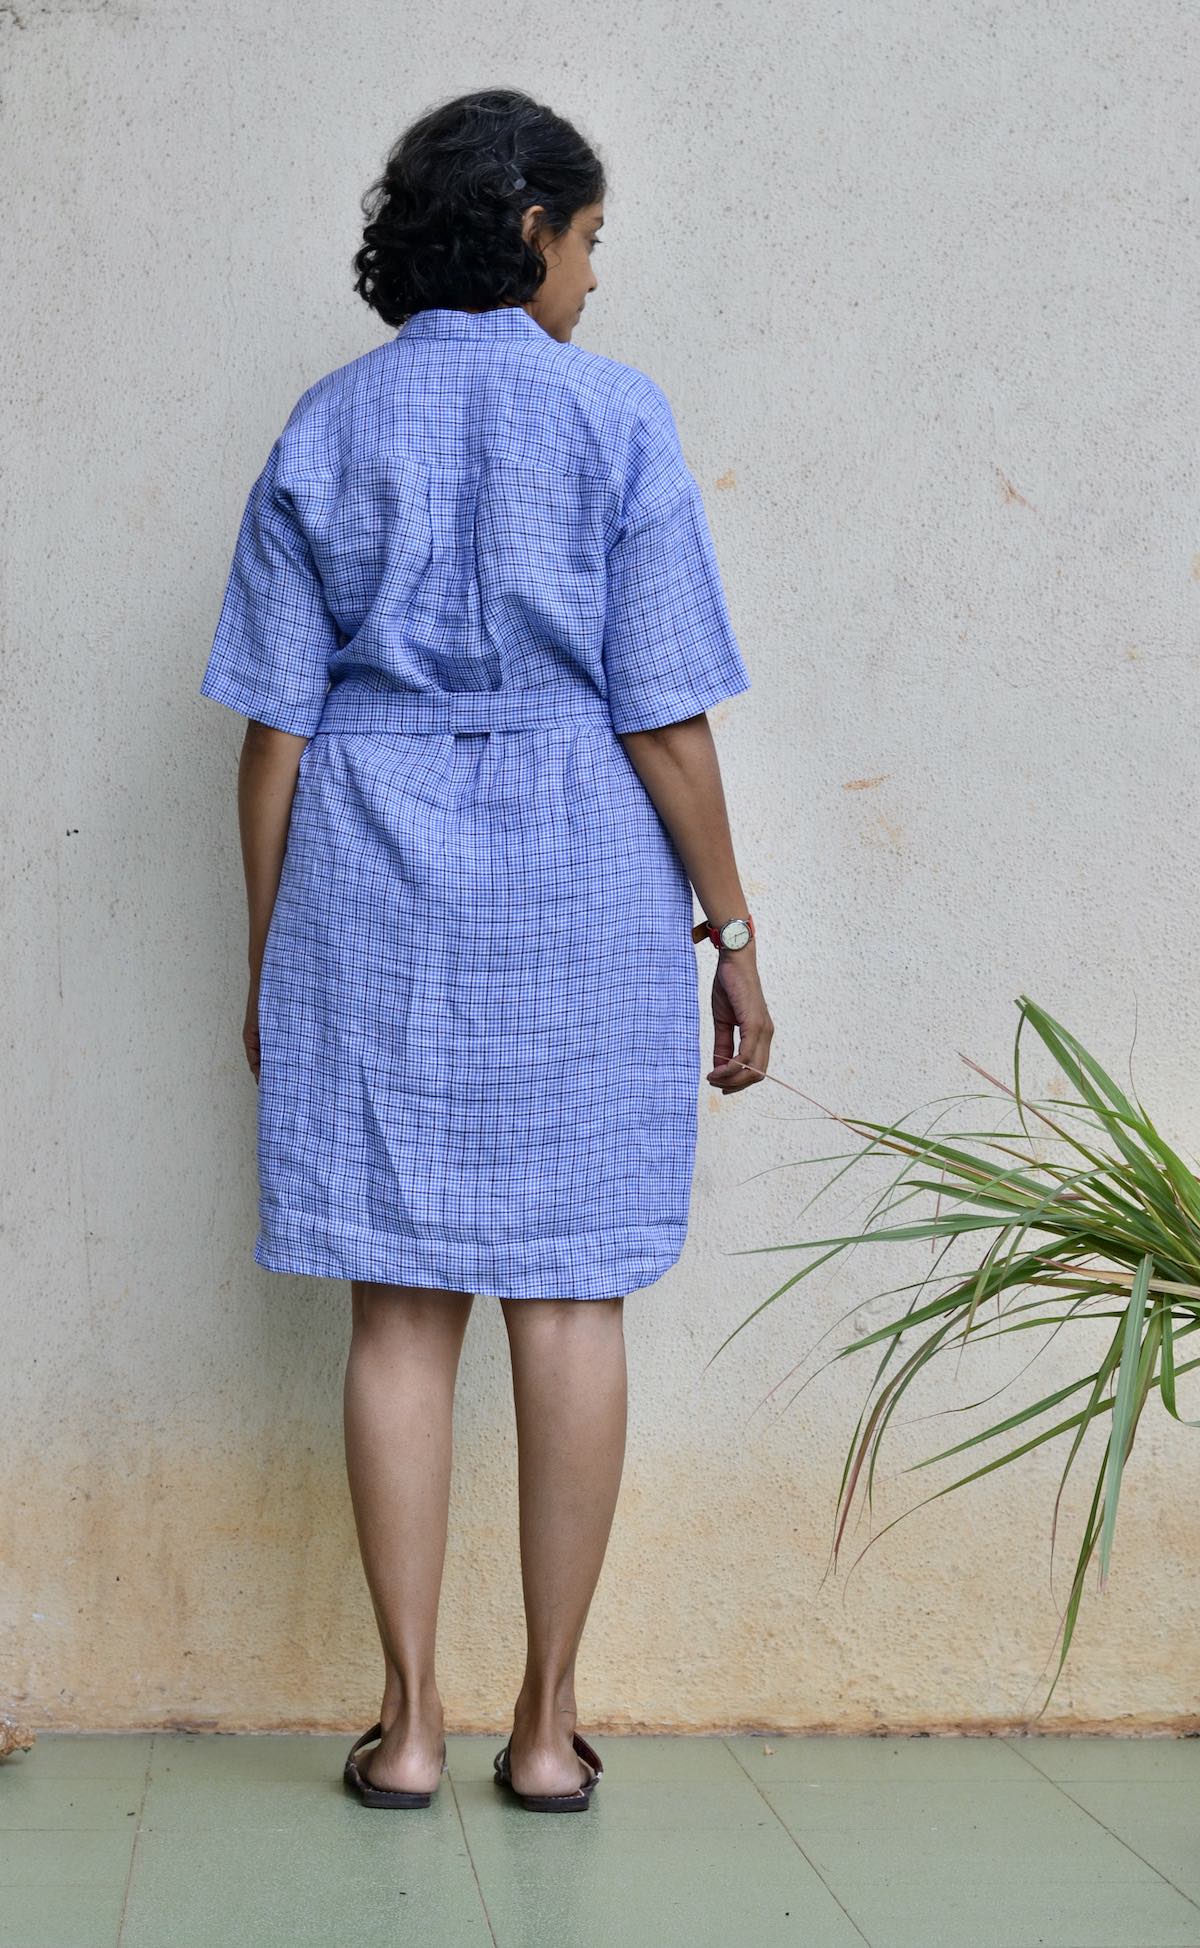
- I did a round-back adjustment of 5/8”.
- I did a forward shoulder adjustment of 5/8” as per the tutorial shared by Lyndsey in her blog post on her version of the same dress.
- I also did a swayback by taking some fabric out at my waist.
- Finally, I took out 9” from the long sleeve length to get the sleeve length that you see here.
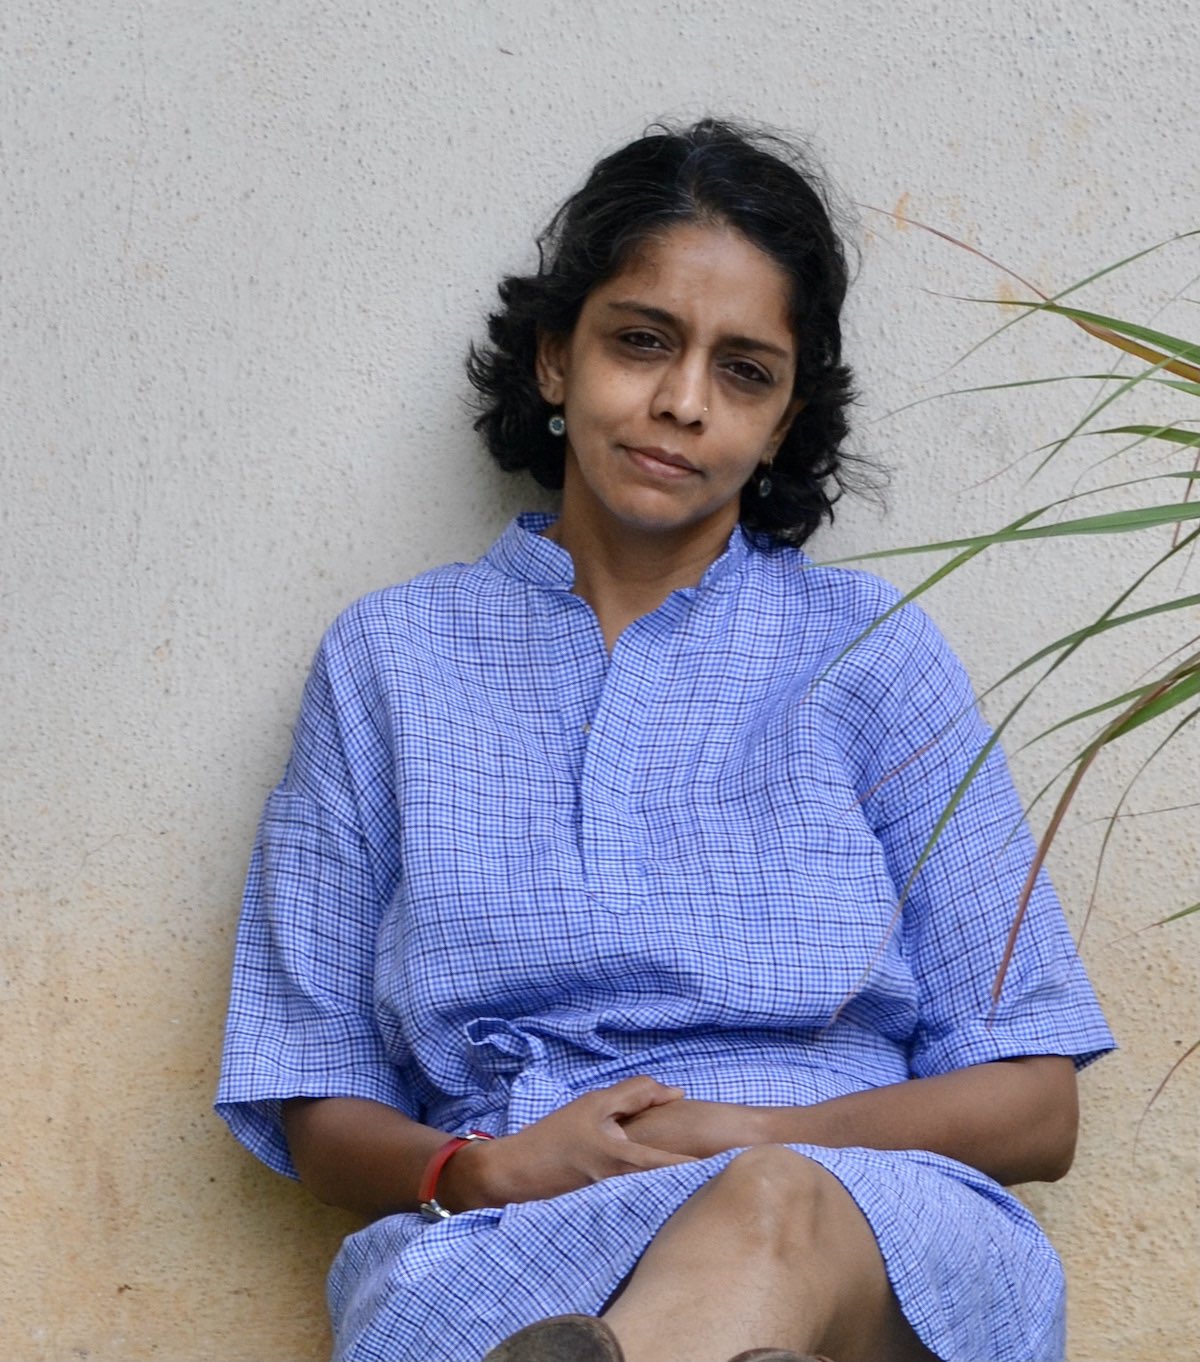
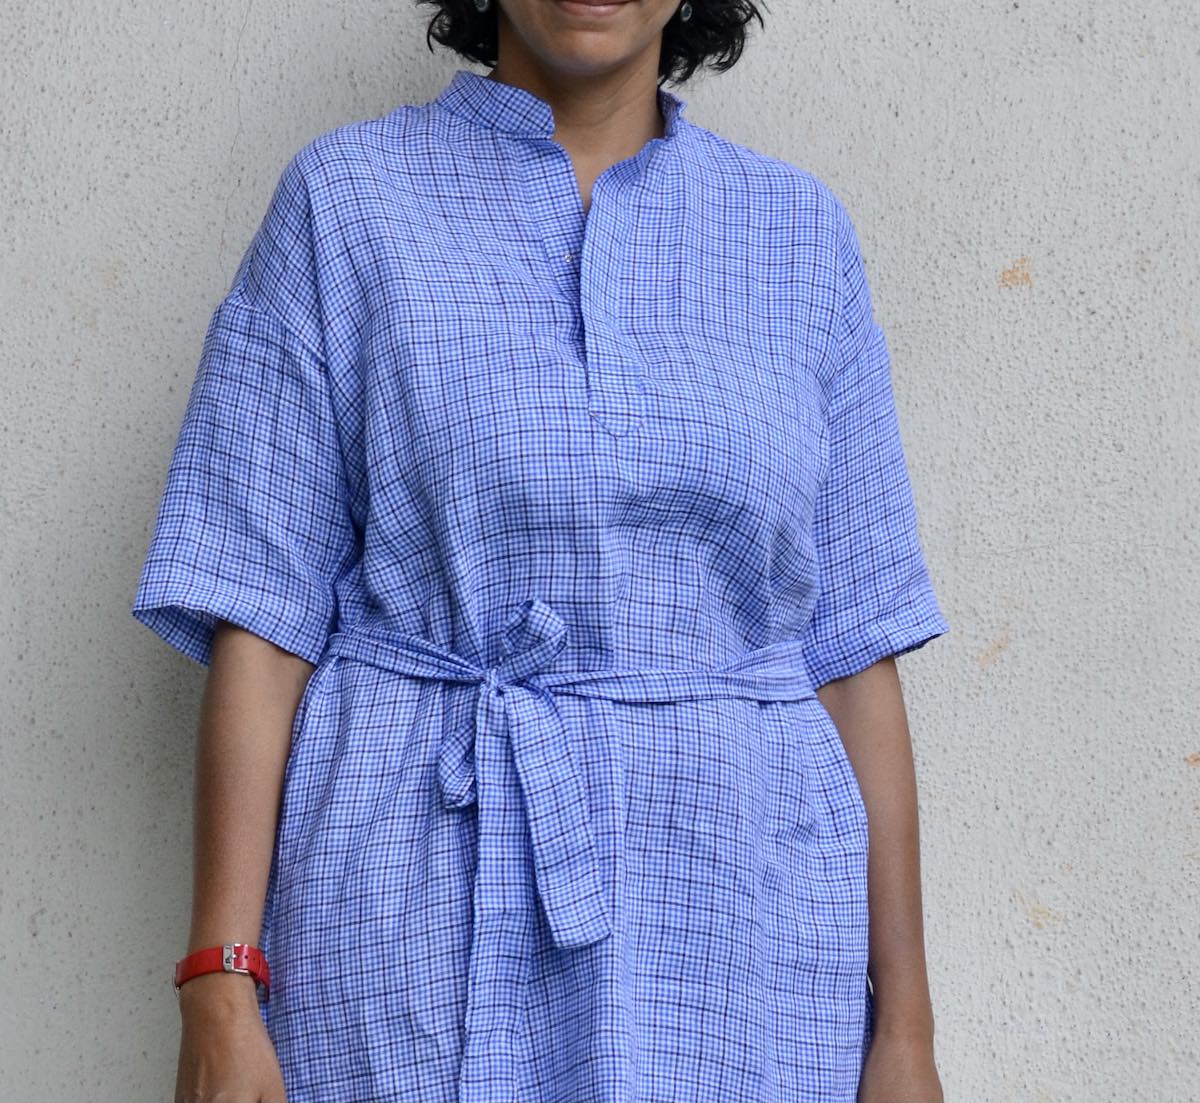
The process of sewing was simple and straightforward. This is fine quality mid-weight linen that I purchased a few years ago from H.P. Singh (Nehru Place, Delhi). It has a certain crispness but softens, or I should say crumples quite beautifully. I generally find that linen shifts quite a bit when I sew. So, of course, sewing pins and I were we good friends while making this dress. One last point that I would like to add is that I did not make buttonholes on the placket. I sewed this dress while on holiday on a vintage seventy-year-old machine. Quite frankly, I did not have the courage to sew buttonholes by hand, so for now press buttons it is, and I will wait till I can access my usual machine to make buttonholes for this one.
How I wear it
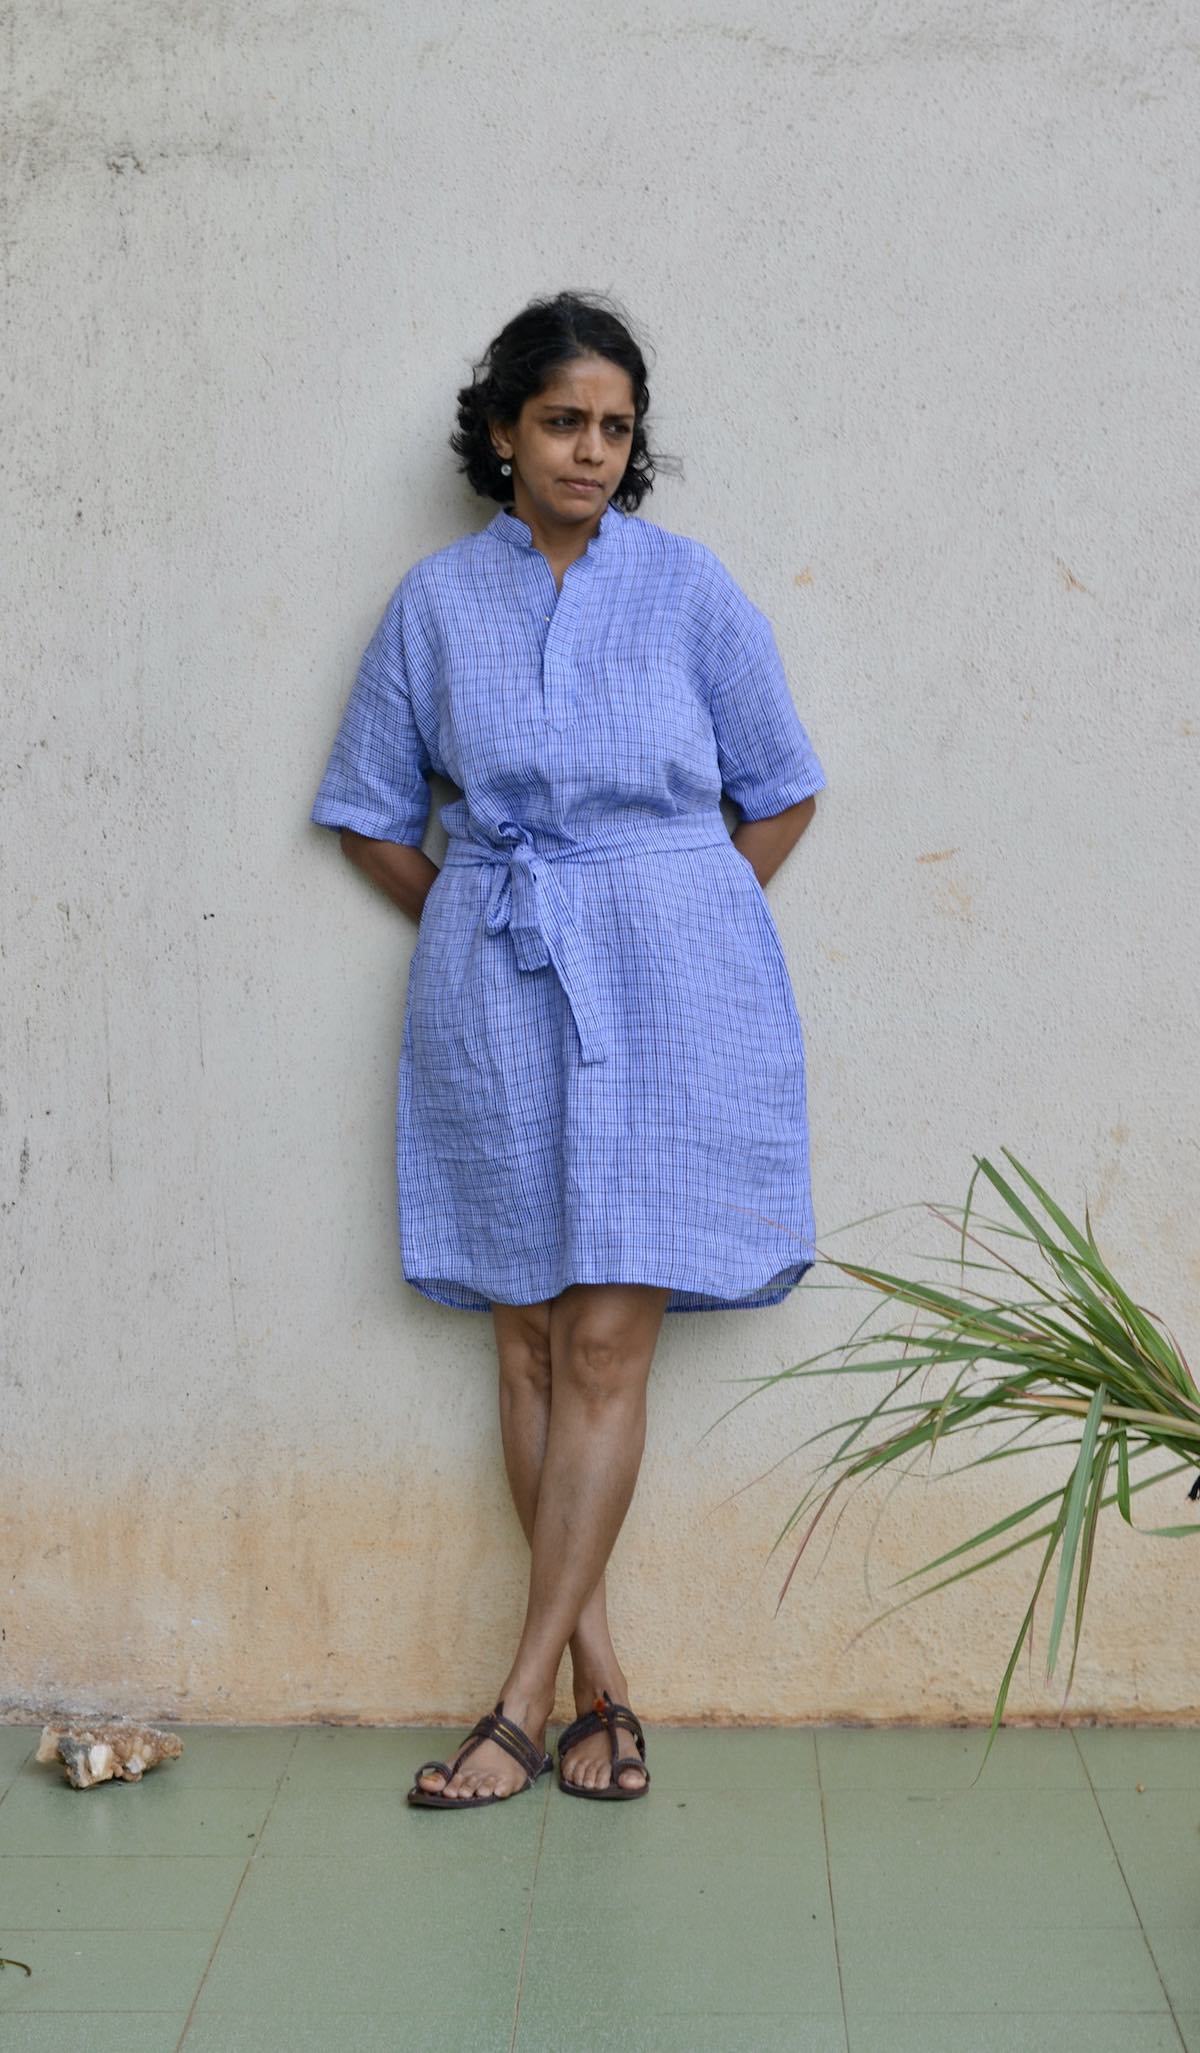
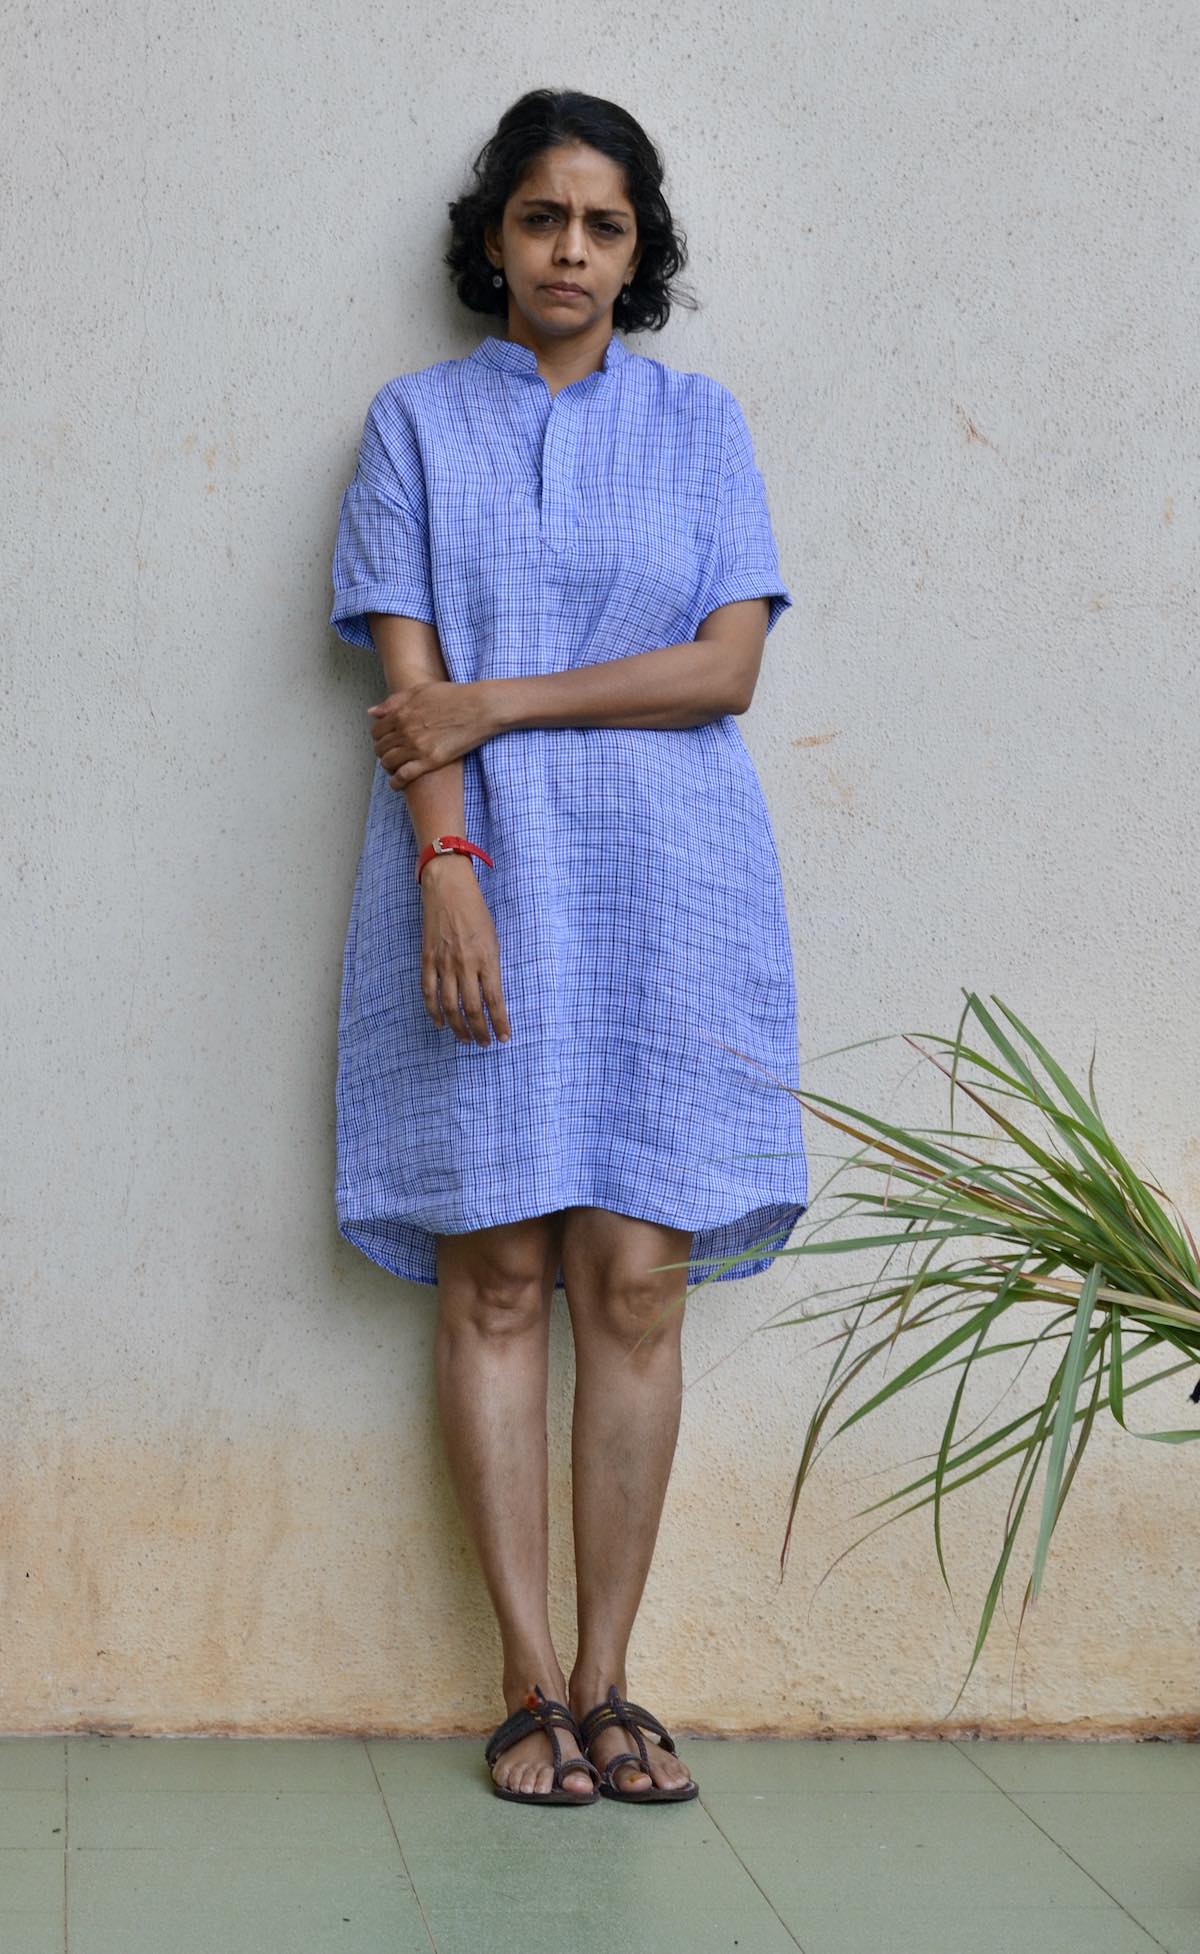
Initially, I was quite sure that I wanted to make thread loops on the side seams at the waist to pass the belt through as I don’t like the belt riding high on my waist. To my surprise though, I realized that I like wearing this dress without the belt. I worry a bit if this is going to look too nightgown-ish but so far I am feeling confident that it can be in fact worn without a belt, and give off a nice summery casual vibe. I am also looking forward to wearing it (without the belt) with tights and a full-sleeve turtleneck, and possibly boots when the weather takes a cooler turn.
All in all, I will say that there are dresses, and then there is that one dress that you look forward to wearing all the time. I think I have almost unexpectedly landed on that “one!”
This looks lovely, and I’ve found the sizing details really helpful, especially as I’m the same size as you!
Well done, Asmita! The fit and dress are both beautiful!
I like your explanations. Thanks for walking through them. That’s a wonderful dress.
It looks very fresh and comfortable for summer wear. Nice job!
Super practical for heatwaves! Also, thanks for talking about how you achieved the fit/shaping that works for you.
Great result!