Hello friends!
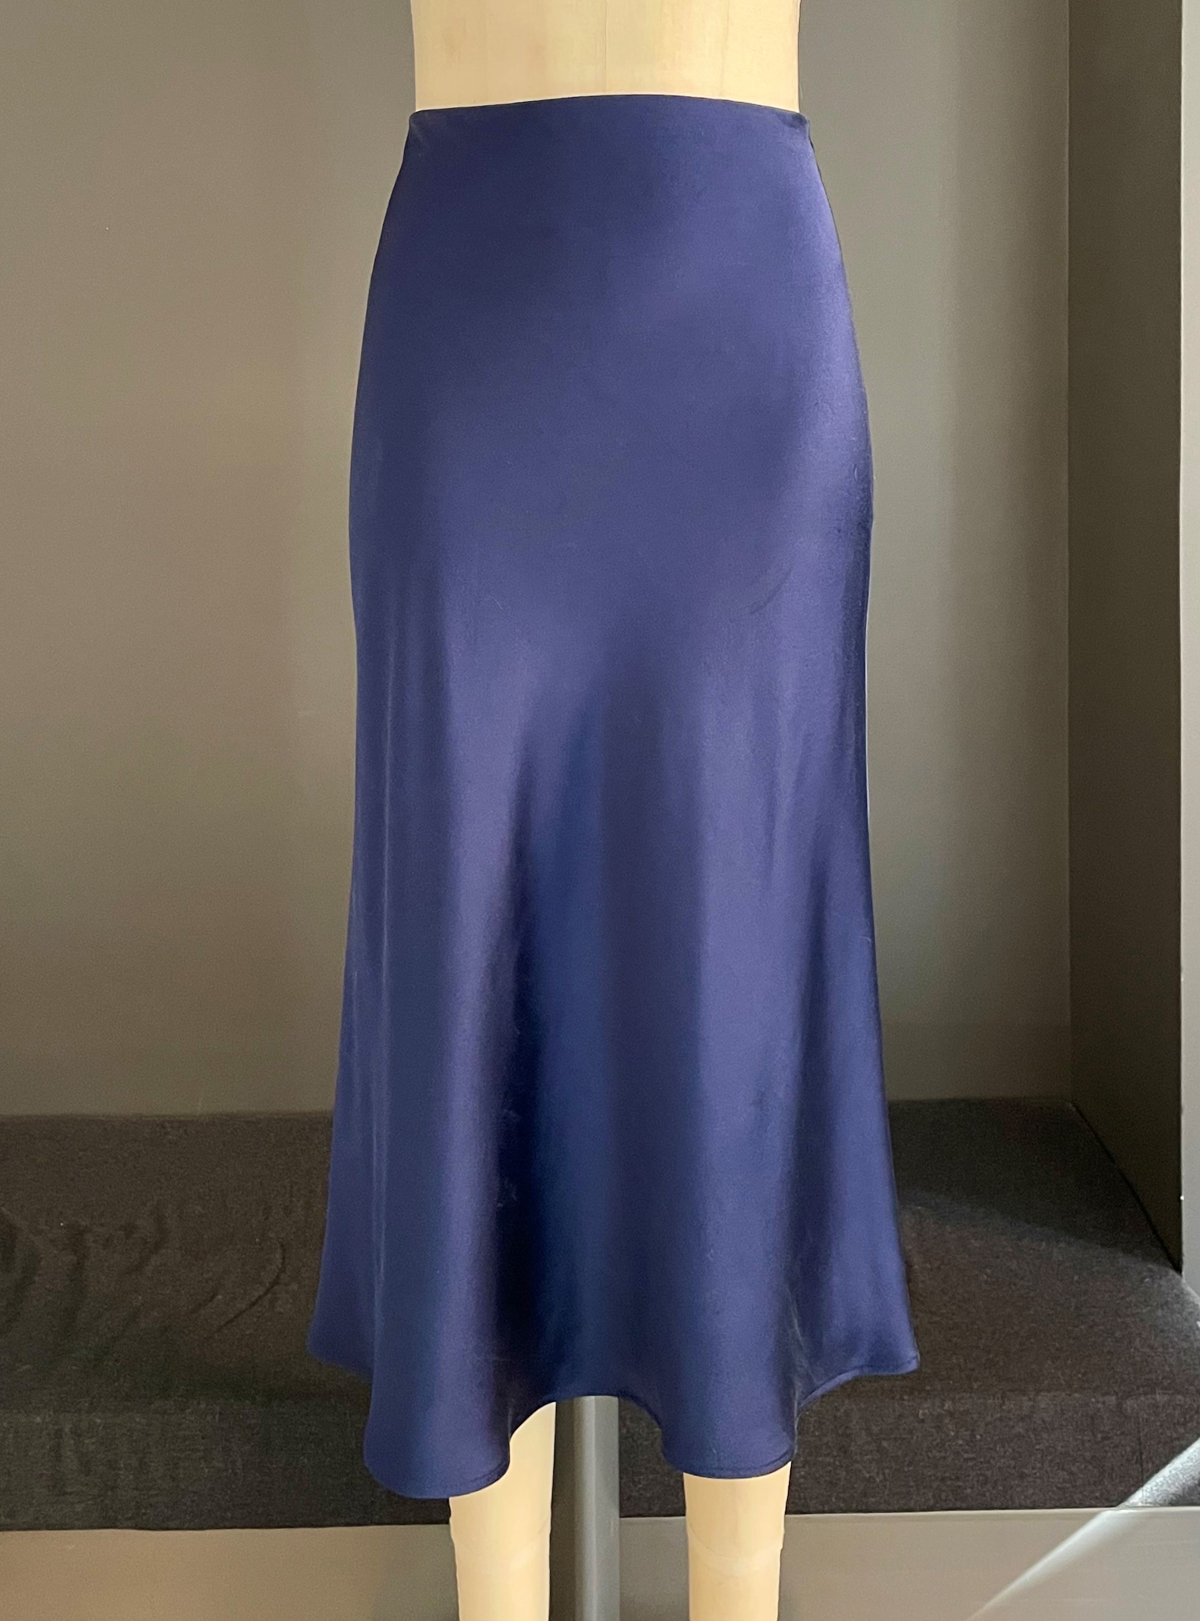
Bias-cut slip skirts have become really popular once again. (I loved them in the 90s, and I love them again now!) And the good news is that they’re so easy to sew when you modify our Garibaldi A-Line Skirt pattern with this tutorial. It will give you a simple, minimalist bias-cut satin slip skirt with an smooth-fitting invisible elastic waist.
Materials Needed:
- Garibaldi A-Line Skirt sewing pattern
- Drapey fabric (silk or poly satin or something similar: silk is a pleasure to sew and to wear!)
- 1 1/4″-1 1/2″ wide elastic, length determined by your measurements (see below)
- Coordinating thread
- Basic sewing tools
- Optional: Ban-Rol to sew the narrow hem
Bias Slip Skirt Steps:
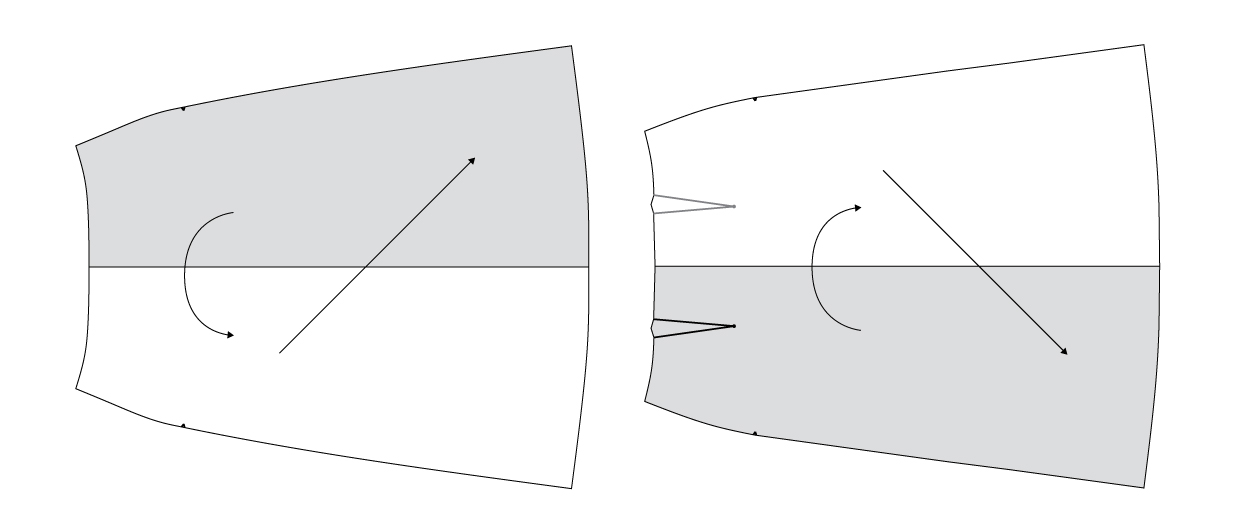
1. You’ll need only the Skirt Front and Skirt Back piece, not the waistband or pocket pieces. The beauty of this skirt is its simplicity and minimalism. Trace the Skirt Front and Skirt Back pattern pieces to be full pattern pieces instead of cut-on-fold pieces. Tracing the pattern pieces to their unfolded full width will make it much easier for you to cut the two pieces on the bias on your skirt. Then add 45-degree grainlines, like this:
2. Next, arrange the pattern pieces on your pressed, unfolded, and carefully blocked fabric, taking care that the warp and the weft of the fabric are squared. Then arrange your pattern pieces so the grain lines are perfectly aligned with the fabric selvedges. Ideally, when you cut the fabric you’ll want to arrange the pattern pieces so the skirt front and back grainlines oppose each other, like this:
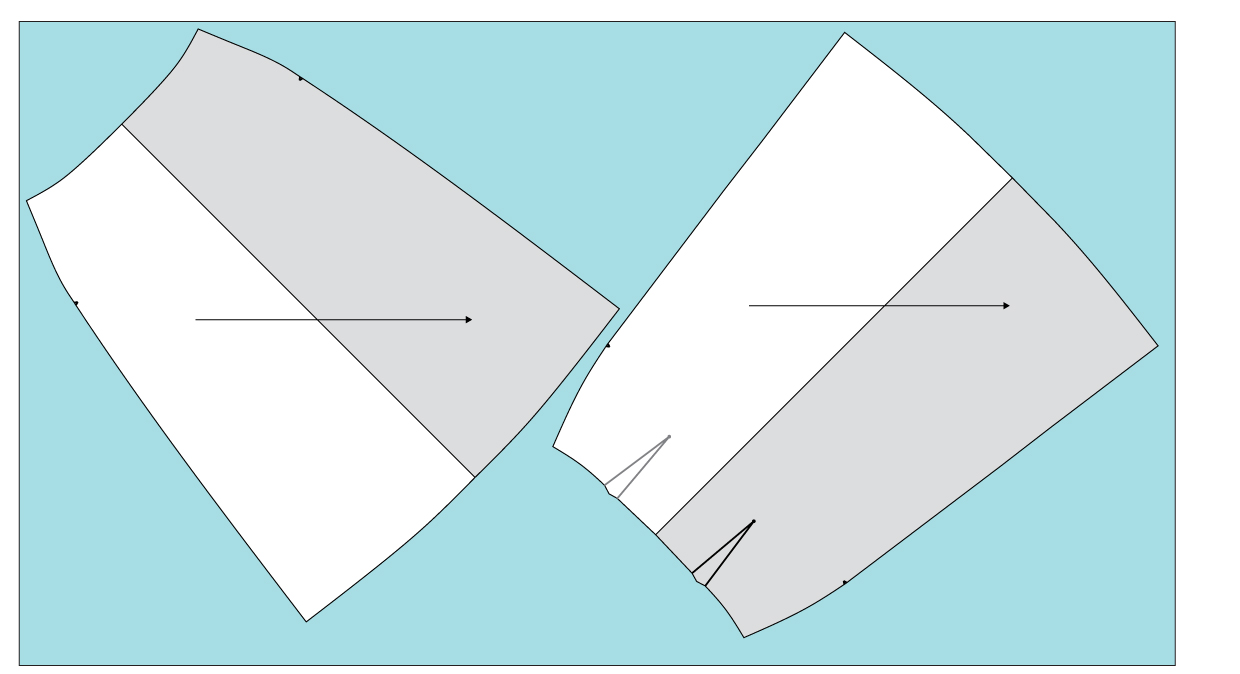
This will help to keep the skirt drape balanced and prevent twisting at the side seams.
3. Once you’ve cut your pieces, HANDLE WITH CARE! Bias-cut fabric can stretch and distort easily, so try to lift it and manipulate it as little as possible. Keep it as flat as possible, and refrain from lifting it from the edges.
Your next steps will be to sew the back darts and then the full side seams with a 1/2″ seam allowance. I love to use French seams for the side seams, but you can easily sew regular seams and finish the seam allowances using your preferred method as well. It’s your skirt; do what you like here.

4. Before progressing with the waist elastic, it’s a good idea to staystitch the waist of the skirt to prevent it from getting stretched out of shape during the sewing process. For this you can stitch with a 3/8″ or 1/2″ seam, but later we’ll be breaking the staystitch, so feel free to use a longer-than-normal stitch length for this to make it easier to cut some of the stitches. I would suggest a 3.0mm stitch length for this step.
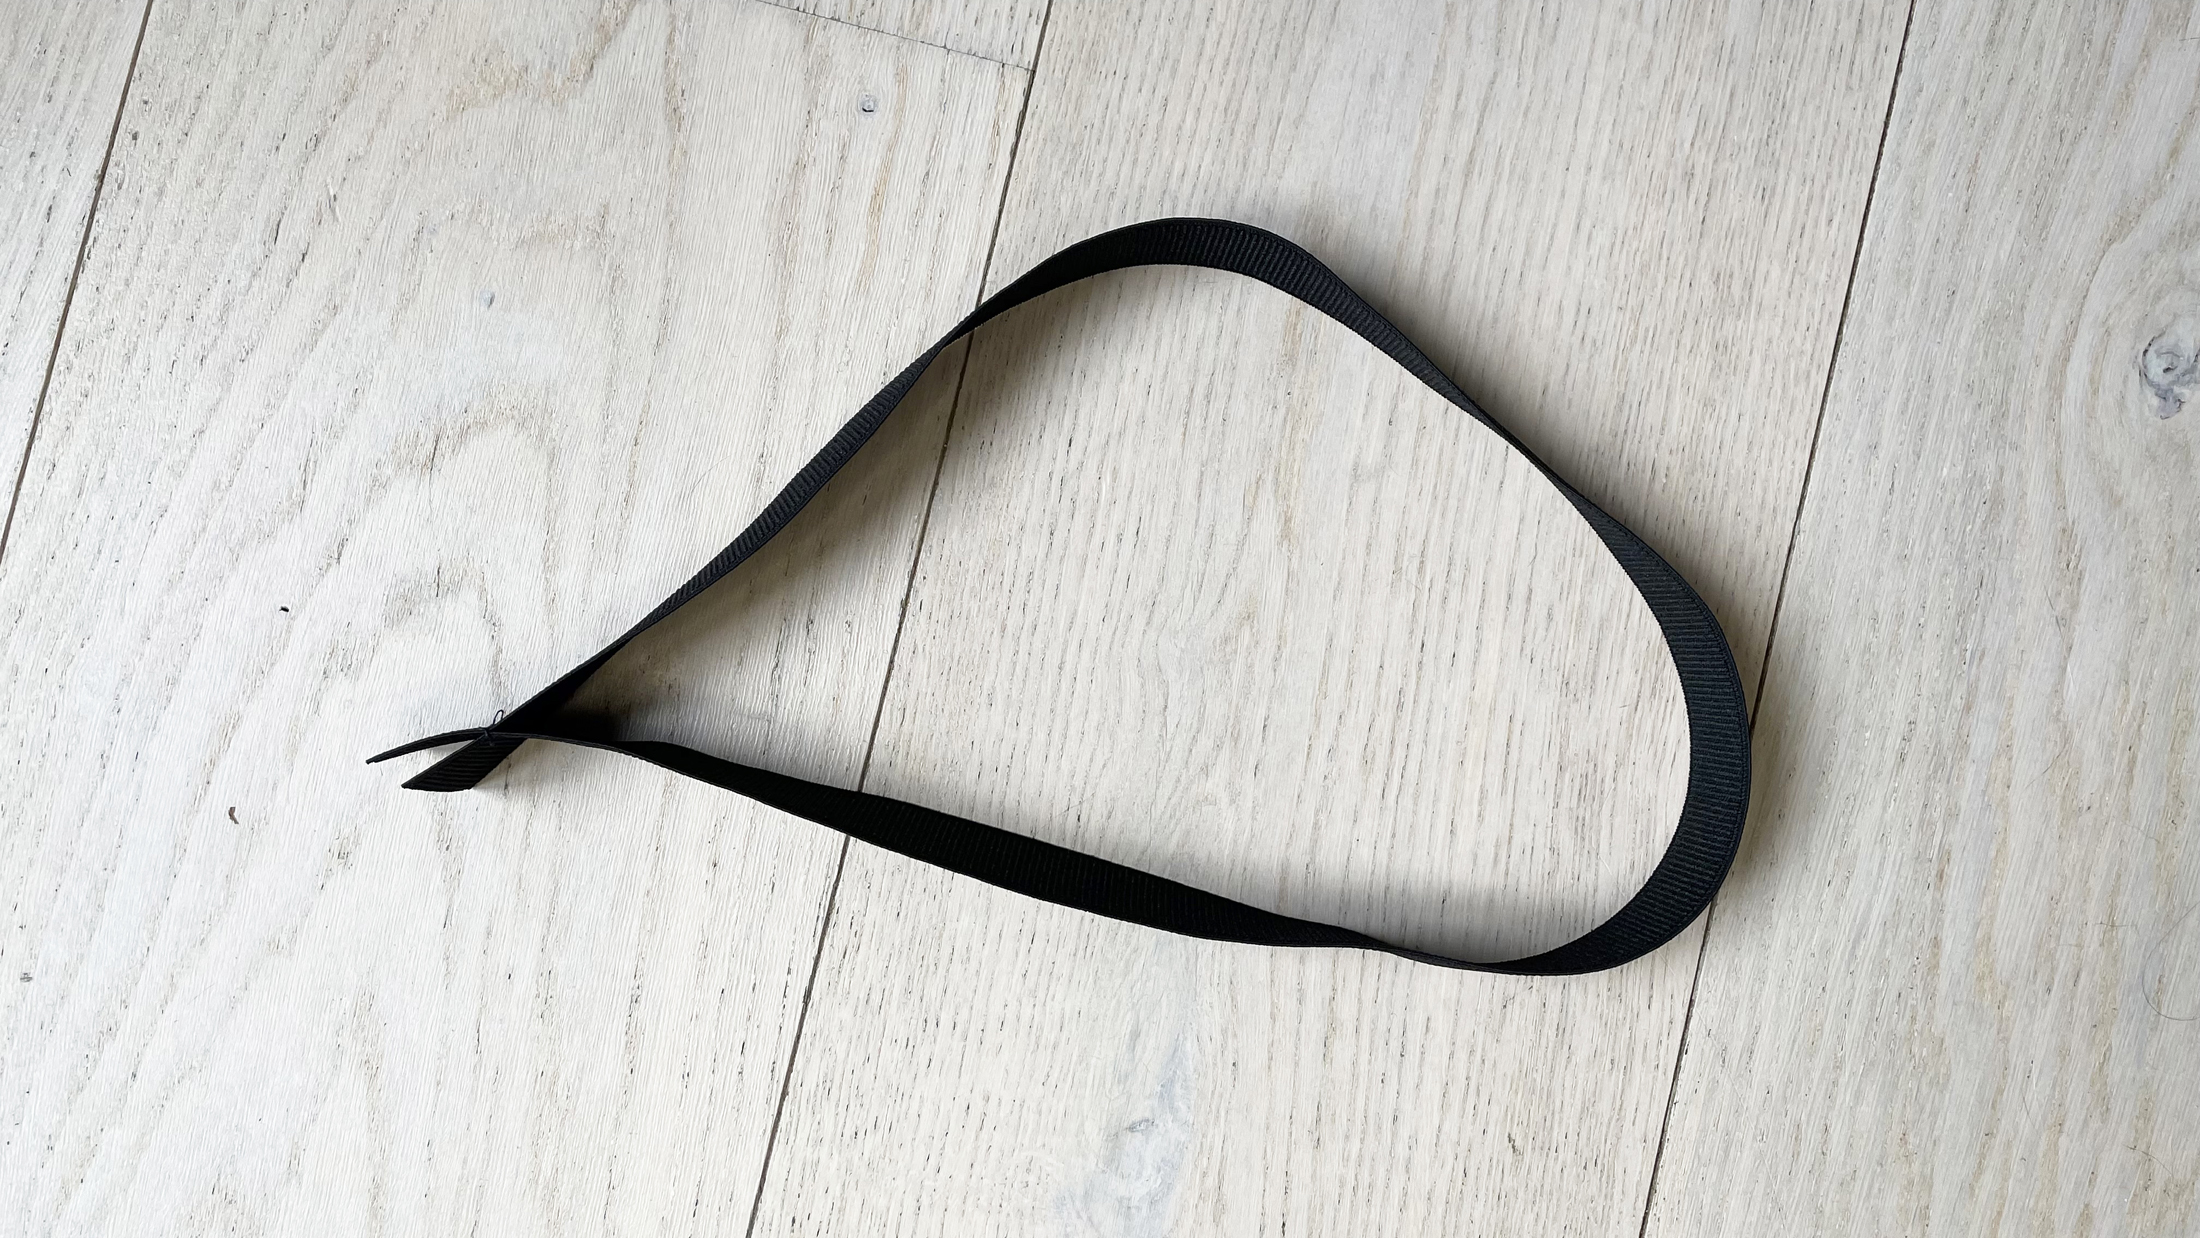
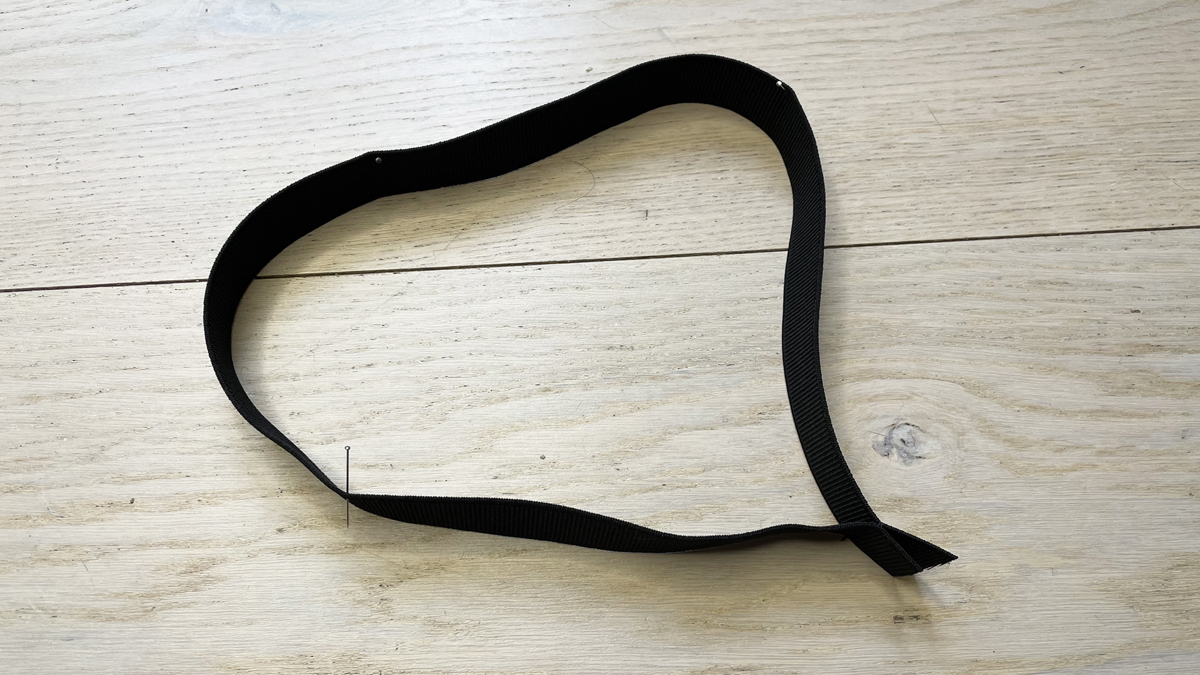
5. Measure and cut the elastic: This will take some careful consideration on your part. You want the elastic to be snug enough to fit your waist but loose enough to fit over your hips so you can pull the skirt on and off. I would suggest starting with your waist measurement and using a safety pin to test the elastic so you can check before cutting the elastic. Once you’ve determined the correct length (it will probably be about the same as your waist measurement, but it will also depend on your hip measurement and the type of elastic you’re using), add an inch or two for seam allowance and sew the two ends with “right sides” together. Don’t overlap the ends of the elastic the way we often do for an elastic waistband. This method will give a cleaner finish to the elastic, since the elastic will be visible on the inside of the skirt.
6. Fold and mark the stitched elastic loop to make four equal quadrants. I used pins, but you can also use chalk or a fabric-marking pen. Mark the center-front and center-back of the skirt as well.
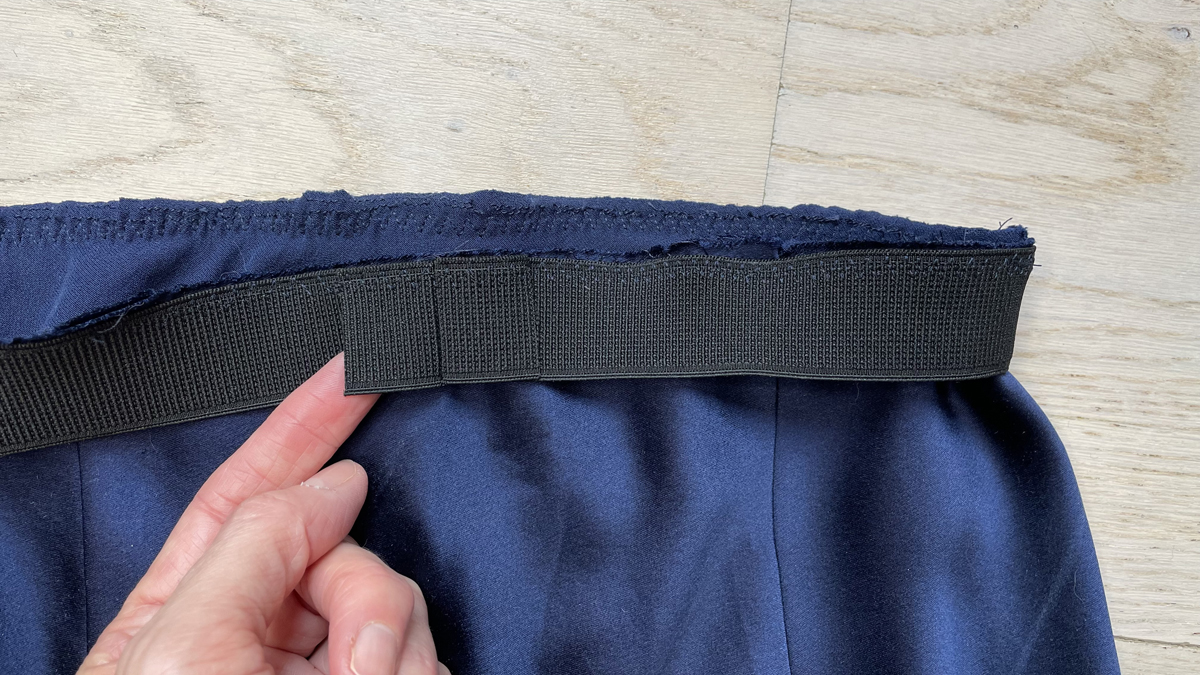
7. Pin the right side of the elastic to the right side of the skirt’s waist edge, matching the elastic seam to the center-back of the skirt and matching the remaining quadrants of the elastic to the side seams and center-front of the skirt. Then, using a stretch stitch (the three-stitch zigzag stitch is ideal; it’s often my preferred stitch for knits), stretch the elastic as you sew it to the top of the skirt between the 3/8″ staystitching and the raw edge of the fabric. Try to not stretch the skirt fabric itself; stretch only the elastic so it fits the waist of the skirt. (That’s why we staystitched the skirt).
8. Press the elastic and the stitched seam allowances away from the skirt. At this point you can break the stay stitches since they’ve served their purpose and prevented the top of the skirt from getting stretched. Cutting through the stay stitches with a seam ripper every few stitches will also allow the skirt to stretch over your hips so you can get it on and off when it’s finished.
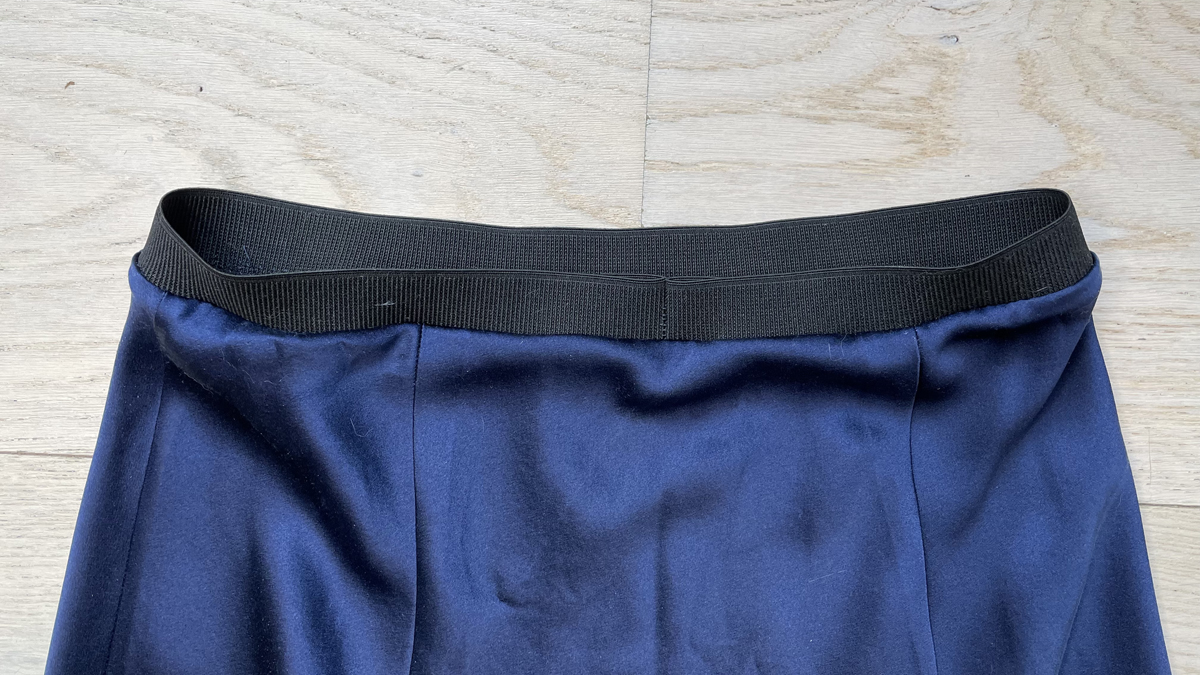
9. Now fold and press the elastic to the inside of the skirt so the skirt fabric wraps around the top edge of the elastic, giving the waist of the skirt a clean finish.

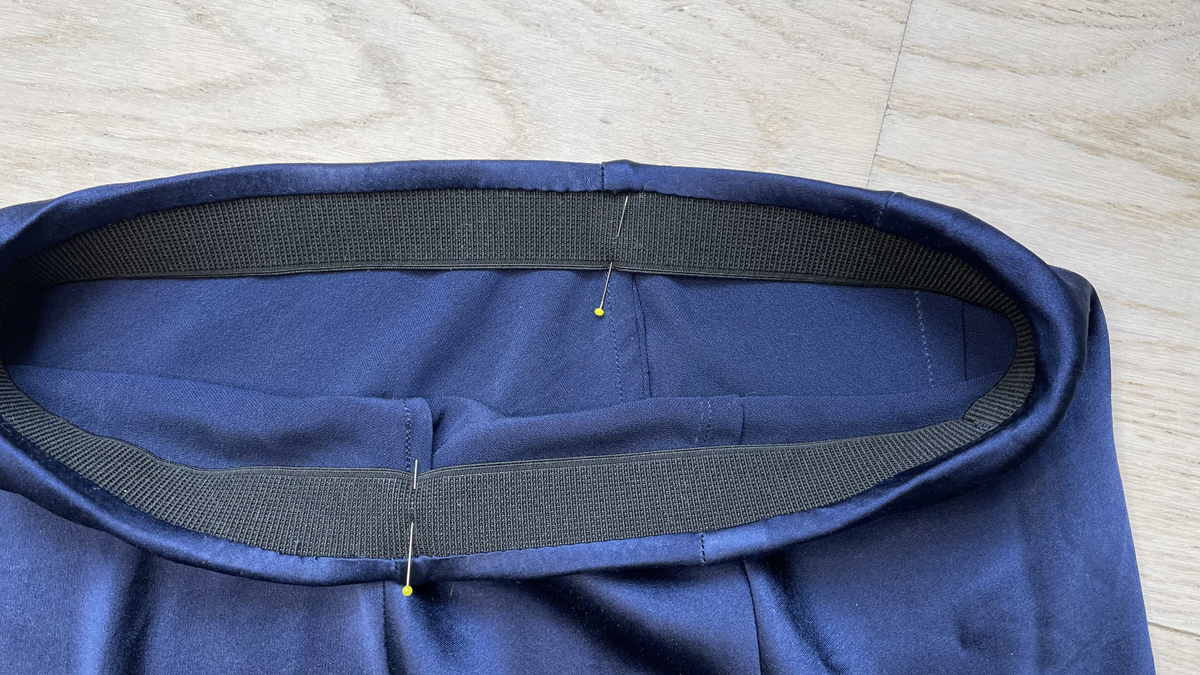
10. I like to stitch the elastic to the side seam allowances at this point to help keep the elastic in place. You can stitch this by hand, through just the seam allowances or you can “stitch in the ditch” from the outside of the skirt, sewing directly though the seamlines so your stitches won’t show. I’ve used pins here to make the stitch location more visible if you’re hand sewing.
9. Before you hem the skirt, hang it for at least 24 hours to allow the bias to stretch. This will allow the skirt to “settle” so the length won’t grow in places when you wear it.
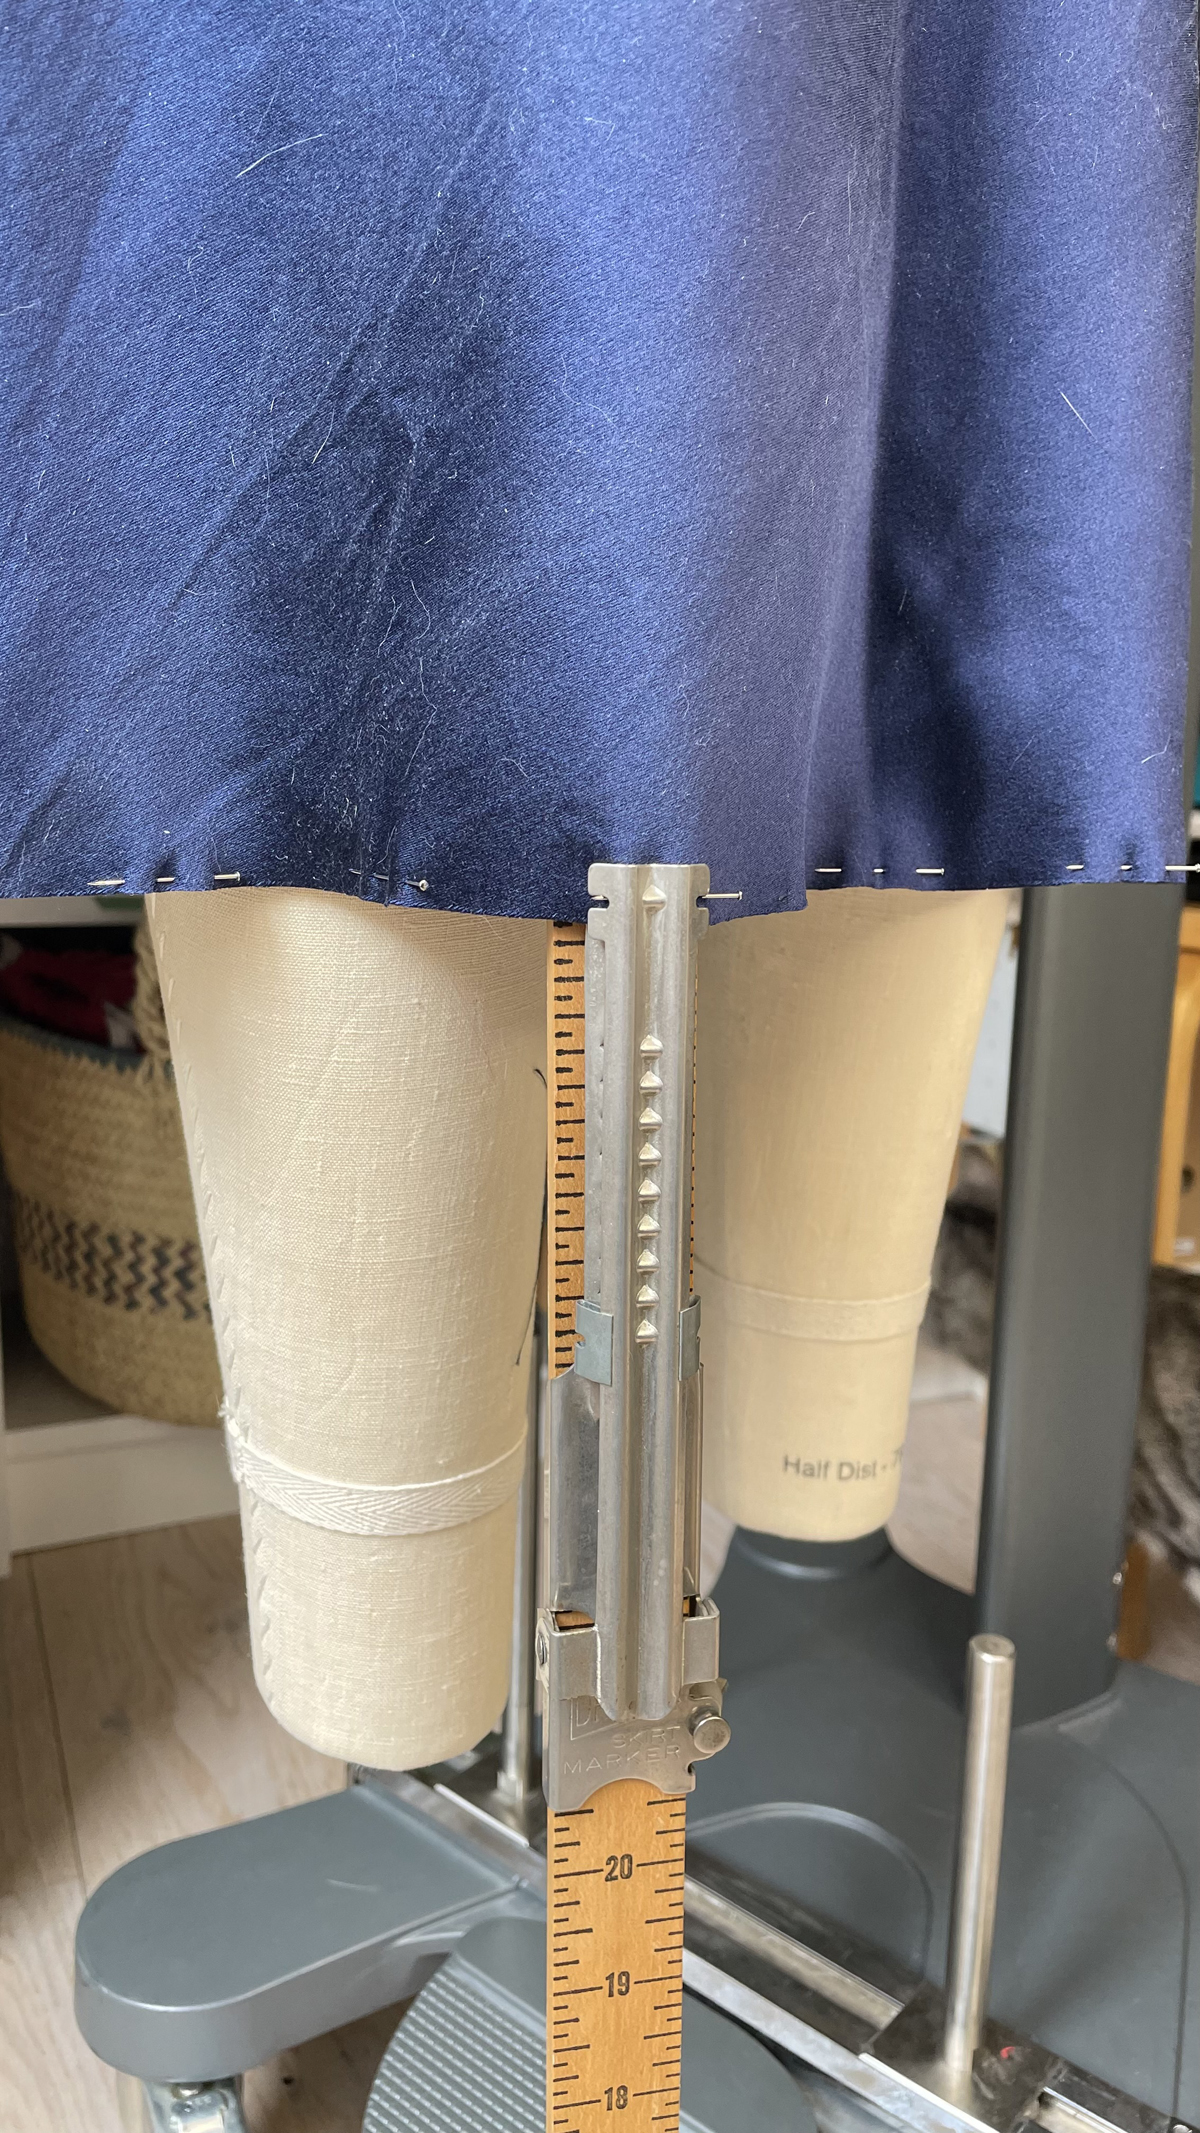
To hem the skirt, it’s always a good idea to try it on since bias will definitely stretch and the skirt will be longer in some places than others. Once you’ve marked the desired hem length (measure from the floor so it’s even all the way around; it’s always nice to have a friend help with this step!), add a little extra for a narrow hem (1/2-5/8″ is a good amount). Then either use the baste-and-fold narrow hem method to fold and press the fabric to the wrong side twice or use the Ban-Rol narrow hem method to neatly finish the hem without stretching it. I love Ban-Rol for this step because it prevents the hem from getting wavy.
Enjoy your new skirt! There are so many ways to wear this style. I’ve made four of these skirts in different colors–khaki/gold, navy, black, and cream–and they’re one of my most-worn wardrobe items this year.
You can pick up your own copy of our Garibaldi A-Line Skirt sewing pattern if you’d like to make your own slip skirt. And of course you can also make any of the other views offered in the pattern. We’d love to see what you make with it! Tag us with #garibaldiskirt and #lieslandco so we can see your finished skirts, will you?
It looks so good!!!
I love reading your tutorials ,they are infused with excitement.
I love the elastic waist detail! Can this be done on the regular view B skirt? (My hips are slim, but I don’t know how much bias/stretch is at the waist of view B, if any.) Of course, I’m not sure of the waist detail of the regular view B, lol.
Yes, if I wasn’t clear in the post I apologize. You should use View B for this technique.
What a great tutorial! And that method of finishing the waist is so cool, thank you! Personally, the only time I finish bias seams is with linen, since they don’t fray. Less chance of bulky seam allowances
Good afternoon. I have a question. How much difference between the waist measurement and the hip measurement can there be and still be able to make the Garibaldi a bias skirt without a zipper? I have almost no bottom, so it’s an easy on and off for me, but my granddaughter has 8 inches difference between her waist and hips. In this case, would you recommend that I just don’t stitch the darts? Thank you. Marjolijn
I’m interested in the answer to this as well. How, with darts sewn and no zipper opening, can the waist go over the hips?
Bias is stretchy, so in general it will stretch over the hips. But of course it will depend on the fabric, on the waist-to-hip ratio, and on the length you cut your elastic. It’s impossible for me to say with absolute certainly whether it will stretch enough to fit over someone’s hips with a very big difference between the two measurements, but you could always cut the waist a little wider if you’re worried. The great thing about bias is that it drapes, so a wider waist will probably not be very noticeable once it’s on the body. I hope that helps!
thank you so much! The skirt is gorgeous in satin. I’ve always liked a good A-line skirt