We’ve all had a garment that didn’t turn out as we had hoped, and that maybe never got worn. Today, Aimee from the Advisors Circle is sharing just such a tale. But her story has a triumphant ending. Read on to see how she took her Woodland Stroll Cape from uninspiring to unforgettable.
Once upon a time there was a beautiful piece of velour fabric designed by the lovely Anna Maria Horner. I purchased an extravagant amount of yardage of this velour and there it sat, just waiting for the perfect pattern.
When the Woodland Stroll Cape pattern came out I was overjoyed and I finally captured the courage to cut into this lovely velour and make a cape.
Unfortunately, I made a frugal, hasty decision not to purchase any lining fabric and use what I
had in my stash. I grabbed a couple different “coordinating” fabrics and got to work.
The cape came together quickly, I chose some beautiful mother of pearl buttons from my stash and then promptly never wore the cape. I buried it under a bunch of other unfinished/unworn projects and moved on. I couldn’t dare donate or get rid of the cape merely because of the amazing velour that I had cut into for this project, but there was something about it that wasn’t just right either.
Fast forward to 2020 and I kept seeing all these amazing quilted coats. While scrolling through my phone one day I remembered this cape just languishing in the bottom of a box and thought that it was about time to give this pattern another try. This time a quilted version.
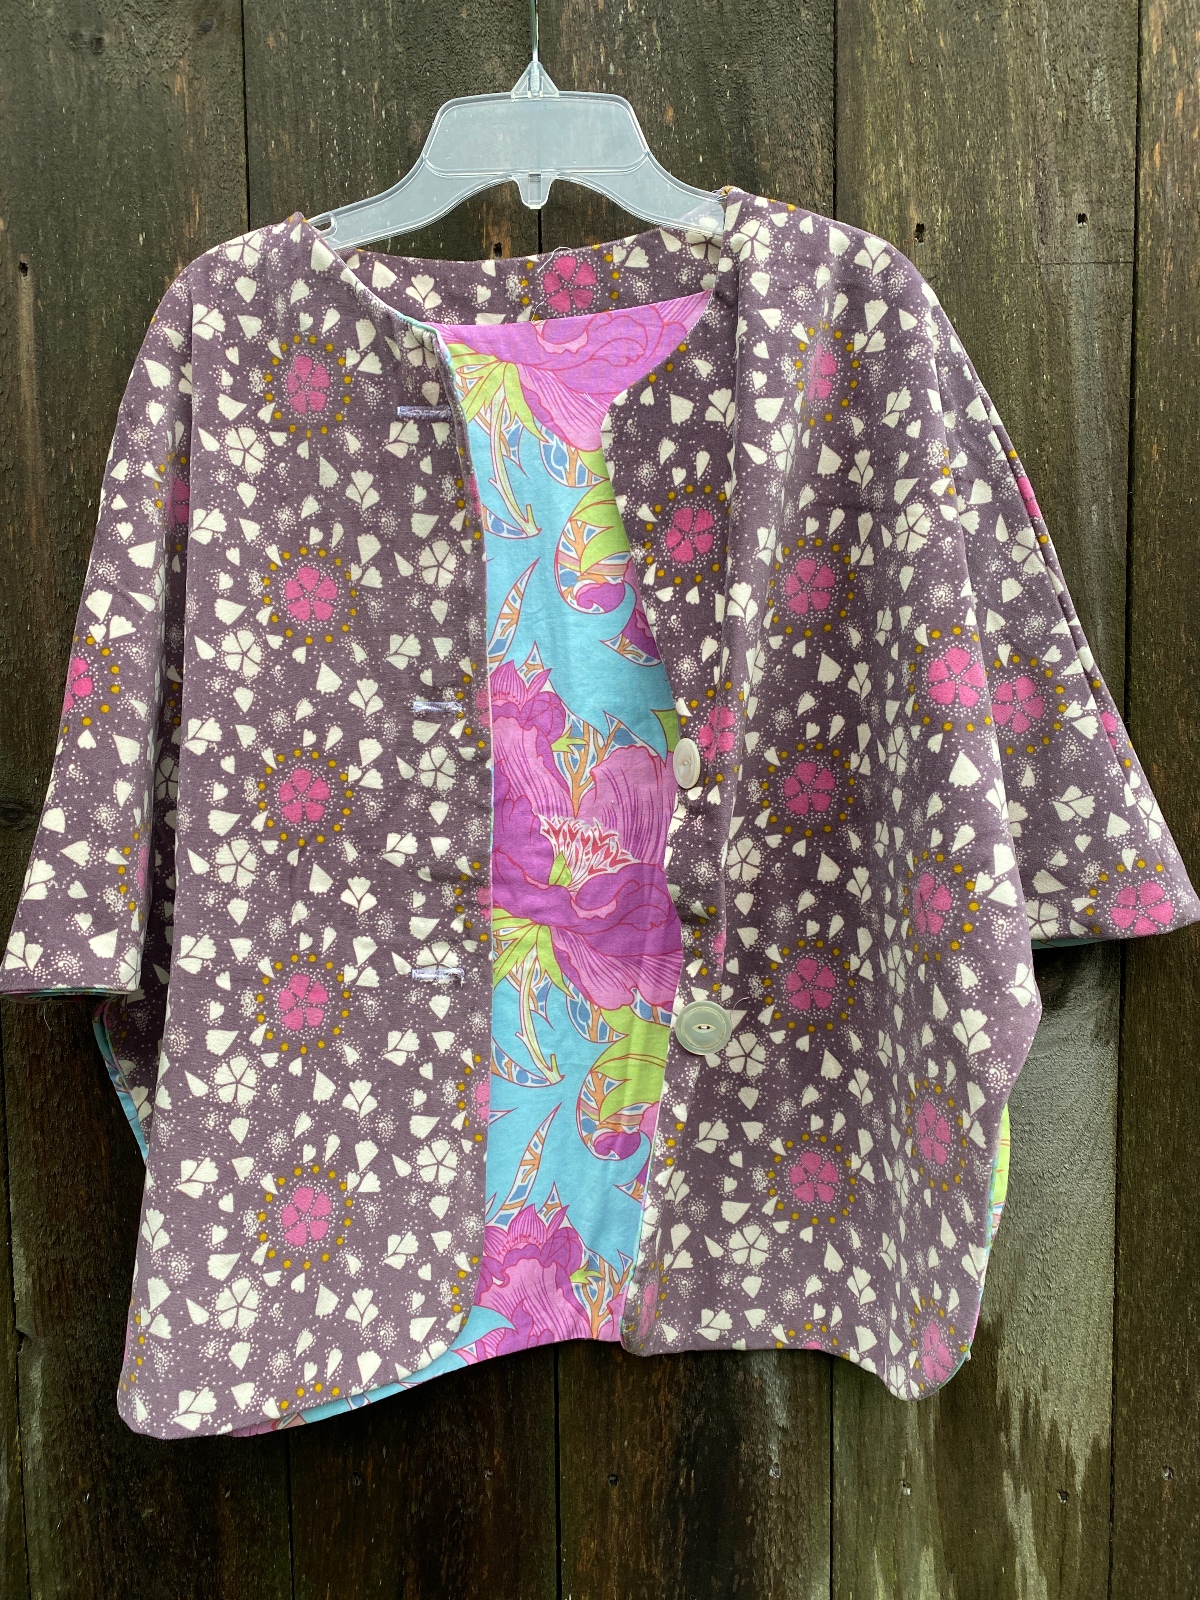
I took the cape completely apart having to toss the one side with the buttonholes. Fortunately, I had plenty of yardage left to recut that one side. I purchased some flannel for the quilting and invested in some lovely cotton voile for the lining.
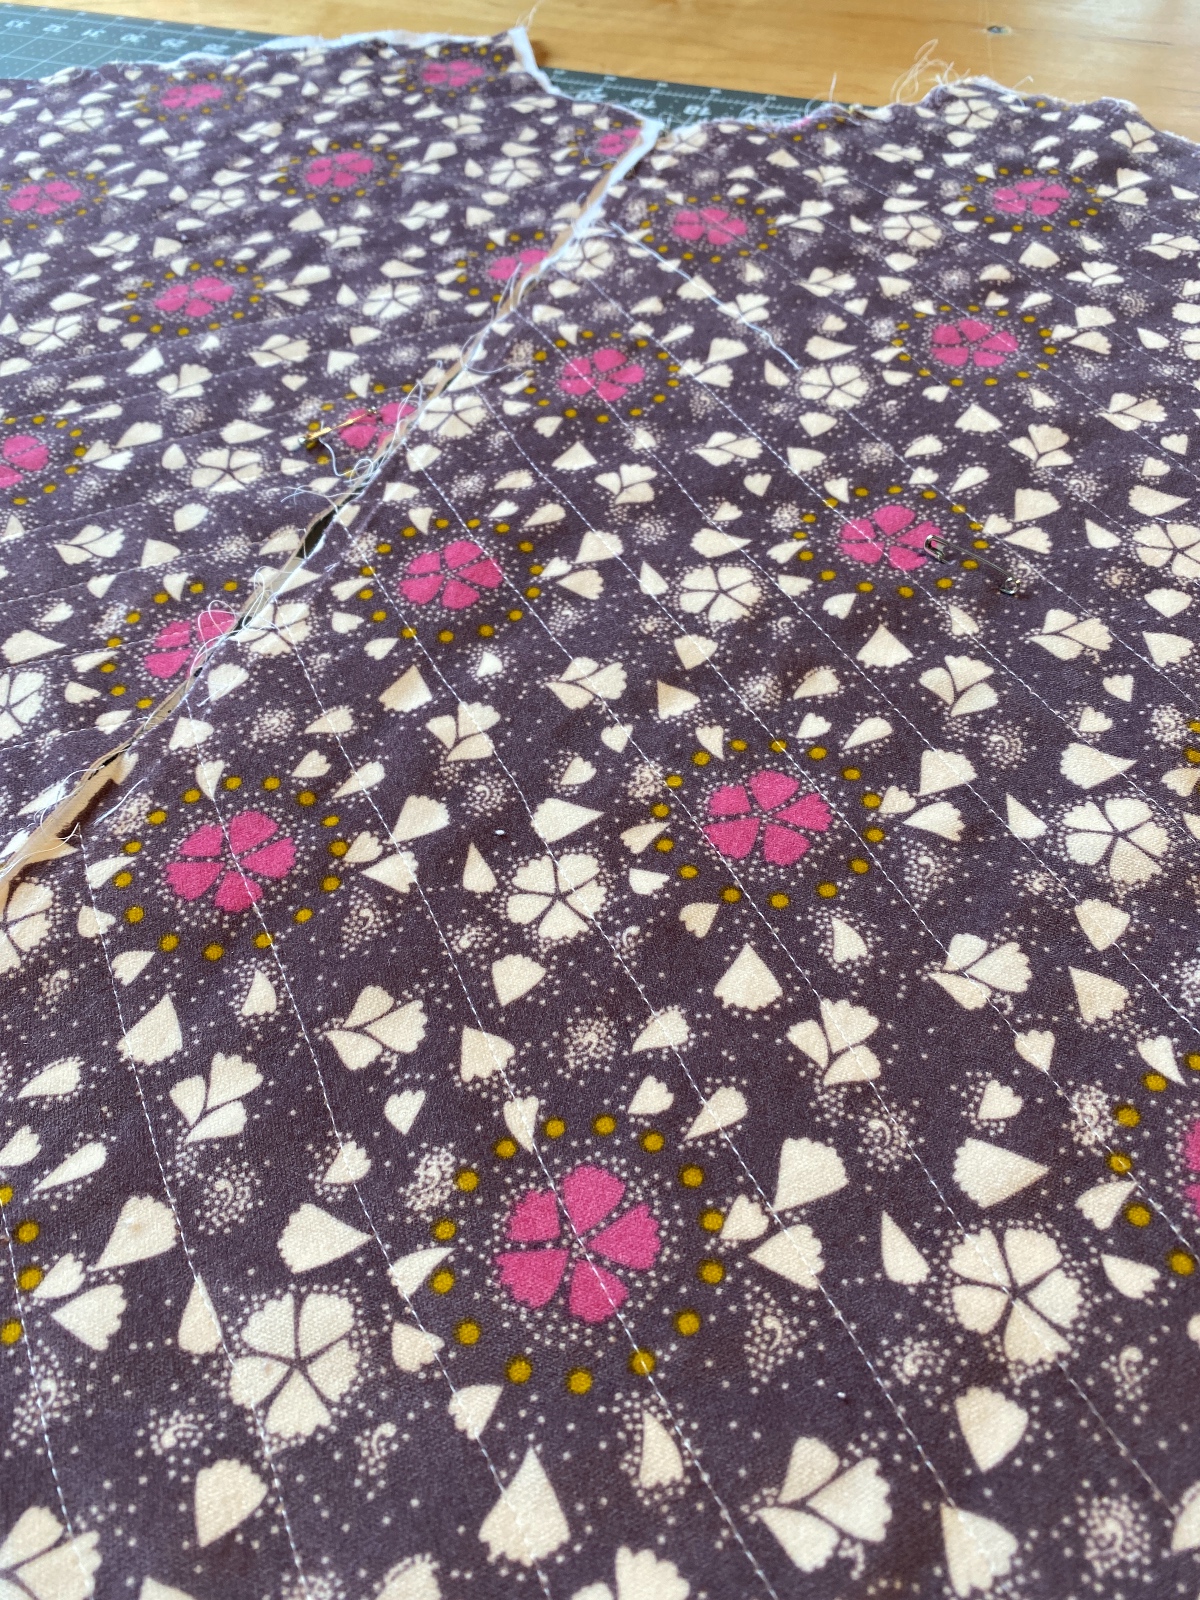
For each section of the cape, I pin-basted the velour and flannel and stitched a diagonal grid (roughly 1″ diamonds) all over. After I had all the sections quilted, I trimmed the flannel down and proceeded with the pattern instructions. This cape really does come together quickly and the voile works pretty well as a lining. It didn’t shift much when I was stitching which is always a plus, but it does pull when you put it on.
I’m not a huge fan of sewing with actual polyester lining or silk, so I am fine with the lining “sticking” a little when you put it on. I didn’t want to do buttons all the way down the front so I was left with a quandary. I researched some different clasps on line and even considered making my own leather toggle, but there was this one vintage floral button I had in my stash that I really wanted to utilize. My son was the brilliant one that suggested using some cording or such to make my own “toggle” out of the buttons I had already pulled out to use.

I stitched the large button at the top and then used some braided cotton cording I had leftover from some drawstring bags for the loop. I stitched the edges of the cording down with my machine and then stitched down a button over the edges. For the sides I didn’t want to do buttonholes, so I opted to stitch a few tacking stitches with my machine and then sewed down some buttons on top to hide the stitches.
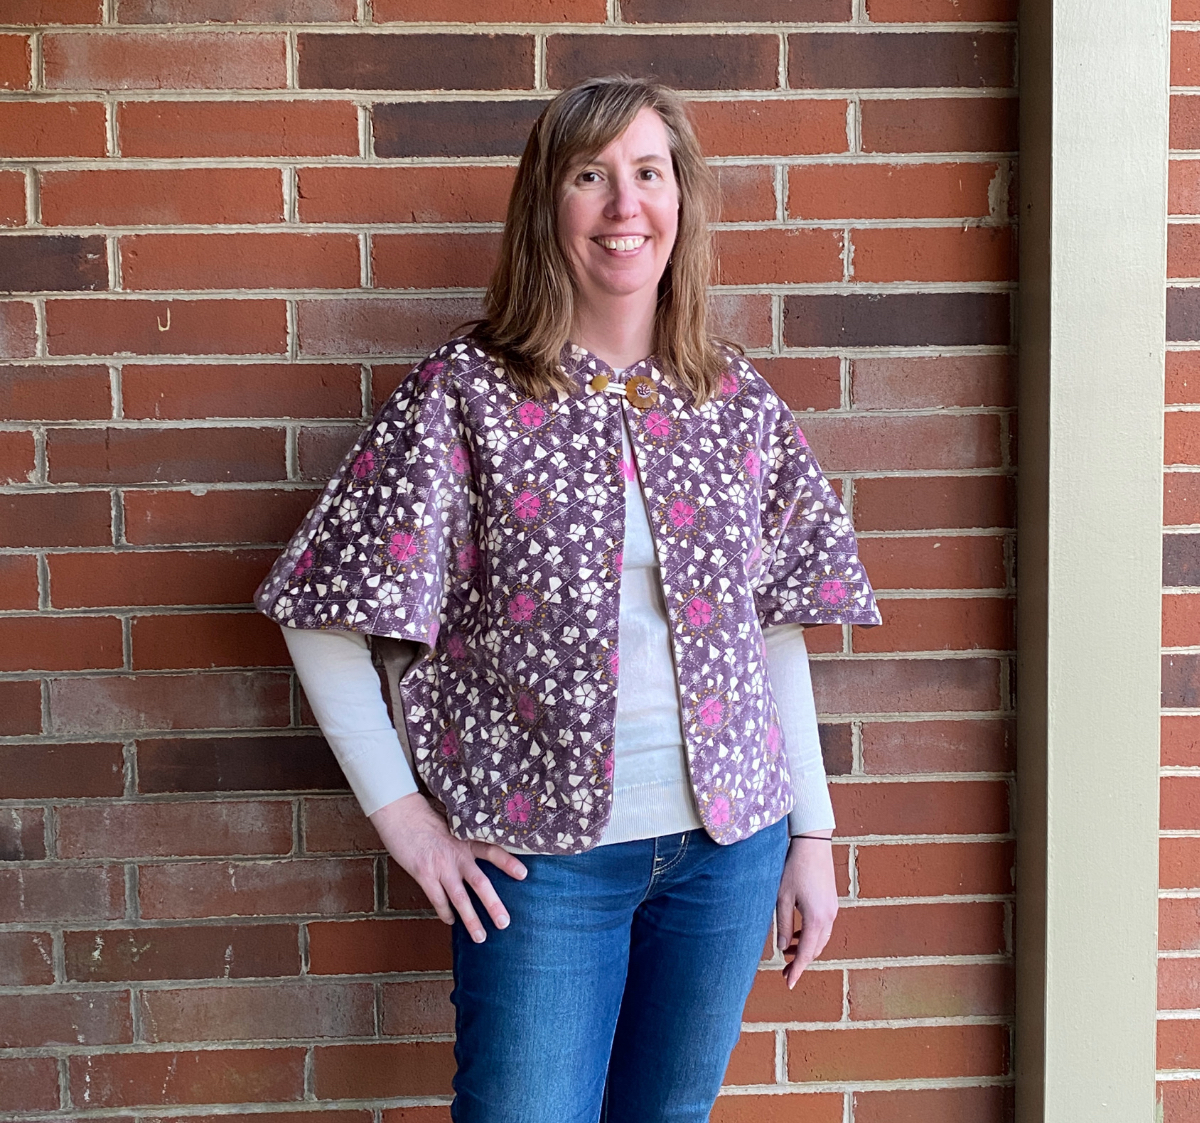
Overall I am really pleased with how this cape turned out. This time it found it’s rightful place hanging in my closet instead of buried under a bunch of UFOs. This really is a simple pattern that turns out beautifully and I think it lends itself really well to a quilted version.
Wow! Making new things from previous fails requires one to “see” differently. How well you have done that here. So inspiring.
Thank! I’m so glad I hung onto it after all these years. It was great to rework it!!