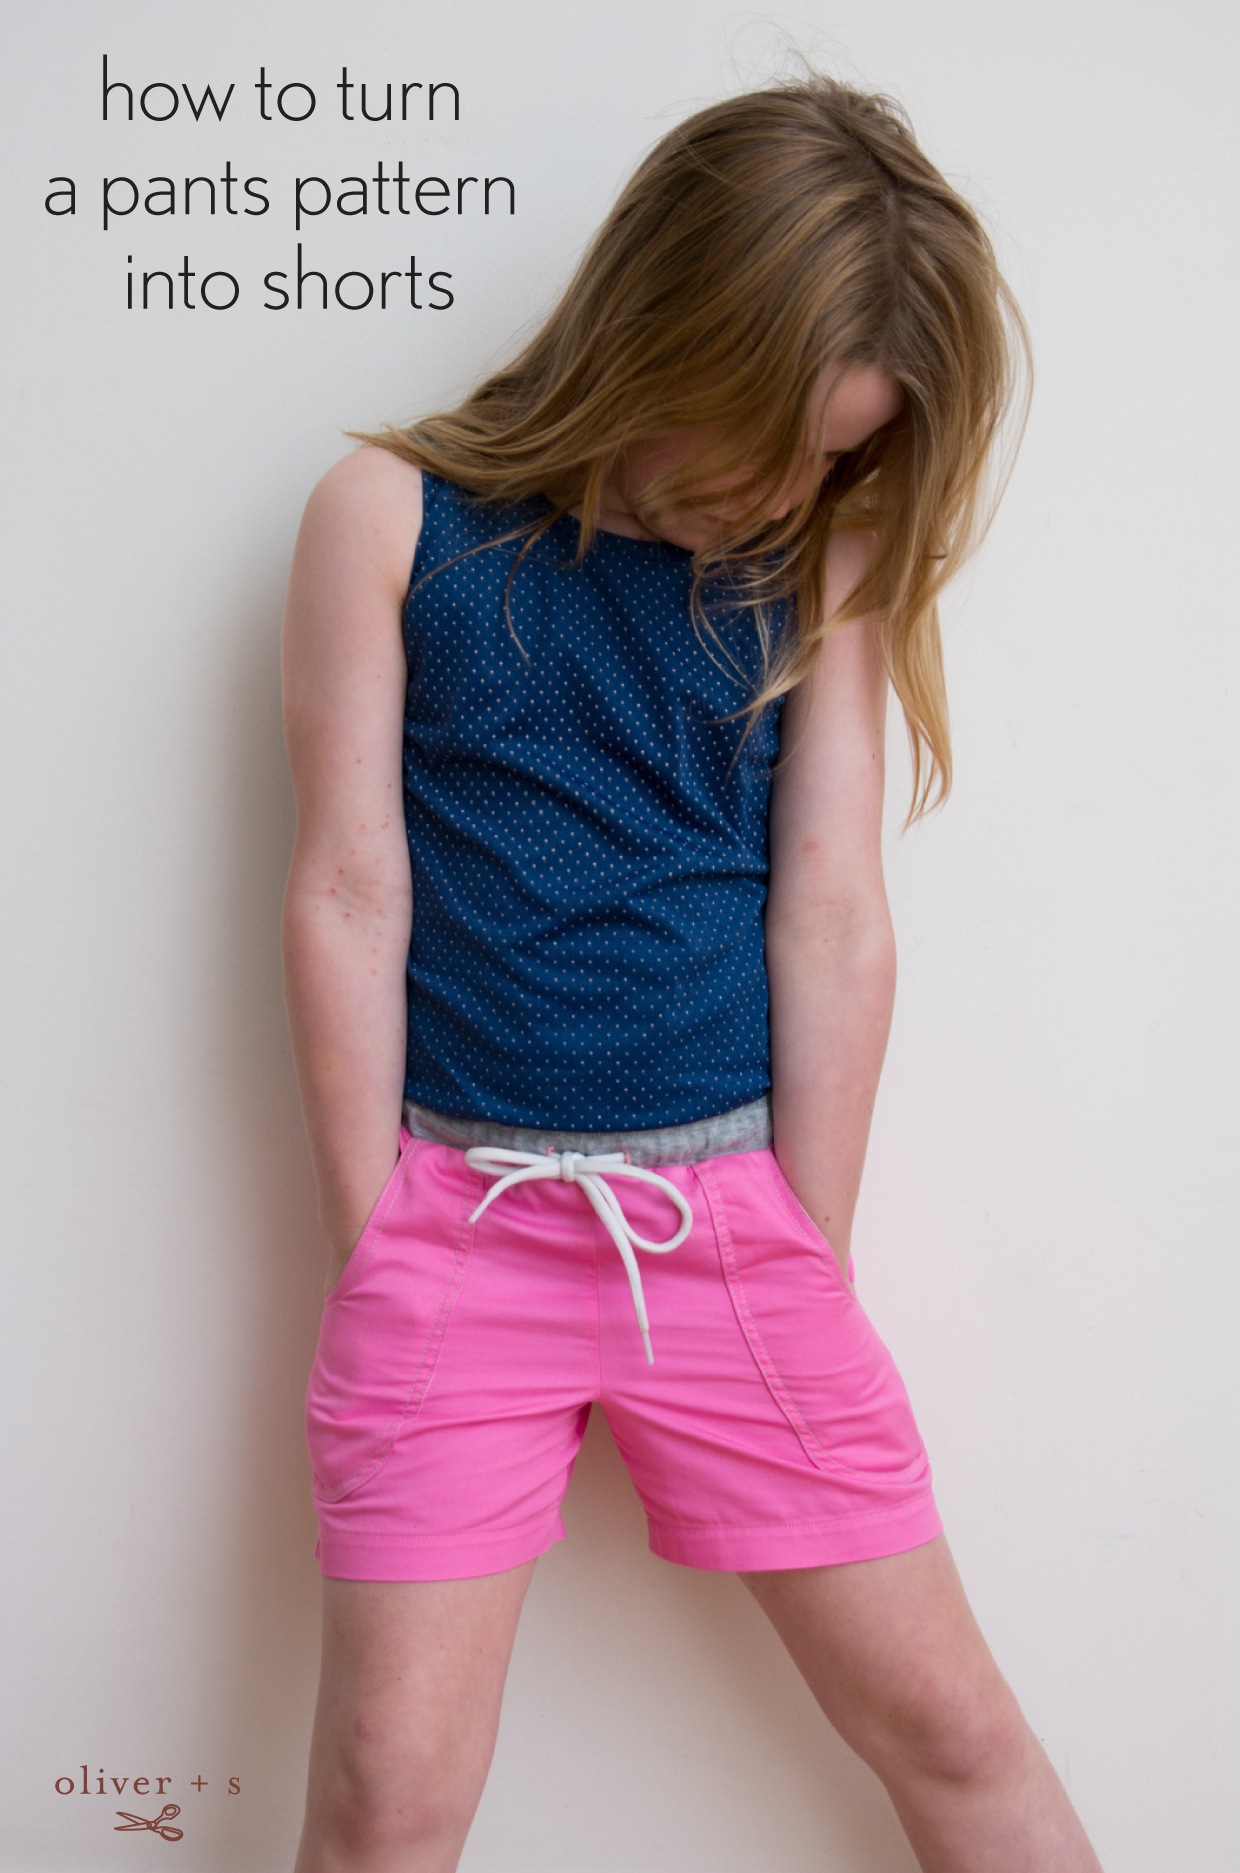
Our regular contributor, Shelley, is back today with a fantastic tutorial on how to turn a pants pattern into shorts. Let’s hear more from the lady herself.
Are you all getting excited for the Northern Hemisphere spring? I hope so, because it hailed here in Melbourne, Australia today and we photographed these shorts indoors! (It’s OK, in Melbourne it can hail one minute, then be hot the next. We’re used to it).
To see out the end of our summer and welcome yours, I’ve got a little mini tutorial for you to convert the Sandbox Pants into a pair of shorts.
Making shorts is just as simple as shortening the trouser pattern. But, and it’s a big but, don’t forget to widen the seam allowance back out so that when you turn up the hem of your shorts you’re not trying to stitch a small folded hem into a bigger trouser leg.

In shortening the legs there’s a bit of measuring as you want the front and back pattern pieces the same length. That sounds obvious, but the subtle curve of the pattern pieces means you need to measure in a few spots to get it right.
I started by extending the grainlines on the pattern pieces down to the hem. Then I measured the same distance up from the bottom of both the front and back pants pattern pieces. I drew cutting lines across my pattern pieces that were perpendicular to the grainline.

Then, to check it would work, I measured the inseams and the outseams of the shortened front and back pattern pieces and made sure they would match up. Using a curved ruler or a piece of string as your ruler and measuring at the ½” seam line is ideal. If you’re out by a quarter inch or so it won’t matter as you can ease one piece onto the other.
Now, when you cut your fabric don’t forget to add those hem allowances back on with a bit of flared width.

And that’s all you need to do to make shorts.
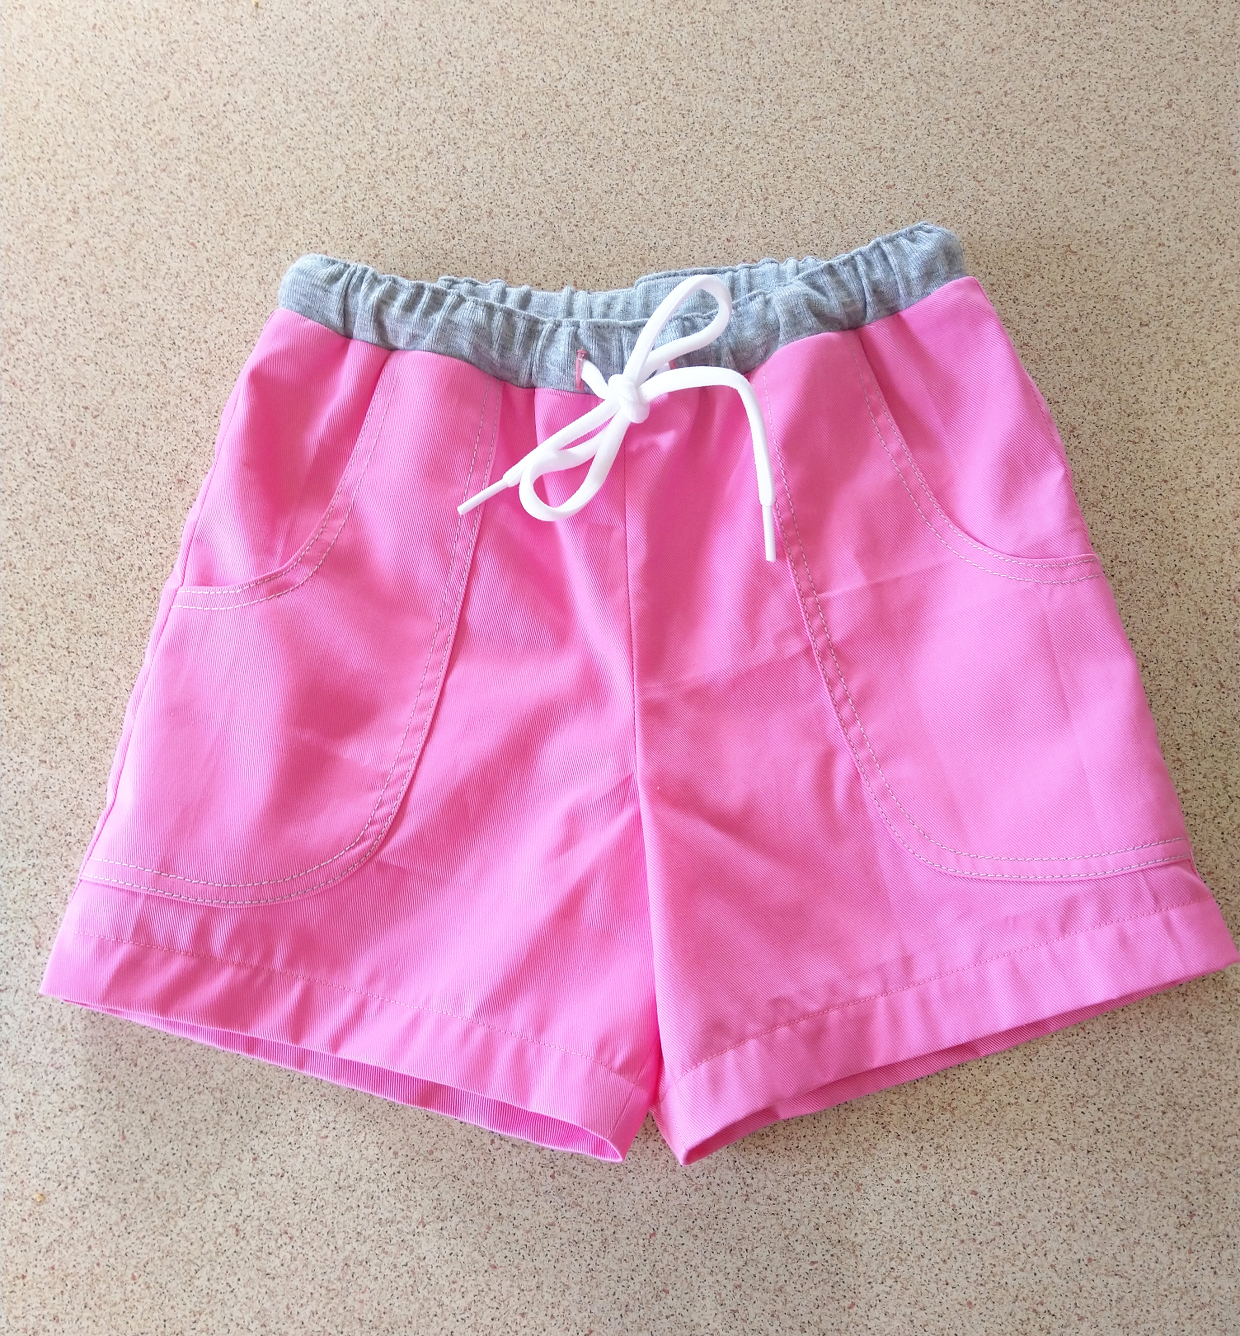
Taking my cue from the lovely girl’s Sandbox Shorts that Cindy made when she shared her favorite pattern, I also gave the front pockets a curve.
Take pattern piece 5: Front Pocket and just cut a nice curve along the bottom right angled edge. You can use a fixed curve like a plate or bowl as a guide, or just eyeball it and try and mimic the pocket opening curve.

After cutting your pockets from the main fabric, you can trim a narrow 1/8” or so from the outer edge of the pocket pattern piece to make the new pattern piece 6: Front Pocket Lining. This slightly narrower lining piece allows the lining to be neatly hidden when the pocket is turned and stitched to the trouser front.

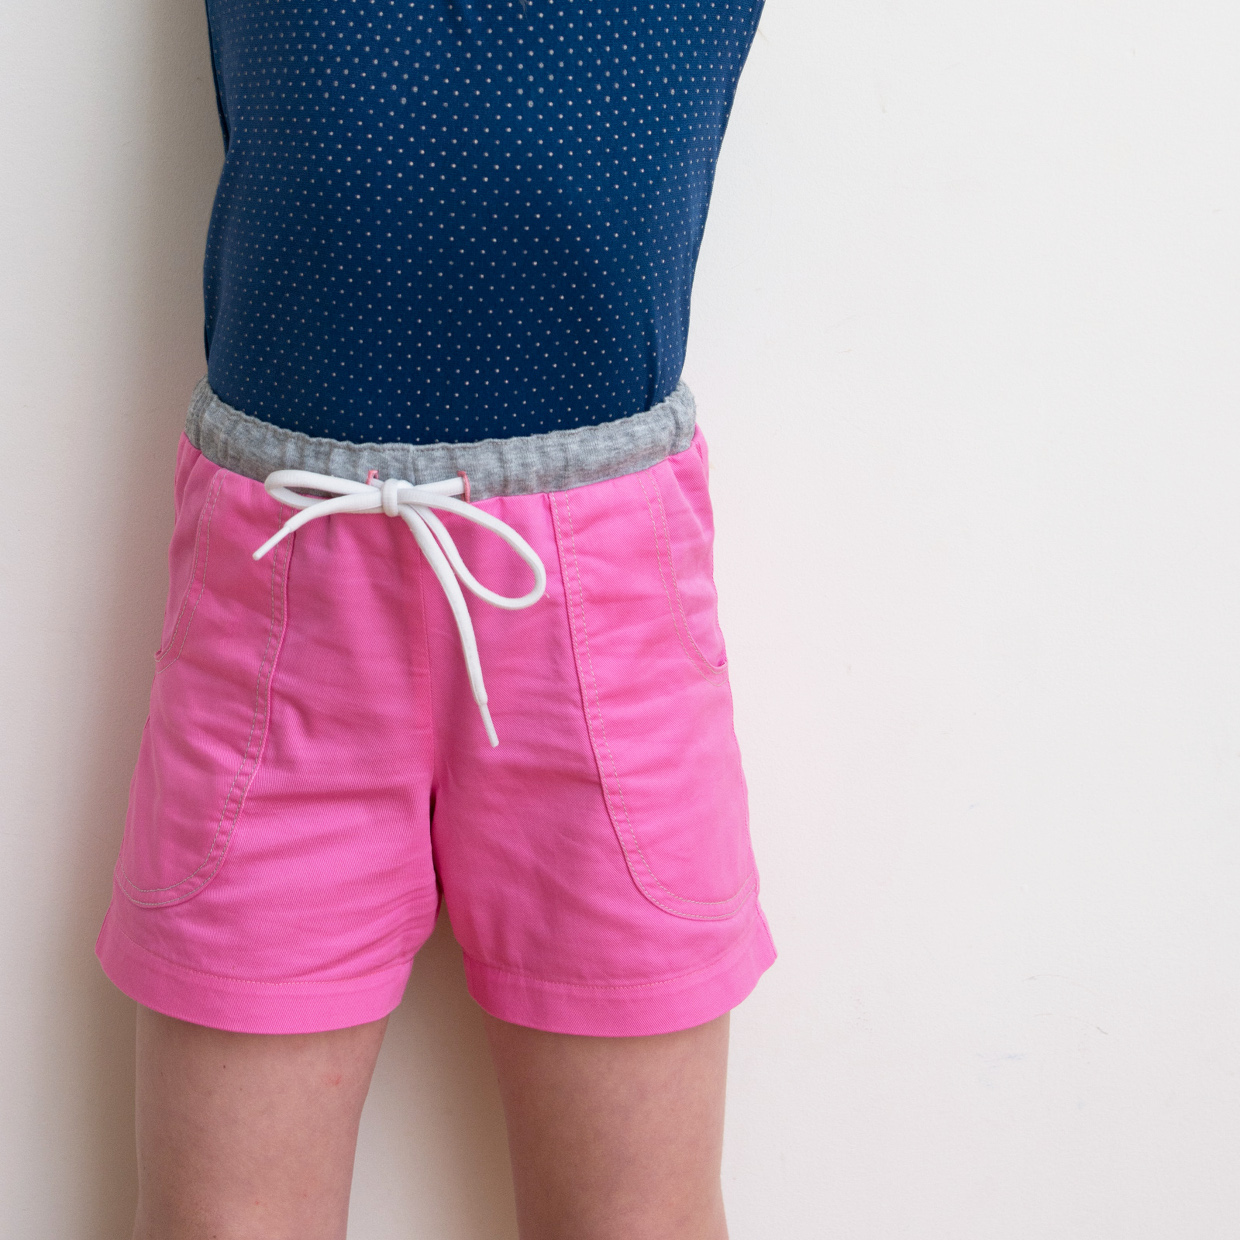
Each time I’ve made this pattern I’ve added some elastic inside the waistband. When the kids were little it’s because I knew they wouldn’t be able to untie and tie the cord when using the bathroom. But I’ve always loved the look of the shoelace tie, so I add that in as well.
The waistband is sewn just as the pattern instructs, but with a gap left at the center back to feed the elastic through. When the elastic is threaded into the waistband and sewn into a loop I leave that gap in the waistband open for a moment longer.
Threading the shoelace or ribbon tie through the eyelets/buttonholes and around the outside of the elastic, I can stitch the center of the tie to the center back of the elastic. That will stop the tie being pulled through yet doesn’t require any visible stitching on the outside of the waistband. Finally, the gap in the center back waist seam is closed.
I was so glad I revisited this lovely pattern as my daughter has recently turned eight and is growing out of some of the earlier Oliver + S patterns. I’d forgotten what a great pattern it is!
Thanks Shelley!
If you enjoyed this post, you may also like:
- How to Turn a Long Sleeve Shirt into Short Sleeves
- Lengthening and Shortening a Pattern
- How to Lengthen the City Stroll Wrap Skirt
No Comments yet.