Claire is here today from the Advisors Circle. She has stopped by in the past to share her Weekend Getaway Blouse with Bias Bound Edges. Now she’s here to tell us all about her latest make. Take it away Claire!
Name: Claire
Where can we find you on the internet? Blog, Instagram
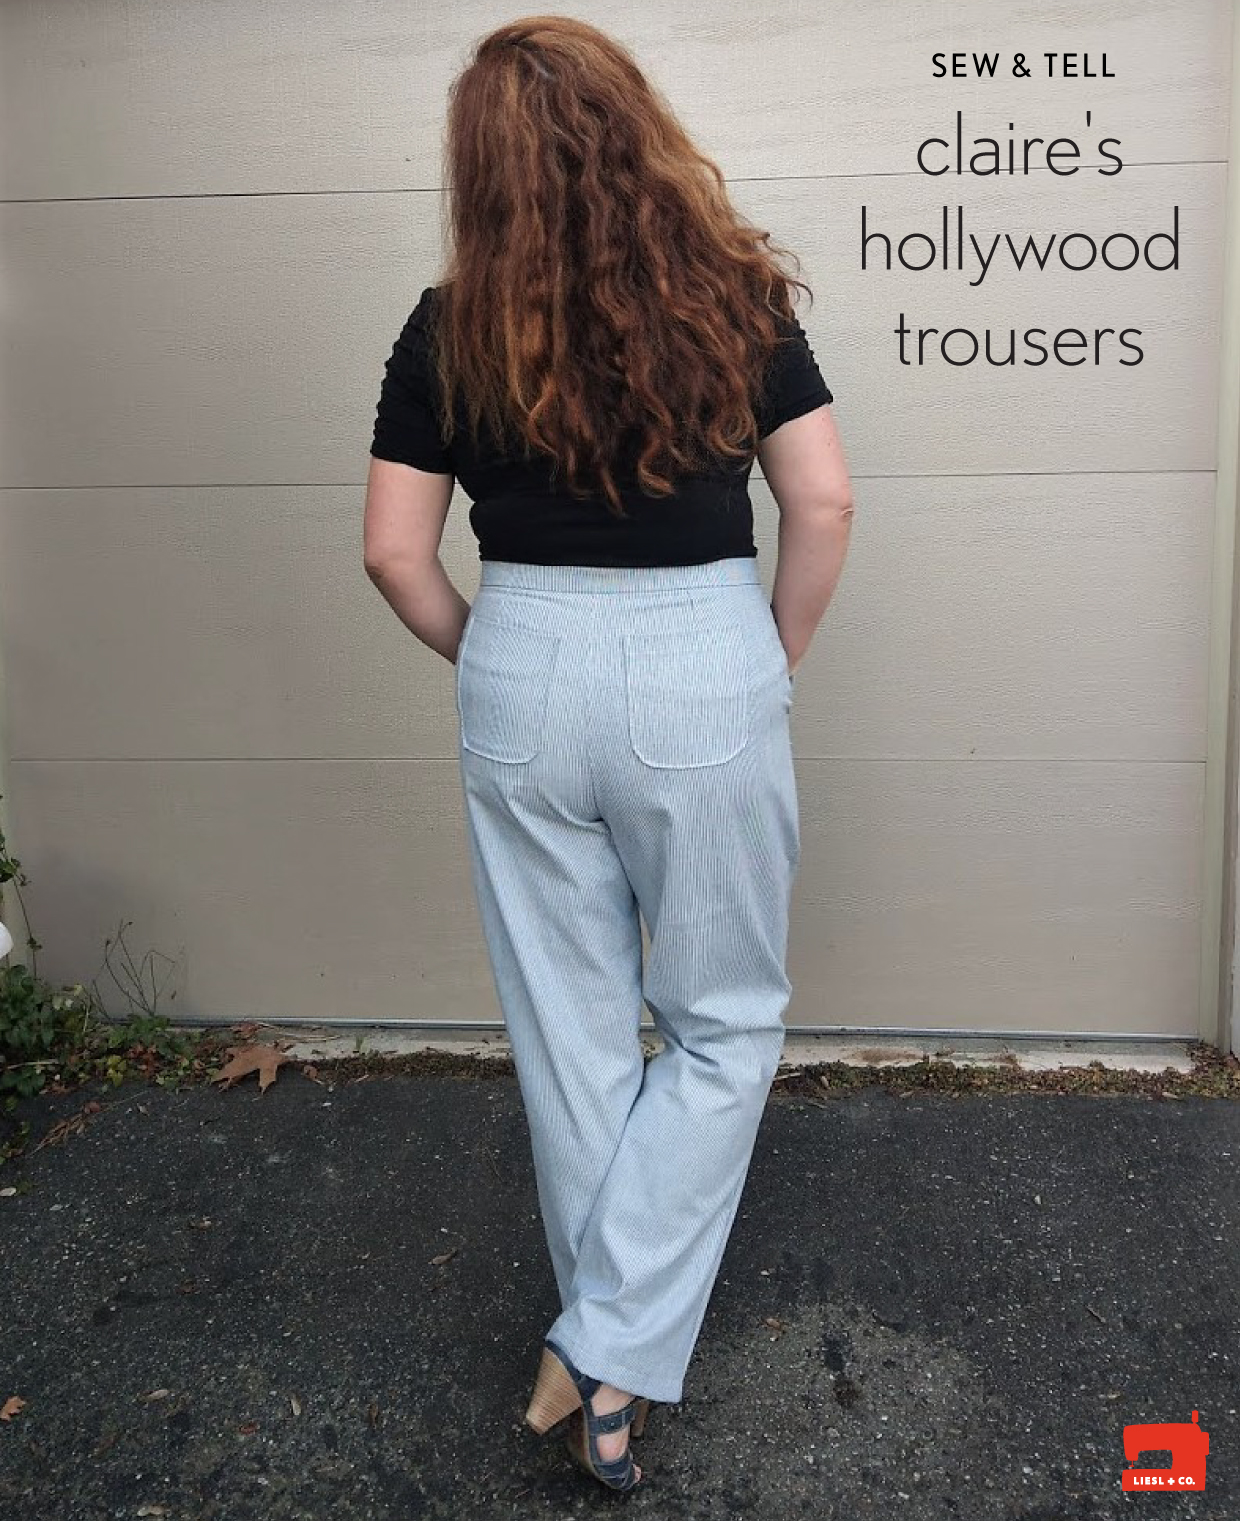
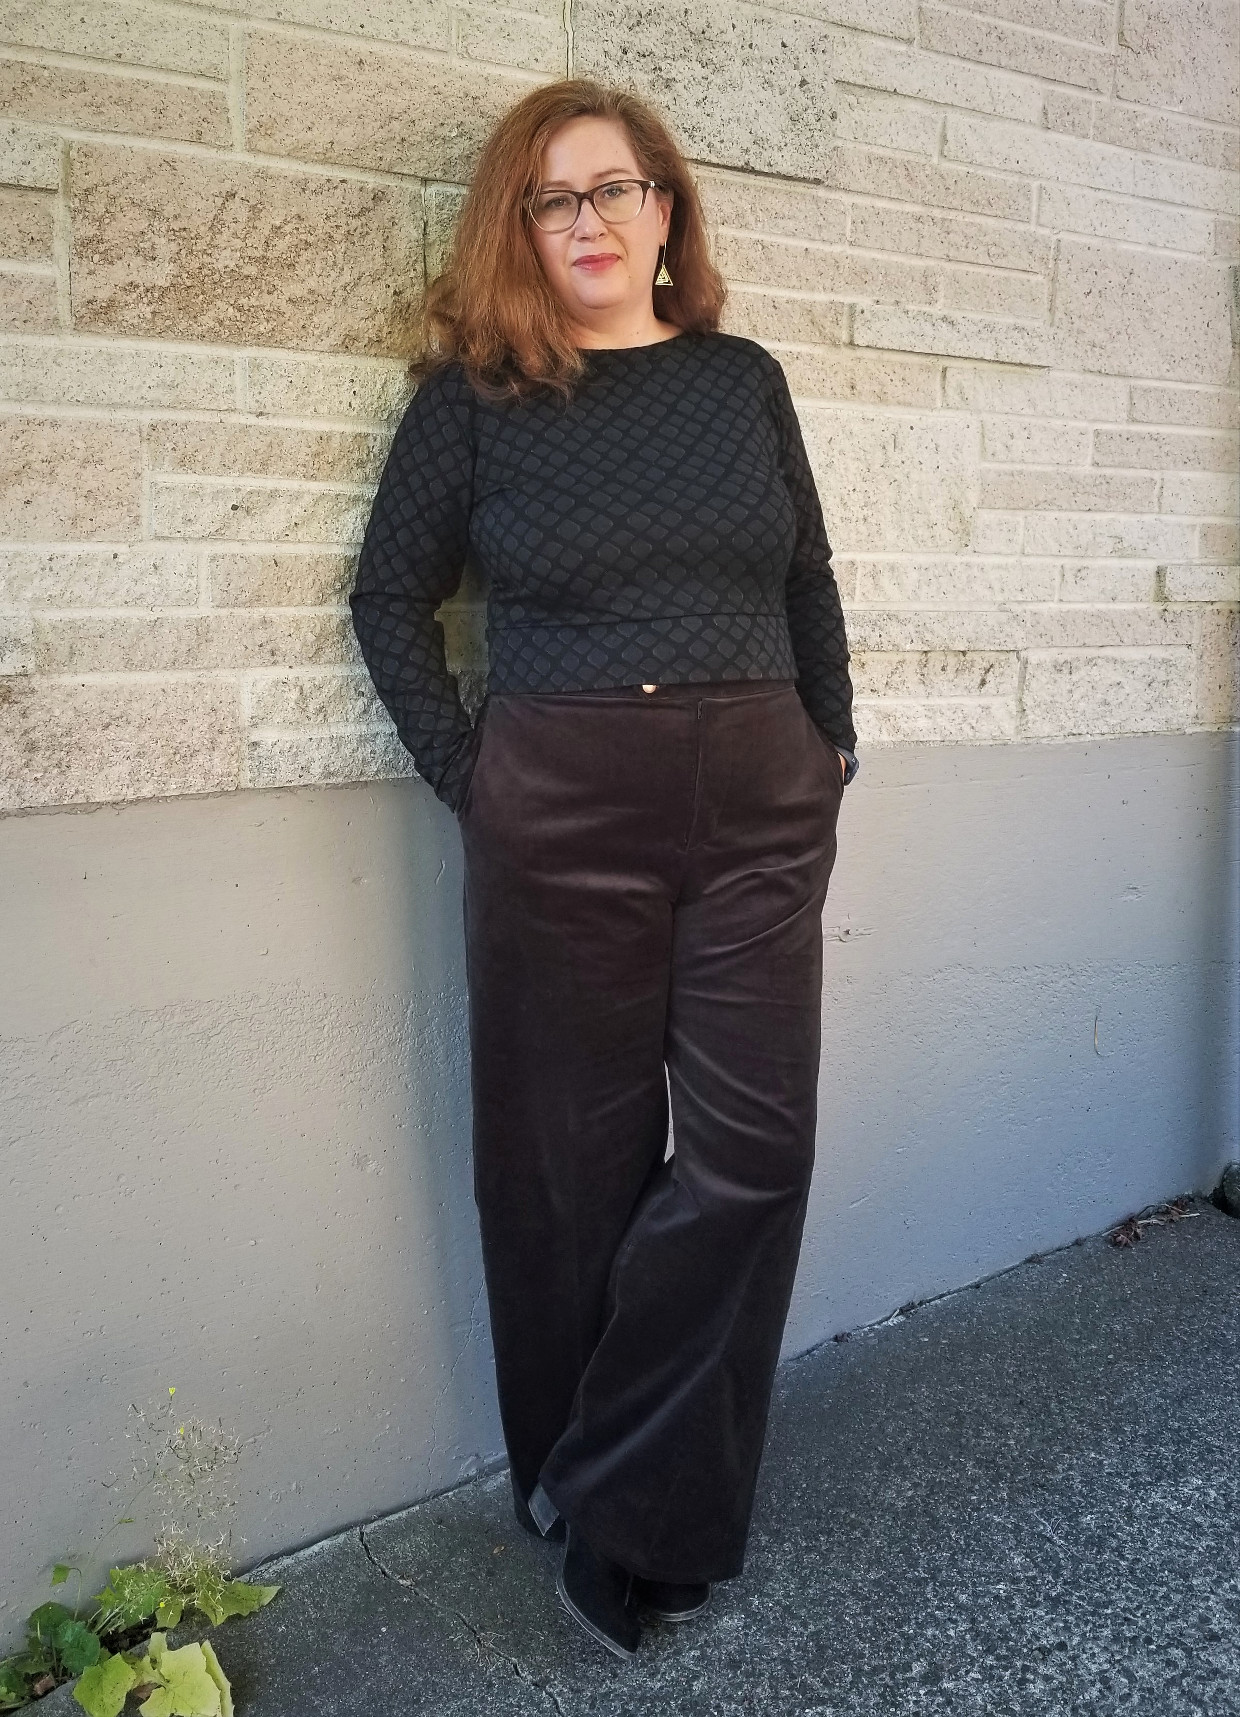
I tested the Hollywood Trousers for Liesl and absolutely loved the fit and finish of them. I used a brown corduroy for the test pair and made them exactly as per the pattern. I started on a second, more formal, wool pair, but started thinking about my lifestyle, and that what I really needed were some slightly more casual pants. As a mum of a three-year old, practical pants are always on my mind. And the challenge is trying to make them useful, but retaining a modicum of style (hopefully)!
My plan
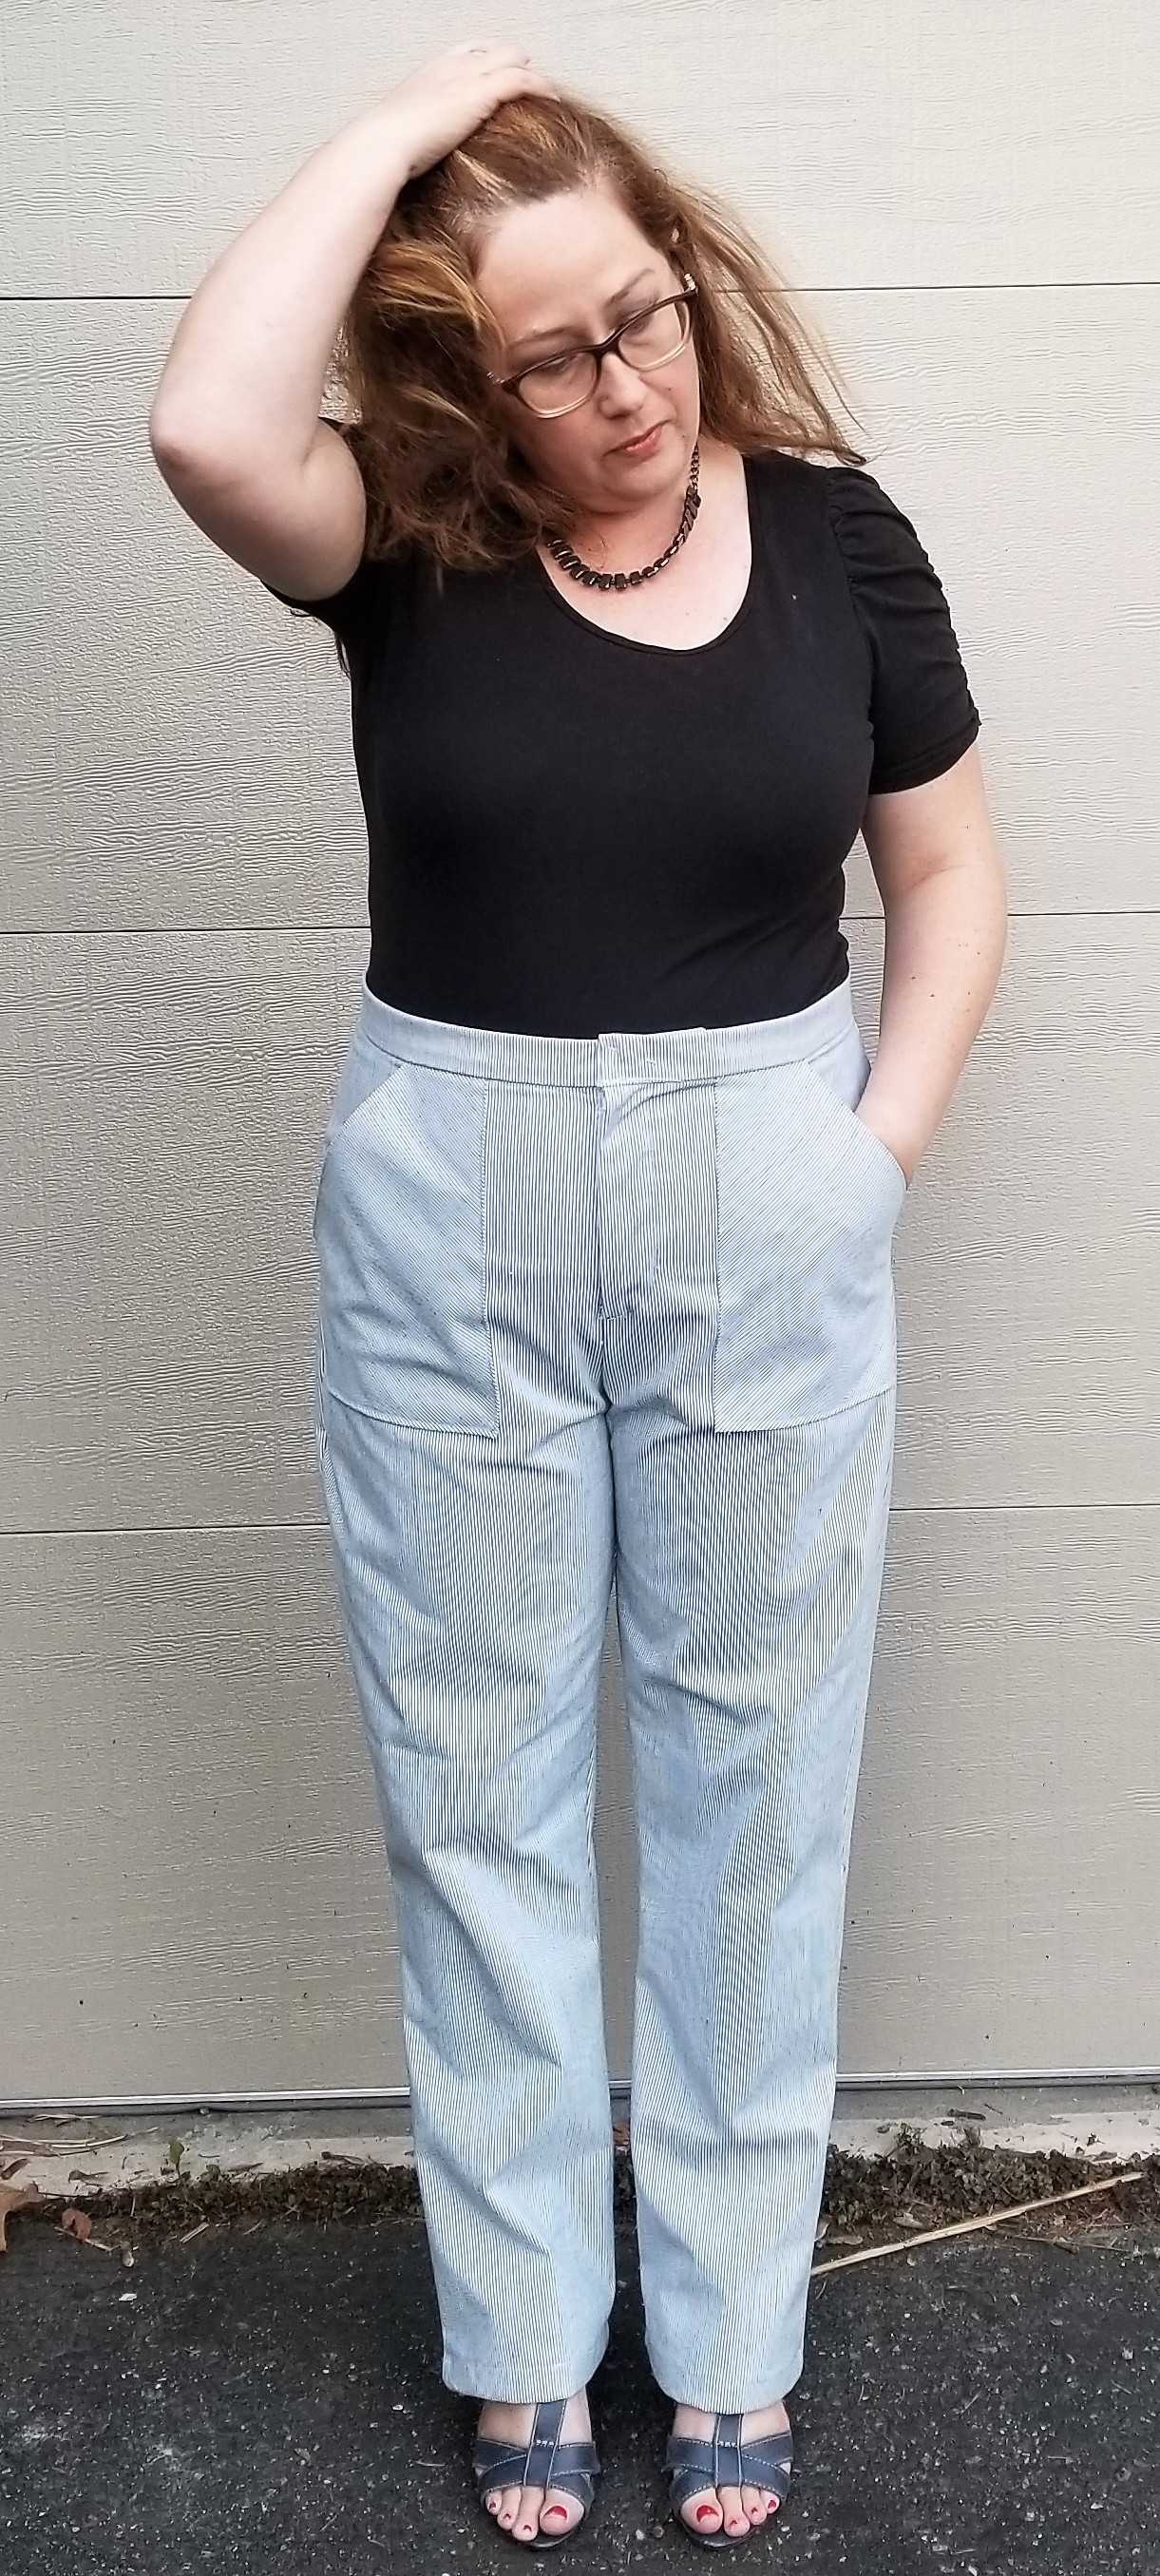
I didn’t plan to change anything about the main body of the trousers apart from a couple of little tweaks from the test pair. I won’t lie – after a summer of gorging, I needed to grade up a little around the waist and tummy and I also added 1/2″ to the rise, but that’s a typical adjustment for me. My main idea was to narrow the legs a little and also to change the pockets a little. For a more casual vibe I thought I’d change the internal pockets to external patch pockets and also add some further pockets to the back. Can’t have too many pockets with toddlers around, eh?
Fabric
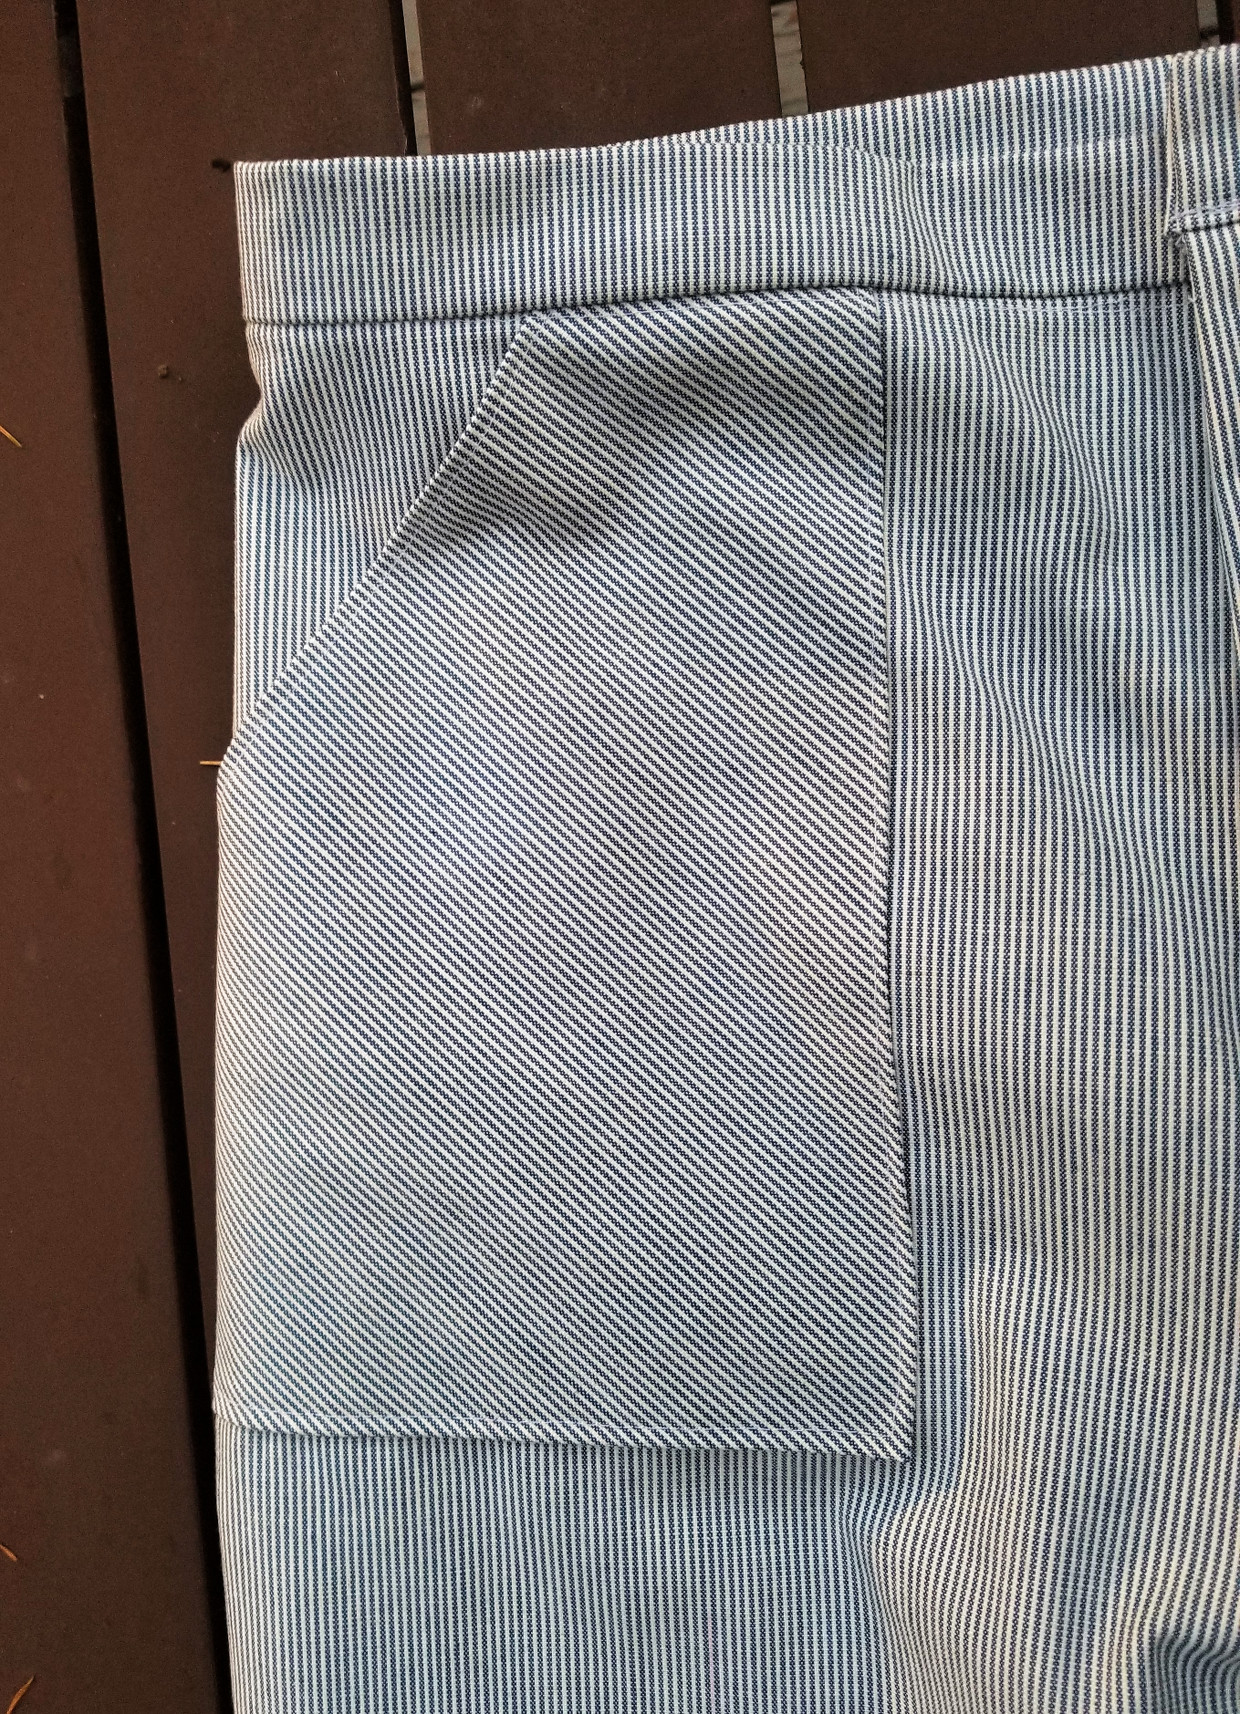
I had this mystery twill in my stash that I picked up from a fabric swap and was excited to use it. It’s quite firm, with little drape, so I thought it would suit the narrowed style well. One thing I have to tell you is that it photographs terribly, so you can get an idea of the blue stripe in the picture below. I thought it would be fun to cut the large front pockets on the bias to give some contrast and I think it works quite well to break up the stripe.
Pockets
Camelia posted a great tutorial for creating pockets the other day, and even though our results are different, I actually did something very similar to create my front pockets, albeit rather less scientifically! I would definitely advise reading her method if you’re not sure where to start, but I formed the basic shape in the same way and then fiddled around with it until I was happy with the proportions, before cutting two pockets.
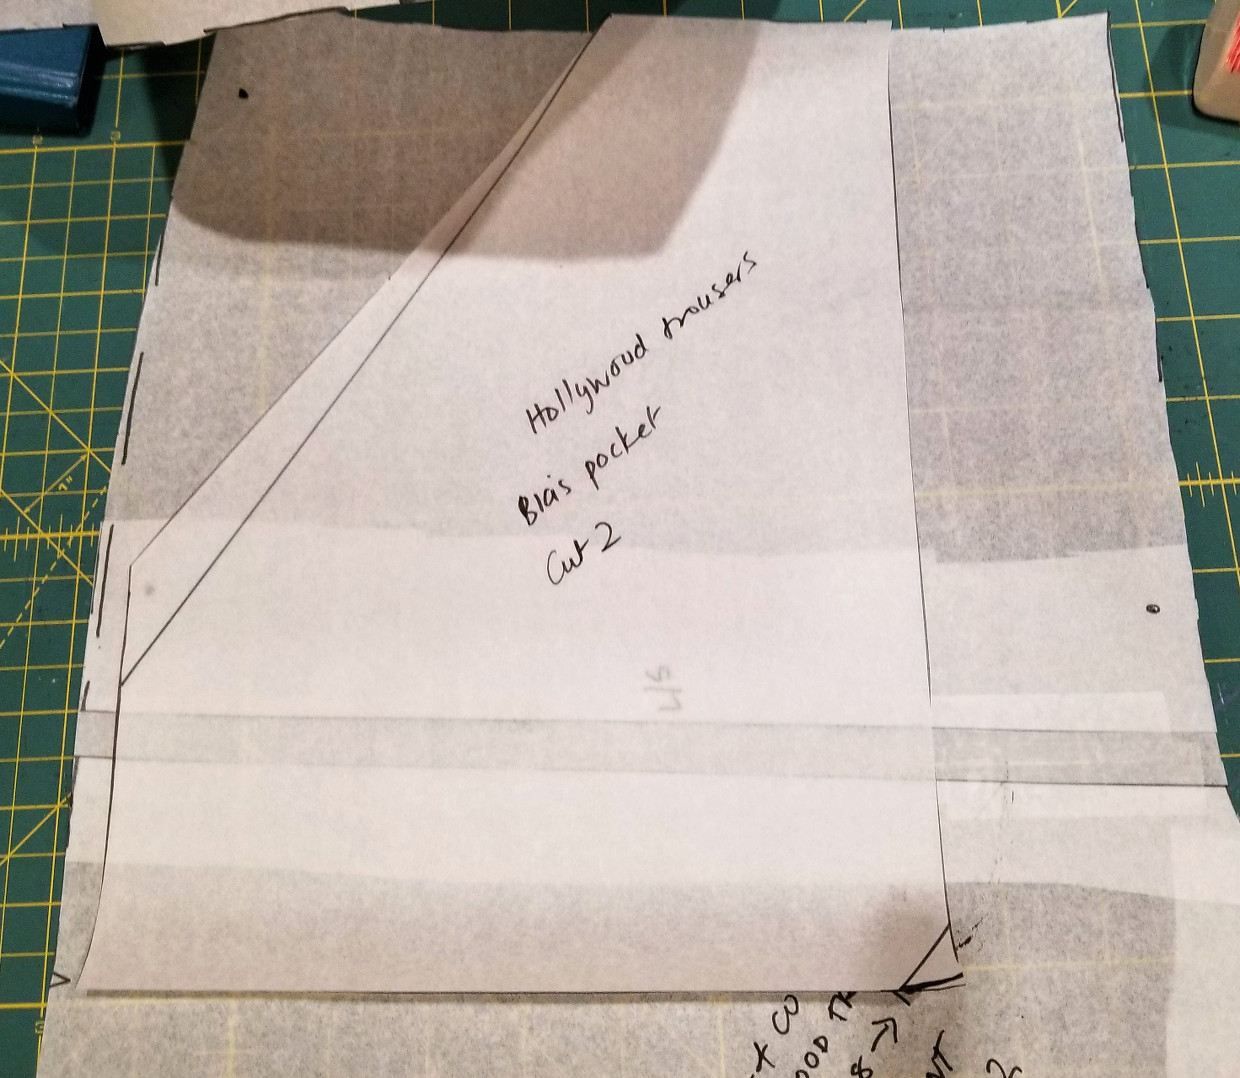
Naturally, these new patch pockets completely replace the pocket bag, facing and lining pieces in the full pattern and in fact the construction becomes even simpler. Before topstitching them to the front leg pieces I finished the edges with the serger and turned and edge-stitched those sides that would not be captured in the side seams and waistband. So I did this with the diagonal opening, the longest straight side and the bottom of the pocket.

For the back pockets, I used my favorite patch pocket shape and topstitched the top down before turning the edges and pressing as above. Then I basted them onto the back legs. At a later stage of construction I took a picture of my bum (yes, you read that right) and moved the pockets around a bit until I found the least hideous placement for a large, flat and ample rear like my own. Pocket placement is SO important! For me personally, I find that much closer together and higher placement than you would think works rather well. It looks ridiculous on the flat pieces, but once the trouser seat wraps itself all the way around my posterior, they magically look okay! I recommend trying a couple of positions if you haven’t indulged previously.

Trouser legs
For the legs, I followed some sage advice from Liesl, which was to start adjusting at the knees. I basted the trousers together at an early stage and pinned the knees until I was happy with the width. I didn’t want to change them to narrow trousers (they’re still wide-legged), but I decided a reduction of around 2″ at each side of the knee was what I was after. I kept the leg from knee-down fairly straight as I didn’t want either a flare or a taper in this instance. From the top, I started reshaping at the hip (as I didn’t want to alter anything higher) and tried to follow a similar shape to the existing trouser while keeping the balance of the trouser leg. It definitely required some tweaking to get a nice shape, but in the end I was pretty happy with the resultant width.
Styling
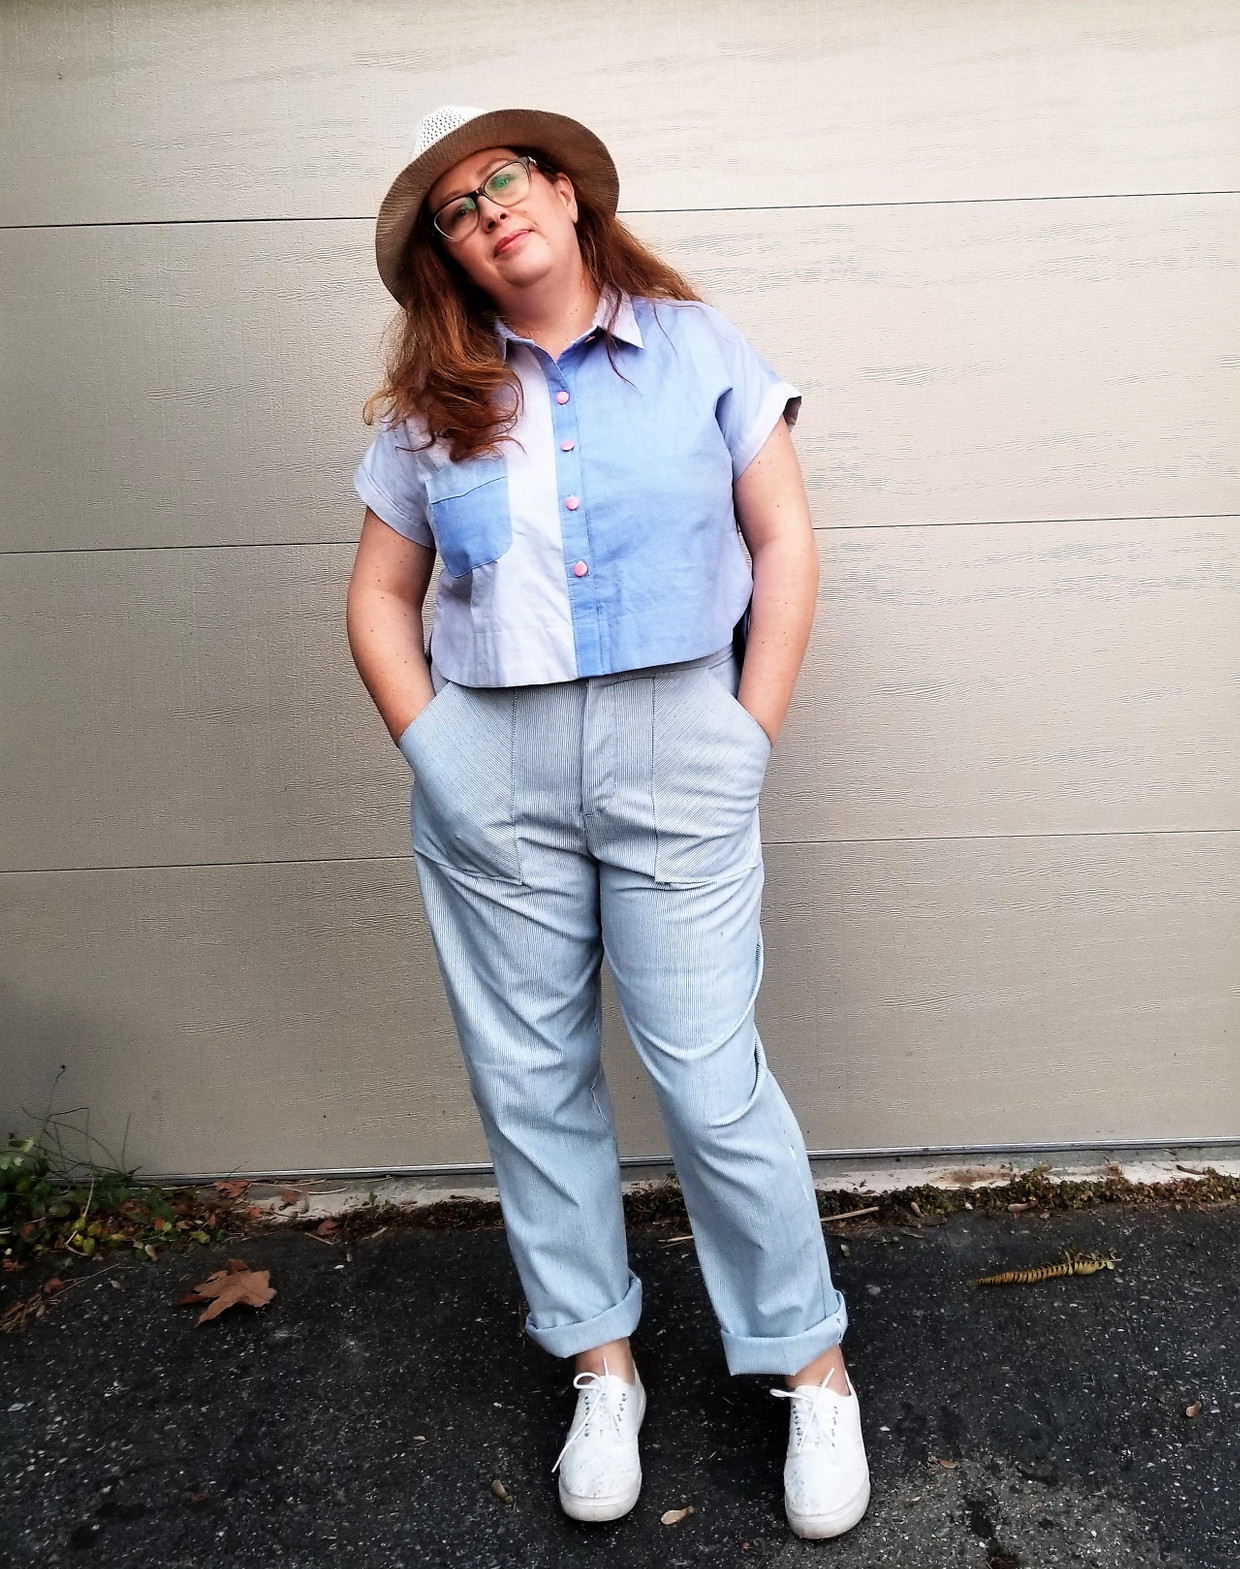
One of the reasons I was keen on using this fabric was because of its versatility. As you can see, I can definitely wear these Hollywood trousers for a date night or evening out with the girls with a solid top and heels. They still have enough length and width for that little bit of glam to spice up an outfit.
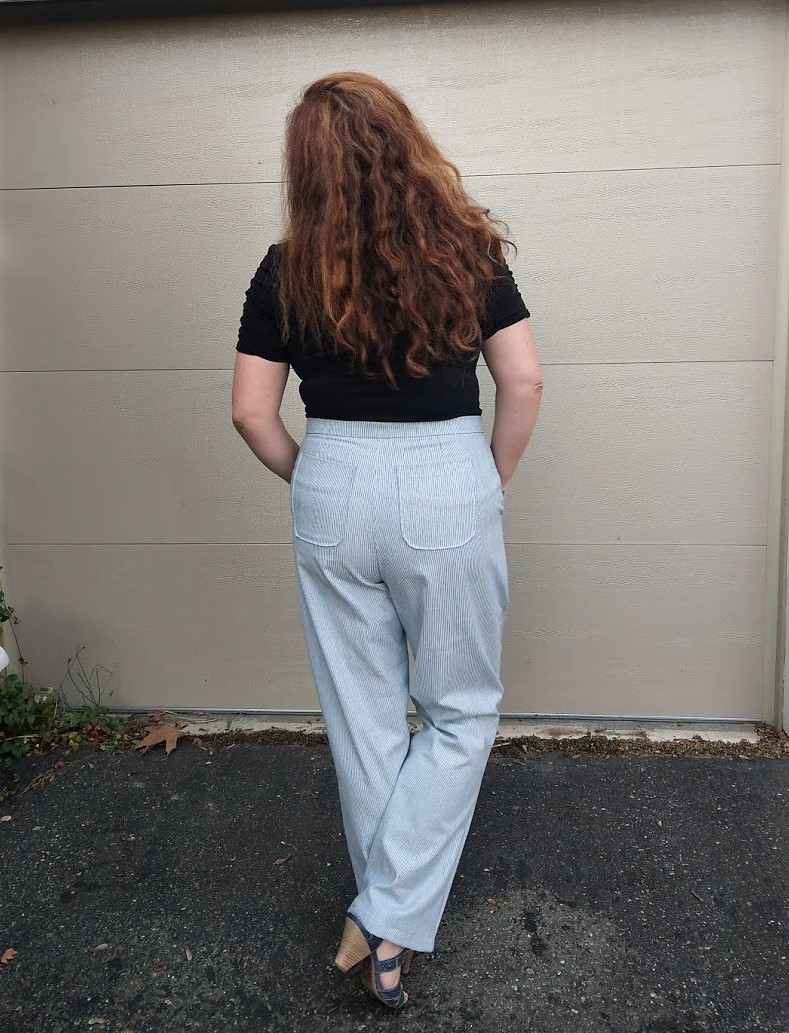
On the other hand, with a quick rolling up of the hems, I can also style these pants with a far more casual vibe and this look is definitely up my street for a contemporary everyday outfit. Even though the look of it probably has a slight summer feel, I would easily throw a cardigan over this and wear it all autumn. The trousers are absolutely thick enough to keep me warm through winter too!
Summary
Overall, this project was really fun and I was really interested to see how much difference a few simple changes and a different type of fabric can make to a garment! I think the Hollywood Trousers is such an adaptable pattern, and I look forward to seeing all the other versions the community comes up with soon.
No Comments yet.