We welcome Sara back today. In the past she has stopped by with her favorite pattern, Sashiko embroidery tutorial and embroidered Everyday skirt. She’s here now to share how she turned the Butterfly Blouse into a dress. Have you finalized your sewing plans for Easter yet? Maybe this will be the Easter dress for you! Now I’ll hand it over to Sara.
Hooray! It’s finally Spring! As I was sorting and planning my girls’ spring wardrobes, I realized my youngest daughter could use a couple of dresses. I could have used a pattern I’ve already made, but where’s the fun in that?
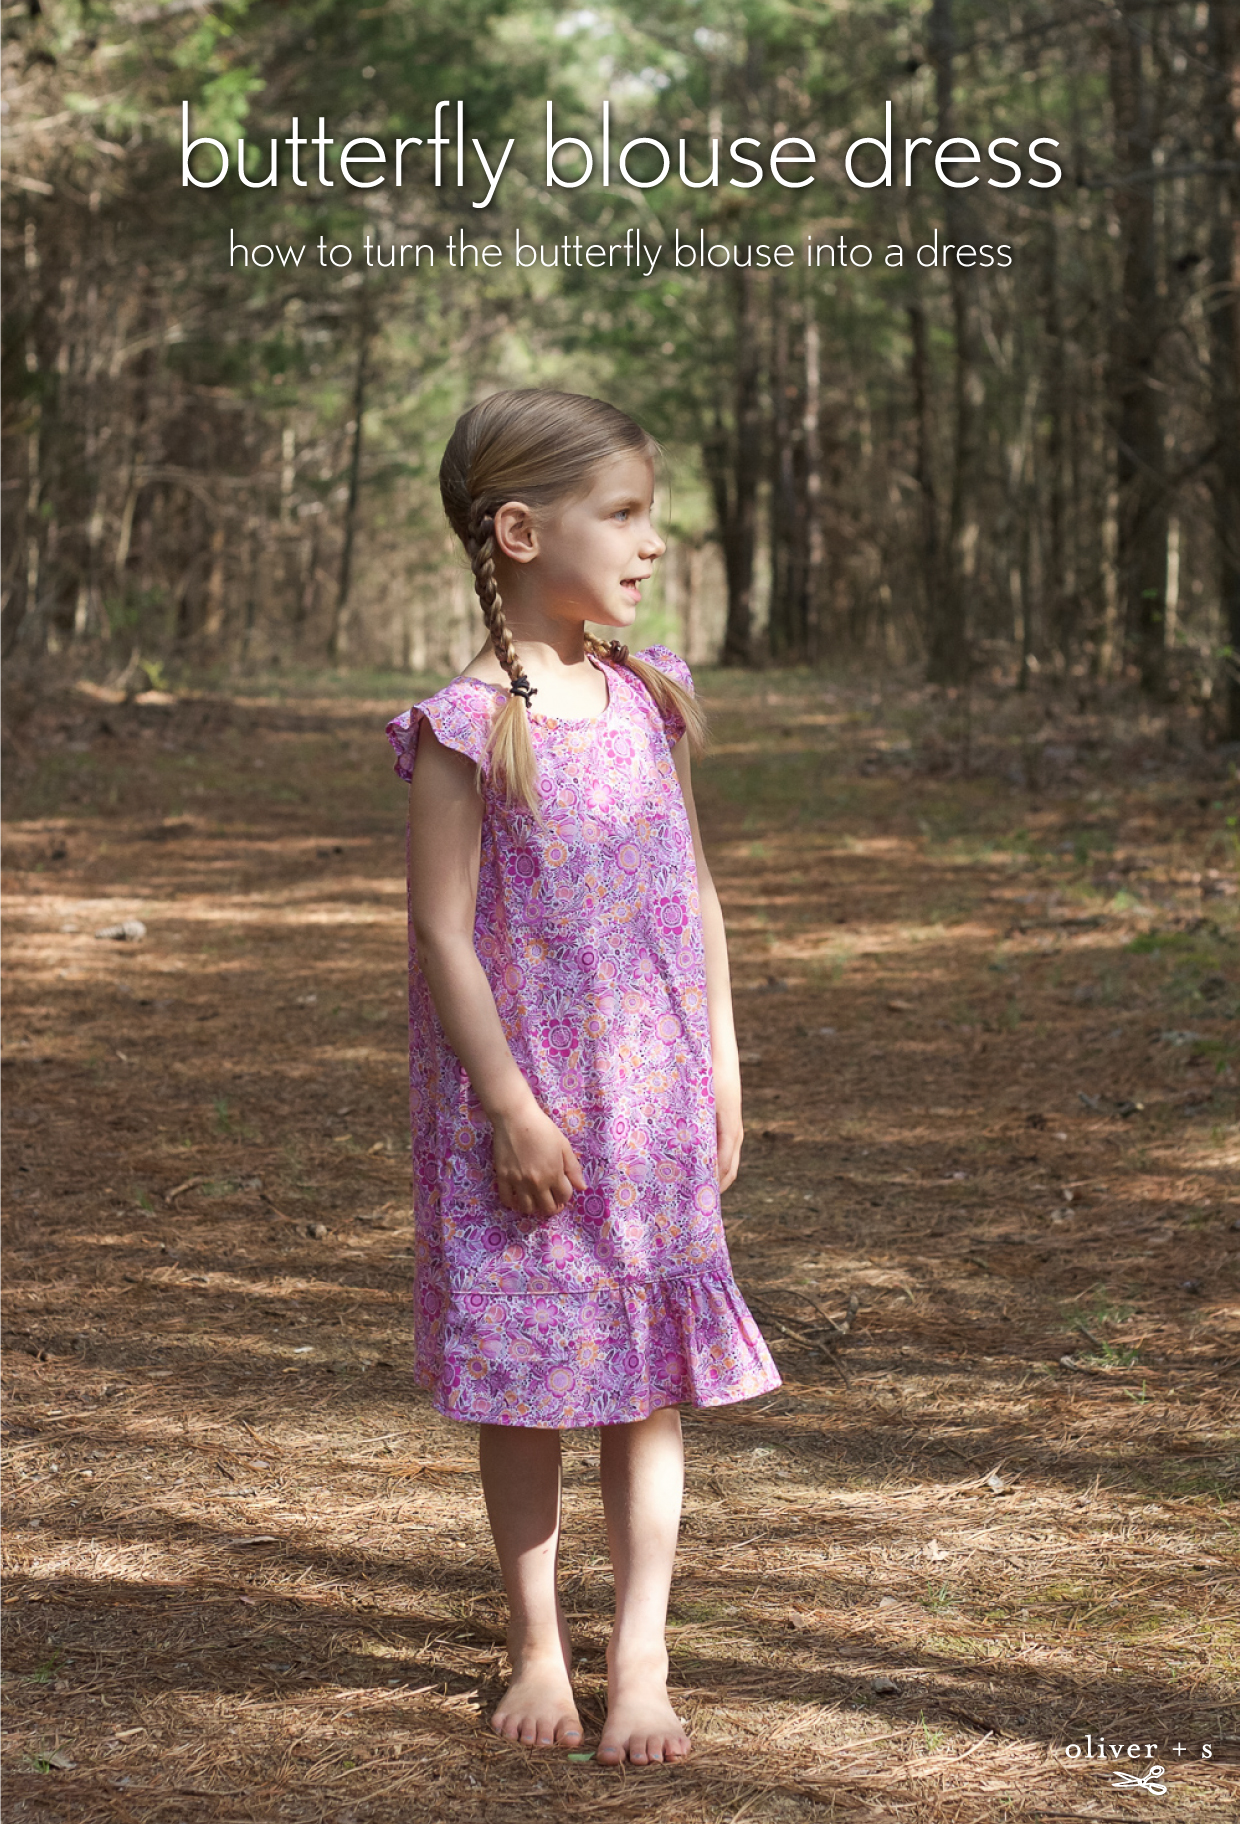
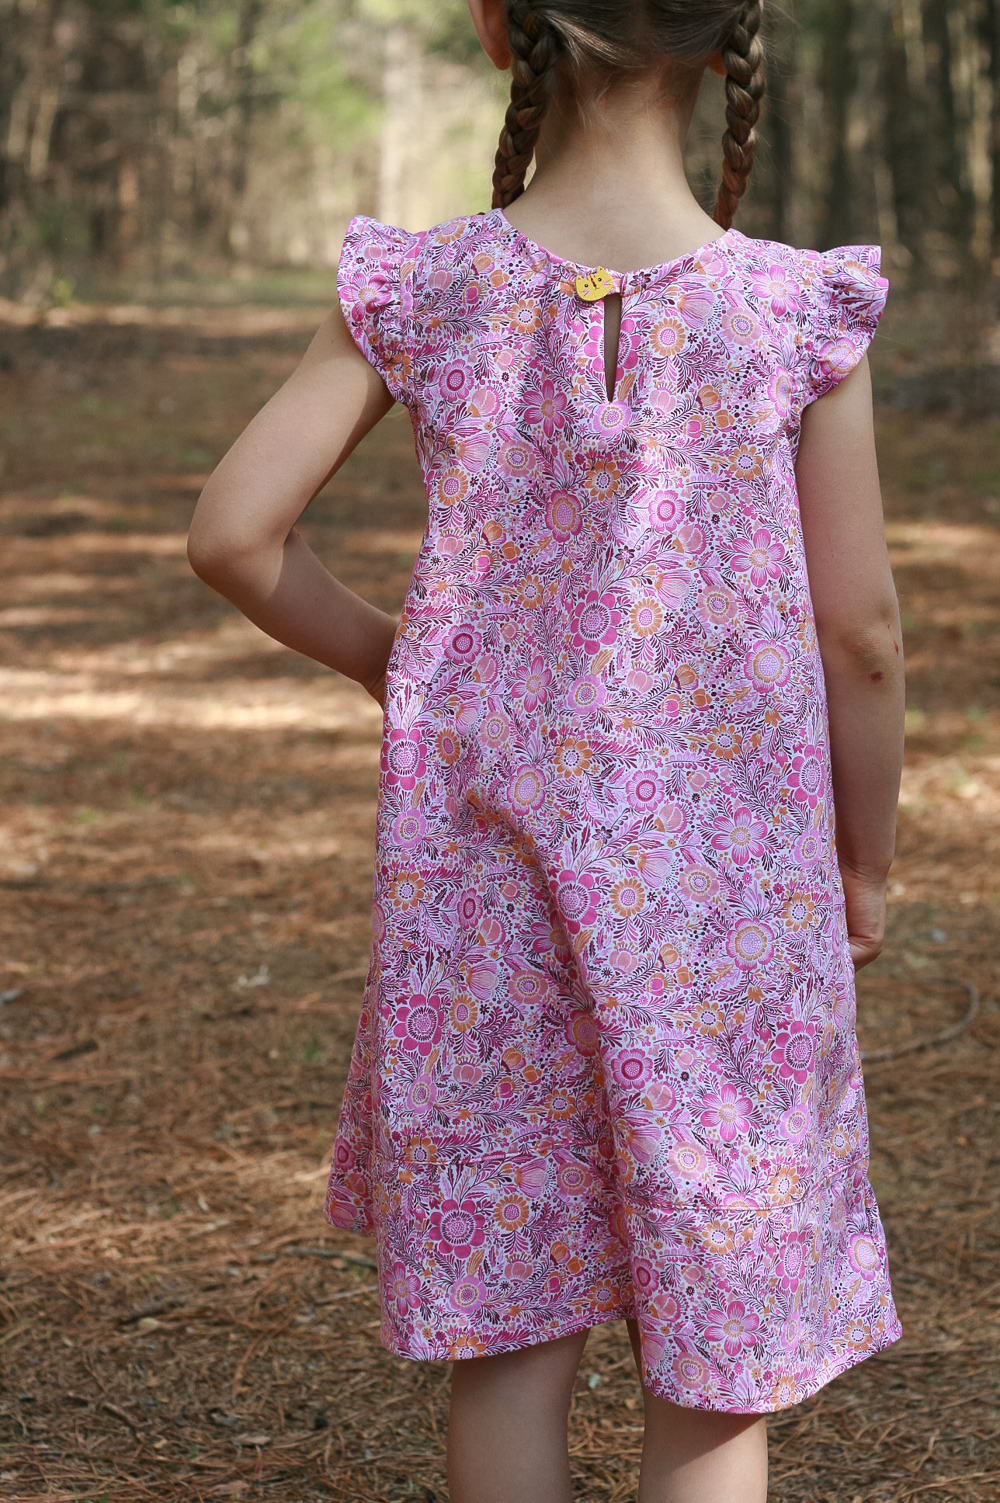
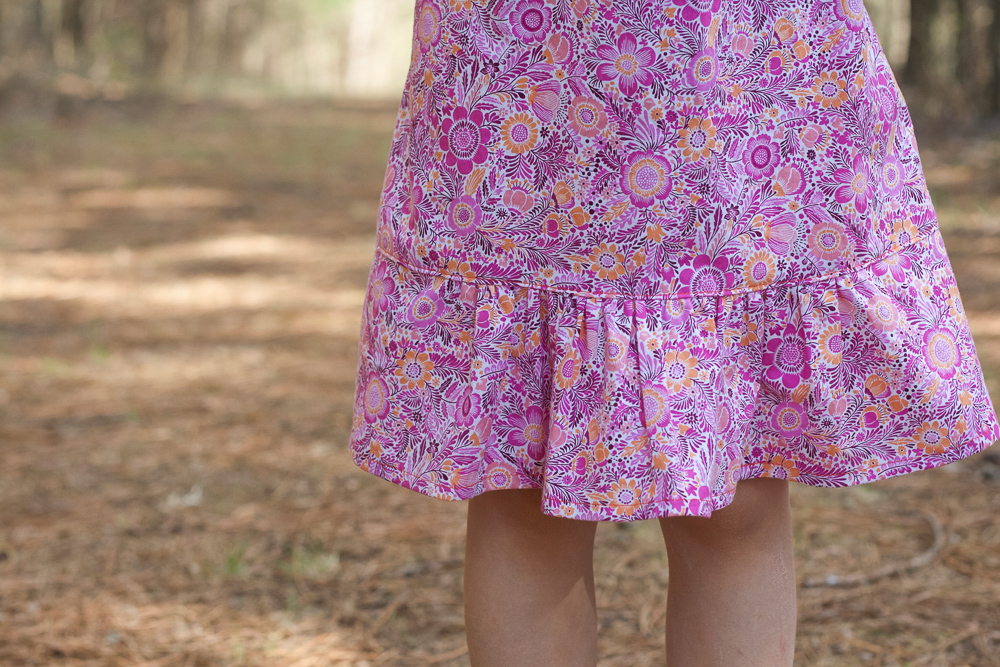
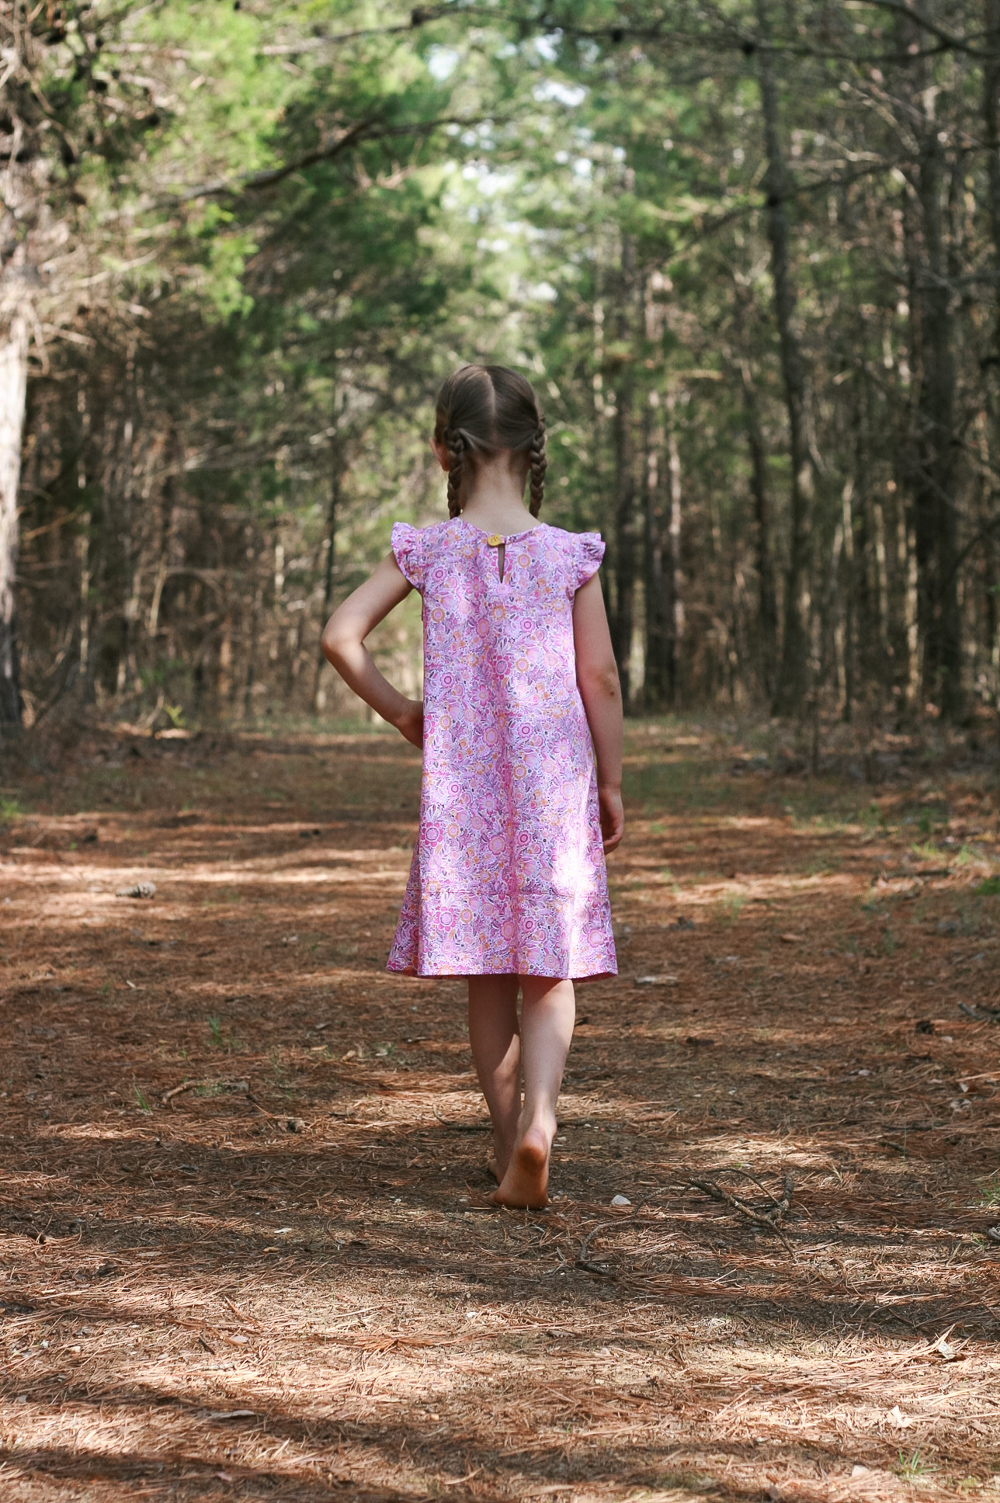
As I browsed through the Oliver + S pattern shop, looking for something new to try, I was drawn to the Butterfly Blouse. Those sleeve ruffles and peplum are so sweet. Even though it is a blouse, I thought it could be easily modified to make a dress. It turned out to be just as easy as I had hoped and the dress looks just as I imagined it. My daughter loves the ruffles, and has happily worn the dress a few times already.

The shape is loose and easy to wear. It’s casual and comfortable, but still has the feminine ruffle details that my little girl loves. And in this bright floral fabric, it even works as an Easter dress!
Would you like to make a Butterfly Blouse dress? Let me show you how I did it.
First, decide how much length you need to add. I did this by holding the pattern pieces up to my daughter and eyeballing it. (You might want to be more precise…ha!) I made a size 6 and added 8” of length. For taller or older girls, you’ll probably need 12-15” extra.
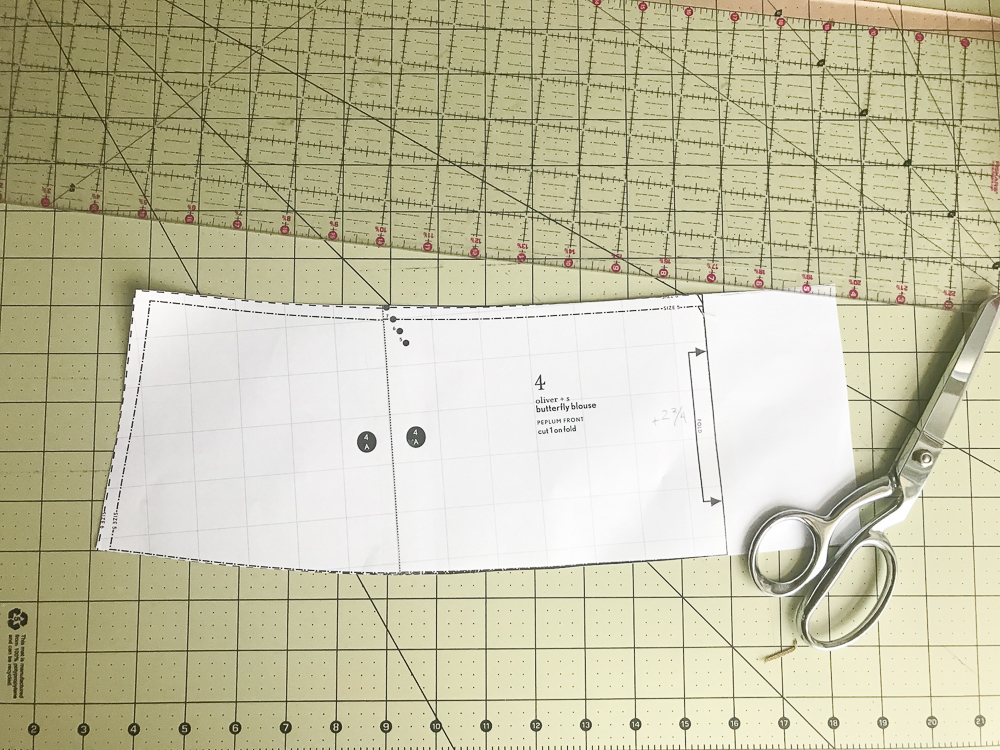
Second, cut the butterfly blouse back and front pieces about 2” above the bottom center hemline. The printed 1” grid lines on the digital pattern make this very easy!
Next, add some paper to the bottom of the upper part of the bodice pattern piece. Since I was adding 8”, a regular sheet of printer paper in landscape orientation worked perfectly. I overlapped it by ½” on the upper part of the pattern.

To align the bottom section of the pattern piece, I used a quilting ruler to draw a straight line, continuing the angle of the original pattern piece. Then I aligned the bottom part of the pattern piece to the outside edge of the pattern. This leaves a small square of space at the bottom corner. I added another scrap of paper and squared this section.
After adding length to the back and front, you’ll need to add some width to the peplum pieces. I measured the amount of extra width I added to the front and added the same to the front peplum. The front and back are slightly different, so make sure you measure them separately.
I added my extra width to the center of the peplum, on the side that get placed on the fold. This also extends the width of the gathered section of the front slightly. You can make square corners on this addition, but I drew slight curves to soften the lines and match them with the existing curve.
That’s it for pattern modifications! The construction is exactly the same as in the pattern, so just start following the instructions when you get the dress cut out.

Since the dress has a loose fit, you can also add a matching tie belt or a small bit of elastic on the back or sides at the waistline. The Butterfly Blouse is a really versatile pattern, easy to sew, and easy to modify.
Have you modified your Butterfly Blouse in any way? Please share them, we’d love to see!
Thank you Sara for sharing your idea, and your drafting work. I’m working on a blouse with sleeves in this pattern, right now. I shall certainly make some notes on the pattern envelope to remind me to try ‘your’ dress. I’m thinking this could make a sweet pinafore for the cooler months that are coming to Australia.