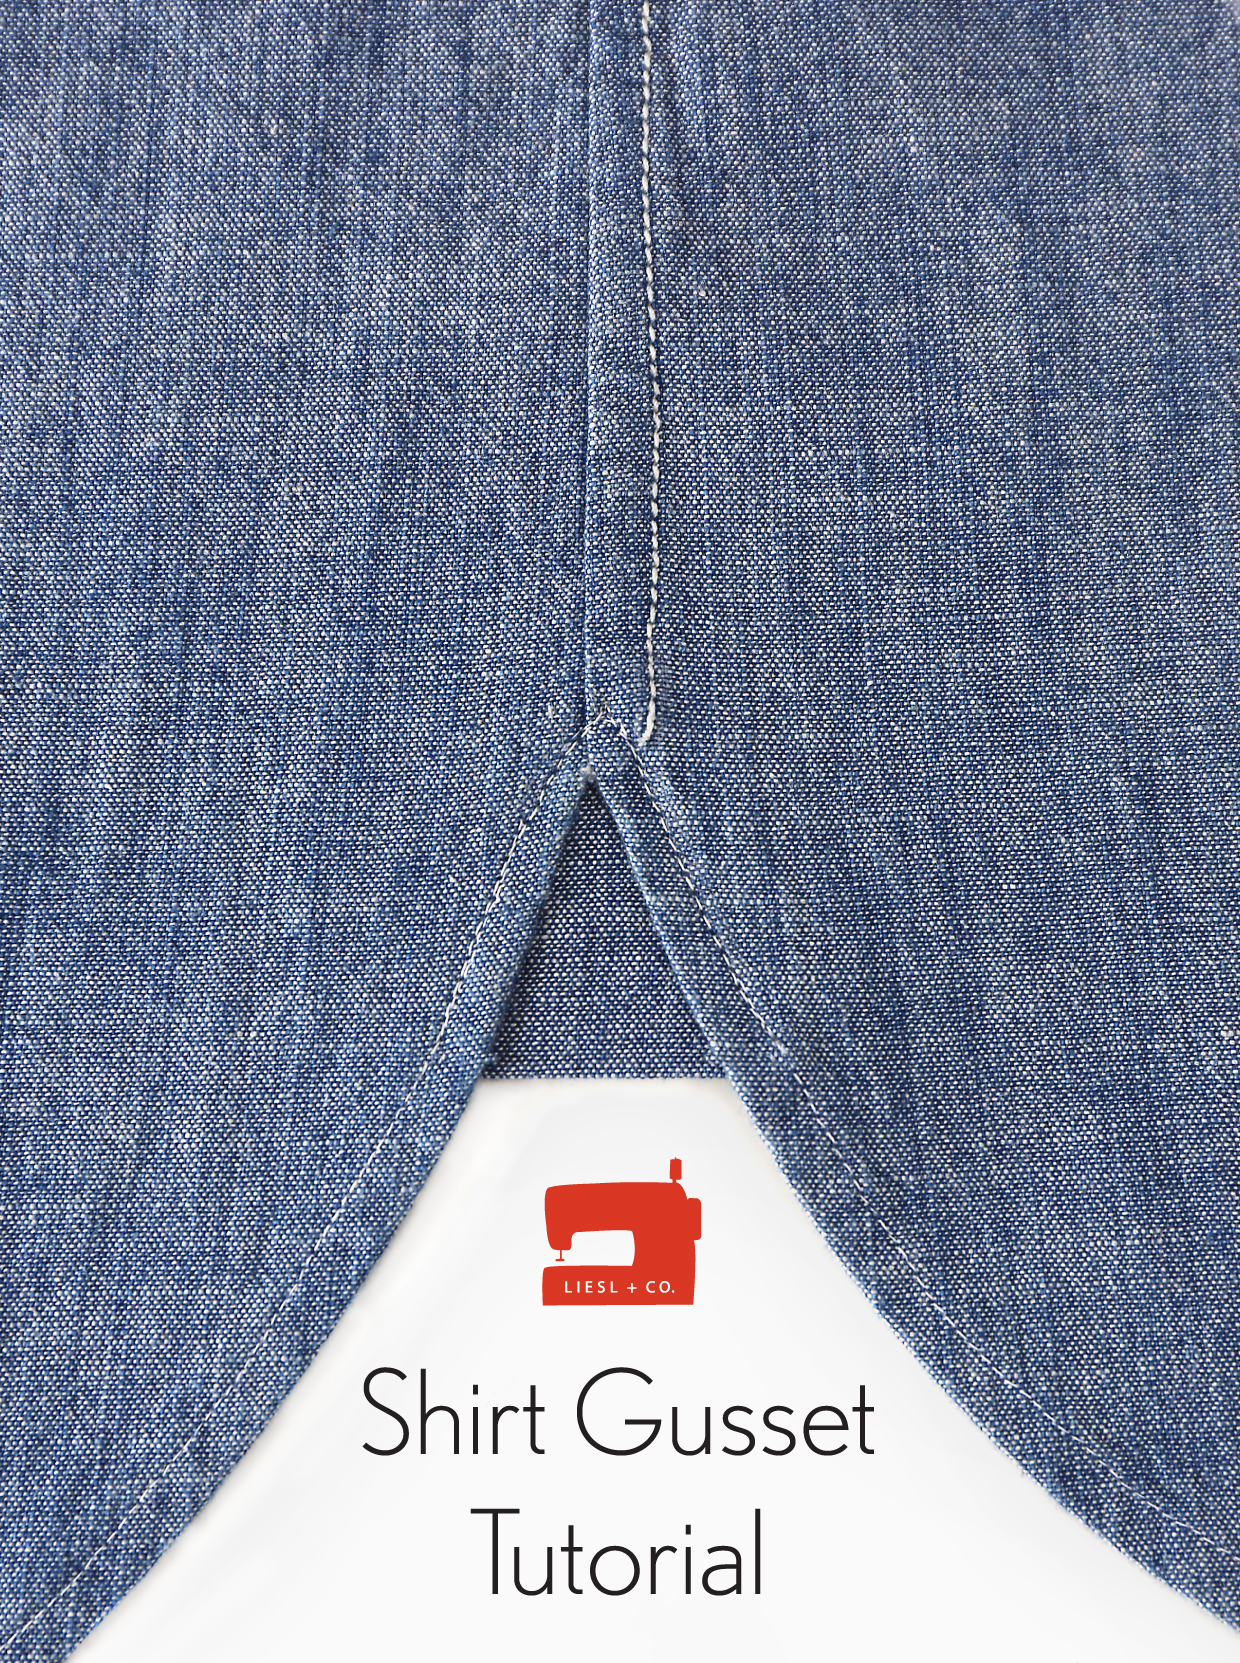
Sometimes on ready-to-wear shirts you’ll see a detail at the side seam that I call a gusset. This little triangle shape fills in the gap at the side seam, which helps to strengthen the stress point where the two shirt tails meet. It also lengthens the shirt a bit to help it stay tucked in, and it’s a great opportunity to add a little splash of unexpected color or pattern to any otherwise classic style.
This is a fun (and functional) detail that you can add to any shirt or top pattern that has side seams, including our Liesl + Co. Classic Shirt and Gallery Tunic + Dress. To add some visual interest to your top, you might like to sew the underneath portion of the sleeve placket, as well as this side gusset, in a different fabric. It’s the details that count, after all!
Start by downloading our free shirt gusset pattern piece, which can be made in two sizes depending on your preferences. You’ll need one diamond shape for each gusset, so cut two diamonds for each Classic Shirt or Gallery Tunic that you make.
1. To sew the gusset, fold one diamond in half along the fold line, and stitch one side edge with a 1/4″ seam. (I used a print for the first two photos so you can see right side vs. wrong side.)
2. Trim the corner and turn the resulting triangle right side out before pressing the edges. You have one stitched edge, one folded edge, and one open edge.

3. Get your shirt hems folded, pressed, and ready to stitch. But before stitching the hem, slip the unfinished edge of the triangle into the folded edge and pin it into place with the folded edge of the triangle pointing down and the stitched edge at the top.
4. Sew the hem, catching the edge of the triangle in the seam and pivoting at the side seam to continue to the next side of the hem.

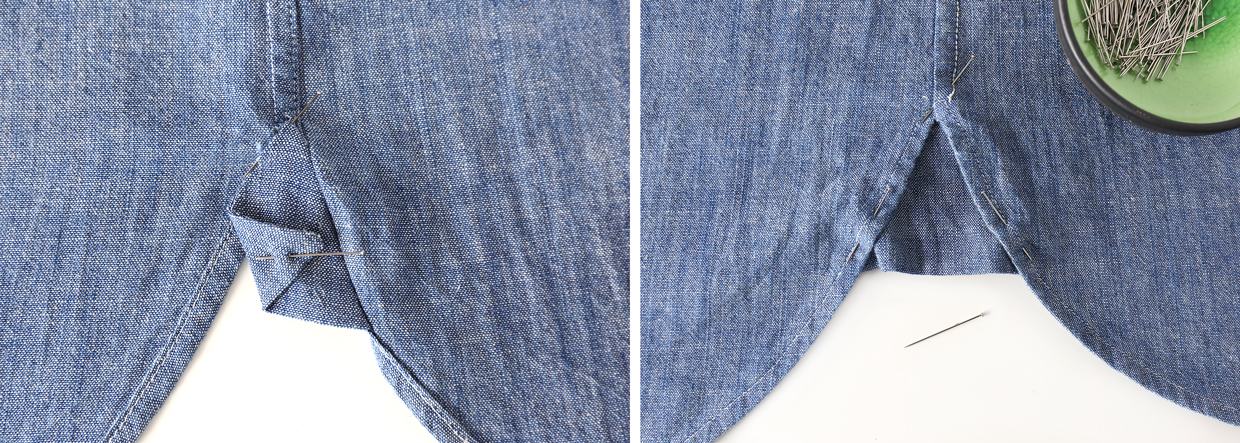
5. Press the gusset away from the hem, toward the other side of the shirt, so that it covers the opposite hem. Take your time to get the gusset and the hem lined up just right so the gusset covers the opposite hem and it lies smoothly.
6. Once the gusset is pinned into place, re-stitch the hem on the opposite edge of the shirt to secure the gusset and hold it in place. You can stitch on top of or immediately next to the original stitching row to finish the gusset.
That’s all there is to it! Have fun with the gusset detail. We can’t wait to see what you do with it.
Oohhh, I love this! It’s so easy to do, but will make any top extra special. I want to make a solid top and use the gusset to add a splash of color. Thanks!
Awesome, thanks for explaining so well.
Thanks for sharing this! So simple to do. I know this is off topic, but can you please tell me where I can find the Continental Blouse pattern and the pattern for the jacket with smocking on the back? I can’t think of the pattern name right now. Sorry. I would be most grateful for the help. Thank you so much!
I think both of those patterns are early Lisette patterns from when we were working with Simplicity? I’m sure they’re out of print now, sorry…
Great tutorial! I like the clean finish on both sides. But I’m unclear on how to end the flat-felled side seam, prior to adding the gusset. Do the raw edges at the bottom of the front and back overlap each other at the bottom of the side seam? What does Step 3 look like *before* the gusset is pinned in place?