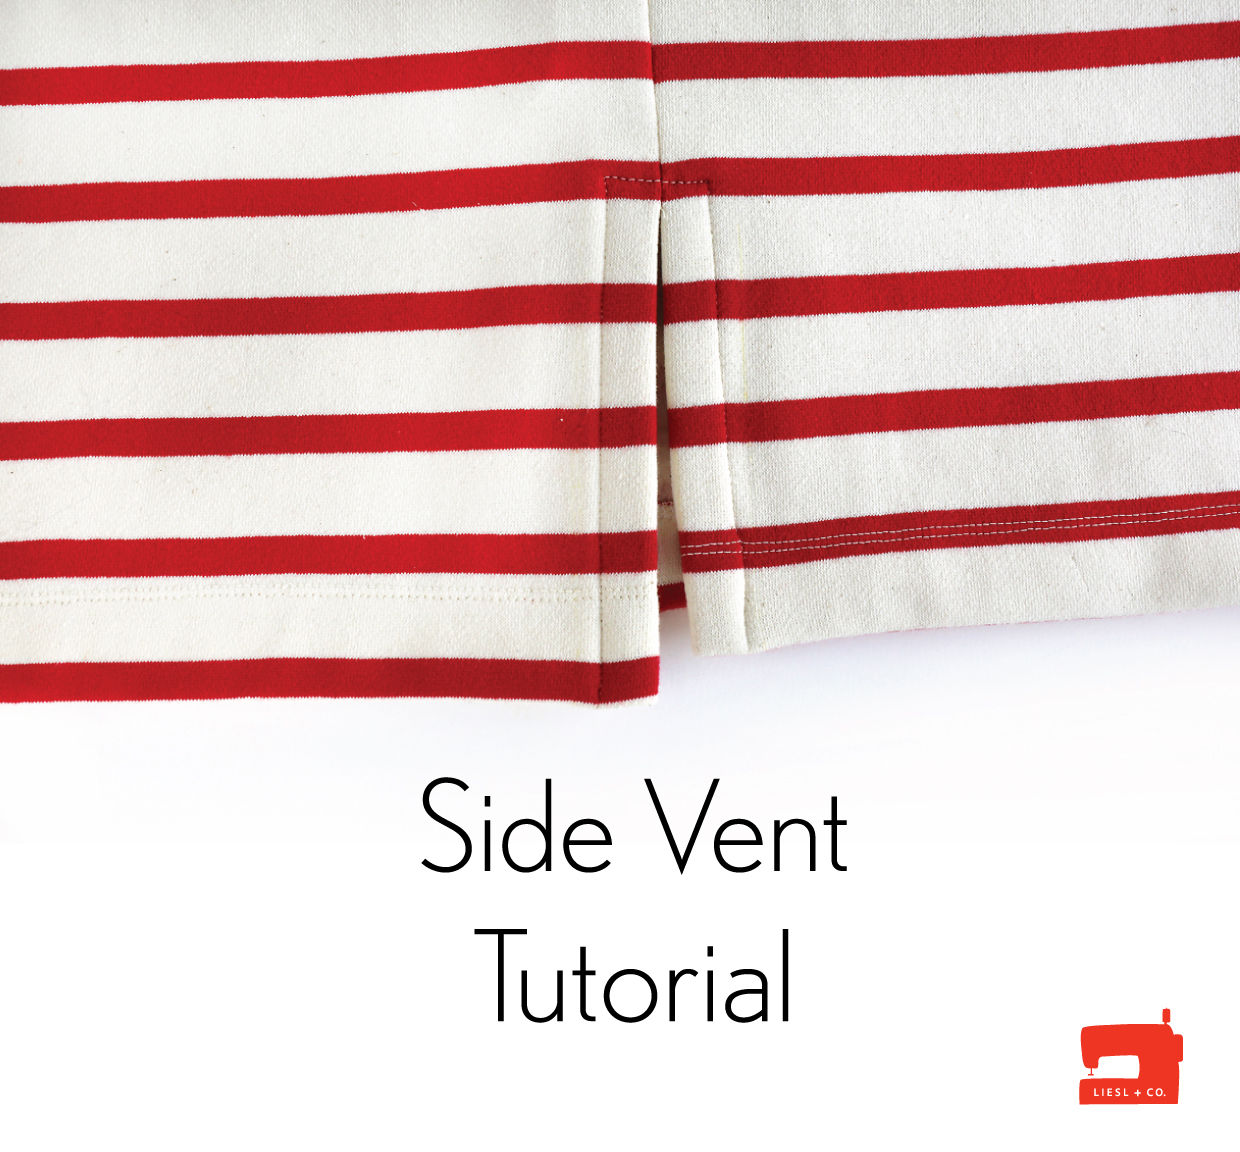
Here’s a quick and easy tutorial you can use to add a simple vent to any seam. I like it on a side seam for T-shirts and sweatshirts, but you could also use it on cropped trousers to give them a little interest at the hem. A side vent like this adds some room for movement and just looks nice.
How to Draft the Vent
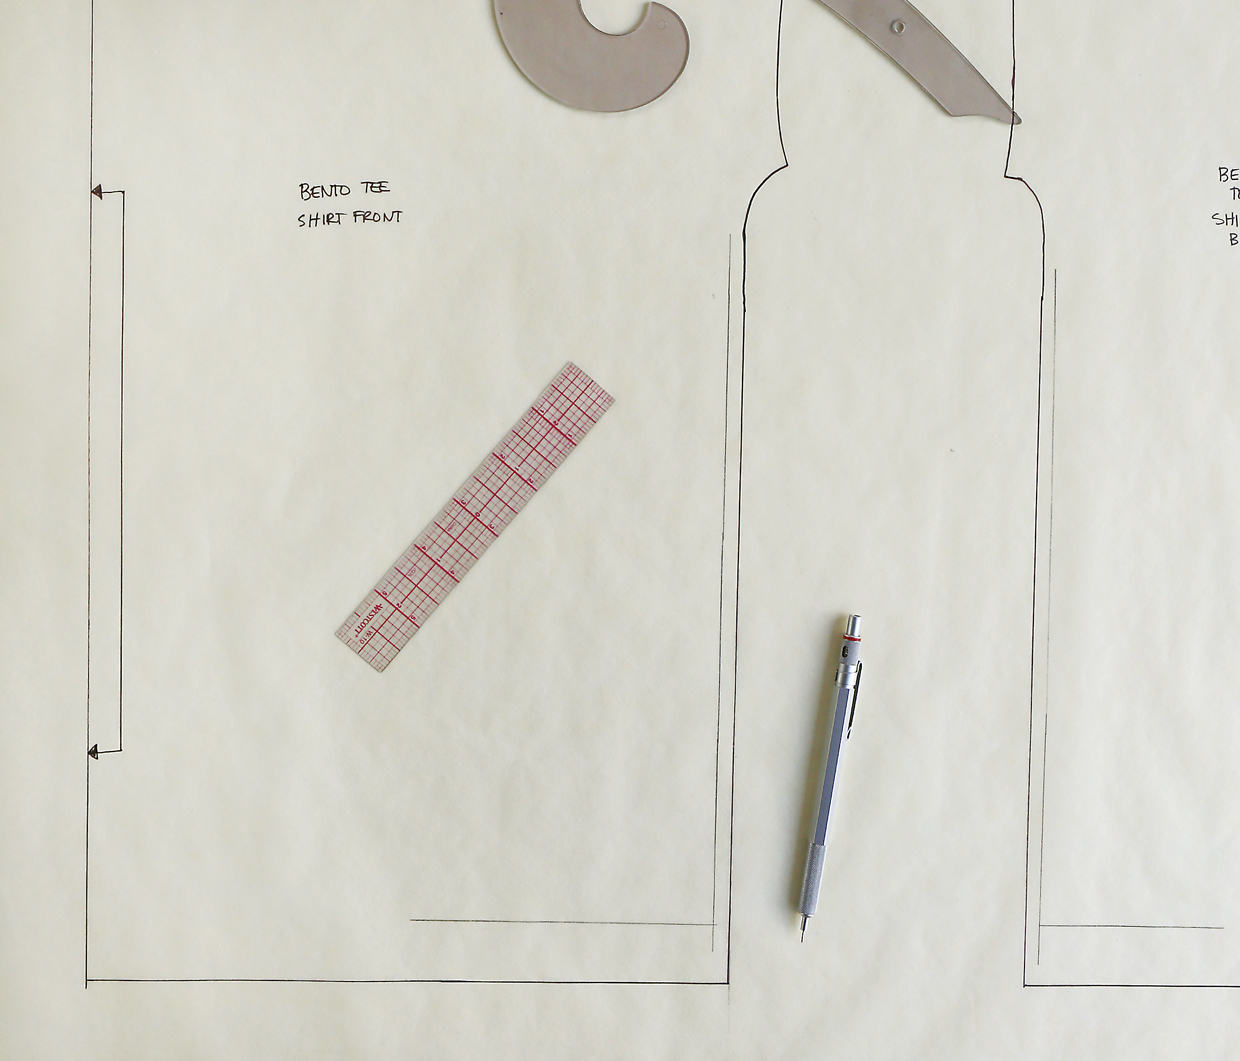
1. Start with your traced pattern piece. I like to draw in the seamlines so I know exactly what I’m working with. On this Bento Tee I’m using to make a sweatshirt, the seam allowances are 1/4″.
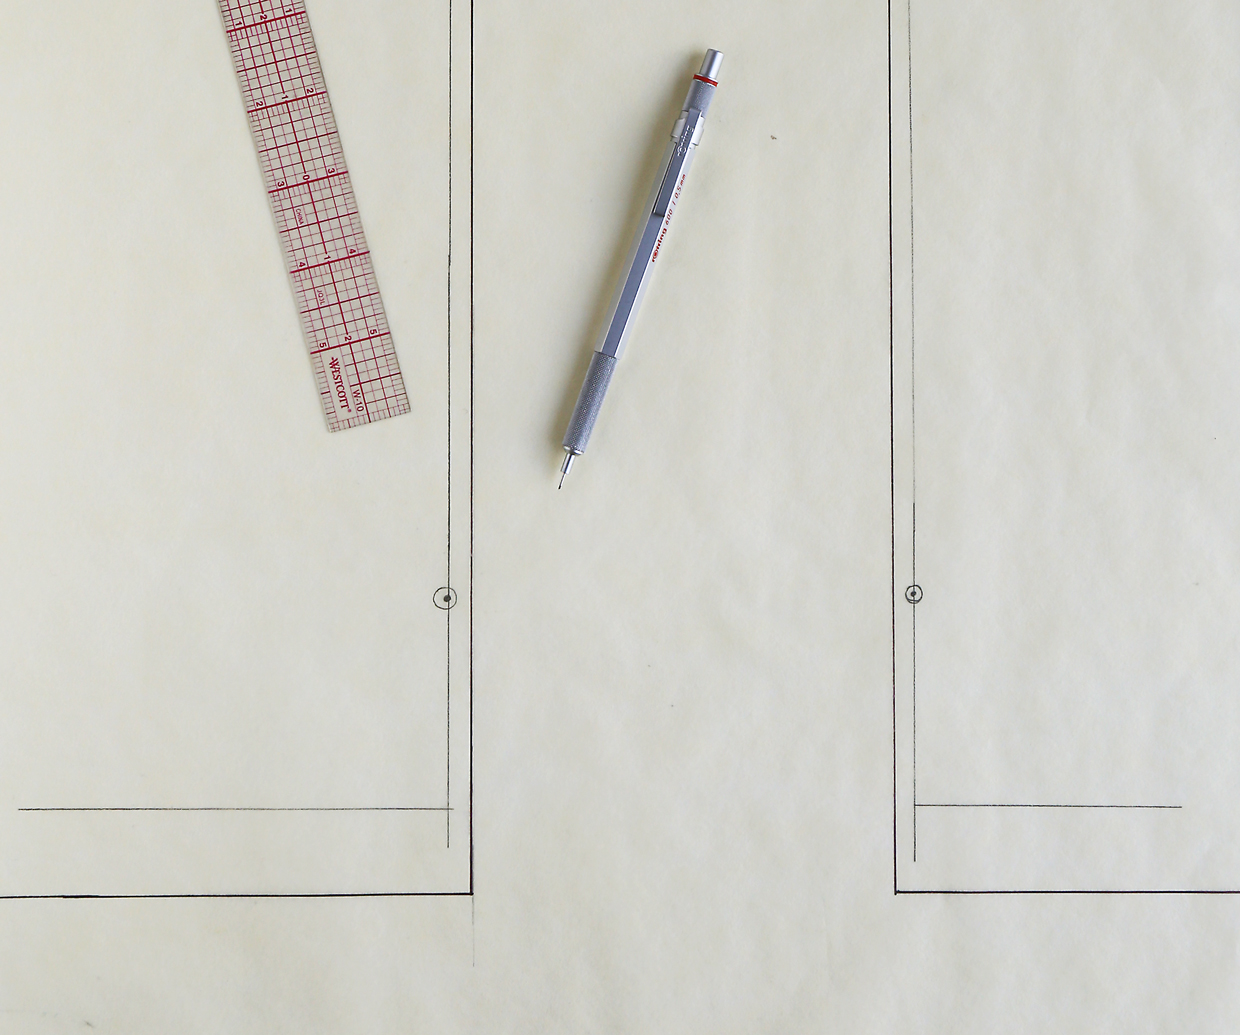
2. Decide where you want the opening of the vent to begin, and add a dot to the seamline at the same location on both the front and back shirt pieces.
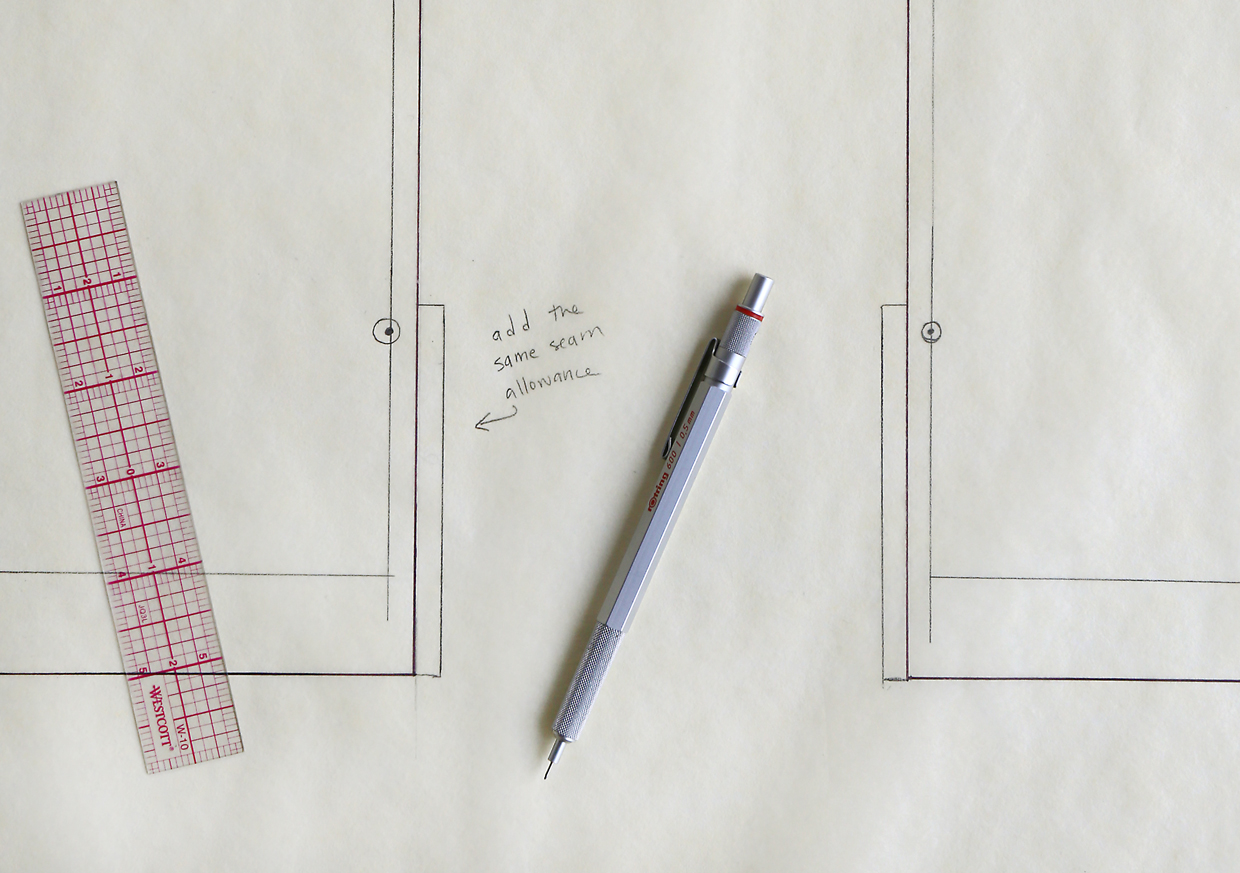
3. Add an extra seam allowance to the vent portion of the pattern, starting just above the dot and continuing to the bottom edge of the hem. The extra seam allowance should be the same as the original seam allowances or wider, so on this example I extended the side seam by 1/4″, starting 1/4″ above the dot. Note: Now is also a great opportunity to make the back seam longer, if you want to do so. I think lots of us like to have a little extra length in the back, and it’s easy to do: simply extend the hem to be as long as you want. I usually add about 1″ to lengthen it for movement and a little extra butt coverage.
And that’s it! Be sure to transfer the dot to your fabric when you cut out the pattern.
How to Sew the Vent
1. When you’re ready to sew the side seam, set your machine to a basting stitch and baste from the bottom edge of the shirt’s hem to the dot, lockstitching or backstitching at the dot. (This will temporarily close the vents at the bottom of the shirt.) Then set your machine back to a regular stitch and continue sewing all the way up the side seam to the edge of the sleeve with your normal seam allowance, which for this pattern is 1/4″. If you’re using a serger to stitch or to finish the seam allowances together, start serging about 1″ above to dot so the seam allowances near the dot can still be pressed open. Repeat to stitch the other side.
2. Press the vents open along the basting stitches.
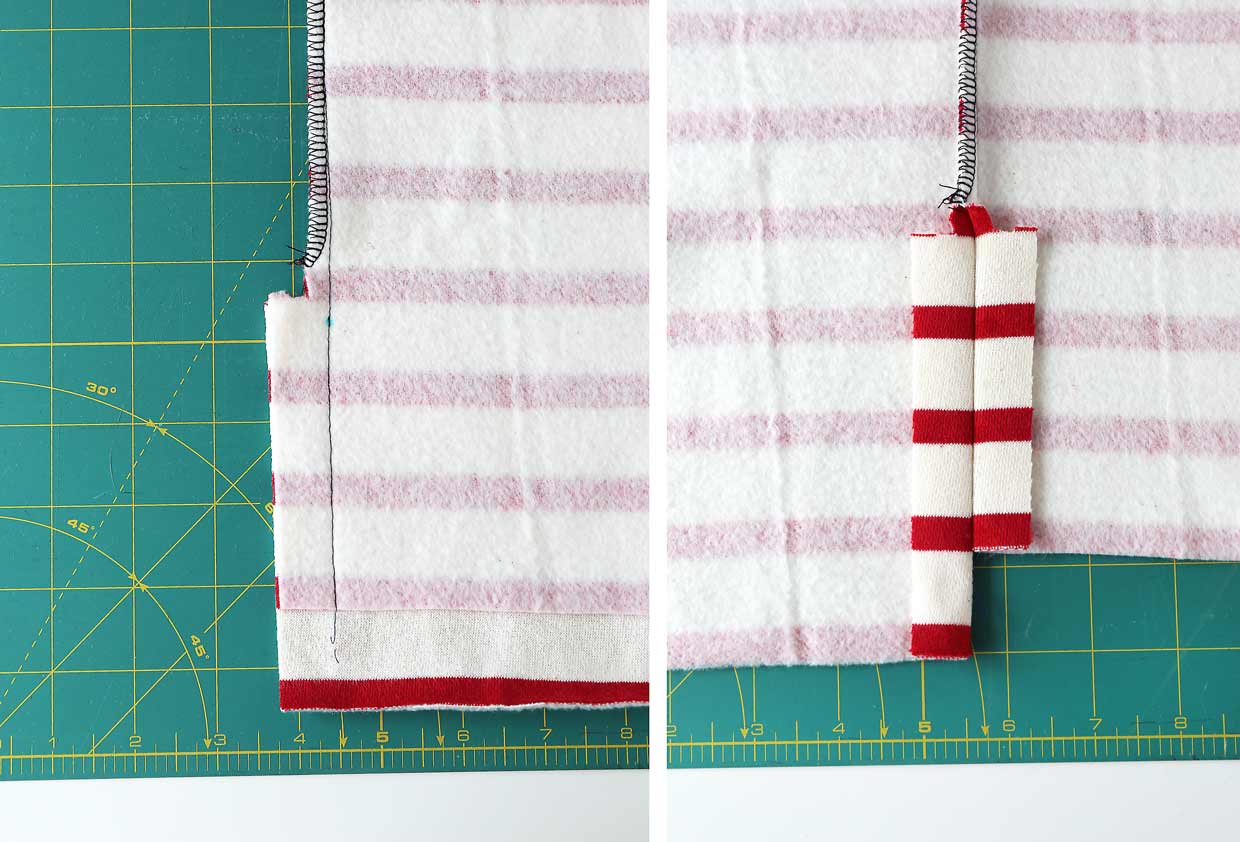
3. Working on one side at a time, fold under each vent seam allowance to meet the basting stitches and press it in place. Once you’ve pressed the vent edges you can remove the basting stitches so it’s easier to work with each side of the vent individually. Fold the vent along the first fold and finish the hem edge of the shirt with the vent pressed along the fold.

4. Press the hem into place and stitch finish it, still with the vent folded only once. By stitching the hem and vent in this order, you’ll get a nice finish to both of edges.
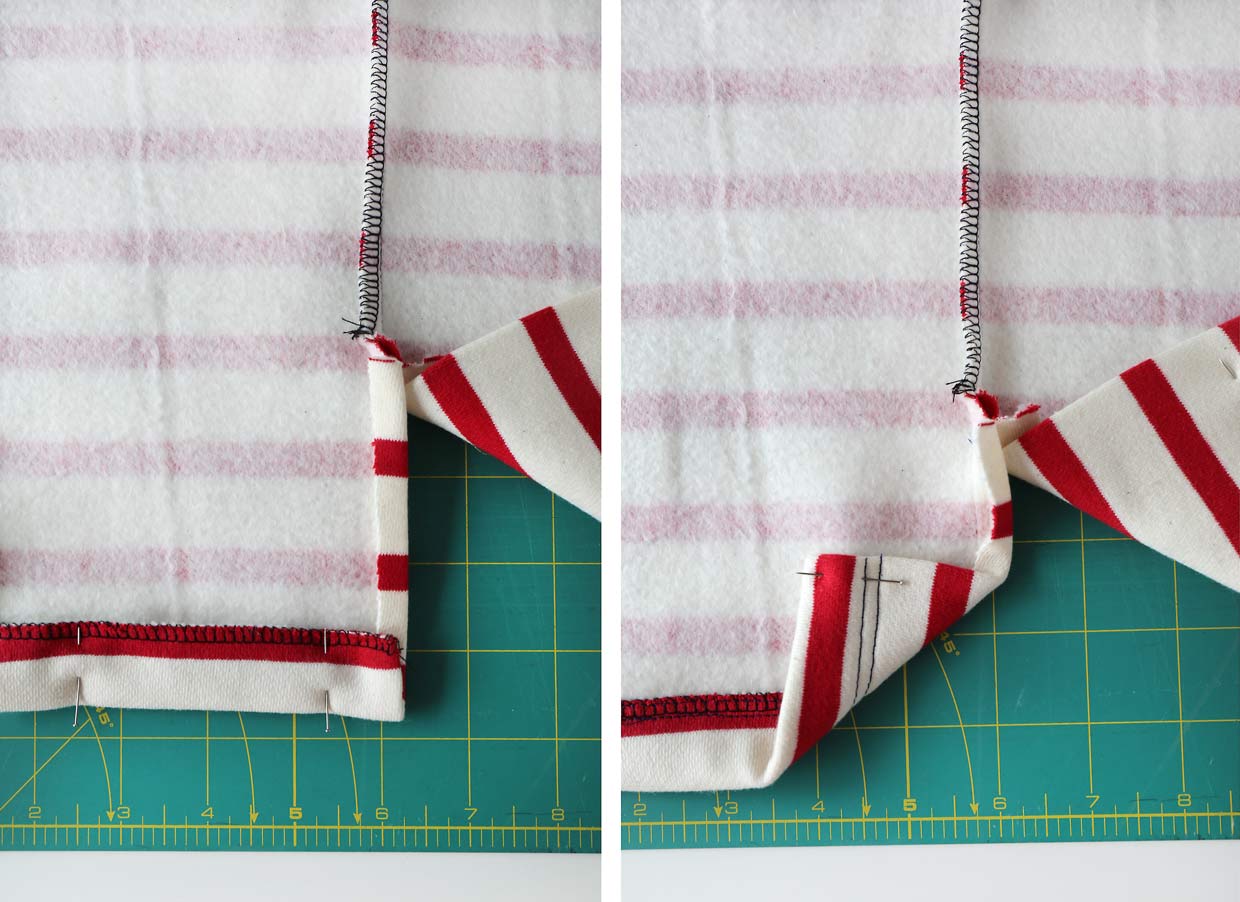
5. Once the hem is stitched, fold the vent along the second crease (on the original basting stitch line) and pin it into place.

6. Repeat Steps 3-5 with the other side of the vent. Then topstitch the vent by starting at one hem edge and edgestitching the innermost fold of one side of the vent, pivoting at the level of the dot to stitch across at the dot, and then pivot again to edgestitch the opposite side.

That’s it! Easy, right? The vent is already included in our Maritime Tee, but if you want to add it to the Bento Tee, any of our T-shirt patterns, or almost any of your other sewing projects it’s easy to do and adds a nice little detail, just for fun.
Soon I’ll show you a couple of other things you can do with this vent. Stay tuned!
I can’t believe how timely this turorial is. I am sewing a boat neck tee that I wanted to add side vents to. It is in a black and white stripe very similar to your red and white. Do you know if it is the acceptable method to match stripes when a dart is incorporated for a FBA? Do I just match from the vents up to the dart legs?
That’s a really good question, Kim! I guess I’d be inclined to match at the side seams below the dart, personally. I hope that helps!
I just sewed this vent on the sailboat pants (cropped to shorts as inspired by Brittney). It looks good!
I forgot about that pattern! Yes, it’s included there, too.
Thank you for this! Its timely for me too, as I was going to make a knit shirt today and I was debating a side vent, but wasn’t sure of the proper way to do it. I have a question for everyone… what have you all found to be the best method for transferring pattern markings to knits? I find that my tracing paper doesnt work very well on knit fabric. Thank you!
I generally sink a pin and use a fabric marker or chalk. Does that help?
Yes, thank you, I guess I will have to try some different methods. I have been teaching myself to sew with knits, and its very different than wovens. Thank you for the tutorial!
Thank you for such a brilliant tutorial! I will definitely be using this in the future, the instructions and photos are very clear.
For a side vent on Knit Fabrics, what stitch do you recommend using?
I am nowhere near a seamstress, but I found this tutorial and followed it to alter a thrifted, sleeveless, linen tunic top with complicated side vents that was too long for my frame. The new side vents added so much to the shortened length, and it turned out beautifully. Your detailed instructions and photos made it so easy! Many, many thanks!
Thank you! This was so helpful and easy to understand–a welcome post after YouTube didn’t help me to visualize it. Quickly powered through three shirts this morning.