Are you a fan of French seams? They’re a terrific finishing technique that make the inside of the garment look just as nice as the outside. Plus, they’re easy to do and don’t require any special equipment or stitches. If you’re not familiar with French seams, you can find a tutorial for them right here.
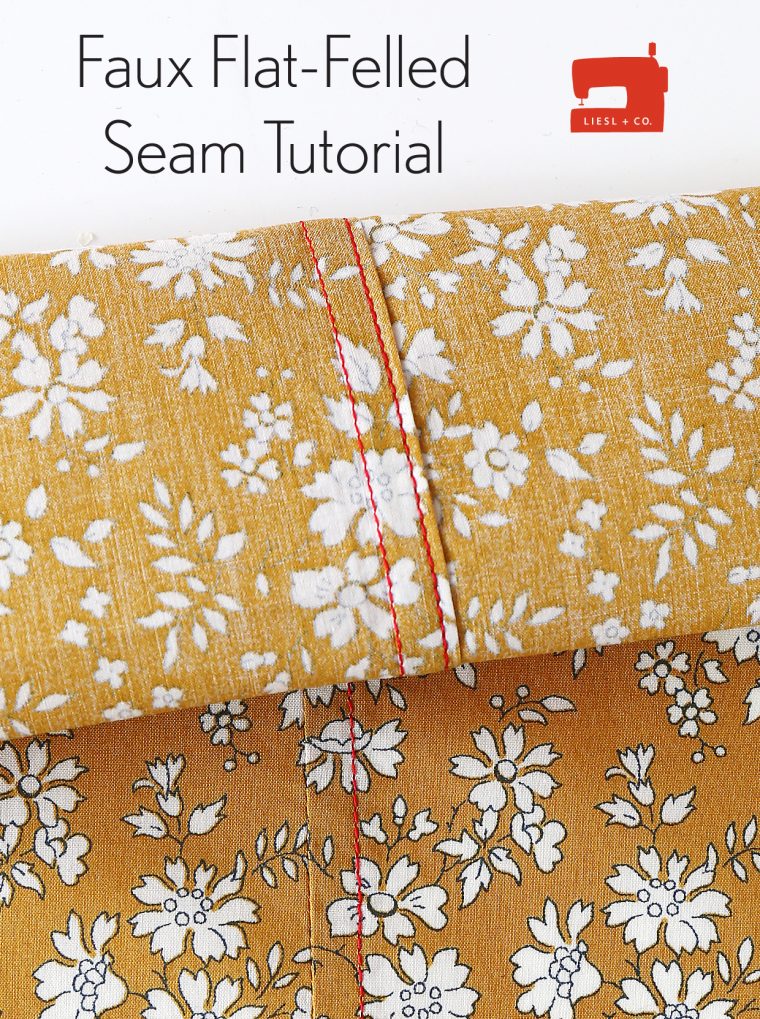
Here’s another technique that you might like. I call it a faux flat-felled seam, although technically it’s just the back side of a flat-felled seam. It’s especially useful on shirts, where you’ll see it used frequently because it finishes the seam neatly and keeps it lying flat once it’s finished. It’s just as easy to do as a French seam, and it’s a wonderful way to finish the seam seams on our Liesl + Co Classic Shirt sewing pattern. Here’s how you do it.
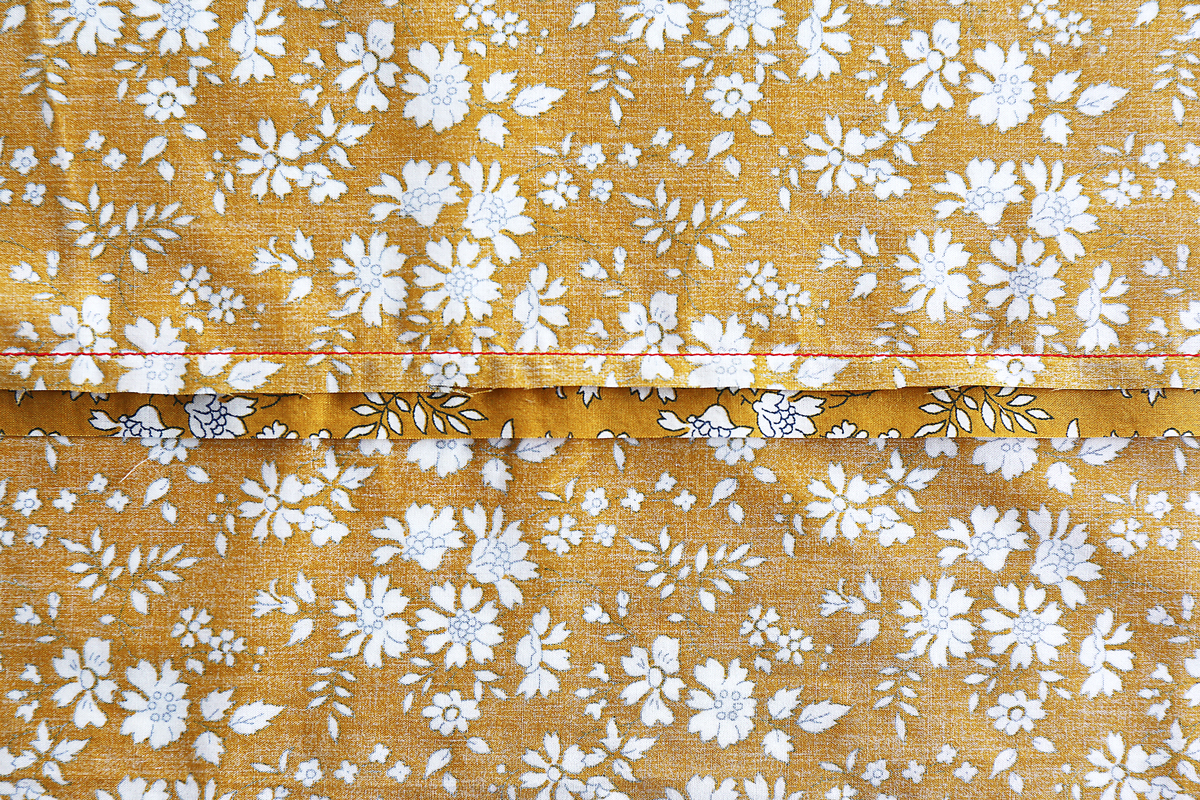
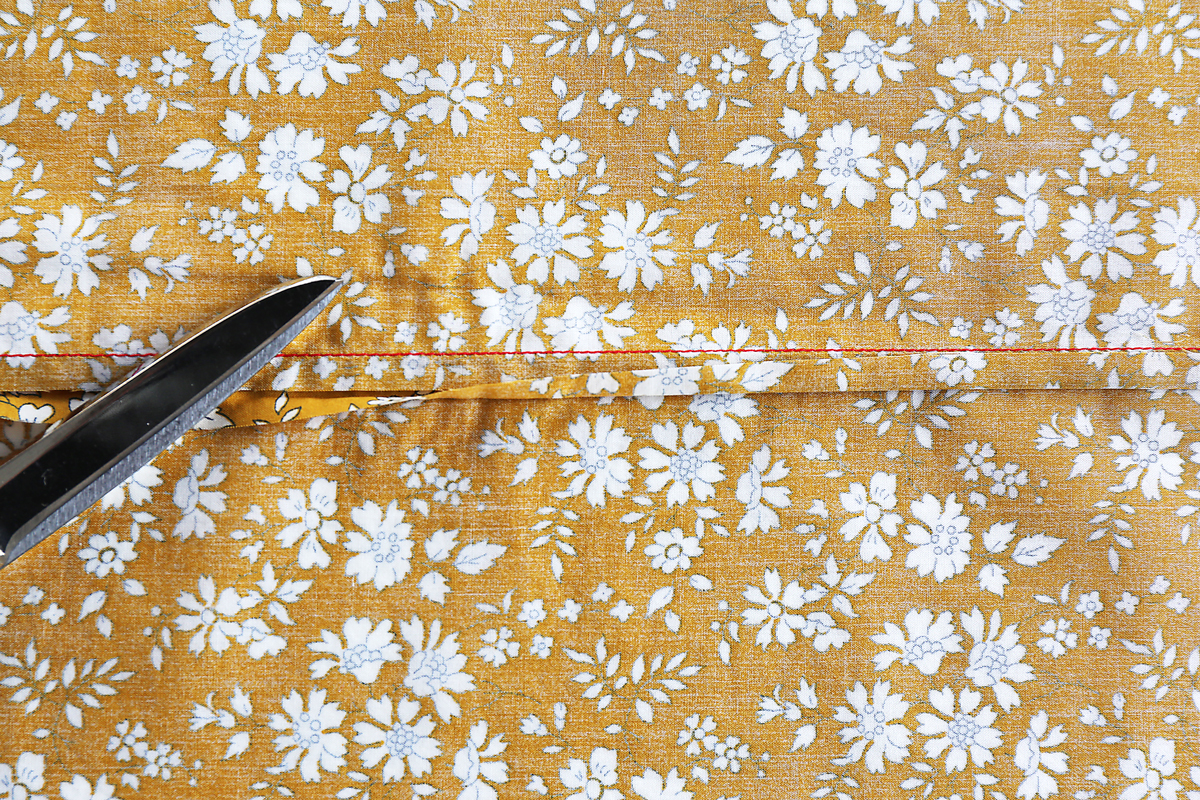
1. Sew your seam the way you normally would, with right sides together and the normal 1/2″ seam allowance. Once you’ve stitched the seam, trim only the back seam allowance to half or slightly less than half of the original seam allowance. You can do this by eye, using the remaining front seam allowance as a trimming guide. Don’t worry about cutting perfectly straight as long as you’re trimming half, or a little more than half, of the seam allowance.

2. Press the seam allowances open to help open the entire seam evenly. This prevents any creases or folds in the finished side seam. Then press both seam allowances toward the front of the shirt so the shorter seam allowance is on top.
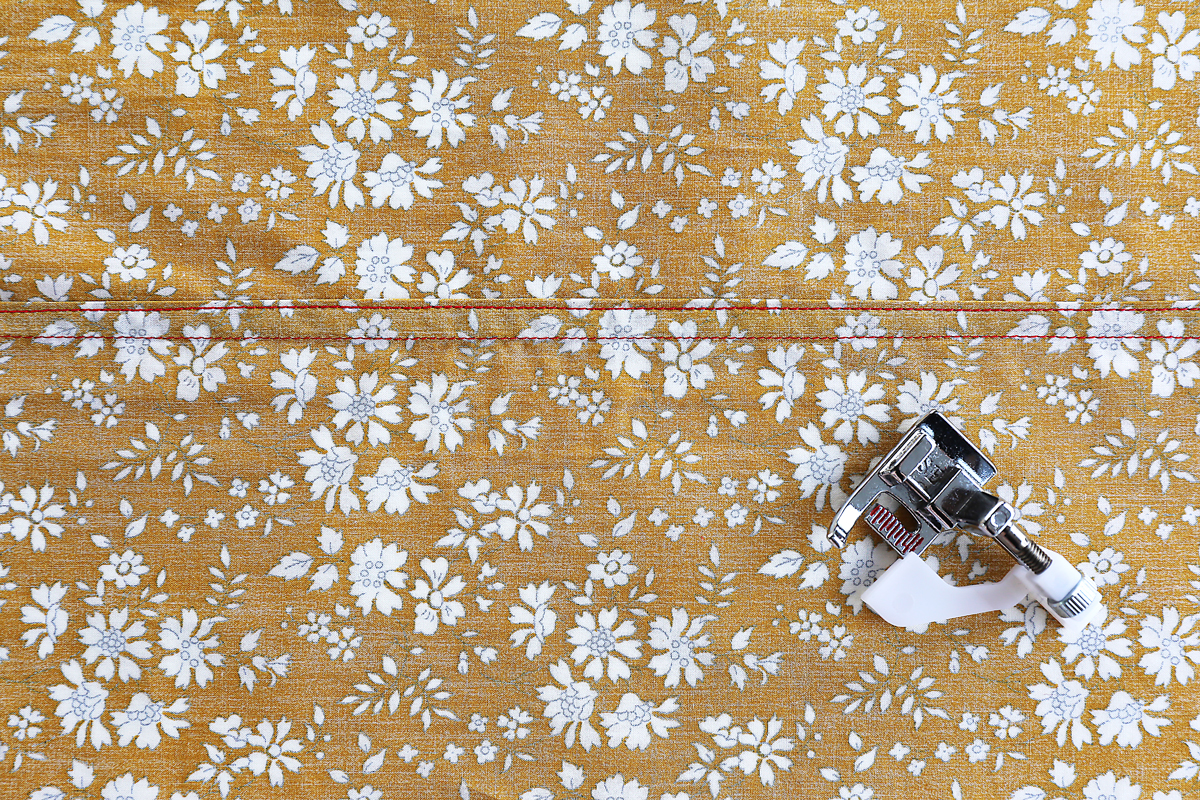
3. Press the bottom seam allowance over and around the top seam allowance so it meets the seam line. Use lots of steam in your iron for this step since it helps the crease stay in place.
4. Gently flip the pressed seam allowances over to the other side of the seam line and press them again. The wider seam allowance that was on the bottom is now on the top and wraps around the shorter trimmed seam allowance, completely covering it. Topstitch the folded edge of the seam allowance to finish it. If you have an edgestitching foot this step will be even easier.
Once finished, on the inside of the shirt you’ll see two rows of seams, but on the outside you’ll see only one seam.

That’s all there is to it! You’ll get great-looking shirts if you use this technique. If you want, you can can even use it on the armholes of the Classic Shirt to give them a neat finish. I’m sure you’ll think of other places to use it, too!
Thanks for the tutorial Liesl. I recently completed 2 jean jackets for my tween granddaughters & used flat felled seams extensively. Since I prefer to top stitch from the right side of my fabric ( I’m not a fan of bobbin threads showing on the right side) I sewed the seam allowance with fabrics wrong sides together & then followed the same method you gave. By using the edge stitching foot & the needle moved 2 or 3 clicks to the left I was able to get perfectly straight top stitched seams. A lot of extra work doing a flat felled seam but well worth the effort. My sewing machine also has a flat felled foot that I just purchased. Haven’t tried it yet but hope to in the near future. Cheers, Linda
I wasn’t aware there was a ‘real’ flat felled seam as opposed to a ‘faux’ one ! I have always used the technique described in this post .
I agree, I would call this a real flat-felled seam, worked on the inside of the garment. A ‘faux’ version would give the look without using the same technique – often done on RTW shirts (and recommended in some shirt sewing patterns, gasp!) by overlocking (serging) the seam allowances and then stitching them down.
Deepa, if you sew the seam with wrong sides together and do all the folding and stitching from the right side of the fabric it’s a traditional flat-felled seam. And Nina, the name for the serged and stitched seam is actually a welted seam. But the important thing is getting the look you want, right?
Hi Liesl. I’m new to this technique and am keen to try it. It looks like a raw edge is showing on the inside ( but stitched down. ). Is that correct ?
Joanne, there are no raw edges with this technique. It looks exactly the same as a flat-felled seam, but the folding happens on the inside instead of the outside so it’s much easier and neater.
Got it. Thanks think I need to do some practice ones and add them to my work book
Good afternoon.
How to complete a flat fell seam throughout a sleeve and side seam? Once the sleeve seam has the first seam sewn, the tubular shape of the sleeve does not allow the presser foot into the sleeve far enough to do the second “top stitching” seam.
Or am I missing something?
I’d appreciate any advice in this regard,
Many thanks
Gill
It’s tricky, you’re right. I usually do it in two parts, scrunching and sewing as far as I can from the top and then from the bottom.