Liesl started the discussion about using knits for the Building Block Dress in her post back here. Today we have Shelley continuing that discussion and sharing her example of the dress pattern sewn up in knit fabric. Take it away Shelley!
As soon as I got my copy of the Building Block Dress Book, my first thought was this: How would it work in a knit?
If you’ve followed my Oliver + S blog posts at all you’ve probably realised how much knit fabrics tend to dominate my sewing. In fact, I’d say my love for sewing with knit fabrics is only matched by my kids love of wearing knits, and my dislike of ironing.
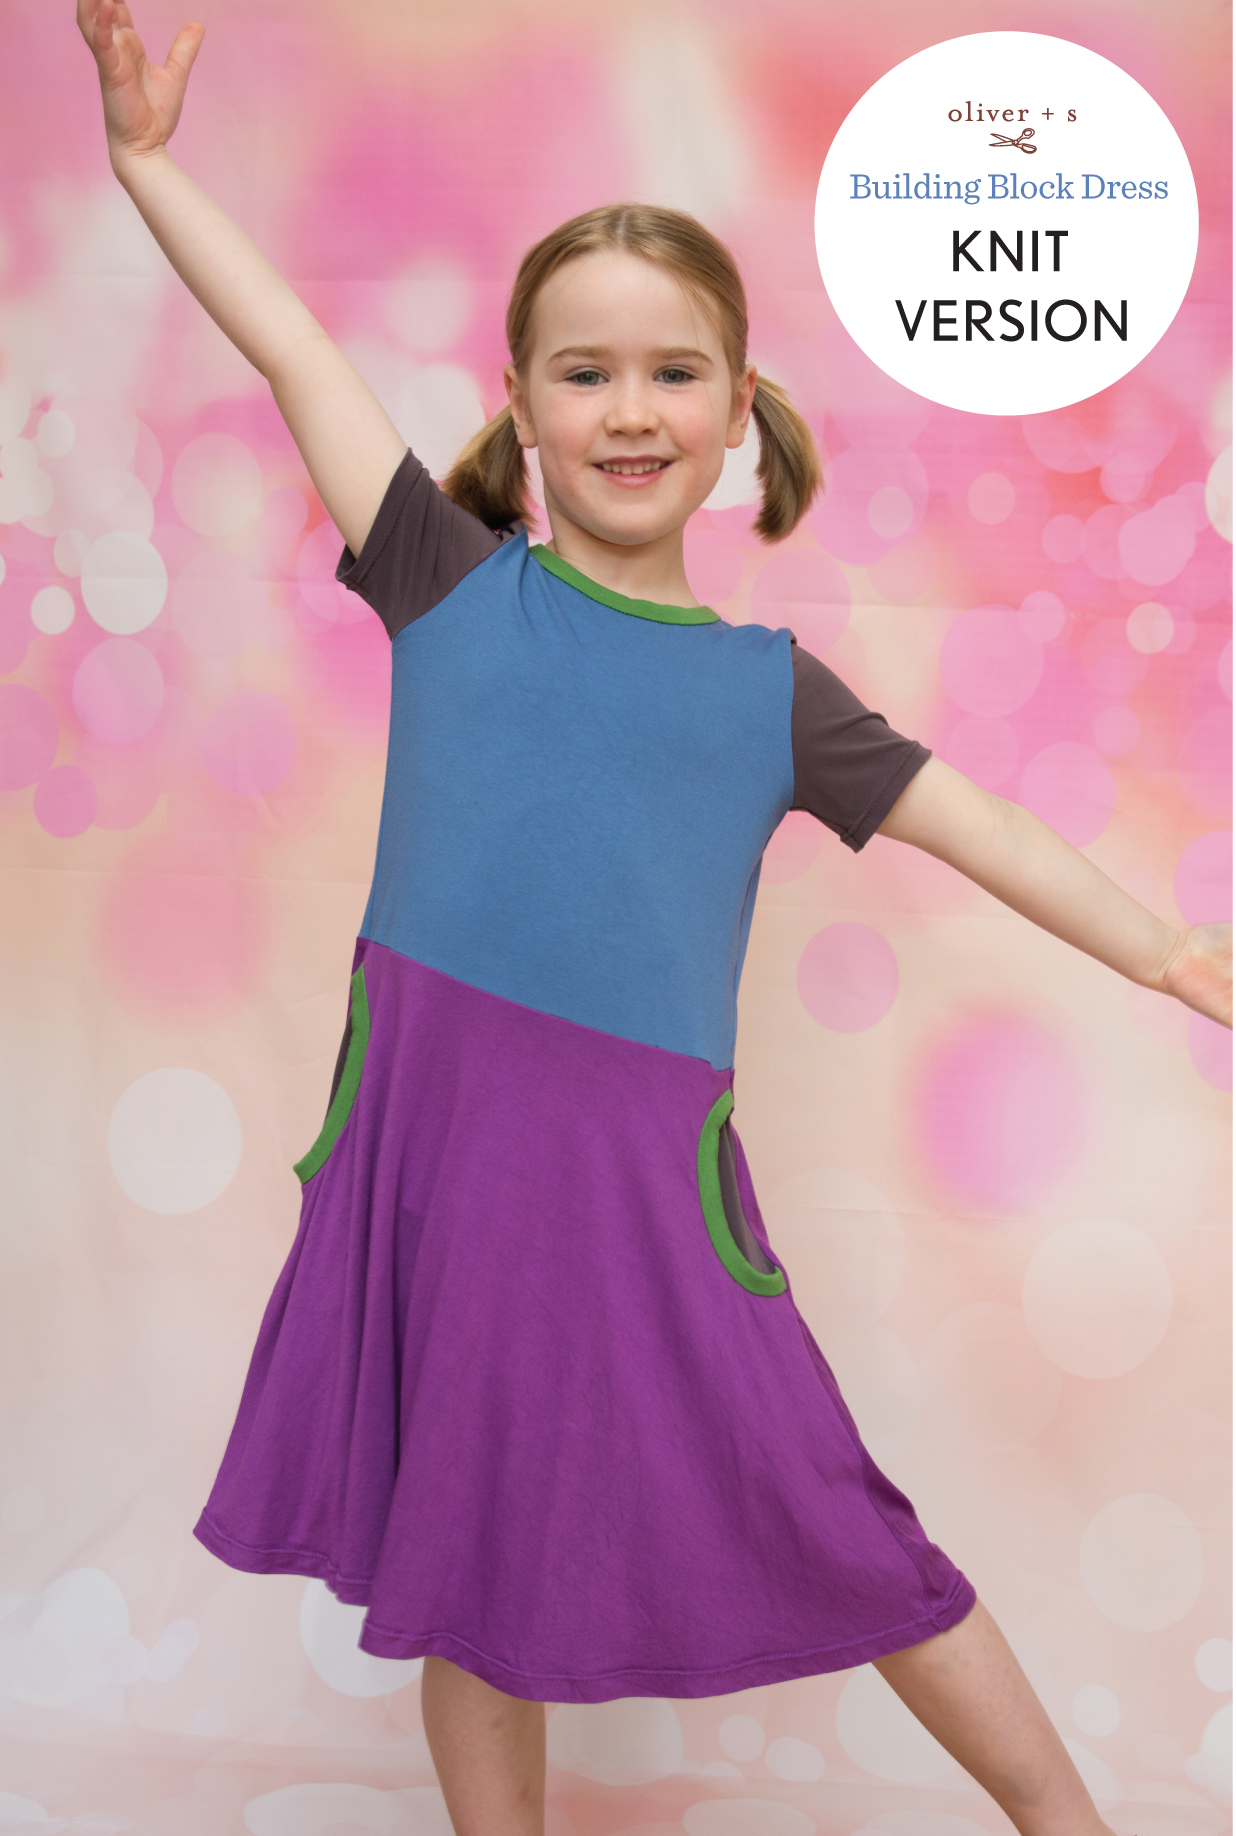
My initial plan was to keep it pretty simple and test the pattern without any closures. I chose the basic block pattern and went exactly with my daughter’s measurements; size 5 with the length of size 6.
The back bodice pattern has the center line marked on the pattern piece. To cut the back as one piece it was simply a matter of placing the center back line on the fold of the fabric. The same was done with the back skirt piece. No need to calculate how much to remove, it’s conveniently marked on the pattern. But in case a picture helps, it’s there, in the book on page 134 where the process of moving the closure from the back to the front is described.
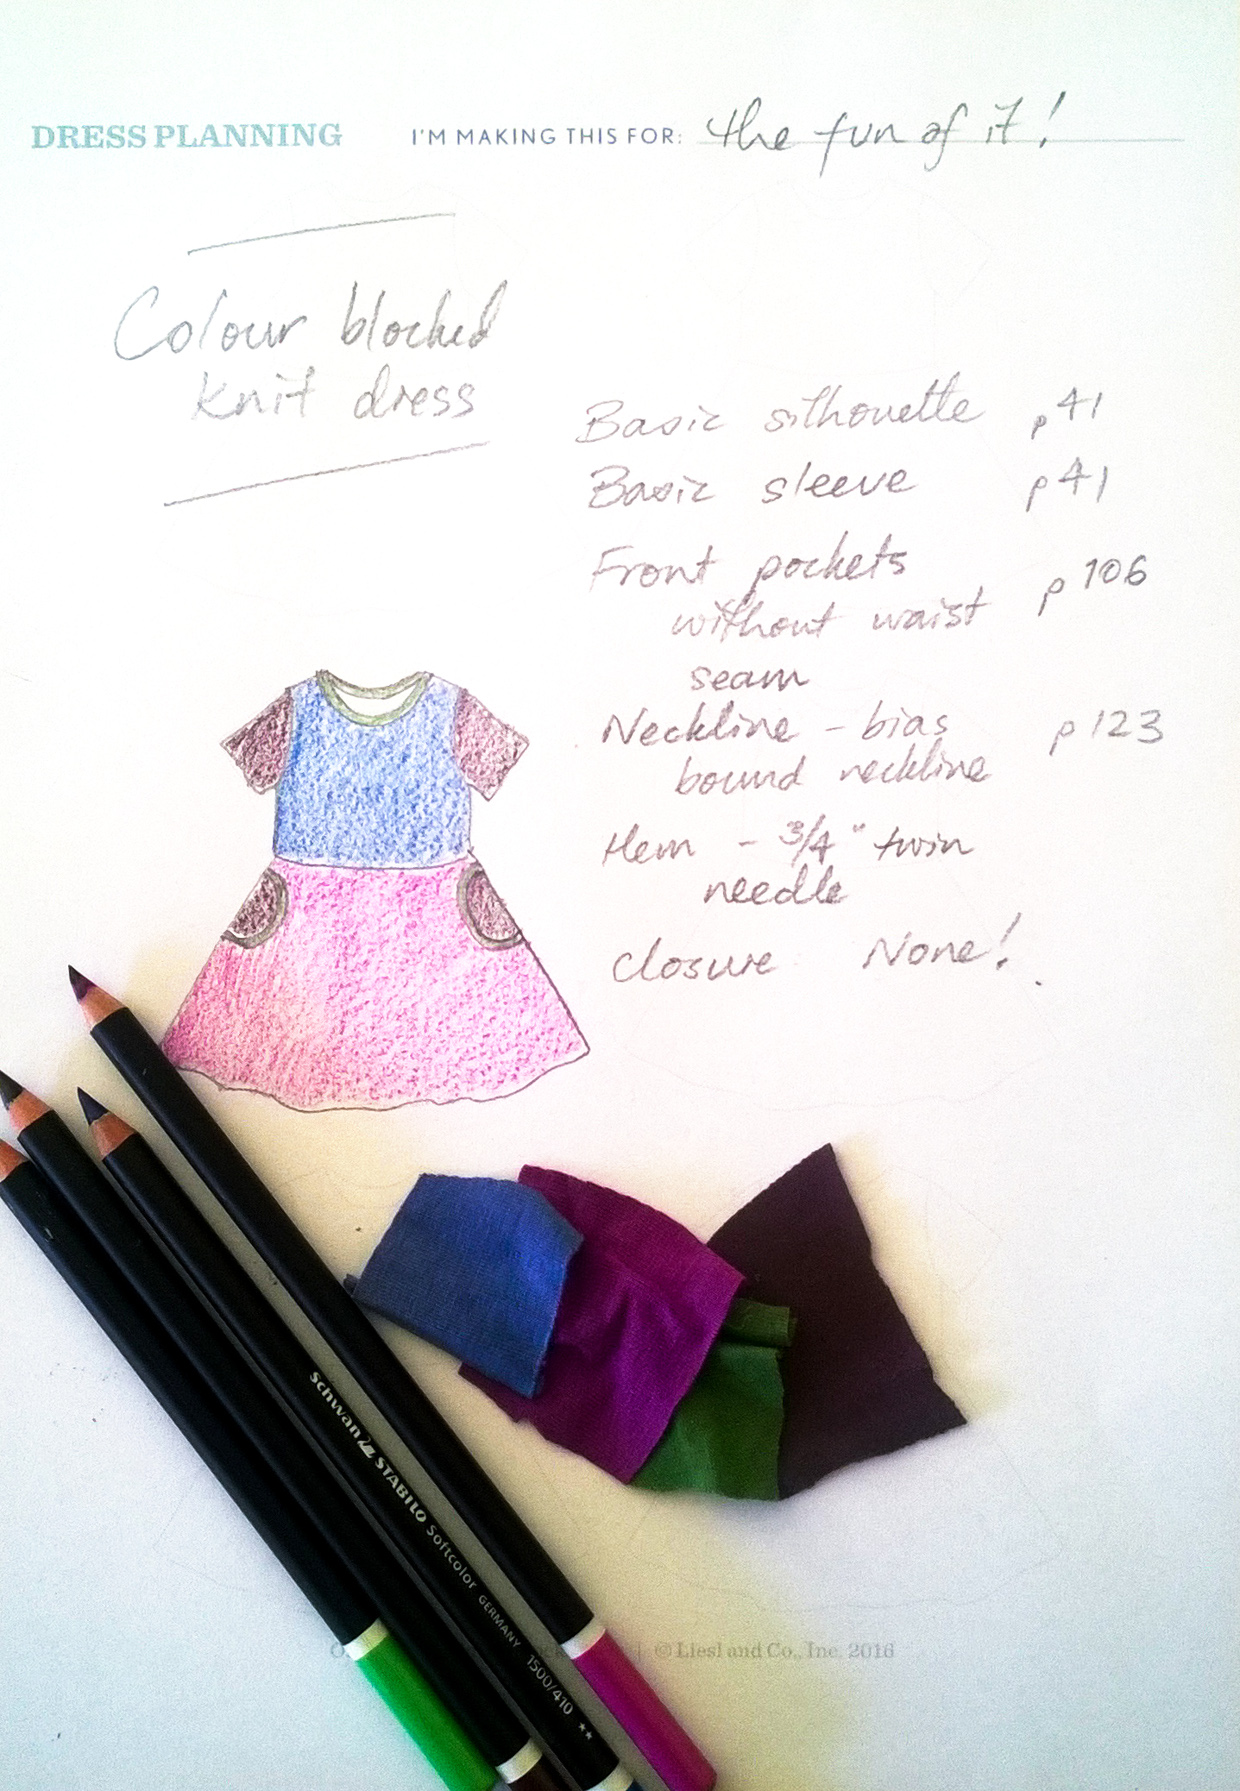
The pockets I’ve used are the “Front pockets without waist seam” although I did catch the top of them for about an inch in my waist seam to help stop them flopping about too much. I drew the pocket opening I wanted and then didn’t add a seam allowance. Instead, I’ve basted the skirt pocket opening and the pocket facing wrong sides together, then bound the raw edge with a strip of knit fabric.

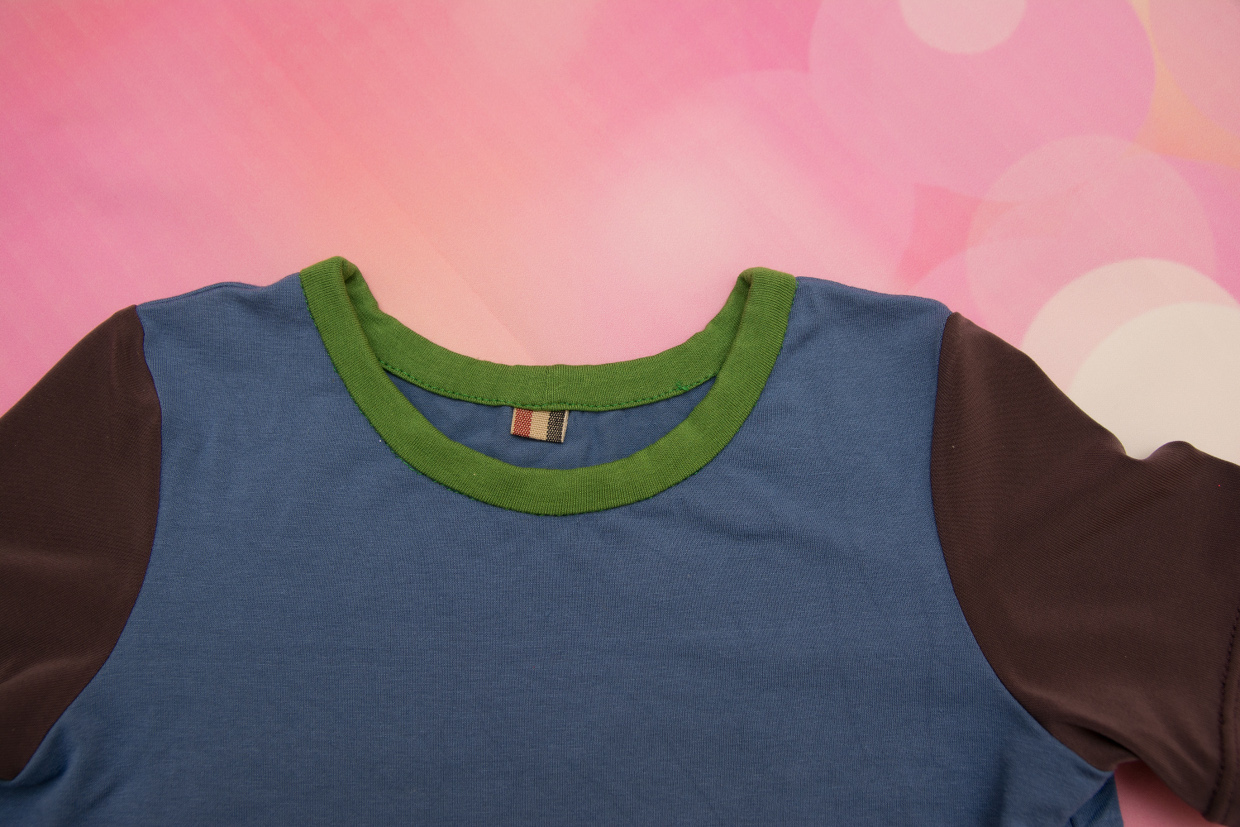
The pockets and the neckline were finished in exactly the way described in the book under the heading “Bias-bound Neckline.” The only difference being that the knit binding is cut along the axis of stretch, not on the bias. For the pockets, I stretched it to fit as I sewed, and for the neckline I went with approximately 75% of the dress neckline length.
To finish the knit binding, I stitched “in the ditch” using a long, straight stitch. That still affords enough stretch to allow the neckline to stretch over my kid’s head. For kids with big heads there’s always the option of scooping out the front neckline a little more, or even adding a keyhole opening in the back (and of course that’s described in the book too!).
After sewing the pocket openings, the rest of the dress was sewn using my serger and the sewing went very quickly. The sewing machine then came back out to attach the neck binding and to twin needle hem the sleeves and skirt hem. The sleeves are the basic block sleeve but with the cuff left off and the hem simply finished and then turned up by 3/4 of an inch.
I couldn’t be happier with the fit and my daughter loves the twirl factor of the part circle skirt. I’m sure this is a dress that will be reached for whenever it’s clean. Of course, now I’m imagining all the fabric possibilities: how lush and lovely would a stretch velvet, long sleeved version be? And that’s the kind of Christmas dress you could start tomorrow and still be done in plenty of time!

Before I go, I have a confession to make. I opened this blog post with a bit of a lie…. On seeing the Building Block Dress Book for the first time, my very first thought was not actually “would that work in a knit?” Rather my initial reaction was more along the lines of “well, there goes my semi-official role as Oliver + S tinkerer-in-chief.”

You see, now we are all empowered to tinker, and the potential for failing dismally is all but removed when the pattern is tried and true and the instructions lay it all out for us. But then, with my Building Block Dress Book resting in my lap, like some kind of climber’s safety harness, I got to thinking about just where this could lead, and I cheered up immensely! And I wondered how it would work in a knit….
I hope you all have a wonderful, and adventurous holiday season. See you in the new year,
Shelley
Gorgeous dress. You will always find ways to tinker…. Once a tinkerer, always a tinkerer!
Thank you Anna! (doffs hat in true tinkerer style)
Wonderful! Thanks for all of the knit hints too. What type of knits did you use…straight cotton? cotton/lycra? cotton/poly mix? Absolutely love the color mix and knit bindings. Thanks so much for sharing your entire process.
Thanks. The colour combinations weren’t planned it was just what was available in my stash in the same type of knit. These are all a synthetic knit. It’s lightweight with plenty of drape. I suspect it’s what is referred to as “dry knit”.
I’ve got enough of that blue for the new Lisette wrap dress for me!
Awesome, was thinking what adjustments to make. So basically 1 size smaller in width. But curious if neck sizing was fine then including neck binding with no other adjustments? Recently I’ve been having trouble getting the neck binding to sit all even when attaching when I “wing” a pattern.
Hi Ava, I didn’t actually size down. My daughter’s measurements were exactly the size 5 but with the height of size 6, so that’s what I made.
To do the bias bound neckline you do cut the half inch seam allowance off. Fitting the neckband binding was similar to attaching a T-shirt neckband in that it had to be stretched to fit. The firm/tight neck binding helps stop this drapey kind of knit from flopping outwards at the neckline. It’s always trial and error as every fabric behaves differently. If you baste first it’s easy to unlock and alter the length.
“I’m making this dress: for the fun of it.” {on your sketch} made me chuckle . . . There will always be a place for you to tinker with Oliver + S patterns, no worries!
Oh my gosh! Those photos are amazing! Your daughter is a Princess in Knit. (And that must mean that you earn the title, ‘Tinker-Belle’!)
Yup, you hit it out of the park here Shelley! Don’t worry, you will always be my favorite tinkerer!