We have reached our fourth and final day of the School Days Jacket Sew-Along. Thanks for joining us this week for the sew-along. Amanda has returned to finish things up, so I will hand it over to her. Thank you Amanda!
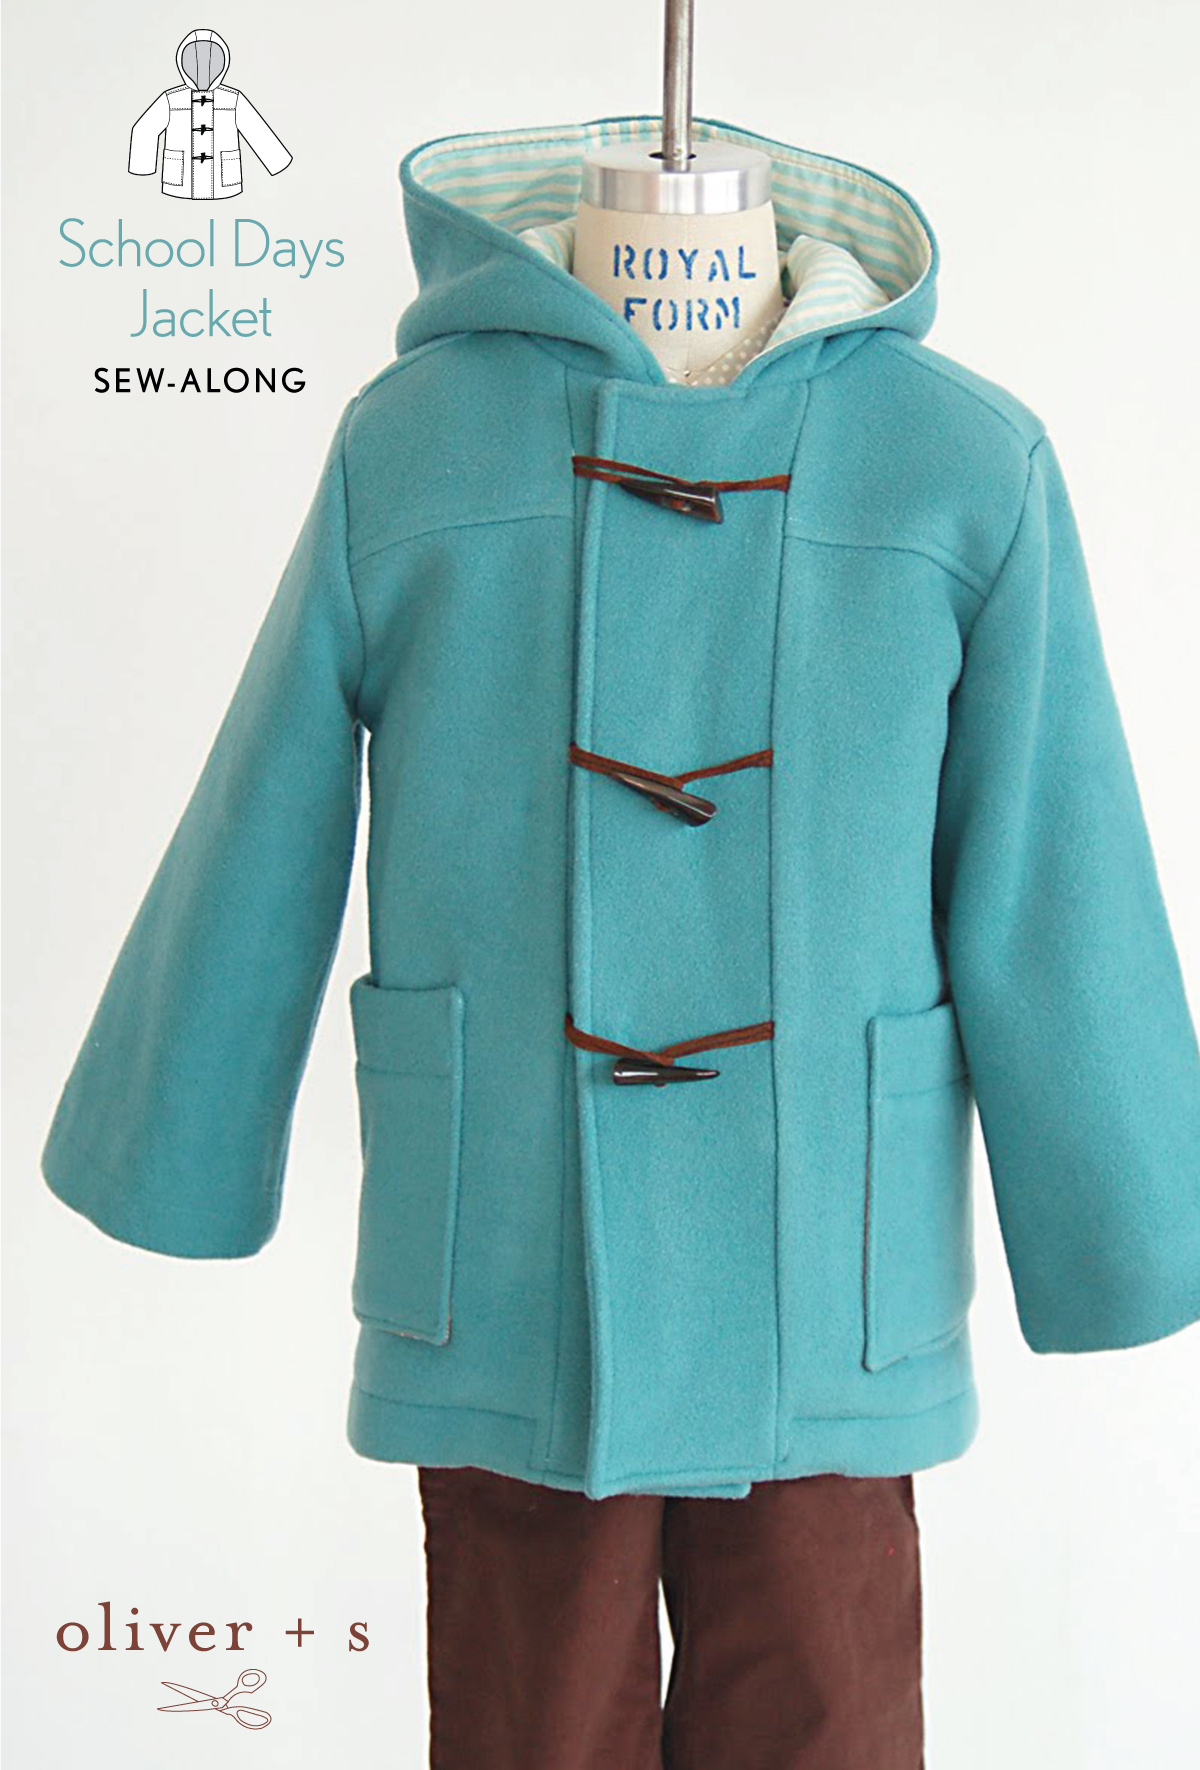
Hi! This is Amanda from LilypadMontana back today for the final installment of the School Day’s Jacket Sew-Along. By now you should have a pretty awesome and nearly complete coat or rain jacket, so let’s finish it up! Today we will be finishing the jacket and sewing the optional insulated vest.
Finish the Jacket
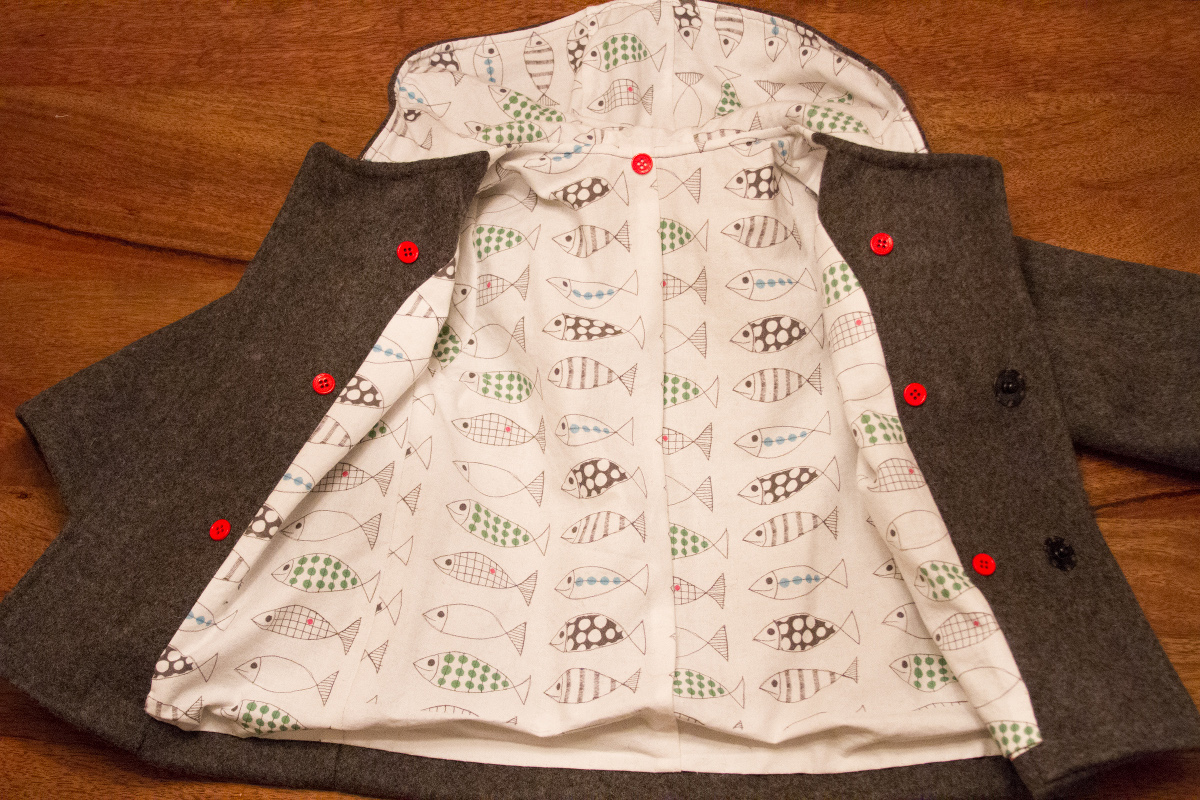
First, we are hemming up the jacket bottom edge. Pin up the hem making sure the lining is out of the way.
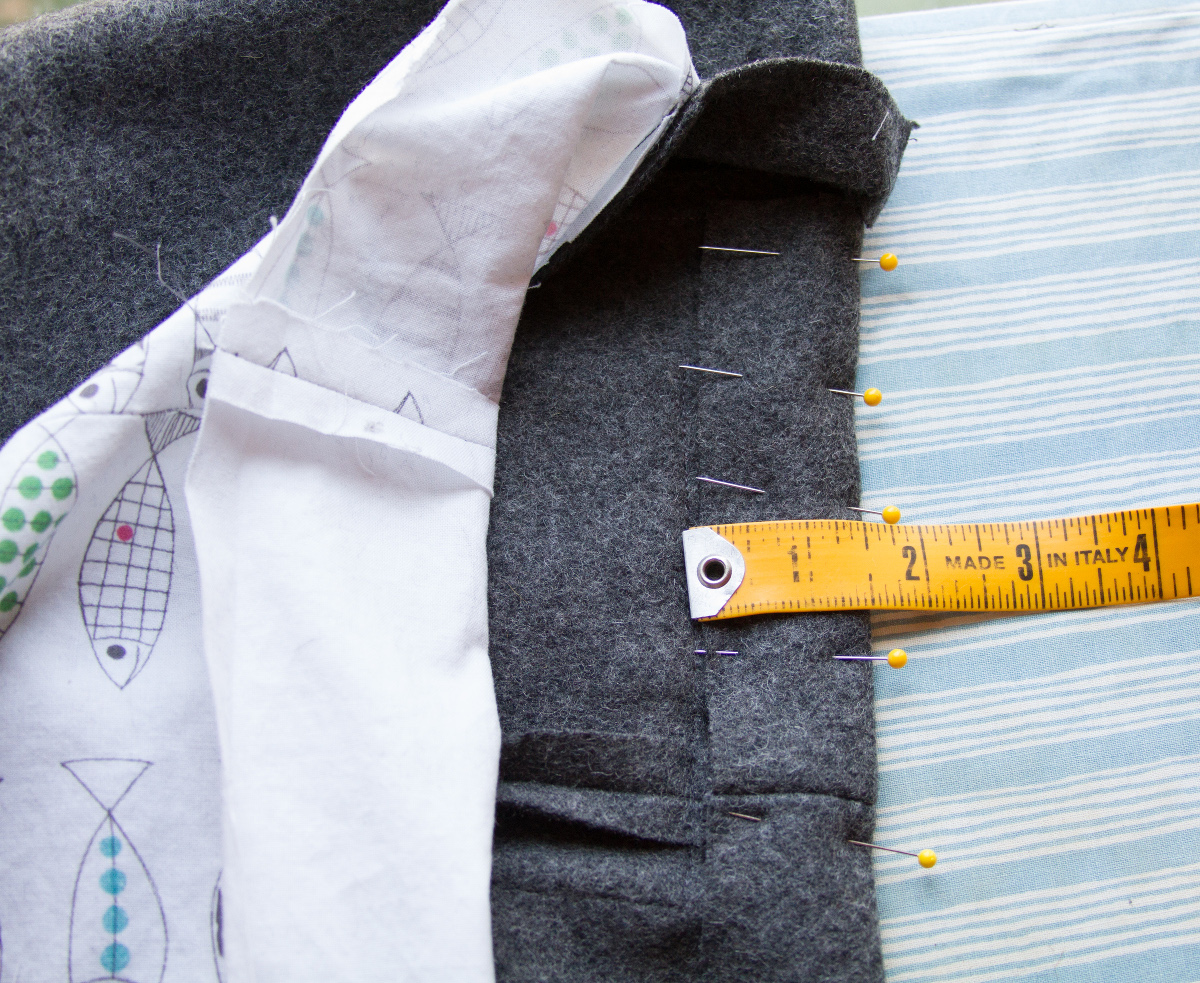
Then topstitch the facing and jacket hem at the same time in the order stated in the directions, starting at the neck facing and pivoting down, around, and back up until ending at the other neck facing.
You have the option to edge stitch the neckline as well to help keep the lining in place. I have found that stitching this portion with lining side up helps to prevent puckers at the neck and shoulders on the inside of the jacket.

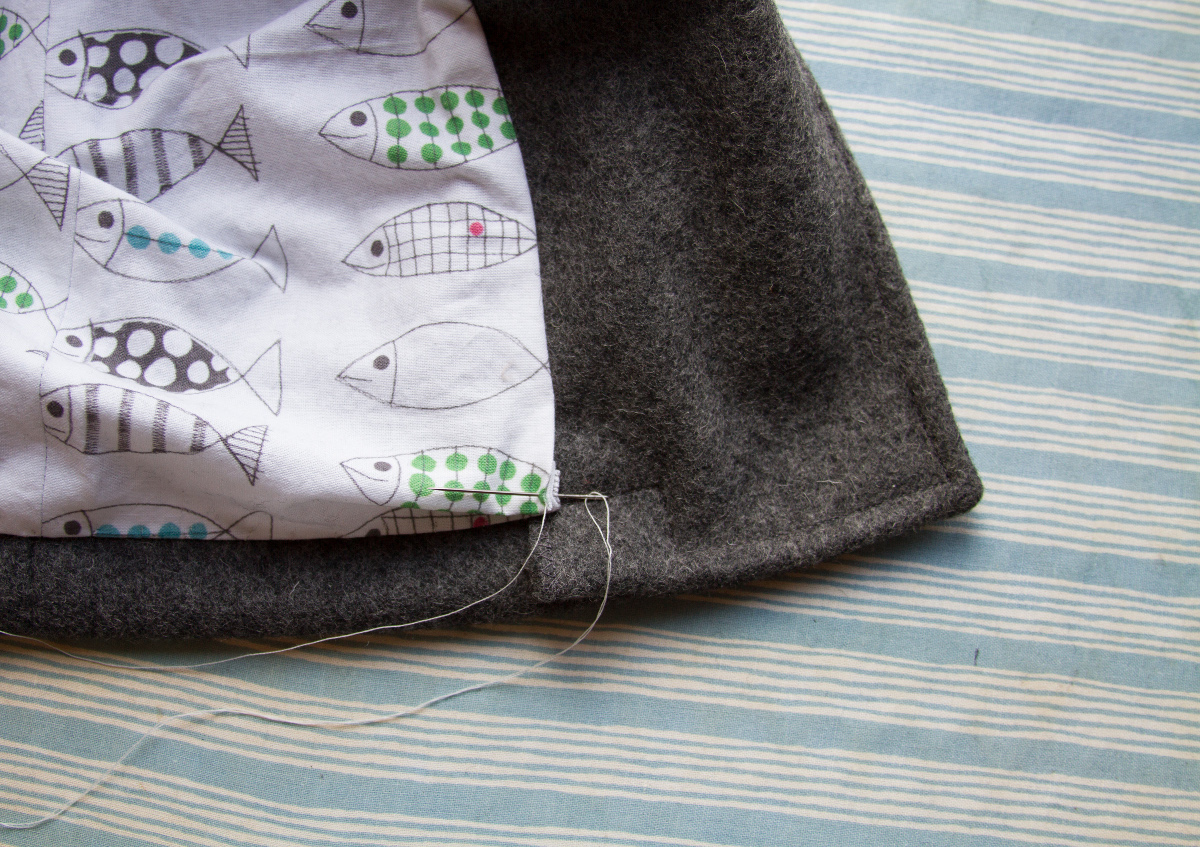
Blind-stitch or slipstitch the bottom edge of the lining to the outer jacket at the topstitching sewing line.

You can also tack down the little fold at the bottom corner of the lining to make it a bit neater, as well as the loose bit of facing directly beneath it.
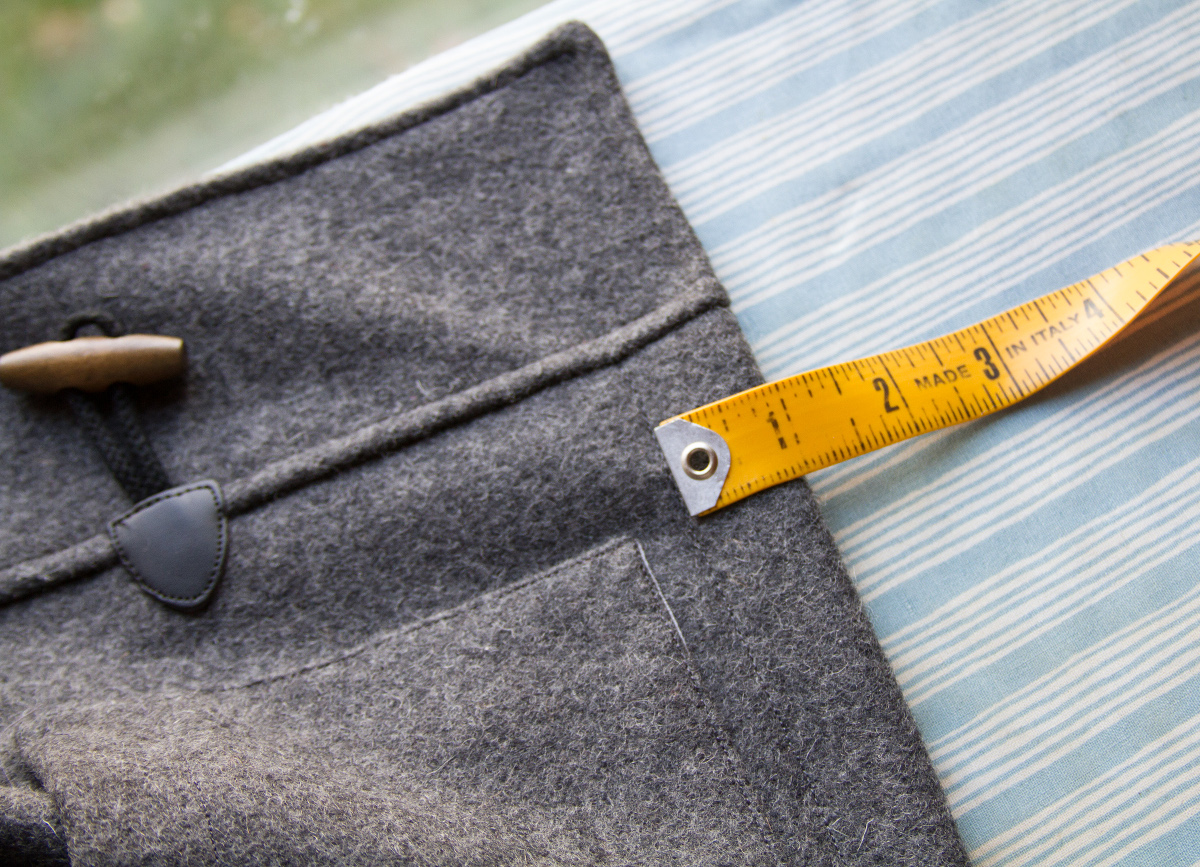
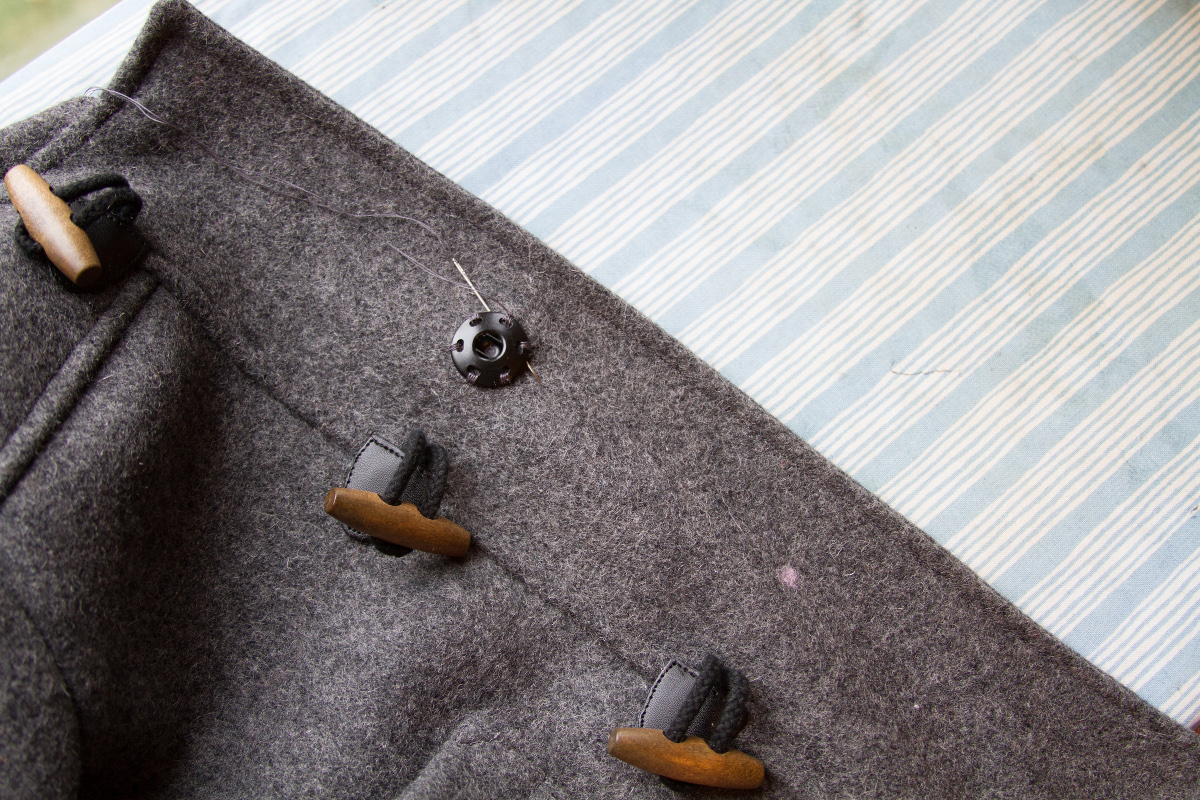
Remove your basting stitches at the lining center back and then sew on snaps (if using) at the marks indicated on the pattern pieces. If using button tab closures sew on your buttons now as well.
Optional Insulated Vest
Although this vest is optional I highly recommend to go for it and make one! It adds quite a bit of versatility to your jacket, taking it from something lightweight to cozy warm in an instant. Plus you get to add a bit of fun with additional cute fabrics to coordinate with those of your jacket. It’s really an amazing addition to the jacket and you absolutely will not regret making it! So now that I have you convinced let’s get started.
You can purchase pre-quilted fabrics for the vest, or you can quilt your own. To quilt your own, here are a few tips; first be sure to use a walking-foot (or darning foot for free-motion quilting), use woven fabrics rather than stretchy ones, and use fabrics that are neither too heavy or too lightweight. Quilting cottons tend to be the best, along with double-gauze, and flannel. Of course any other fabrics in that weight range should work wonderfully as well!

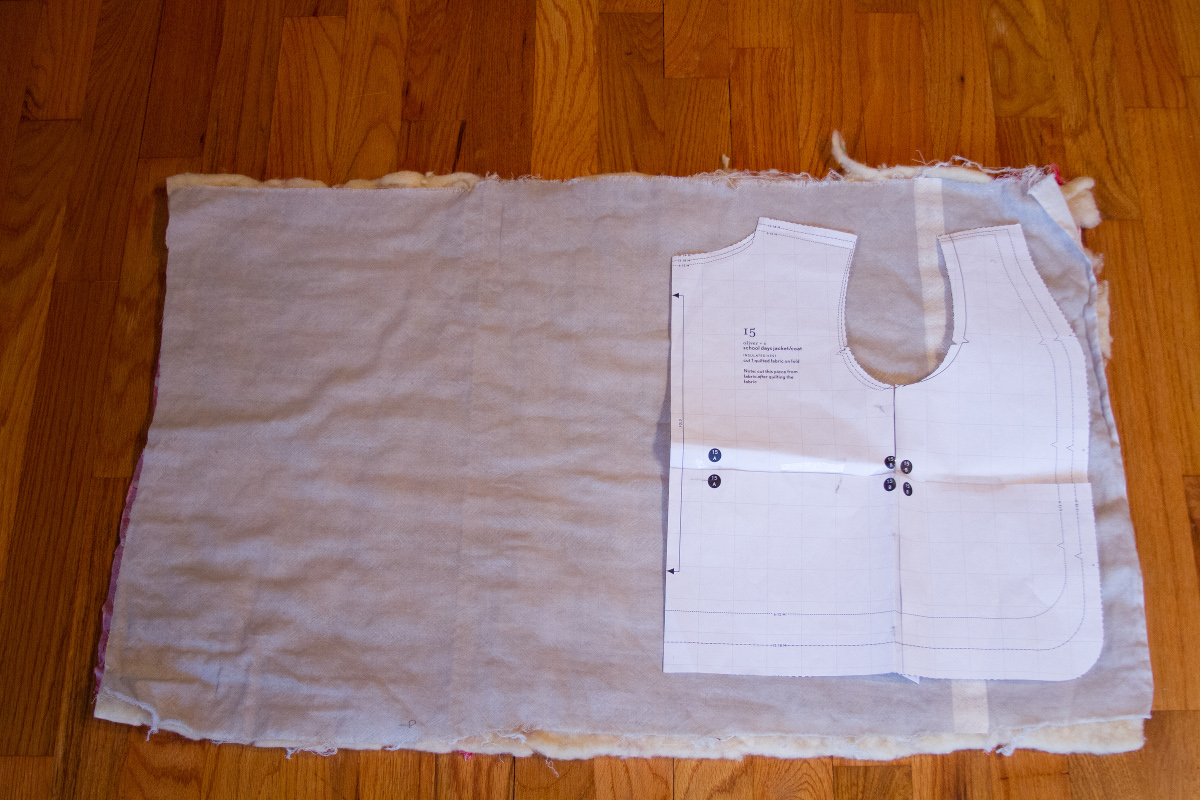
To construct the quilt sandwich first lay down your first fabric choice right-side down, followed by your batting, and then your other fabric choice on top right-side up. Smooth out all the wrinkles as best you can on both sides. Then lay down your vest pattern piece and cut a rectangle slightly bigger than the pattern (the pattern is on the fold so cut out your rectangle big enough to accommodate this). Repeat this for the sleeves if including them.
Thoroughly pin your quilt sandwich together and quilt as desired. There are lots of options here, including a free-motion design, or marking nicely-spaced lines with a fabric pen and ruler, or you could even stitch a fun pattern of your own creation. Whichever you decide to do, go ahead and quilt it now.

Once done quilting your fabric, cut out your pattern pieces. If you are making a sleeveless vest make sure to trim away .5” from the armholes now.

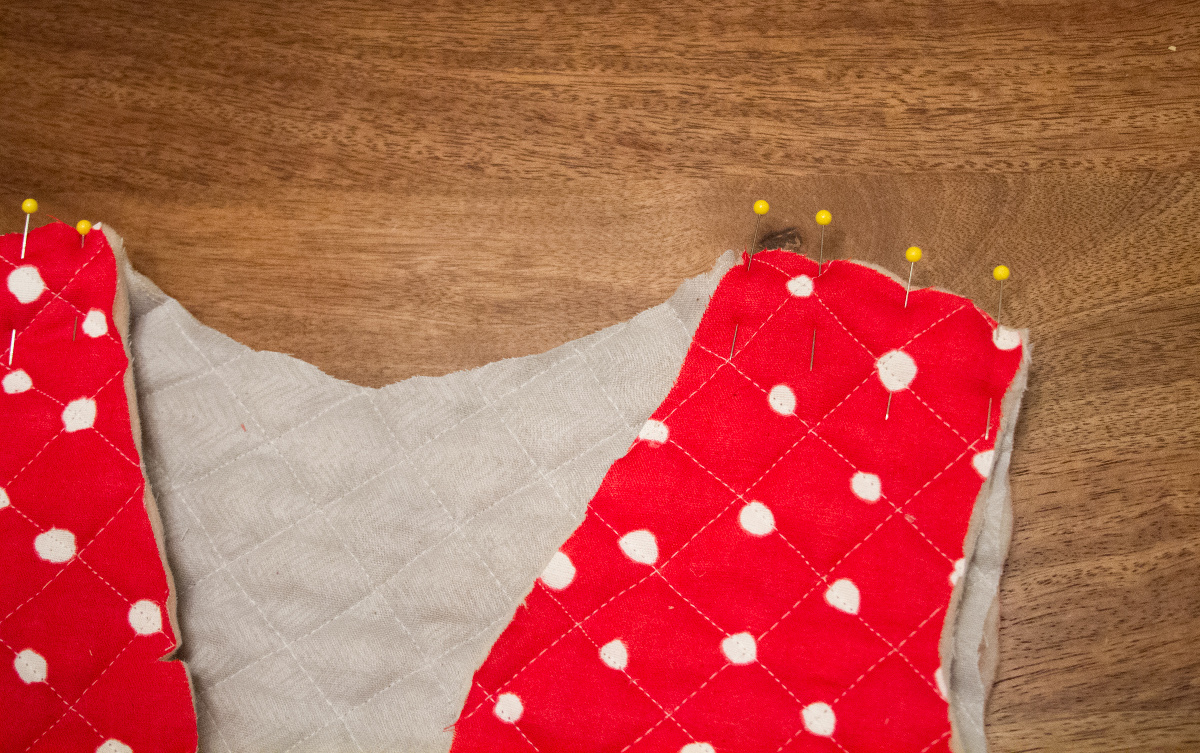
Pin and stitch the shoulder seams right side’s together. For the vest the right side is the inside (while worn) and the wrong side is the outside. This is because once the vest is buttoned inside the jacket the side you see will be the inside so it is called the right-side. Keep this in mind while sewing so that the fabric you want to be seen the most is on the inside. Instead of pressing the shoulder seam allowances open I opt to serge them together and then stitch them down towards the vest back, resembling a flat felled seam. Feel free to finish them however you wish! If adding sleeves to the vest follow step 3 to prepare and sew them in.
Cut seven (or nine if you’ve made sleeves) pieces of elastic, fold in half, and baste at the wrong side of center back neck plus at the notches of the vest front (and at the sleeve seams).

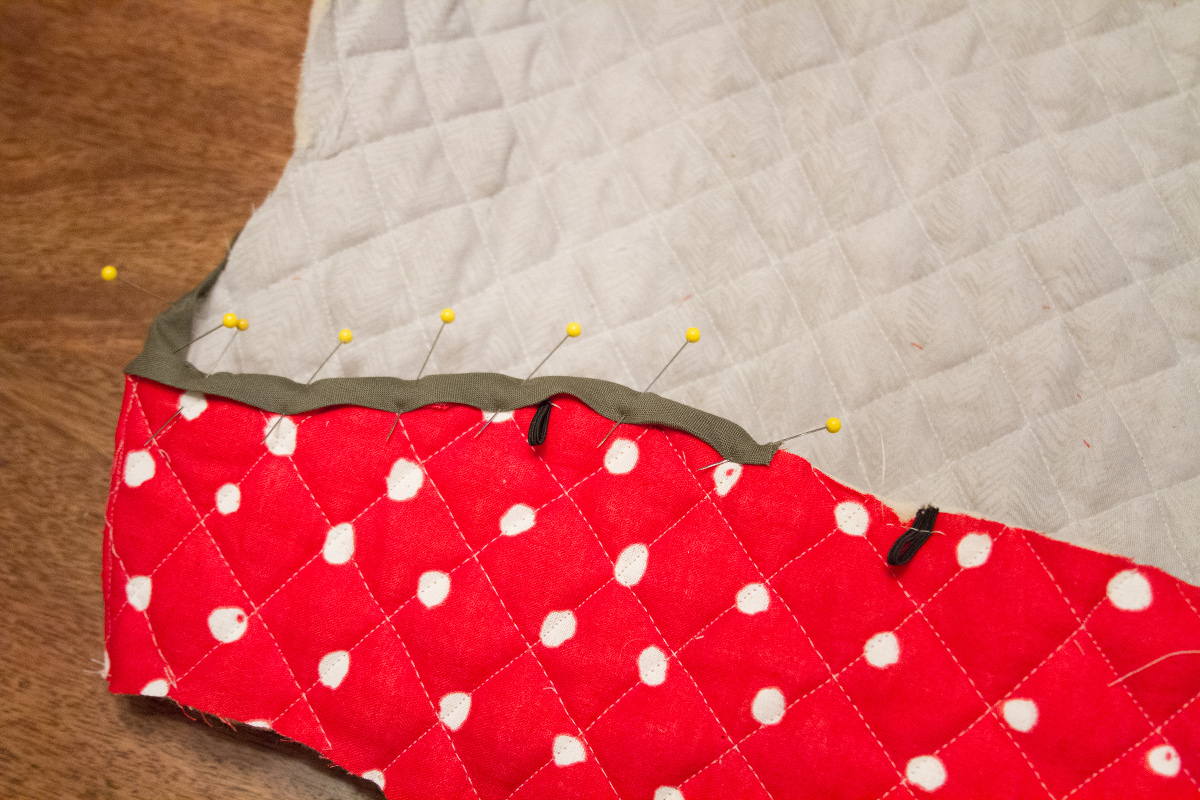
Apply bias tape starting at the bottom hem as well as around the armholes. I accidentally started mine up at the vest front in this picture and ended up re-pinning the whole thing before sewing it, so don’t do what I did! Start at the bottom center back. If you decide to make your own bias tape there is a great tutorial for it here. For tips on how to sew on the bias tape you can check out this tutorial here.
Lastly sew in the buttons to secure the vest into the jacket with while being worn. The button locations are specified on your pattern pieces; six on the facings, one at the center back neck, plus two at the sleeve hems if you’ve included the sleeves with your insulated vest.
Congratulations! You’re done! Take some pictures and post your lovely creations to the Oliver + S flickr group. We’d love to see what you’ve made :).
Amanda, thank you so much for doing this! You’ve all done such a beautiful job of demonstrating each step, and I can’t wait to see all the jackets that come from this sew-along!
Thank you so much Liesl! It was my pleasure 😉
LOVE the lining on this jacket . . and the quilted red with white dotted vest– machine quilted! INDEED, Amanda, lots of expert sewing shown in your tutorial, Oliver + S pattern: “SCHOOL DAYS JACKET,” final installment, day 4. THANKS for sharing.
It looks great, Amanda – I’ve made one in grey wool too and I love how it’s turned out. Very tempted to make another one now!
I really struggled to get everything neat at the hem though and I’m not sure where I’ve gone wrong. I struggled to get a neat hem where the facing met the lining. Any tips for getting a nice neat finish like yours?
Thank you Amanda, as our weather is heating up I will come back and make the vest later.