Yesterday I showed you how to make continuous bias binding and talked about the advantages and disadvantages of that method. Today I’ll explain how to cut bias strips the more traditional way, and I’ll explain the advantage and disadvantages of this approach, too. That way, you’ll know how to do both methods and can choose the way you prefer.
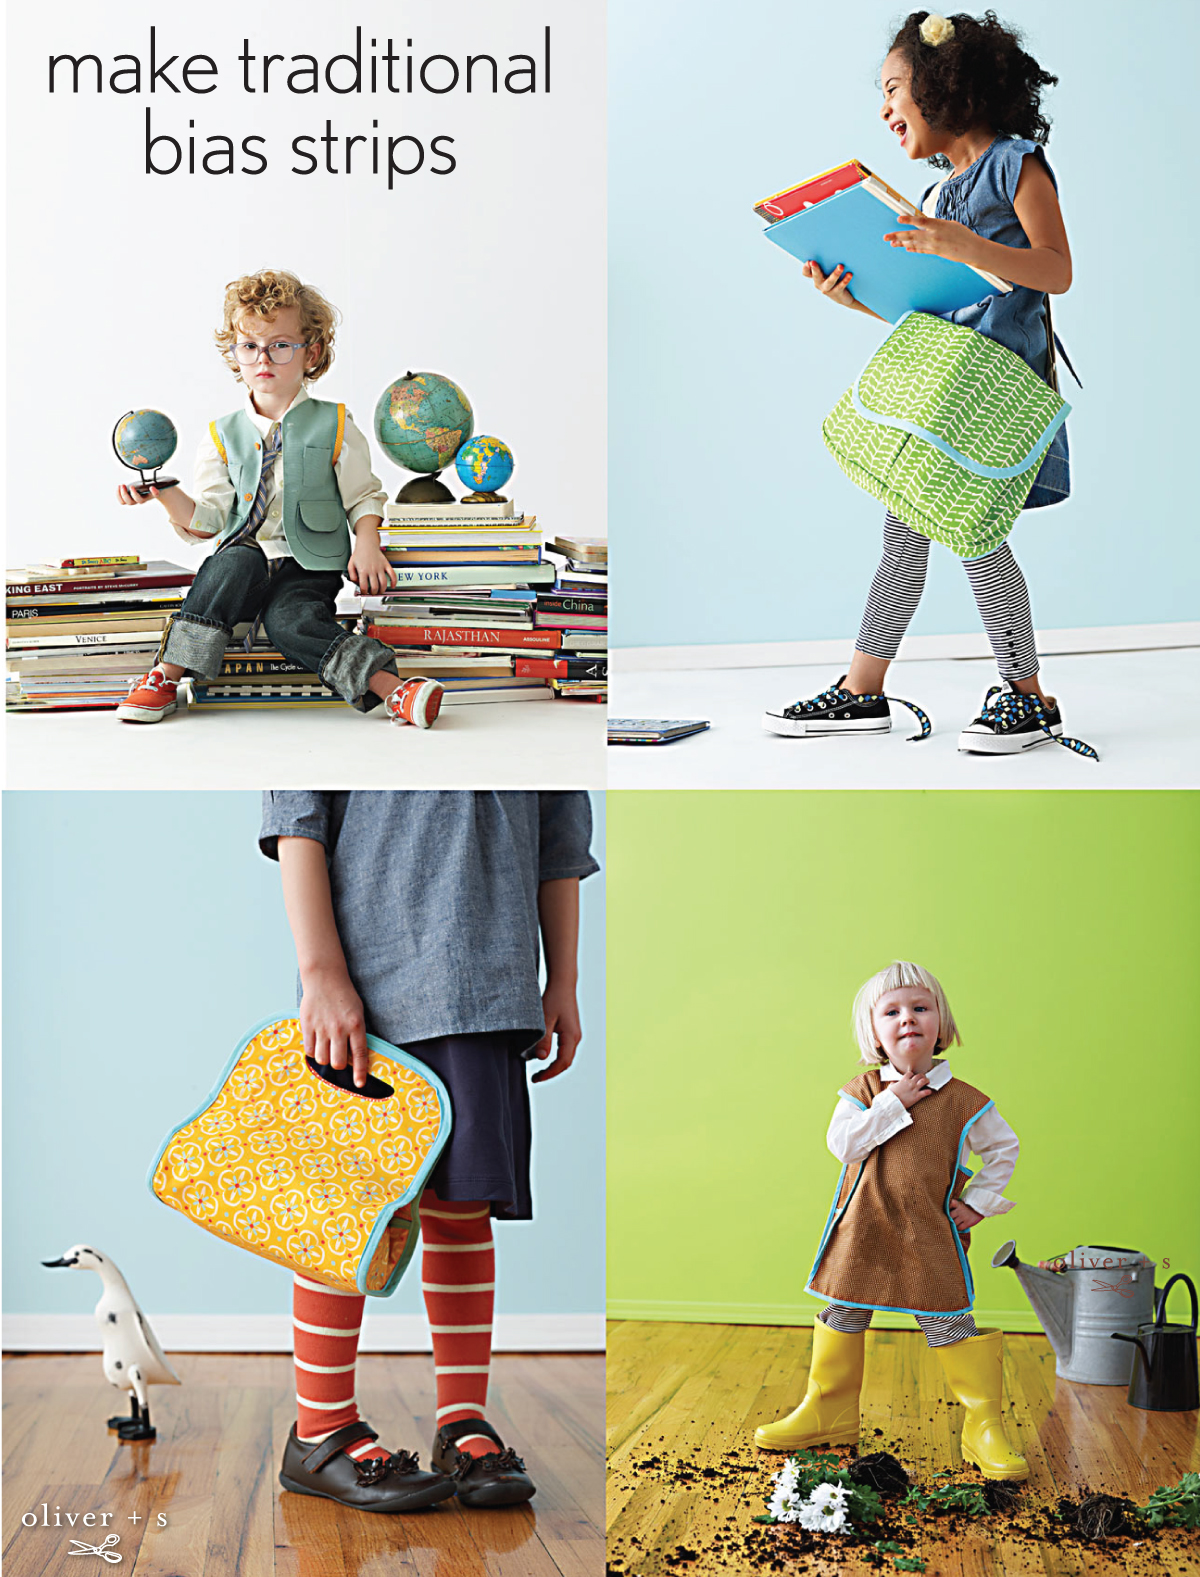
Photos of projects featuring bias binding from Little Things to Sew
Ready? You’ll notice that the first few steps are identical to continuous bias binding.
Supplies Needed
As with continuous bias binding, to make traditional bias binding you’ll need fabric (obviously), coordinating thread, pins, a nice long ruler (those 6″ x 24″ clear quilting rulers are great for this, if you’ve got one), and some chalk or a water-soluble fabric pen. If you have a rotary cutter and self-healing cutting mat, they’ll make the cutting go really fast!
Traditional Bias How-To
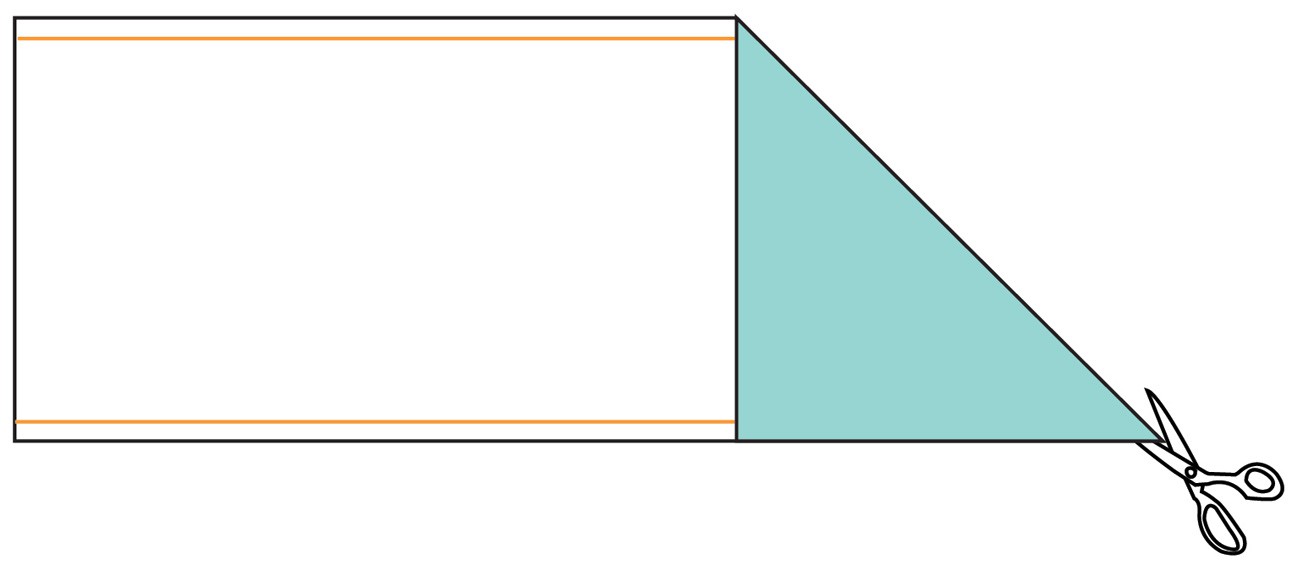
1. Just like with continuous bias, start with a piece of fabric that’s been squared off so the grain is straight on all four sides. If you’re working with a full width of fabric, remove the selvedges as shown in the illustration below. Then use chalk to draw a 1/4″ stitch line at the top and bottom edges on the wrong sides of the fabric. These chalk lines will help you to sew the ends together later in the process.

2. Fold the upper right hand corner of the rectangle down until it meets the bottom edge, so the right-hand edge of the rectangle is even with the bottom edge of the fabric. Crease the resulting fold, and cut along this crease to make a triangle. The crease and cut will be at a 45-degree angle to the edges of the fabric, which is the bias. We’ll be using this angle to cut the rest of the bias strip edges, so cut a nice, straight line.
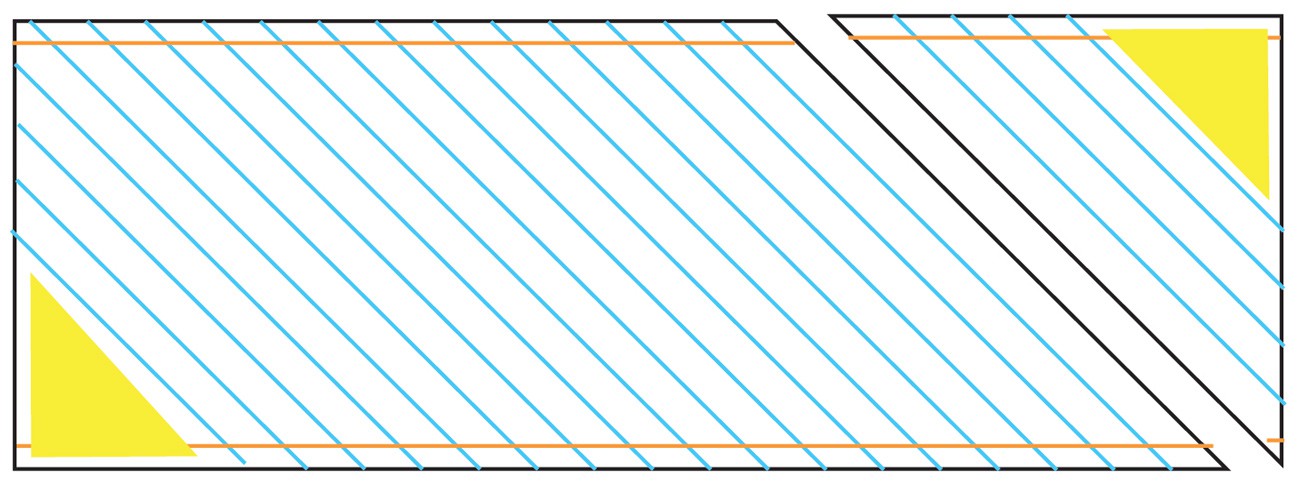
3. Now you can start cutting the rest of the bias strips, starting from your first diagonal cut. Measure and cut the strips to the correct width. Starting from one angled side edge, begin measuring and drawing cutting lines on your fabric the width of your desired bias strips. (Remember to multiply the finished width of the binding by four, so for 3/8″ bias binding you’ll want to cut the strips 1 1/2″ wide.) Continue to cut the strips all the way across your fabric until you have little triangles left and the strips are getting too short to be useful. Those little triangles will make really short bias strips, so I usually toss them into my scrap bin. (Those scraps would make great Bow Hair Ties!)
Hint: When I’m cutting a lot of bias from large pieces of fabric, I’ll often fold the fabric along the bias cut line so I can cut double thickness, like this, to save space and speed up the process a bit. (And because my ruler isn’t always long enough to cut the full length, so this makes it go faster.) You can refold as you work your way across. Just be sure the bias edge is always nicely aligned so the strips will be straight.

4. Once you’ve cut all the strips, you can pin and stitch the ends together.
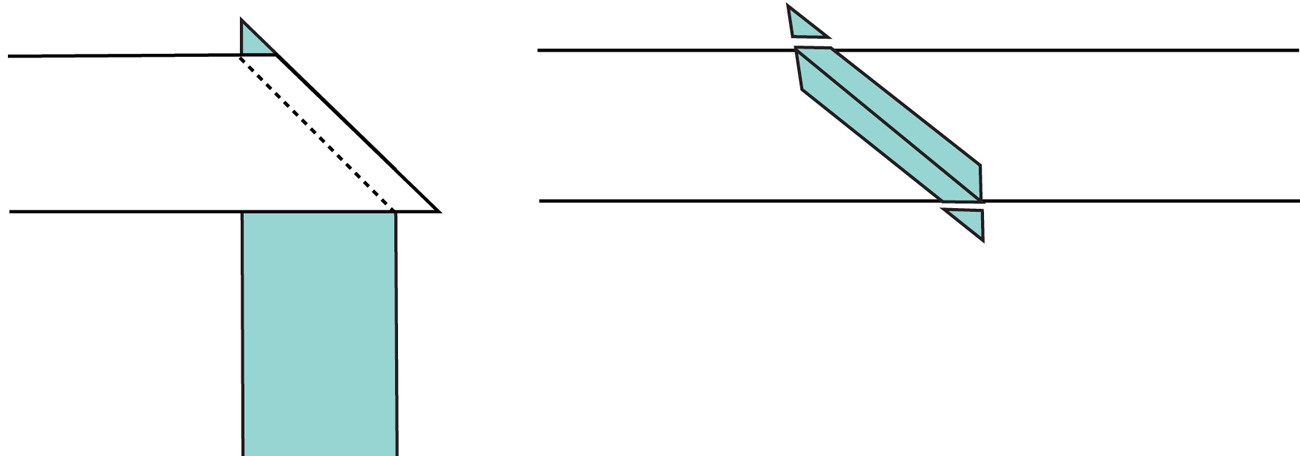
Pin the ends of two strips together at the seam lines you drew, with the fabric’s right sides together and at a 90-degree angle to one another, as shown in the illustration. If some of your strips don’t have a seam line or the angle of the end goes the wrong direction, trim it to a 45-degree angle and draw in a 1/4″ seam line as needed. (After doing this a few times this step will get really easy, even if it’s a little tedious, and you probably won’t even need to draw in the seam lines.) I treat this part like a puzzle, seeing how many strips I can pin without needing to trim the ends. Then stitch along the seam line, and press the seam open. Trim off any points that extend beyond the strip.
Now you’ve got one long, continuous strip of bias!
Advantages and Disadvantages
So. Advantages and disadvantages of this method. When you use the traditional method, you have more control over which pieces of the bias you use, so you can eliminate the shorter pieces (those yellow triangles in step 3) and, as a result, you’ll have fewer seams in your binding. Also, a rotary cutter is perfect for this method, so the cutting goes more quickly and you don’t need to draw all those chalk lines beforehand.
On the other hand, you do need to sew all those short seams, trim the little triangles and press each seam open. So that can be kind of a drag. And that might mean that this method takes a little more time than the continuous method. Here’s a hint that can help to make things go faster: I’ve found that I can get the ends all pinned together and lined up in a pile before I sit down at the machine, and that saves me lots of time.
Like I said, it’s really a matter of personal preference. Now that you know both of these common ways to cut bias strips, you can choose whichever method works best for you. Now we just need to fold and press the bias strips to make them into bias tape, and I’ll show you that step tomorrow. (You’re going to need a bias tape maker for it. I use and recommend Clover bias tape makers.) You can also use the strip to make piping (flat or corded)and a wide range of other uses, too. I’ll show you some of them soon, and I’m sure you’ll find your own uses as well.
If you enjoyed this blog post, why not sign up for our newsletter? It’s free, and you can opt to have new blog posts sent to you by email too!
I’m a traditionalist! But it’s interesting to see both methods laid out so clearly like this.
Just figured out the continuous way a few weeks ago. If you need a great deal of yardage it is great!!
Liesl, I really appreciate that you discuss the advantages and disadvantages to the different methods. It’s great to have lots of tricks in your sewing repertoire–but more important to know when and why to use the different methods. Great info!
Thank you for your excellent explanations!
Yep, this is the way I do it. Just makes better sense to me and I do like to use my rotary cutter whenever possible.
Being a quilter, I’ve done both ways. For me, it’s so much easier to cut the bias strips and sew them together. I cut my 45 degree ends first and lay them in my lap to sew. Goes very quickly. also, I lay out the strips as I cut so I don’t have to make unneeded yards–just what I need.
I tried it both ways the other day and found I preferred doing it this way. I just pinned them all up ready before sewing and pressed them all open after. I have always put off making my own bias tape as it always looked too hard but it wasn’t difficult at all.
I really love your tutorials¡¡ they are so useful¡¡¡ Thanks for sharing.
I am new to making my own bias and I have recently tried doing it with the other continuous method, however I am not sure I like how it turned out. I would like to try it this way, but I do have a question; Why do we have to cut off the edge (step 2 and 3) if we are cutting strips? Again, I am sure there is a reasonable explanation, however I am new to this and just wondering before I try it this way.
Those are the selvedges being cut off. Because the selvedges are woven very tightly they have a different stretchability than the rest of the fabric so they are removed.
I’m curious to know why the bias tape is cut at 45 degrees rather than with the grain of the fabric. Does it serve a function or is it a fabric economy thing? Please and thank you.
The fabric is cut on the 45-degree angle (known as “true bias”) because fabric cut on the bias grain is more elastic and wraps around the edges.
Ich finde ihre Erklärungen. Ganz prima..besonders begeistert bin ich von den Abbildungen und den Fotos