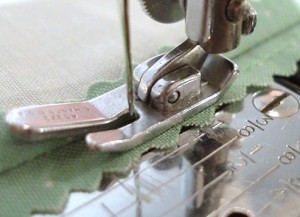
Pinking is defined as a zigzag cut from a saw/scallop-toothed edge blade using pinking shears or a hand crank pinker. A good pair of Pinking Shears or a hand crank pinker that mounts to a tabletop are handy tools for any sewing room. To keep your pinking shears cutting sharp and even, use them for fabric and fabric only. However, some hand crank pinkers allow you more freedom to use interchangeably on fabric, paper, leather, etc. because of the design of the blade or disk.
Regardless of the tool you choose, it is invaluable to be able to pink a seam or fabric edge quickly.
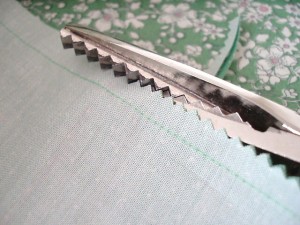
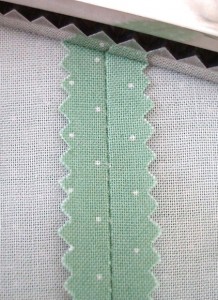 After stitching the seam, simply trim the seam allowance with pinking shears or with a pinking tool and press the seam open. How much fabric to trim will vary depending on your pattern seam allowance. I prefer to leave about 1/4″ – 3/8″ remaining of seam allowance to be pressed open. Pinked seams still fray somewhat resulting in a less professionally-looking finish, but pinking is advantageous in that it is quick and easy.
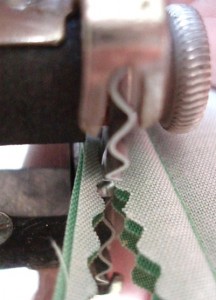
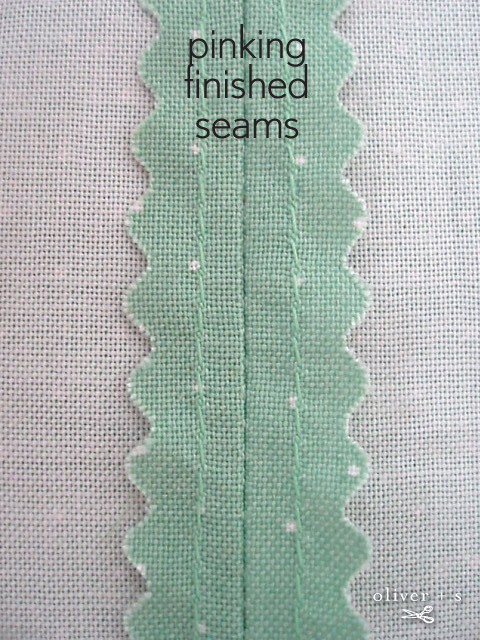
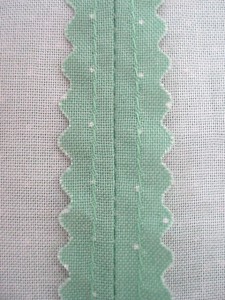
If the fabric unravels easily, then an extra step of straight-stitching just below the pinked edge will add greater stability to the seam allowance and prevent further unraveling as discussed in the straight stitch seam finish.
Sometimes I will pink all raw fabric edges immediately following a fabric purchase. This prevents excessive unraveling or fraying of the fabric when I am pre-washing and shrinking it to prepare for pattern cut-out. Granted, these are extra steps to your sewing project, but the finished result will preserve the garment seam for longer lasting wear.
If you enjoyed this blog post, why not sign up for our newsletter? It’s free, and you can opt to have new blog posts sent to you by email too!
I have been zigzag stitching fabric before washing… pinking is a much better idea!!!
My mom always had pinking shears and I really didn’t know what they were for. I just thought it was fun to cut zig-zags! LOL
That’s so funny because when my got my fabric orders with pinked raw edges I also thought it was to make it look pretty, LOL!! After washing I realized why they did it and a pinking shears was one of my first buys! A great investment!
Great tutorial again April! This is really a simple technique for neat (almost) seams and it takes almost no time.
I use a rotary cutter with a pinking wheel attached – easier and quicker than scissors, and MUCH cheaper than a hand-crank machine.
So, I stopped to look at the pinking shears while in the fabric store this morning and all the scissors were 50% off!! I now have my very own pair of pinking shears 🙂
I have never seen that pinking hand crank! I am putting it on the hotlist for the studio needs. Amazing! Thanks for the tip.
I love my pinking shears, but my hand can’t do much of that intense cutting without cramping.
That’s a great idea, Emily – I hadn’t thought of getting a pinking blade for a rotary cutter.
(The main difference with that and the vintage Hand Crank Pinker, is that the Hand Crank Pinker does not rely on sharpness of the blade but the pressure of the disk. So you can use it for practically any medium without it going dull.)
Thanks for sharing that tip! I’m sure there are many who already own rotary cutters who can just add a pinking blade – how easy is that? Wonderful idea!
Wow, great idea, I am getting sick of all the frayed edges when I pre-wash my fabric. Love the idea of a pinking wheel for my rotary cutter.
April thanks for the tutorial. Love the fabric you use too, so pretty!
I love these tutorials! Thanks for doing them! I have a pair of pinking shears and was using them, but I didn’t know that it was important to do it quickly. And the idea of using them before washing- fabulous idea! I will have to try that next time I wash fabric! THANKS!!
But Emily, you have to admit the hand crank machine is just cool. 😉
I’m loving this gorgeous seam series. Thanks so much, I’ll be linking.
Thanks you for the tutorials.
bonjour,
je couds depuis des années , mais pour les finitions je ne suis pas trés douée, je vous remercie de partager vos connaissances avec les petites mains que nous sommes ..
amicalement
annick 33
I’m new at sewing…I’m interested in the straight stitch following the pinking process. Here’s my question: When u do that extra step of straigh stitching, do you only sew the flap with a straight stitch or are you going through the 2 layers of fabric? HELP PLEASE?
Good question, Brandi – you only go through the one layer as shown in this photograph:
http://www.oliverands.com/blog/wp-content/uploads/2010/06/P1010014.jpg
I love that you are using some of the vintage Singer tools. I have a hand-crank pinker, but it is not a Singer. I do have a Singer pinker that attaches to the sewing machine and really works great. I have quite a few vintage Singer sewing machines and I love using the attachments.
I bought my Pinking attachment for my Singer 15-91 sewing machine years ago and love it. Some times I will straight stitch first then pink the edges and some times pink first then straight stitch. That is just the way I learned to sew. I recently received Threads newsletter talking about straight stitching and pinking. I was surprised to learn that many sewists have never heard of finishing seams this way.
I own my grandmothers Singer pinking shears. I have noticed over the last few yrs they are, or seem dull. I have no idea where to go to have them sharpened. But use them frequently. I’ve never seen the vintage hand crank, something for me to look out for 🙂
Thanks for the post.
I get my sharpened at the singer store.
I have to cut hundreds of dog’s bandanas with pinking edges. Do you know how many layers of fabric rotary pinking blade can cut ? Fabric is lightweight Cotton. Thanks ! Gracia