I mentioned in last week’s hem facing tutorial that I like to use a blindstitch for nearly invisible hems. It’s an easy stitch to do and looks neat from the inside of the garment as well as the outside.
Here is a simple demonstration, if you’d like to try it yourself:
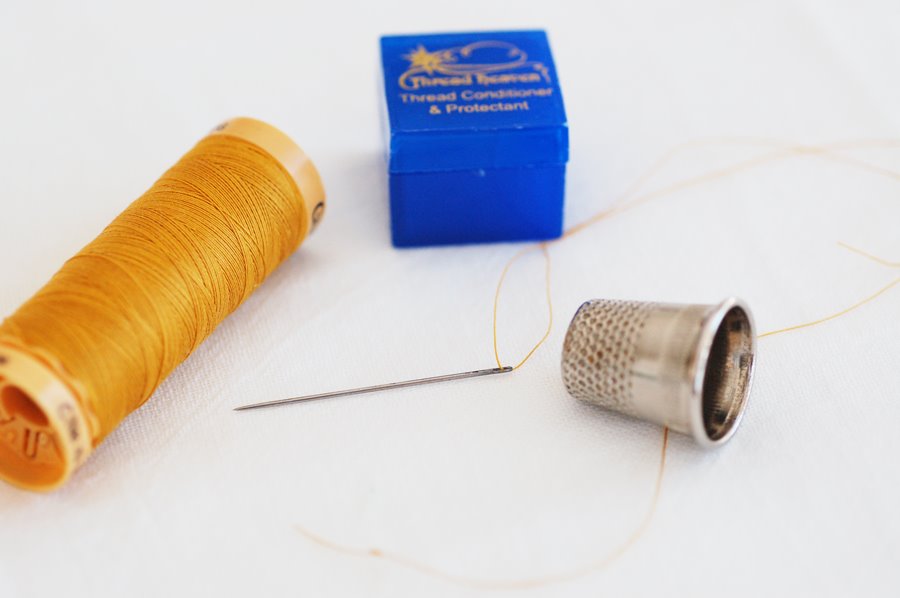
1. Use a single strand of knotted thread and a hand needle. If your thread has a tendancy to twist and knot on itself, you might try drawing it through a little beeswax or Thread Heaven before you start.
2. Unfold the pressed hem and hide your thread knot in the fold of the hem (or hem facing). Then re-fold the hem and pin it in place while you stitch.
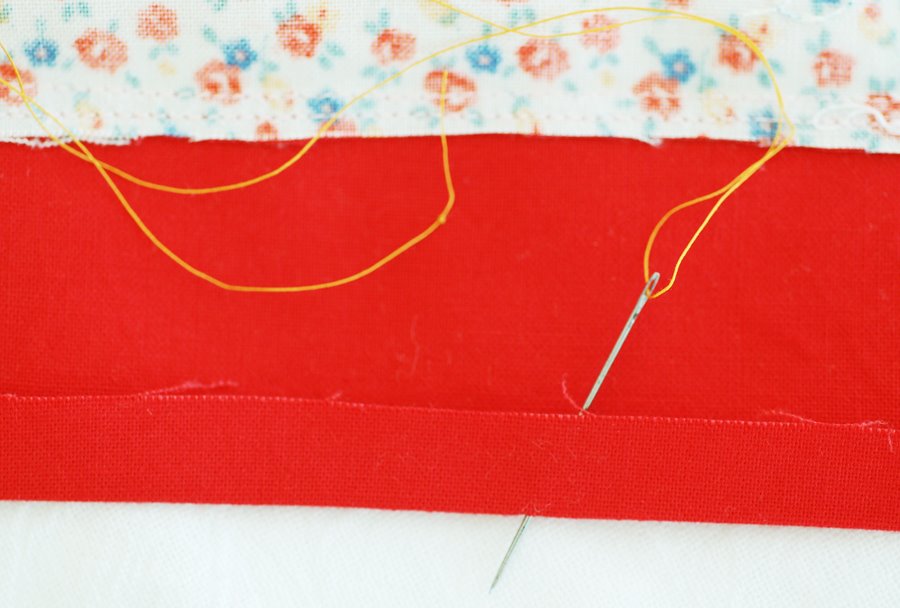 red fabric = hem facing; floral fabric = dress skirt
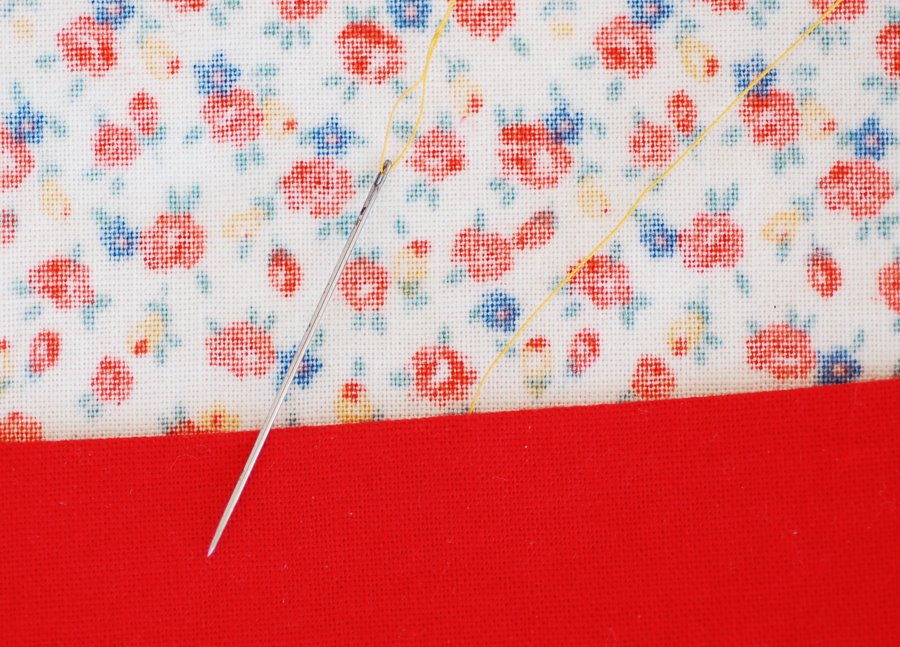
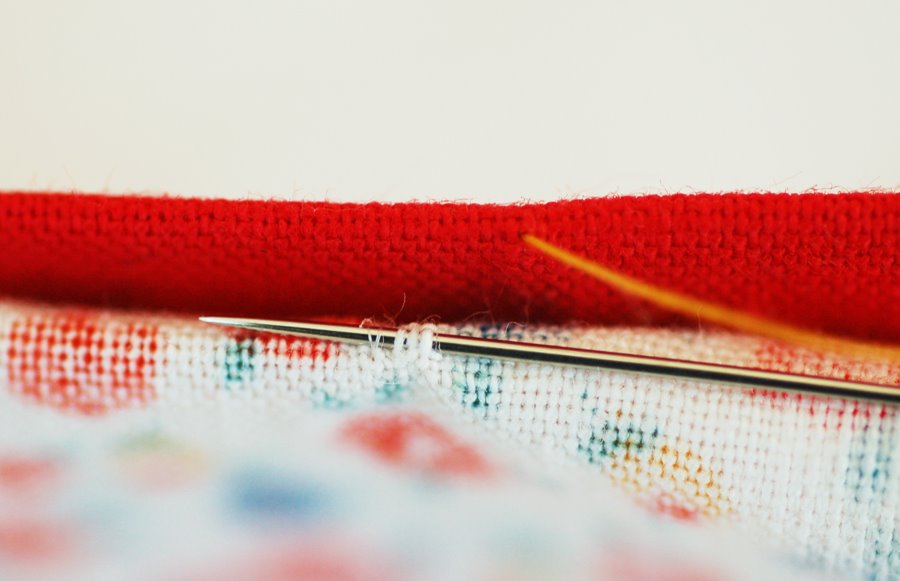
3. Working from right to left with your needle pointing to the left (or vice versa if you’re left-handed) and keeping your stitches loose and very small, roll the hem edge back about 1/4″, and take a small stitch in the garment fabric. Catch just a few threads in the stitch so it won’t show much from the outside of the garment.
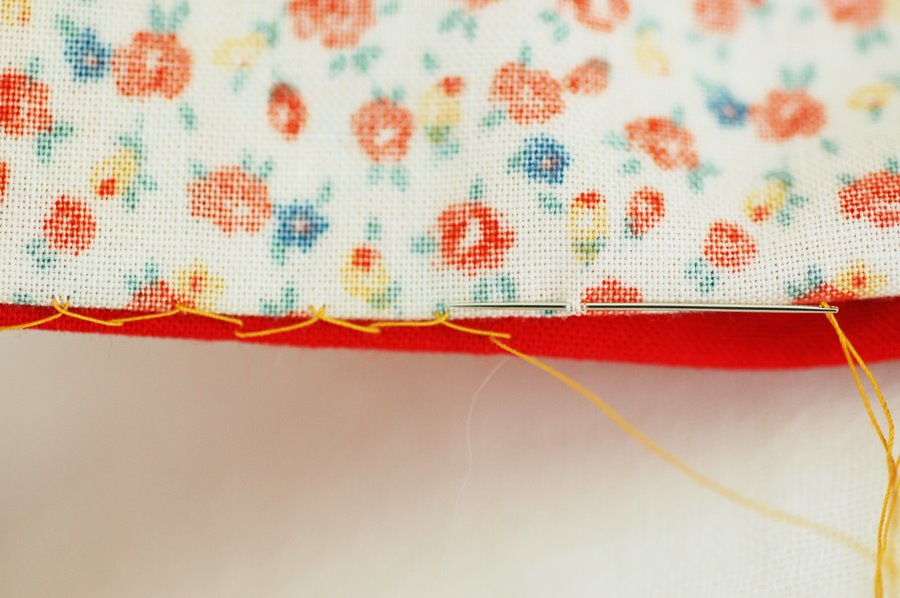
4. Then take a tiny stitch in the hem or hem facing about 3/8″ to the left. Take another small stitch in the garment 3/8″ to the left, and continue alternating stitching between the hem and garment fabric, producing a series of small v’s.
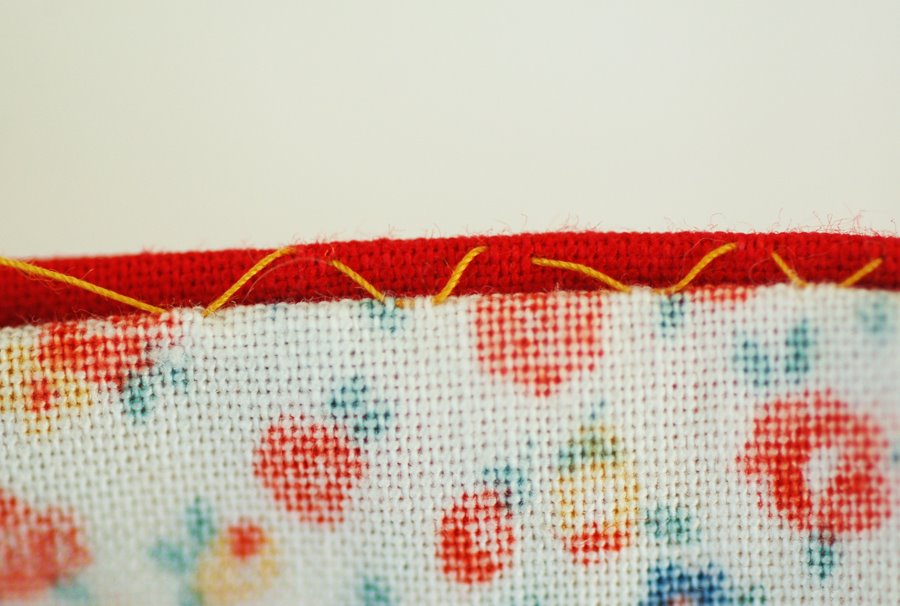

5. When you’re finished, your stitches should be nearly invisible from the right side. If you look very closely, you may be able to see the tiny stitches like mine, below. If you use a thread that matches your garment, these stitches will be almost impossible to see.
My other favorite stitch for hemming is the catchstitch, which is very similar to the blindstitch except that instead of working toward the left, work toward the right with the needles still pointing to the left.
 The result will be a series of X’s. Leave your stitches a little loose when hemming with the catchstitch. The advantage of the catchstitch is that the thread is unlikely to break if it gets a little tug; the X of the stitches gives the thread a bit of elasticity, which is especially great for children’s clothing, pant legs, or anything that might see some extra wear and tear.
Thank you so much! I am a hand-stitcher only, and this was v. helpful, exp. w/ the great graphics.
I love the catchstitch, I’m going to try that!
Thank you so much for these basic lessons! I’ve never understood these stitches before, and I’ve tried to figure them out in sewing books.
[…] the hem to the wrong side along the hem marking and pin it in place. Hand-stitch the hem with a catch-stitch. Refold the walking vent and hand-stitch it into place at the hem to hold the fold and finish the […]
Thank you for this! I’m working on a Fairy Tale Dress right now and this is exactly what I needed to learn.