I introduced the Condesa Quilted Vest the other day. And then I talked about fabric and styling inspiration.
Here’s the thing: when I think of quilted vests, I think of the 1960s and 1970s. That was a time of lots of textile exploration: macramé, weaving, patchwork and quilting. But that time period also had a very specific look. It was its own aesthetic, and while retro and vintage have their own place, I would much rather revisit a trend like the quilted vest with a more updated, fashion-oriented silhouette. As fashion rather than craft, in other words.
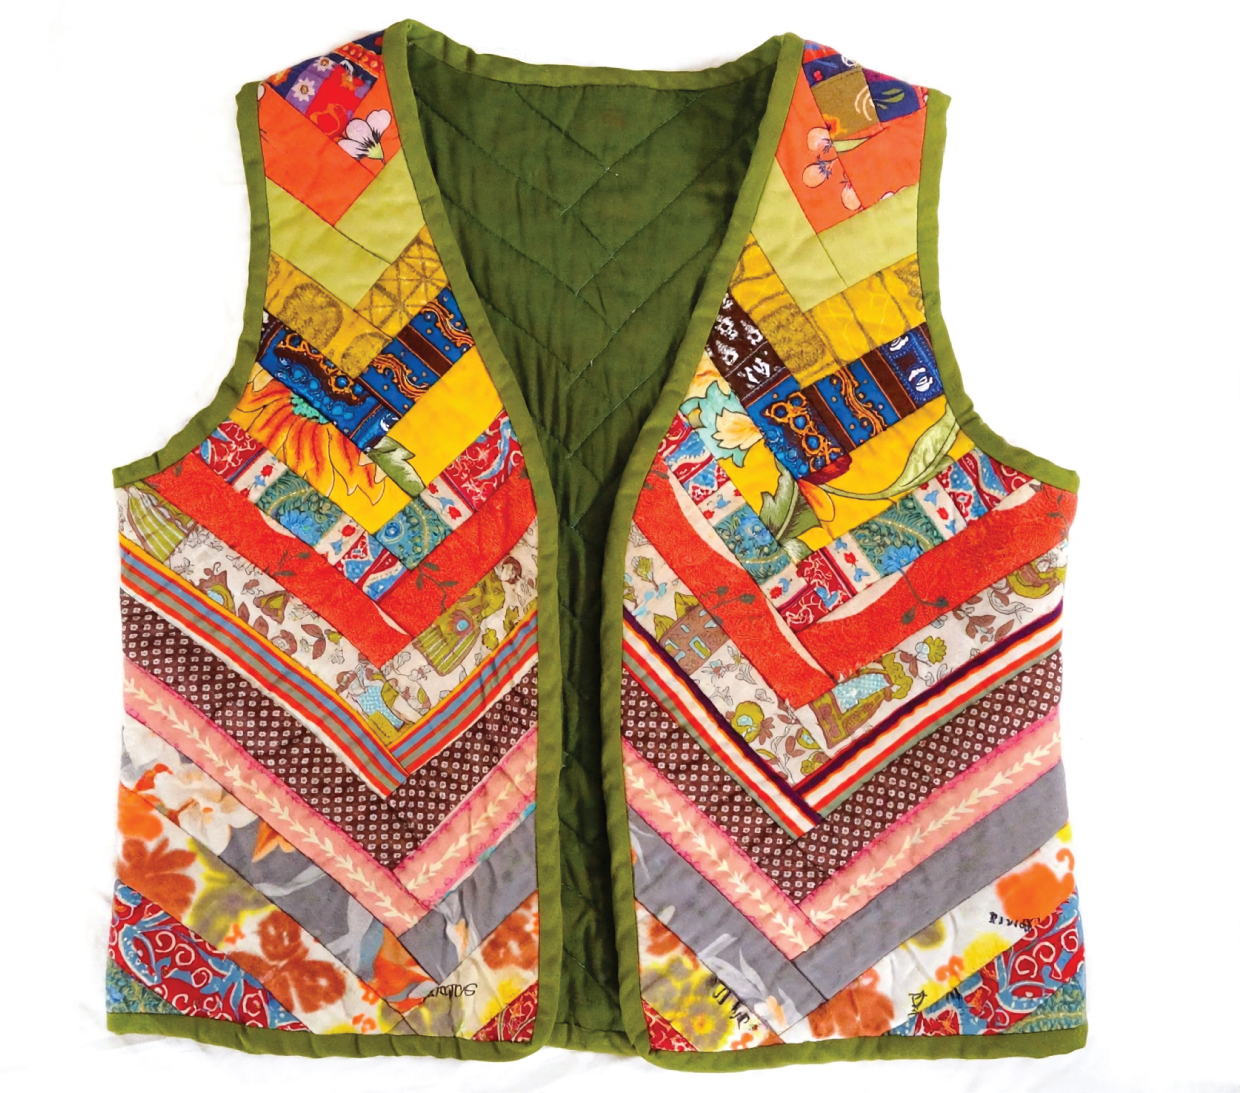
And that’s how I approached this style. I love to re-explore many of the crafting techniques from the 1970s, but updated in a way that makes them feel more current. So the Condesa Quilted Vest, instead of a 1970s vest shape, has an oversized silhouette, a little more boxy and cropped. It’s more current, and way more fun to wear (in my opinion).
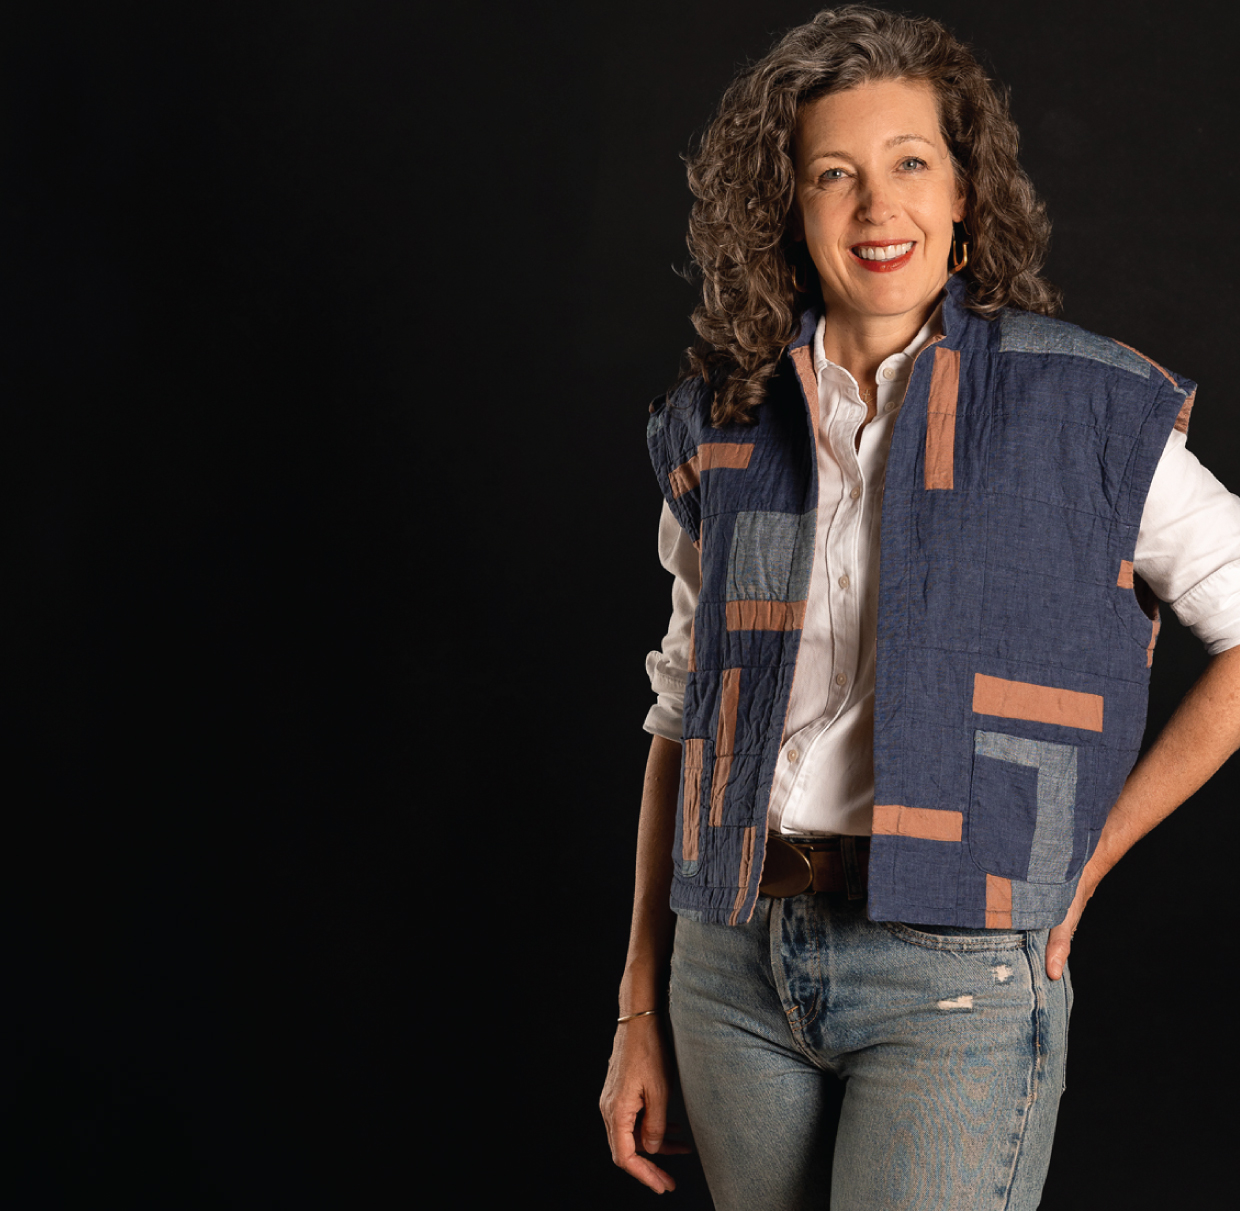
My suggestion, if you choose to do patchwork, is that you make each section of patchwork large enough for one pattern piece. That keeps the project manageable. When I made mine I would make the patchwork, cut the piece, and then use the trimmings for the next patchwork. But if you prefer you can also make one large patchwork piece to cut them from, too! Whatever you feel comfortable doing.
I enjoyed the process of improvising my patchwork a little at a time, which just felt so playful and spontaneous. It was really refreshing to spend a day or two just trying different techniques, cutting and piecing as I went. It’s not something I allow myself the time to do much these days. Fabric therapy, they call it.
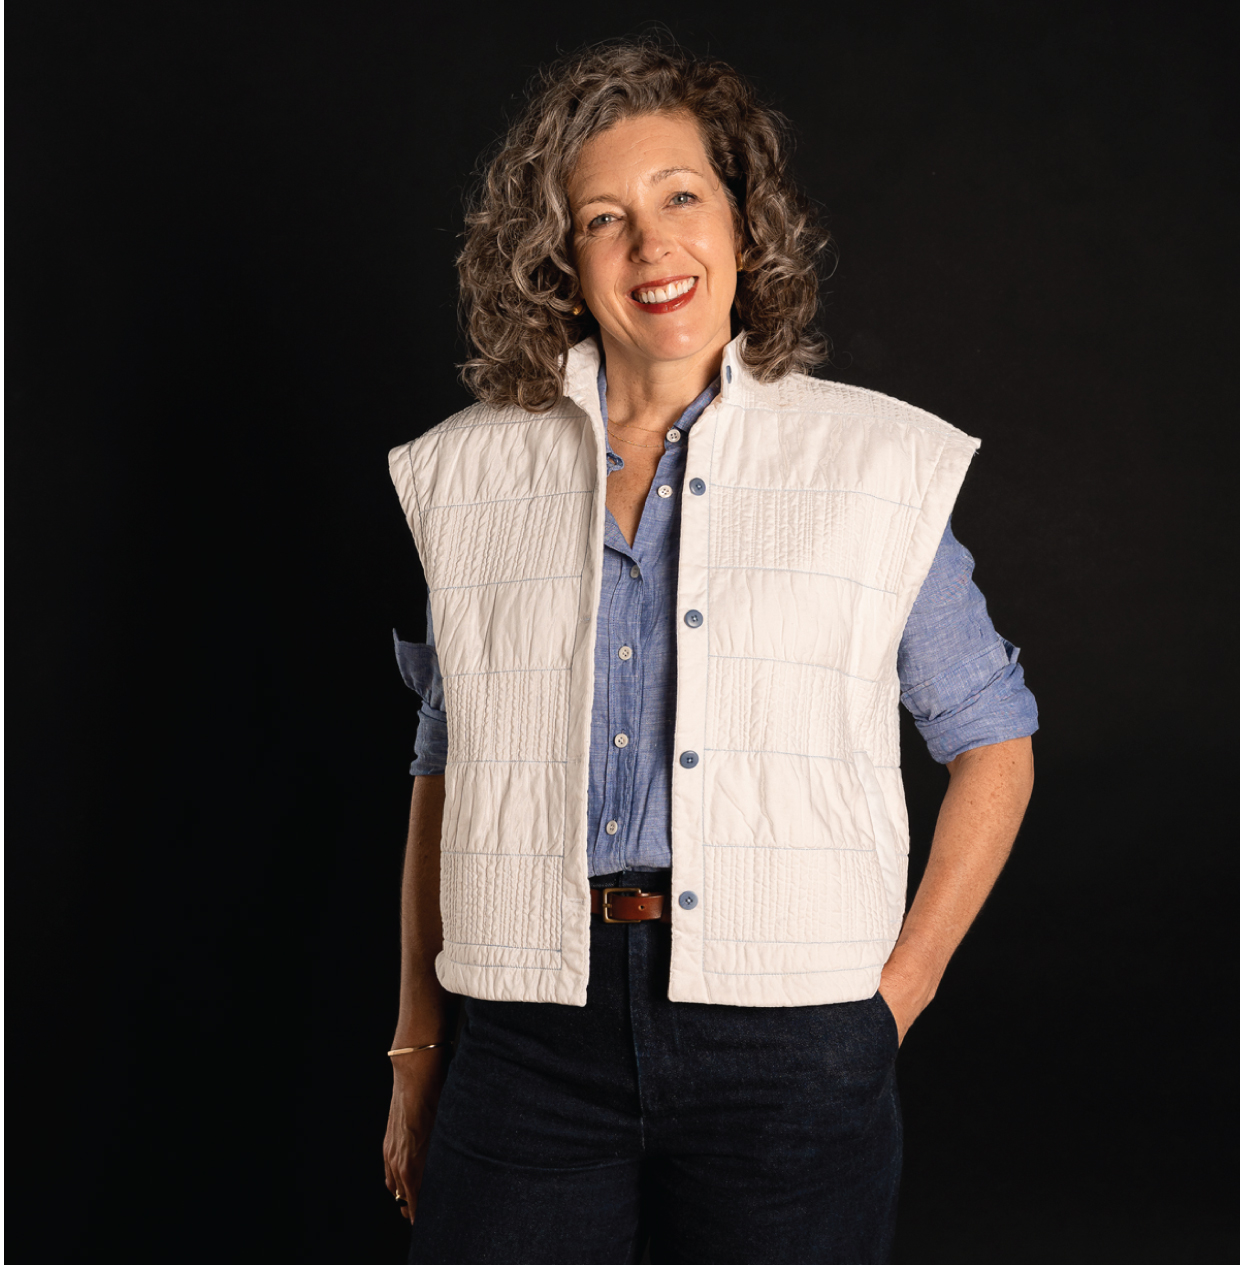
The quilting is also really fun and playful. For the white vest, View B, I used cotton poplin, for the inside and the outside, no patchwork, and I focused my time on the quilting itself. You also don’t need a special machine or a special foot for it, but if you have a free motion foot you can get more swirly and picturesque with your quilting. A walking foot is also always a benefit, but not necessary at all. I don’t have one anymore (remind me to tell you the sad story of the death of my beloved Janome sometime) and didn’t use one for any of my sewing.
I hope you’re going to have so much fun with this project! What are you planning so far?
The Condesa Quilted Vest is available in printed paper version and in digital format. If you tag us #lieslandco and #condesaquiltedvest I’ll get to see what you make with it, too!
I hope you share some sewing guidance including pictures of patchwork technique
I love the look of your patchwork vest. I just received my pattern in the mail, and I was disappointed there are not instructions on how to patchwork this like in your photo. Did you use applique for your accent rectangles? Or did you create your design with each pattern piece in mind and patchwork first? I appreciate any advice on how to do this! Thank you!
Hello Mary Clare,
Thanks for your message. The Condesa Vest is intended as an apparel sewing pattern, not a patchwork tutorial. You can use it as the blank canvas for virtually any style of patchwork, embroidery, or other embellishment, which is why I didn’t include any specific patchwork in the instructions. However, if you’d like to create a vest similar to the style I created for the cover of the pattern, I created 6″ blocks by cutting and piecing together 1.5-3″ wide strips of fabric and then trimming them to size. Once I had made enough 6″ blocks, I sewed them together and cut one pattern piece. I continued this way until I had cut all the pattern pieces, and I used the trimmed fabric to create the blocks for the next pattern piece. It’s very intuitive and playful. There aren’t many rules!
For a similar look to my vest you’ll want two base color pieces that are similar in color but slightly different in shade. I used two shades of navy linen as my base. Then you’ll want a contrast color (the pinky peach in my sample) as your third color. I included one or two strips of this contrast color in most blocks, usually just 1″ wide so it acted as a small amount of color.
There are lots of free tutorials for improv patchwork that can be found online. If you’re looking for more inspiration or just want a really good patchwork book, I recommend the book Free Form: Quilts and Patchwork by Jessie Cutts. I recently read it and thought it was really inspirational. She has a very nice style.
I hope that helps! My best advice is to simply play and have fun with your fabric.