When you spend so much time working on a handmade garment, you want to maximize how you can wear it. Melanie from the Advisor’s Circle is sharing how she adapted the Rush Hour dress to be convertible. With this modification, she can wear the dress two ways!

The Rush Hour dress is just the kind of fitted work dress that I like, perfect for my Fall wardrobe. But the blouse is also very cute, and that peplum is the standout feature of this pattern. What to do??
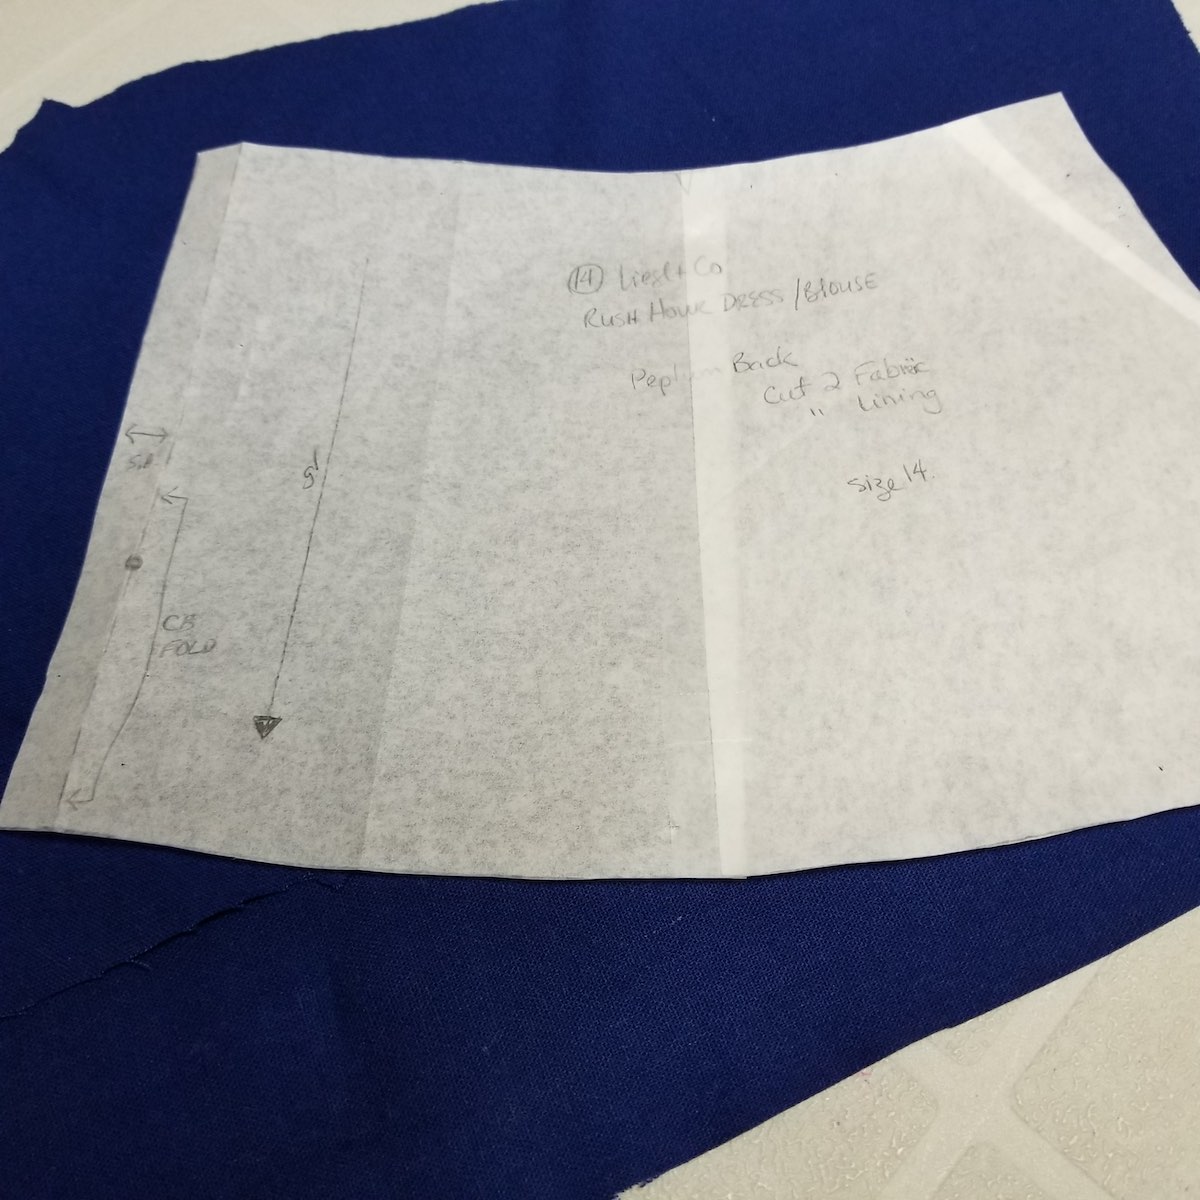
I decided that the distinctive asymmetric peplum could be made as a separate piece to extend the wearing options of this dress! I made the Rush Hour from a cobalt linen in my stash. There were a few alterations to the pattern other than my regular ones: shortening the pattern both above and below the waistline (I am only 5’2”). I also shortened and dropped the point of the Dior dart by 1/2”. The only other real change I made to the dress was to add side seam pockets. It’s fitted but not super tight, so there is room for pockets.

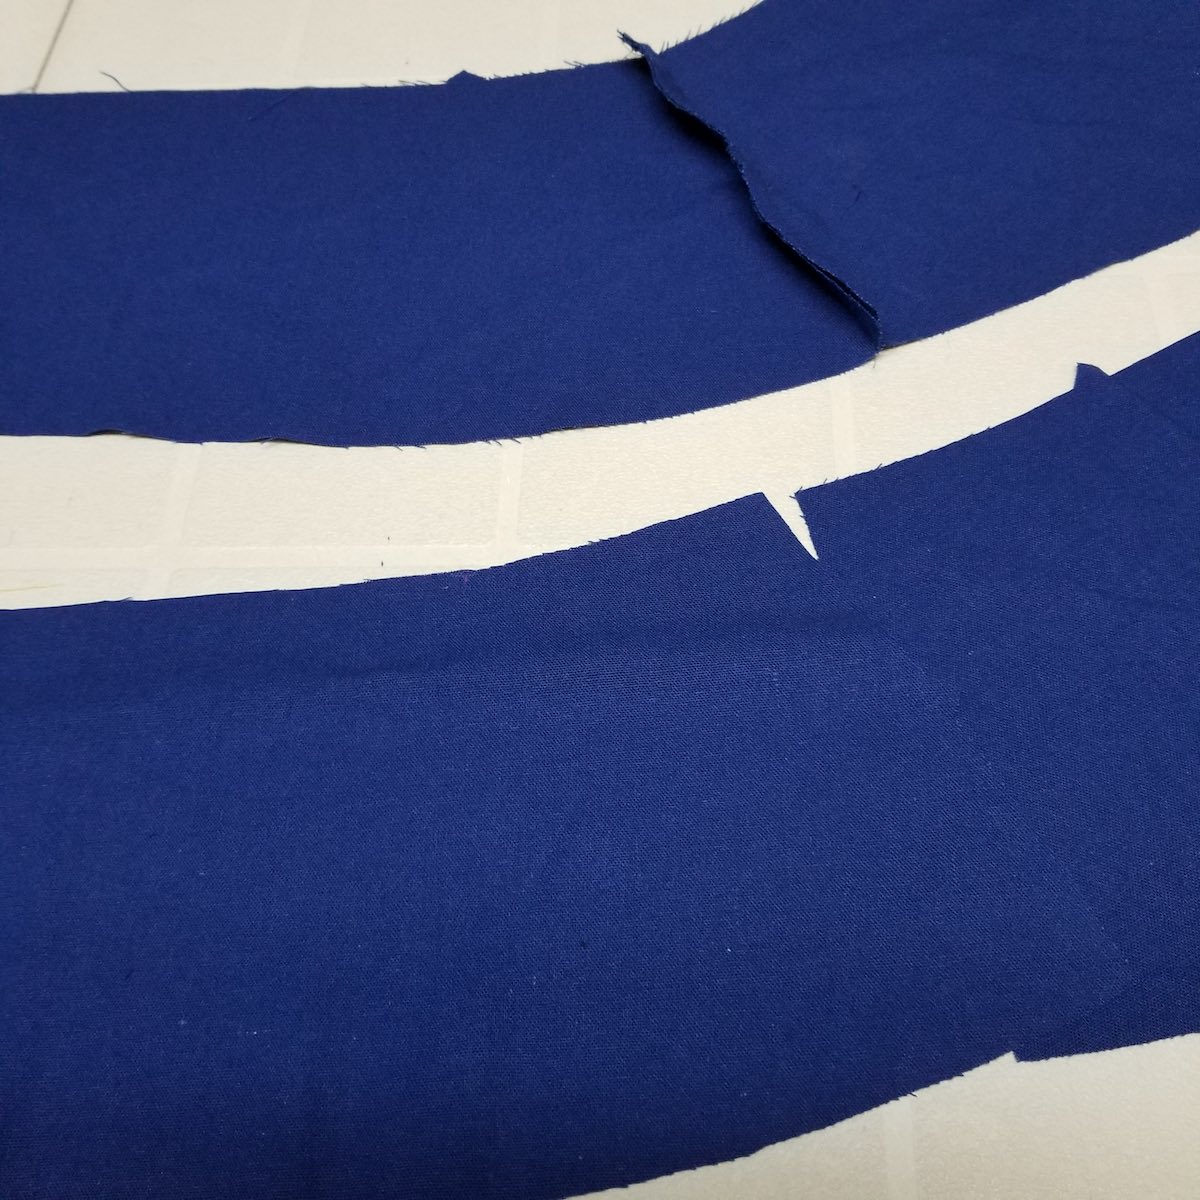
But the main feature of this project was the peplum. I decided to make it in the same linen. I cut the peplum pieces exactly as the pattern called for and sewed one side together so that I could estimate any changes required. I ended up taking a 1/2” wedge out of each side seam so that it would fit more closely at my waist (not too closely, though; I tested it sitting down as well so it wouldn’t pop open while wearing!) The peplum is double-sided, so if you use a fabric with no right side like this one, be careful to sew the front and sides together so that the layers will both have the seams on the inside!
After stitching the peplum, I measured the top edge (which is left open) to get the length of the band I would need.
Mine turned out to be 45”, and I cut it 4” wide for a finished height of 1.5” after seam allowances. I interfaced it with lightweight interfacing, then pressed in half lengthways, and pressed up 1/2” (the seam allowance) on one side.
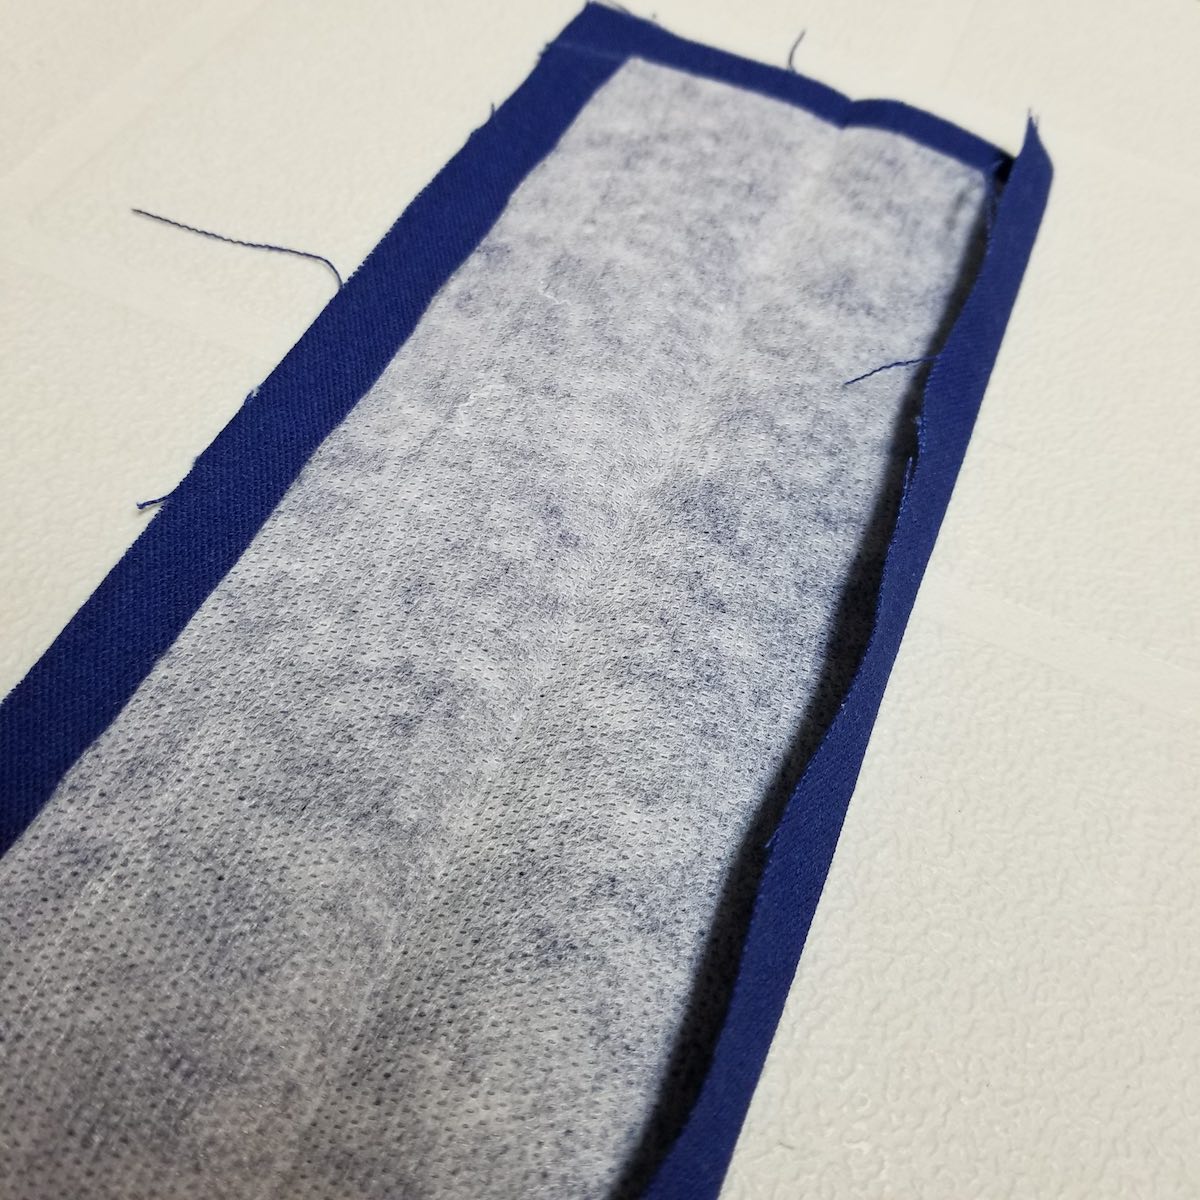
I stitched the unpressed side to the outer edge of the peplum, through both layers. At the edges, I stitched along the peplum edge with the band folded right sides together, then trimmed and turned the band. The next step is to stitch down the inner edge. If you are good at stitching in the ditch, you could easily press and pin and do that. However, I find that I always make a bit of a mess when I try it, so opted for a hand stitch instead. I think that it’s just as quick as prepping for machine stitching.

Once that was done, I did a final try-on to mark where the snaps should go. I marked them with a chalk pencil and stitched them on, and voila, a useable, removable peplum! You could also make buttonholes and use some sparkly buttons if you prefer them to snaps.

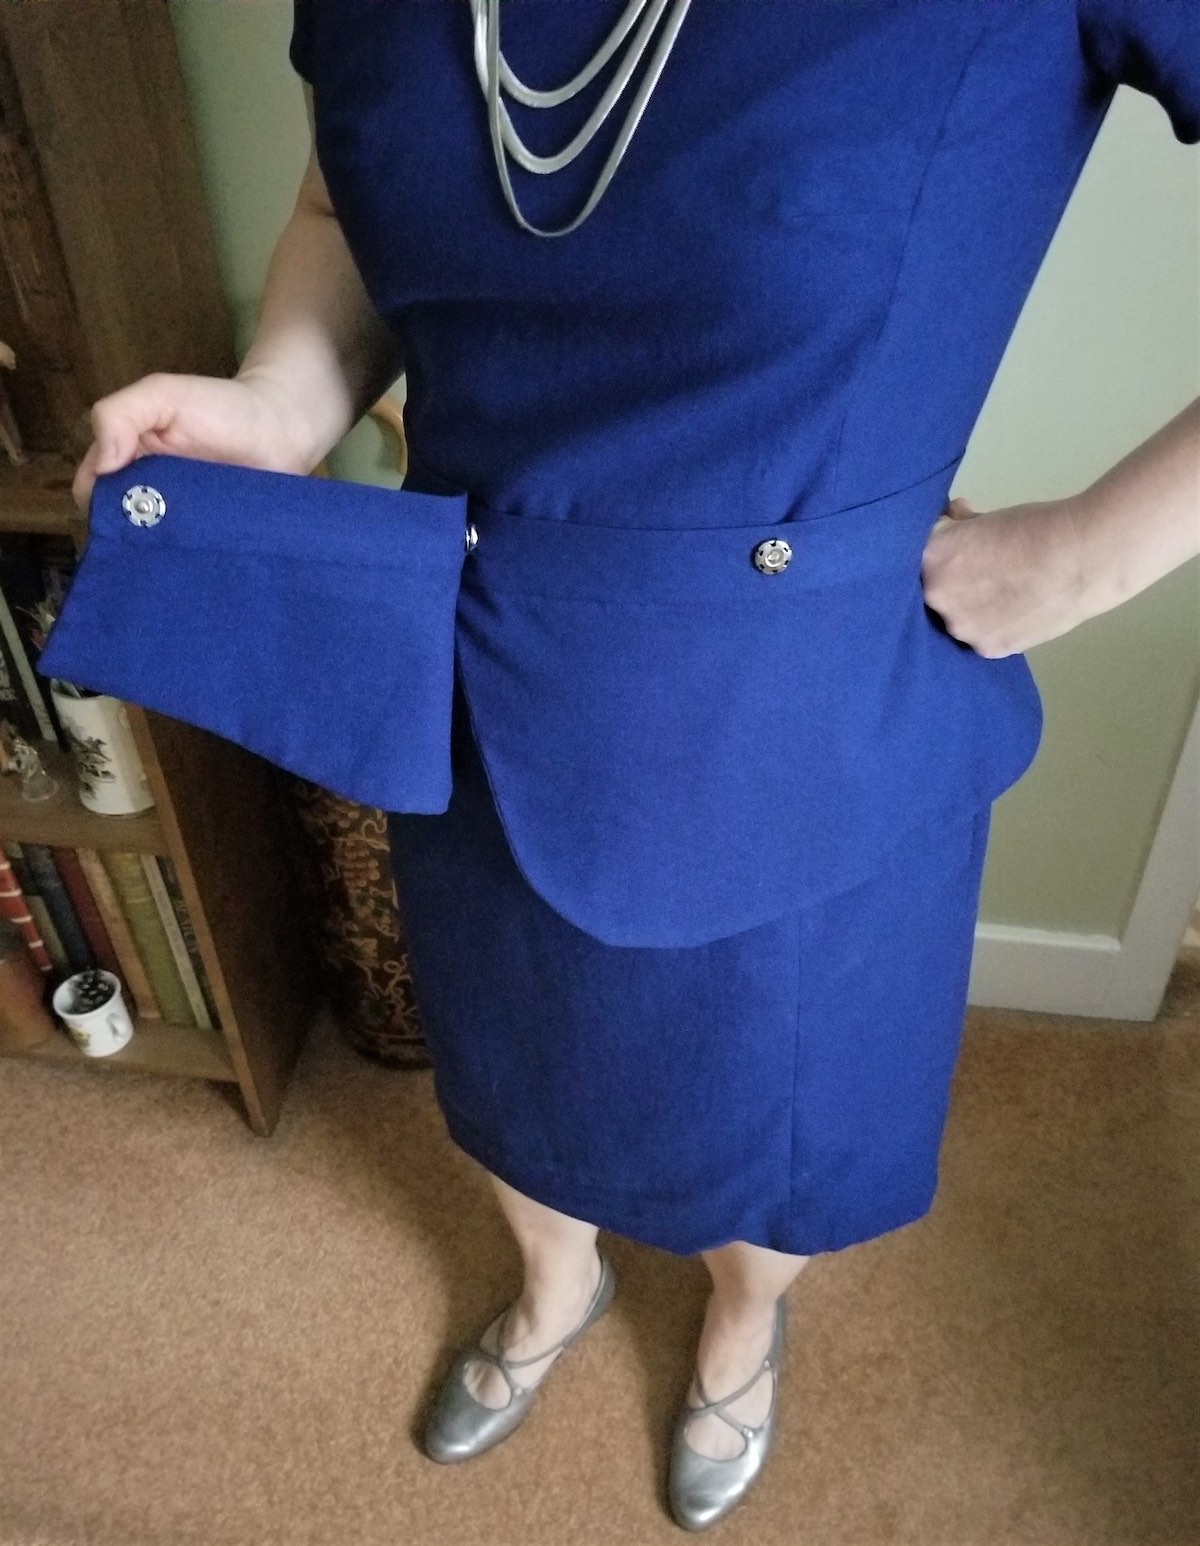
While I used the same fabric as my dress, you could also make a peplum lining in a contrast for some subtle shine. Or a completely contrasting one for impact – imagine this all in black and white, for example. Or, if you made the dress in a fancier fabric, you could even try one in lace. I think there could be many options. As it is, I can wear the dress with a jacket for work, then throw on the peplum and some sparkly jewelry and be ready to head out for a drink. I think it’s a great way to extend the potential of this pattern!


Such a cool idea!
So happy to be able to use the peplum design in this way 🙂
Very cool idea and I just saw an article about a designer using a similar idea- detachable skirt to go over short skirt or pants:
https://www.nytimes.com/interactive/2022/09/20/style/new-york-fashion-week-noteworthy-looks.html?action=click&algo=bandit-all-surfaces-variants-shadow-lda-unique-time-cutoff-30&alpha=0.05&block=trending_recirc&fellback=false&imp_id=941170757&impression_id=c8d9ad42-394c-11ed-99fc-111ae20ccd19&index=1&pgtype=Article&pool=pool%2F91fcf81c-4fb0-49ff-bd57-a24647c85ea1®ion=footer&req_id=583242035&shadow_vec_sim=0.4252356076673897&surface=eos-most-popular-story&variant=0_bandit-eng30s-shadow-lda-unique
That’s cool! Do you remember which designer it was? (link is behind a paywall unfortunately!)
sorry about that! I looked and it’s designer Peter Do. Here’s a link to the most recent collection on his website and you can see the belted skirts, which are able to be added on for more glam look at the end of the day! https://peterdo.net/pages/ss23
Thanks! So interesting.