Would you like to get even more mileage out of your Gelato Blouse + Dress pattern? How about changing up the silhouette by just adding an casing for elastic or a drawstring? It’s an easy customization. I’ll show you how.

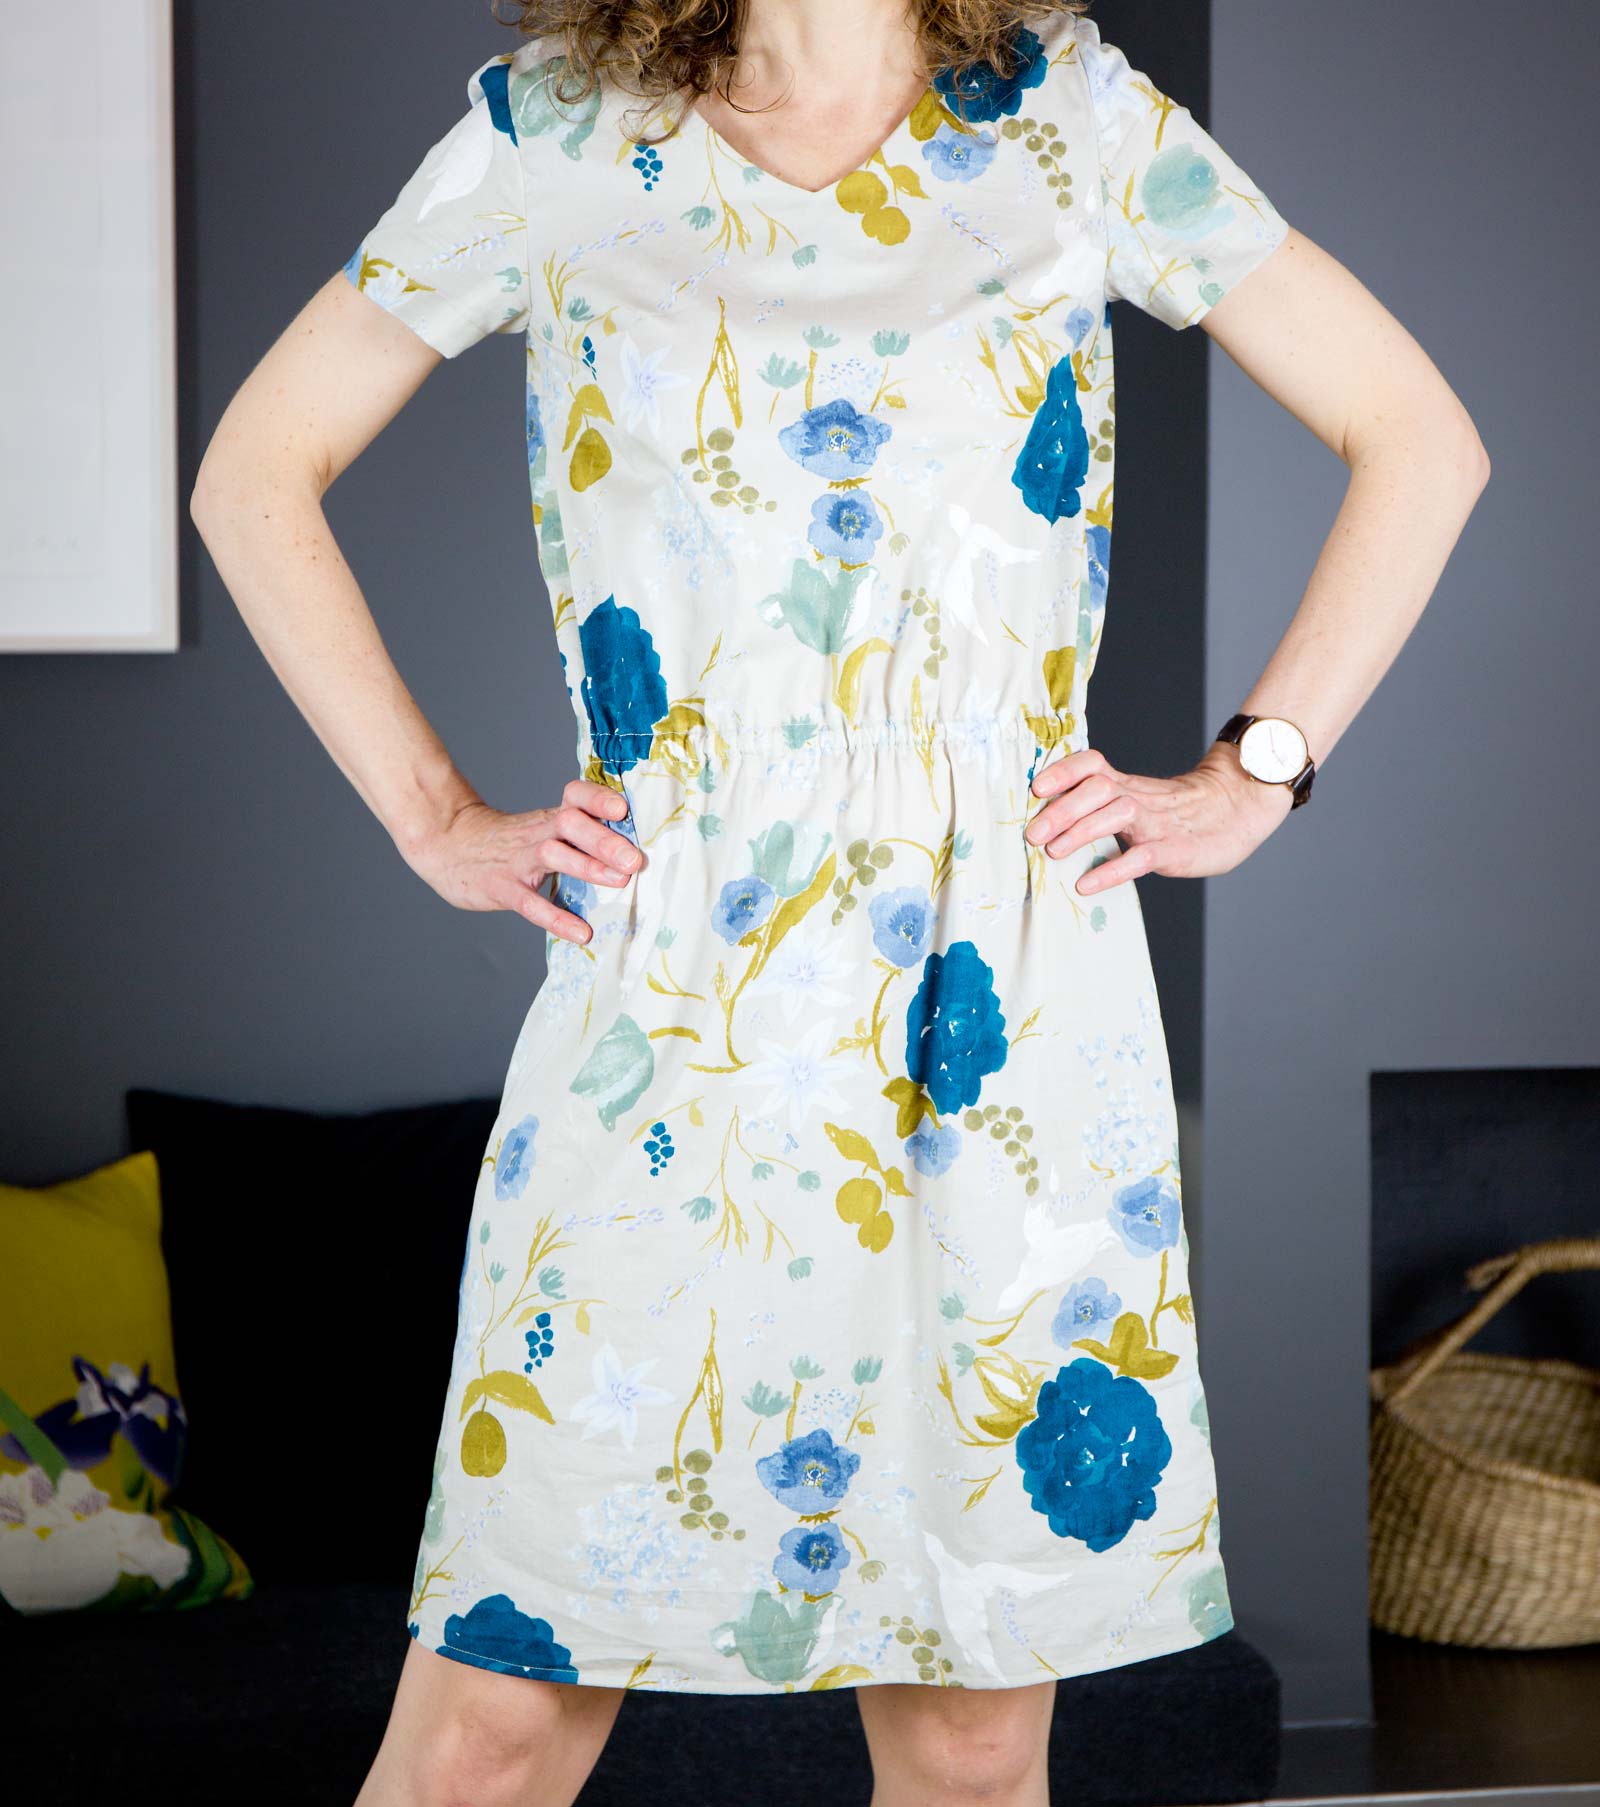
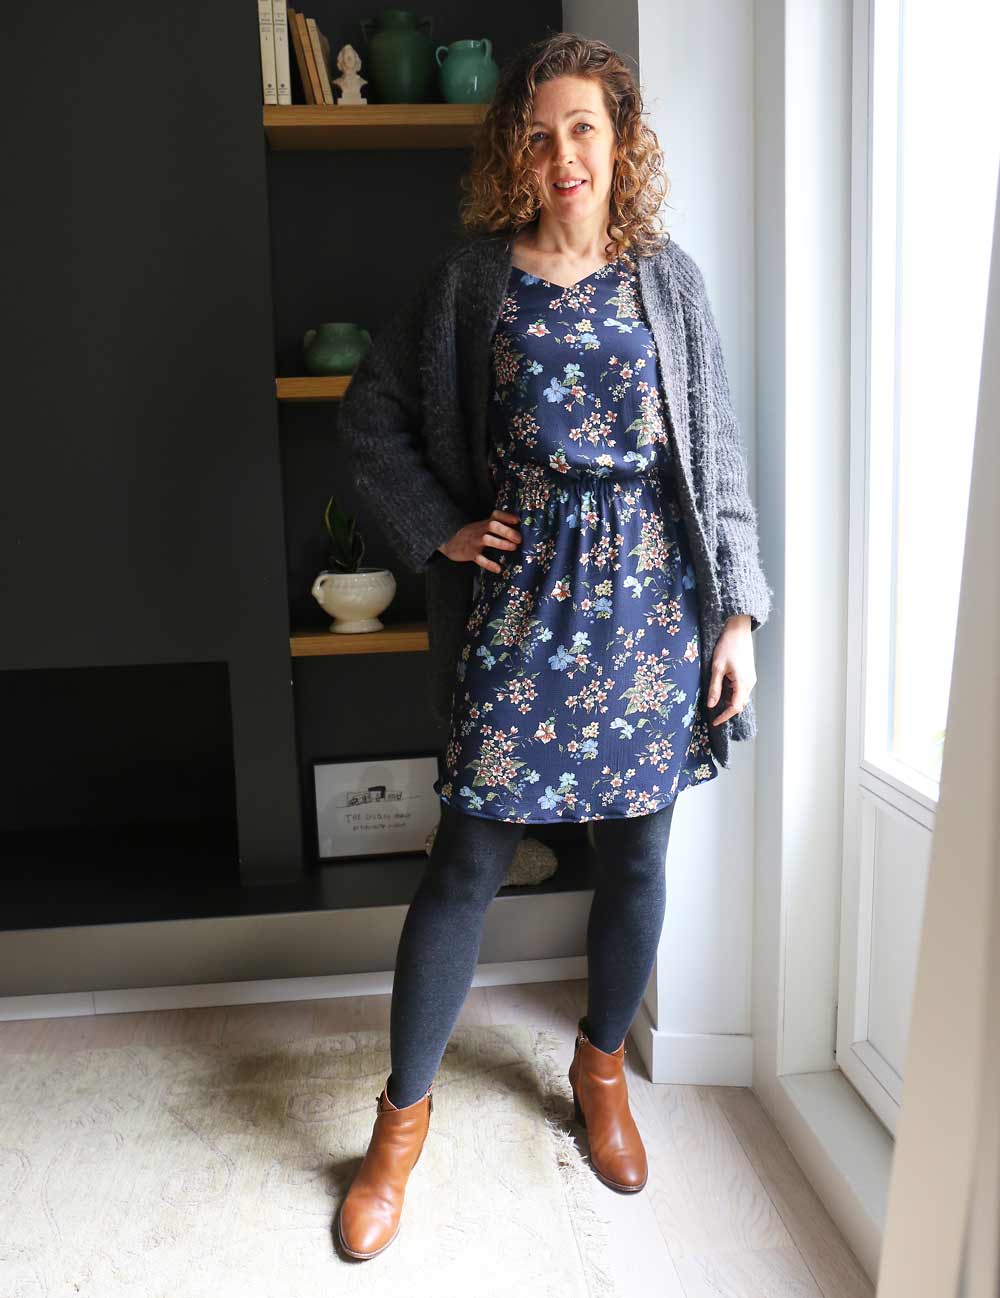
Use rayon or other lightweight drapey fabrics for best results. I’ve used a cotton sateen for the cream-colored dress above and a rayon for the navy floral dress.
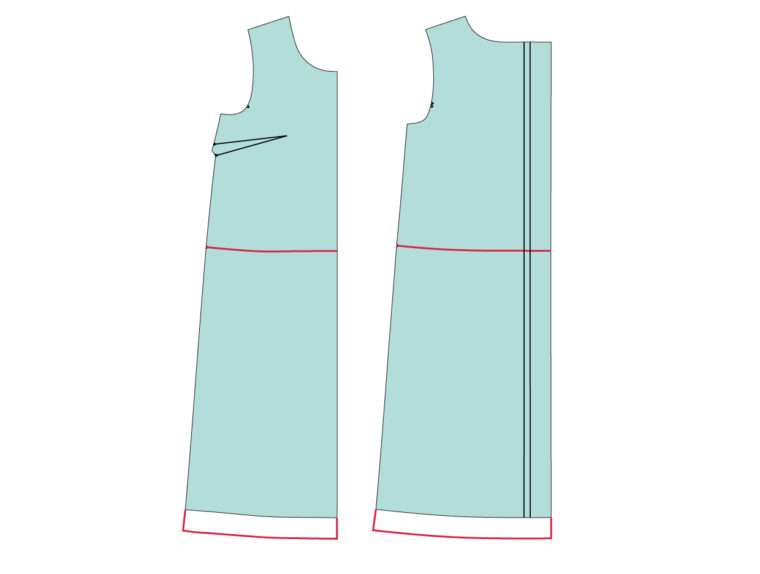
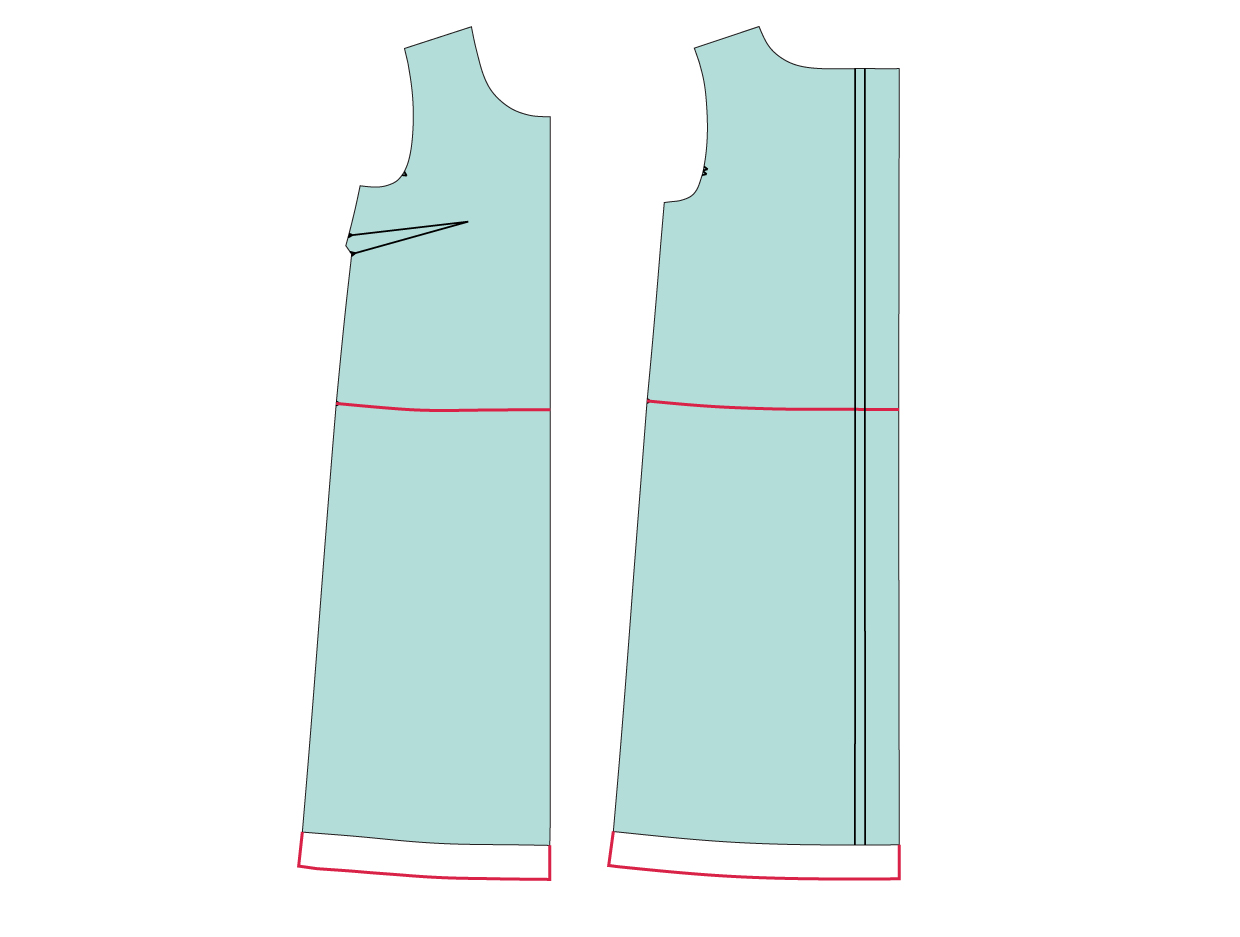
- Here’s a tip that will make it extra-easy to add the casing: When you cut out your front and back pattern pieces, trace the cut line for the blouse to the wrong side of your fabric. This will give you a curved line that you can use to apply the casing itself. You may want to raise or lower the waist from this line, but it will give you a starting point to work from.
- To trace the line, you can sink pins through the fabric along the line and use chalk or a water-soluble fabric pen to mark the location of the pins, then connect the dots when you’ve finished. Alternatively, you can use a tracing wheel and tracing paper to mark a light line on the wrong side of the fabric. (Be sure it won’t show through first!)
- Note, also, that you may want to add a little bit of length to the dress as well. The cinched waist will shorten the dress a little bit, so keep that in mind as you’re cutting.
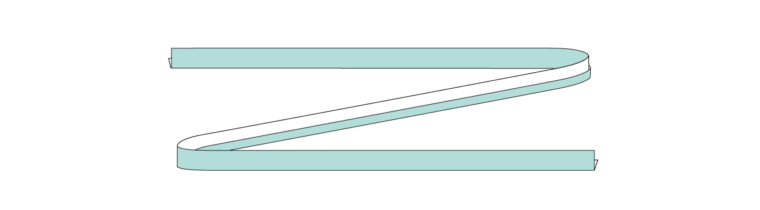
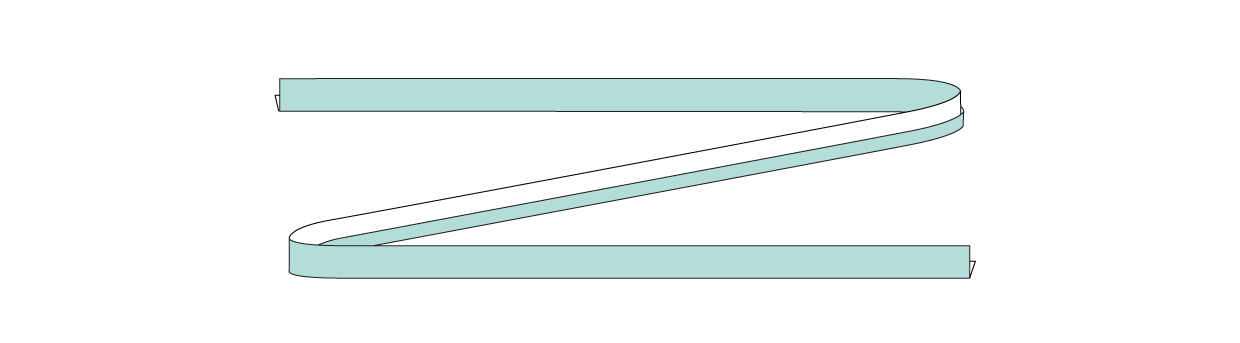
- Cut a casing strip that is 1 1/2″ wide and a little longer than the circumference of your Gelato’s waistline. If you cut from selvedge to selvedge you’ll have a nice long strip. Then run a basting stitch 1/2″ from one long edge. You can use these basting stitches as a folding guide to fold and press the seam allowances to the wrong side of the casing.
- Go ahead and assemble the dress following the instructions. Once you’ve sewn the side seams, you can try on the dress to check the placement of the casing. I turned my dress inside out so I could belt it, blouse the bodice a little bit, and then compare my traced line to the position of the belt. This will help you to determine whether you want to position the casing above or below the traced line.
- I liked my casing to be just below the traced line, but you may want your casing to be higher or lower depending on your waist height. The casing itself will land 1/2″ below the position of the line you mark, so keep that in mind as you consider the placement. Once you’re ready, fold one short end of the casing to the wrong side by 1/2″ and pin the top (non-folded) edge of the casing to the placement line, positioning the folded short end at one side seam. You’ll be pinning the right side of the casing to the wrong side of the dress here. Keep pinning all the way around the dress, ending back at the same side seam. Then fold the opposite short end of the casing to the wrong side so the folded ends kiss at the side seam. Trim any excess length from the casing, and stitch the casing to the dress with a 1/2″ seam allowance.
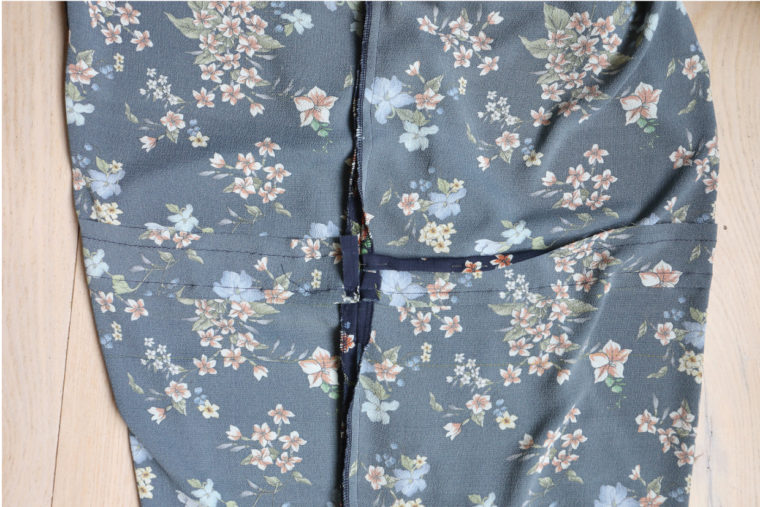
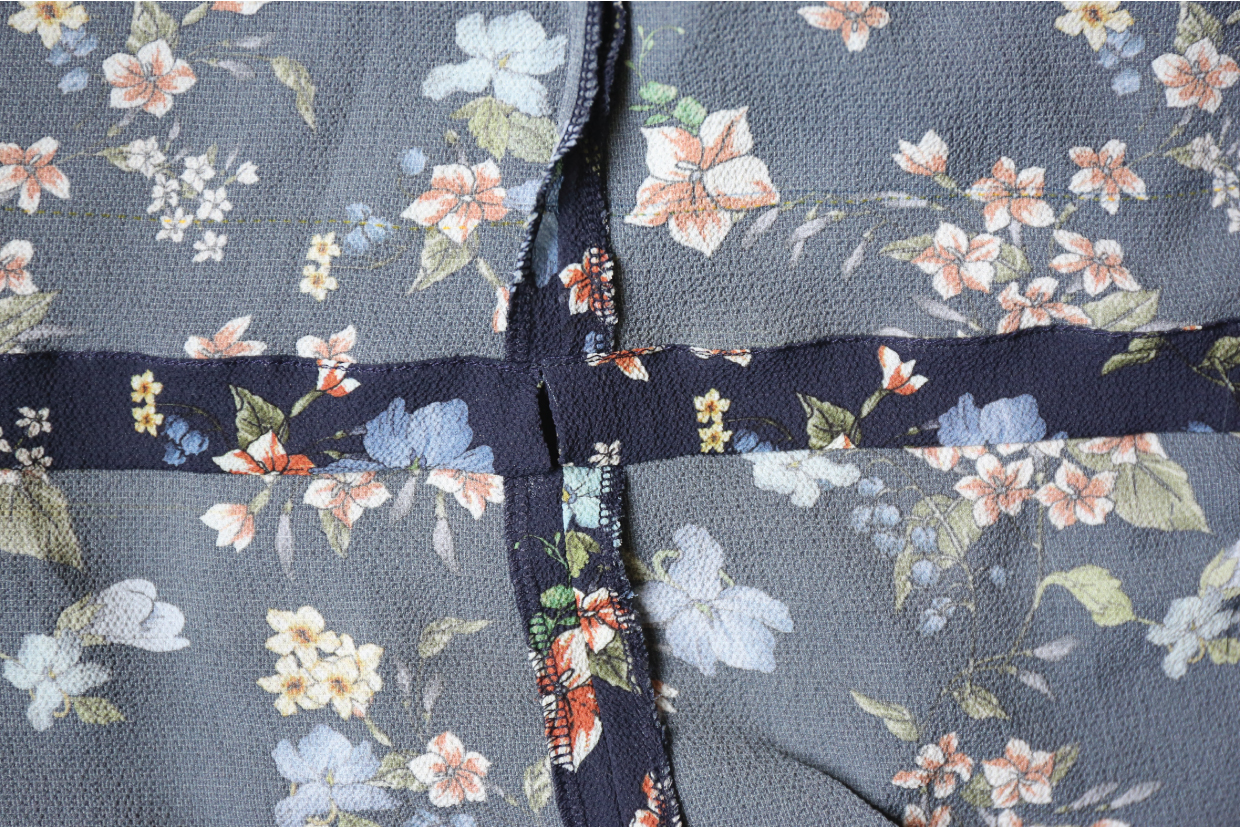
- Flip the casing along the stitching so the right side is showing, then press the casing along the stitching. Now, edgestitch the opposite folded long edge of the casing to the dress. All the edges will be neatly folded under at this point, so the casing will look neat from the inside, with only the two rows of stitching showing from the outside.

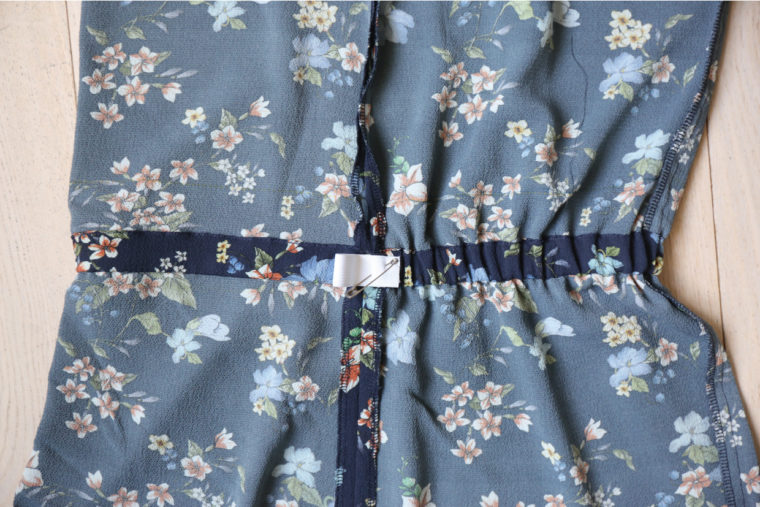
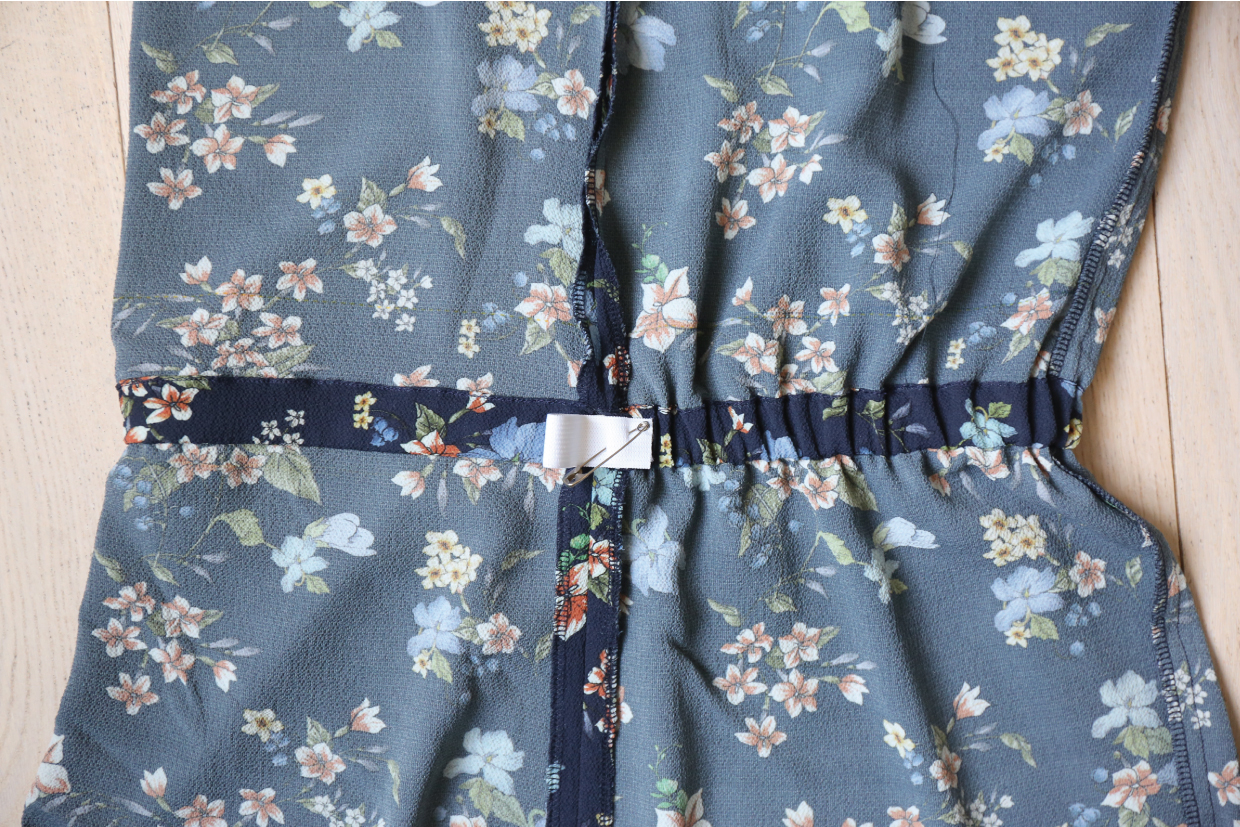
- The only step remaining is to feed a length of 1/2″ to 3/4″ elastic through the casing, pin it to the length you prefer (it’s helpful to try on the dress inside out again for this step), and sew the ends of the elastic together. If you want to hand sew the opening shut you certainly may, but I just leave it open since it’s tiny and it makes future elastic adjustments very easy.

And that’s it! Easy, right?
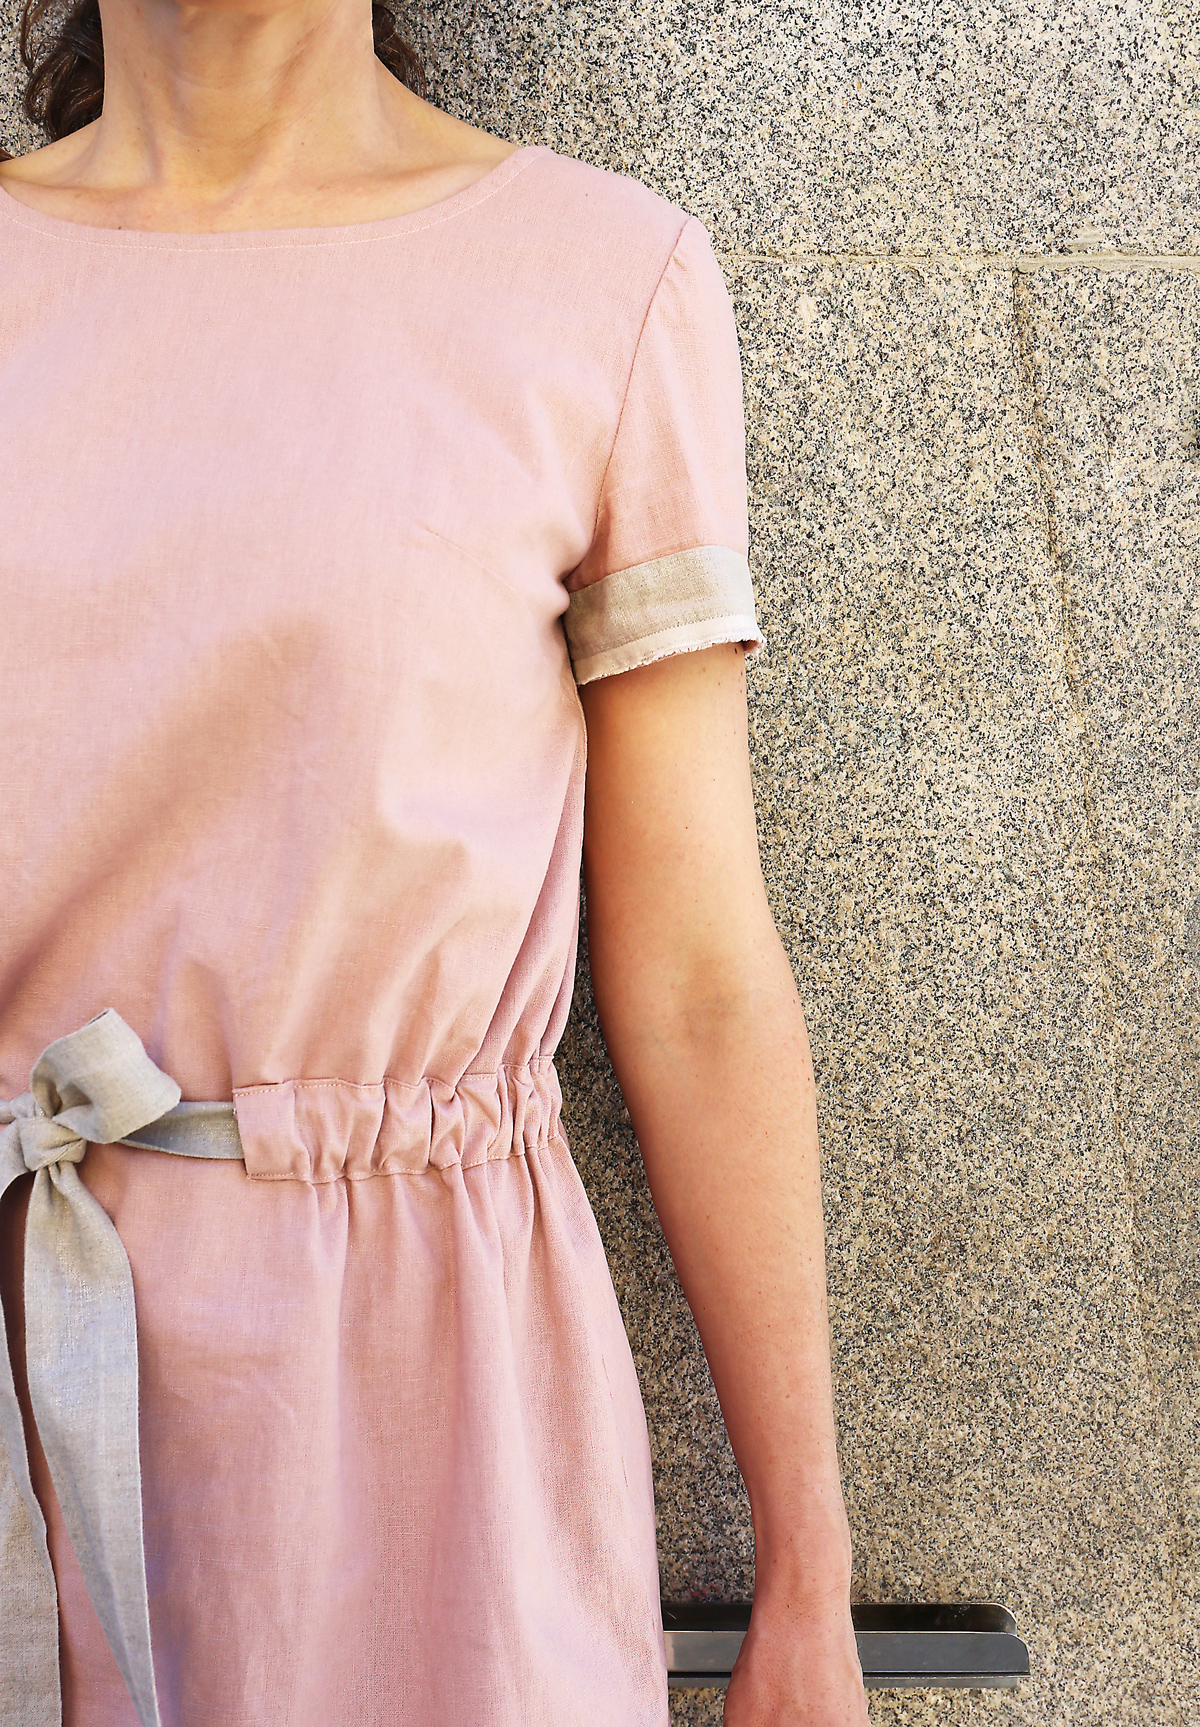
Note that you can also apply the casing to the outside of your dress like I did for this pink version I made last summer. For this version I left a gap at center front so a drawstring can be tied . But you could easily move the opening to the side seam if you want to use elastic and don’t want the opening to show. Once you’ve finished the elastic, handstitch the opening closed.
I hope you’ll use this to make your own casing, whether you add elastic or a drawstring to it. If you do, be sure to tag it #lieslandco and #gelatoblousedress!
Thanks for the tutorial. Did you sew the dress sides together and then add the casing?
Thanks
Yes, side seams then casing!