With the release of our newest patterns a few of you have asked about adding fullness to the skirts. I’ll show you two ways to do it, modifying the Belgravia Knit Dress and the Kensington Knit Skirt patterns to have more of an A-line shape. And the advantage of doing this yourself is that you get to decide just how much fullness you want to add!
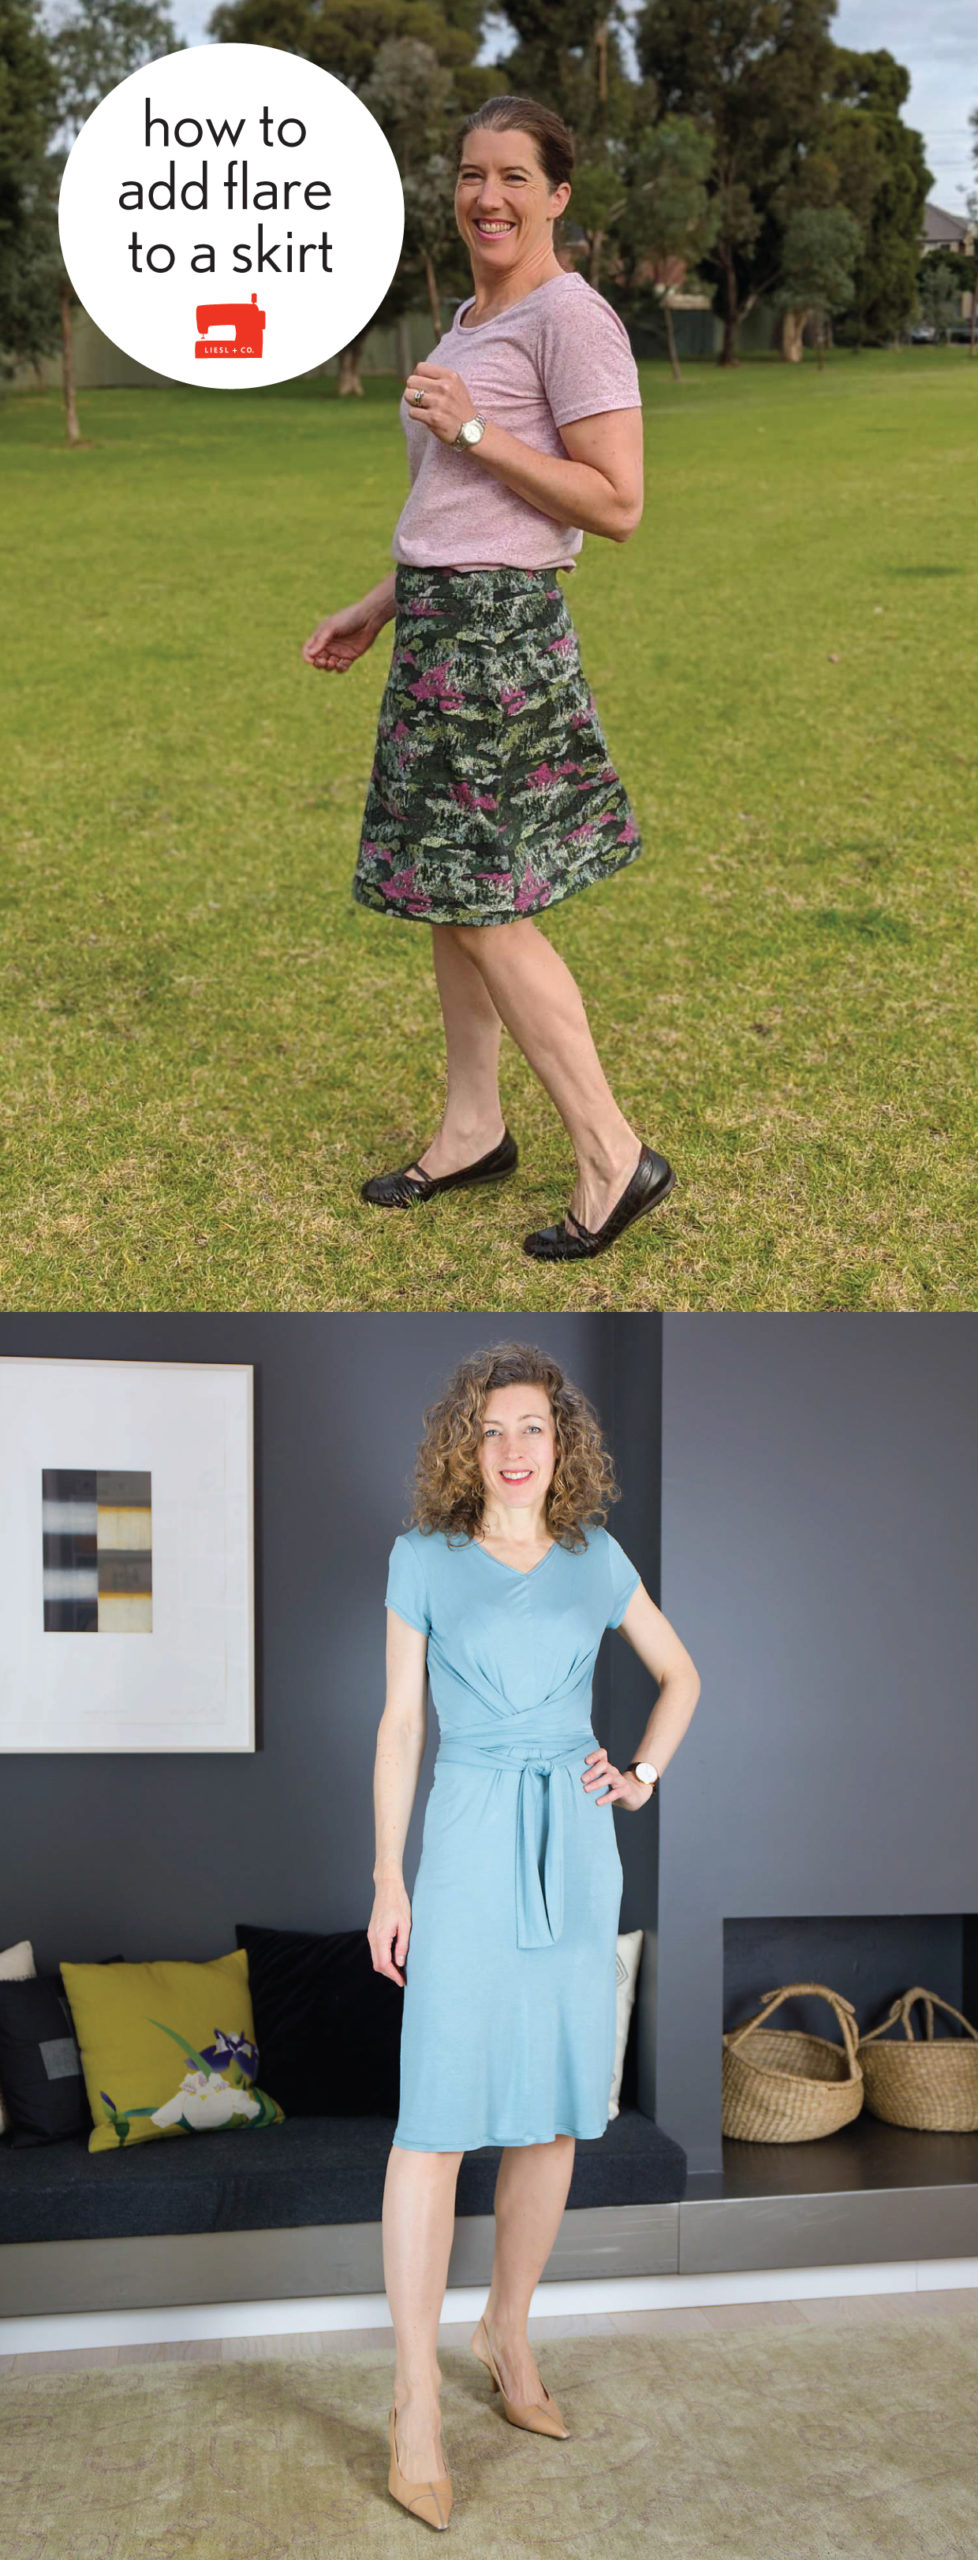
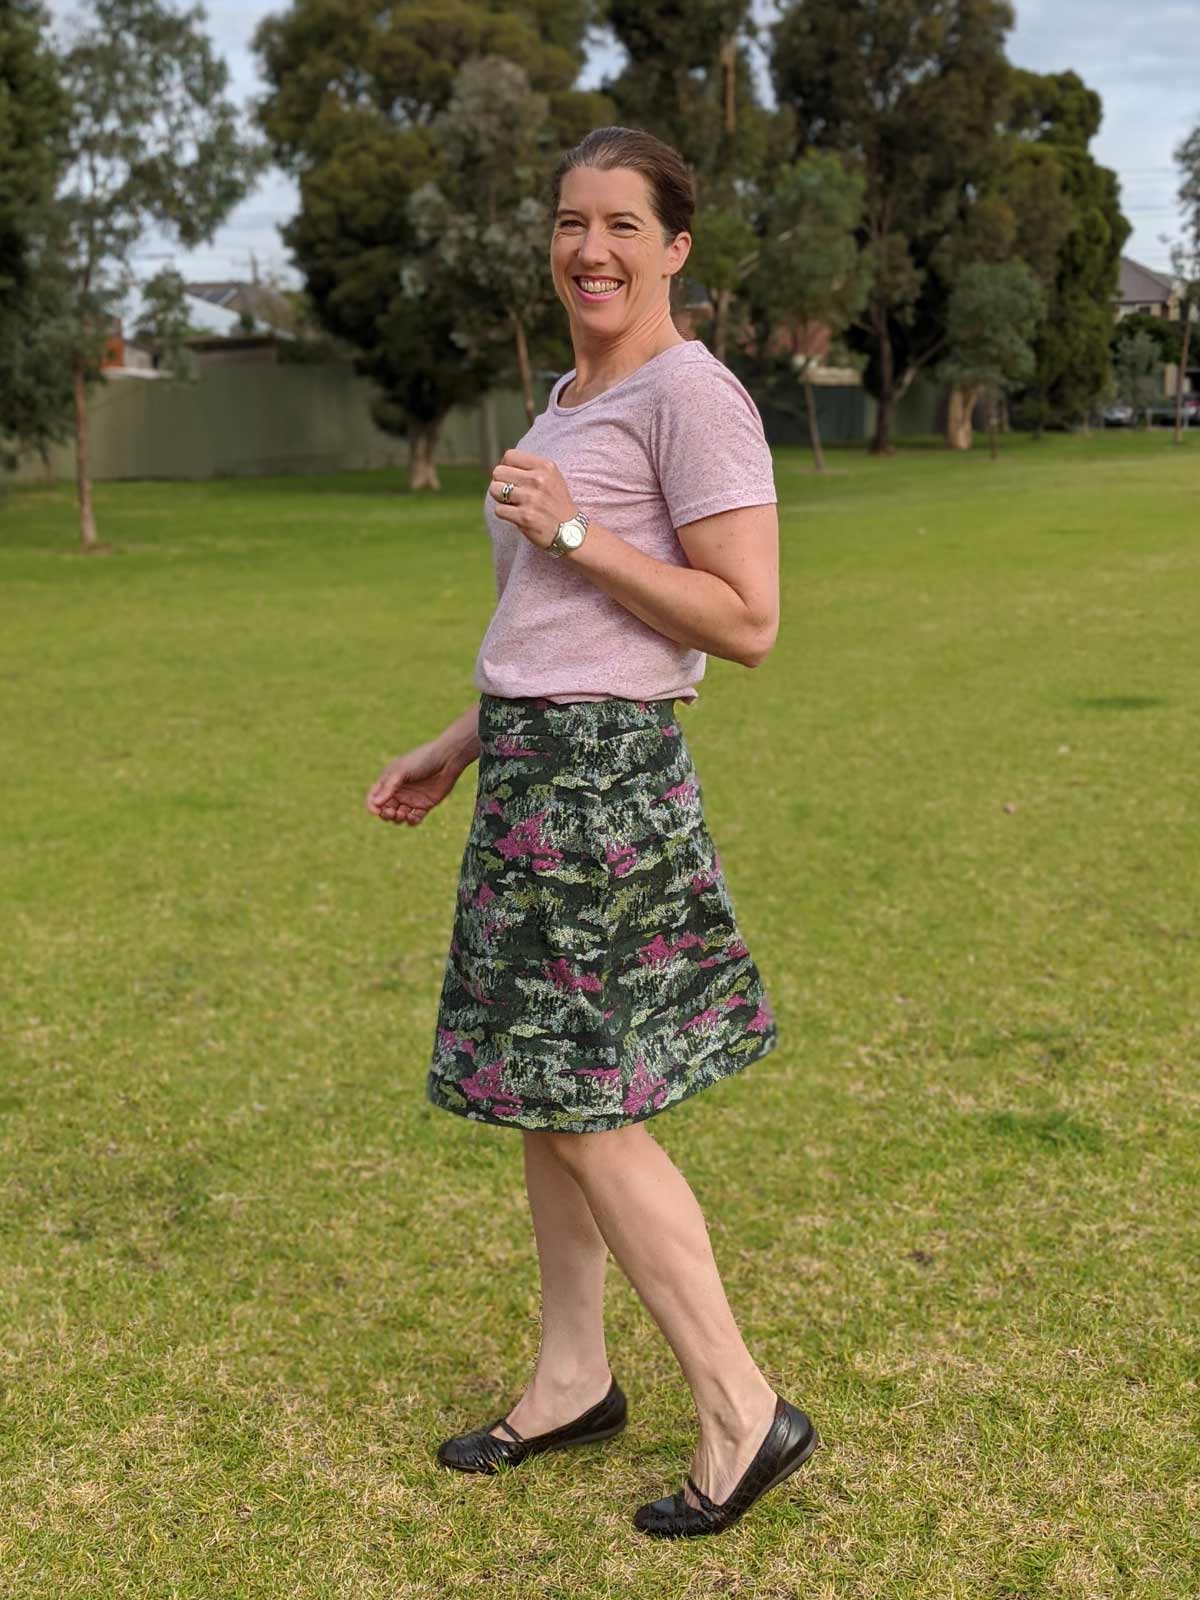
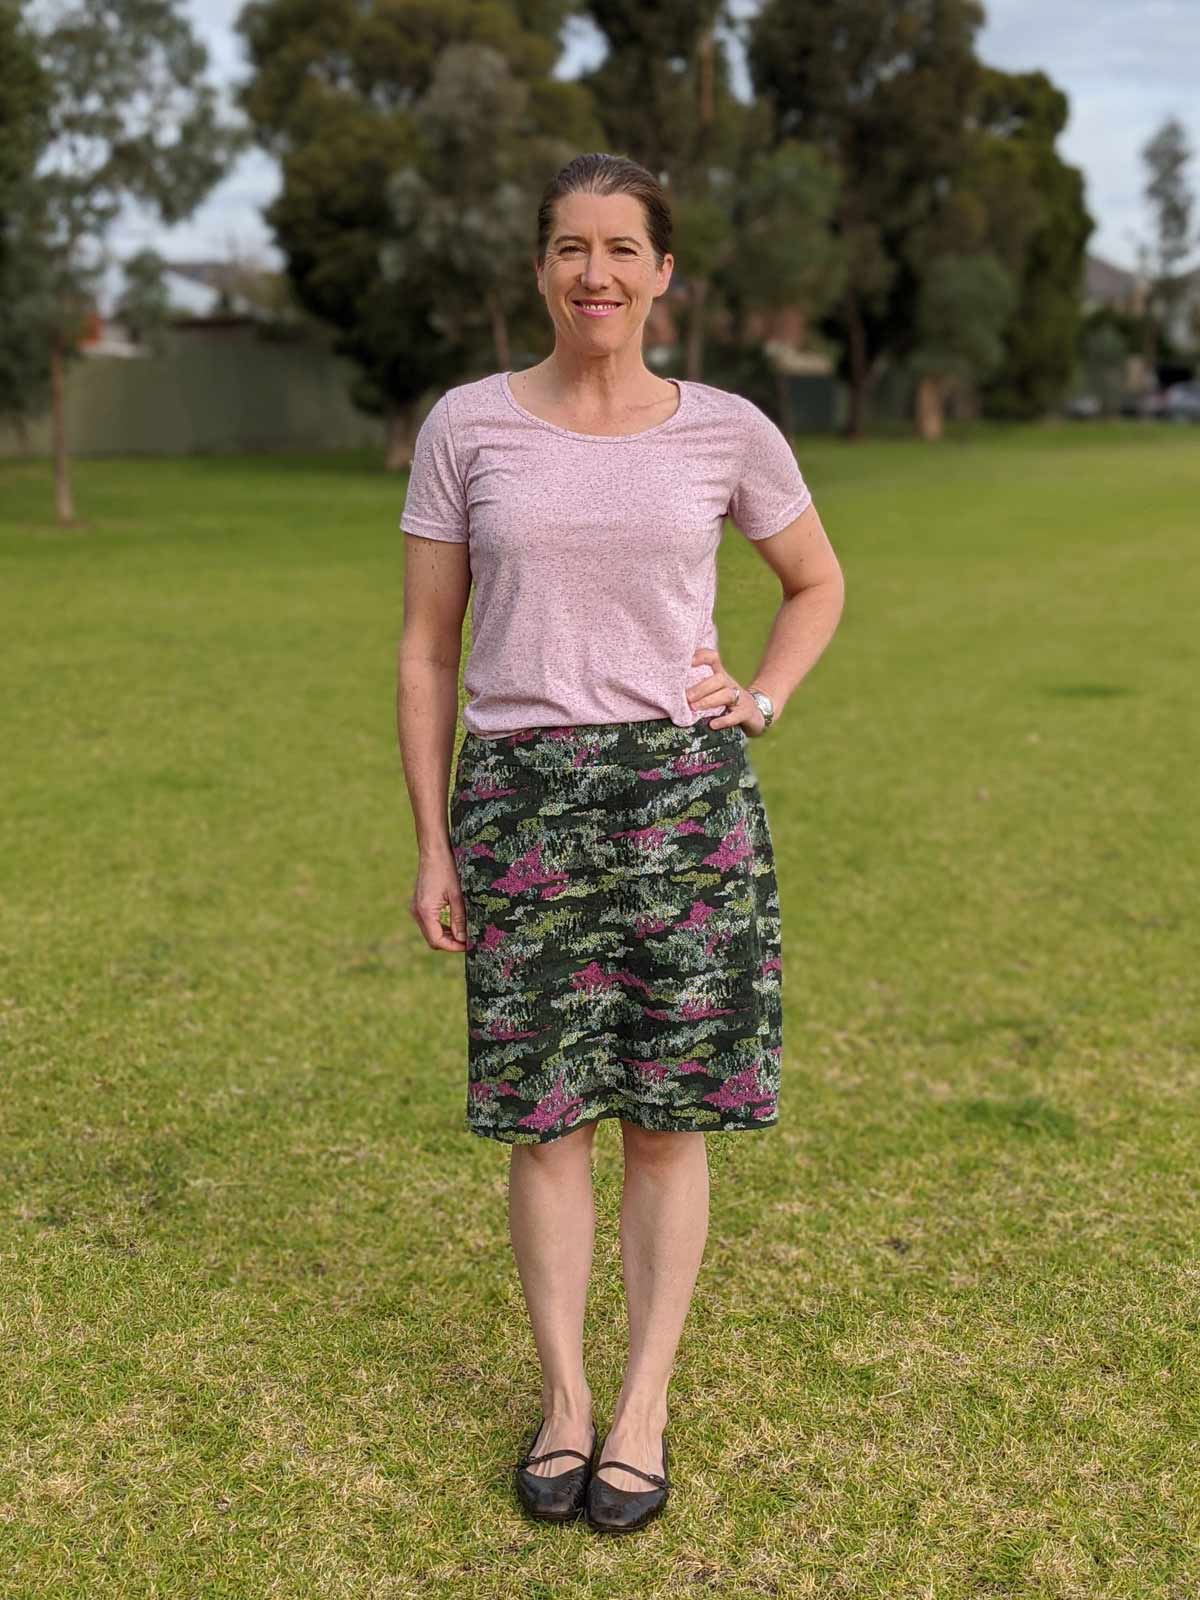
Let’s start with the Belgravia Knit Dress, which has a narrow pencil skirt. For this version I wanted to add just a little flare below the hips as well as two inches of length to the hem.

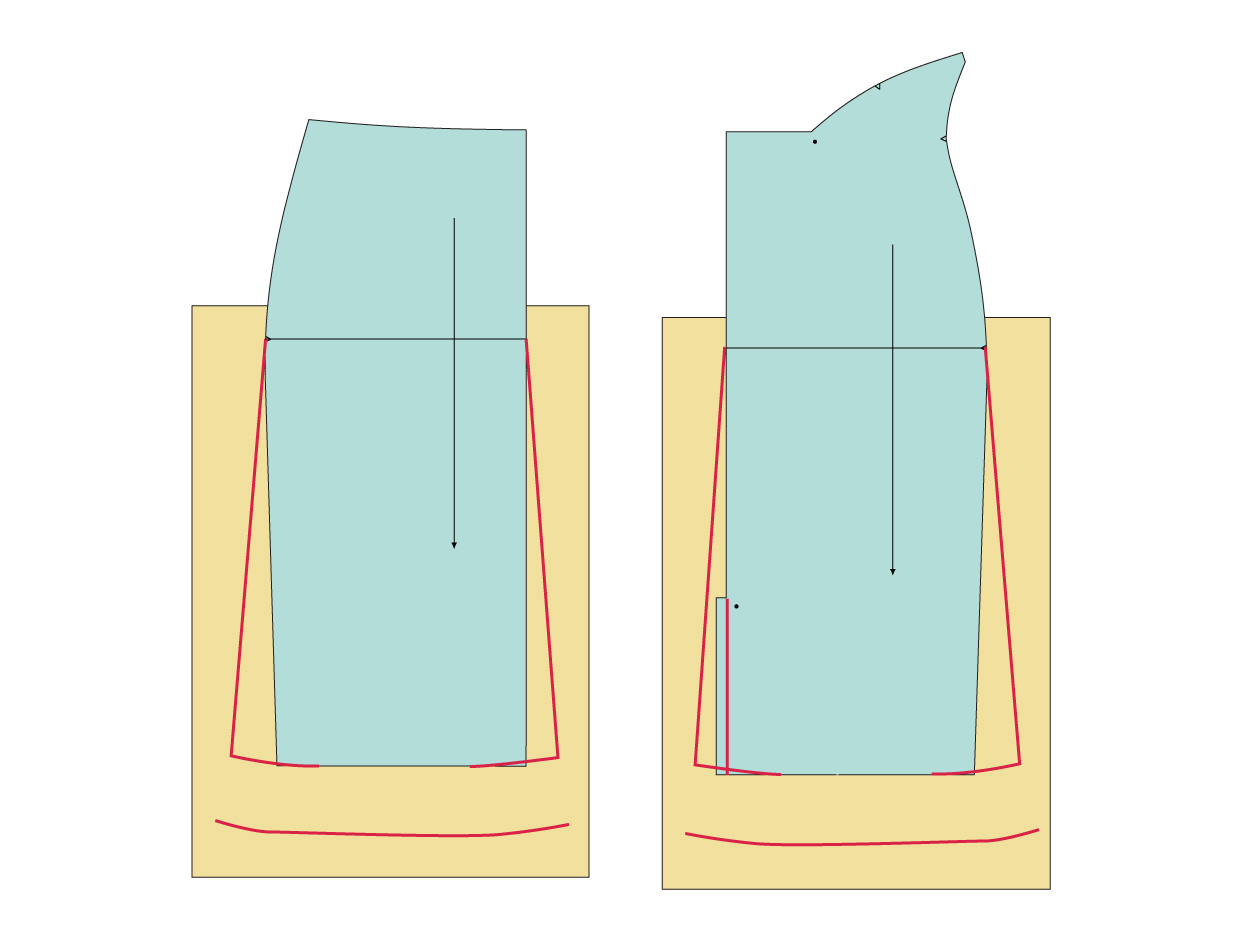
The Belgravia skirt is slightly tapered so that the skirt is narrower toward the hem than at the hips. I didn’t want to add fullness through the hips when I flared the skirt, so I added about 2 1/2″ at the side seams near the hem and blended to the widest point of the hips. I also added about 1 1/2″ at the center front and center back, tapering to the hips. This way I eliminated the taper at the side seams and added flare at both the side seams and the front and back seams. While I made the skirt only slightly wider at the hem, you can certainly add more fullness if you prefer more flare. (My personal preference is for slim skirts, so I kept the flare to a minimum.) Then curve the hem a bit so it meets the side/center seams at a 90-degree angle, and lengthen or shorten with this same curve, as shown below.
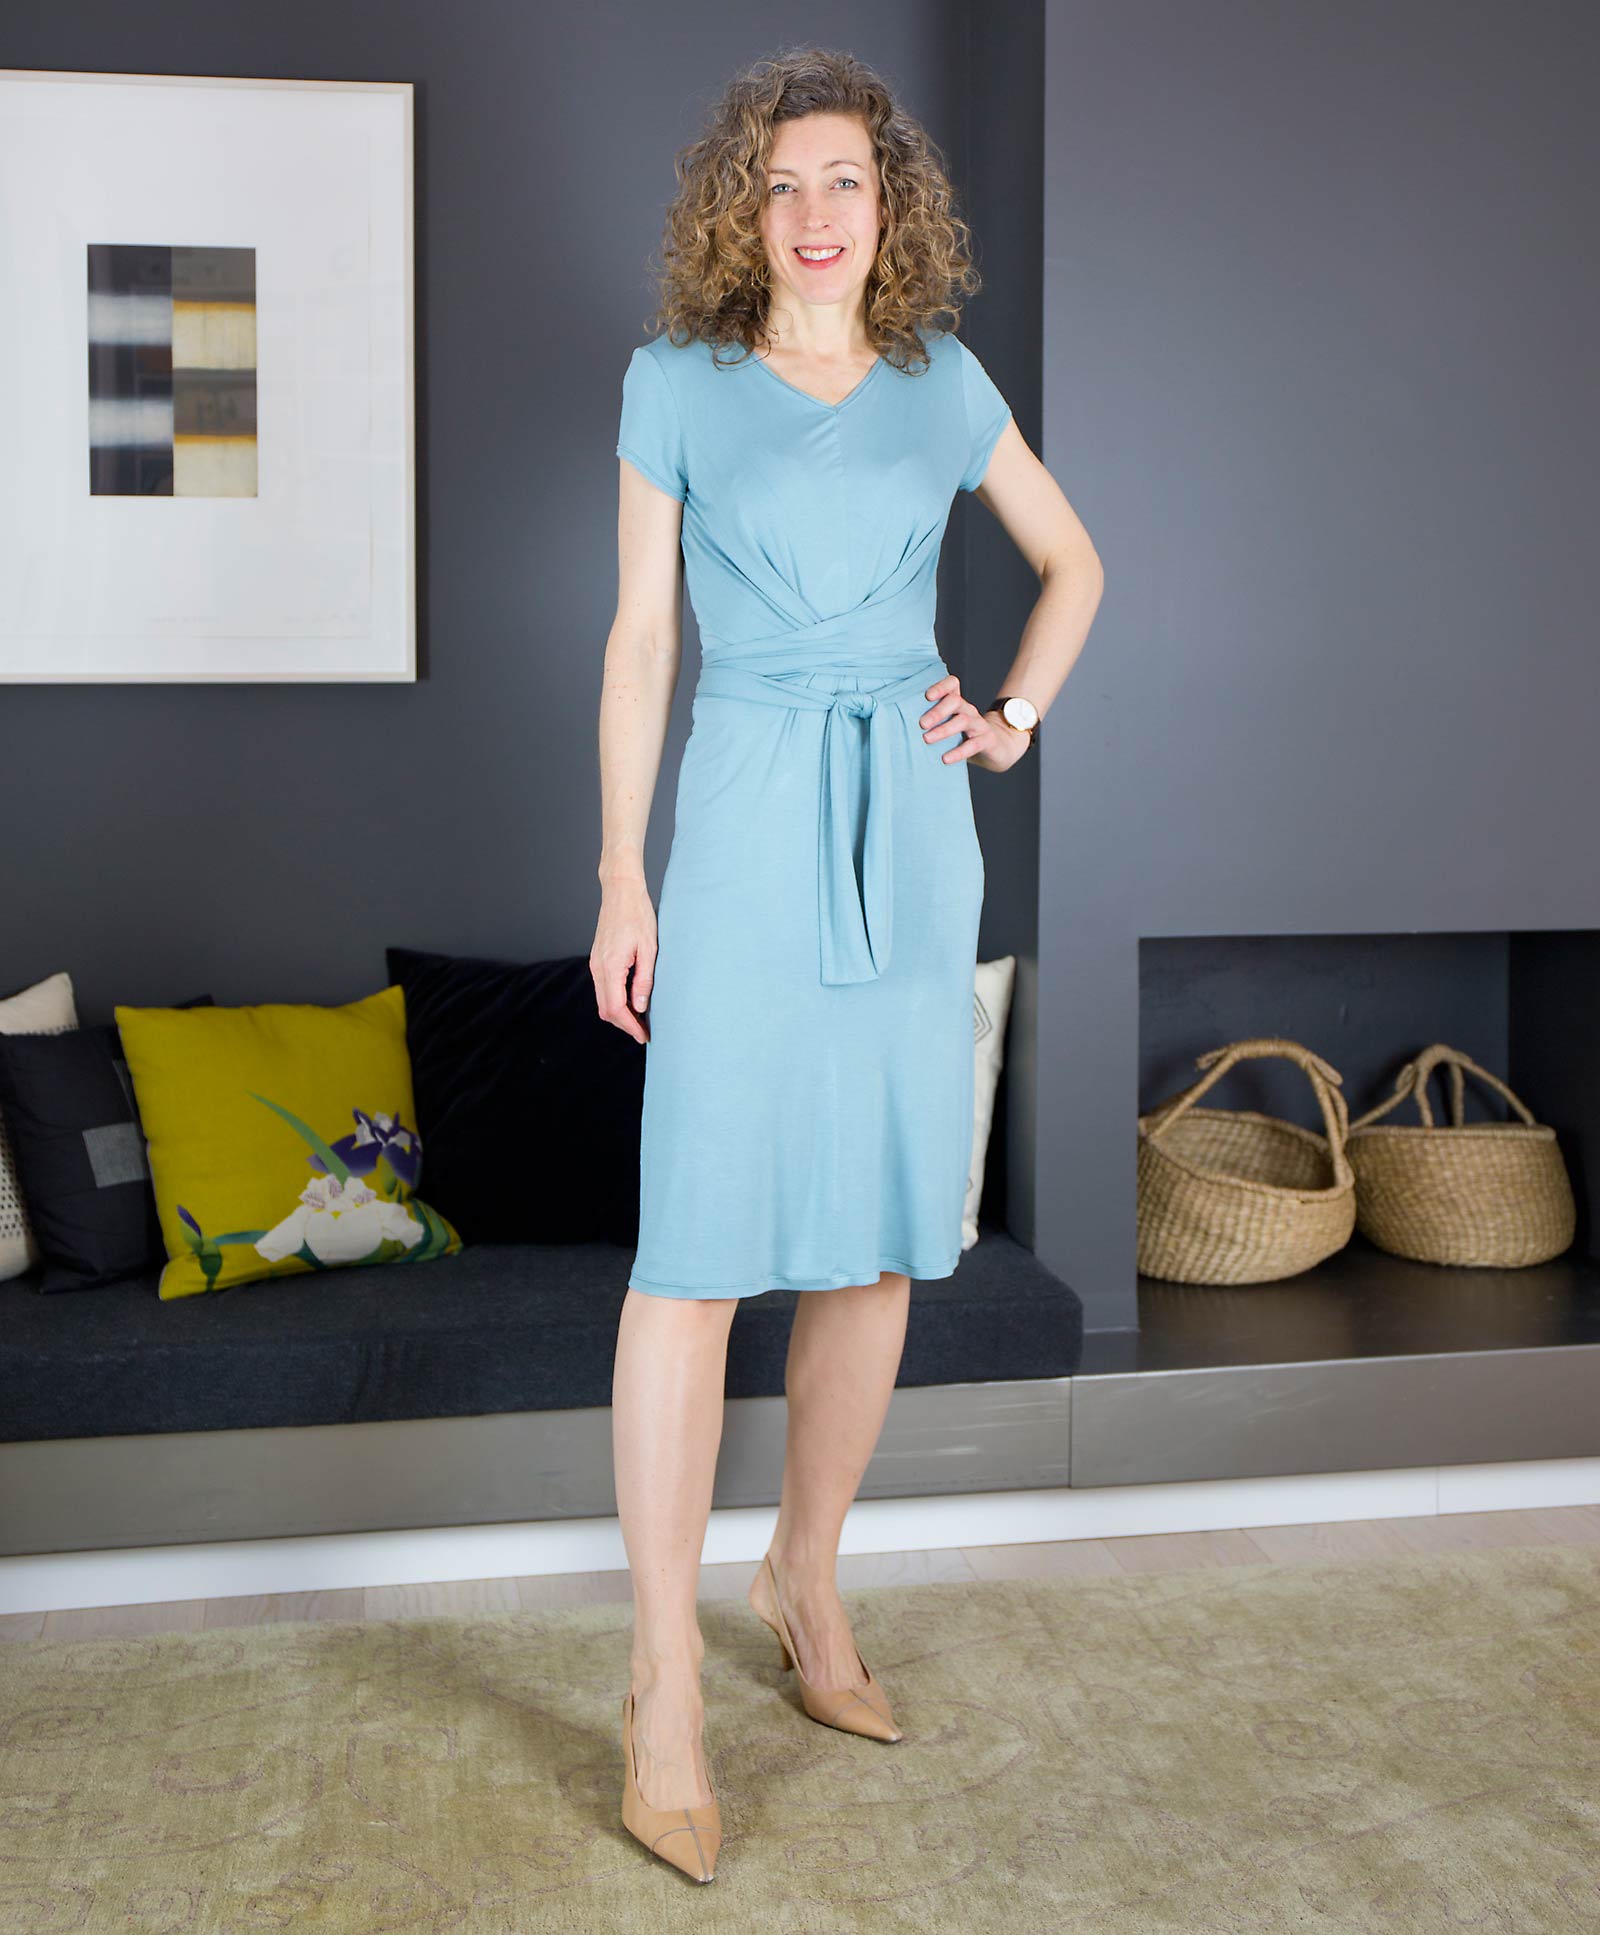
 That’s not too difficult, is it? For my flared Belgravia Dress I used a very lightweight, drapey knit which I think I could call slinky without insulting it. The flare is especially subtle because of the drape, but I think you can still see it, right?

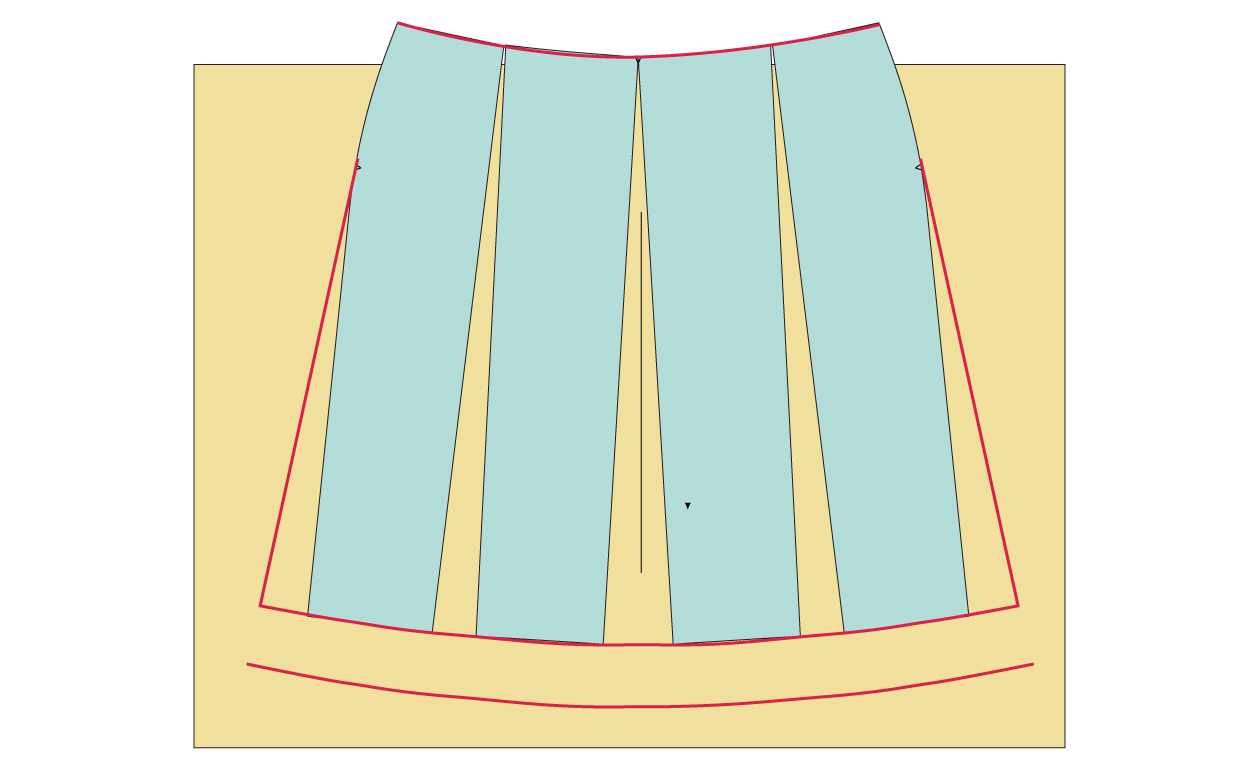
Now let’s take a look at another method, which is called slash and spread. For this example I’ll show you the Kensington Skirt, which has a yoke but no center-front or center-back seam. If you want to add fullness the best method is to divide the skirt into quarters (approximately) add cut along the lines so you can spread the pattern pieces at the hem, keeping the top edge the same width as the original so it still fits the yoke. For more fullness you can also draw an equal amount of extra flare at the side seams, starting at the fullest part of the hip. In this way you can add as much or as little flare as you want, and the fullness will distribute itself all the way around the skirt rather than just at the side seams. (The Kensington doesn’t have a center-front or center-back seam, so this is a better way to add fullness.)
Shelley added some flare to her Kensington Skirt with this technique, and she even twirled a bit so you can see the added fullness! It turned out so cute, I think.
And guess what? Claire used this same method to add fullness to her Belgravia Dress since she wanted more fullness, including some fullness through the hips. Here’s a photo of her back skirt pattern piece after she made the adjustment.
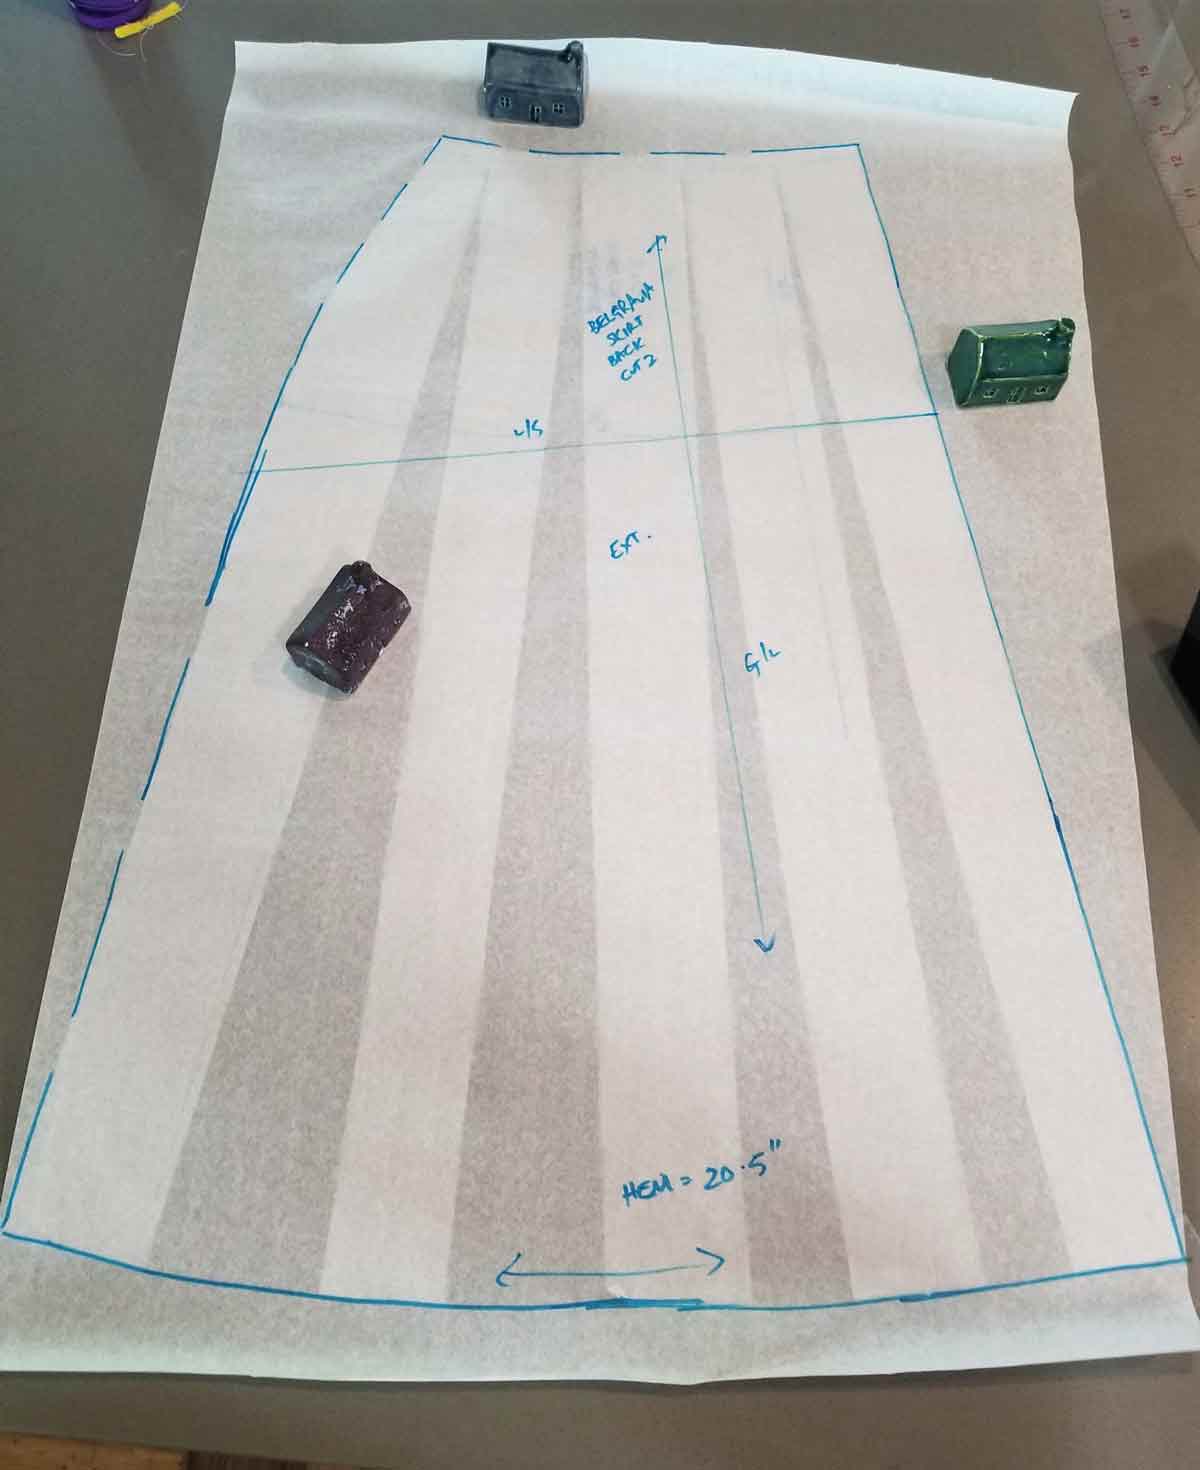
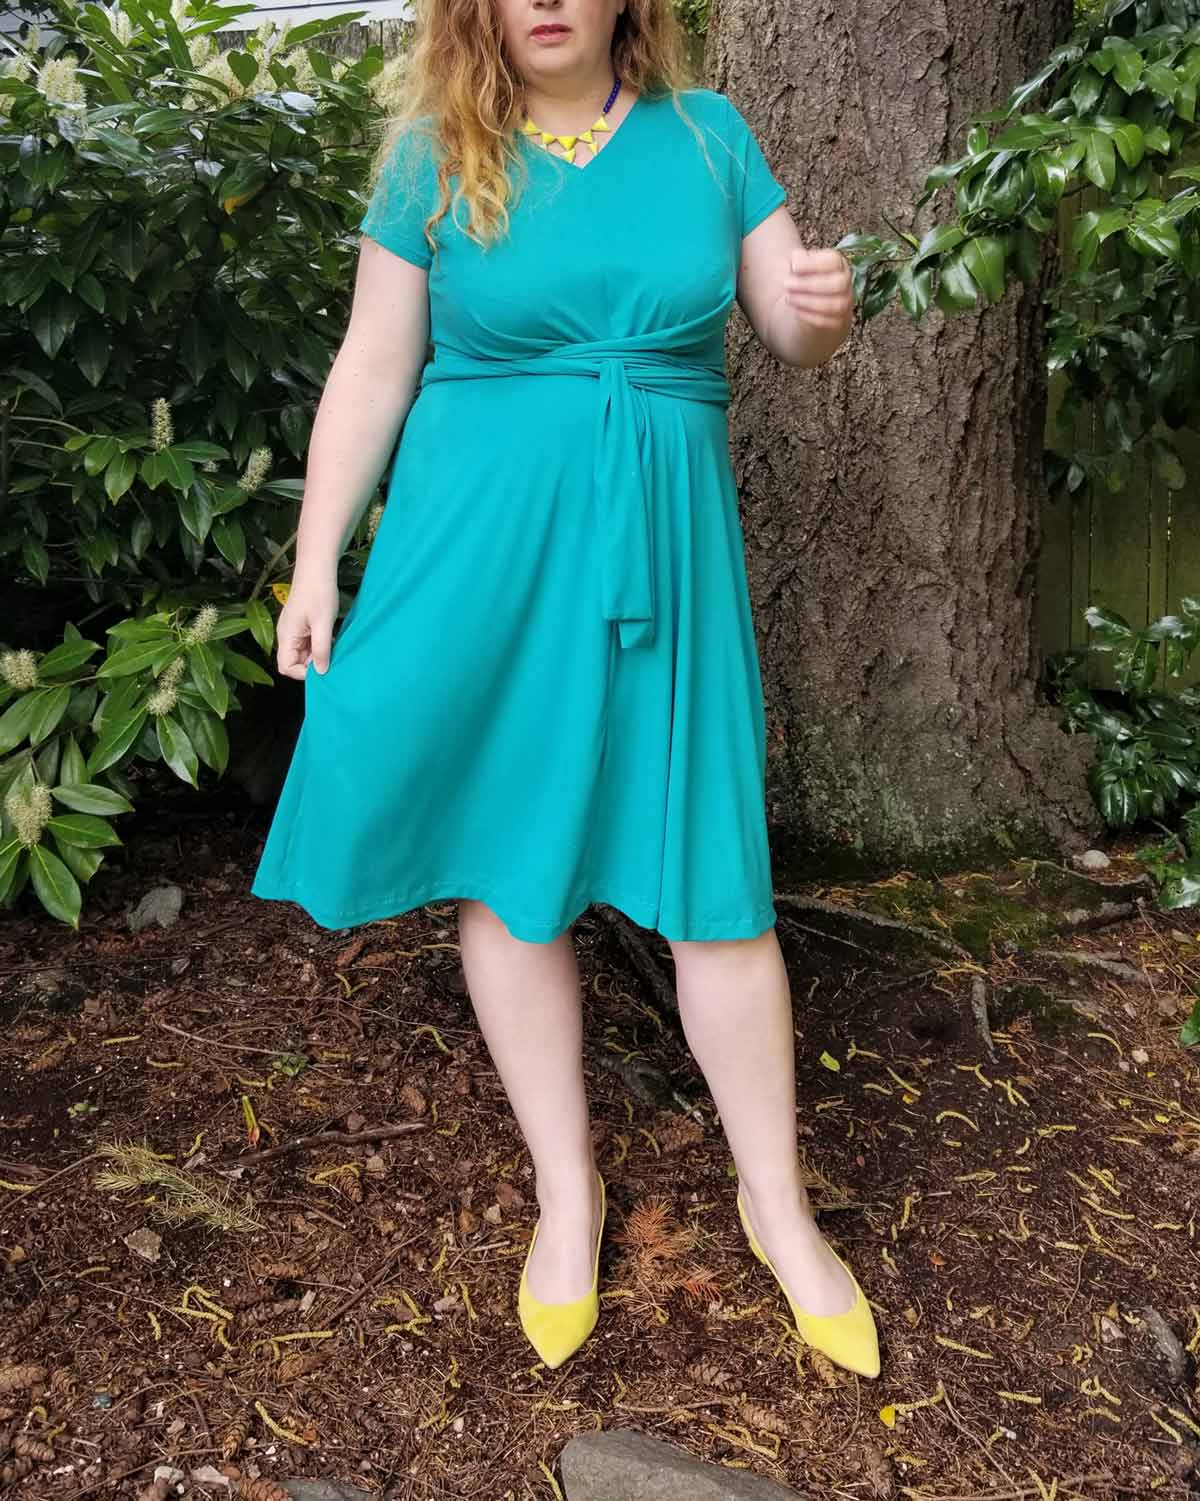
And here is Claire’s finished dress.
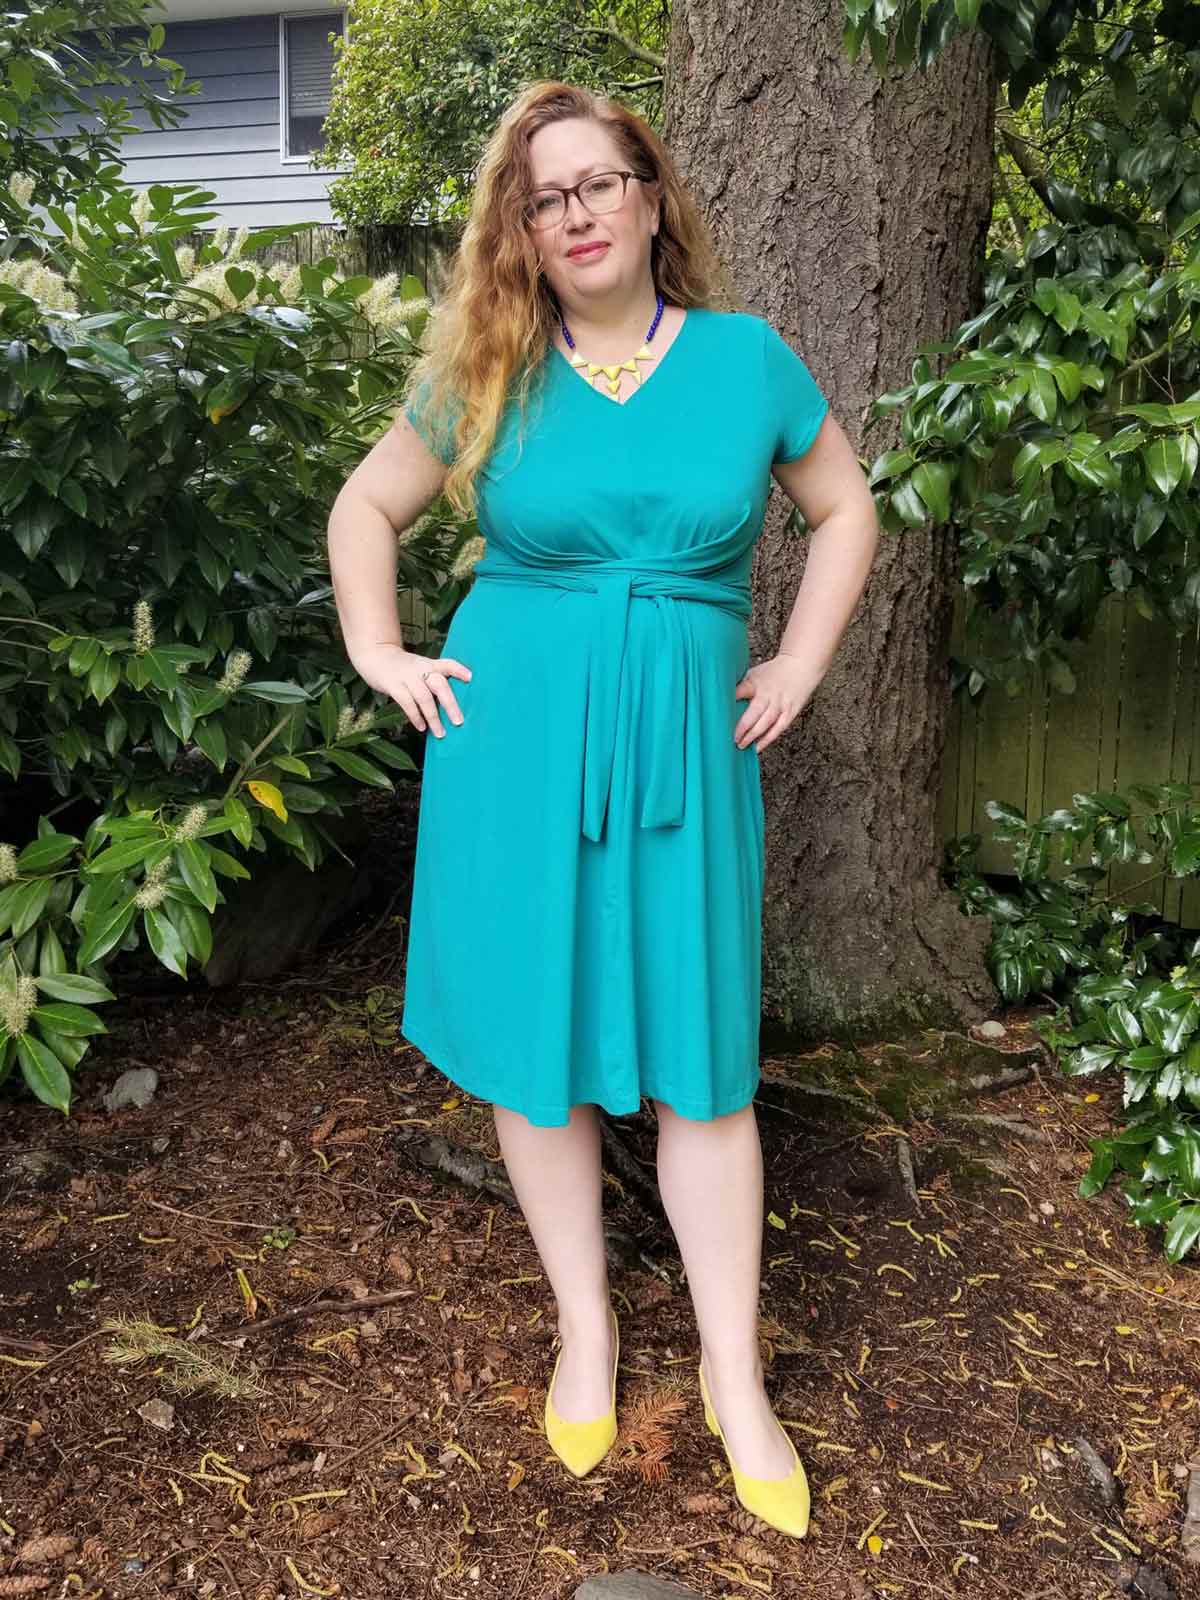
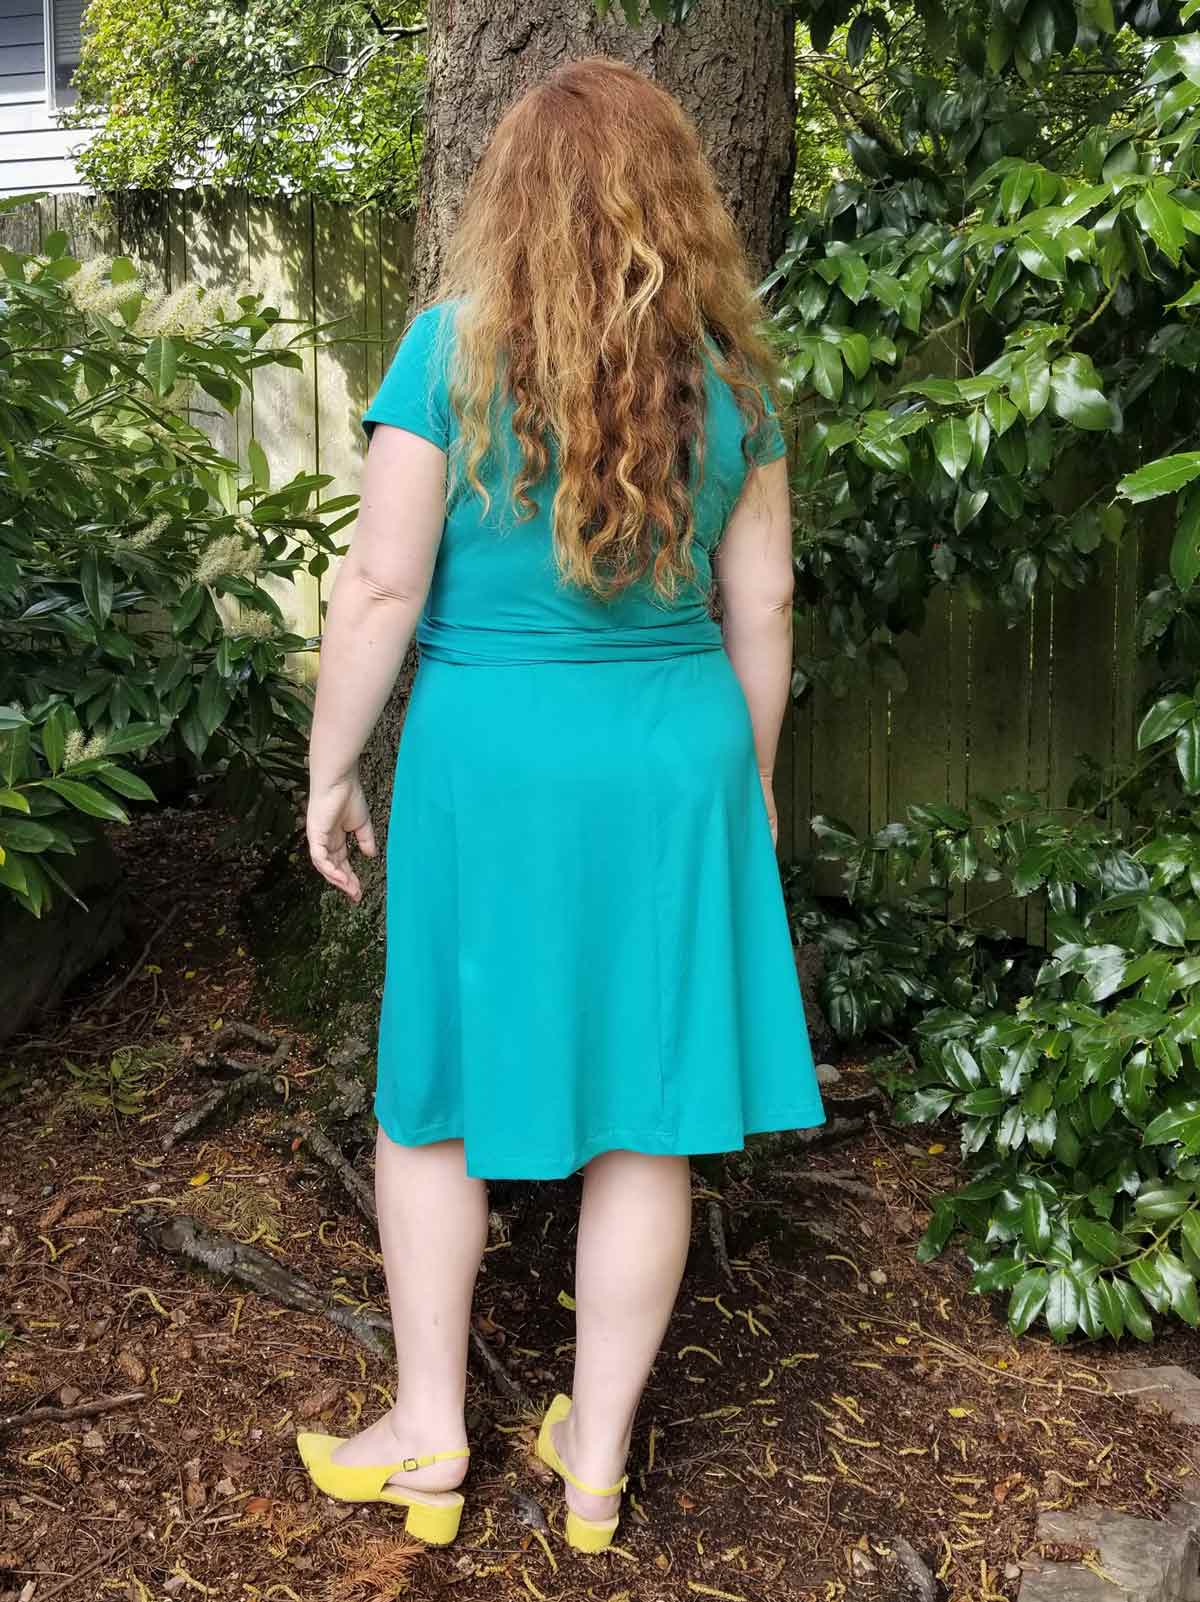
The extra flare is really pretty, isn’t it?
Once you’ve adjusted your skirt pattern pieces you can proceed with the pattern as it is written, keeping in mind that you may need more fabric as a result of your changes. And if you’d like to learn more about these techniques, they’re covered in depth in our Building Block Dress book.
I’d love to see how this works out for you! Tag your photos so we can admire them, will you? #lieslandco #belgraviadress #kensingtonknitskirt.
And don’t forget to enter our spring pattern challenge! You can enter by sewing either (or both!) of these patterns as well as our new Montauk Trousers pattern. Also, we’re donating a portion of this week’s pattern sales to charity, so now is a great time to pick up that pattern you’ve been eyeing!
I will totally be doing this!
very helpful, thanks!