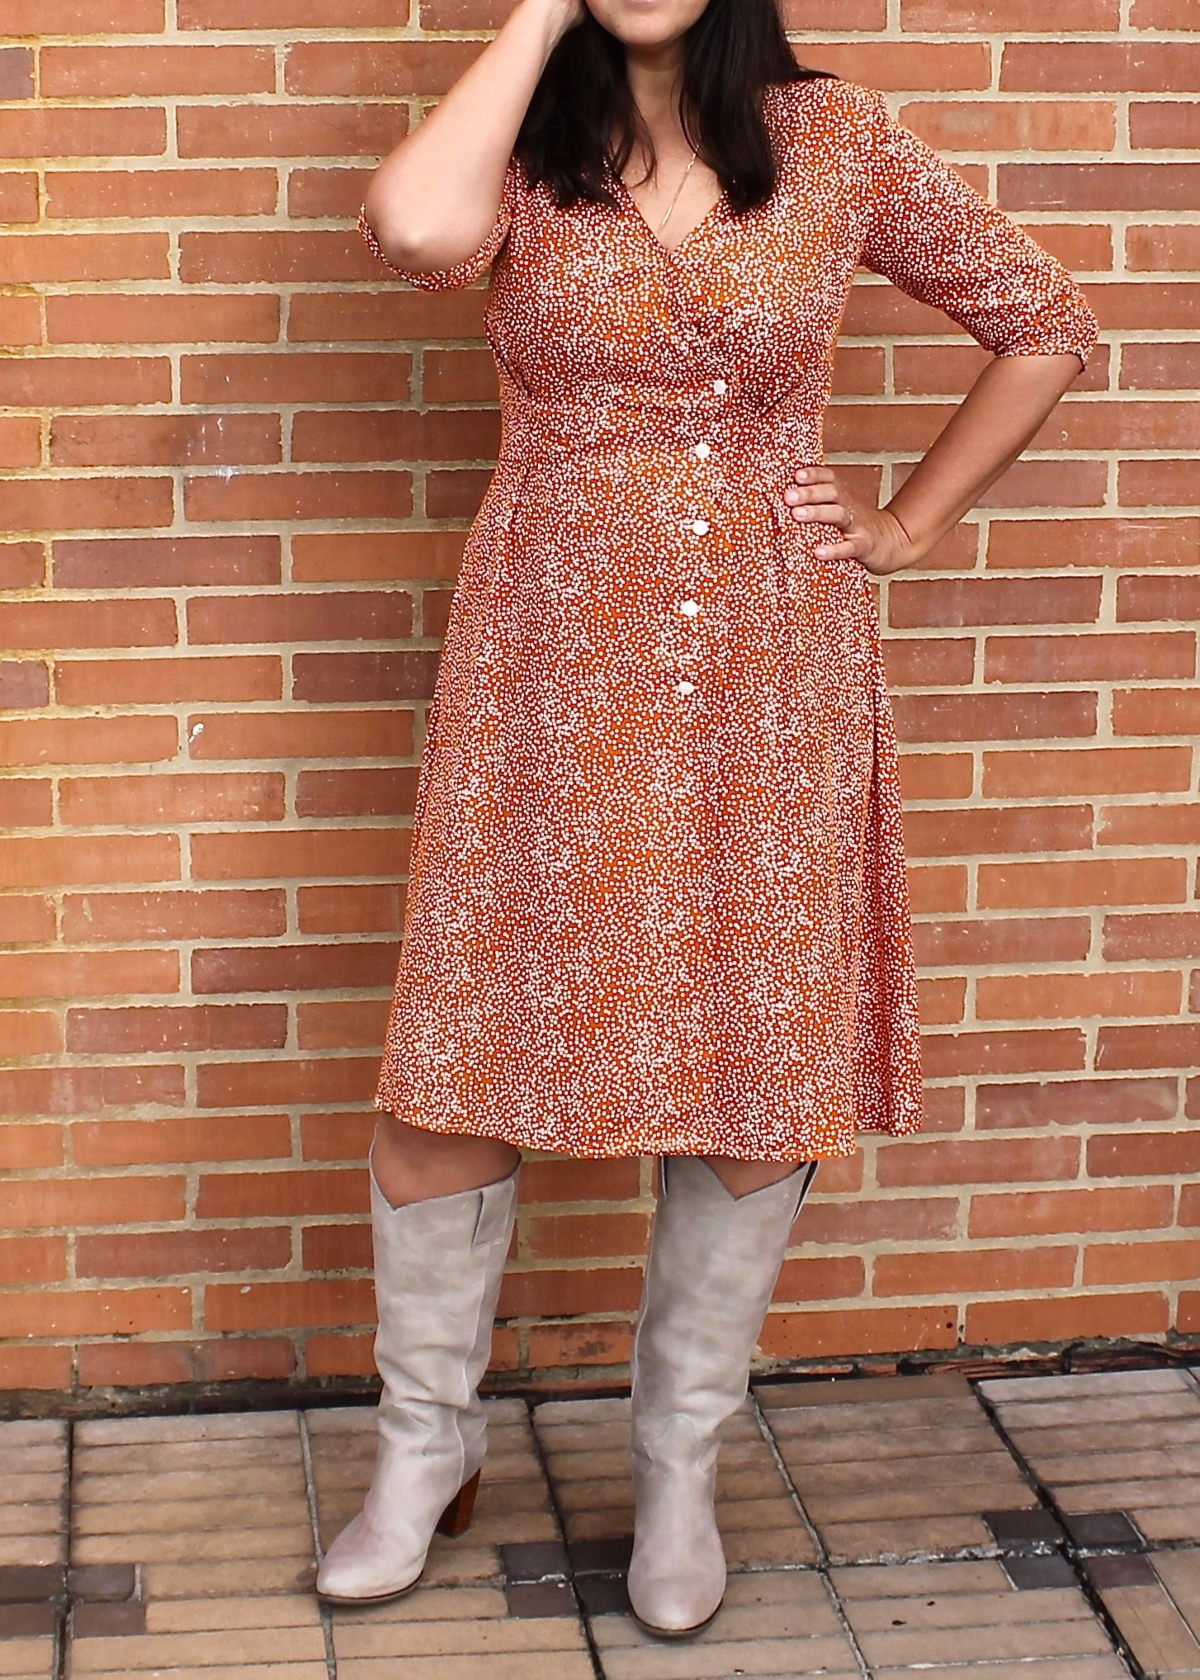
I fell in love with this dress instantly upon seeing the pattern envelope. The v-neck, the wrap, the buttons and the ruched sleeve were all right up my alley. The silhouette and the details combine to create a look that I really haven’t seen anywhere else.
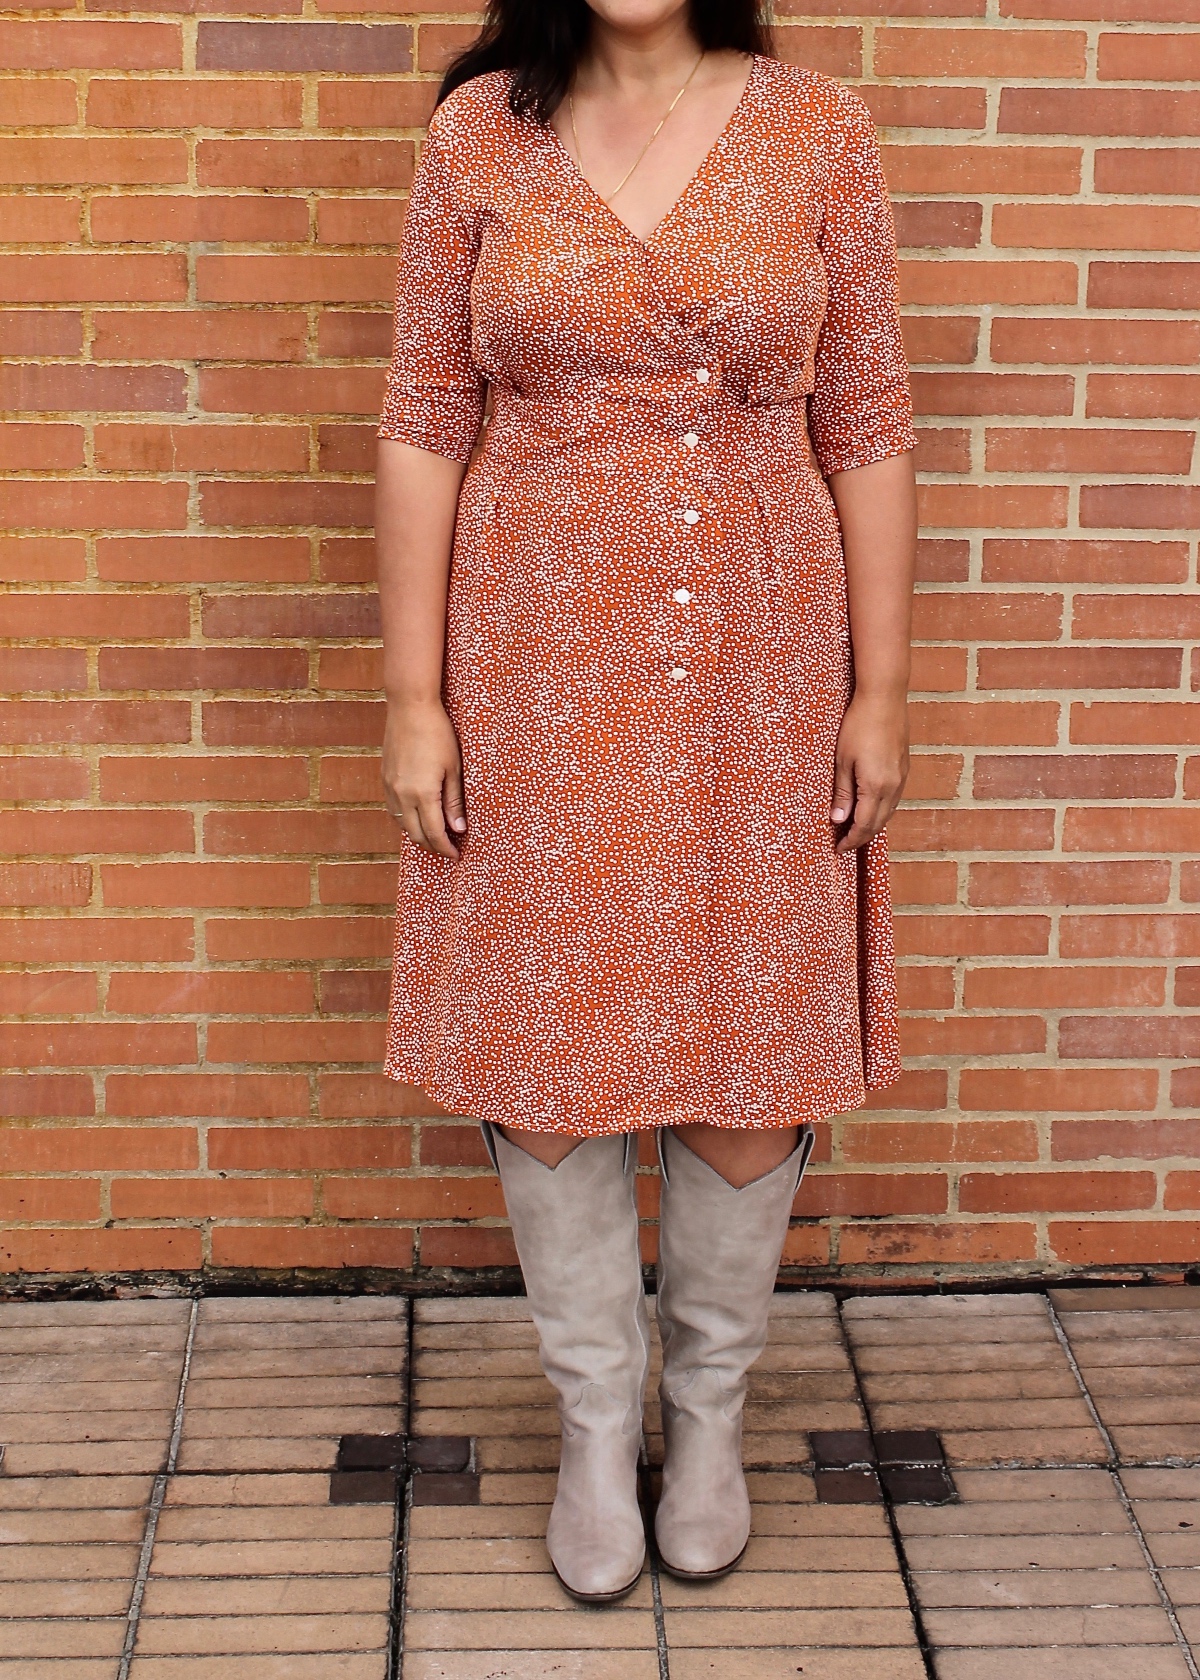
When choosing my fabric, I knew that drape was going to be very important. I wanted rayon for its fluidity, but I was hoping for something a little sturdier and less shifty than a challis. I ended up taking a chance on this rayon twill in the hopes that the twill weave would render it a little more stable than challises I’ve worked with in the past. I found that to be true; it’s lovely and light and drapey, but was still pretty easy to work with.
Fitting details
Full bust adjustment
I did a lot of fitting work for this dress. First, I did a fitting using my paper pattern, to determine how much of an FBA I would need. (For reference, my high and full bust measurements are 36″-40″ and I used the 8D bodice graded to the size 12 skirt).

The pattern comes with cup sizes, but I still needed to add 1 5/8″ and a bust dart while performing my FBA. I showed the method I used to make the FBA in our Saint-Germain Sew Along, which is available for reference if you’re interested in making this pattern.
Other adjustments
There is also a waistband piece that you have to contend with while making these fitting adjustments. I cut the size 8 waistband for the back, and altered the front size 8 waistband by adding the same amount of width to it that I had added to my bodice in the FBA. Then I just adjusted the pleats in my size 12 skirt to fit that waistband.
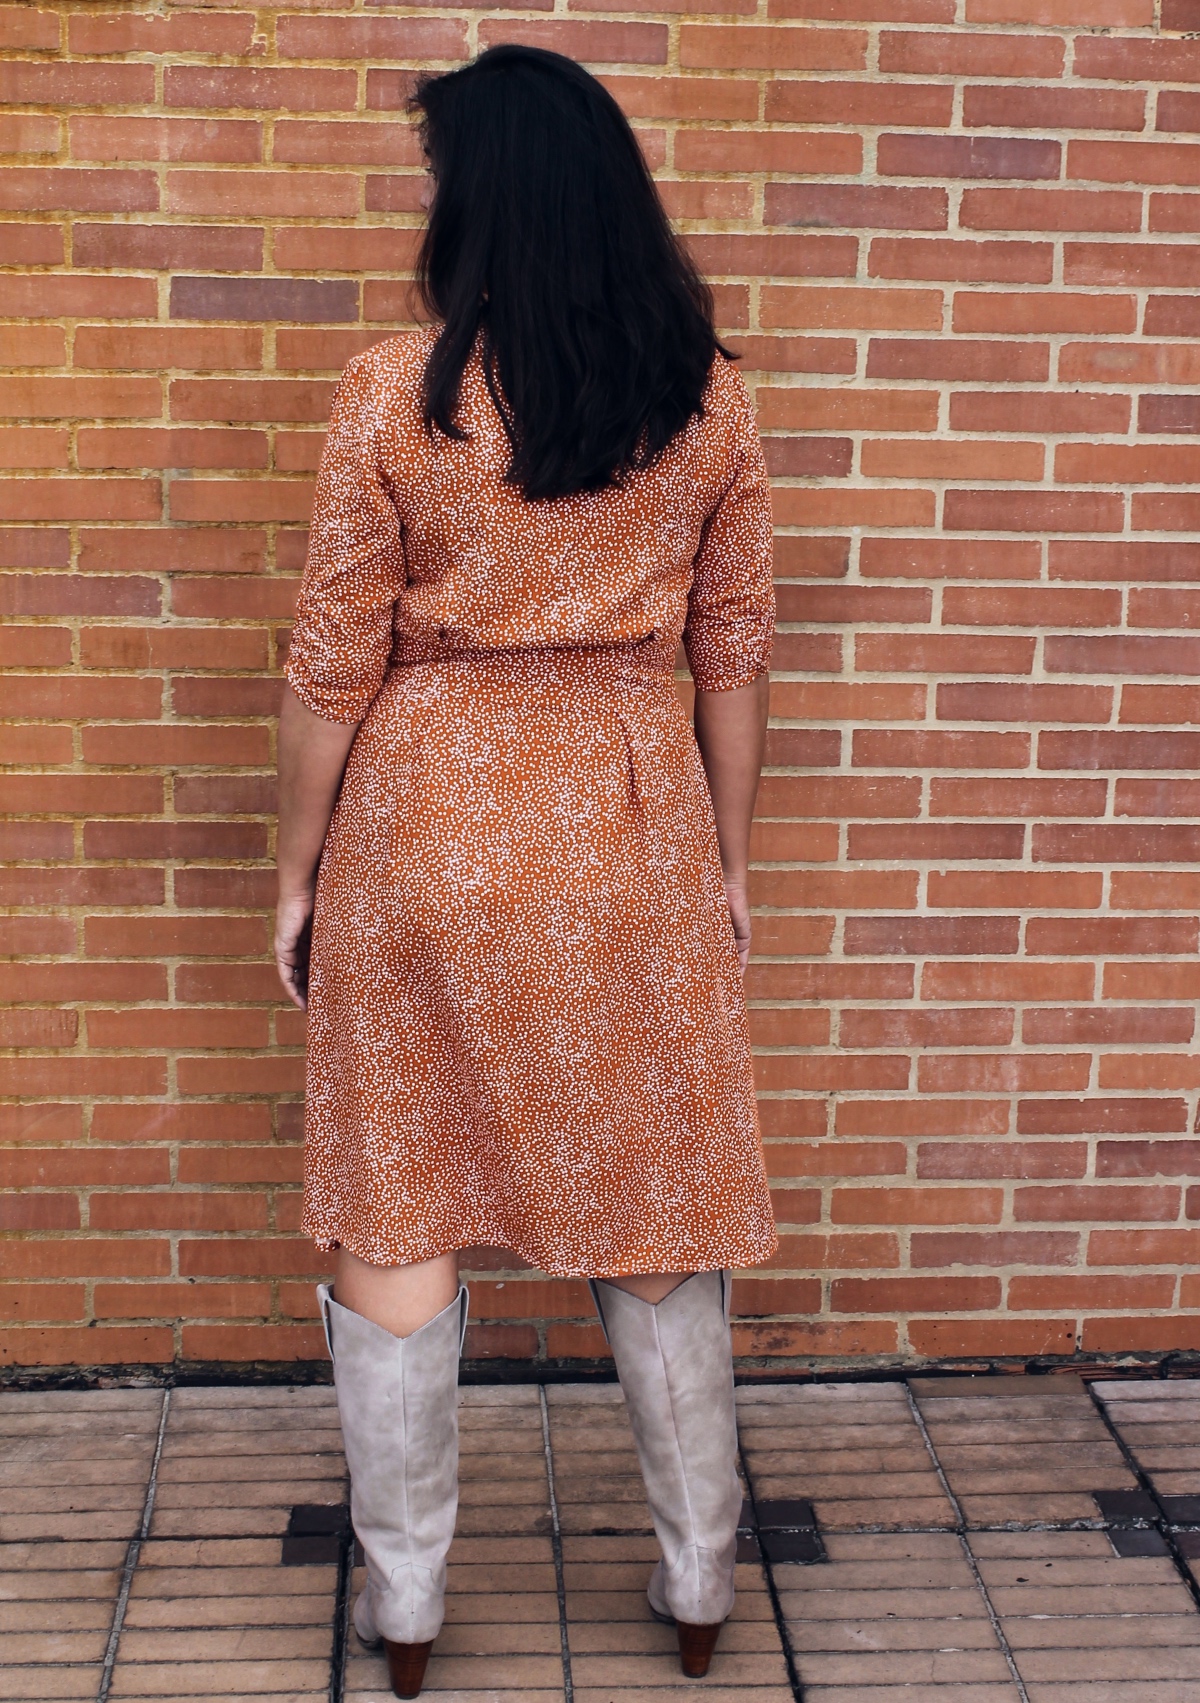
I also did a 5/8″ high round back adjustment, a 1/2″ forward shoulder adjustment and a 1 5/8″ full bicep adjustment while still in the paper pattern stage of my fitting process.
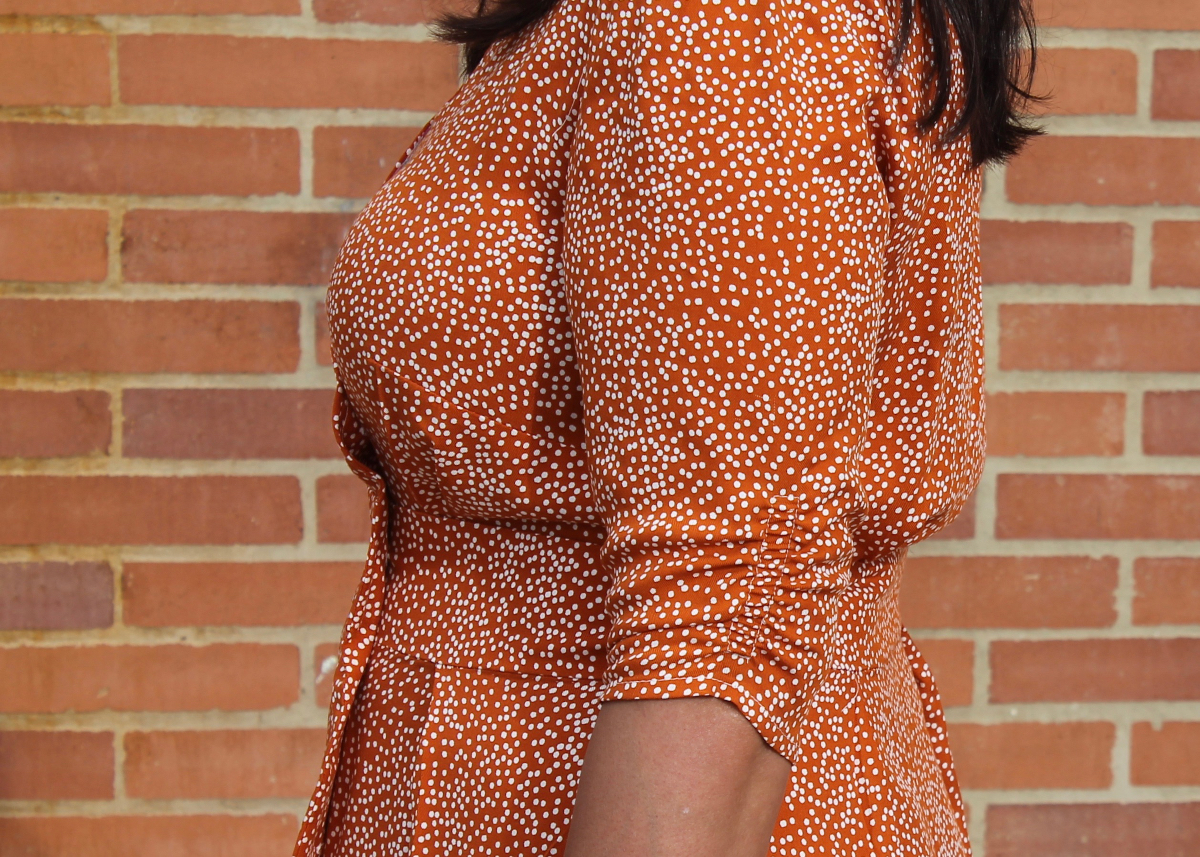
Then I made a bodice muslin. The muslin helped me determine my that I also needed to remove a wedge from the shoulder seams in order to eliminate neckline gaping. I took out 1/2″ from the inner shoulder, tapering to nothing at the outer shoulder. During the muslin stage, I also split the underbust pleats into two smaller pleats, which I thought was a little more flattering to my shape.
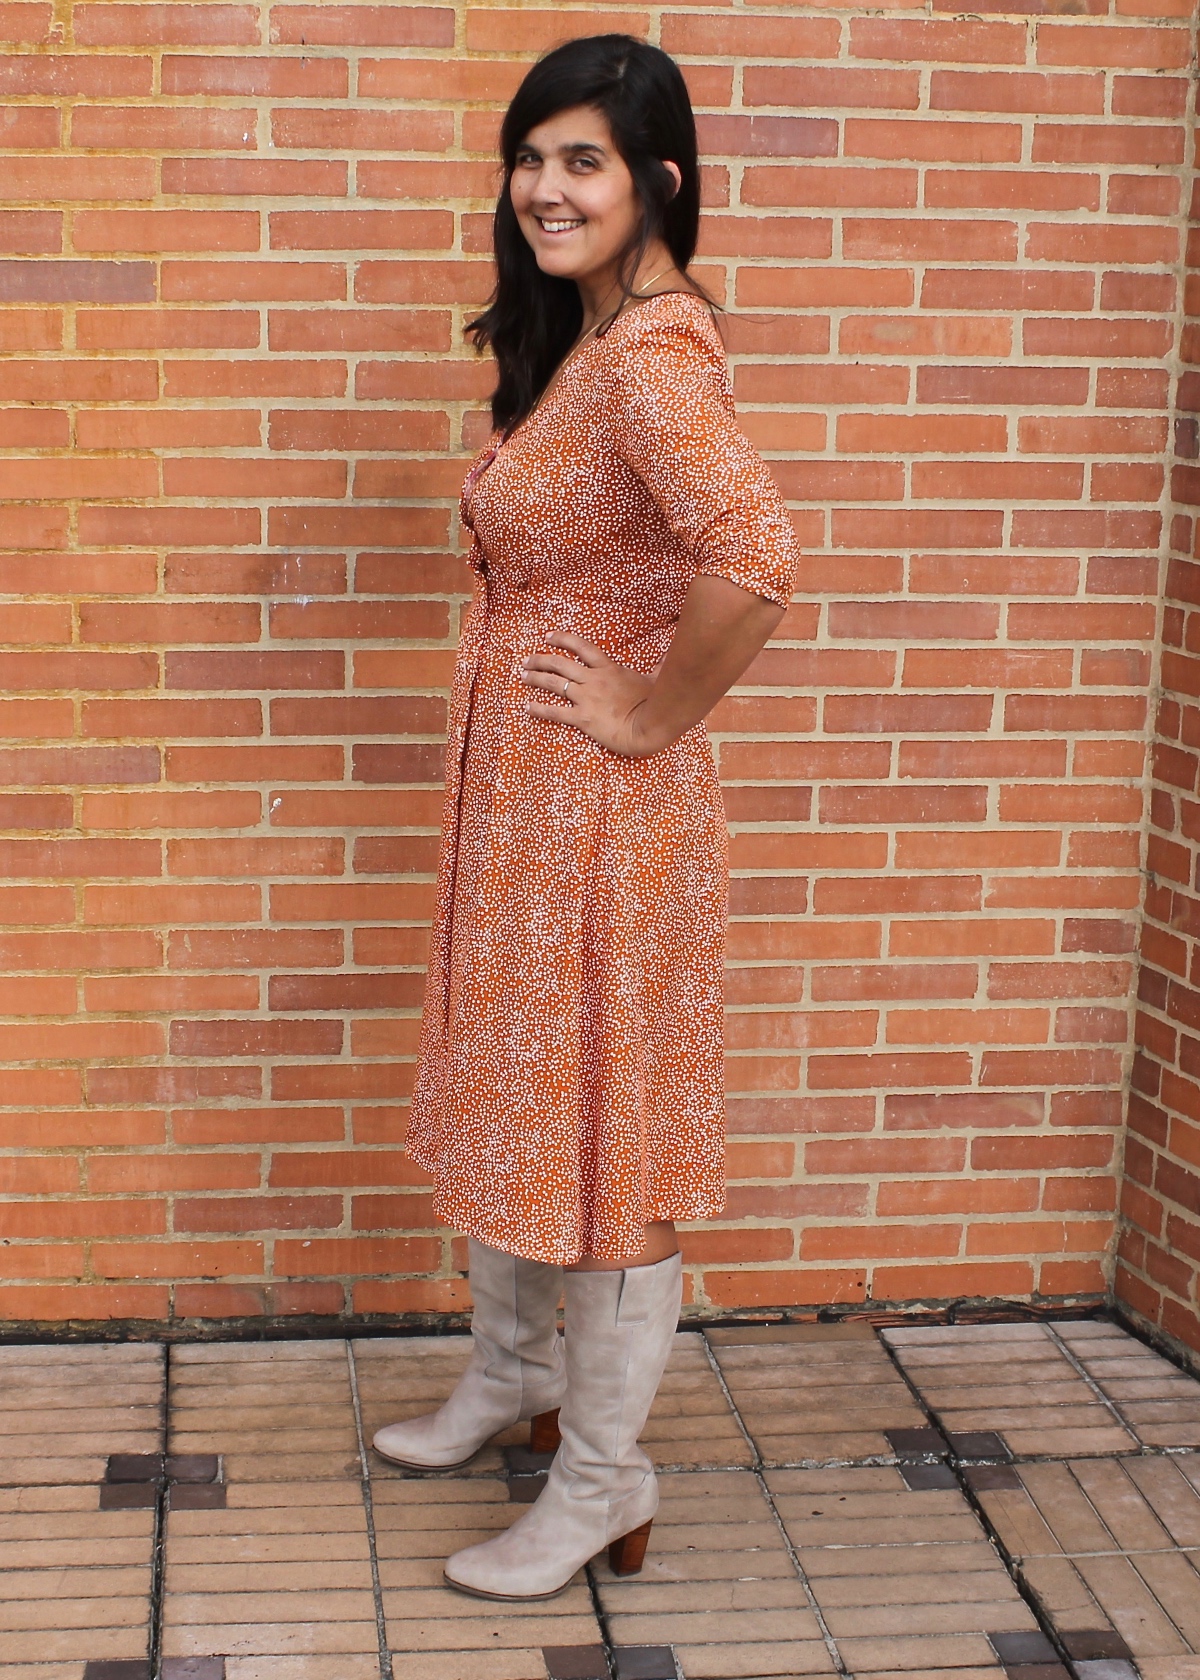
I also lengthened the skirt 2″ for my 5’8″ self and I think that was the perfect amount.
My bust dart ended up a little bit too low, as it dropped more than I anticipated it would, but otherwise I think the fit of the dress is pretty good, and I’m glad I spent all that time getting it right.
I added a hidden snap at the upper “V” overlap to keep the neckline secure. I hand-sewed the snaps at the edge, through the bias facing, for more support without needing to use interfacing.
Sewing the dress really did not take as long as I thought it would. I saved myself some time and headache by making my neckline bias facing out of cotton shirting instead of the rayon twill. I have learned with experience that I really dislike working with rayon bias facings. The extra stability of the cotton meant that I only had to sew that facing on once, and there was no unpicking or rippling.
Although I didn’t see it on the samples, my version of the dress is giving me a bit of a vintage vibe. I don’t have anything like it in my closet, so it’s been a welcome addition to my wardrobe. Have you sewn this dress?
Such a smart idea to make the bias facing out of shirting! I’m filing that away for my next rayon project.
You did a beautiful job. It looks great on you making it worth all the adjustments and prep!
Lovely!
Very stylish, Masha! Great job.