Are you ready to start sewing with us this week? The Afternoon Tea Blouse sew-along is underway. We’ve covered the preparatory steps, and today we begin sewing.
But before we kick off, I wanted to share this tutorial with you in case you want to add a lace ruffle to the blouse. I somehow thought I had already written this tutorial, but as we were preparing for this sew-along I realized that I had only mentally posted it, not actually. Ah, I must be getting old.
In any case, this is an extra, bonus tutorial for the sew-along to show you how to add a ruffle to the pattern. It’s very easy!
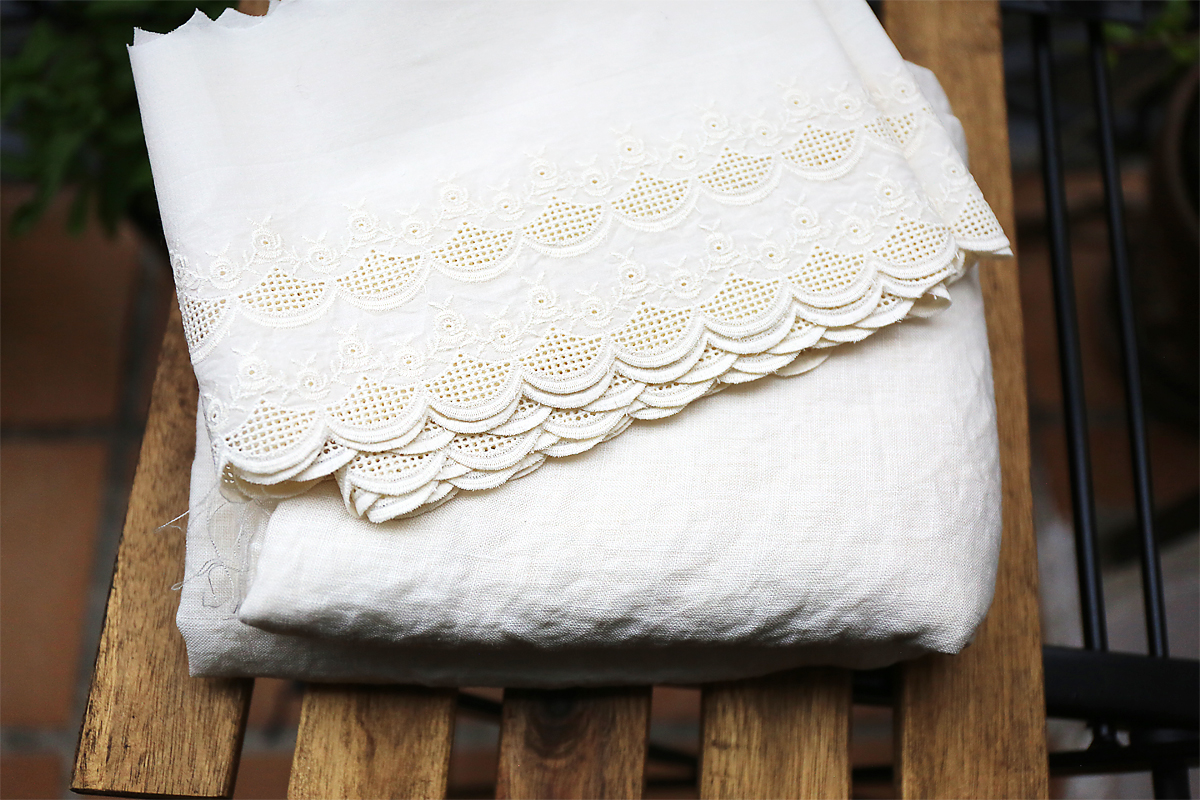
If you have the opportunity, you can find many lovely lace borders available by the yard. Here’s the one I chose for my ruffle blouse. I tea stained the handkerchief linen to match. If you can’t find anything like this there are plenty of other options. Make your own ruffle with a lightweight fabric, use the border of lace by the yard (more expensive, but you can use the lace itself for another project), use wide lace, or add narrow lace to the bottom edge of another fabric. Be creative here! I’d like to sew another one of these using power mesh or silk tulle for a ruffle.
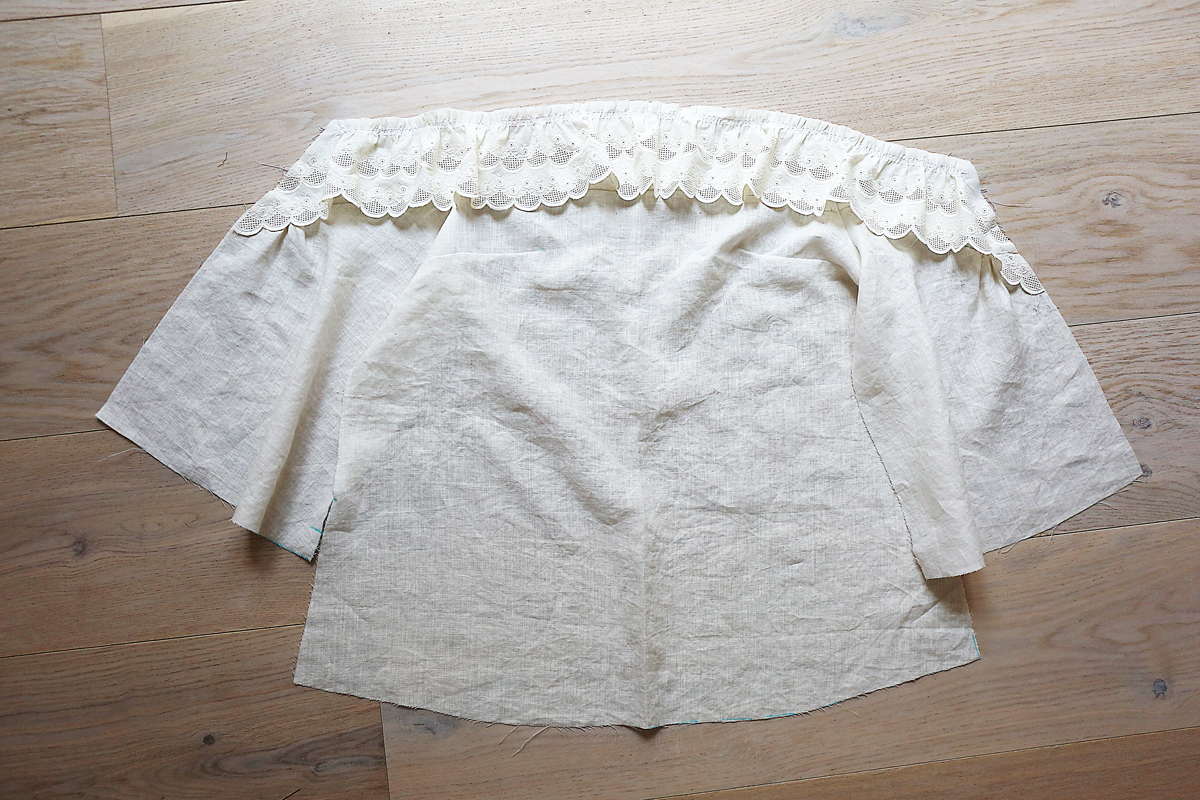
First of all, you’ll sew the pattern all the way to the point where you have attached the sleeves at the bottom of page 1 and the top of page 2 in your instructions. This means that you’ve sewn the strip to the front and back bodice to the sleeve flounces, and then you’ve sewn the sleeve flounces to the front and back bodice so you have a continuous stripe that goes all the way across the front and back blouse.
Now we can prepare the ruffle. You might want your ruffle to be a little taller than the height of the stripe itself so the seam doesn’t show, or maybe you’re just adding a narrow ruffle. That decision is up to you. If you want the ruffle to be wider, the finished stripe measures about 2 3/4″ (depending on your size), so I cut my lace trim to be 3 1/2″ tall (3″ plus 1/2″ seam allowance) at the narrowest part of the trim (the scallops make the trim wider in places. If you’re making your own ruffle, be sure to account for any sort of hem you want to add.
Next, you’ll want to add some width to the ruffle so you can gather it. I cut my ruffles to be about 50% wider than each stripe pattern piece, but if you want them to be really full you could cut them as wide as double the original pattern piece. One thing to keep in mind is that you’ll need to cut the ends of the sleeve stripes at a angle that mimics the shape of the stripe itself, so add a few inches on each side and them trim them to the same angle, using your blouse or the sleeve stripe pattern piece as a guide.

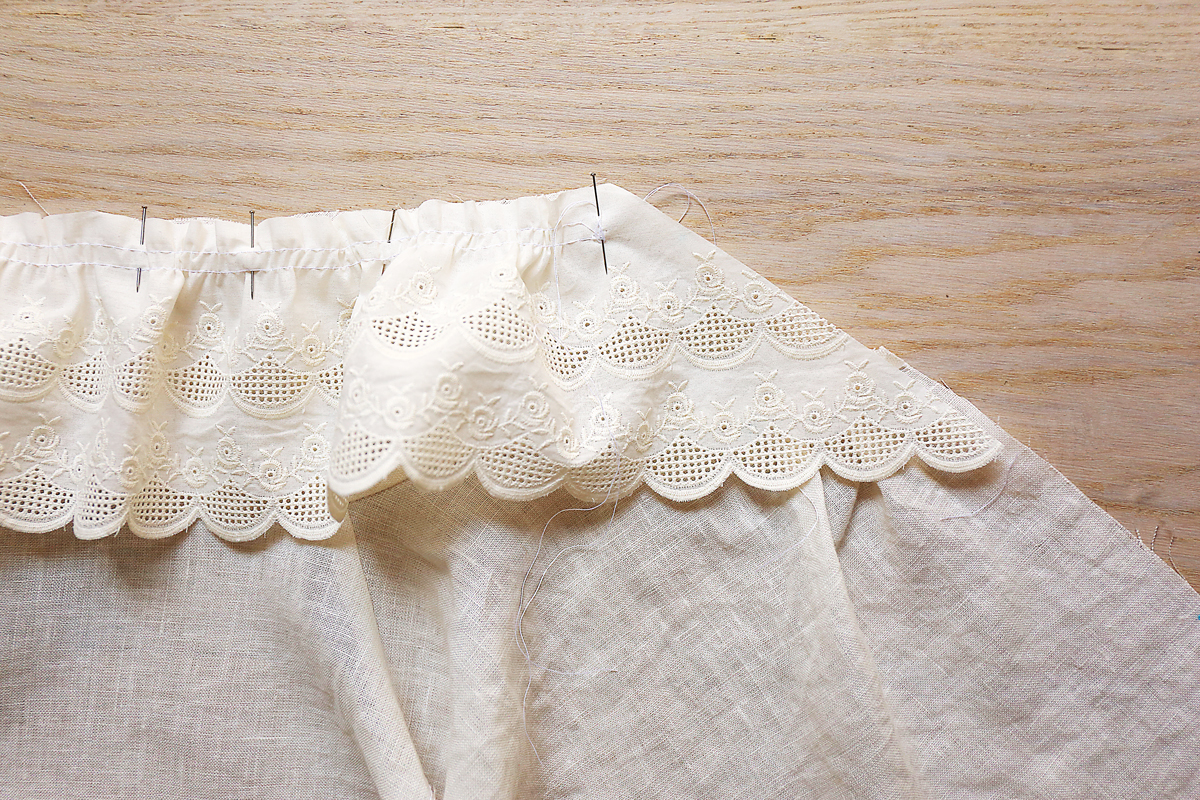
Hem the bottom edge of your ruffle, if it isn’t already finished, and add two rows of gathering stitches at 3/8″ and 5/8″ from the top edge. Stop your gathering stitches 1/2″ from the end of the ruffle so you leave room for seam allowance. I like to measure and mark the ruffle in quarters so I can keep the gathering even: first find the center, and then find the center of each half. Do the same with the blouse front and blouse back. That way it’s easy to pin the ruffle to the blouse at each quarter marking before pulling up on your gathering threads to cinch the fullness of the ruffle until it matches the length of the blouse itself. Arrange your gathers and baste the ruffle to the blouse front and back. Baste the angled edge of the ruffle to the sleeve stripe as well.
Here is a close-up of the edge so you can see how I ended the gathering before the seam allowances. I like to twist the gathering threads around the my pin in a figure 8 to secure them while I arrange the fullness of the gathers. Note that the angle of the ruffle matches the angle of the sleeve.
From there you’ll simply continue with the rest of the blouse construction. Easy, right?
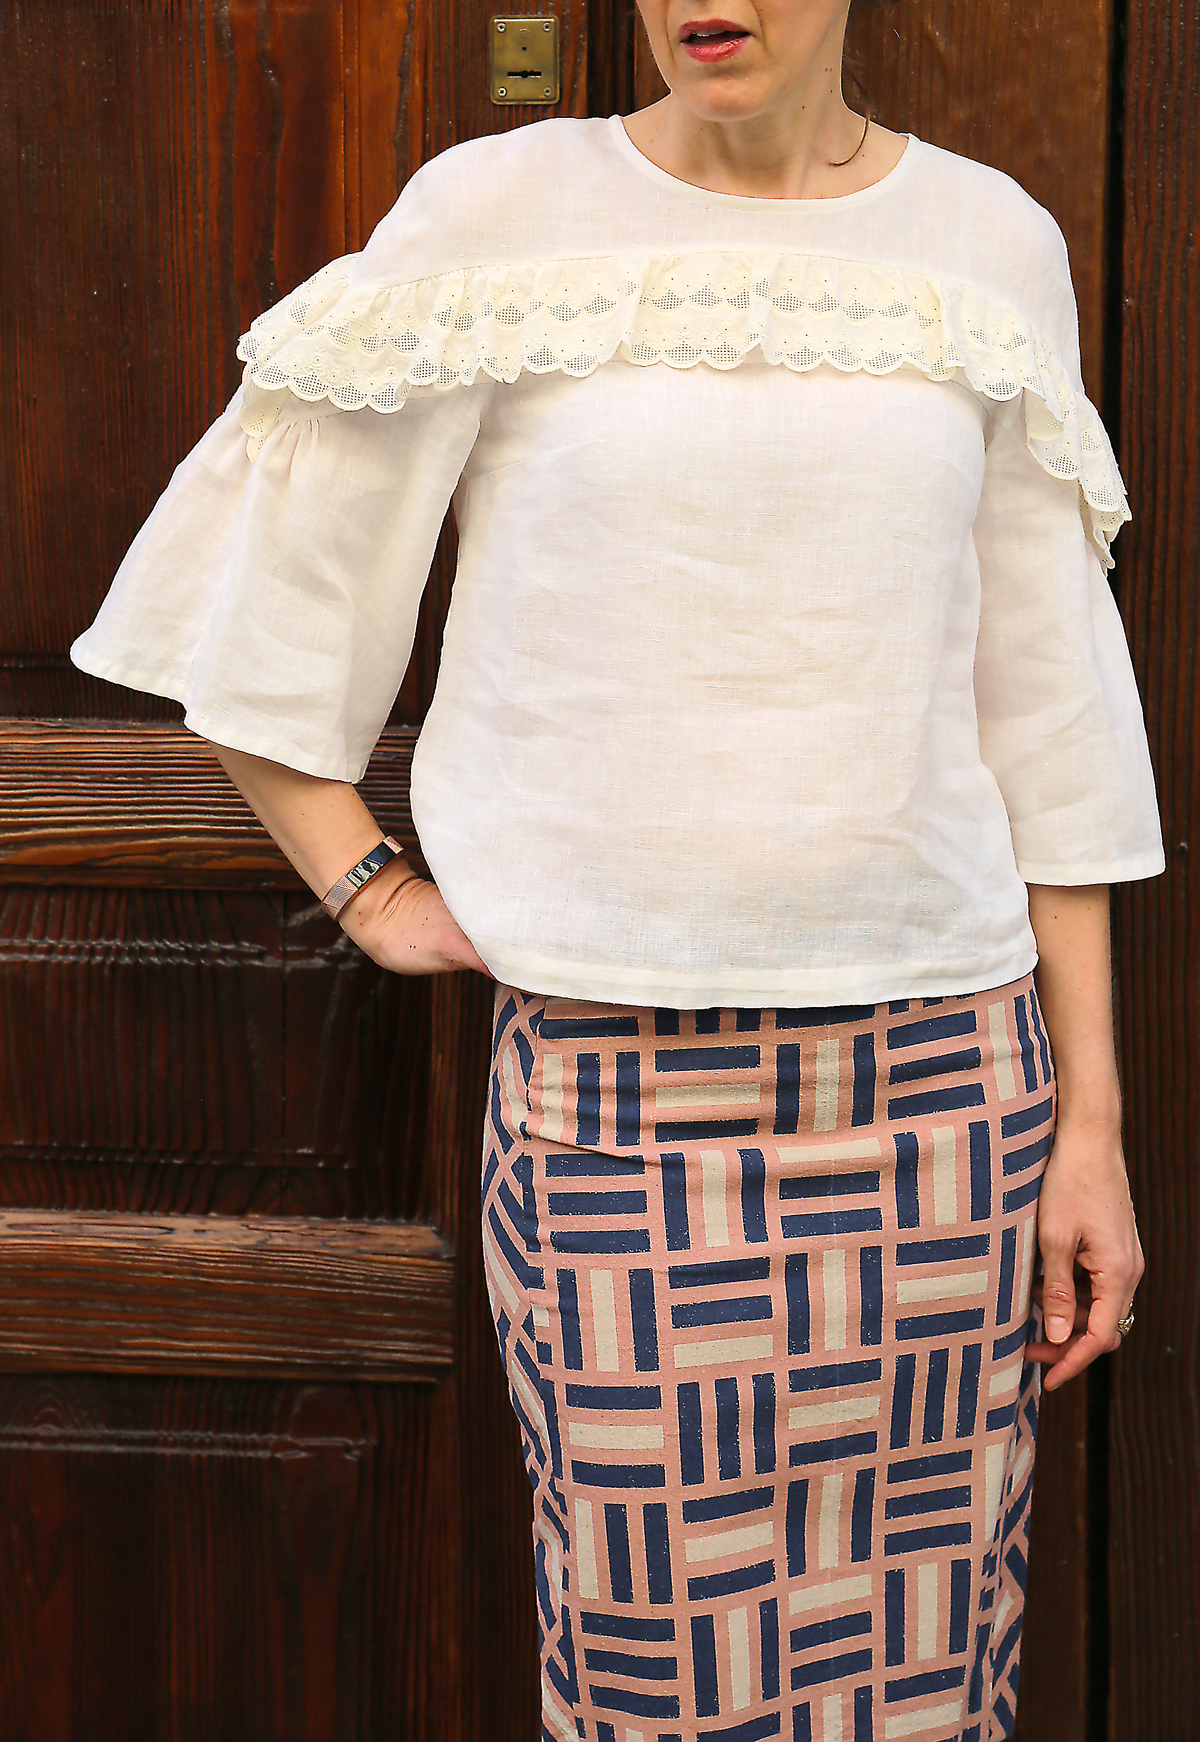
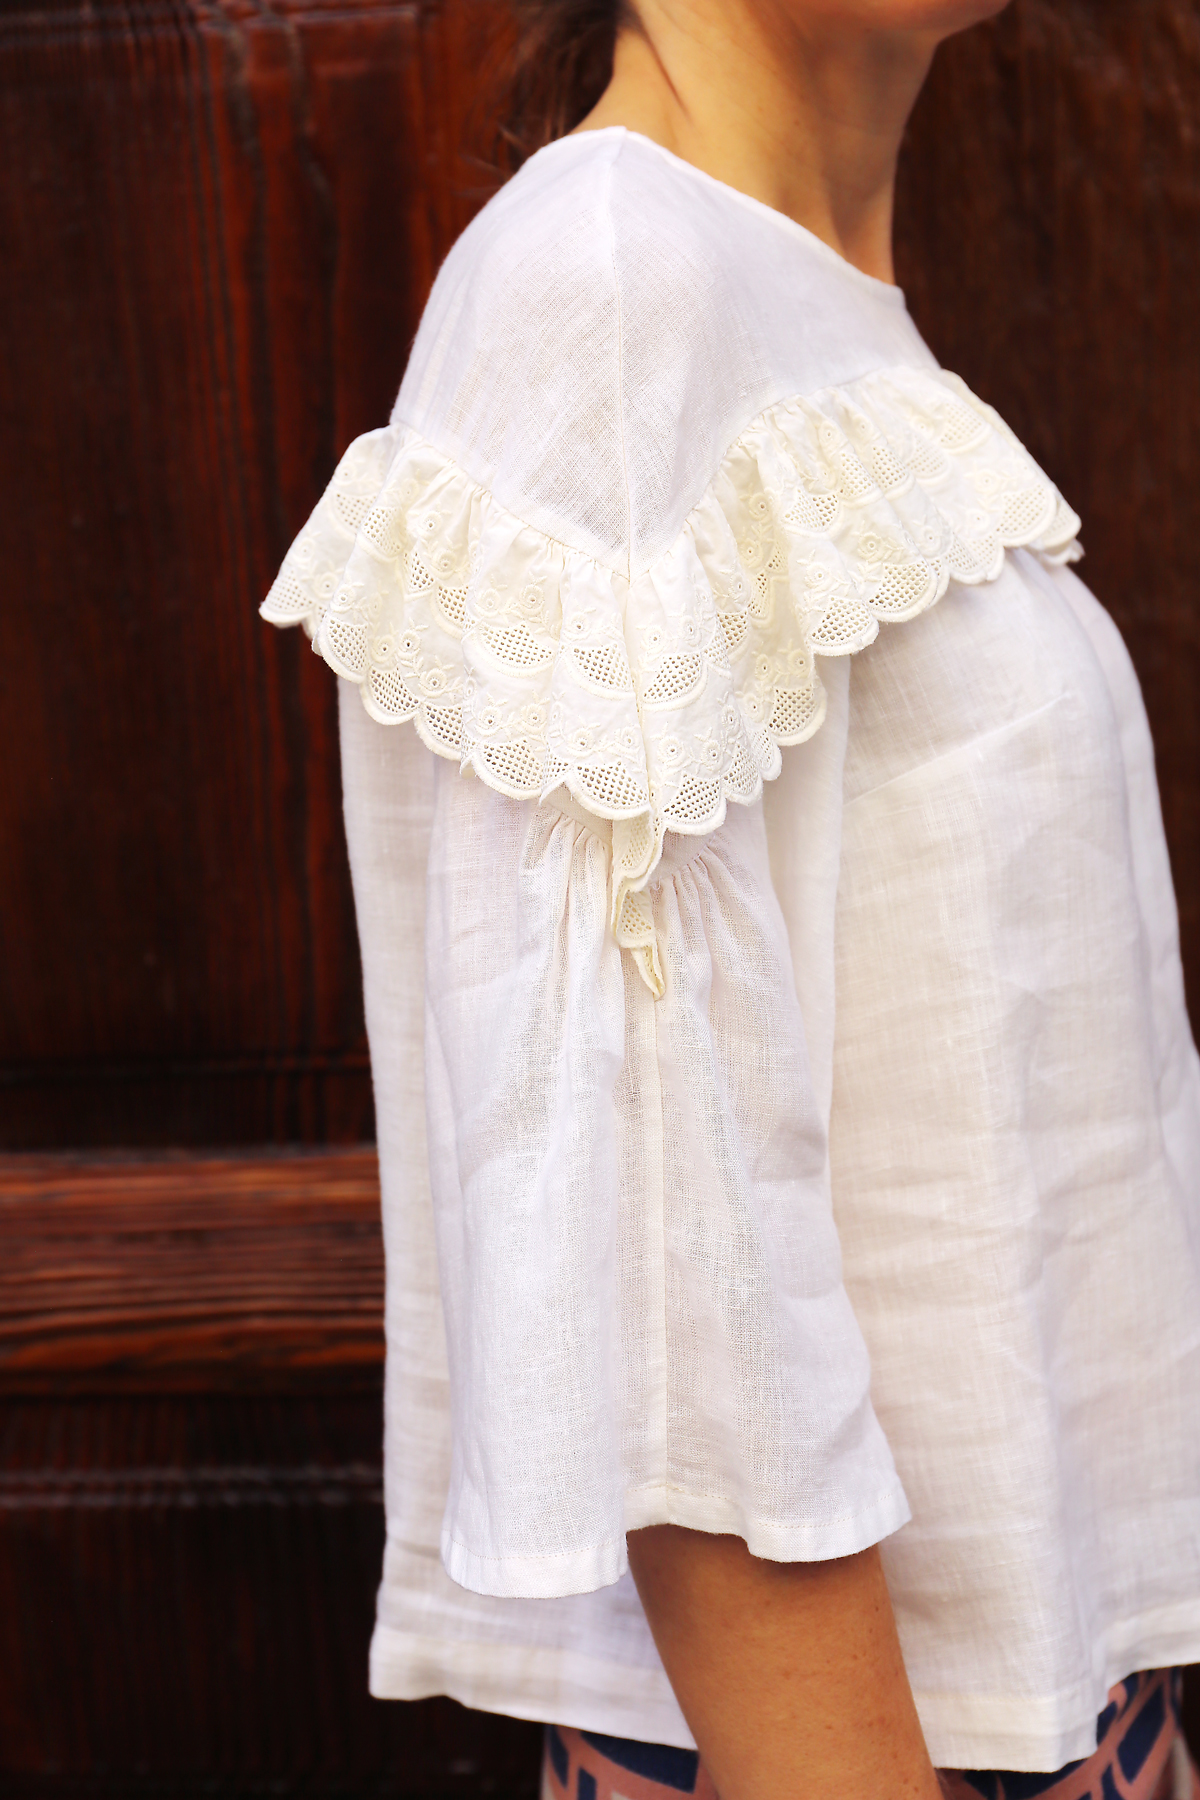
And when you’re done your blouse will have a fun, slightly flirty ruffle like this one!
You can find the sew-along here and pick up a copy of the sewing pattern here.
What a great looking blouse in linen! And, thank you for that tip to wind the thread end while gathering… I always struggled a bit with that!