


Visiting us today from our Advisors Circle is Erica who has stopped by with her Teaching a Child to Sew with Girl on the Go and her Neighborhood Sweatshirt. Now she’s here to tell us all about her latest make. Take it away Erica!

Project details
Pattern: Liesl + Co. Hollywood Trousers
Fabric used:
I used a navy wool gabardine. I found it in a wool suiting clearance section and chose it for having great drape.
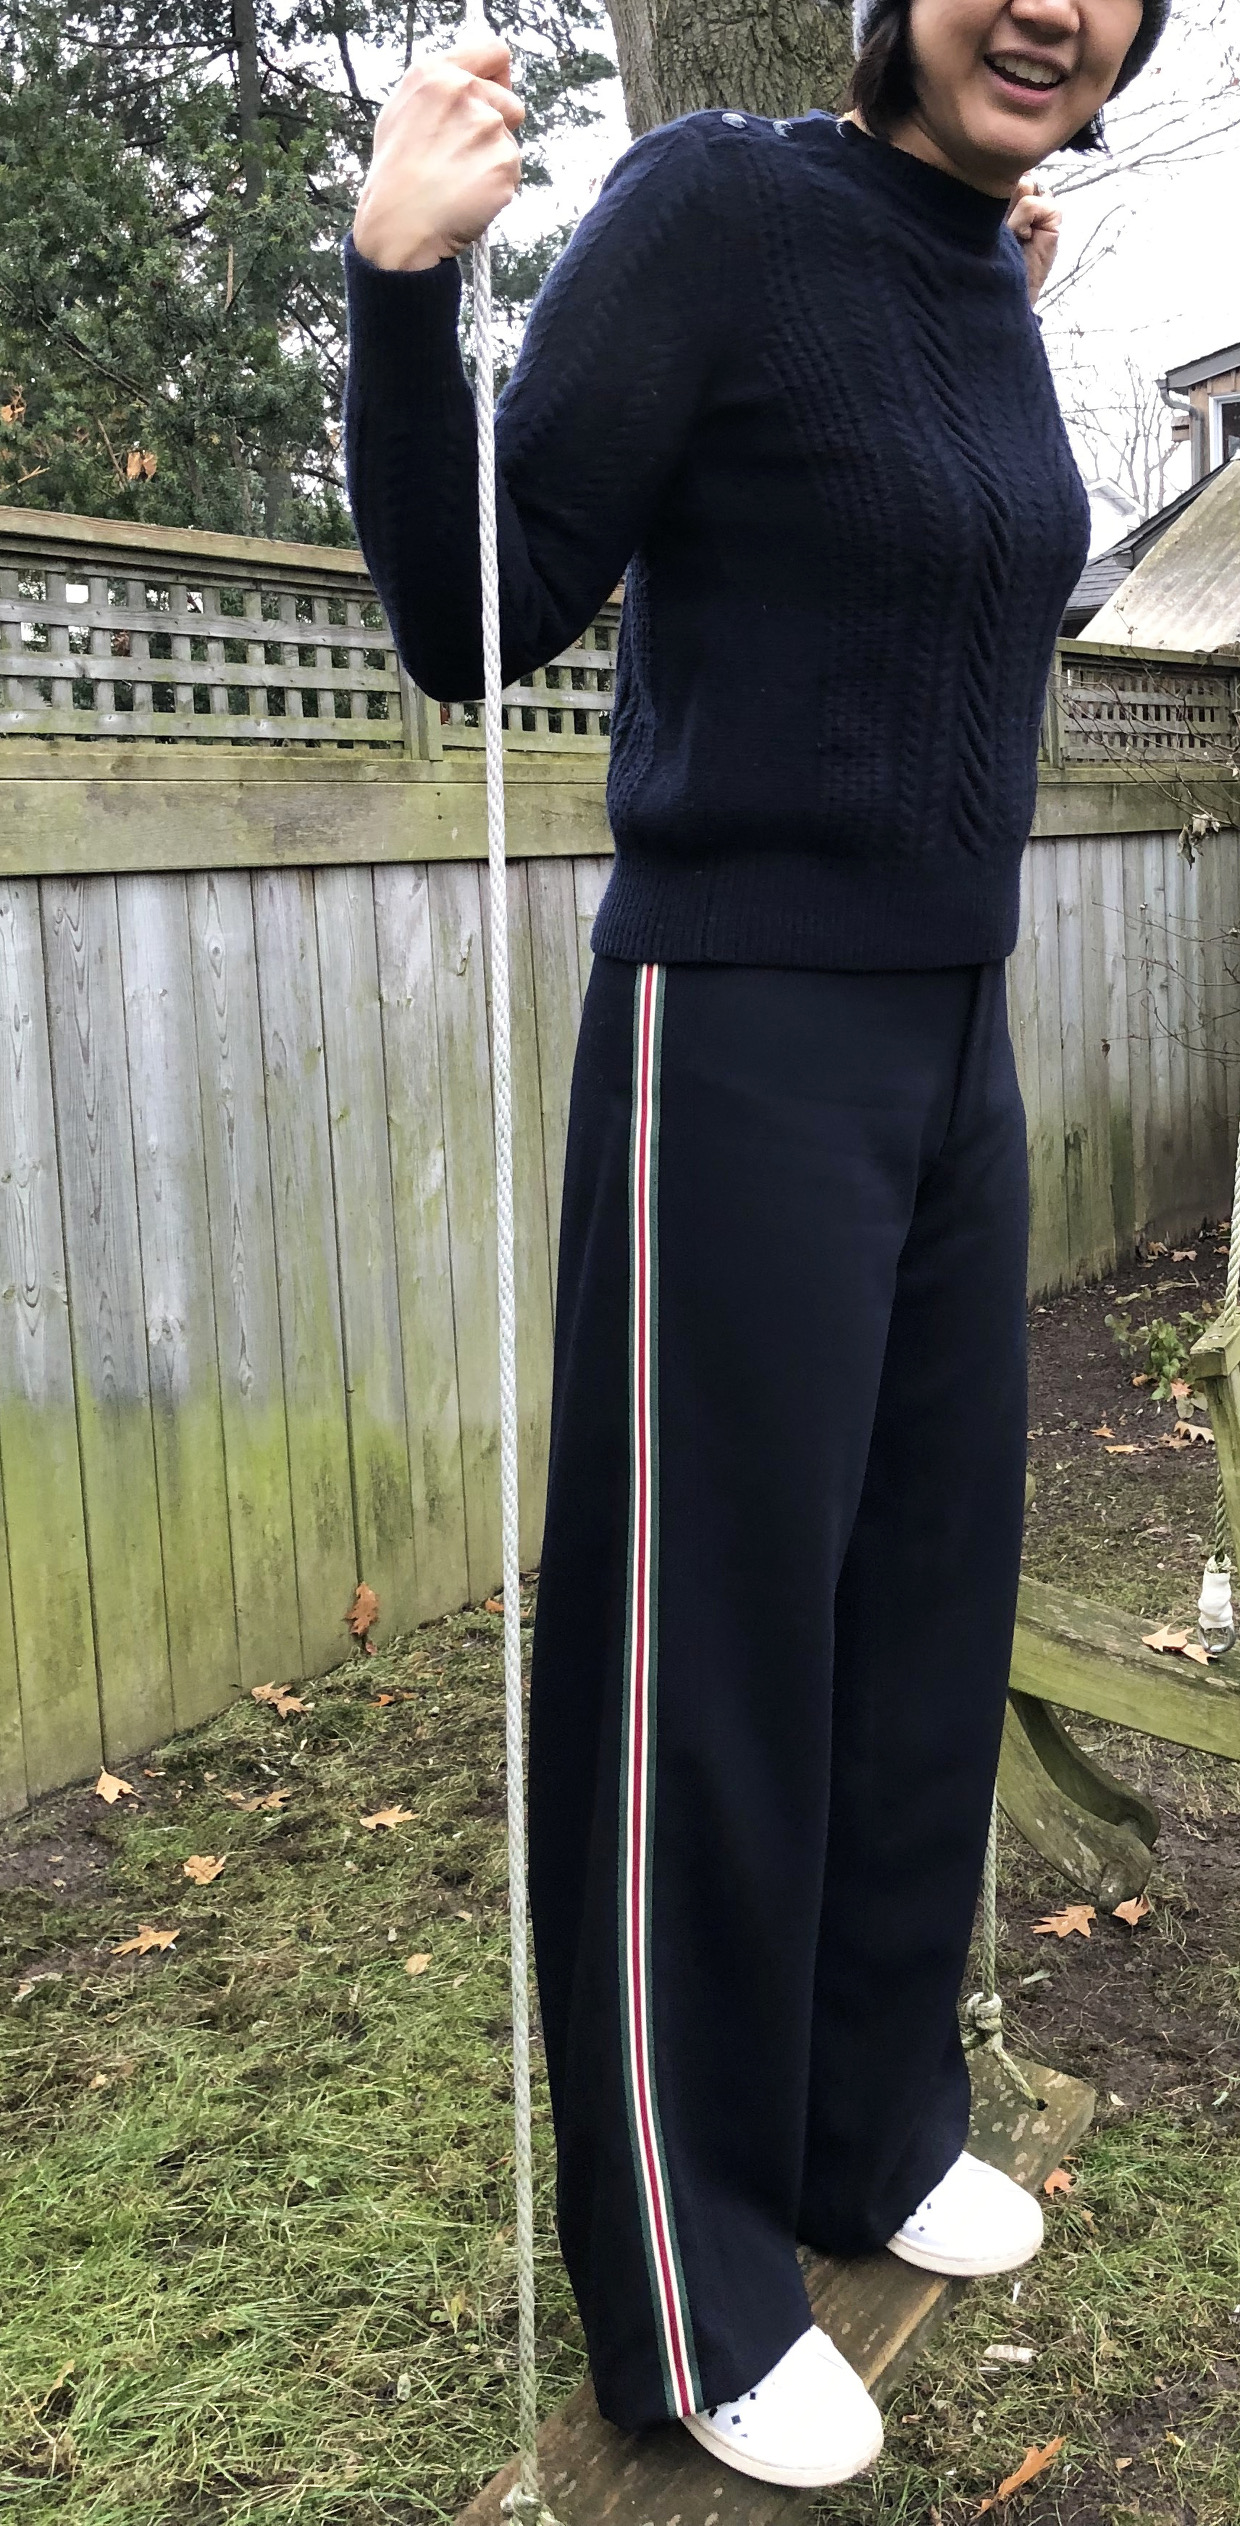
I could have made a simple pair of navy trousers which would coordinate with nearly every top I own, but I decided to customize it with a “tuxedo stripe” down the side seams. I had this project in mind when I was recently in London for a quick professional trip and noticed I was a few minutes walking distance away from the ribbon store, VV Rouleaux. There I found several wonderful ribbon options and settled on this sporty, stretch knit stripe. I wanted to customize a pair of trousers that I could wear with both heels and sneakers.
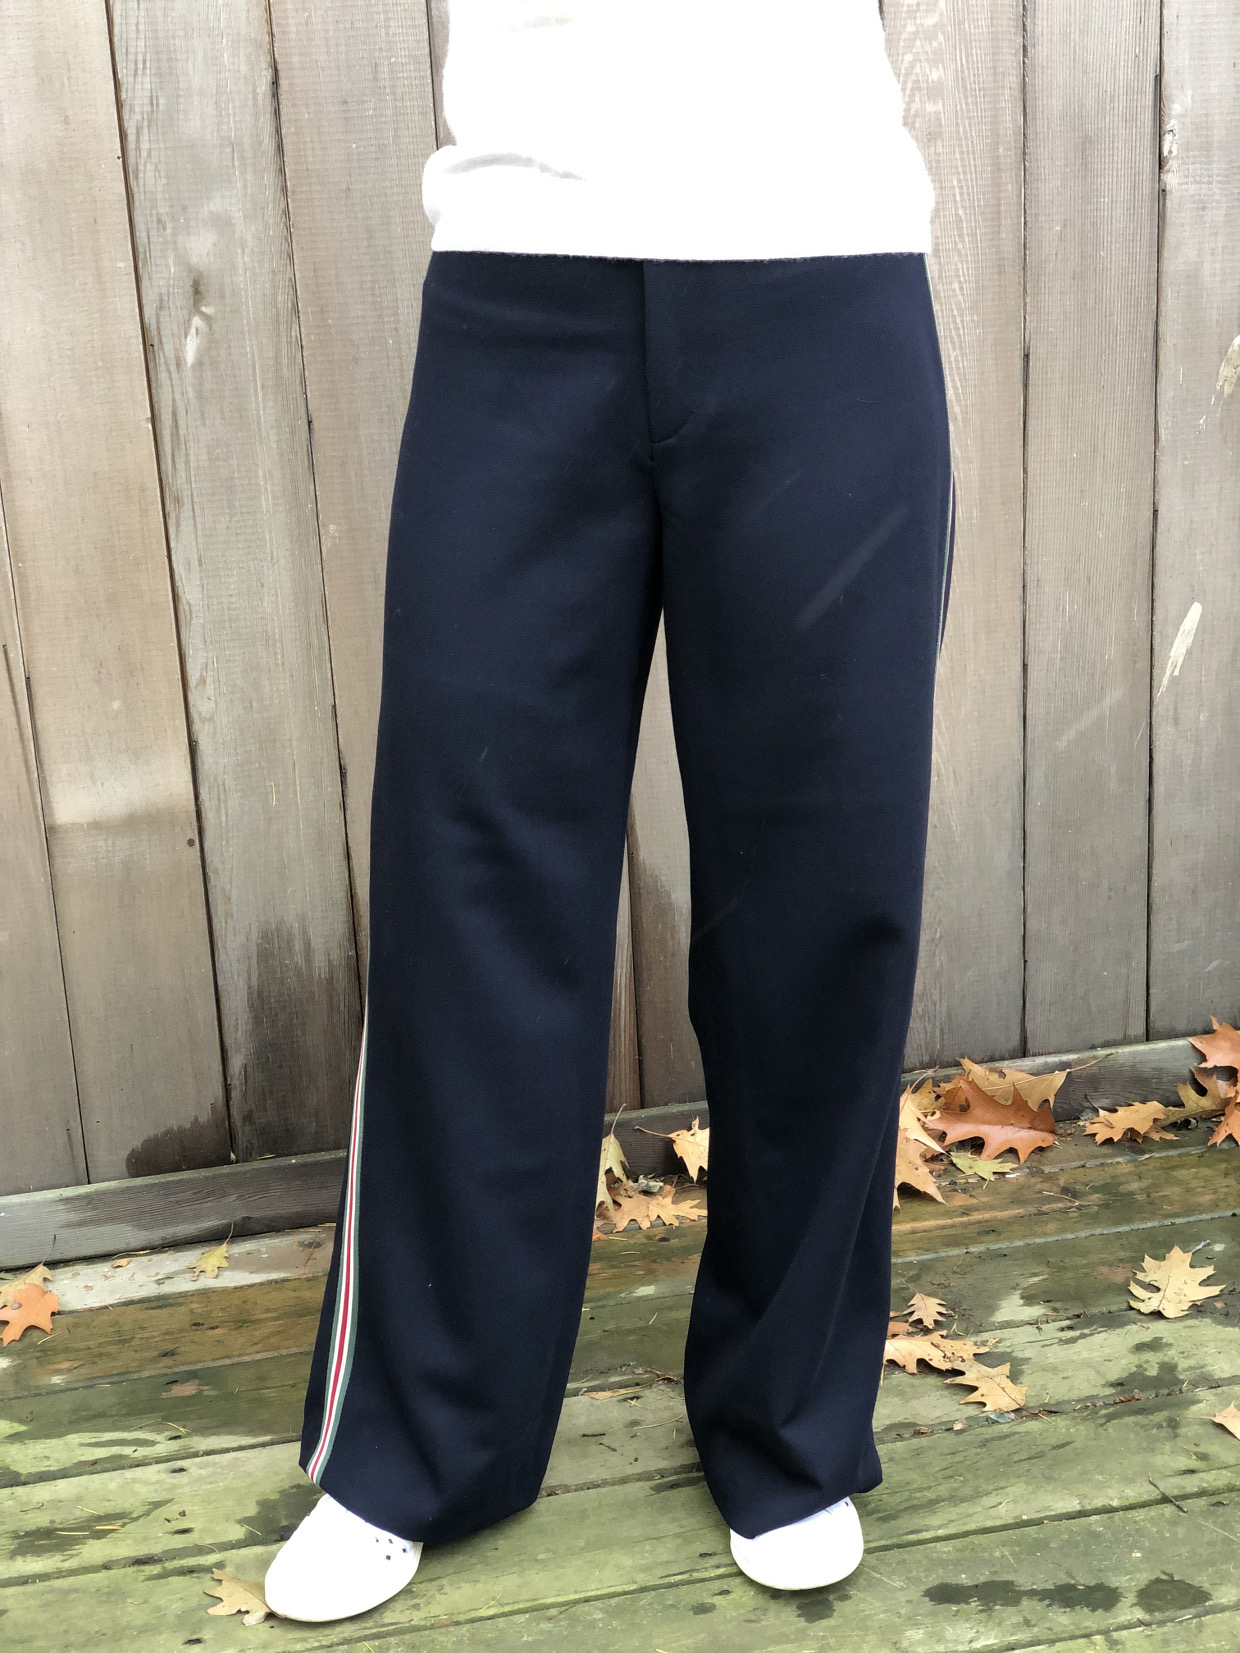
Did the fabric work well?
Absolutely. I wanted a pair of dressy track pants. I noticed that wool gabardine is conveniently wrinkle resistant. Wool and striped ribbon were exactly what I had in mind. It is not always easy to have a vision for the materials and then be able to find them.
How did the sewing go?
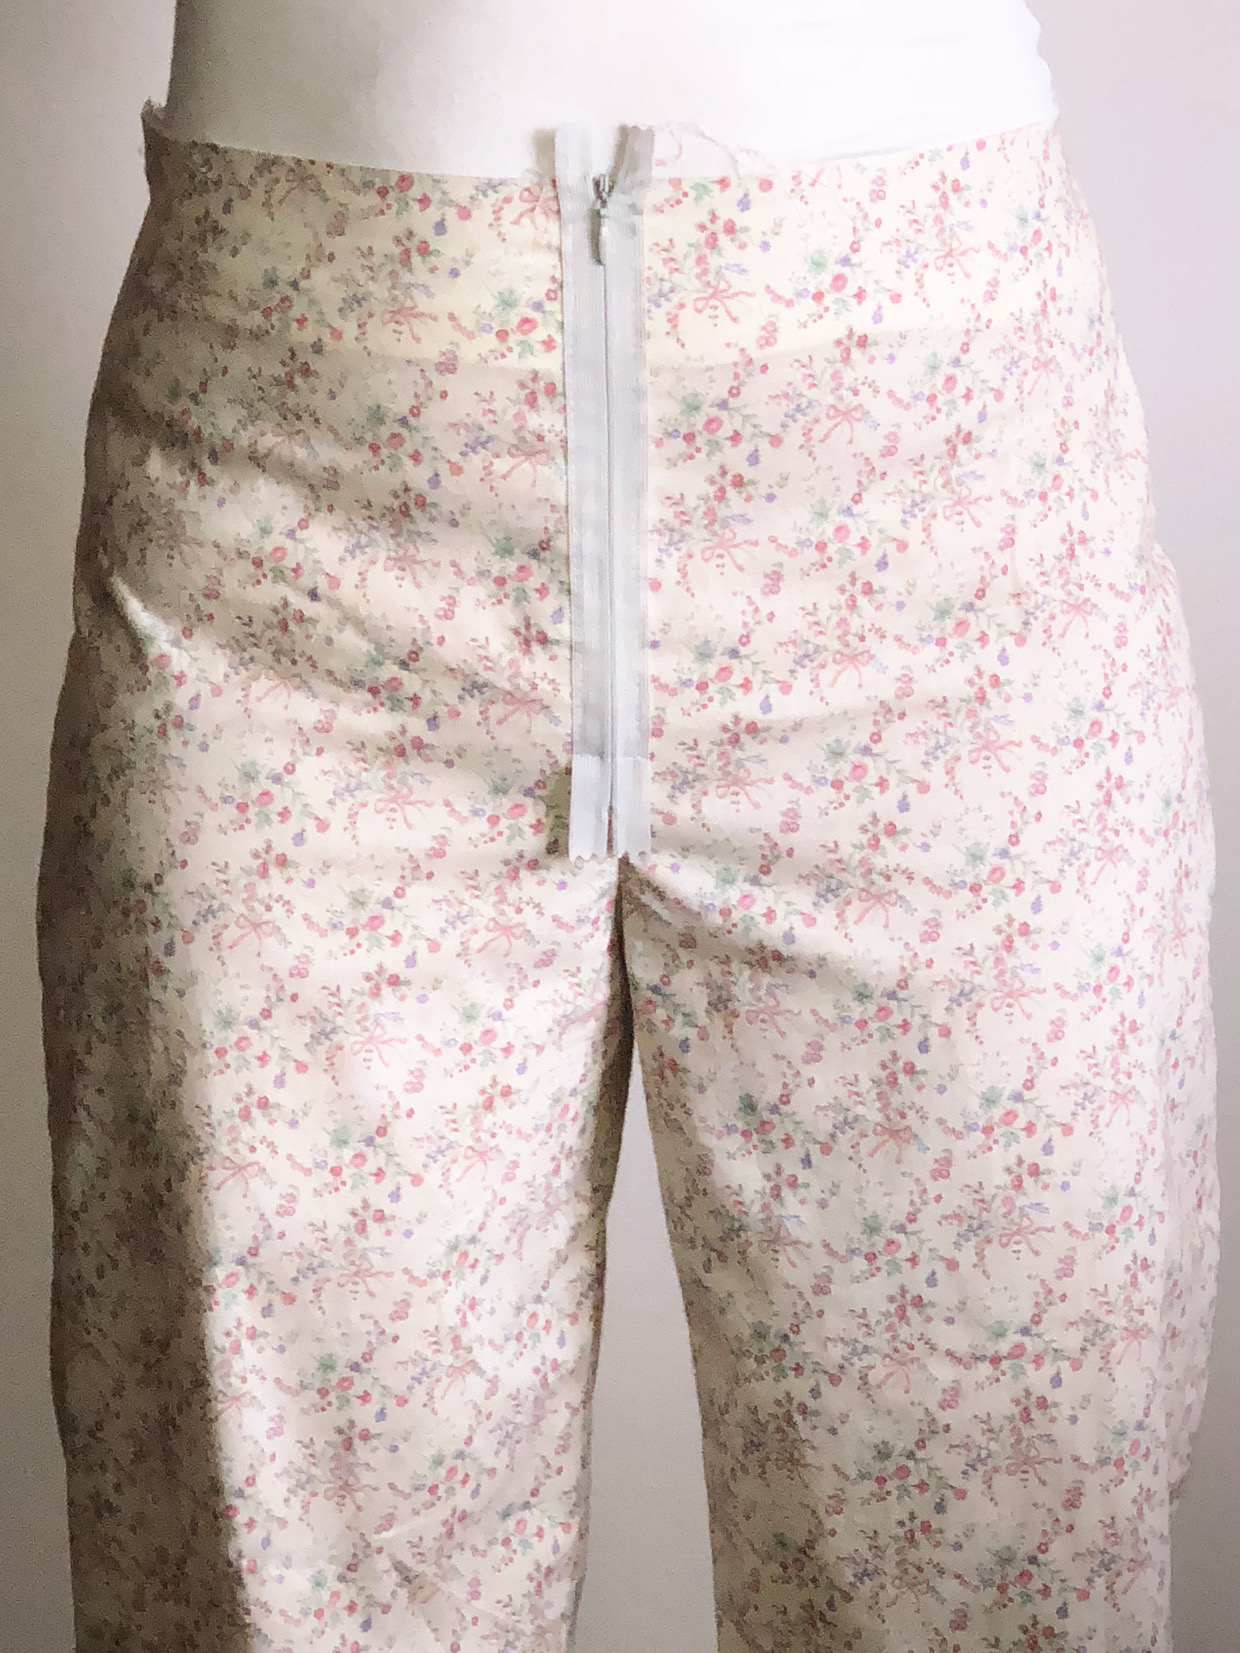
I had never sewn a pair of fitted trousers before this pattern. I’m more a pointe knit, or pajama pants, or mock-fly/elastic-waist kind of sewer, because I know there is enough stretch or ease built into those styles that I don’t have to fuss much (or at all) with fit. Also, in over thirty years of sewing clothes for myself, I can probably count on one hand the number of times I had made a muslin for fitting purposes only. I had endlessly heard this advice, but now I feel empowered truly appreciating the benefits of not skipping this step. My best advice for this pattern: make a muslin. I used some discount quilting cotton that had been in my stash since the 1980s.
To make a muslin, it took me about 20 minutes to sew two back darts, piece together four leg pieces, and roughly press the seams. I used long basting stitches to make this step even faster; I didn’t even change the presser foot to machine-baste a short zipper into one of the seams; I then ripped open the stitches under the zipper, and voila, I could try the pattern for fit. As I predicted—given that I often struggle to find ready-to-wear pants that fit well—I wanted to make some adjustments to the rise. My first muslin tugged in some areas and wrinkled with excess fabric in others. I consulted Pants for Real People, by Pati Palmer and Marta Alto to learn what these wrinkles were telling me about the fit, and I found some online content as well to help guide me to adjust the back pant rise area on the pattern. The original front fit me well, and I also kept the original leg width. I made a final muslin to confirm that I was satisfied with my adjustments before cutting into my wool fabric. I followed along on Liesl’s sew-along, and the sewing was a breeze.
What was the best part?
This was a great learning experience resulting in a versatile addition to my wardrobe. It matches my Neighborhood Sweatshirt, and several sweaters, tees, and blouses already in my closet. This pair of pants feels comfortable because they fit me! I’m between sizes on the size chart, and I sized up this time because I wanted sporty trousers with a lot of drape. I would choose the smaller size if I was using a stiffer fabric (denim!), and now I know exactly how to alter the back rise. I took more time to work out the fit than I actually spent sewing the pants, but l enjoyed learning how to achieve a custom fit and now feel I have new skills I can use again.