Shelley, everyone’s favorite pattern modifier, is back with us on the blog today to share a fun tutorial for making a ballet wrap cardigan. Take it away Shelley!
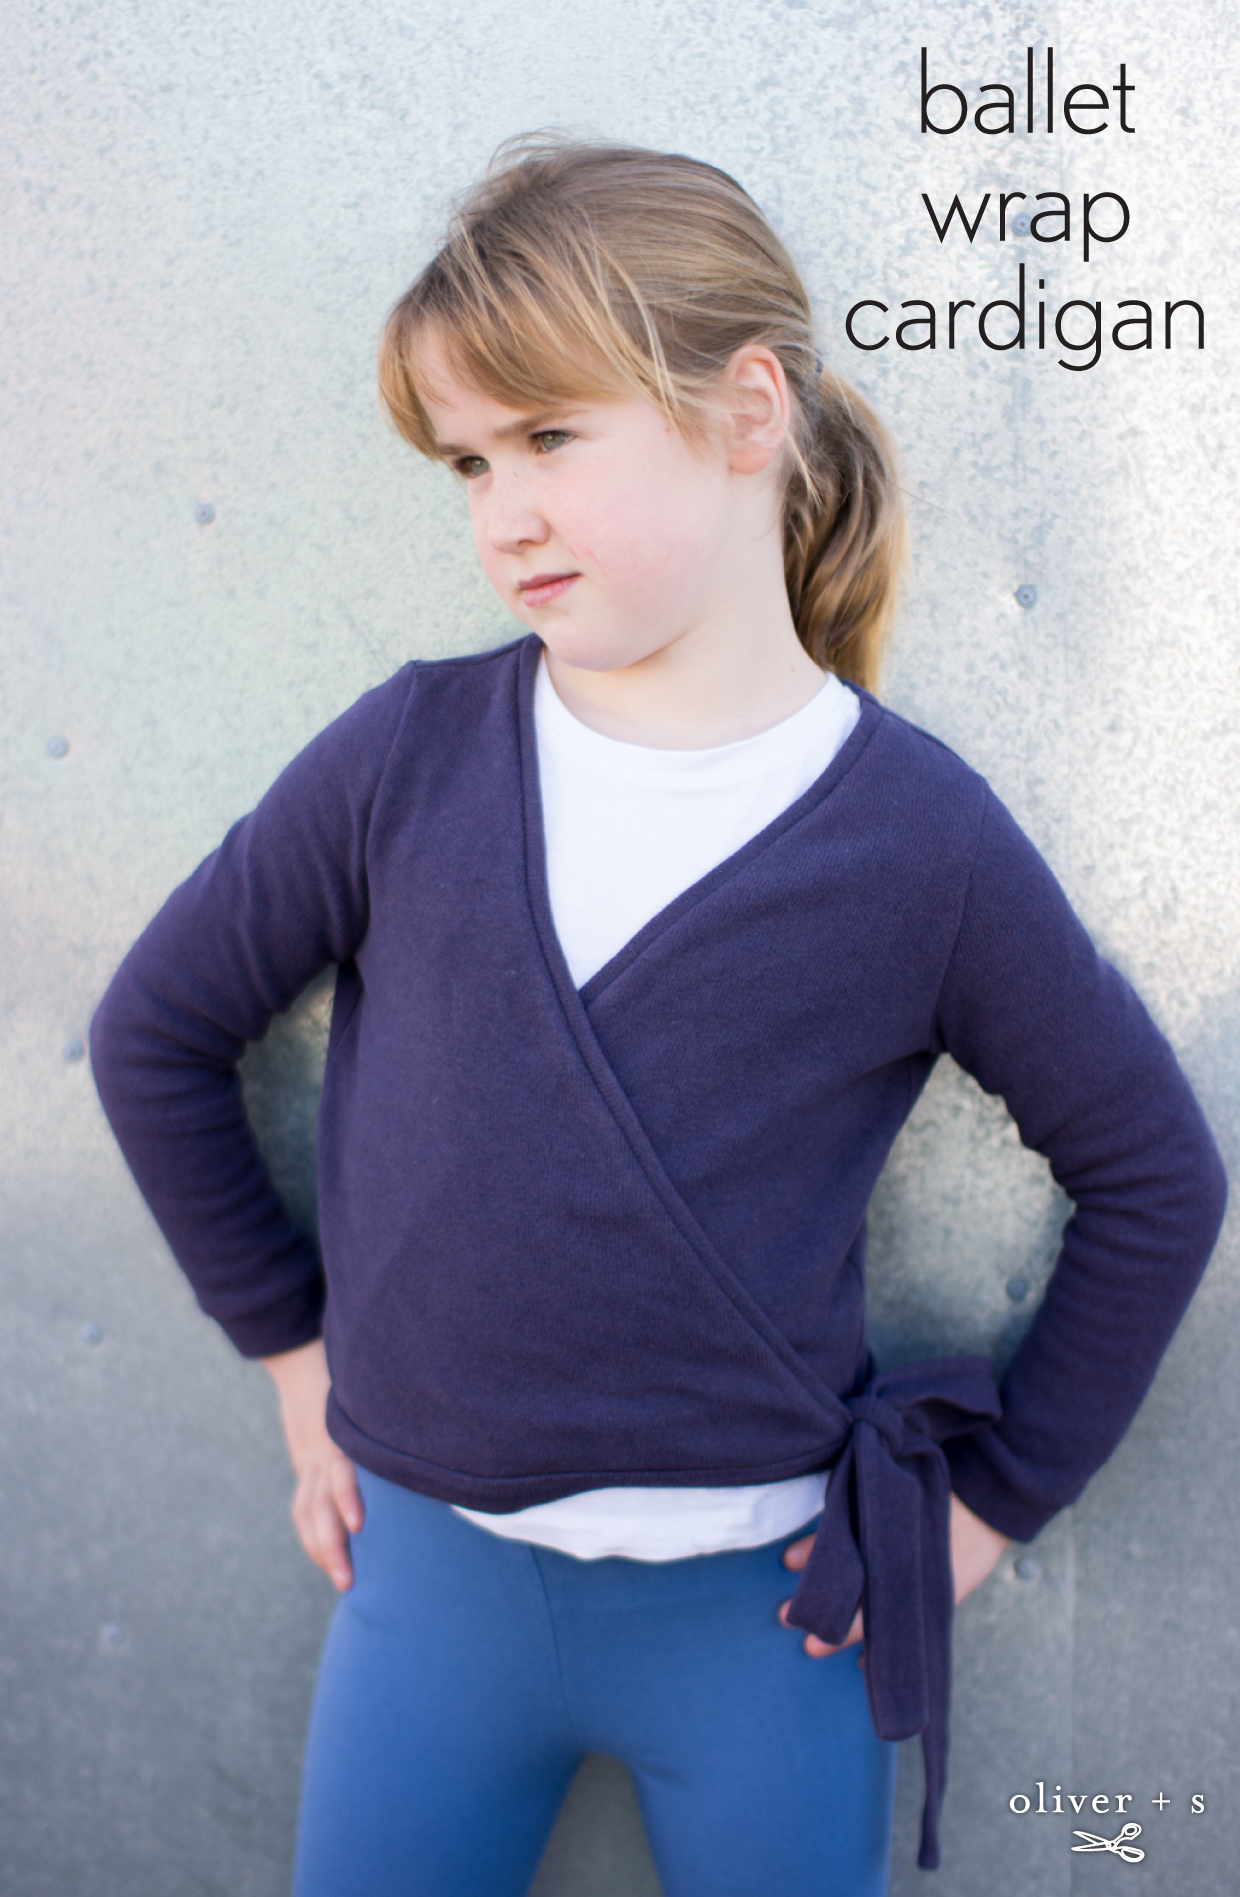
Hi Oliver + S sewists. The idea of a tutorial for a ballet wrap cardigan came out of a discussion in our Oliver + S Facebook group. Be sure to join the group and keep those ideas coming; if it hasn’t already been done, odds are somebody else is already thinking about how to do it. I knew a wrap cardigan was something that my daughter would love so I set about trying to find a neat way to do it.
The perfect launching pad for any kid’s knit top creation is the School Bus T-shirt. I knew it already had the nice fit I was after; not too loose, not too tight. The puzzle was in getting the bottom band and ties to integrate nicely. Let’s jump in and see how it worked out.
Firstly, I shortened the pattern. The School Bus T-Shirt has a generous below the hip length hem and I wanted my wrap top to be just above the hip. Be sure to shorten both pattern piece 1: T-shirt front, and pattern piece 2: T-shirt back, by the same amount. Bear in mind that the bottom band will add about 1” of length back on.

Next, we need to duplicate the T-shirt front pattern piece so that we have both sides. This is super easy to do if you’re printing a PDF pattern, just print it twice and tape the two halves together with one printed side down and the other printed side up. I trace my patterns, so I simply traced two sides to make a whole.
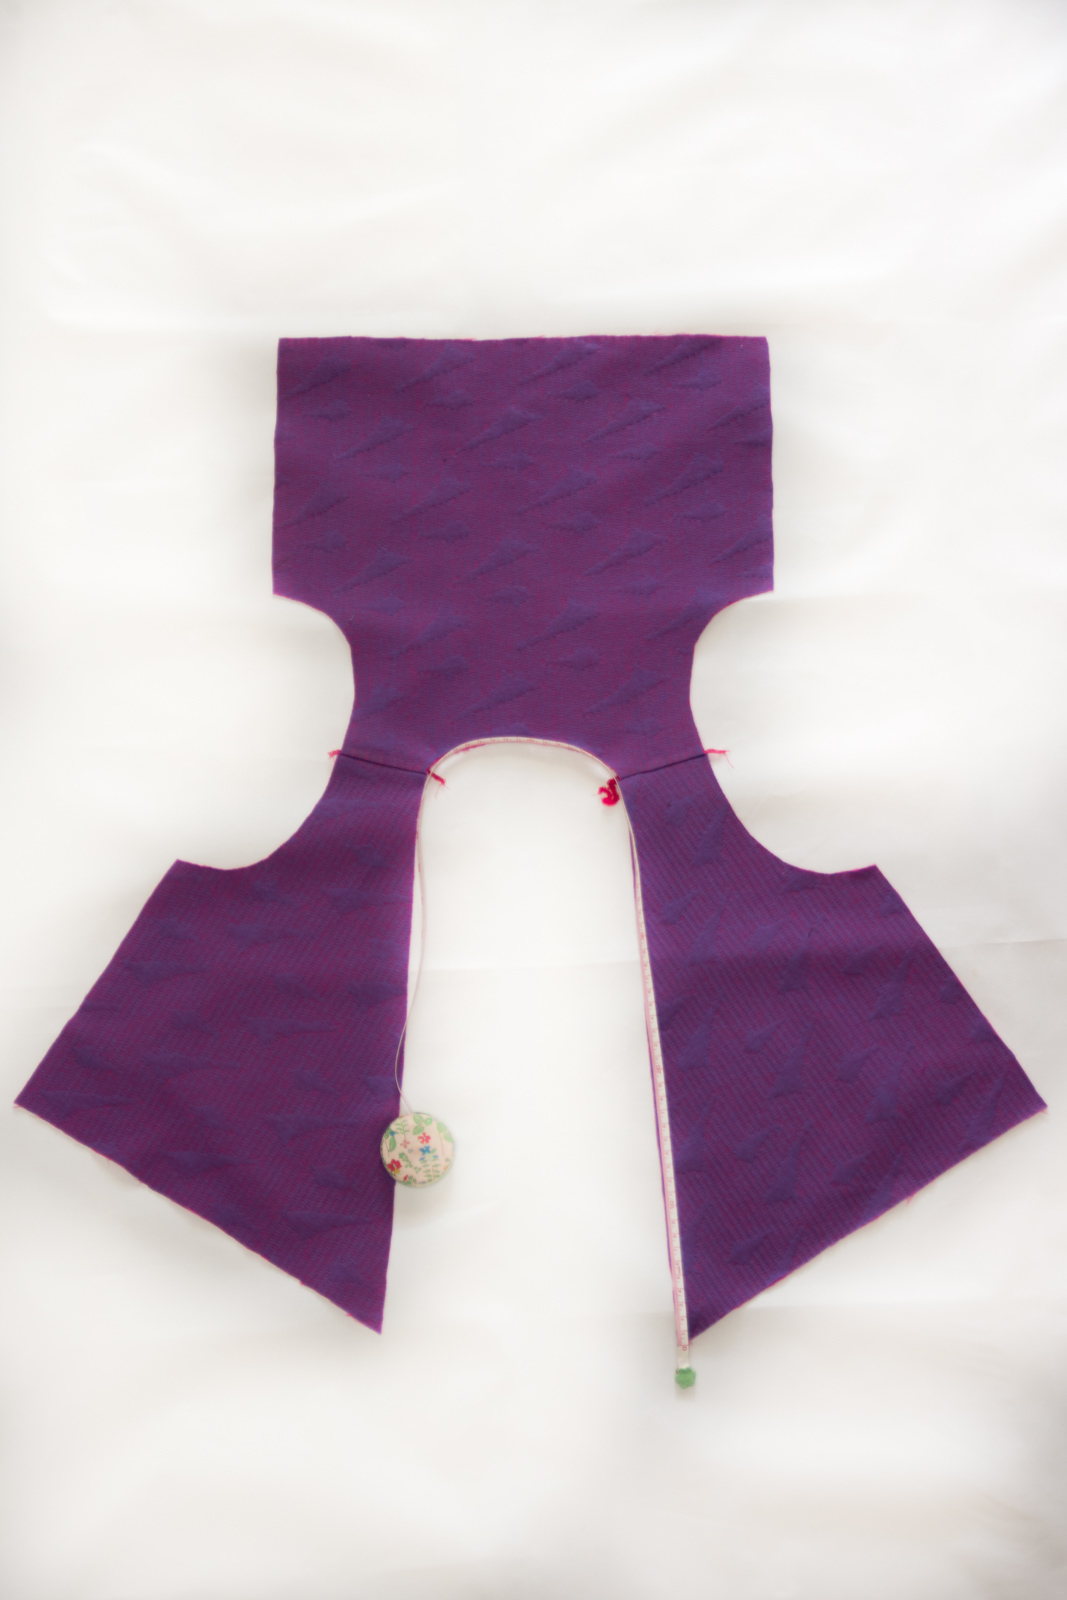
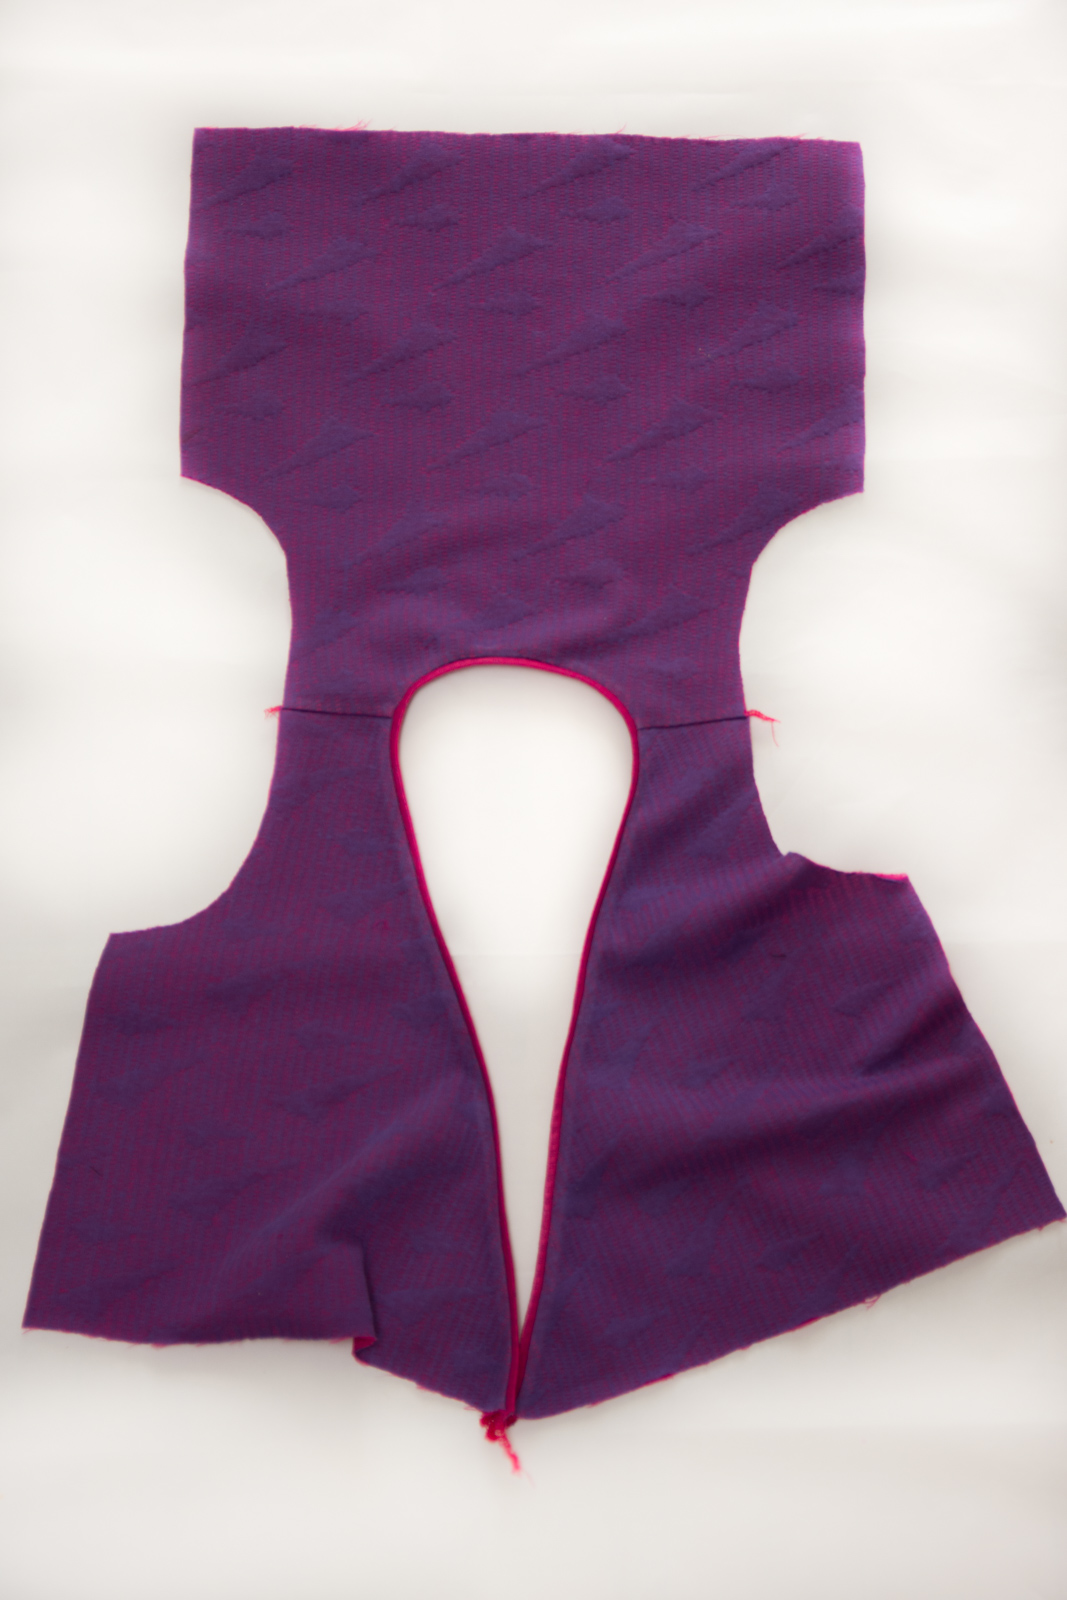
Now, draw a straight(ish) line that goes from the neckline edge of one shoulder to a point about 4/5ths of the way across the bottom edge of the pattern piece.

If you’re nervous about how low the V part of the neckline will be, draw the same line from the other side and where they intersect will be roughly the lowest point of the neckline. If the lines intersect low down near the armscye then you might find the top won’t be wearable without something underneath – and that might be OK as it is usually worn over a leotard anyway, right?

Adjust the angle of the line until you’re happy. Then chop your pattern piece. Now you’re ready to cut your fabric. Cut the T-shirt back and the sleeves as per the pattern instructions. Cut two using the new front pattern piece making sure they are mirror images of each other.
Stabilize and sew the shoulder seams as usual, then measure the neckline to get an idea of how long to cut your neckband.
Depending on the stretch of your fabric you will likely cut the neckband to about 75% of the length of the measured neckline. You can use the width of the neckband pattern piece from the School Bus T-shirt as a guide.
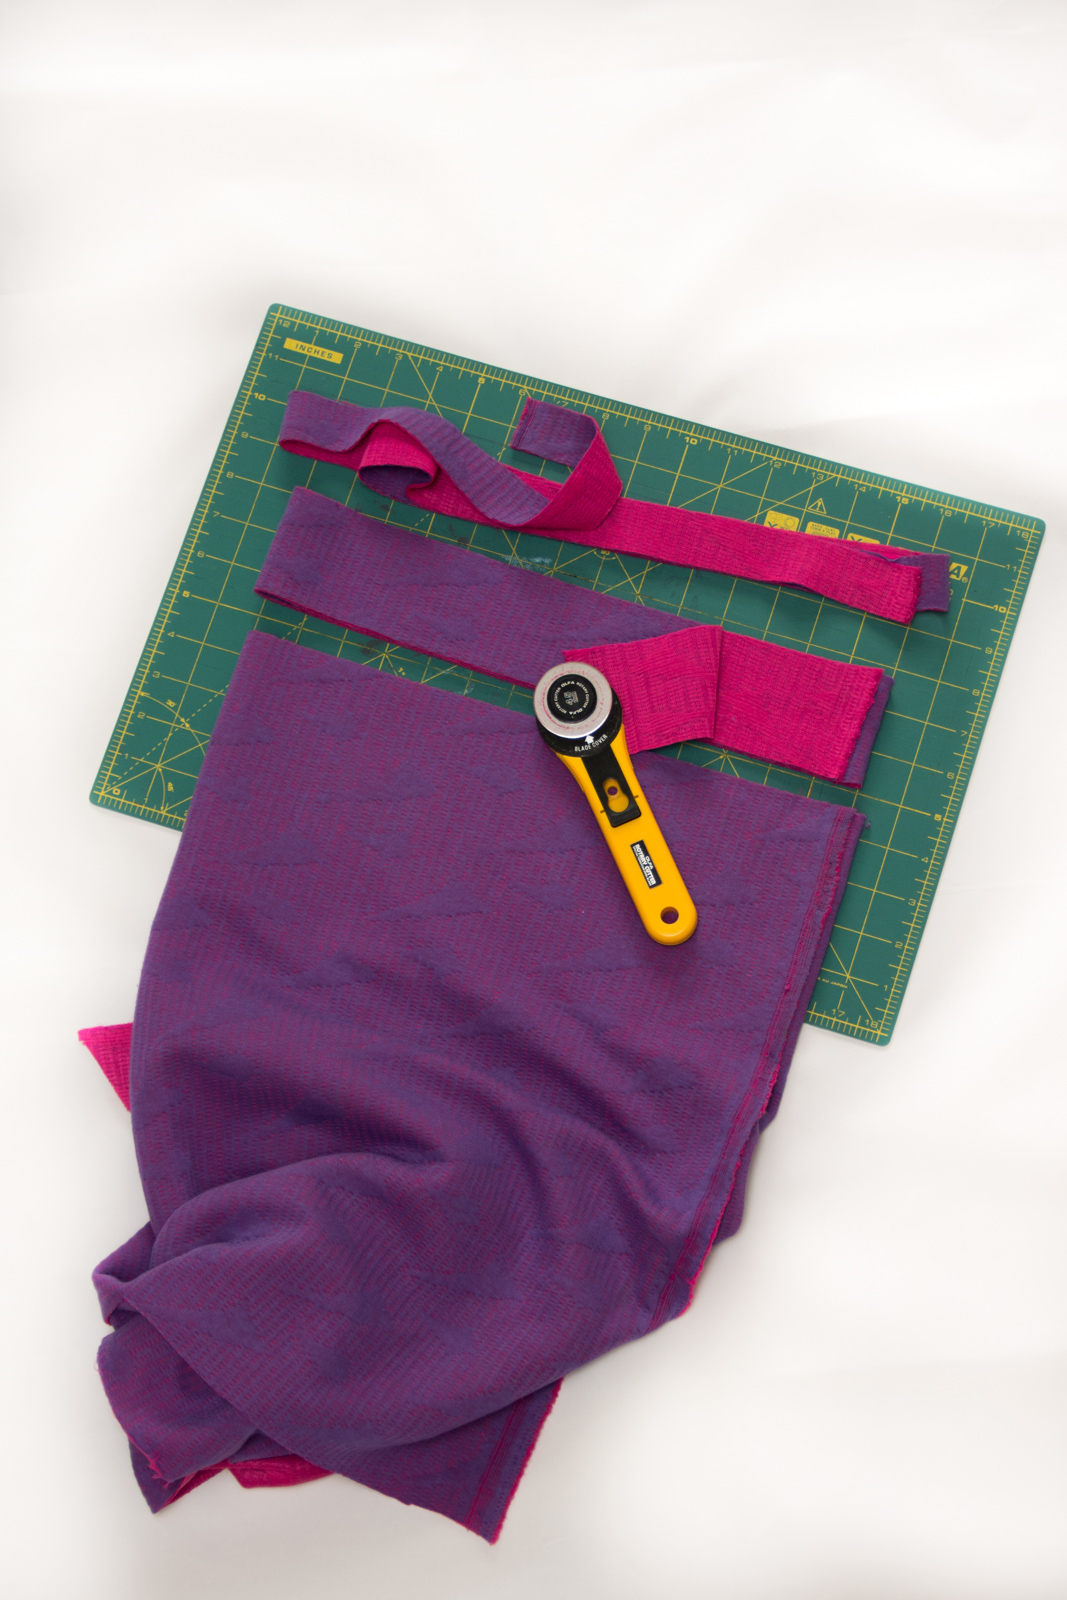
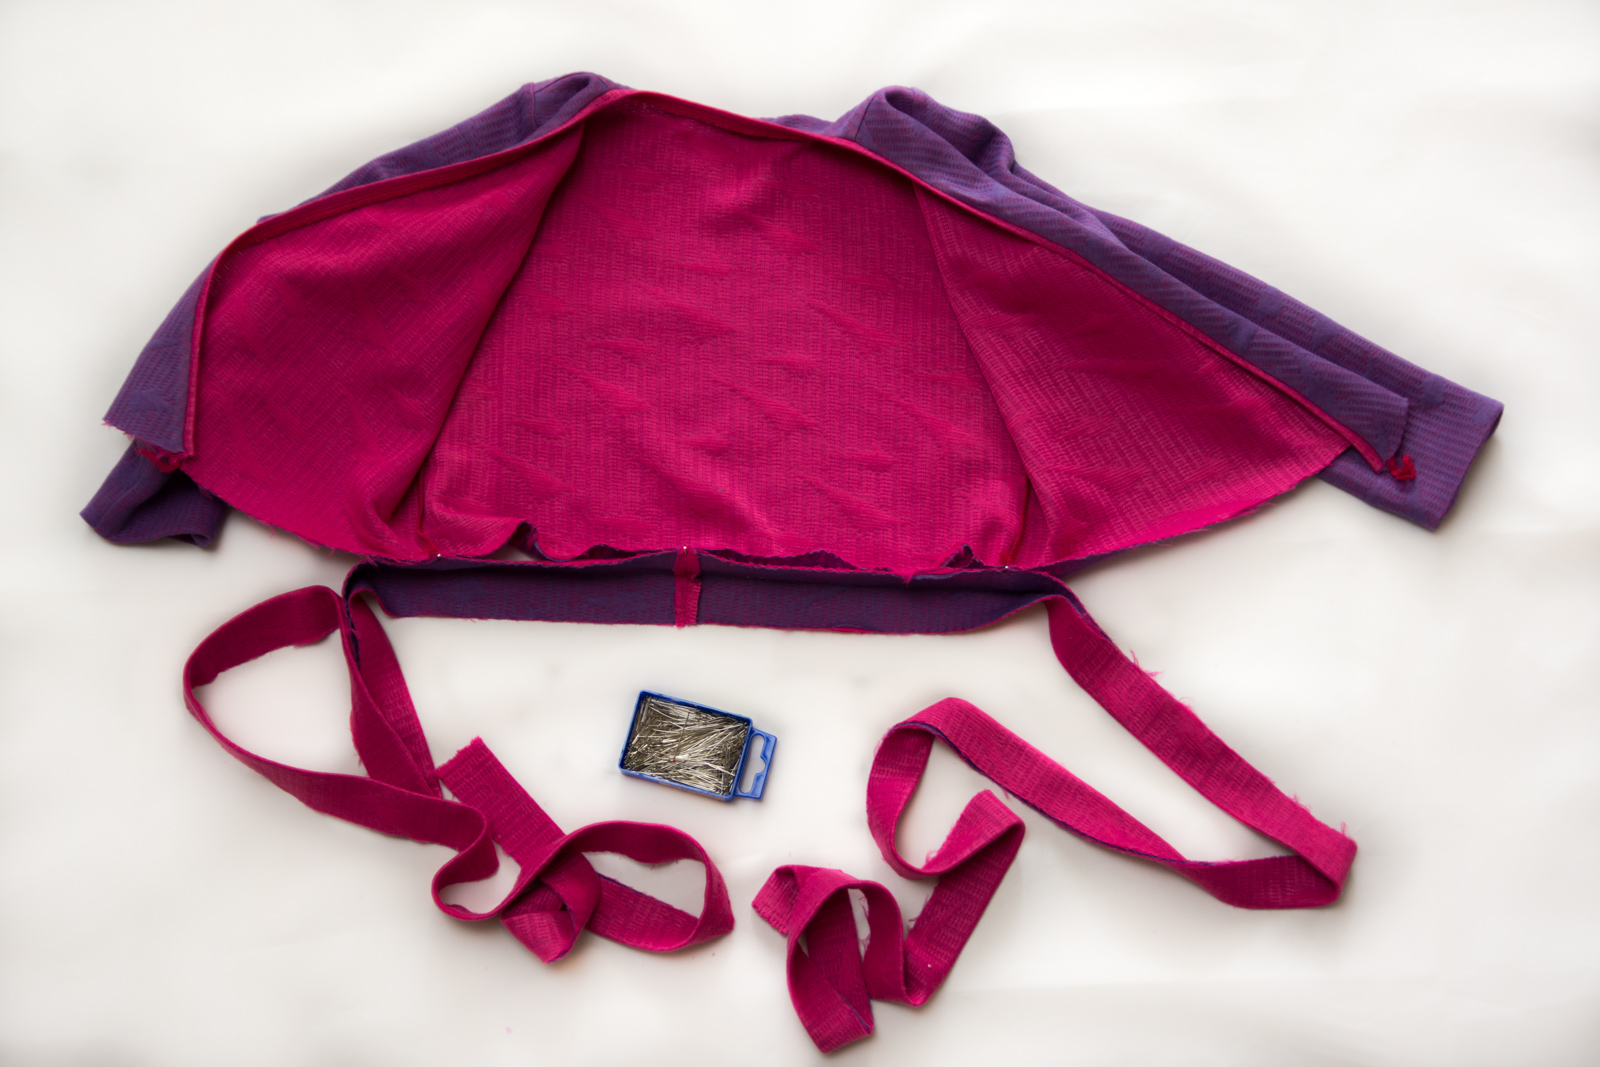
I’ve cut my neckband 1 1/4” wide (the View B width) and then also cut two strips of fabric 2 1/2” wide by the full width of my knit fabric. These will become the bottom band and ties.
Fold the neckband with its long edges together and press. I’ve used a double-sided knit for my top and have chosen to have the “wrong” side of the fabric be the visible side for the neckband and waistband/ties. Of course, normally you would fold the neckband piece with wrong sides together. Mark the center of the neckband fabric strip and pin it to the center back neckline of the top.
Stretch the neckband to fit the neckline of the top and stitch it with a 1/4” seam. Press the neckband away from the top and seam allowances.
Now go back to your School Bus T-shirt instructions to sew the sleeves in flat and then stitch up the side seams and sleeve seams.
Then we’re ready to start on the bottom band and ties.

If you weren’t inclined to cut your bottom band and ties from the full width of fabric earlier, now is the time you can measure your garment around the bottom hemline. Again, we will stretch the bottom band a little, so maybe only allow 75% of the garment’s hemline length plus about 30” for tying the bow. Unless you’re working with a very wide fabric you will undoubtedly need to cut two half length strips and join them.
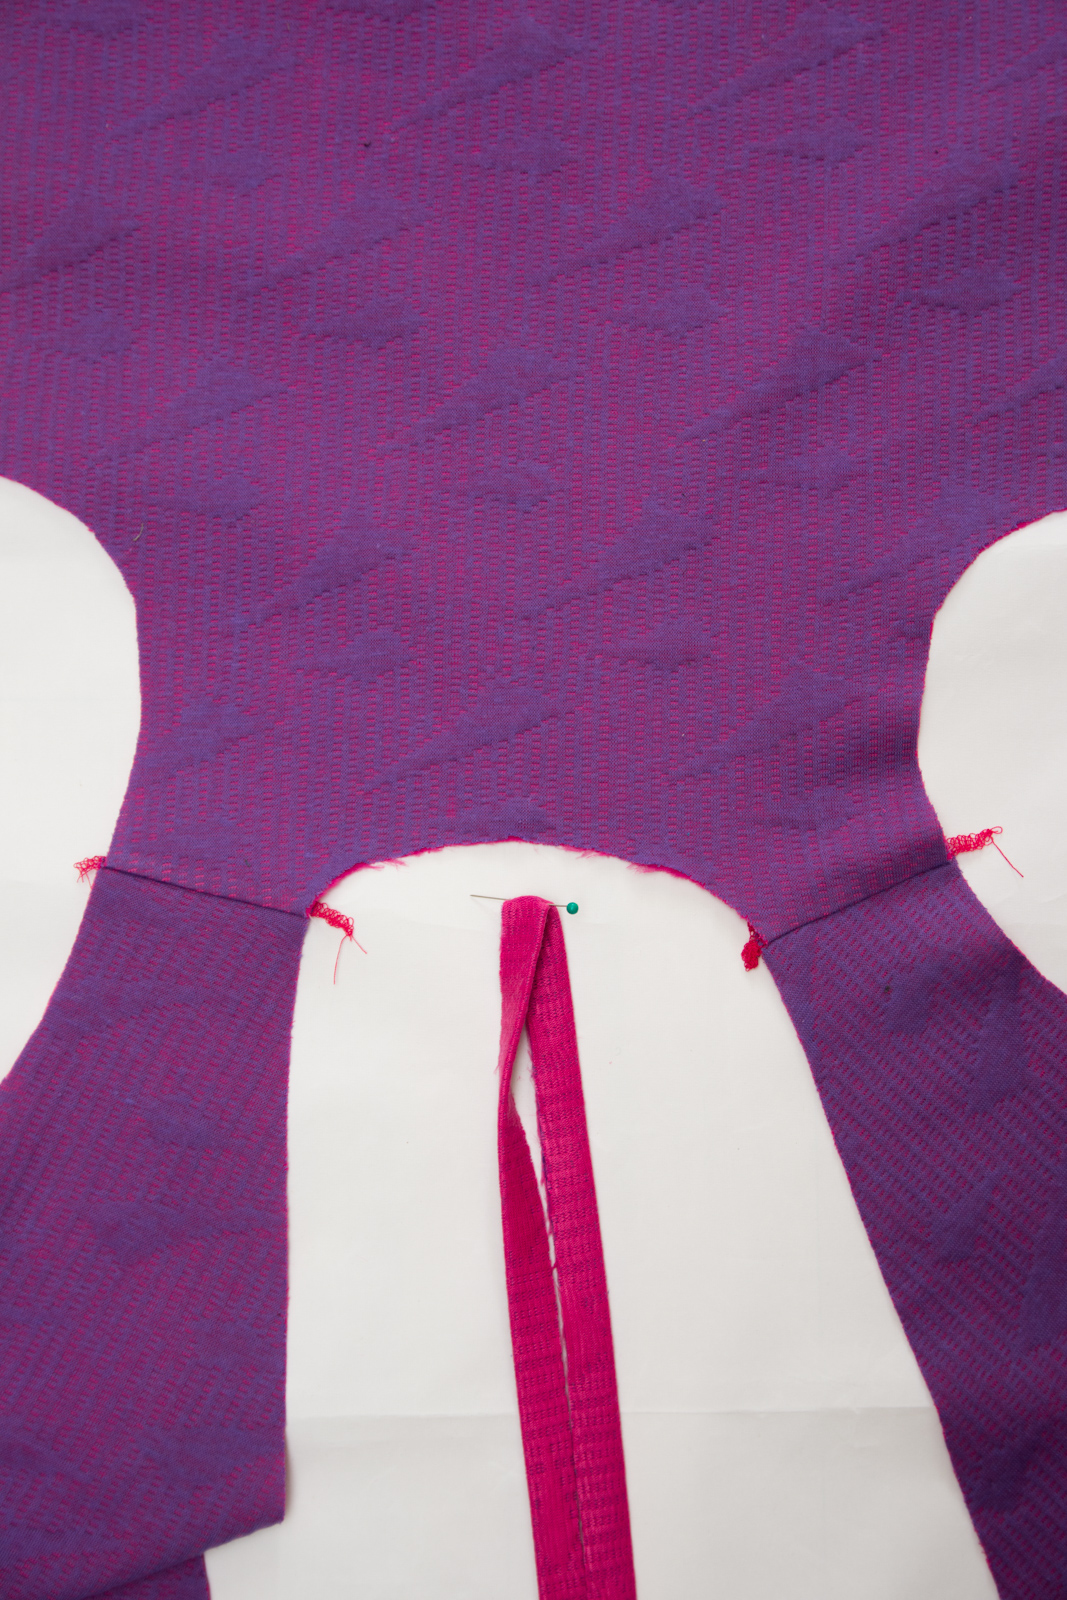
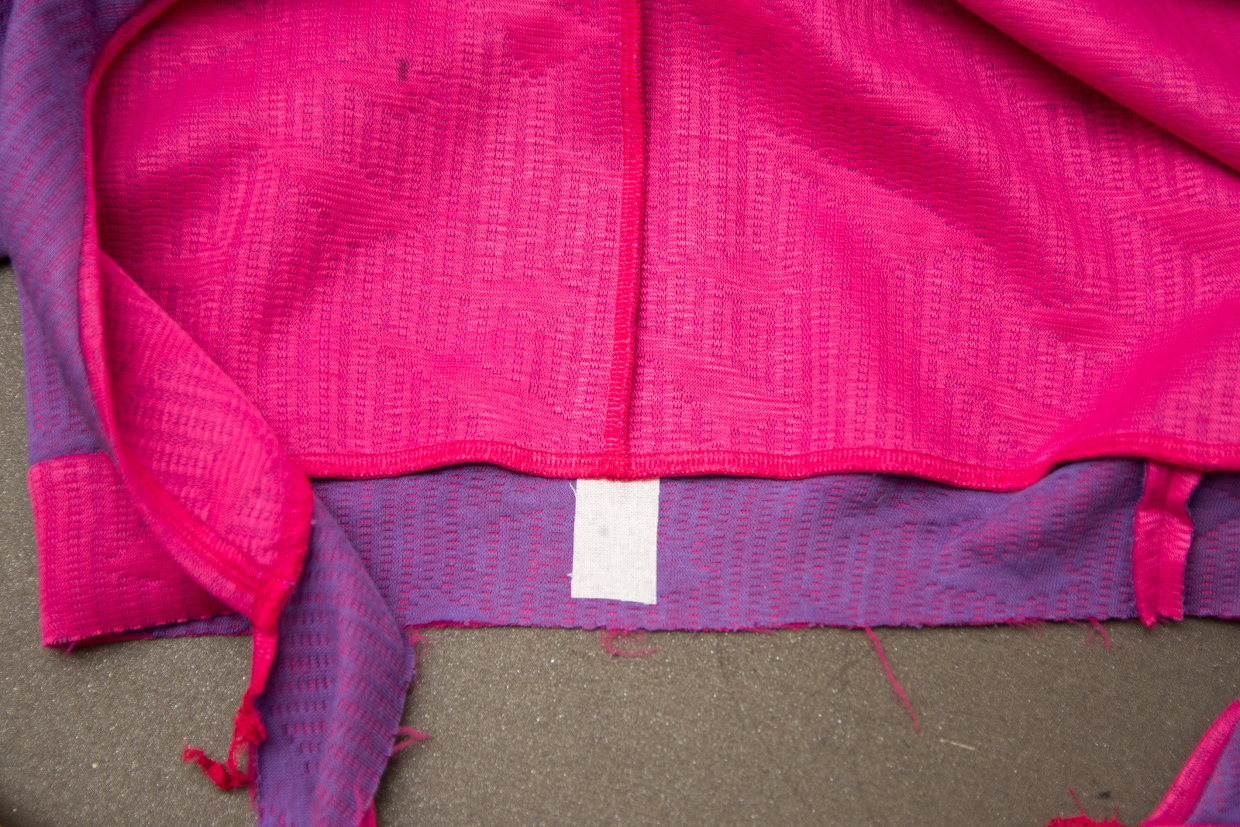
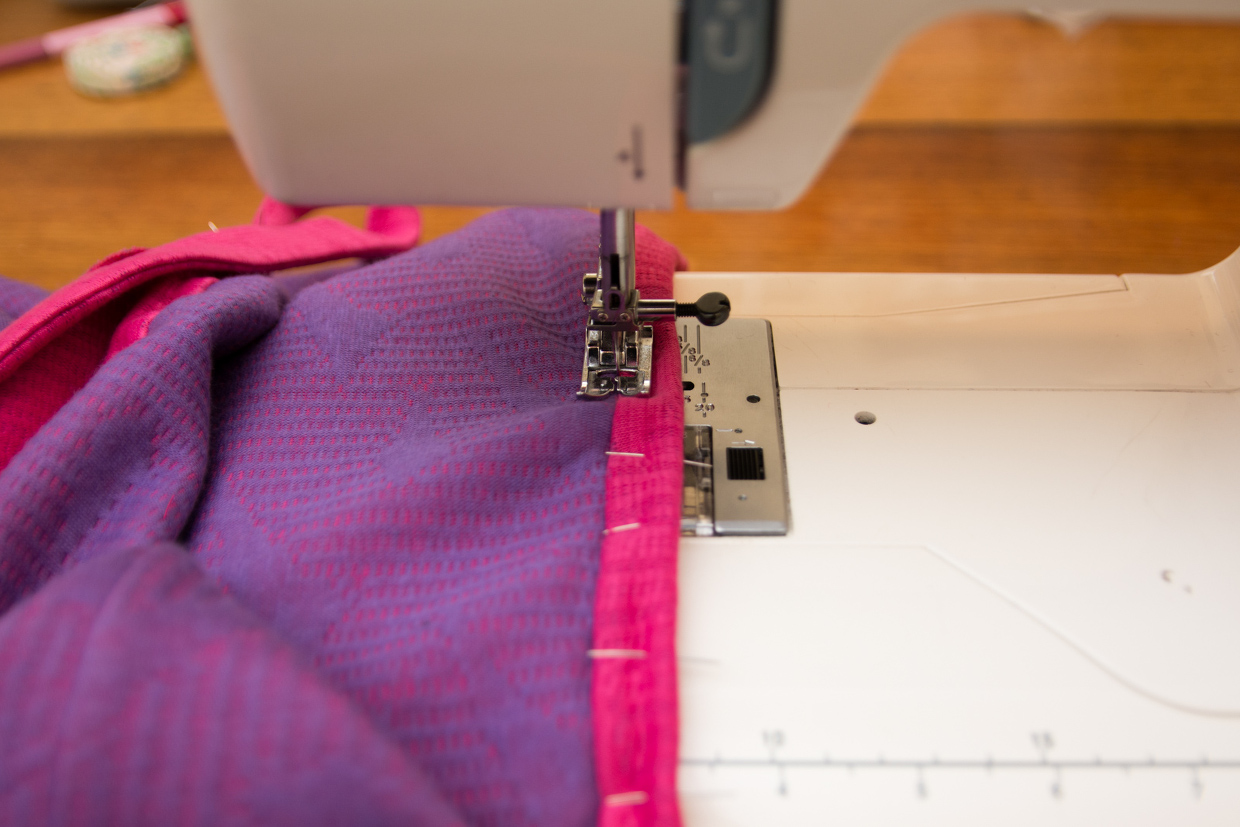
I’ve sewn my two bottom band strips together and pressed the seam allowances open. This seam can be positioned at the centre back and then you start stretching the bottom band gently and pinning it, right sides together, to the lower edge of the top.
Stitch the bottom band to the top, with a 1/4” seam, starting and stopping your stitching where the angled points of the front pattern piece meets the band. Press the band and seam allowances down, away from the top.

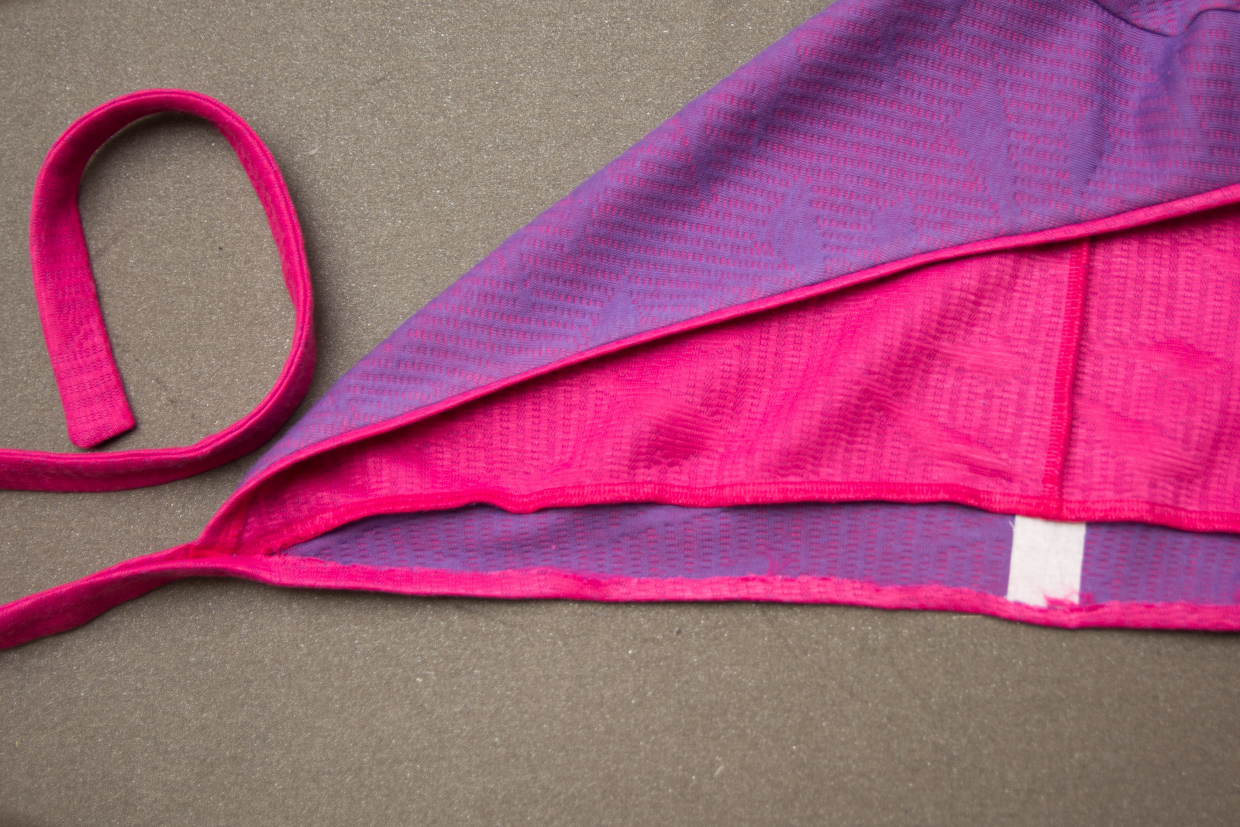
Add a little 1” long rectangle of interfacing to the inside of the waistband at the wearer’s right side seam. This is where we will create the buttonhole for the tie to exit.
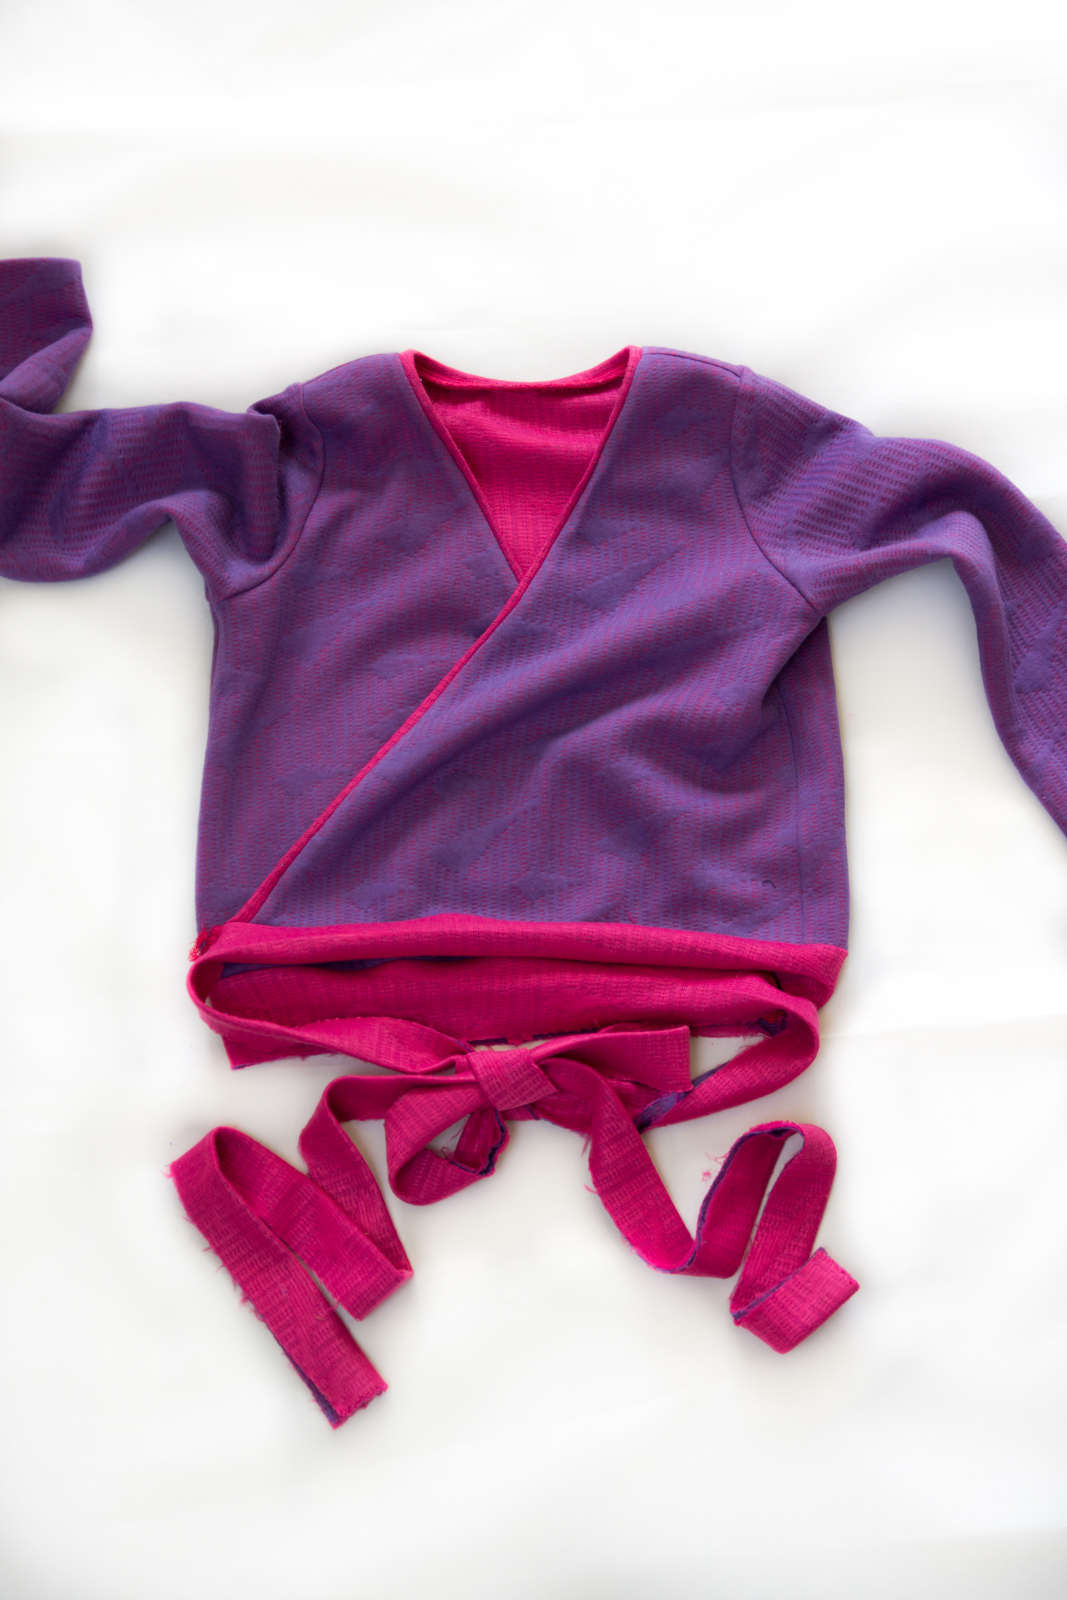
Now it’s time to decide where you want the ballet wrap cardigan to tie. My daughter was firmly in favor of it tying on one side, like this:
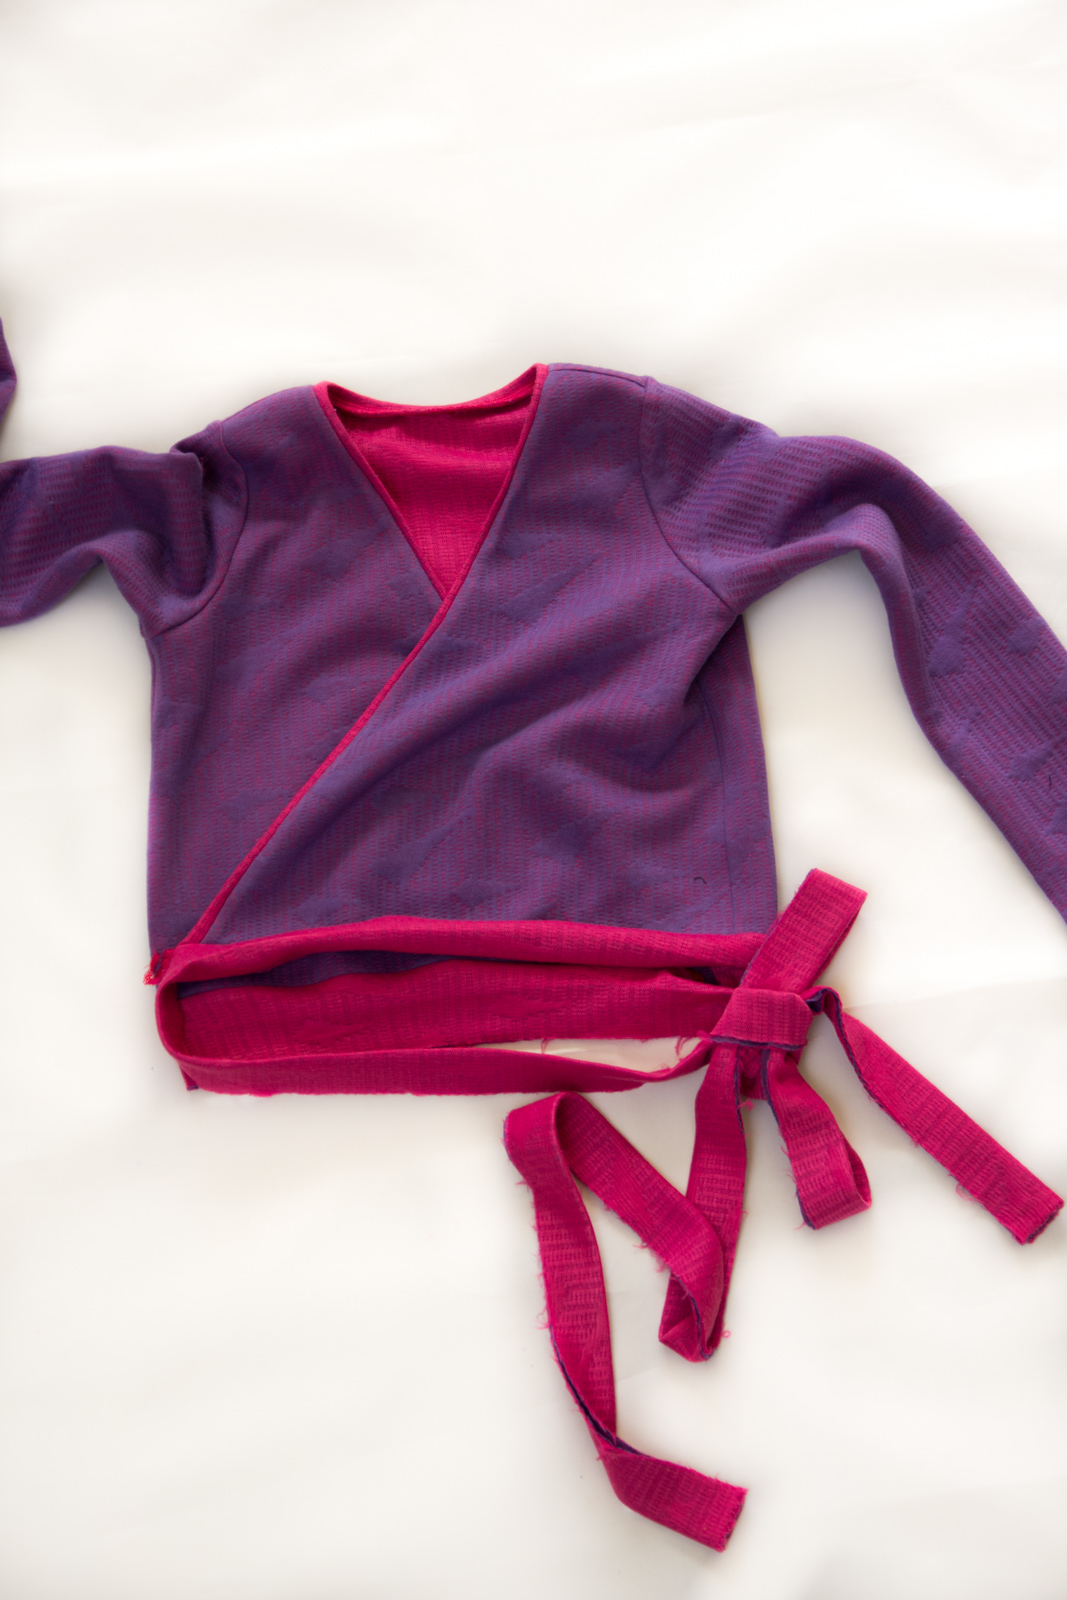
But more traditionally it would tie at the back, like this:
A benefit of the side tying that my daughter pointed out to me is that it’s much more comfortable when sitting in the car not to have that big, lumpy bow pushing in your lower back.
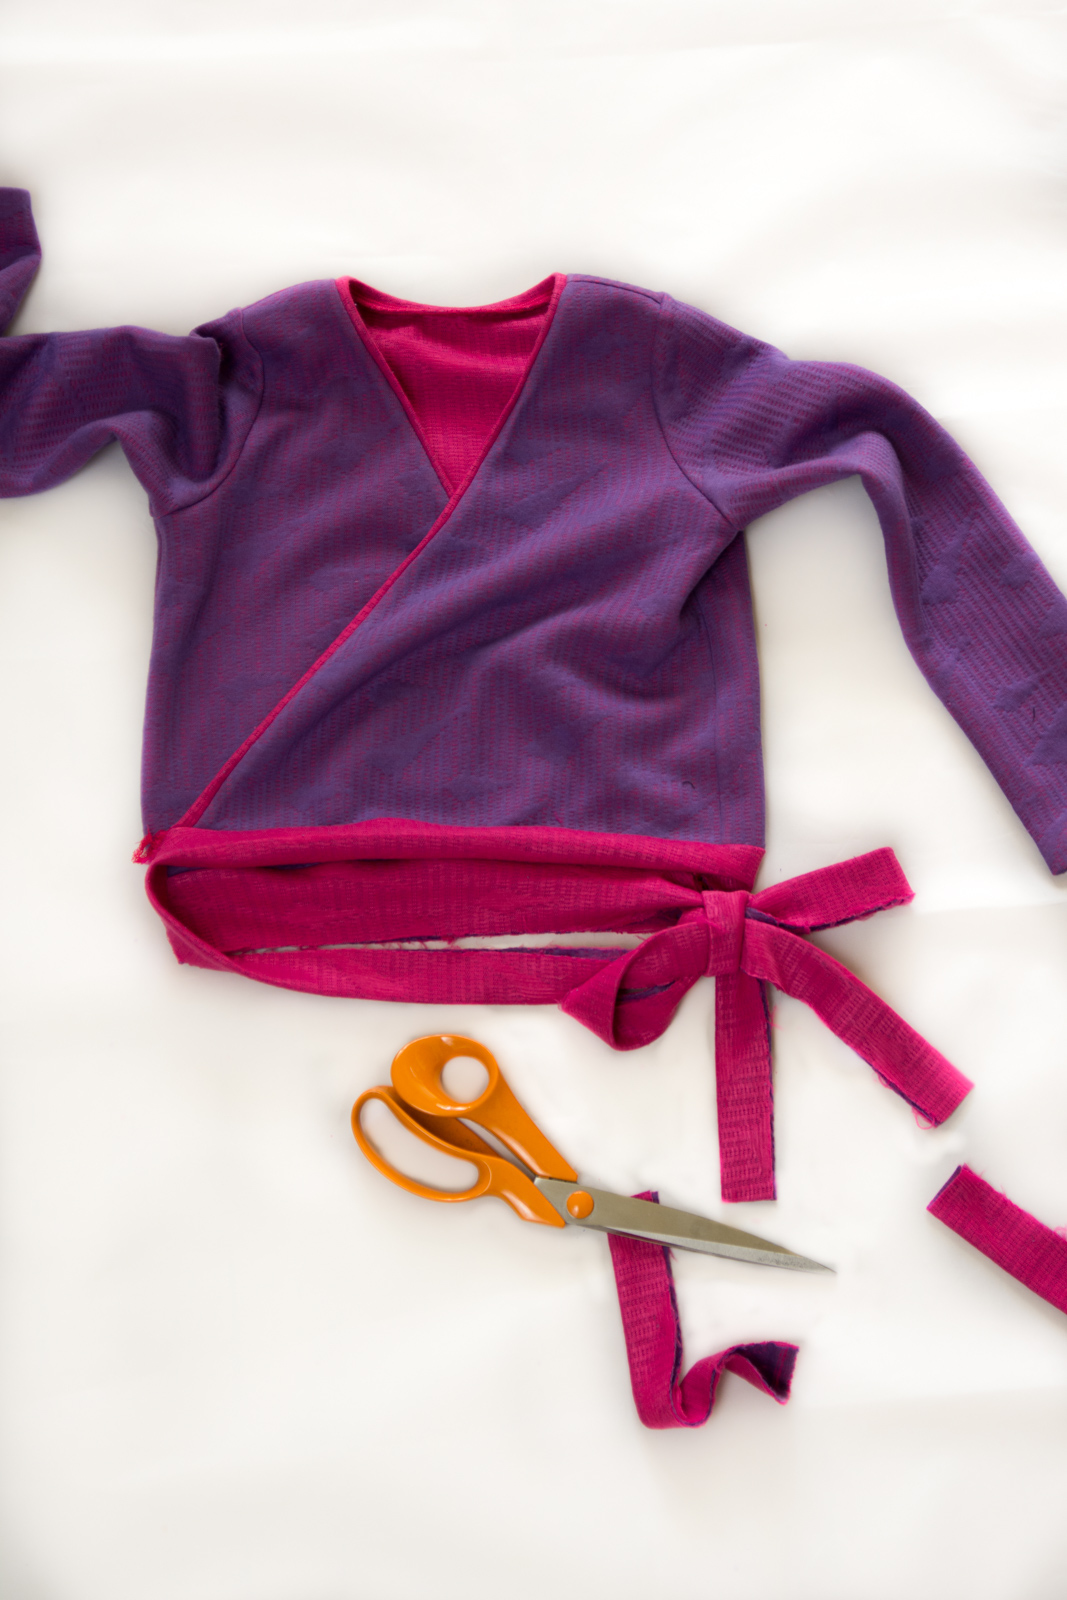
Once you’re happy with how your ties will be then you can trim the tie strips to a manageable length. Using the width of the fabric like this, then shortening it, is much easier than trying to do the math for every variation of T-shirt size and bow position. If you like, you could use the leftover strips for sleeve cuffs (see the tutorial for adding sleeve cuffs here).
Now we start folding and pinning our ties right sides together. At the point where the tie is already stitched to the angled edge of the front top, tuck the top inside and pin for about 1” over where you have already sewn. If you’ve sewn one of Liesl’s shirt patterns with the two part collar (All Day Shirt, Buttoned-Up Button-Down, Recital or Classic Shirts) then you’ll be familiar with this step. Make sure you pin the T-shirt front out of the way so it doesn’t get caught up with the waistband.
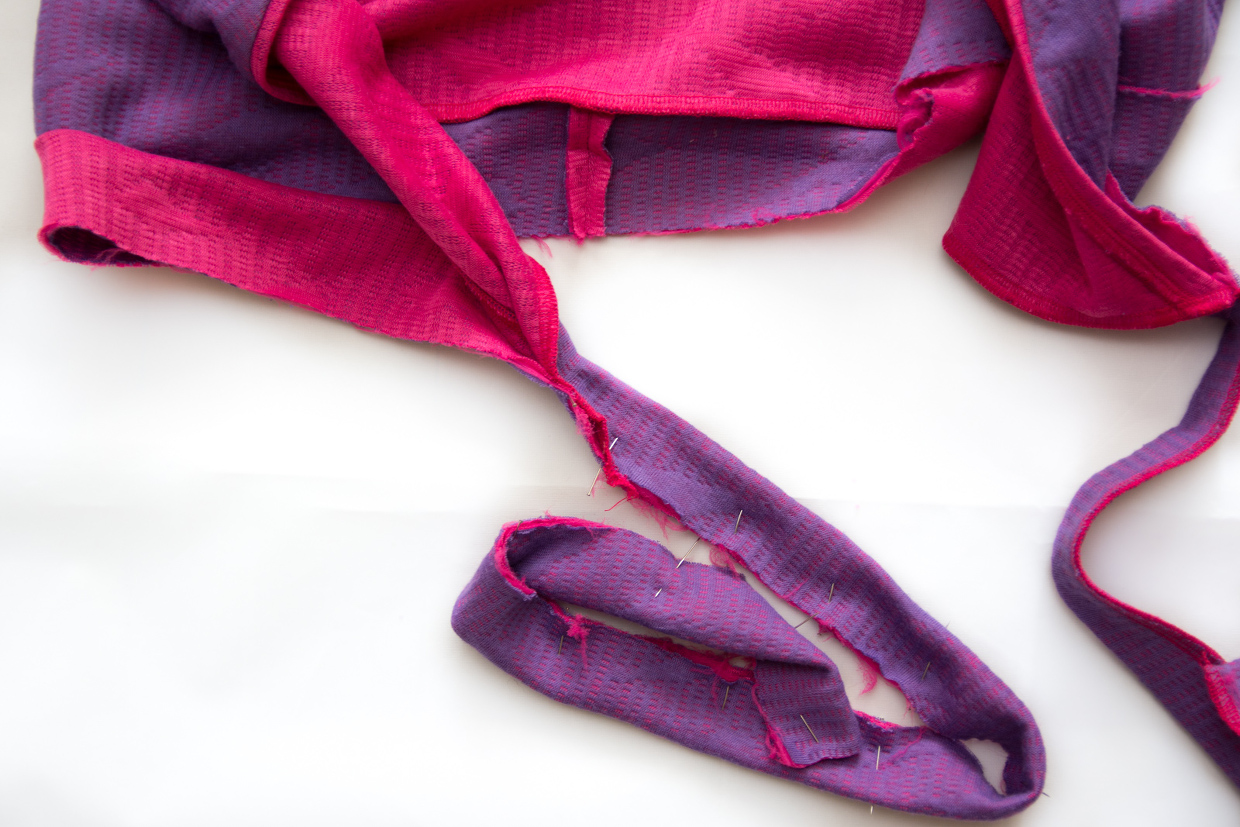
Stitch the short end, then the long edges of the tie together, continuing until you’ve stitched about 1/2” past where the tie is attached to the top. Repeat for the other side. Then trim the corner at the end of the tie and turn the ties right side out.
Press the ties and then press the bottom (free) edge of the waistband to the wrong side by 1/4”.
Bring the pressed edge of the waistband up to just cover the stitching where it is attached and pin it in place.

You can secure the waistband by edgestitching, or zig zag stitching, but I like to stitch in the ditch from the right side of the garment. It gives a clean, invisible stitching from the outside and so long as you’ve pinned the inside over the seam line you should catch that pressed edge just fine.
Finally, work a long buttonhole in the waistband just below the wearer’s right side seam. This is where you applied the interfacing to the inside of the waistband. Once opened, this buttonhole will allow the tie from the left side front top to exit and wrap around to the back or side to be tied.

Hem your sleeves, or add the sleeve cuffs if you like. Now you can take center stage and curtsy, the applause is for you!
Yay! I love this tutorial! Now I just need to teach Maggie to tie a bow! Thanks Shelley!
Oh, brilliant! My daughter will love this!
One of my favorite sweaters is exactly like this. Now I can make more in other sizes!
This is brilliant Shelly. I am going to make this soon!
Would this same tutorial work for a 12 or 13-year-old? I haven’t been able to find a similar pattern or tutorial for a larger size.