We are delighted to welcome Rita back to the blog. Last year she shared her Baby Tie Tutorial and today she’s sharing another fun tutorial. Thanks so much for being here Rita!
Living in the desert southwest, we are blessed with an abundance of sunny days throughout the year. Because of our lovely weather, my boys and I spend a fair amount of time outdoors, and I have to be relentless about hat wearing during the long summer months. In a desperate attempt last summer to convince my opinionated toddler that hat wearing is fun Monster Hat was born.
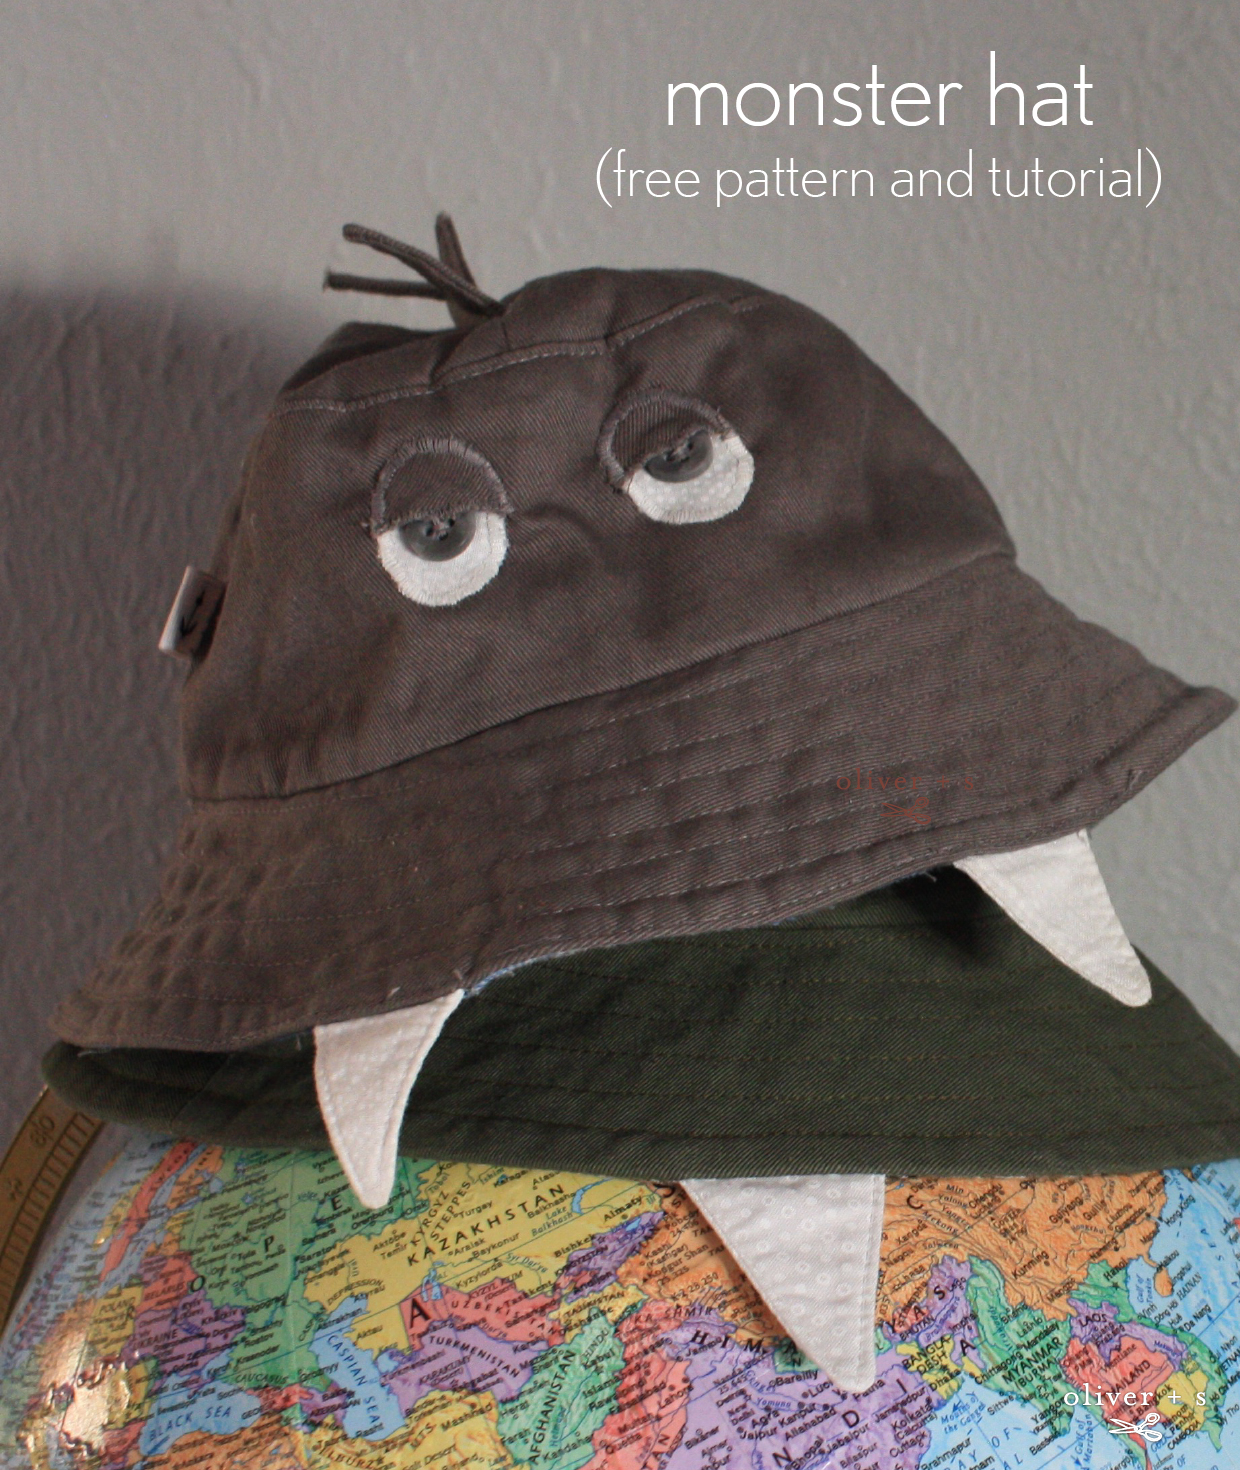
Over the last year, I have enjoyed adding to our ever-growing collection of monster hats. This little hat is based on the Oliver + S pattern for the Reversible Bucket Hat but incorporates a few changes and additions to make it unique. All you need is some additional fabric (main and white), fusible interfacing, double-stick fusible web, and two buttons.
Preparing the Pattern
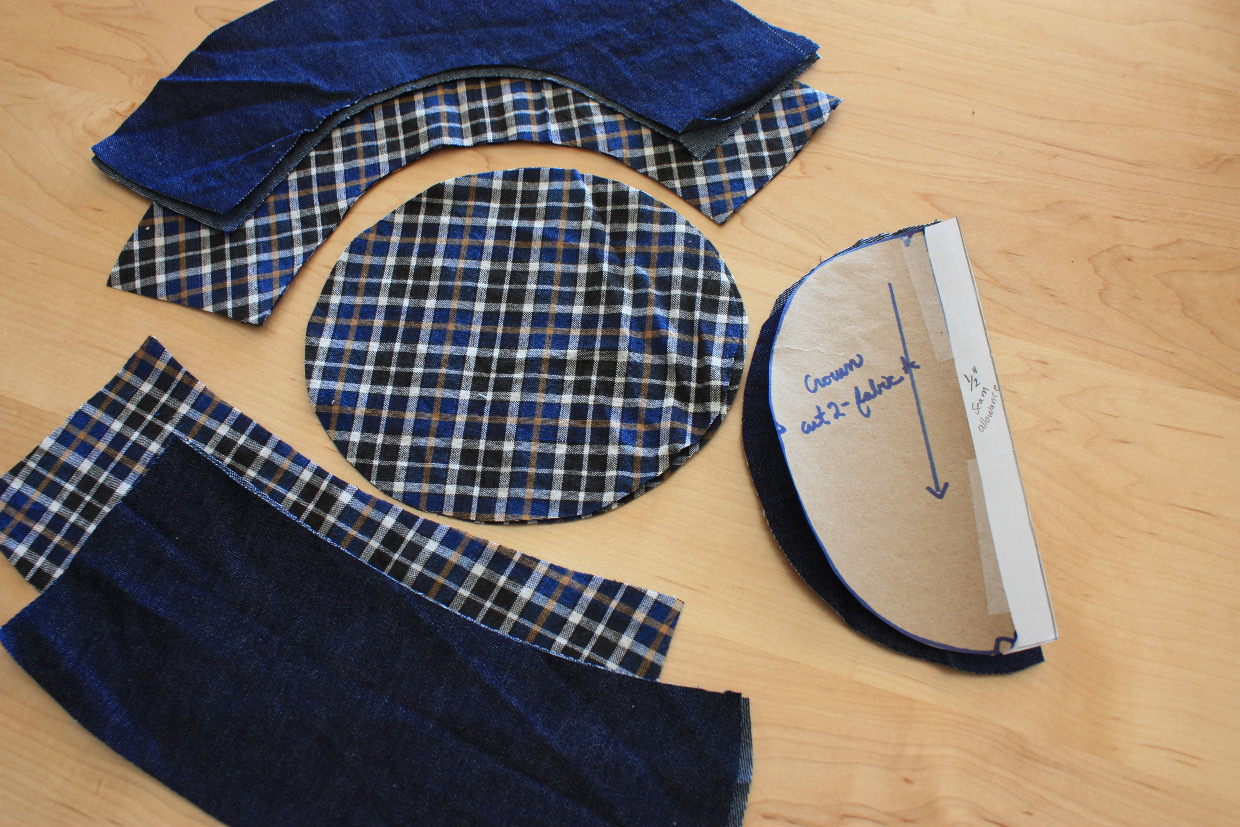
All the pattern pieces for the lining and the main fabric are cut according to the directions except the crown for the main fabric (the crown from the lining remains the same). Simply cut the pattern for the main fabric crown down the center across the long way and add a ½” seam allowance. This will allow for the spines to be positioned right on the top of the hat. You will then need to use this pattern piece to cut two pieces from the main fabric.
Creating the Templates and Cutting the Extra Pieces
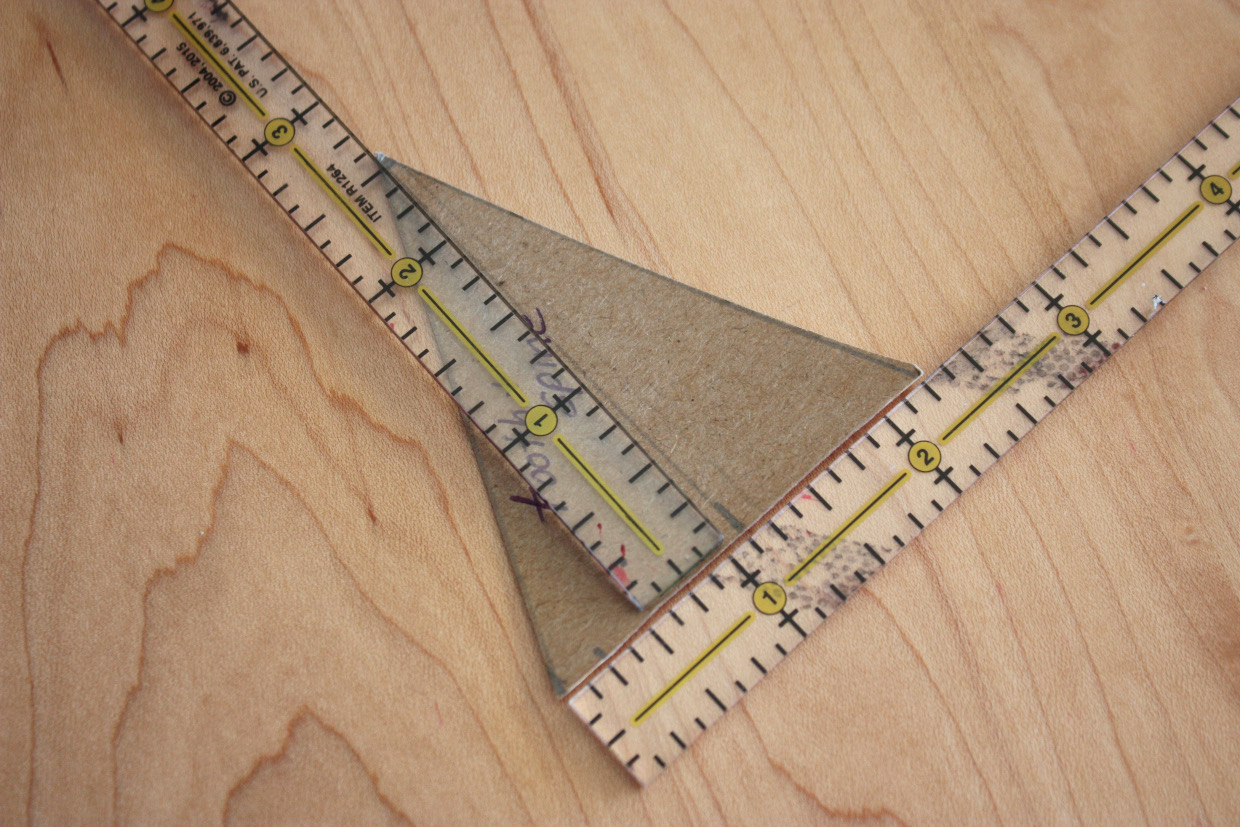
You’ll need to create little templates for the spines, teeth, eyes and eyelids out of stiff paper or cardboard. Cut triangles for the teeth and spines, little ovals for the eyes, and half-ovals for the eyelids. The little triangles for the spines and teeth are about 2 ½ inches tall and 2 ¼ inches wide. I made the hat in the small pattern size, but the teeth and spines could easily be enlarged or shrunk to accommodate other sizes.
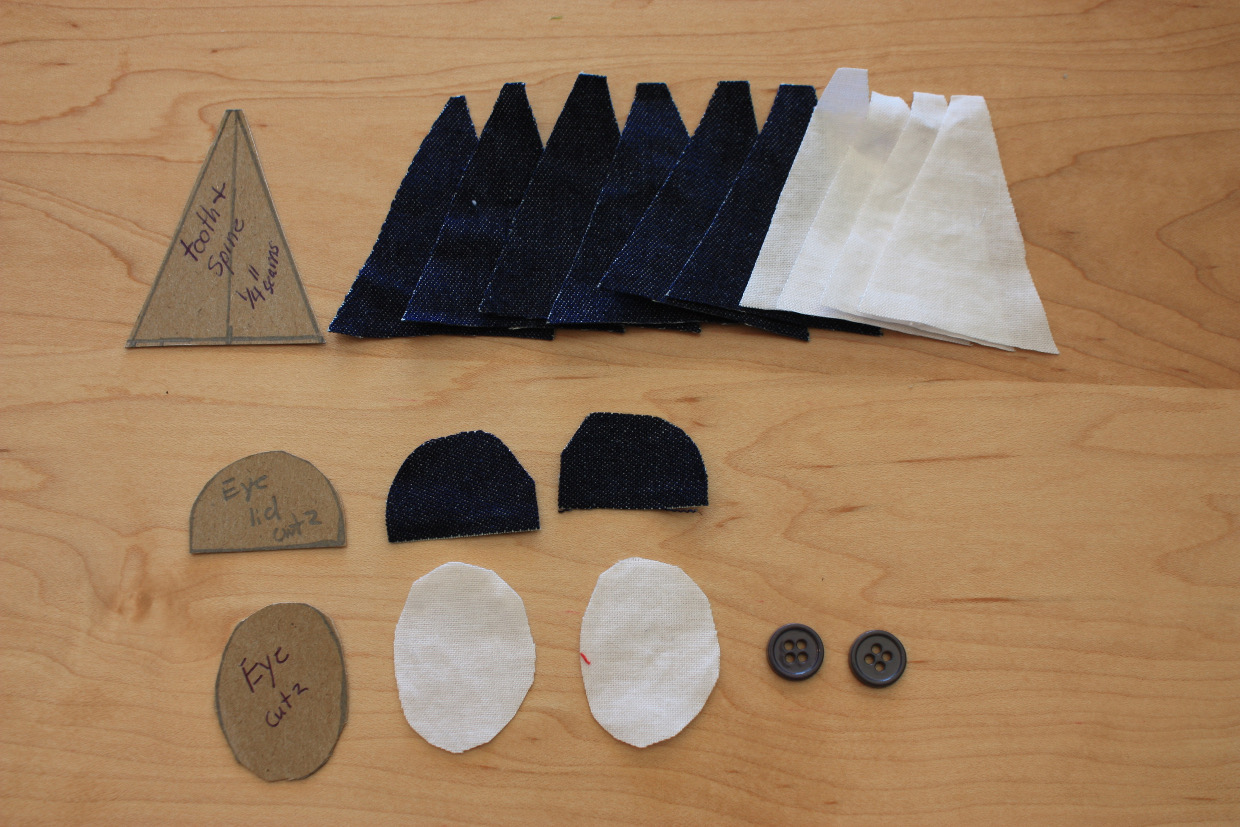
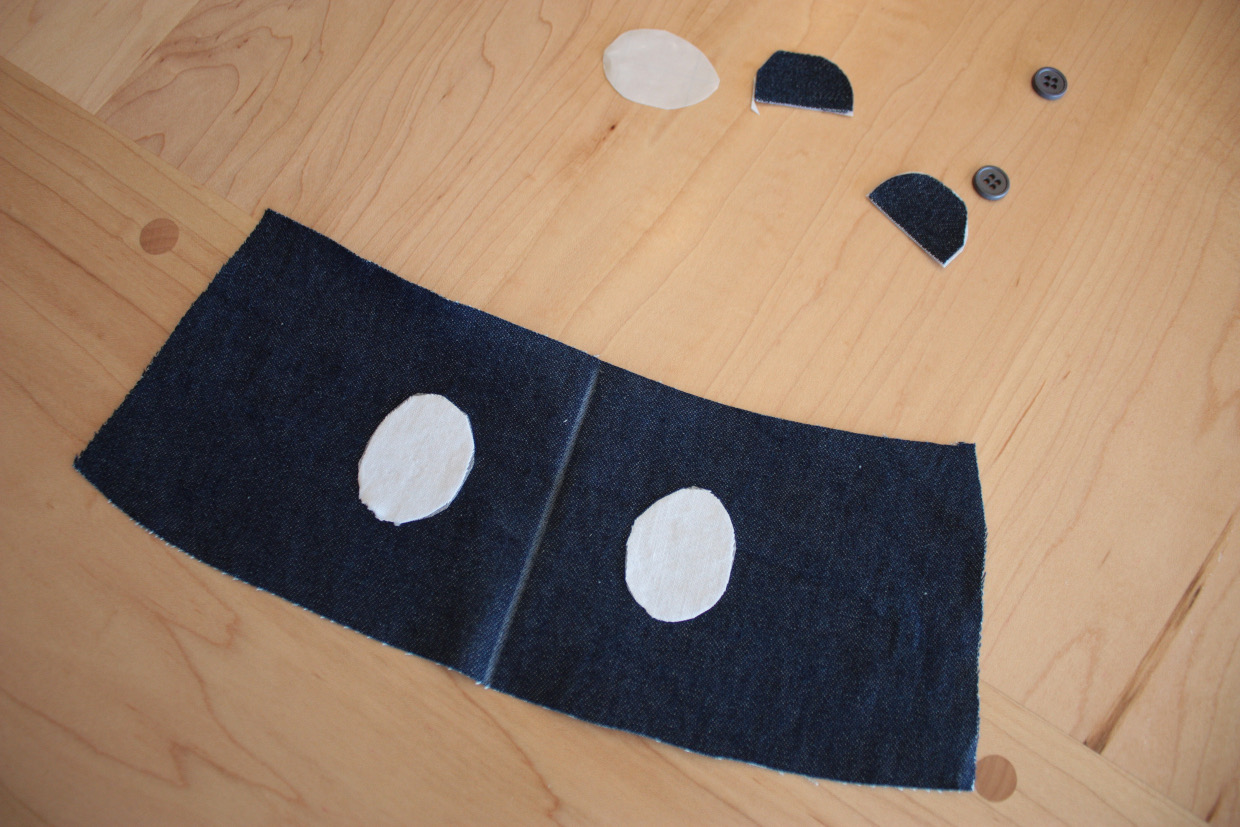
Using the templates cut six triangles from the main fabric (for the spines) and four triangles from the white fabric (for the teeth). Also, cut five triangles from fusible interfacing to give the spines and teeth a little stiffness. Cut two ovals from the white fabric for the eyes and two of the half ovals from the main fabric for the eyelids. Set the triangles aside for the moment.
I like to use a little double-stick fusible web (I prefer Steam-A-Seam 2) on the back of the eyes and eyelid fabric. This way I can position them on the hat and easily satin stitch around them without having to worry about removing pins or having them shift around.

Attaching the Eyes and Eyelids
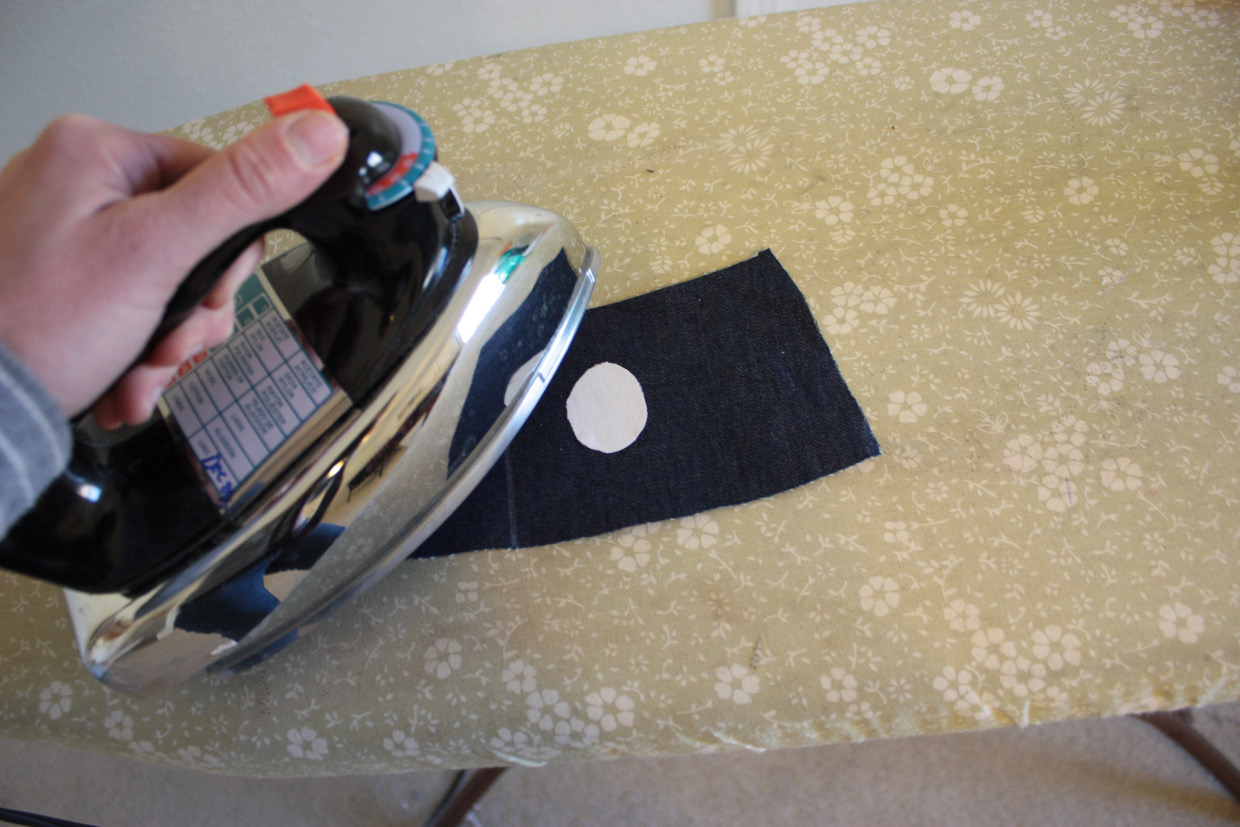
Find the center of one of the side panels and mark it; this will be the front of the hat.
Next, position the eyes on either side of this center line and press them to hold them in place when you are happy with their alignment.
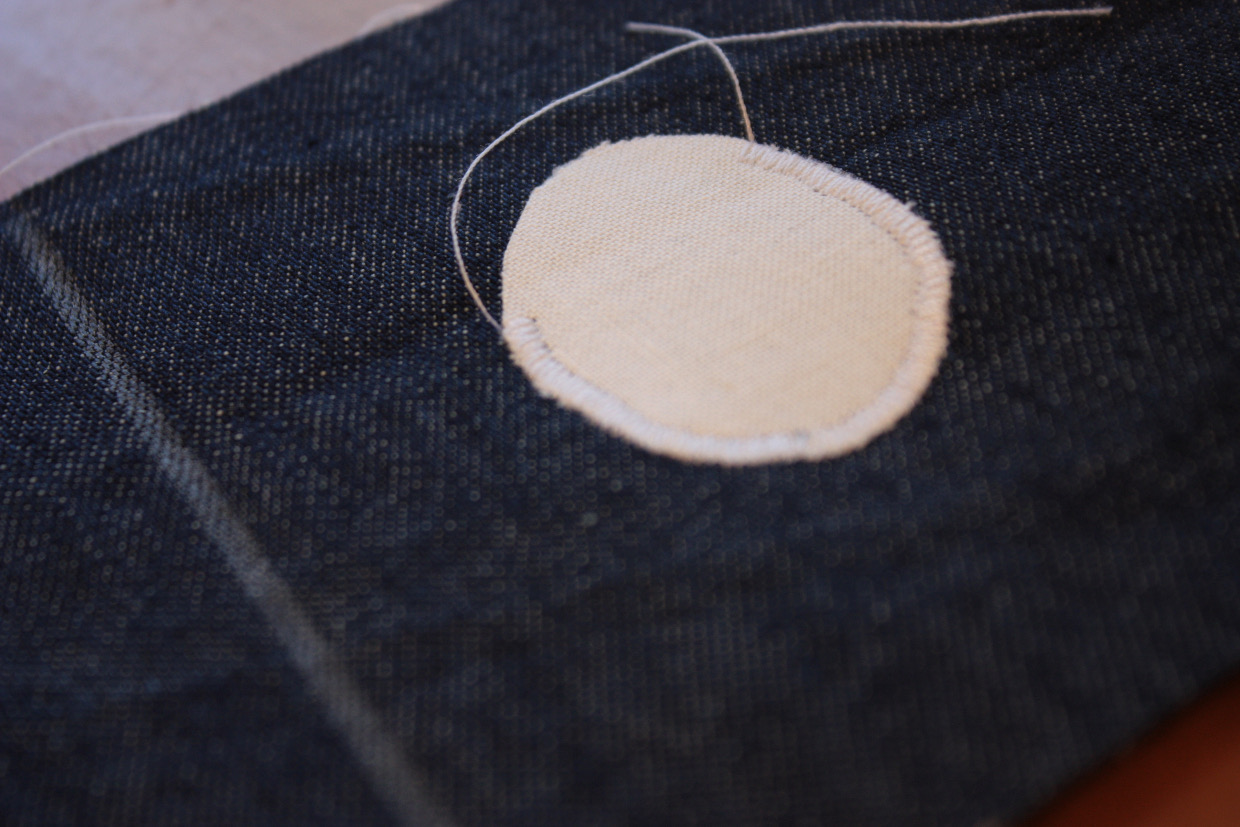
Using a satin stitch, work your way around the bottom half of the eyes (the top half will be covered with the eyelid).
To prepare the eyelids, sew a small satin stitch along the bottom straight edge of the eyelid before removing the paper on the back of the fusible web. This will keep the bottom of the eyelid from fraying.

Then, carefully remove the paper from the back of the eyelid exposing the sticky fusible web.

Position the eyelid over the top half of they eye and do a quick satin stitch around the curved edge securing it over the eye.
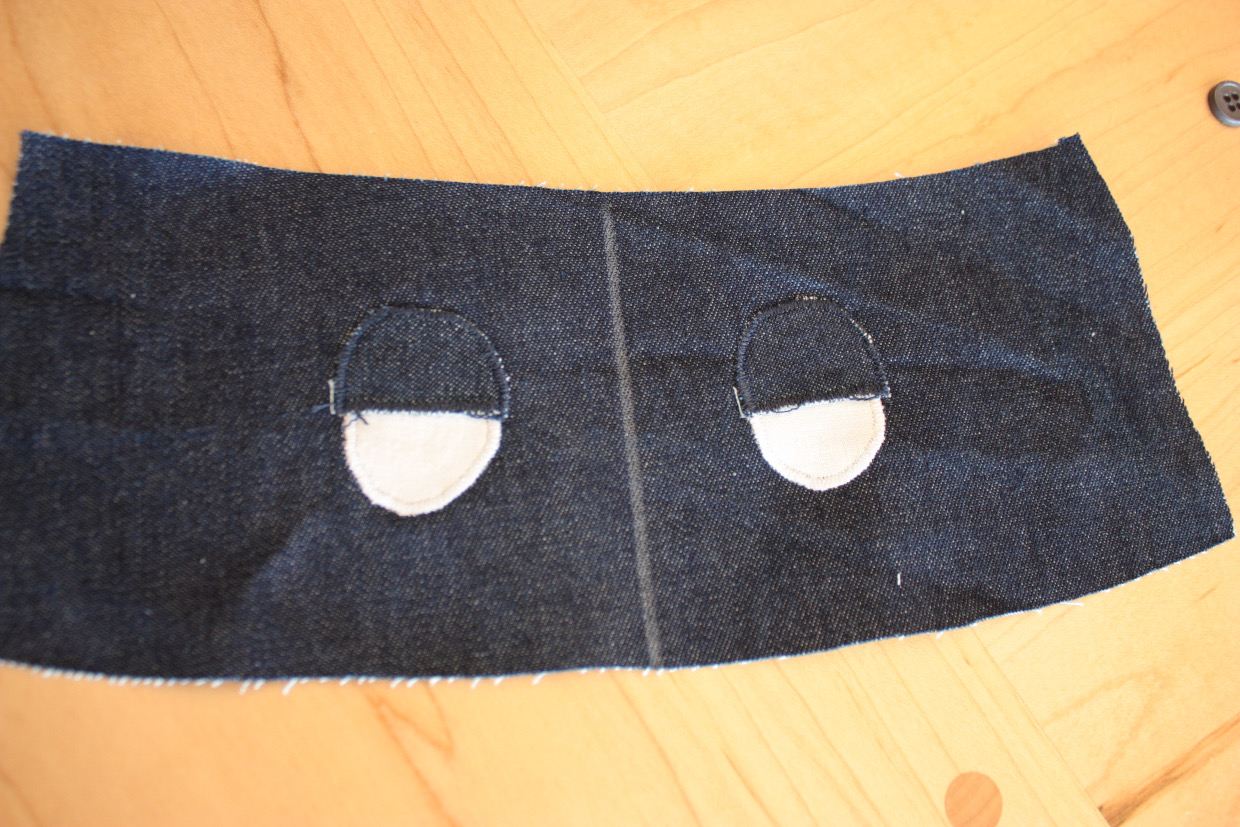
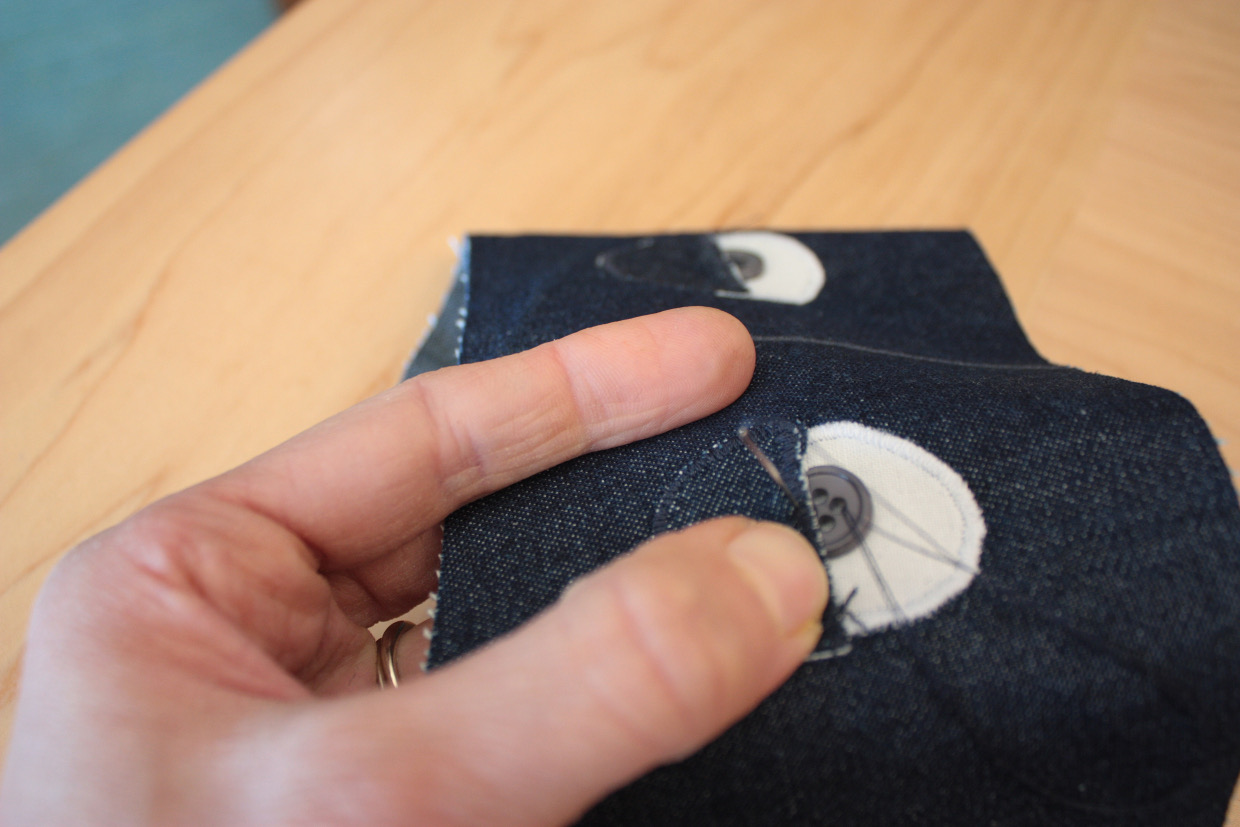
Next, position the buttons for the pupils of the monster’s eyes by tucking them half way under the eyelid to give him a sleepy look. I find it helpful to actually sew through the eyelid a bit so that the button stays put half under the eyelid.
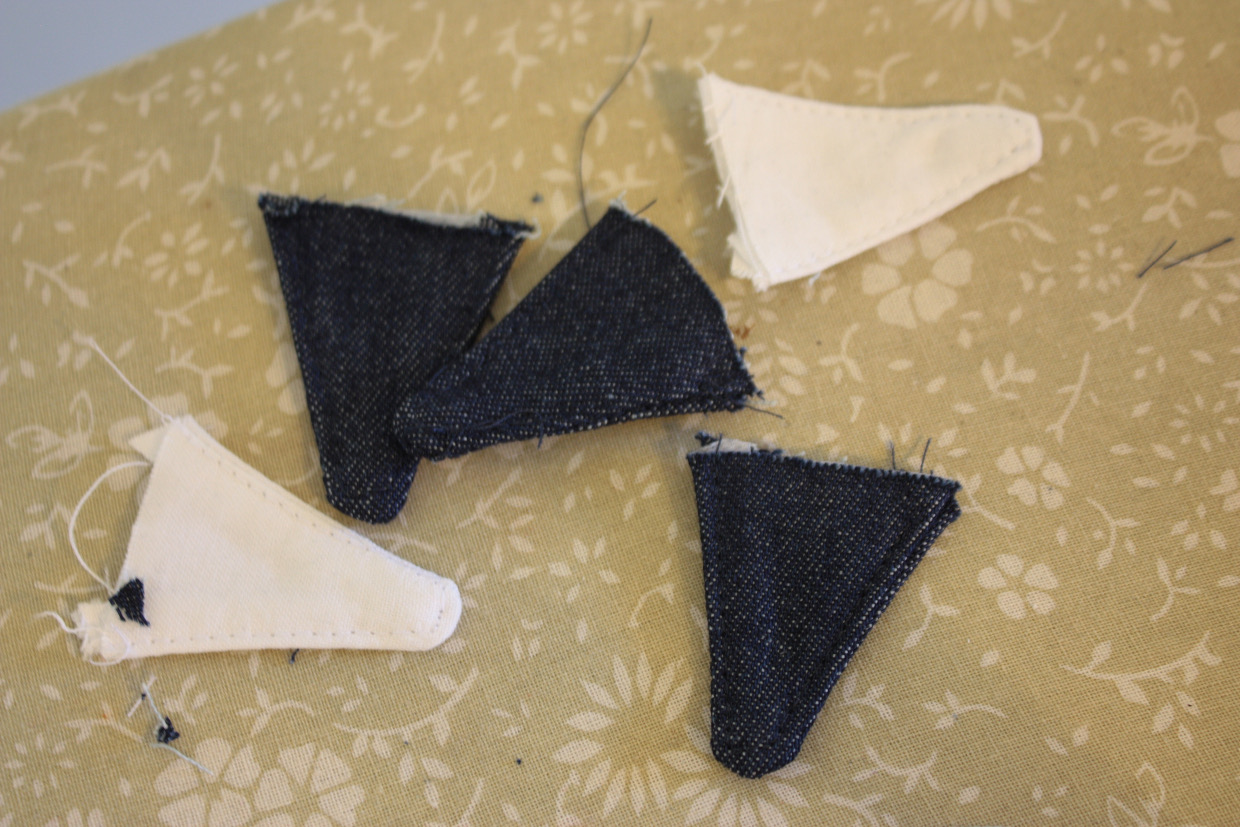
Preparing the Spines and Teeth
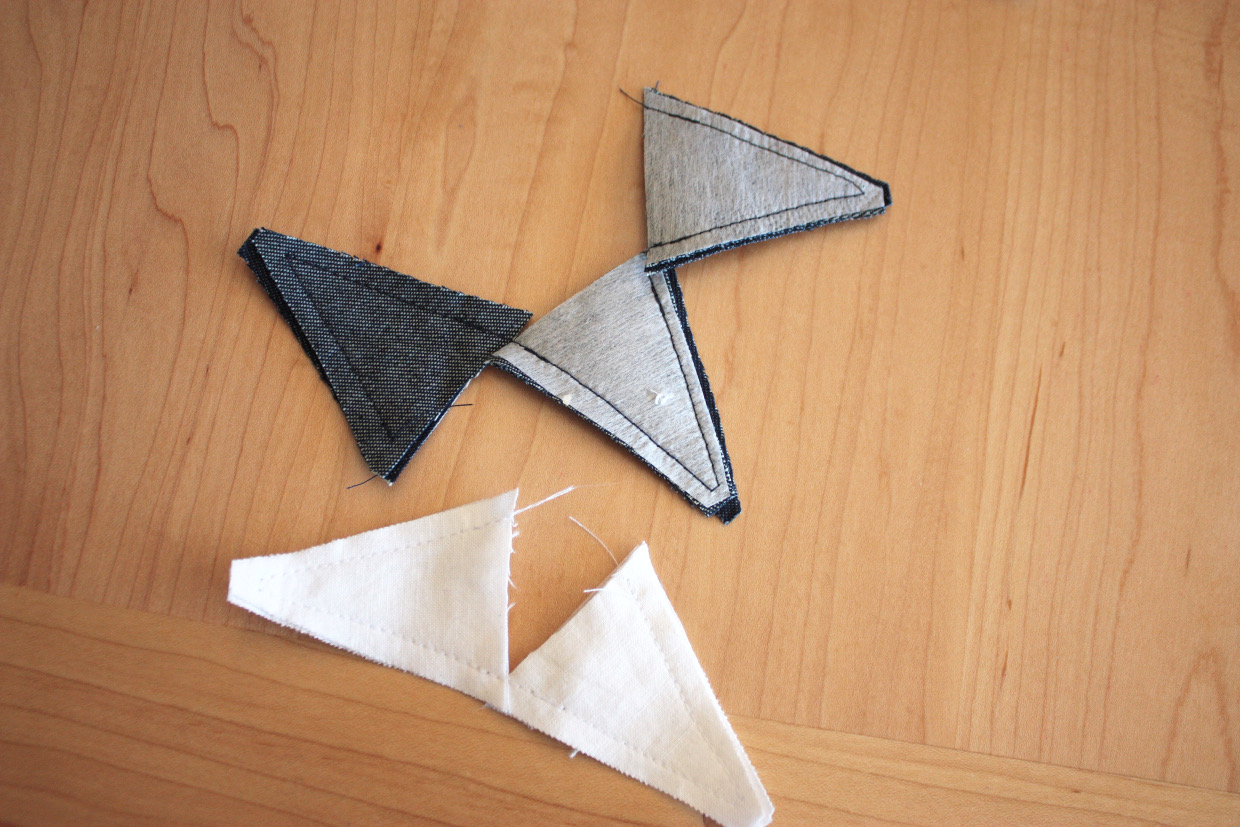
Add the fusible interfacing to the wrong side of three of the spines and two of the teeth. Placing the right sides together, sew the interfaced spine triangles to the other three non-interfaced spine triangles with a ¼ inch seam allowance. Do the same for both of the teeth triangles.
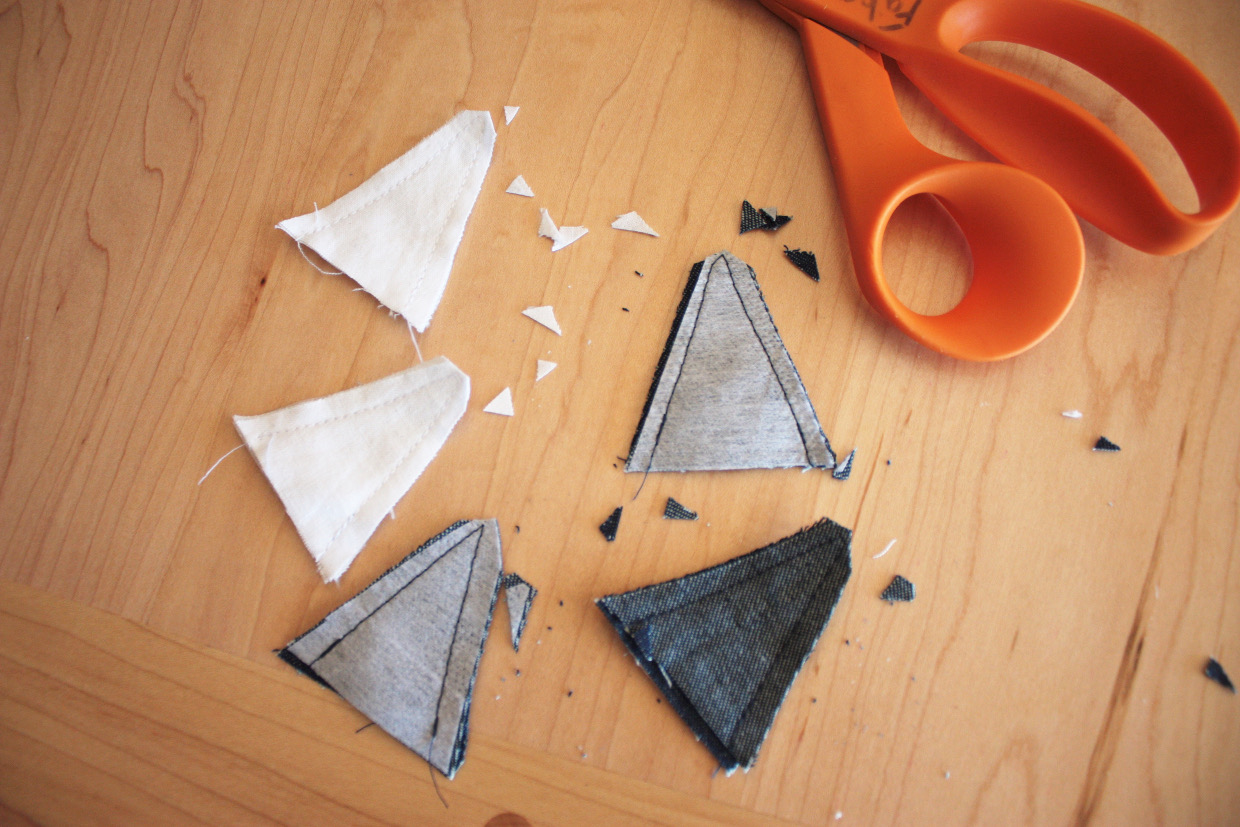
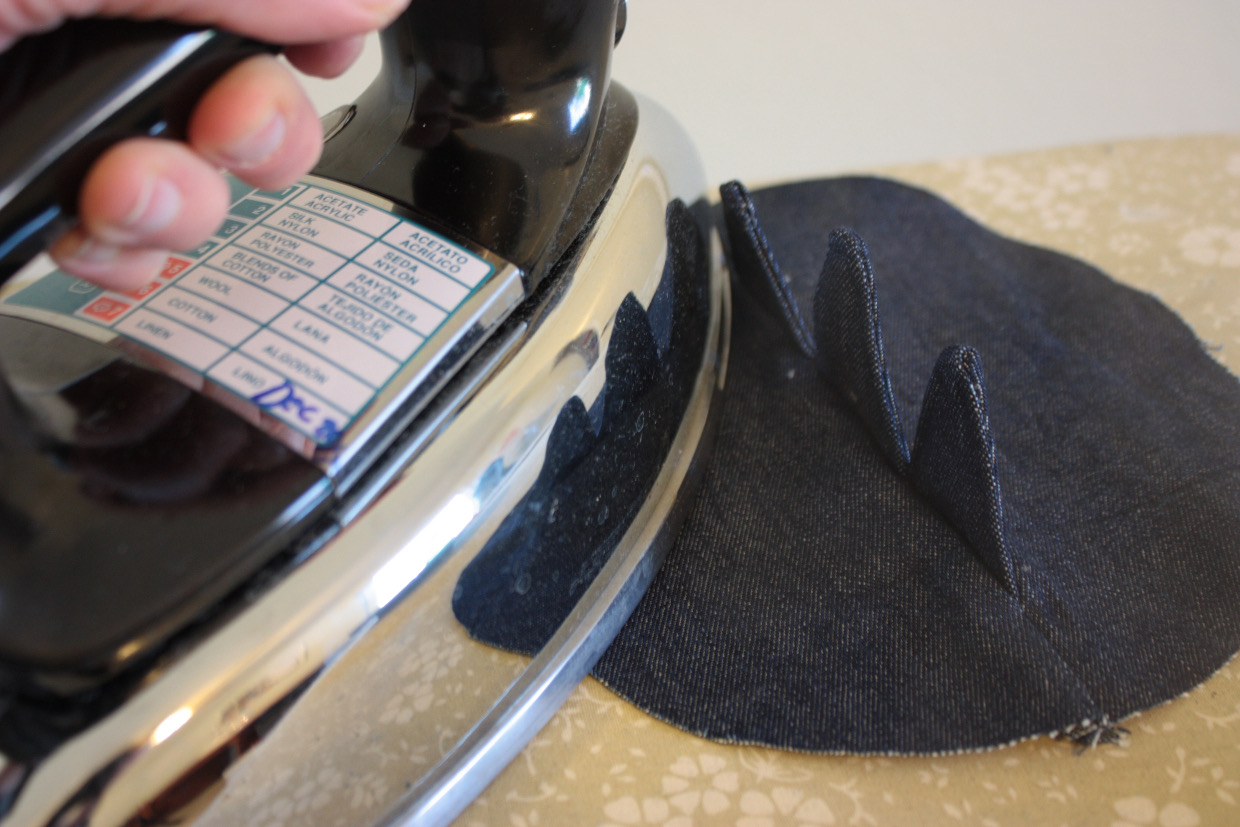
I find that trimming around the points of the triangles and pressing the seam allowances open helps with the fiddly task of turning them right side out.
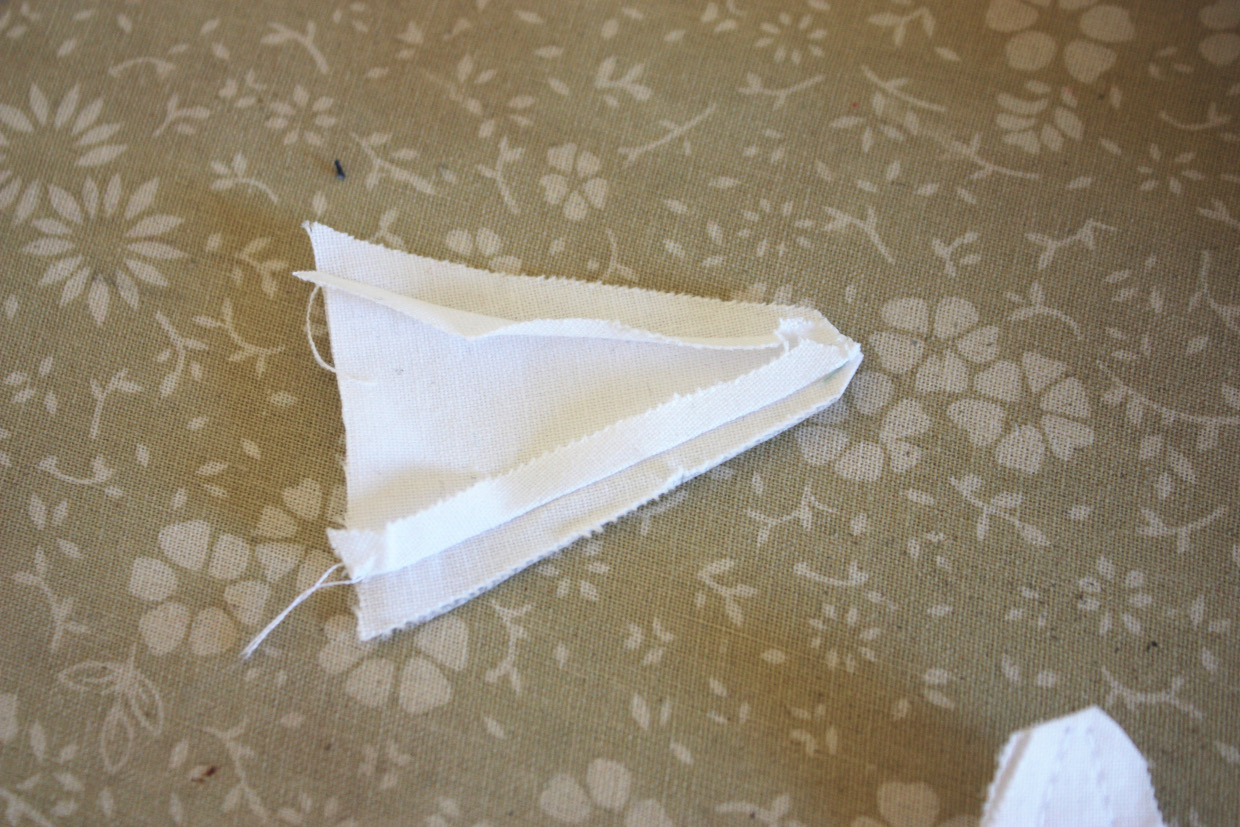
Make sure you carefully push out the points with a point turner or chopstick. I also added a scant 1/8 inch top-stitching around the outside of the triangles to help them lay flat.
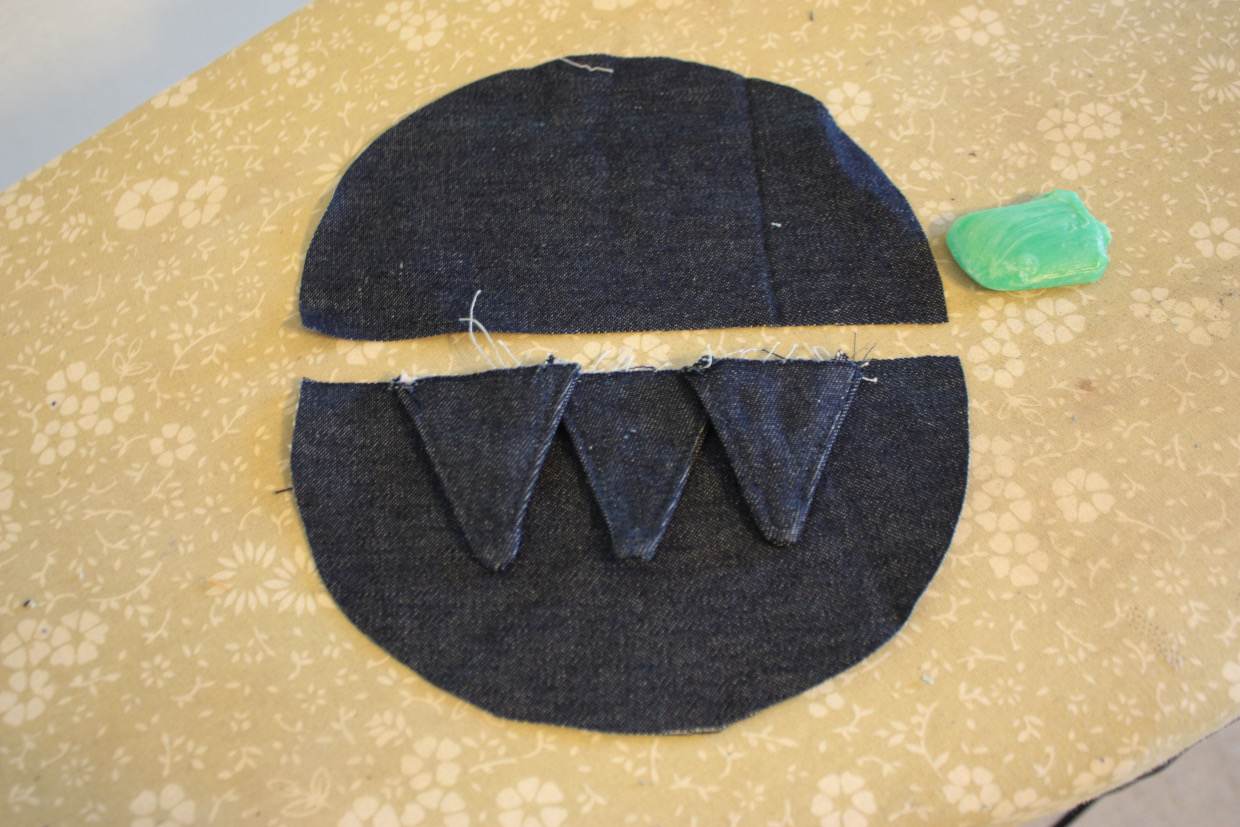
Attaching the Spines
To attach the spines to the top of the hat lay the spines with the bottom edge against the flat side of the crown (mine overlap slightly).
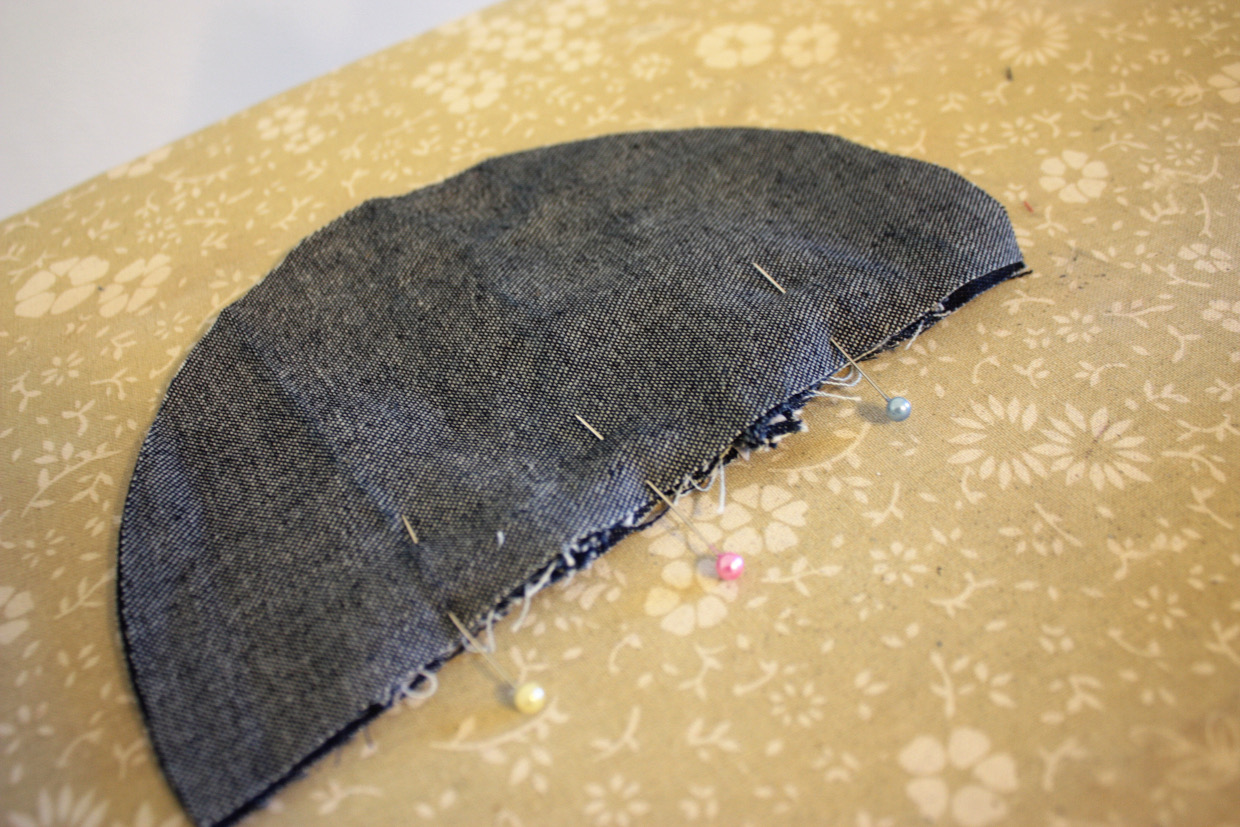
Sandwich the spines between the right sides of the two crown pieces and sew everything together using a ½ inch seam allowance.
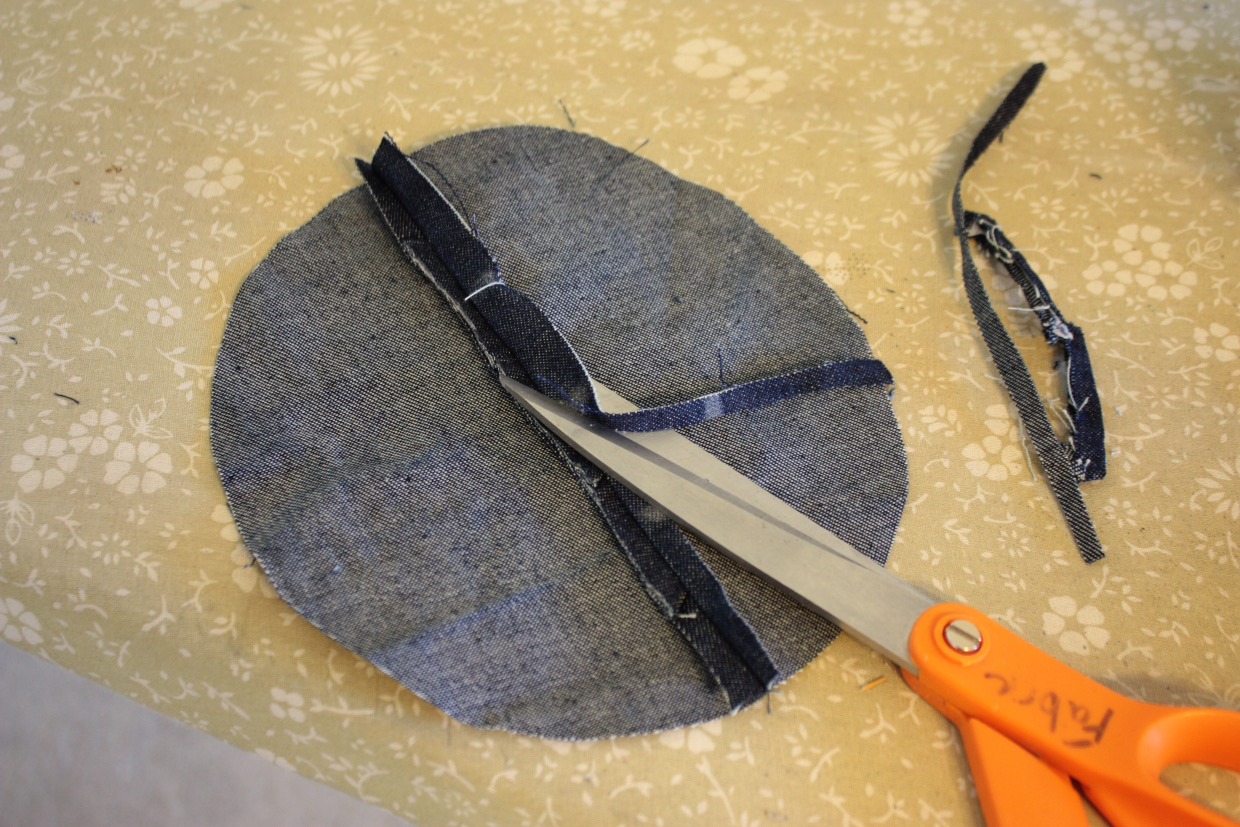
Trim the seam allowance to about ¼ inch and press the seam open as best you can. Turn the crown over and carefully press around the spines to help them to stand up straight.
Attaching the Teeth
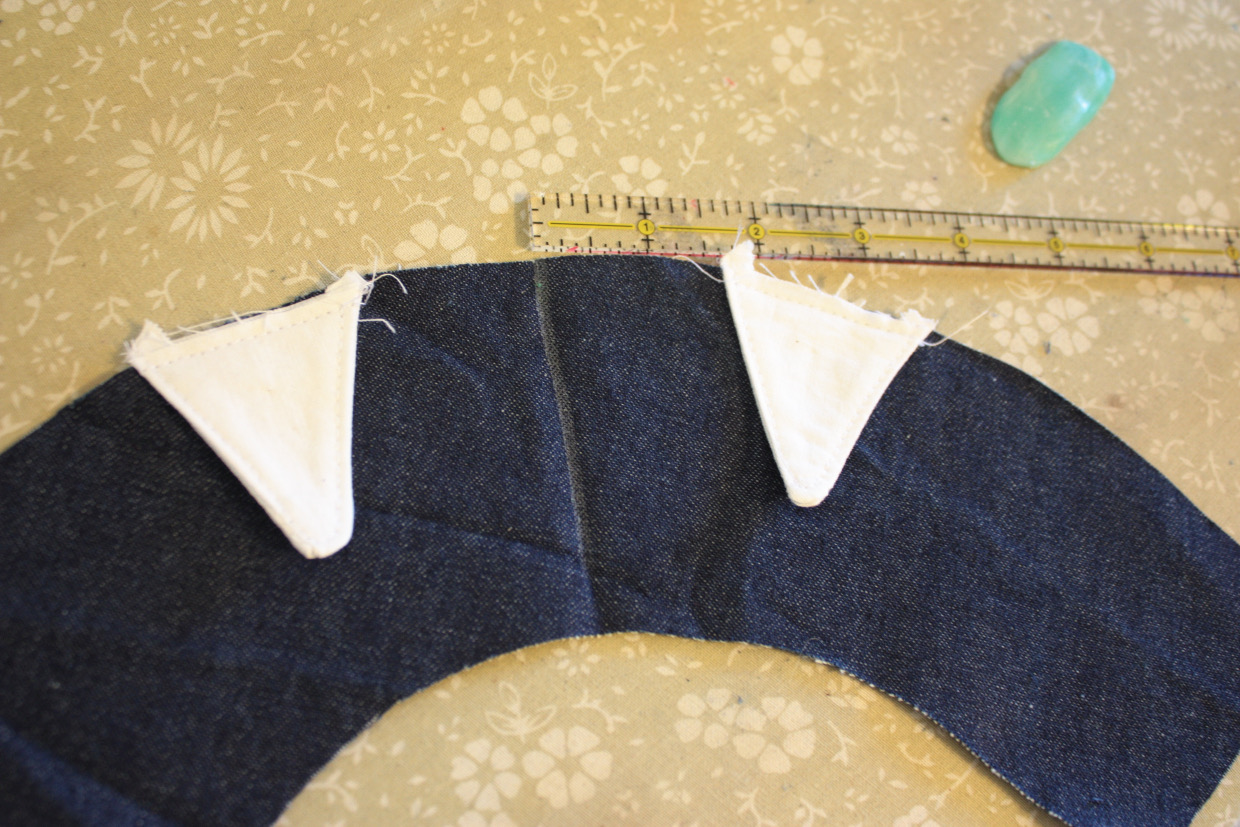
Mark the center of one brim (cut from the main fabric) and position the teeth at equal distances from the center mark. Baste the bottom edge of the teeth to the outer edge of the brim.
Assembling the Hat
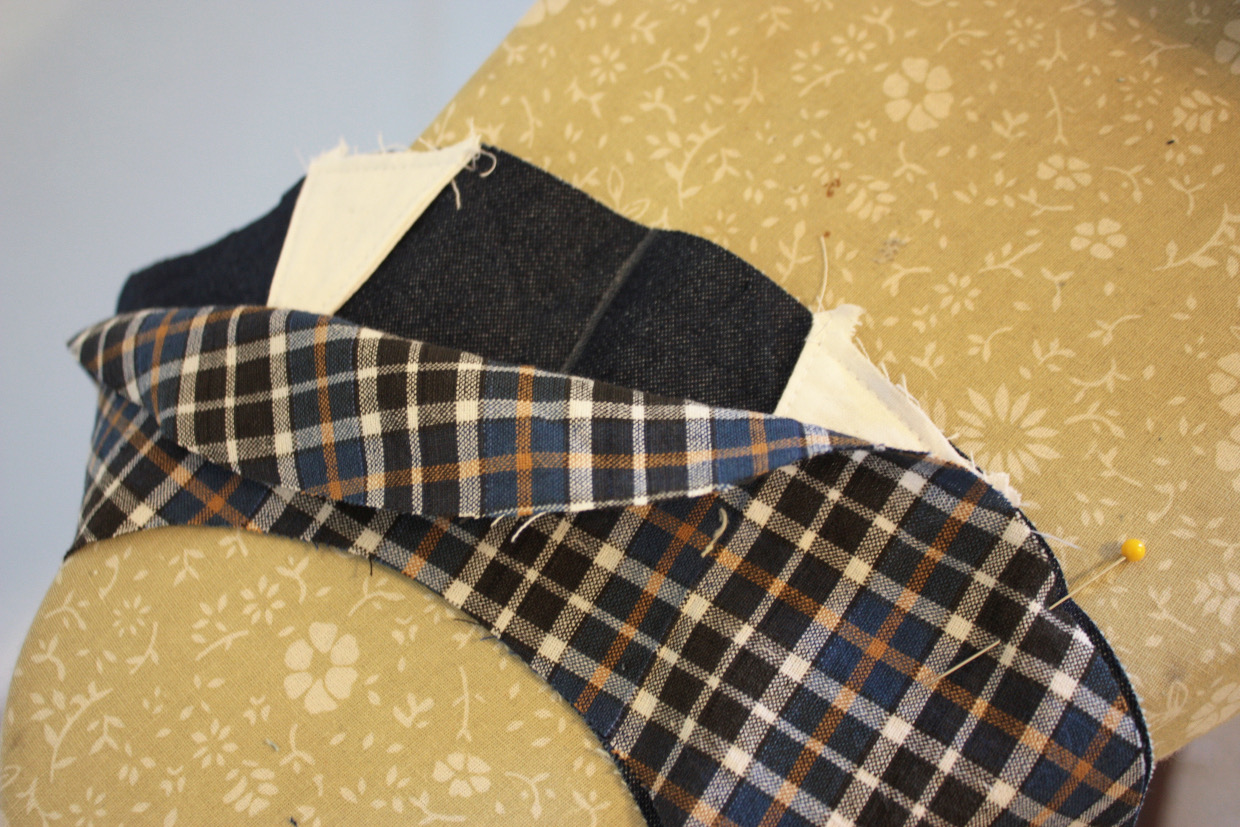
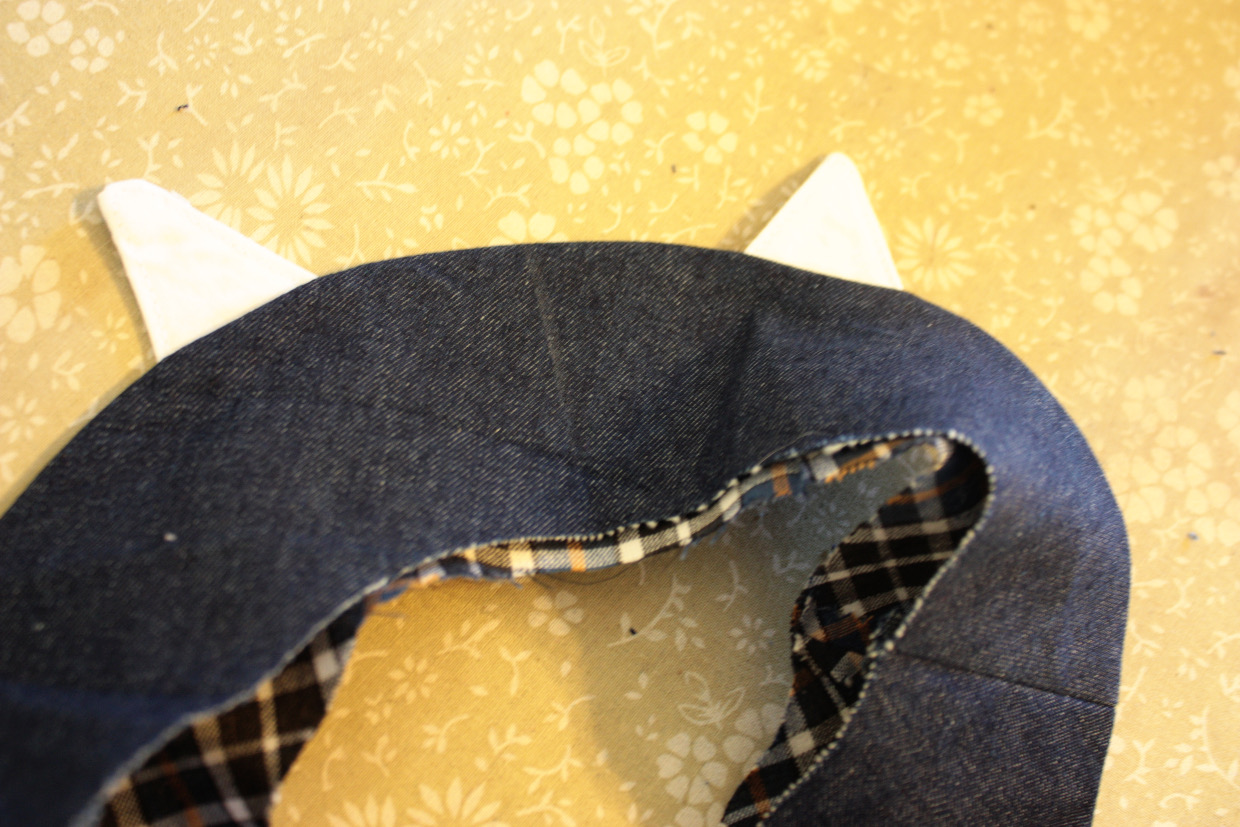
Now the hat can be assembled per the instructions of the Reversible Bucket Hat. The teeth will the sandwiched between the brim and brim lining and sewn as usual. When you flip the brim right side out the teeth will stick straight out giving our little monster a toothy grin.
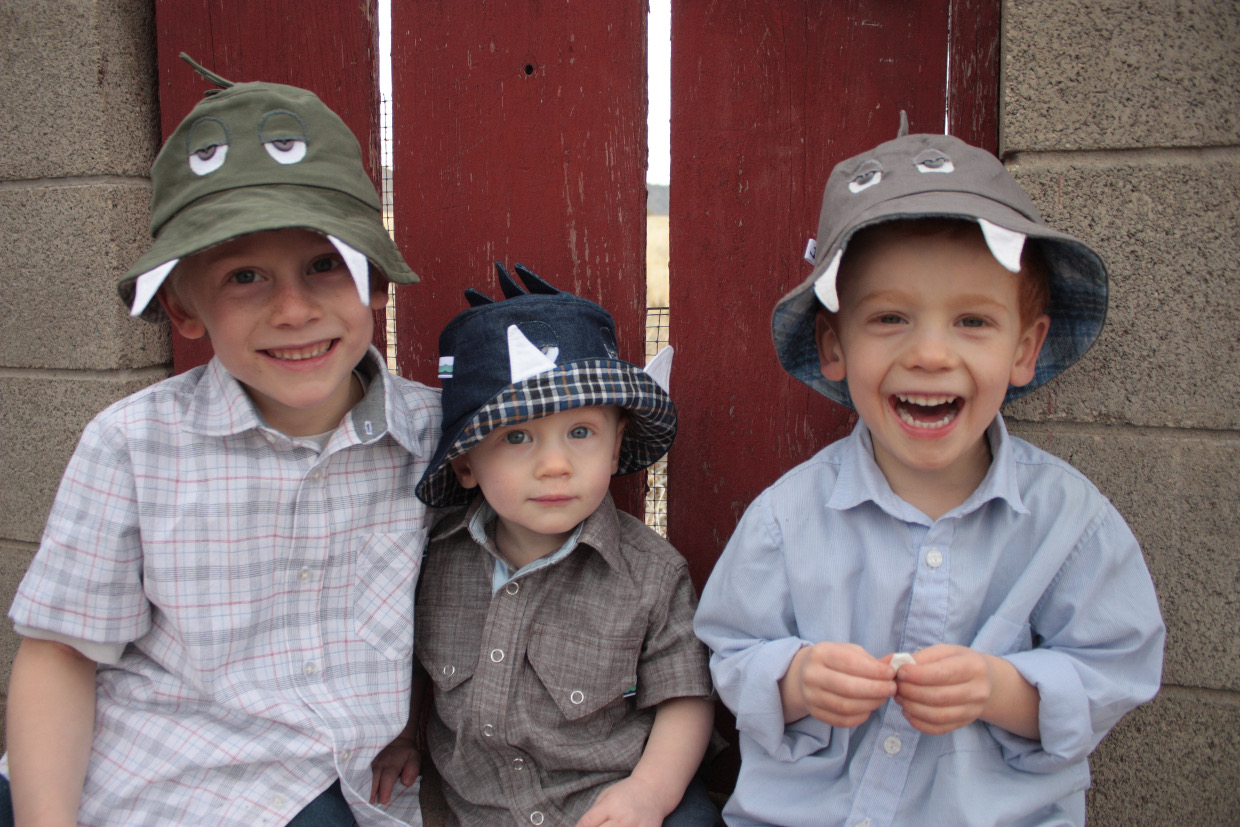
And of course, the best part of the project comes at the end. Wrangle up some monsters of your own and try them on for size!
Thanks Rita!
If you enjoyed this post you might also like:
So clever. And so generous for sharing…. I am making one for my grand daughter… Thank You.
Can hardly stand the cuteness in that photo! Great tutorial, thanks.
Wow amazing! Where did you even get that idea?!!
I love those sleepy eyelids! great tutorial, thanks