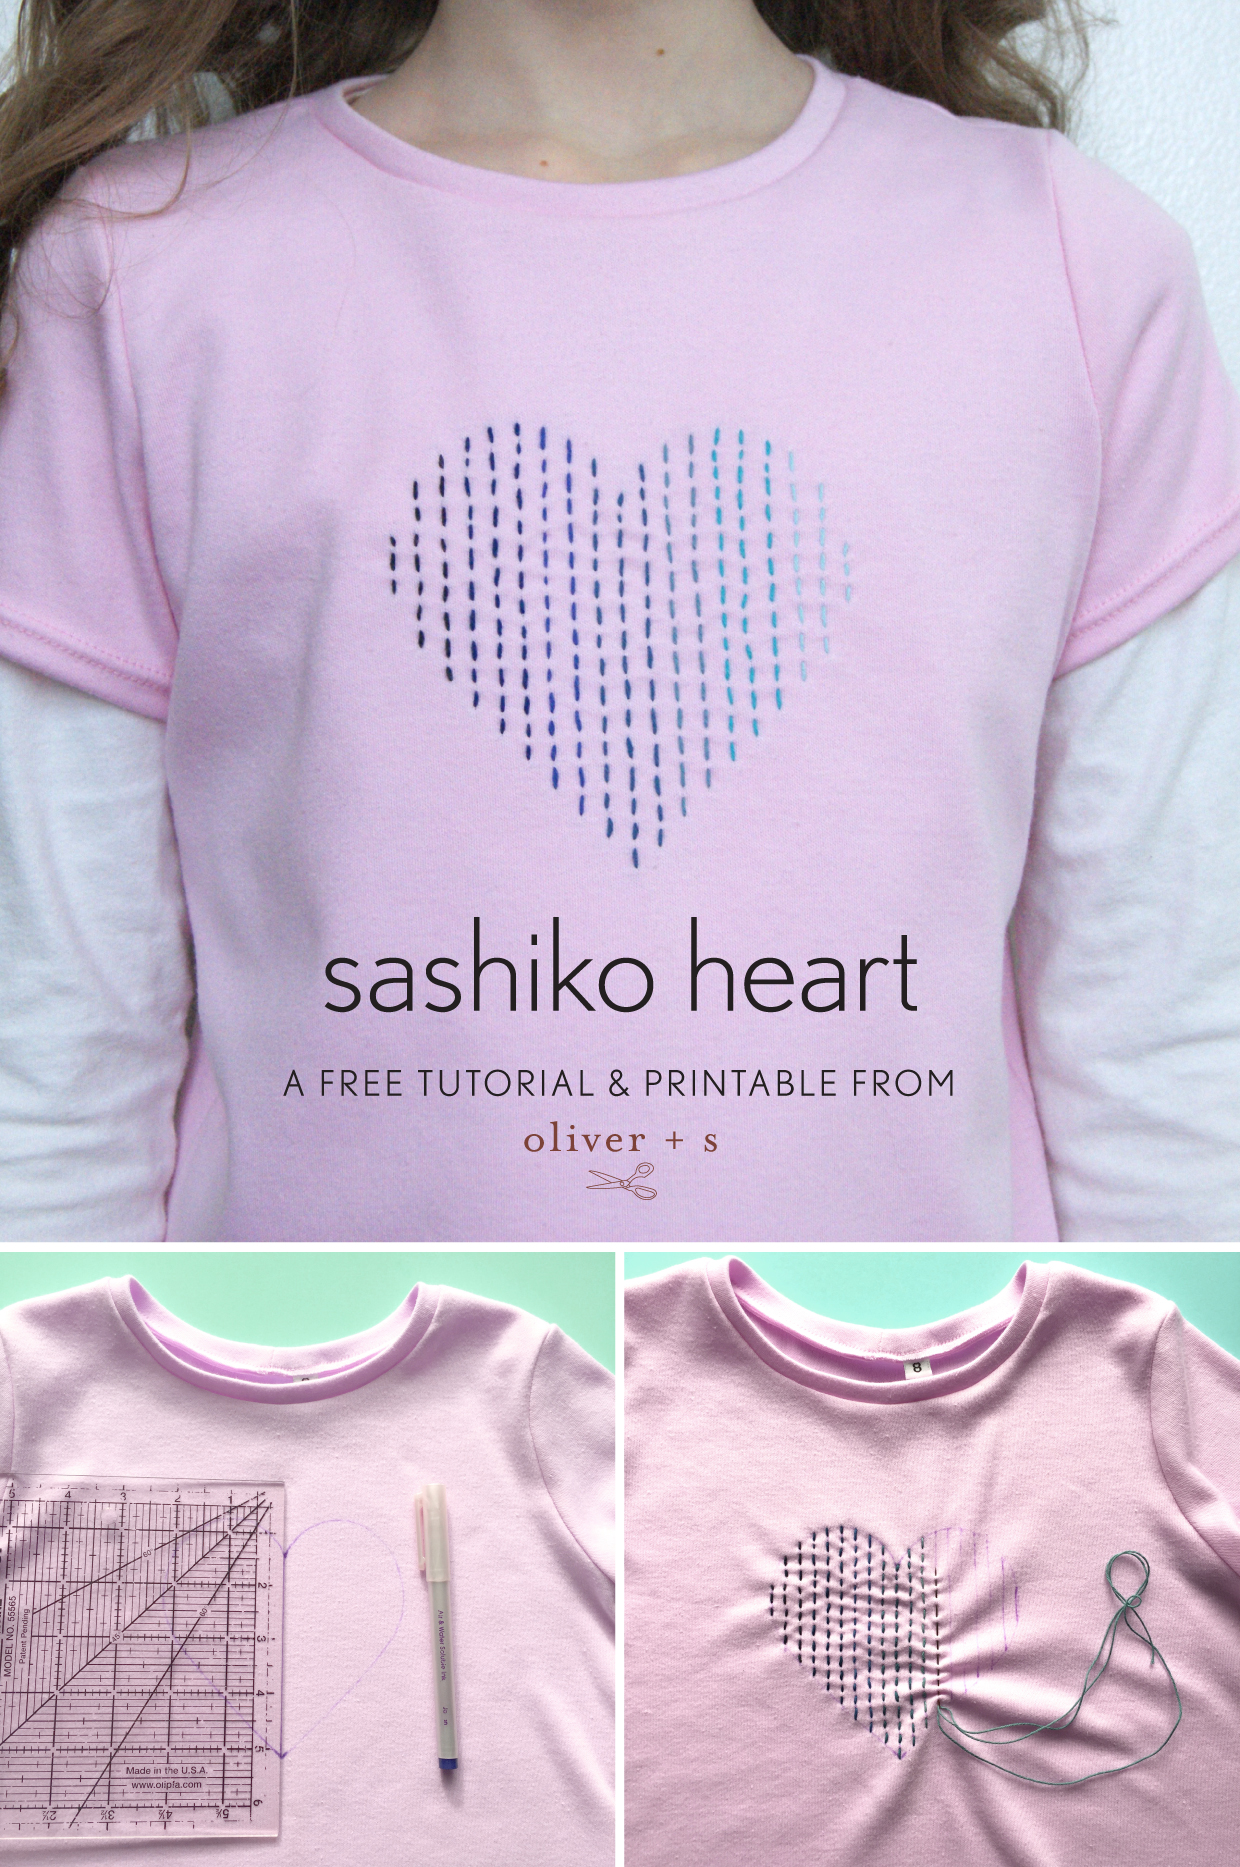
We have a free printable for you today and just in time for Valentine’s day. It’s a fun heart-shaped project that could go on a dress or t-shirt front, but it would be cute on a pillow or tote bag as well. Putting it on t-shirt would be great because it could be made for boys and girls that way.
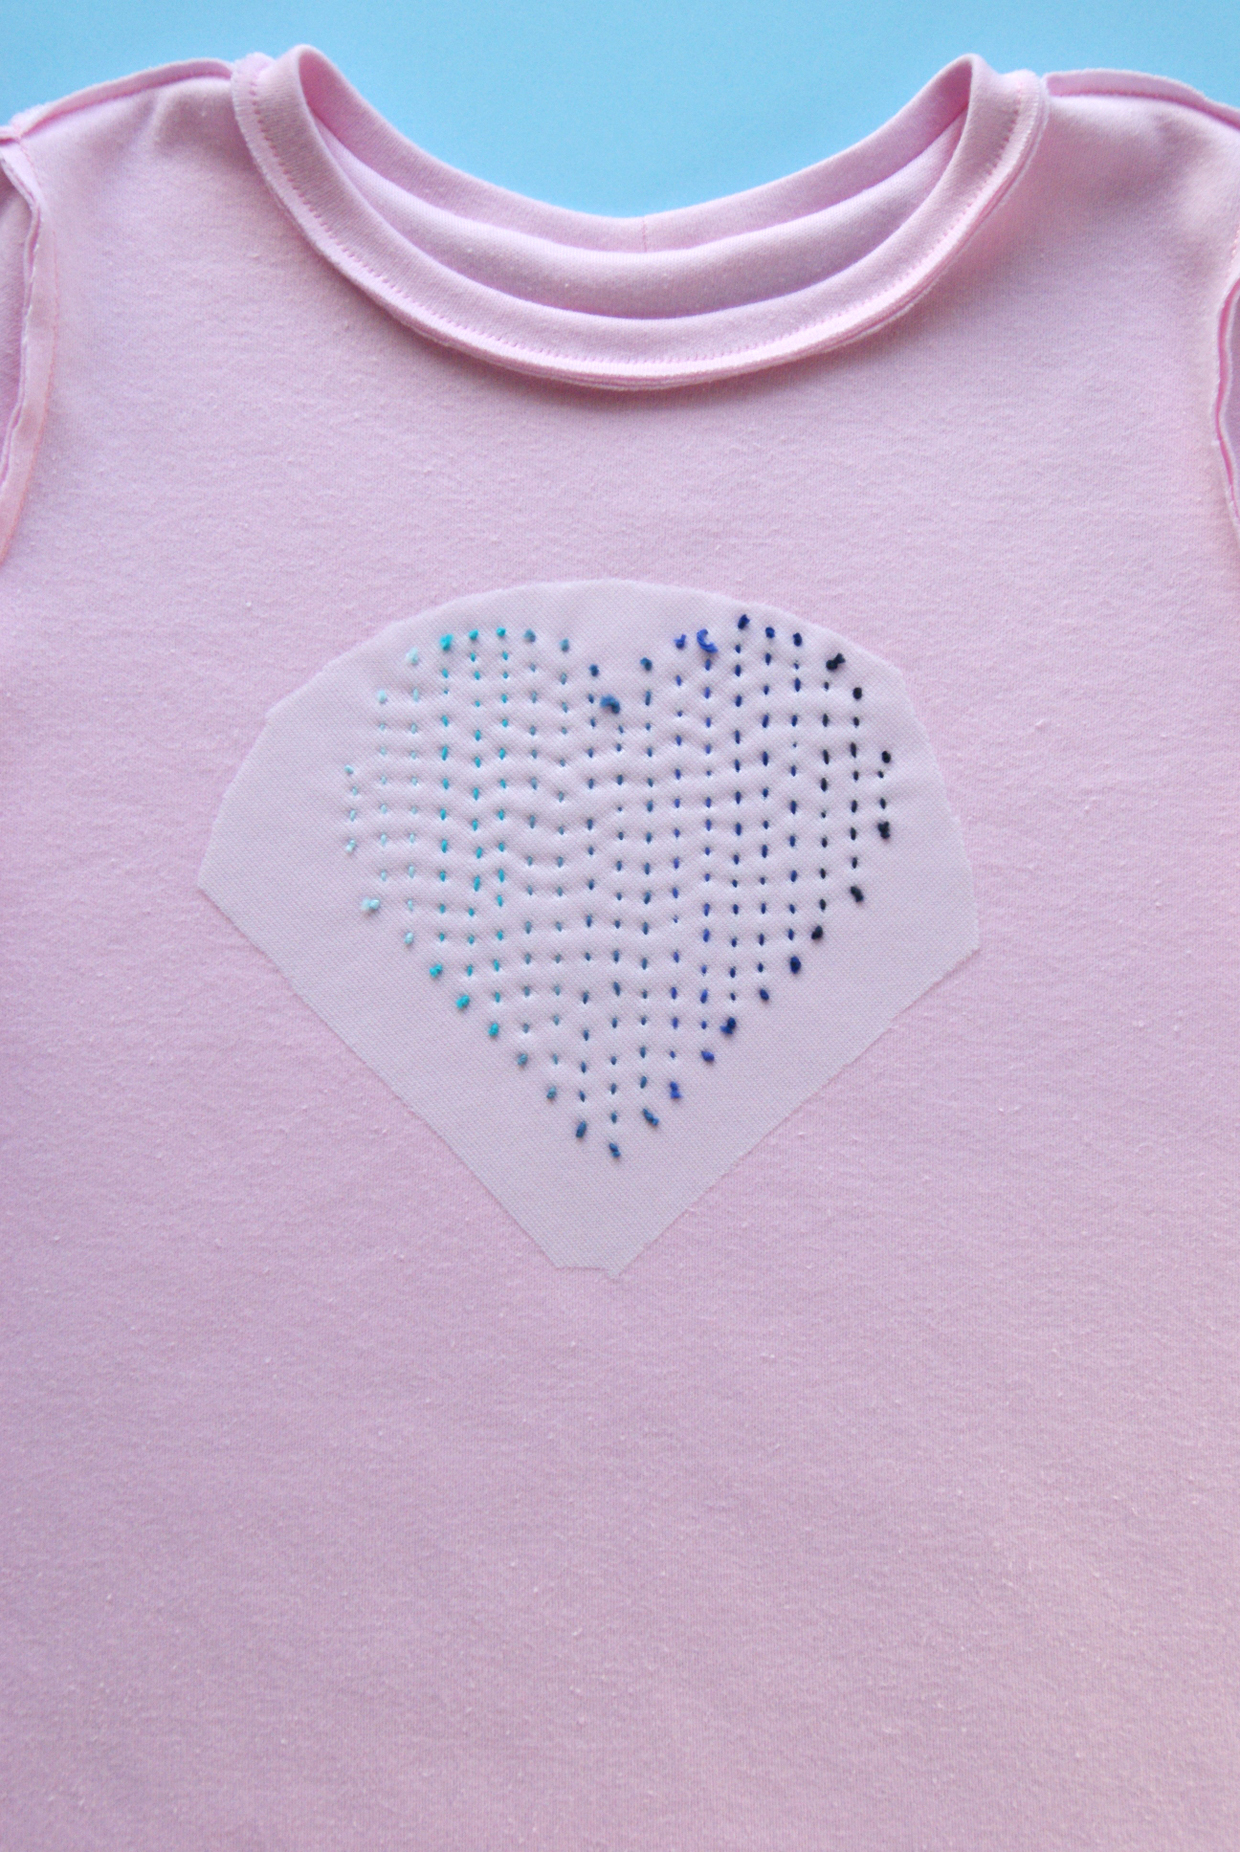
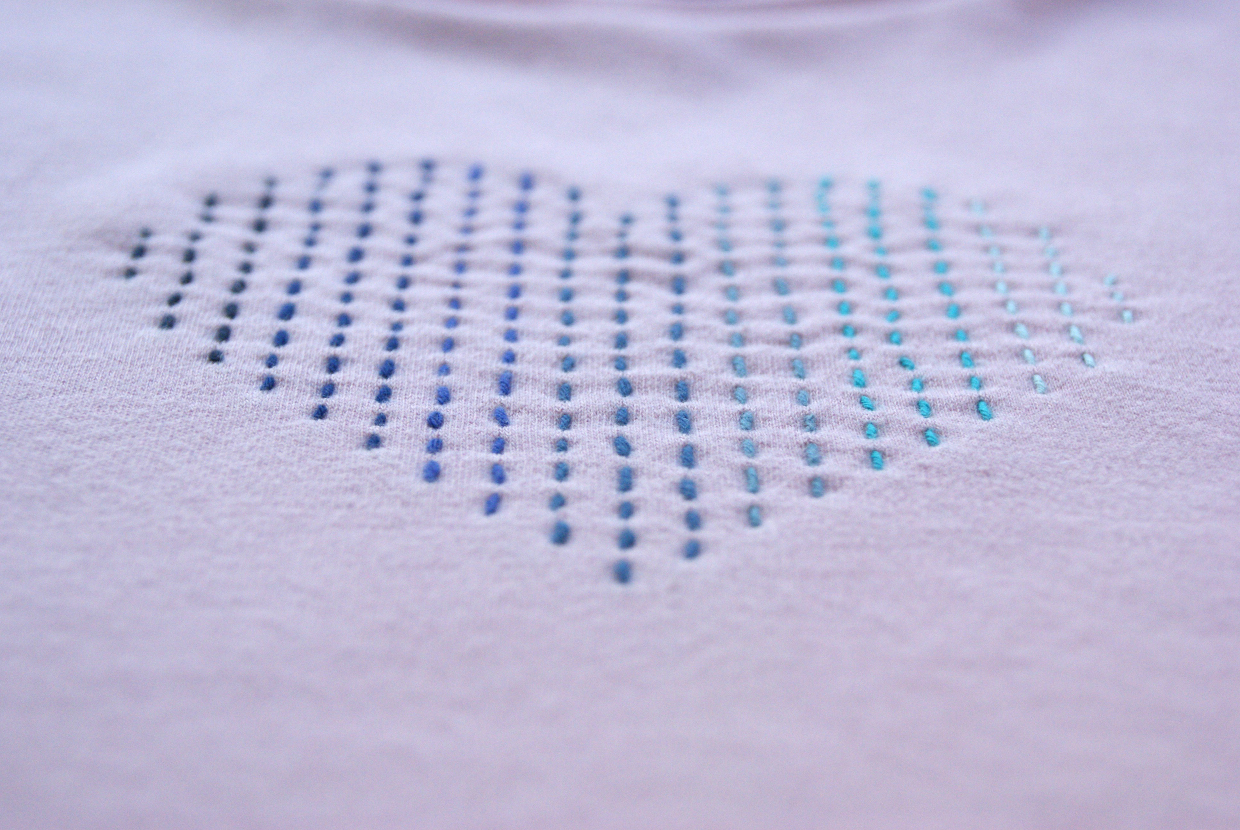
I made a t-shirt for my daughter with some Sashiko stitching in seven different shades of blue thread to create an ombre effect. I’ve written up a tutorial about how I did it.
You’re already familiar with Sashiko, right? The popularity of Sashiko embroidery is still going strong. I’m sure you’ll remember the beautiful work that was done on the front yoke of a Hide-and-Seek Dress. Another example is this Messenger Bag, the sewing pattern for that can be found in Little Things to Sew. A great resource for different Sashiko designs can be found in this book. You can get as fancy as you’d like, but for this demonstration I’ve kept it quite simple by using straight running stitches.
I love making things with my ten fingers, I’m sure you do, too. So let’s jump into sewing hands first!
Supplies Needed
- free Sashiko Heart template
- water-soluble marker
- ruler
- fusible interfacing for knit fabrics
- Sashiko thread
- Sashiko needle
- t-shirt, I sewed a School Bus T-shirt, but you could also use the Lunch Box Tee.

How To
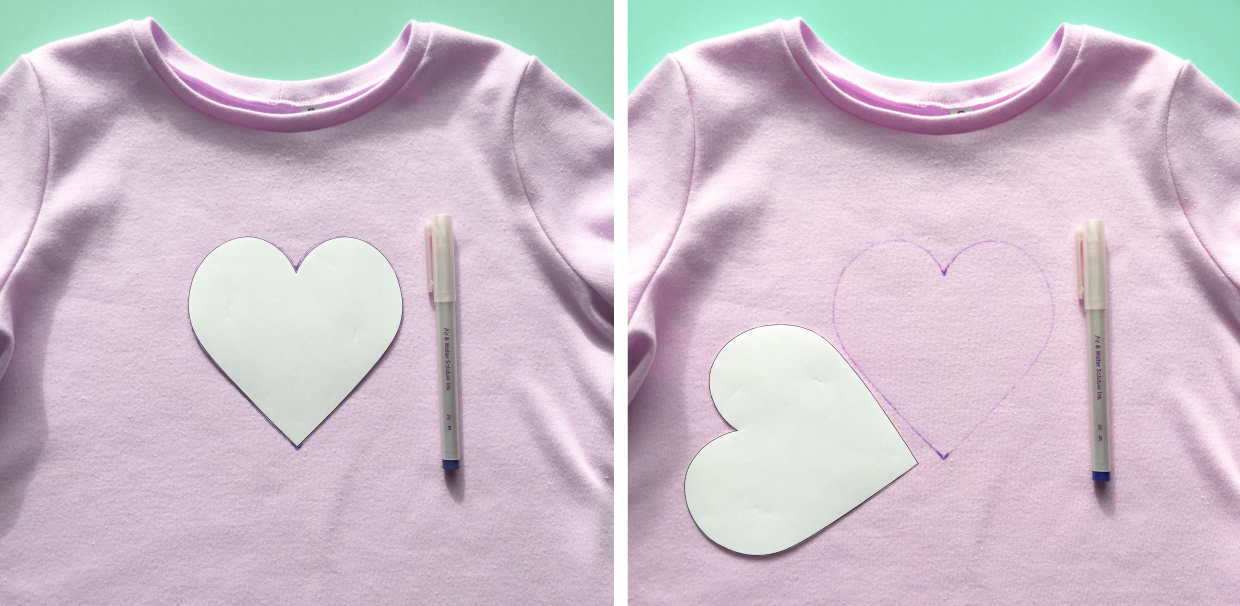
1. After you print out the template, cut out the size heart you want to use. I used the smallest size heart on a size 8 t-shirt, just to give you a reference point. Cut out a piece of fusible interfacing just a little bit bigger than the heart. Use an interfacing for knit fabrics; it’s got a lot of drape to it and once it’s applied that area will still have a bit of stretch. You’ll need to interface the back of the fabric in order to have some stability. Iron on the interfacing to the back side of the front of the t-shirt to the area where you’ll be doing the Sashiko embroidery.

2. With a fabric marker trace the heart onto the front of the t-shirt.
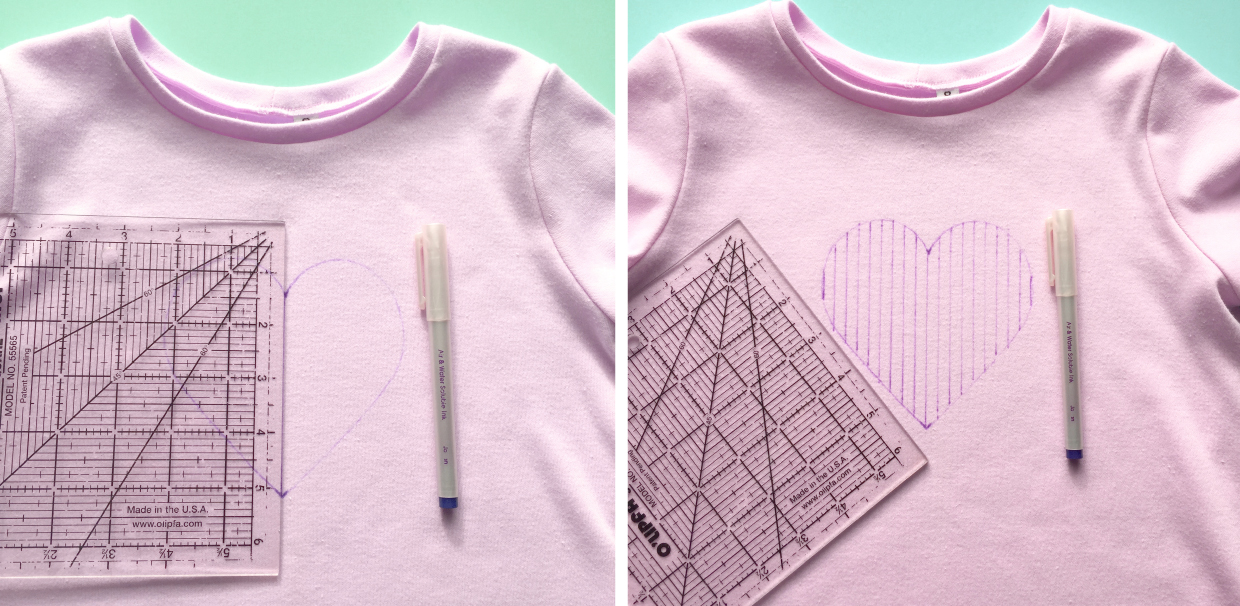
3. With a ruler draw a vertical line down the center of the heart. Then draw vertical lines parallel to the center line all the way across the heart. I spaced my lines about a fourth inch apart.
4. Grab your needle and thread. Cut your thread 30 inches long. Bring the eye of the needle to the thread. A Sashiko needle is slightly longer than a regular embroidery needle, allowing you to make several stitches at once before pulling the thread through the fabric. Sew running stitches on all of the lines.
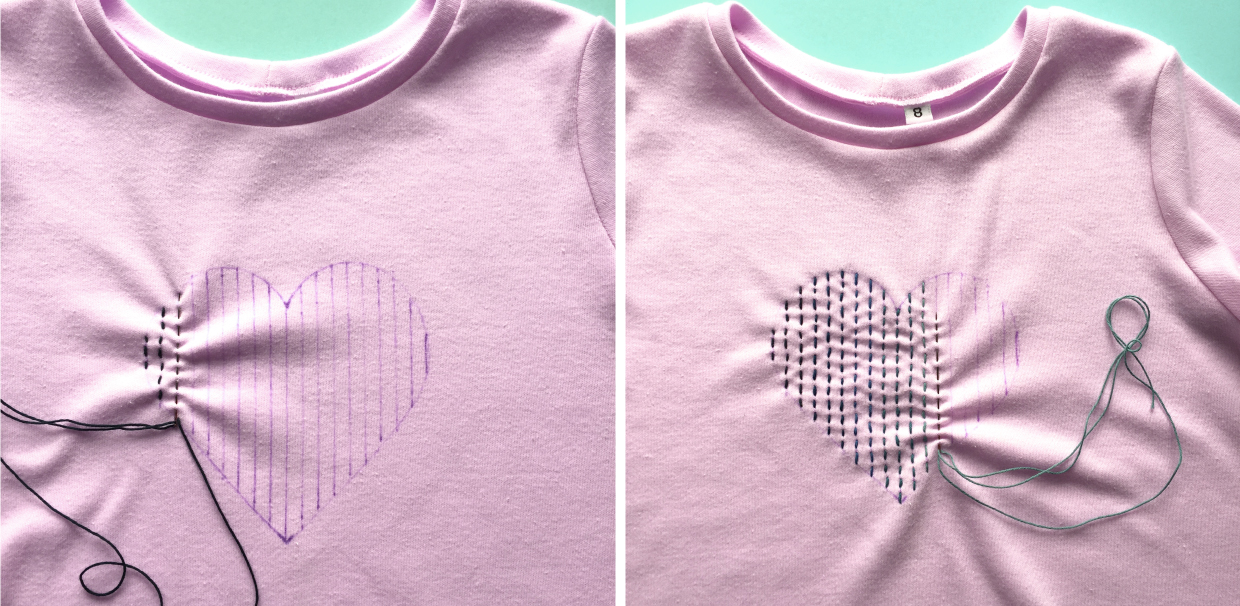
5. Finished!
Here’s what the back side of the stitching looks like.
Keep on stitching!
If you liked this project, you might also be interested in Heart Ornament or our Heart Cut-Out Back Tutorial.
What a cute idea! Thanks for sharing it.
I love it!
I guess you make little thread knots on the underside? After every column? Or do you cross over if using the same color?
Thanks Aneia! I did make little thread knots at the beginning and end of every line. I chose not to cross over because the t-shirt was such a light pink and I didn’t want the blue thread to show through. Also I had 19 different lines and 7 different colors of blue thread, so I had to change colors frequently.
Lovely use of Sashiko – thank you for this idea.
Can this be done with regular embroidery floss? Or is there something special about sashiko thread that makes it better?
Absolutely! Yes, this can be done with regular embroidery floss. Happy stitching!