Remember S’s new jumper from my post last week?
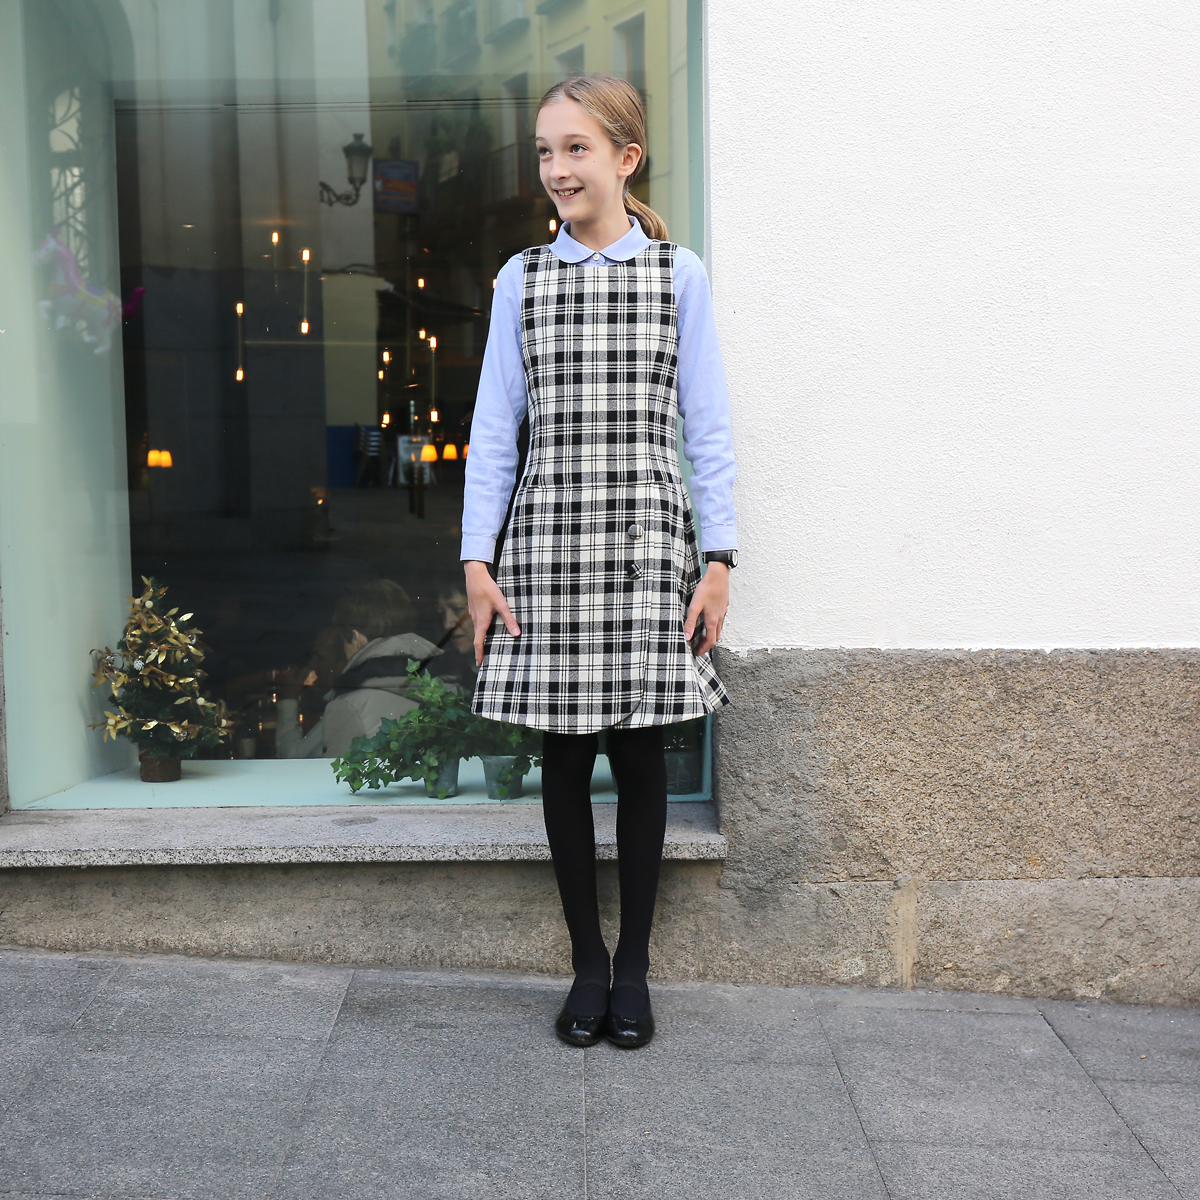
I promised you a tutorial for a simple lining and facing, so here it is.
This tutorial will help you sewing facings to a lining. This is my lazy method that’s quick and easy and a bit unorthodox.

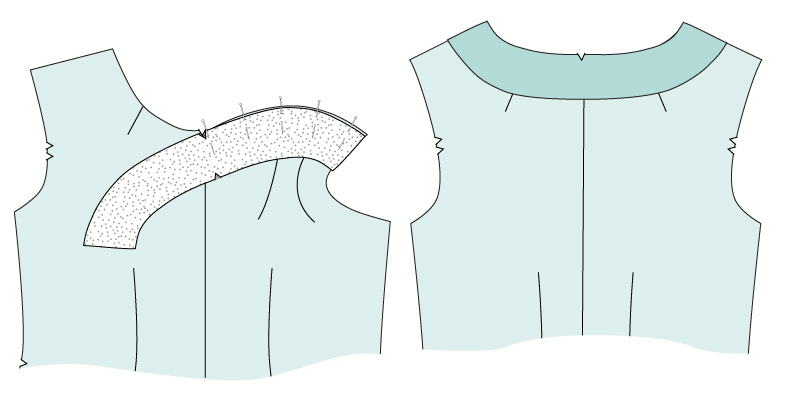
My cheater method is much easier and faster than the normal method of drafting a lining pattern because you don’t need to stitch opposing curves. Here’s the usual method for sewing a facing to a lining. If you’ve done this before you know that it can result in a very neat lining with a nice facing detail. (This illustration is from the Liesl + Co Bistro Dress.) But this can be a bit tedious because of the opposing curves, which need to be carefully pinned and clipped in order to make the two pieces fit together. (Not to mention the fact that you need to specially design the lining to accommodate the facing.)
My shortcut means that you don’t need a separate lining piece and you won’t be sewing opposing curves. And you can use the basic dress pattern pieces to make your lining, so you’re not spending extra time to draft the lining pieces.
Why do you need a facing when you’re lining a dress? In some cases you don’t, but I like to include a facing because it gives extra stability to an edge and it prevents the lining from showing. I think it’s especially useful at the neck edge, and on S’s jumper I included it on the hem because it helps to give the skirt a nice hem edge and it would be really difficult to hem the curves of the skirt without a facing. Plus, it just looks nice.
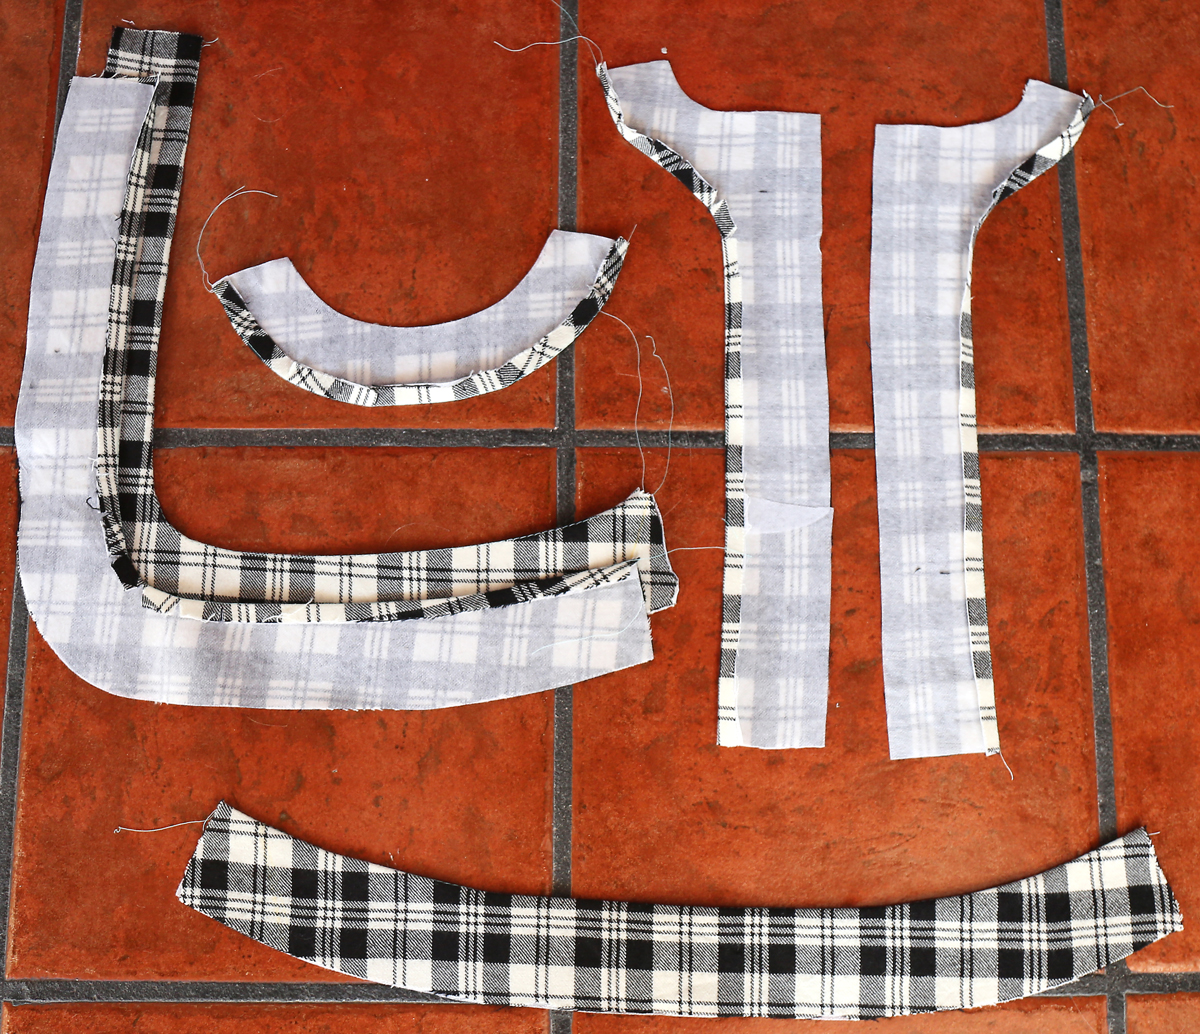
I started with my drafted facing pieces (if you don’t already have facings for your pattern you can always refer to the Building Block Dress book for complete details on drafting your own facings). After fusing interfacing to the facings, I add a row of basting 1/2″ from the curved inner edges of each facing and used the basting stitches as a folding guide to press the curved edge of each facing to the wrong side, as shown below. (By the way, I wasn’t planning to write a tutorial when I took these photos, which is why I just threw the pieces onto our Spanish tile floor.)
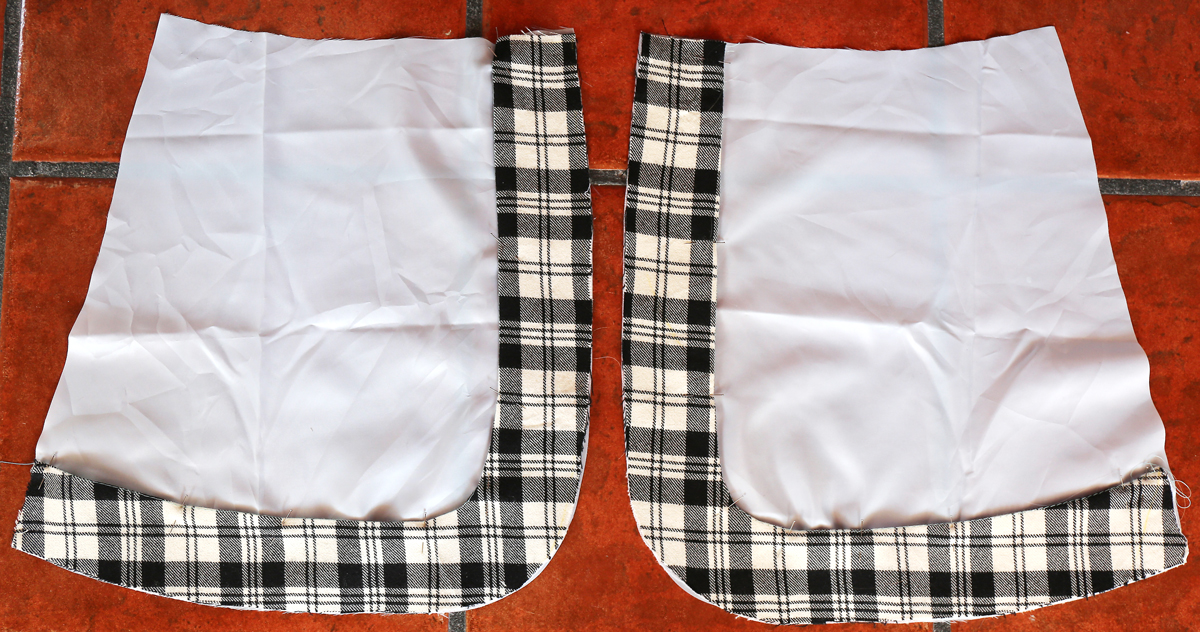
I used the original skirt and bodice pattern pieces to cut a lining for the front and back bodice and front and back skirt pieces. To attach the facings, I laid each coordinating facing piece on top of the right side of the lining, matching the outside edges and pinning the facing into place on top of the lining. I edgestitched the facing to the lining to secure it. A walking foot might be helpful here if your lining is very slippery, but I found that a few well-positioned pins generally did the trick and it wasn’t too difficult to stitch, even with the bulky fabric of my facings. Here are my skirt linings with the facings pinned into position and ready to edgestitch the basted, folded innermost edges.
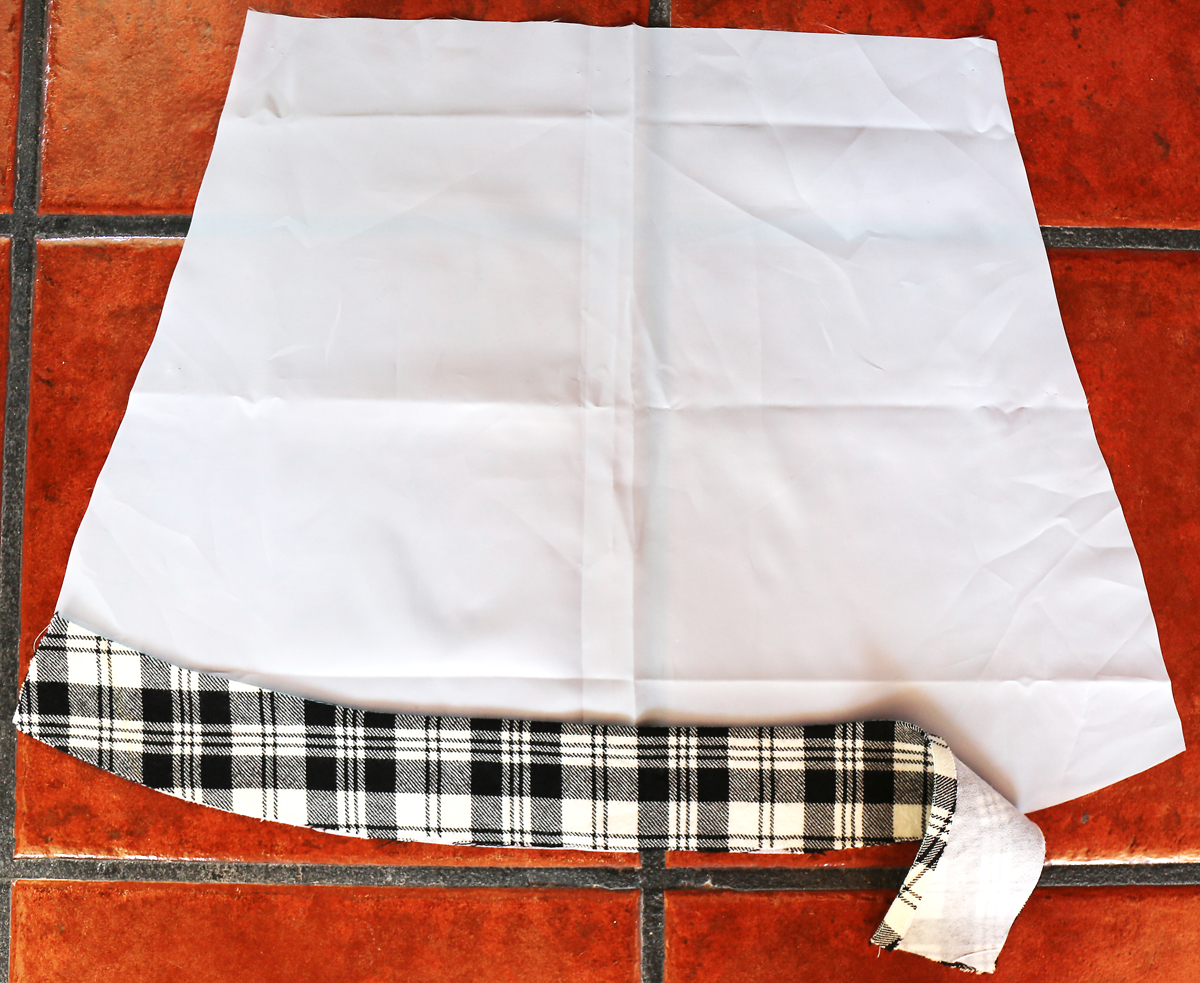
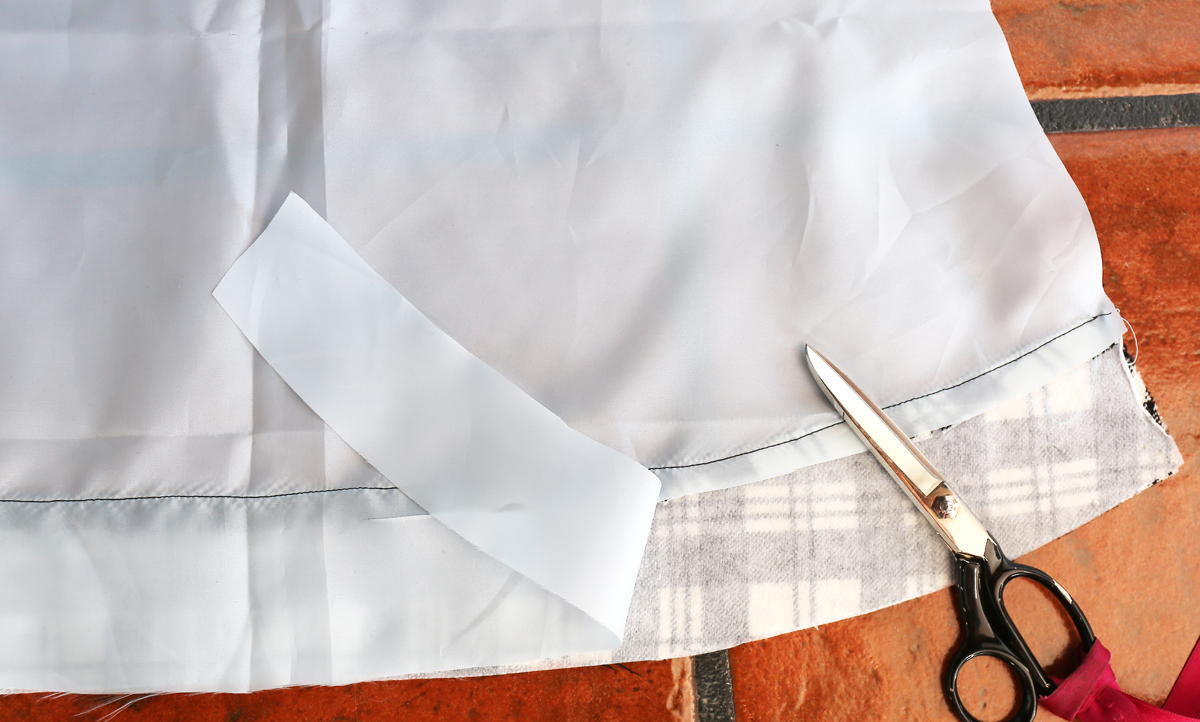
Once you’ve edgestitched the innermost folded edges, you can turn the lining over and trim the excess lining from the piece, using the 1/2″ seam allowances of the facings as a trimming guide.

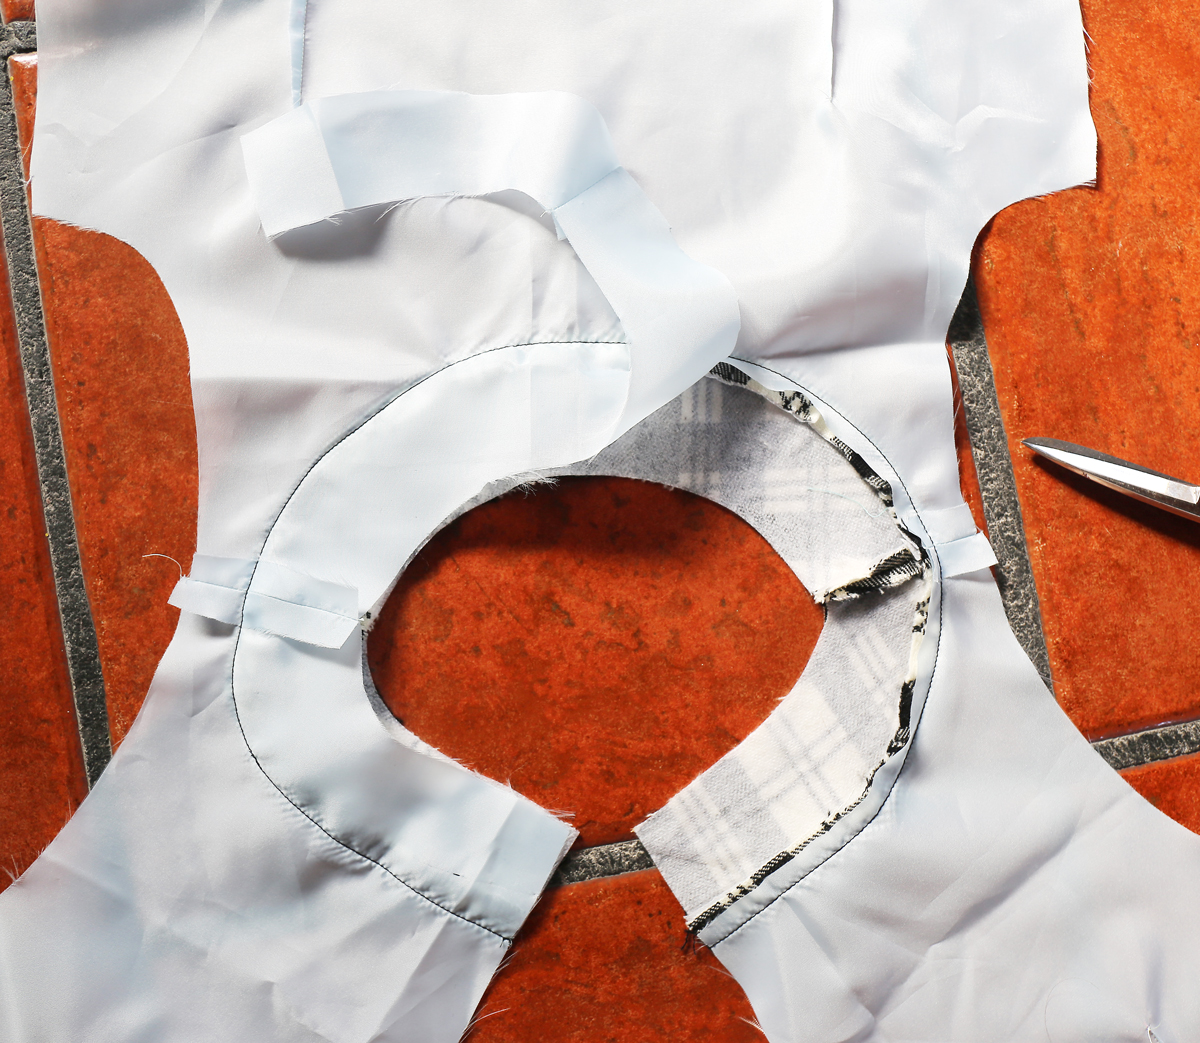
And now you can proceed with the rest of your lining and sewing. Easy, right? I also used this technique for my altered velvet Bistro Dress, and it works great! Here is the same technique shown for the neck facing on S’s jumper.
Easy, right? The only visible difference between the two methods is that row of edgestitching at the inside of each facing. Other than that, you can’t tell the difference! You can use this technique on lots of sewing patterns. I hope it will be useful to you.
That looks really easy! Thanks Liesl.
I hope you can use it, Morgana. Cheers!
This is fantastic! I would like to humbly add a twist to this. If you’re using an iron on interfacing, instead of folding under the lining-attachment seams, you could put right sides of facing and interfacing, sew that seam, trim it, flip and iron. Voila, you have a finished edge to sew down onto the lining.
I love this idea, Catherine! It might not work with very light interfacings–I often use featherweight, which isn’t very sturdy and tears very easily–but if your interfacing is strong enough this would be a really efficient and neat method. Thanks for the share!
Thanks for sharing this method!
Glad you like it, Emily!
Fantastic thanks. I have always done it the ‘long way’ … which puts me off like lining things with a facing … not now.
I hear you, Jo! Glad this makes it easier and less off-putting.
Oooh, I love this, so simple.
I know this post is a year old, but on the off chance you still check it: is this how you lined the attache dress in your blog post on wearing clothes inside-out?
It’s been a long time, but yes–I think so?
Thanks so much for this tutorial on facings and linings. I’ve been trying to visualize how it would be done, but nothing helps better than a picture. I’m so glad I found it.
I am sewing a pattern that calls for bias binding on the armholes and I really just don’t want to do it that way. I’ve been searching for a better alternative and I’m thrilled to bits that I found this. Such a clever way of lining and facing! It’s marvelous – thank you!
Have you tried theliningcompany.co.uk they have a fantastic selection.
Bookmarking! This looks doable.
Thank you so much for this tutorial. I am making my daughter’s wedding dress and couldn’t figure out how to do both facings and lining. You’ve saved me a lot of grief!
I’m so glad it was helpful!