Shelley is back! She’s got a round up of Oliver + S patterns that have been used to make jeans. It’s sure to get your gears turning!
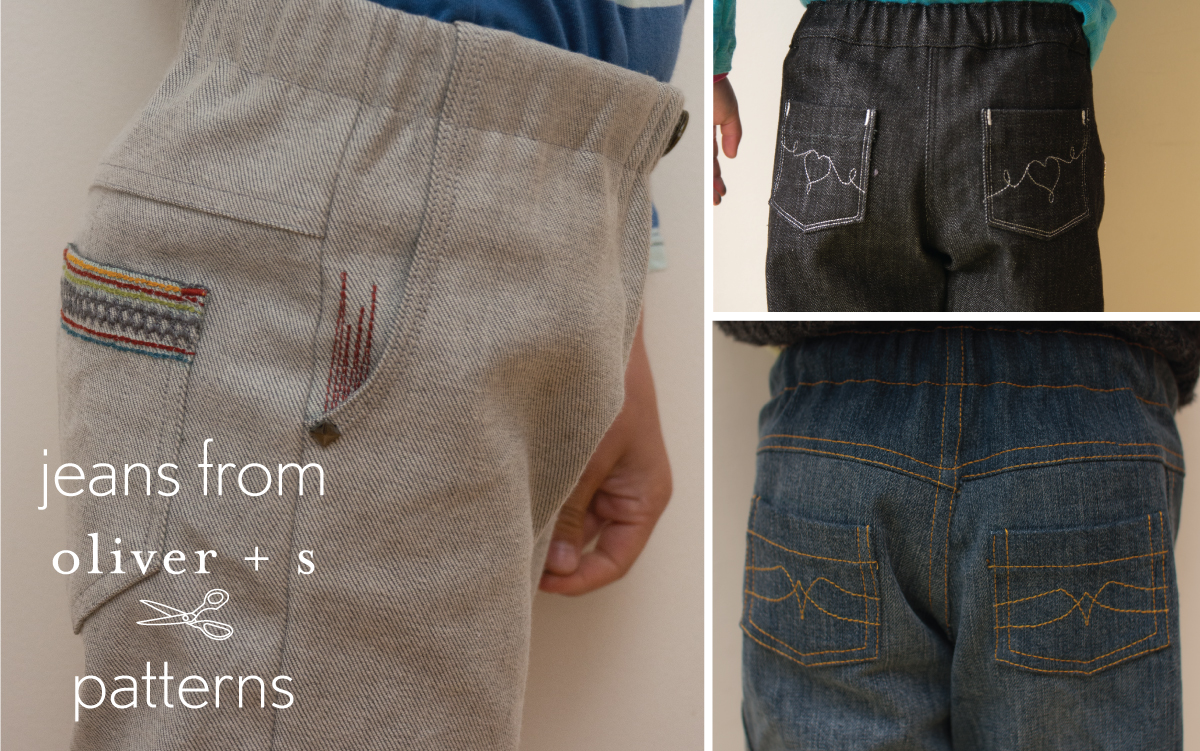
Sewing jeans is not as difficult as it seems and don’t forget to have fun with the back pockets! You’ll see how a bit of embellishment there can really transform a pair of pants.
One tip before I hand it over to Shelley is that some of these pants patterns lend themselves well to an adjustable elastic waist, which is really a simple feature to add.
Every now and then the same question pops up on the forum. It’s this: Which Oliver + S pattern should I use to make jeans?
The answer is almost any of the pants patterns you like! I thought I’d give you a round-up of some jeans from the Flickr pool to show you the patterns used and spread some denim inspiration.
I guess the first question to ask is, what is it that makes jeans, jeans? I’ve stuck with just two criteria; denim (or similar fabric) and topstitching – lots of topstitching!
These jeans were some that I made for my son a few years ago using the After School pattern. I flat felled the seams and turned some old maternity jeans of mine into some rugged boy jeans. And that’s another question answered: Is the After School pants pattern suitable for boys? Yes it is!
A very cute little girl’s version of After School jeans were made by Brittany here.
Katy also made jeans using the After School pattern and also upcycled from some adult jeans. Her jeans are light on the topstitching, but have the pocket frills and are perfect for a girl.

By far the most popular pattern to turn into jeans has been the Sketchbook shorts. Obviously, you need to add length if you want jeans, not shorts, but otherwise there’s not much more to do.
By keeping the width of the leg you get a bootcut effect, which I think is incredibly cute on a little kid! Check out these little Sketchbook jeans by Felicia.
These ones for my daughter were lengthened with only a slight taper to the leg. Remember to remove width from both the inner and outer leg. I added a little rolled cuff and then went crazy with metallic silver thread for the topstitching.
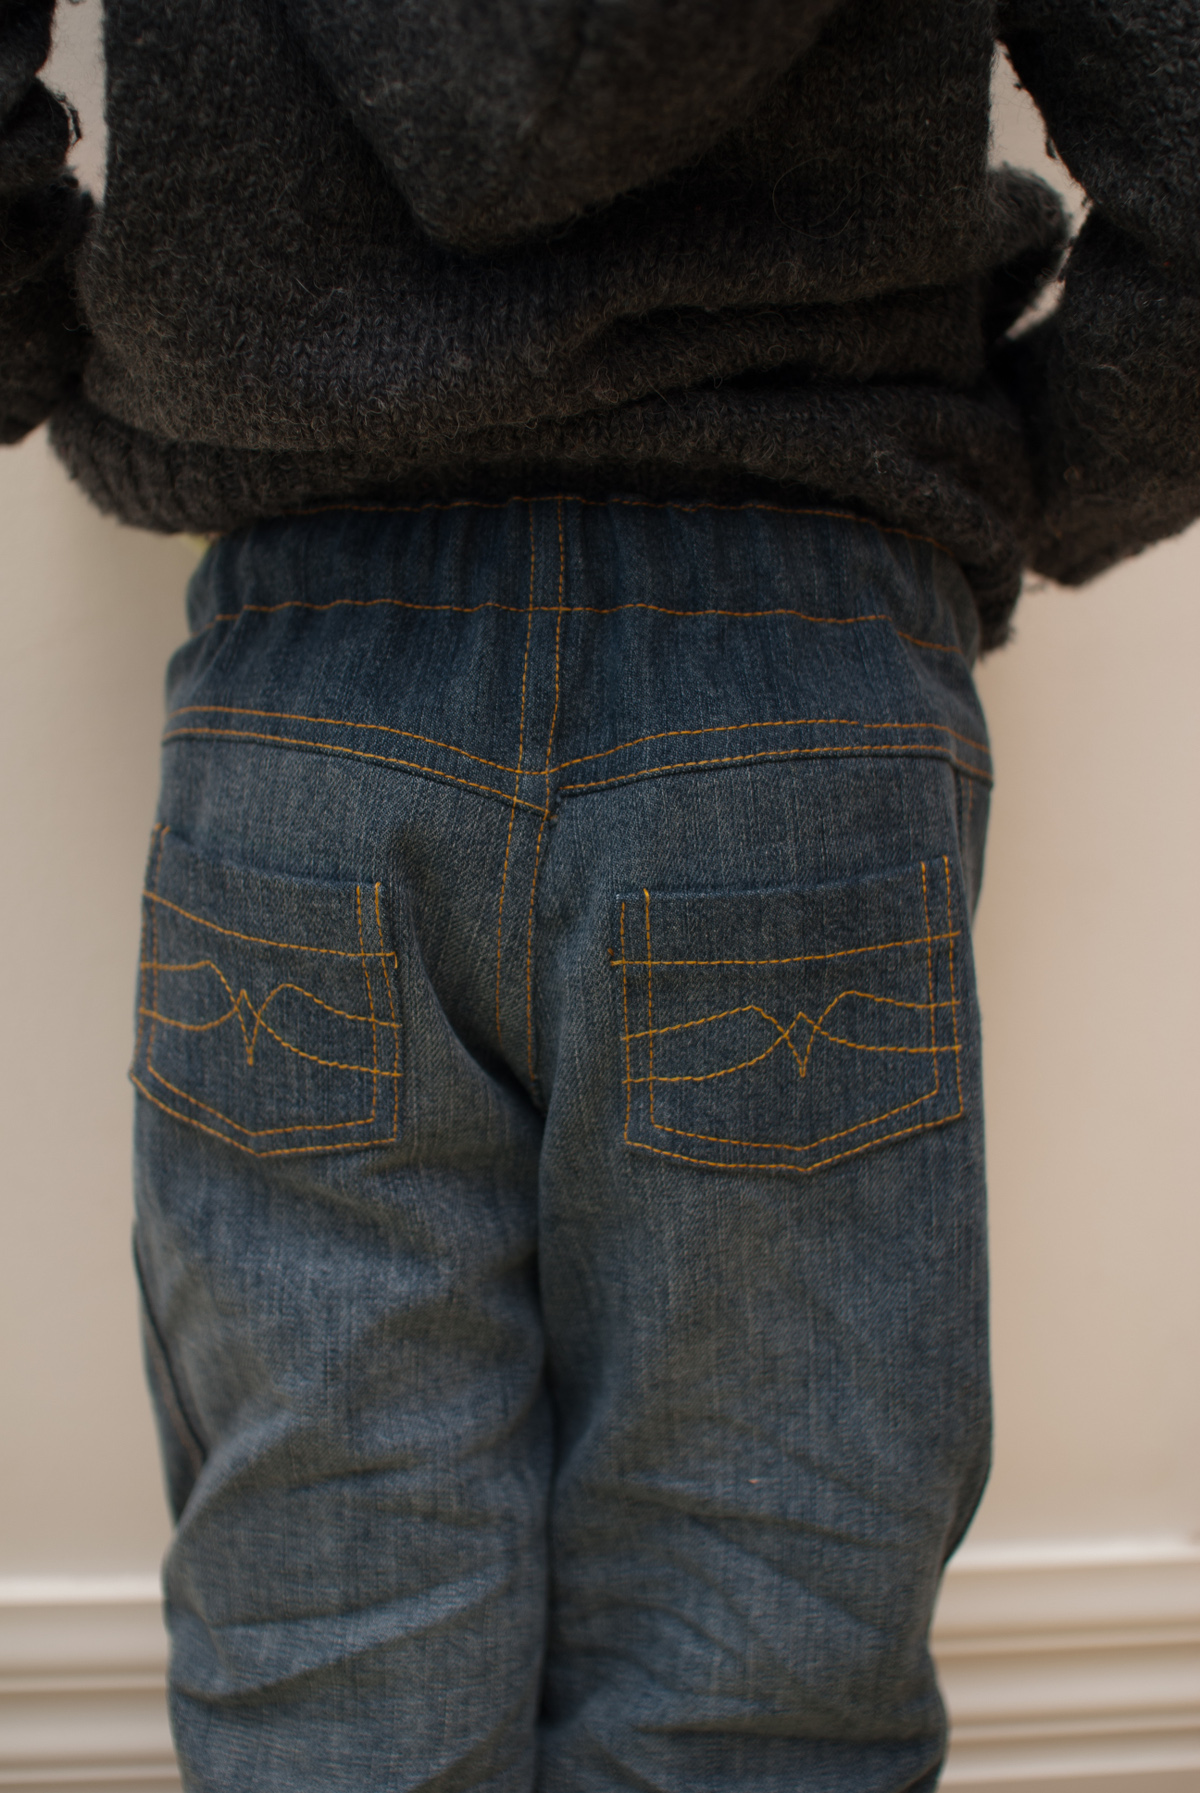
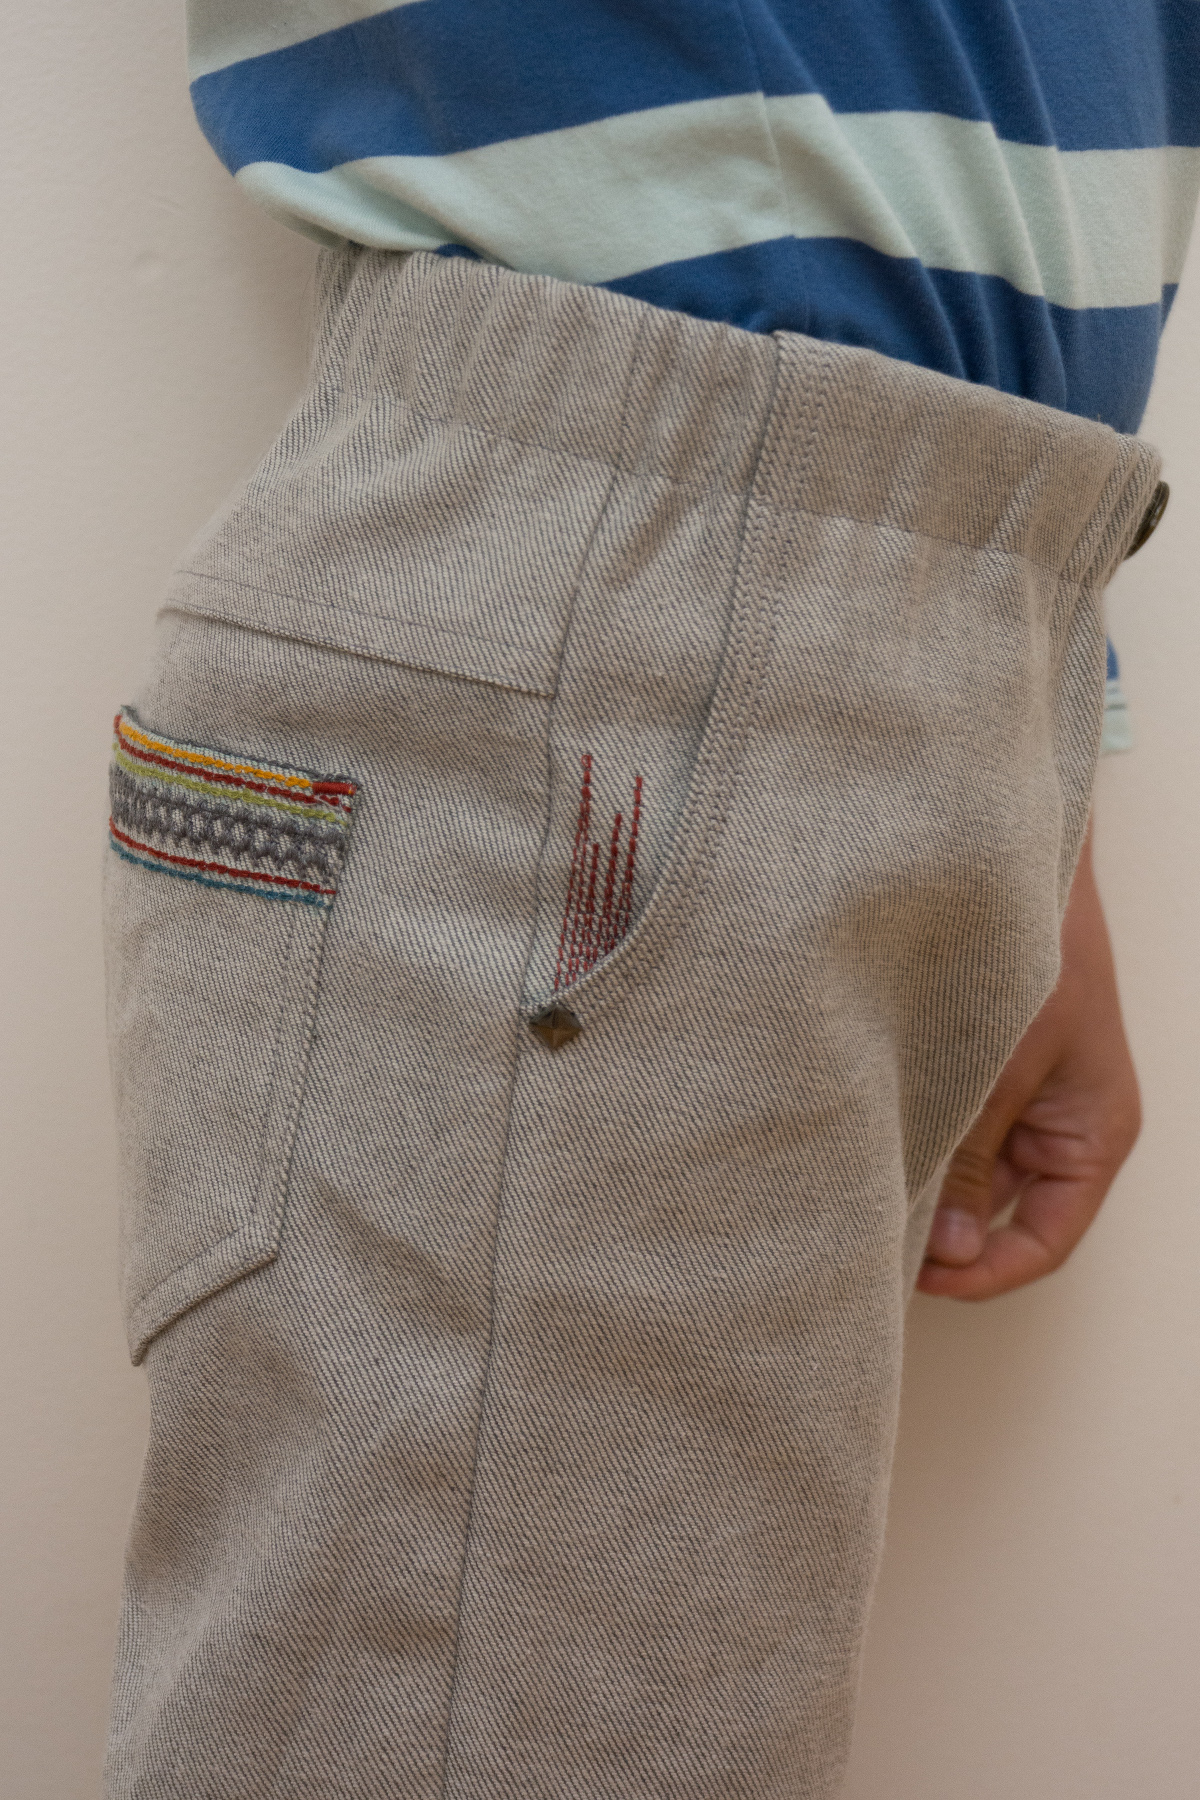
You can have a lot of fun with decorative stitching on back pockets. Most jeans brands have their own signature back pocket motif, so why not create your own too. Get the kids to contribute with a favourite symbol or style.

Here’s my tip for creating a perfectly symmetrical design on both pockets. Draw freehand, or trace the motif you like onto one completed pocket piece with a fabric marker or pencil. Trace the design onto baking or tracing paper, using a fabric pencil. Place your tracing face down onto the second completed pocket piece and rub, or draw firmly over the lines. You should be able to rub off enough of the fabric pencil to leave a sufficient mark which you can then follow with your stitching.
Adding rivets to the pockets and side seams at stress points will give your jeans a great, professional finish. Here Jenni has used rivets, stitching and decorative studs to fantastic effect on a pair of brown, Sketchbook skinny jeans.
I’ve also had good success using fake rivets, studs and jewels which are glue backed and simply set under the heat of an iron. They’ve stayed put through multiple washes.

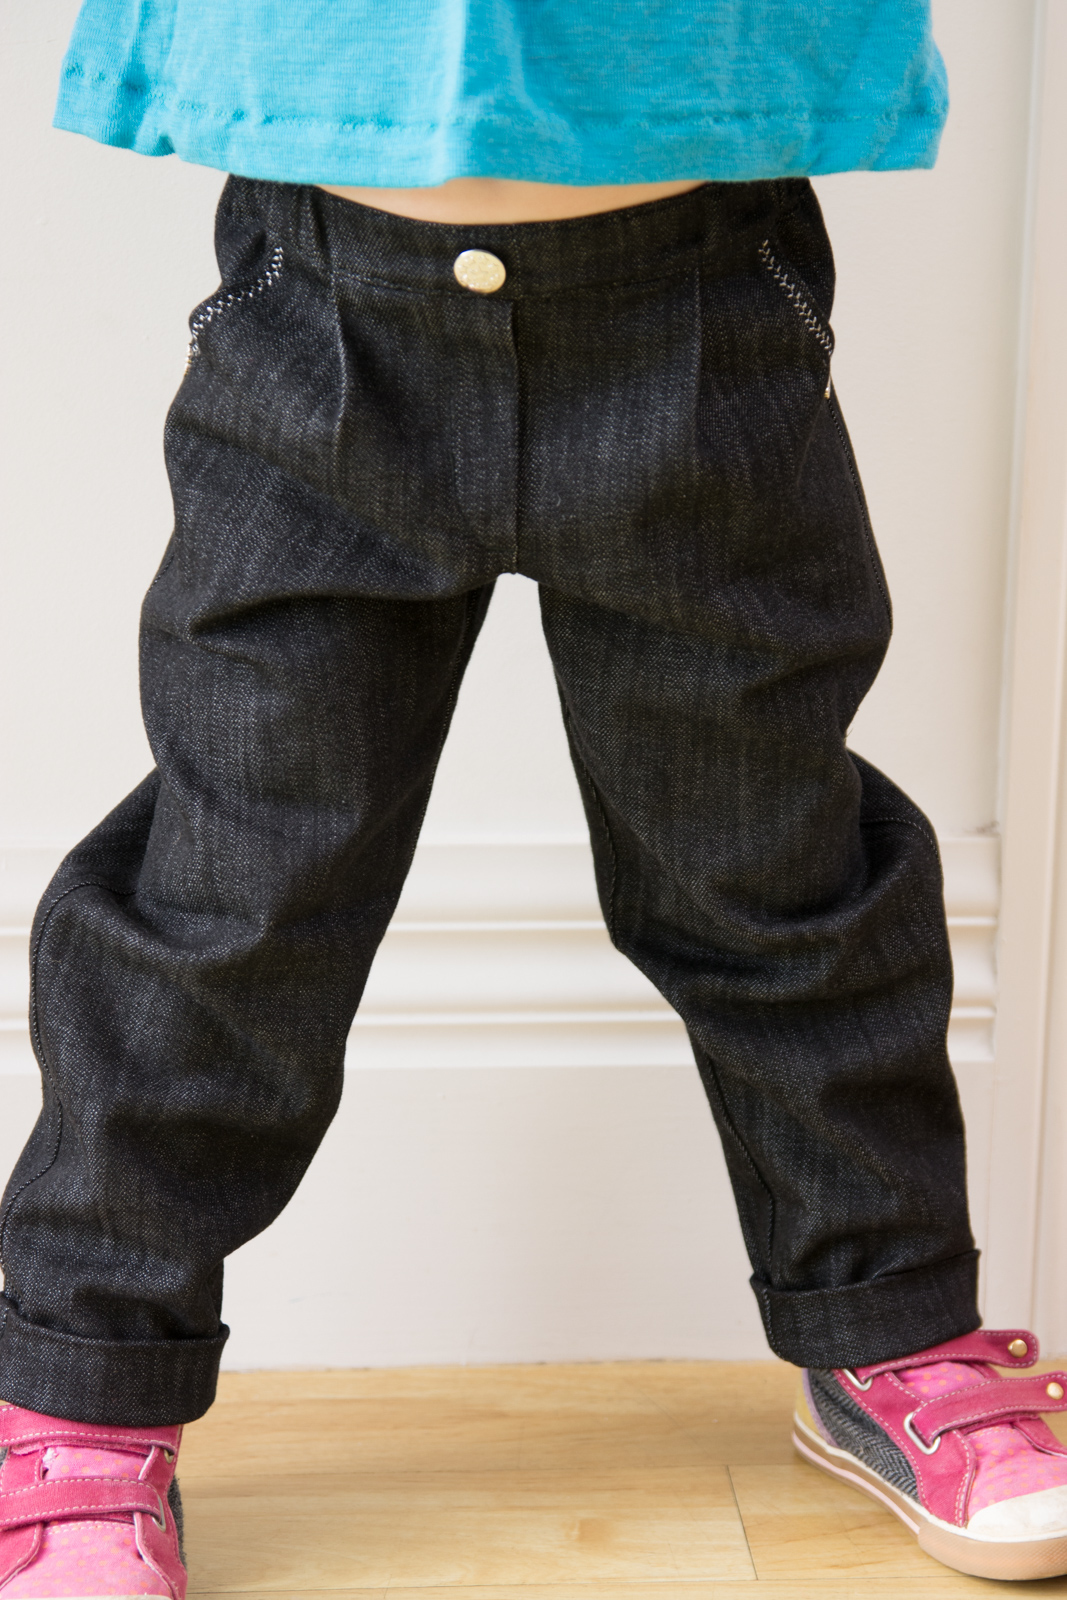
If you keep the front pleats of the Sketchbook pattern but narrow the legs considerably you get the most fabulously stylish jeans. Nicole is certainly the queen of the Sketchbook jeans!
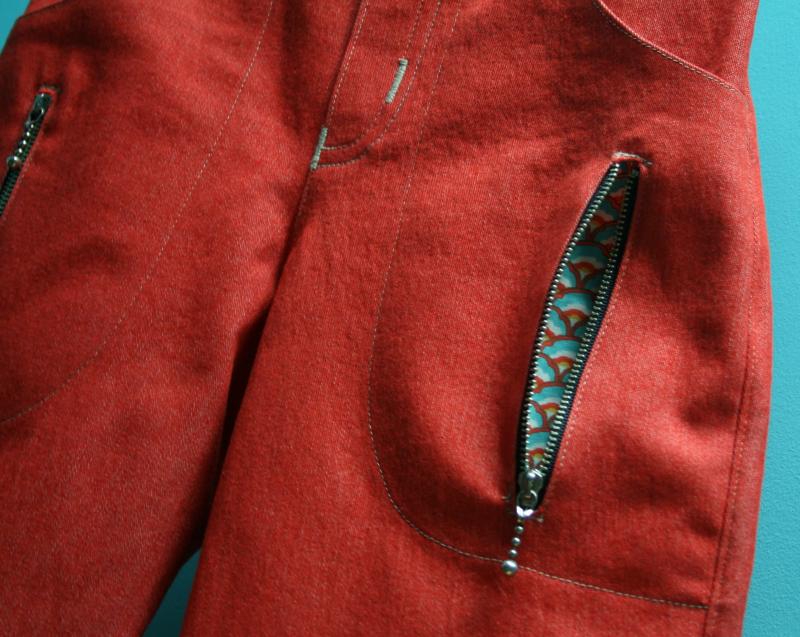
From there, Nicole has gone on to adjust the pattern and narrow the legs further. She’s taken out the pleat and turned the humble Sketchbook shorts into incredible skinny jeans for her girls.


I especially love the detail of this zipper inserted into the front pocket.
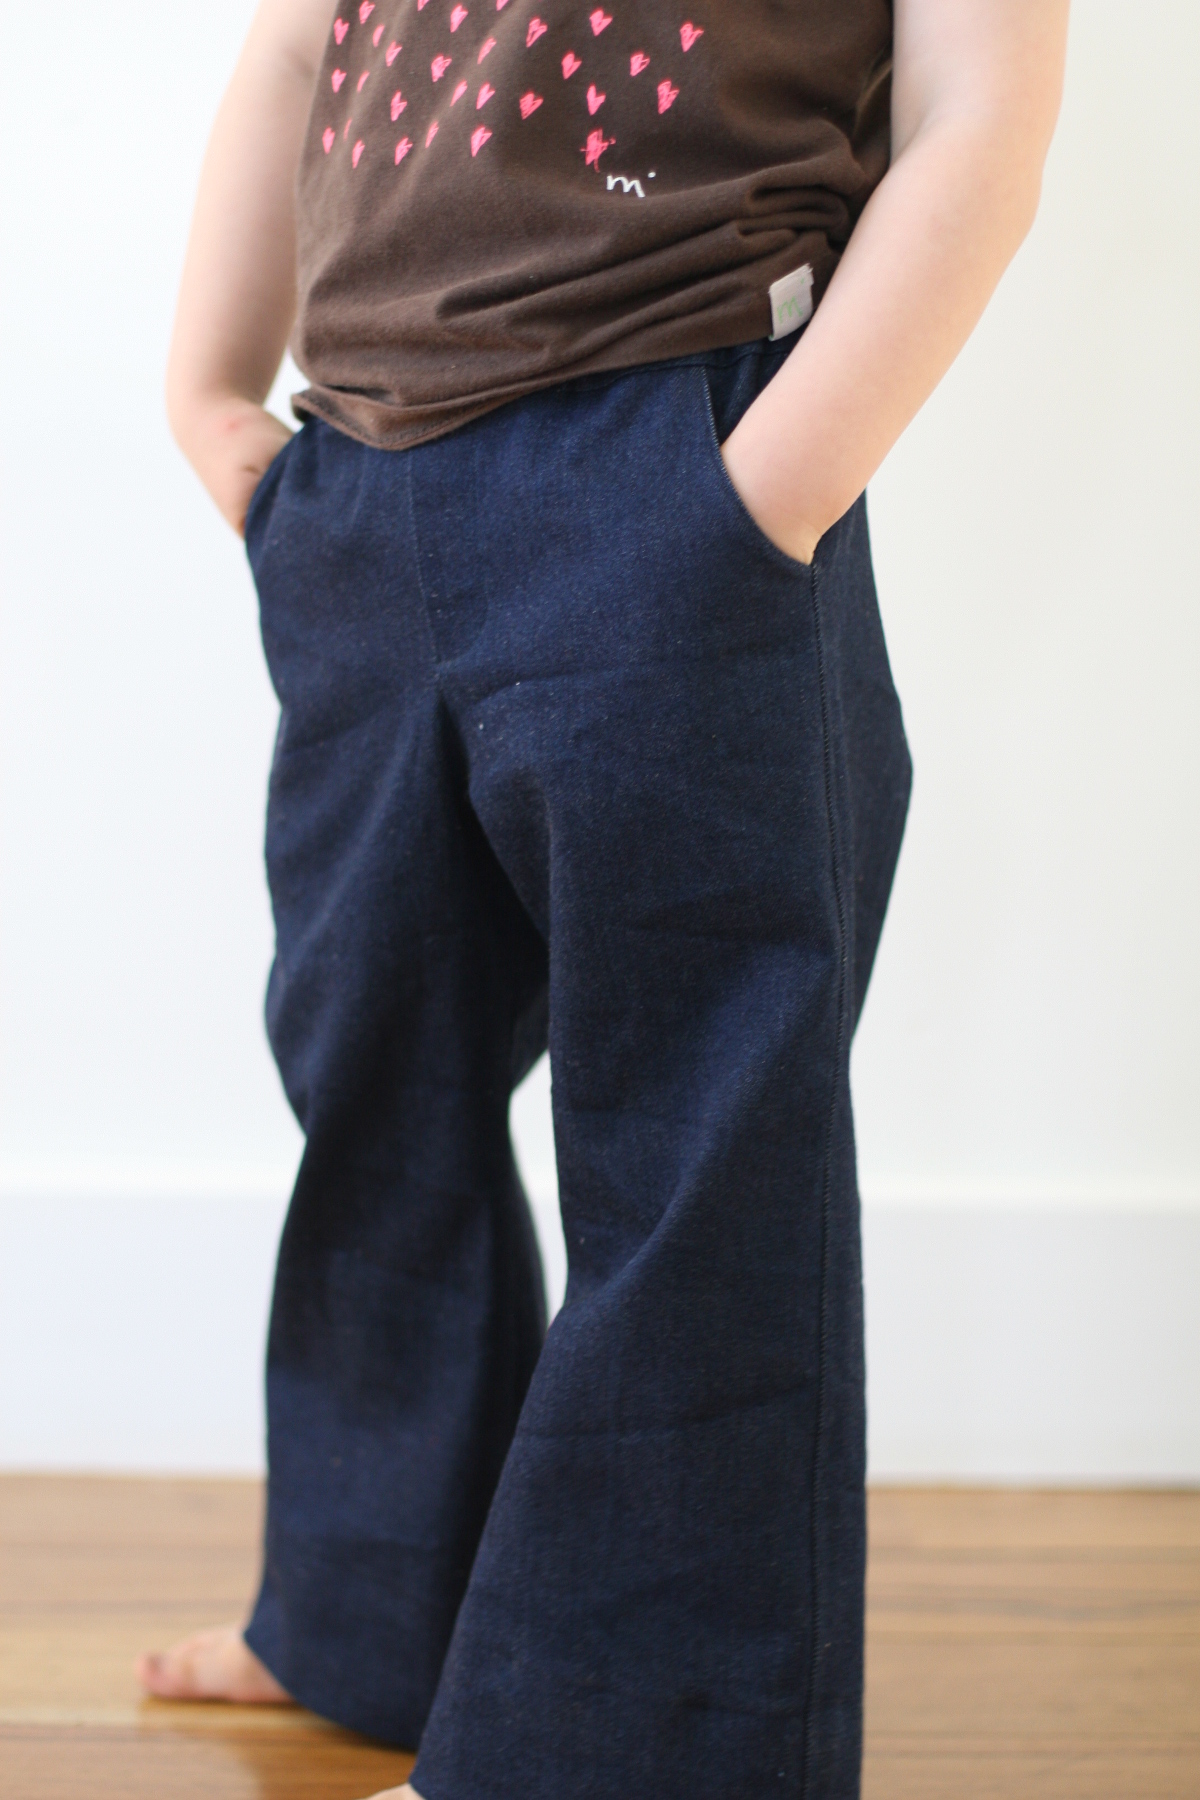
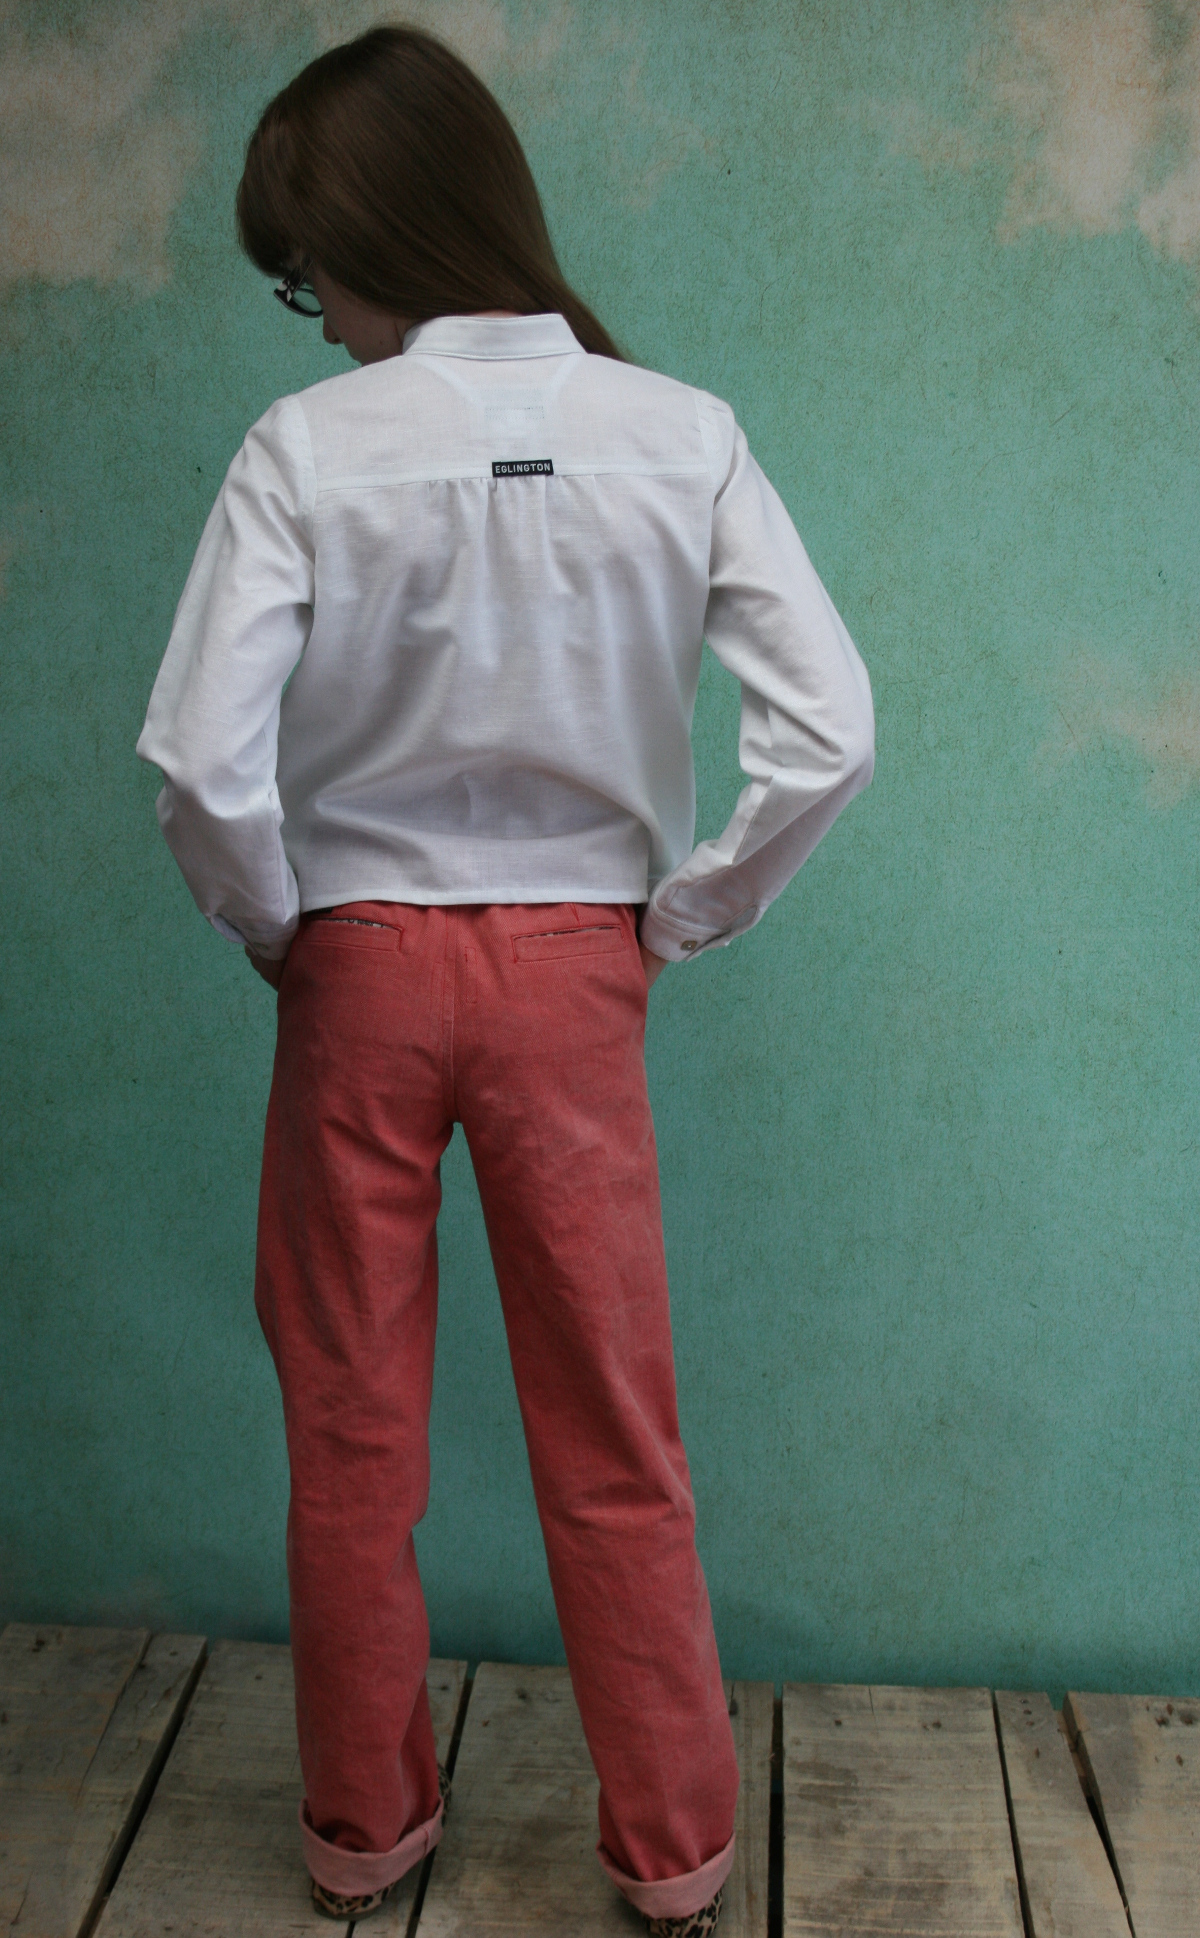
Another pants pattern that lends itself to making jeans is the Art Museum trousers. These are already a shape that would suit jeans very well and you might make no changes at all. Alternately, you could leave off the welt back pockets and use a pocket from another pattern to give them a more classic jeans look.
Both Nicole and I have used the Art Museum trousers just as they are, in coloured denim, to make jeans. Best viewed from behind, of course!

For bigger kids who like a real zipper, don’t forget the tutorial that Liesl wrote showing us how to convert a mock fly front to a functioning zip fly.
Or, for the kids, big or little, who still like a comfy, elasticised waistband, the Sandbox pants pattern can also make a cute pair of jeans. Lyndsey made these adorable matching big and little jeans.
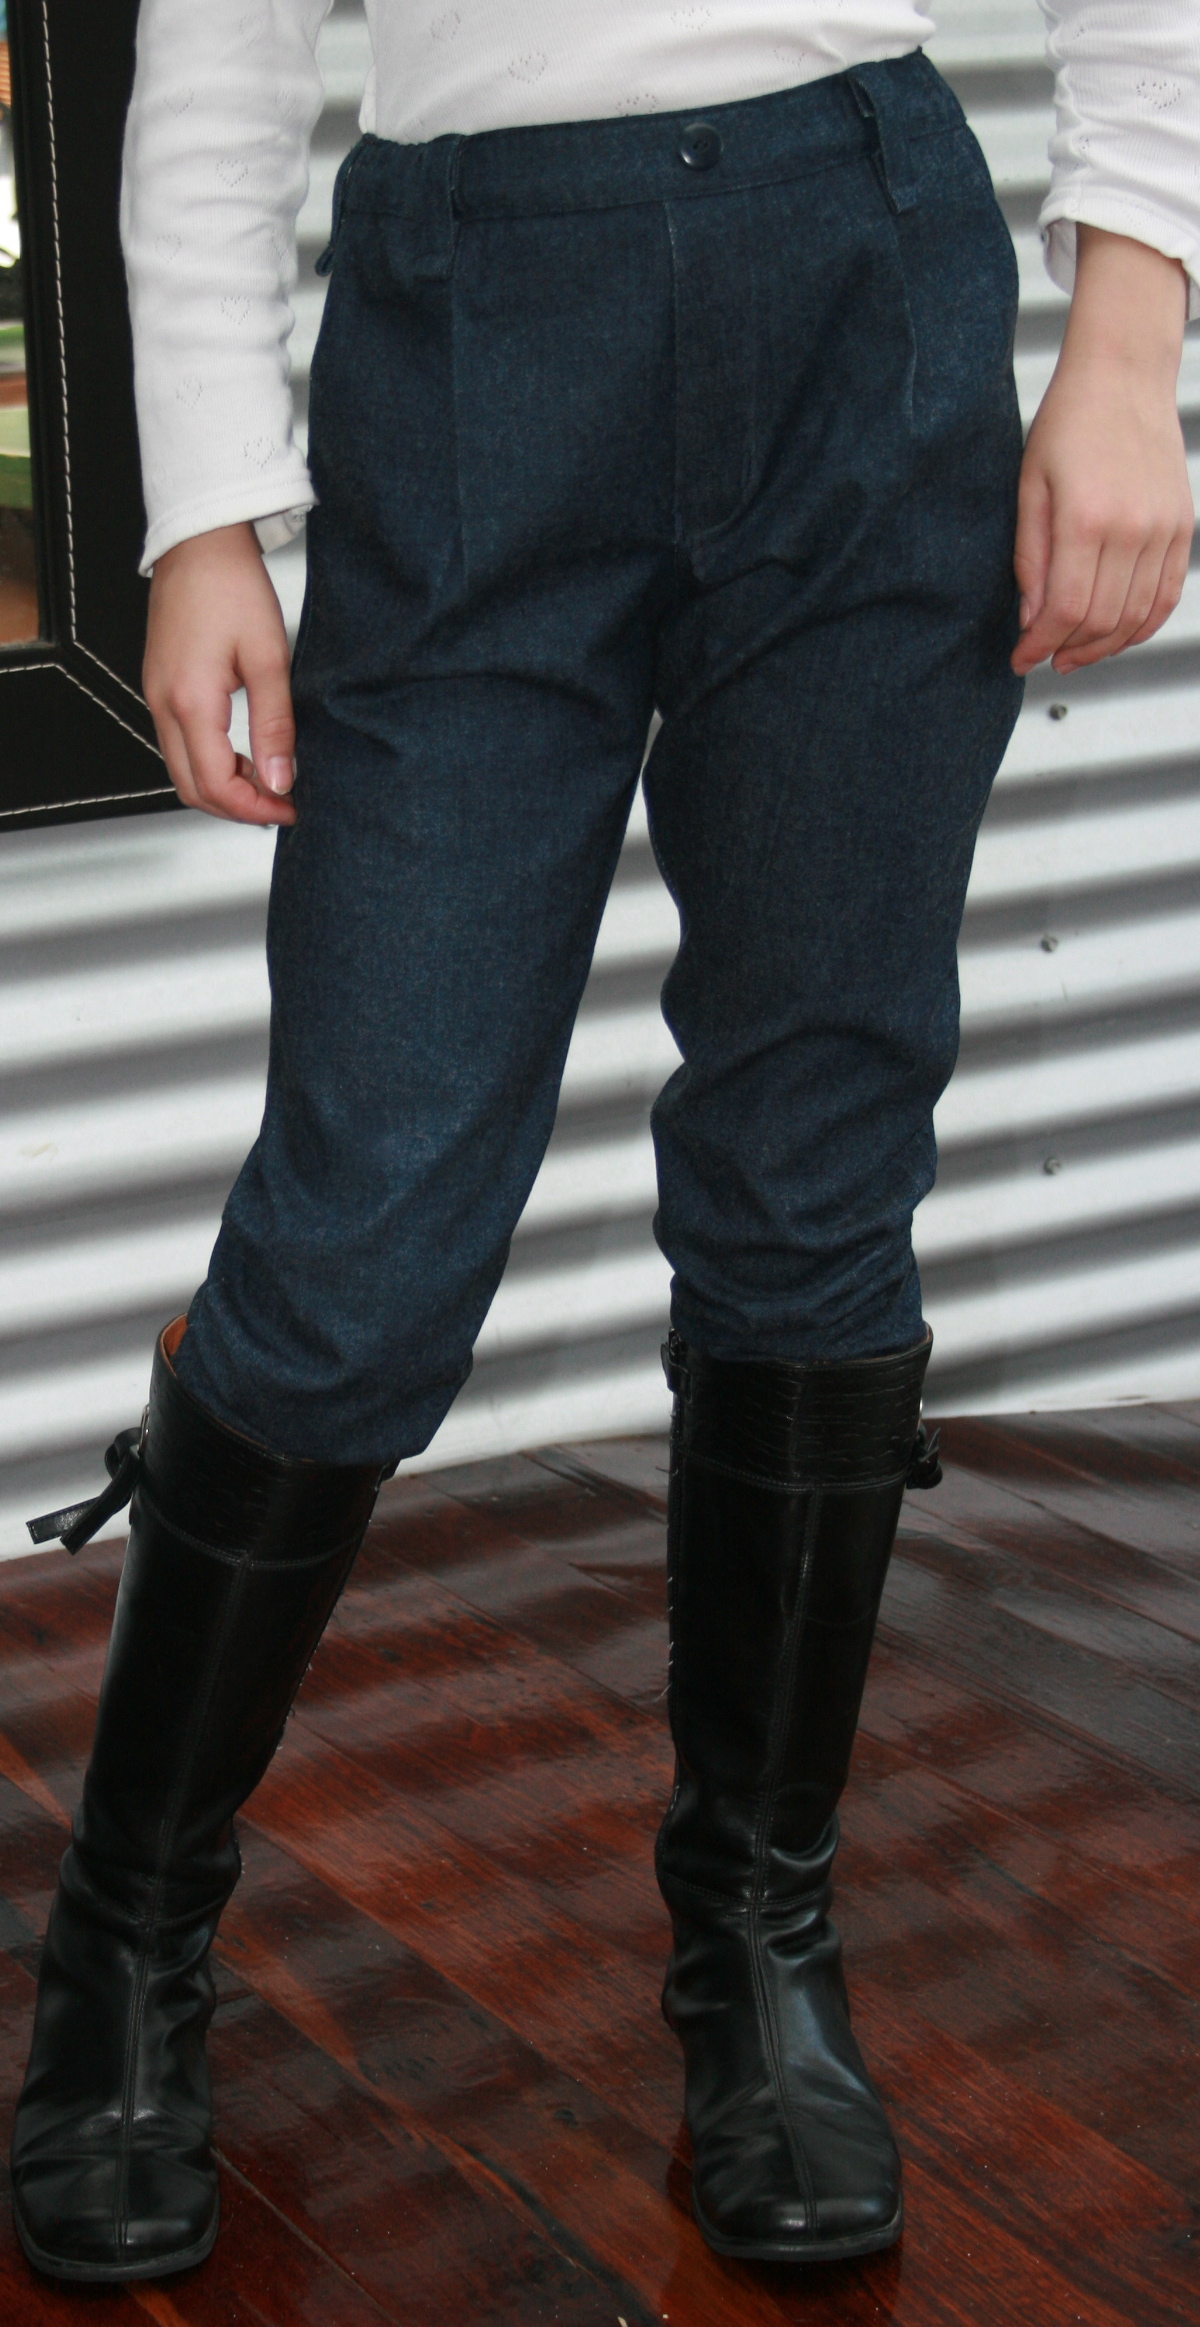
The jeans that I loved making and think I’ll resize and make all over again were a combination of two patterns. I took the back of the After School pants with that fantastic yoke shape and adjusted the side width and then meshed them with the front of the Field Trip cargo pants.
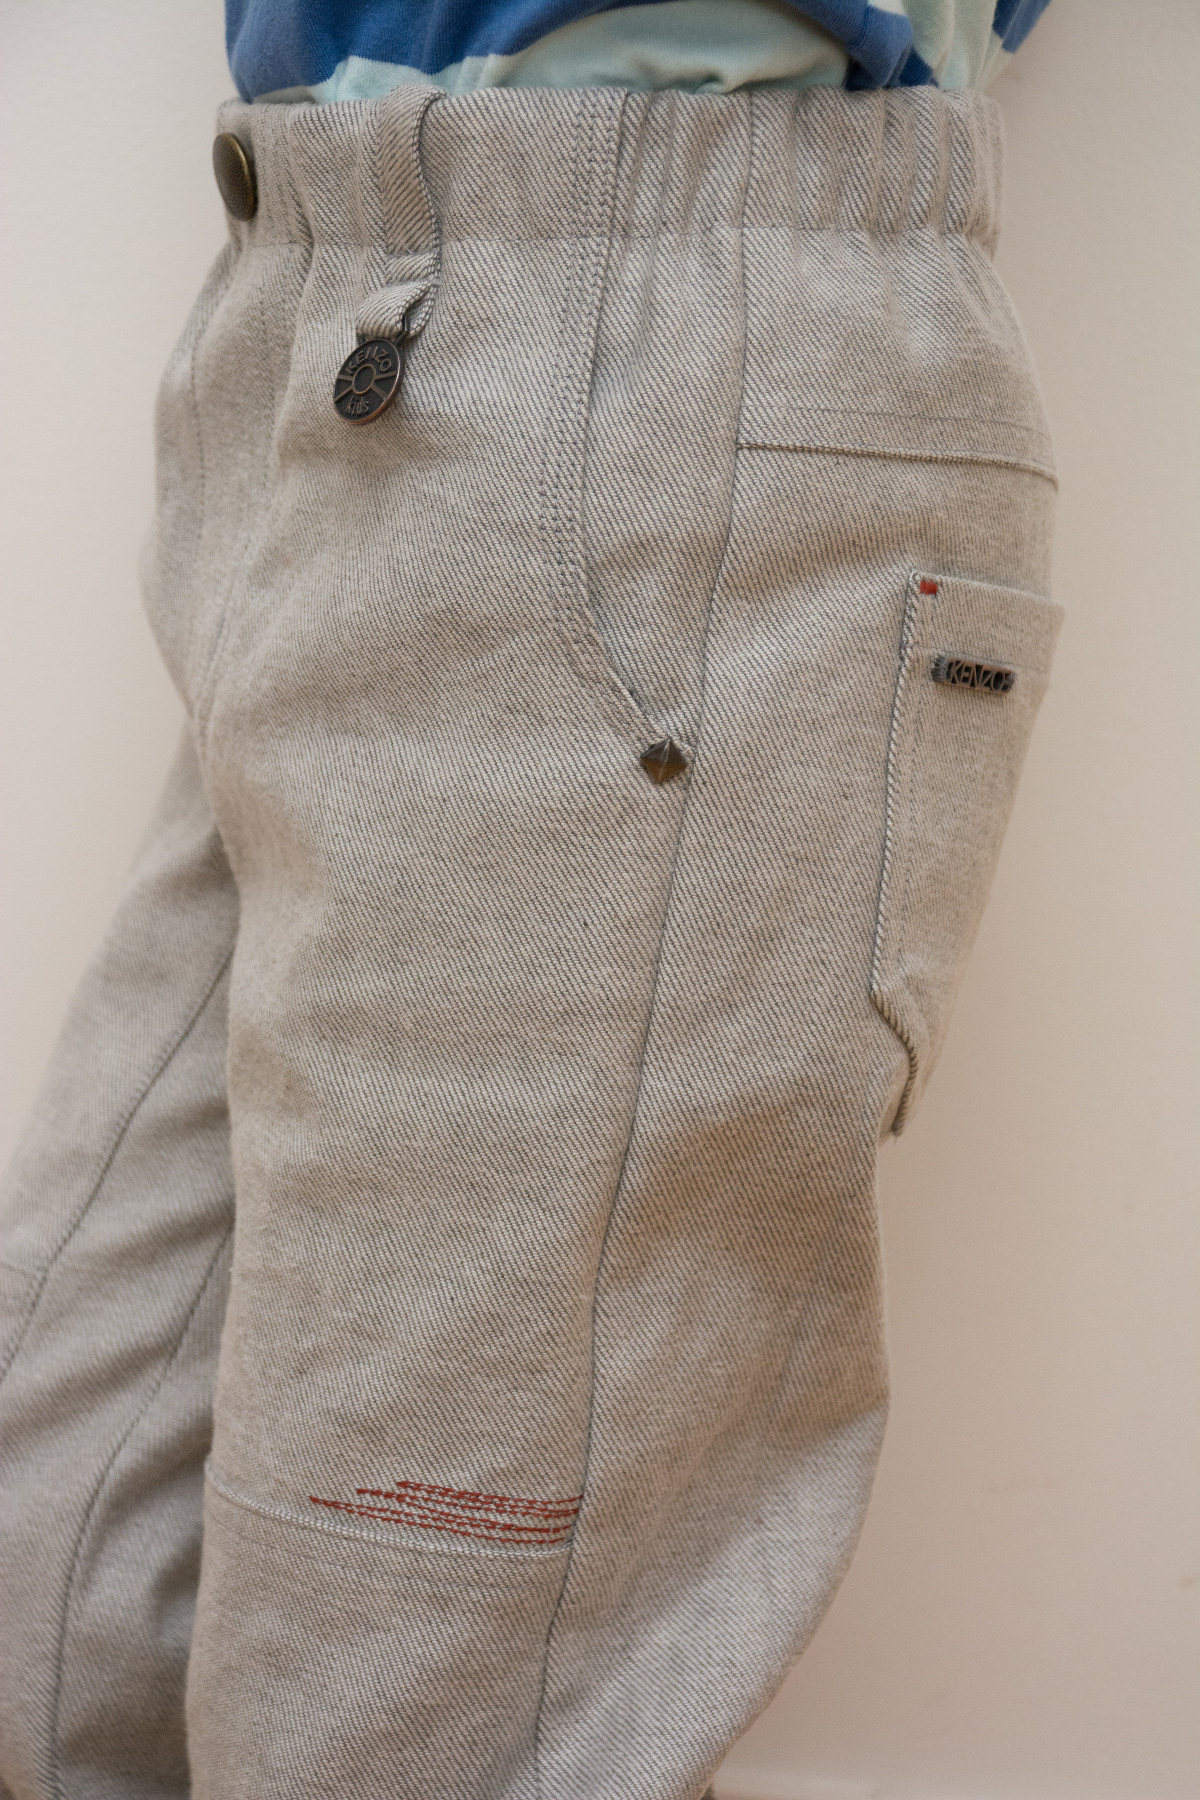
These were a copy of some designer ready to wear kid’s jeans that had been outgrown. I salvaged all the tags and badges and then copied the extra stitching as exactly as I could.
All those little touches are what makes jeans jeans if you ask me. They’re fun to sew, and if you upcycle from adult jeans, they’re super cheap to make too.
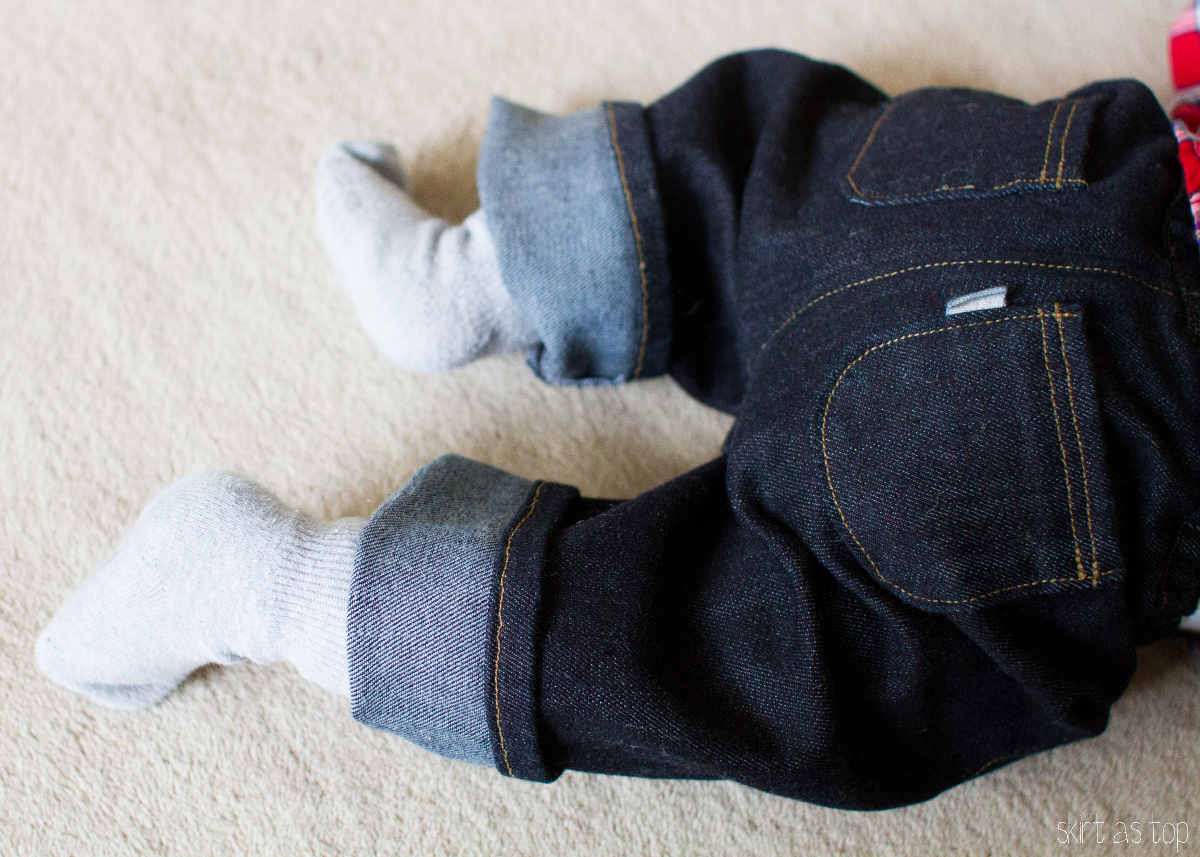
Finally, Kristin used the Lullaby Layette pattern to make these absolutely adorable, little baby jeans.
The only pants patterns we haven’t mentioned are those designed for knit fabrics. But that doesn’t exclude them, as the Playtime leggings could make great “jeggings” using a denim look stretch knit fabric.
I’ve had one more idea, which for lack of free time and a baby to dress, I’m going to throw over to you all. How about the Lullaby Layette pants with the front panel in lightweight denim; topstitched with fake fly, pockets, belt loops, the works. Underline the front panel in a soft knit and then sew the back panel and waistband in a lovely thick sweater knit. Wouldn’t that make the most stylin’ pair of fake baby jeans ever?
You’re welcome, now go for it.
Shelley
Great post! I’ve had a pair of Class Picnic jeans cut out for quite a while now. I think it’s time to go see them! Xo
Oh wow Liesl, that one completely slipped past me. Now I’m very curious to see Class Picnic jeans
What a great idea! Love all of the fun pocket top stitching!
Perfect timing for this post… The Denim Studio by AGF recently came out, which contains thicker denim as well as thinner chambray, perfect for Oliver + S jeans: http://www.artgalleryfabrics.com/cgi-bin/fabricshop/gallery.cgi?Category=156
Thank you for featuring my photos Shelley, great post.
Some great ideas here, thanks Shelley! I like the fit of the Sketchbooks on my girl (a recent discovery) and so will be trying a longer version on her soon.
What a fantastic post, Shelley. I so wish I had read that pocket tip a few days ago!!