Today we’re starting the Butterfly Skirt sew-along in the sew-alongs group of the discussion forums. I hope you’ll join us!
As you’re starting your project, I thought I would provide you with a how-to for a little modification that can easily be done to this pattern as well as several other Oliver + S patterns.
 Badminton shorts by Justine. Yes, she turned the Badminton skort into shorts!
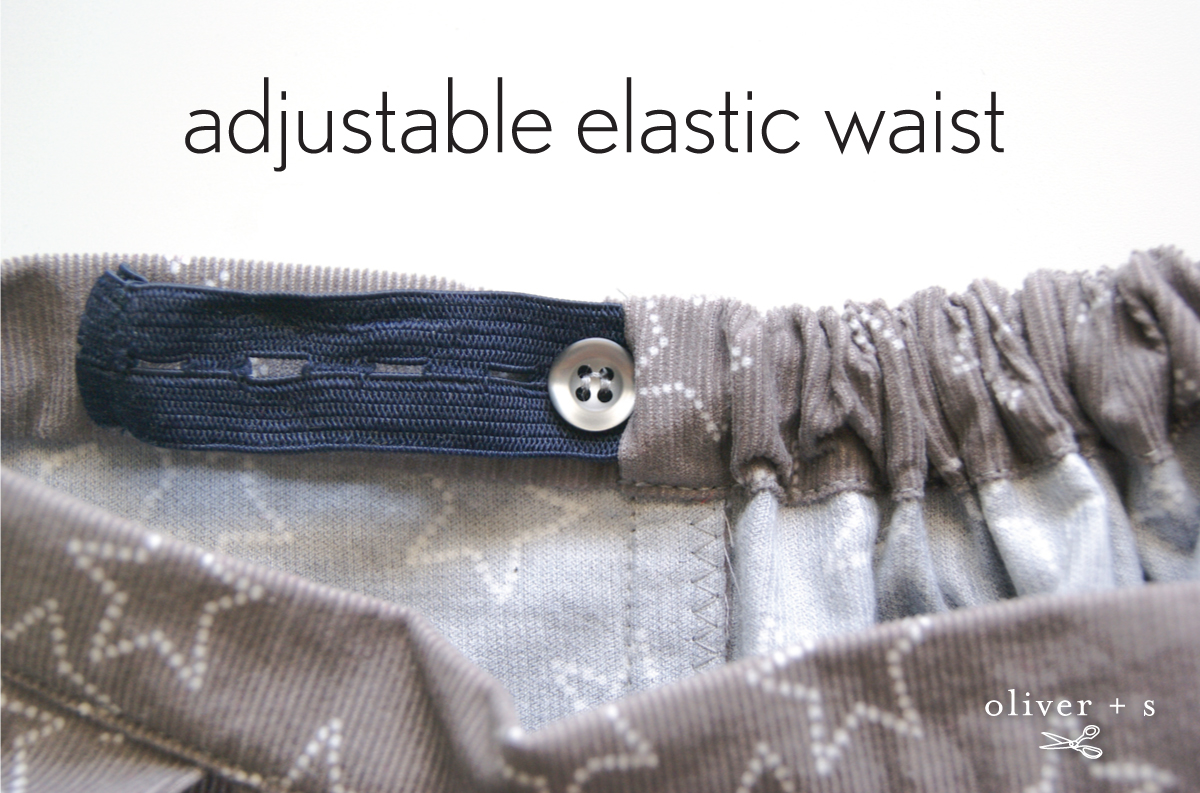
For a skirt or pants sewing pattern that has a smooth front and elastic back (like the Butterfly Skirt), it can easily be converted to have an adjustable elastic waist.
 Badminton skort by Audrey.
First of all why would you want to do this? There may be several reasons, including:
- It makes clothes last longer (as it will adjust as the child grows)
- When you’re not sure of the measurements (when you’re sewing for children who live far away)
- When the child is done with the clothing item and it’s given to another child to wear (it can easily be adjusted to the new wearer)
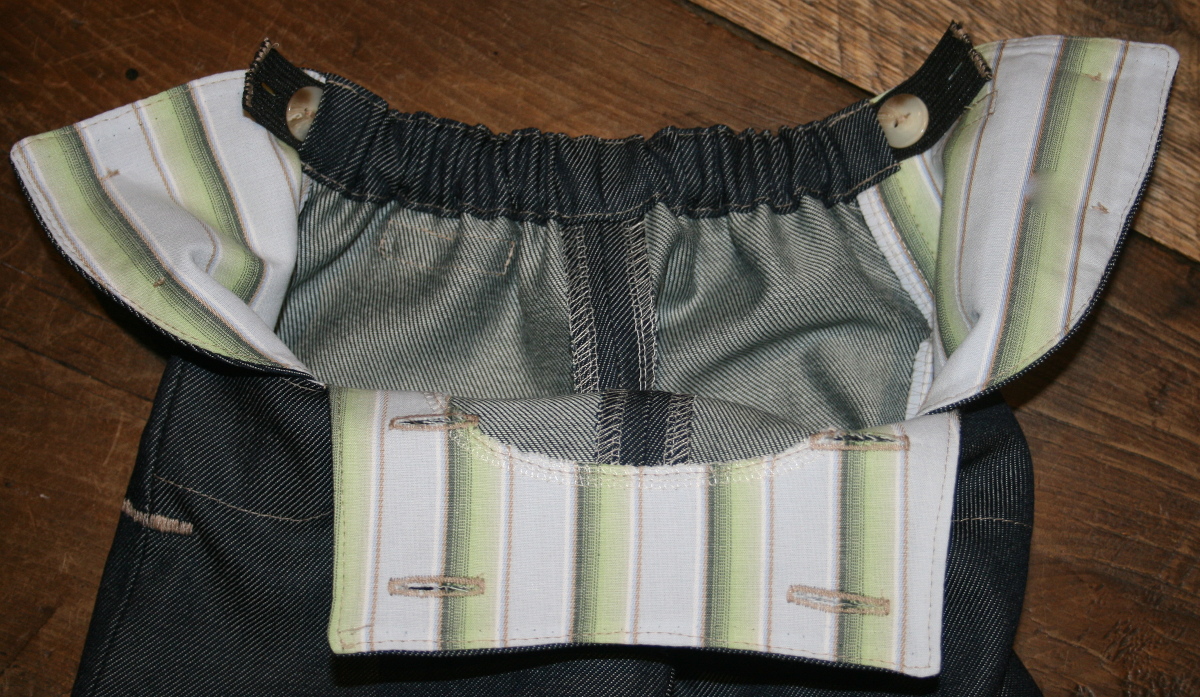 Sailboat pants by Nicole.
What you will need:
- Buttonhole elastic (brand new from the fabric store or saved from a no-longer used ready-to-wear skirt/pants)
- Two buttons
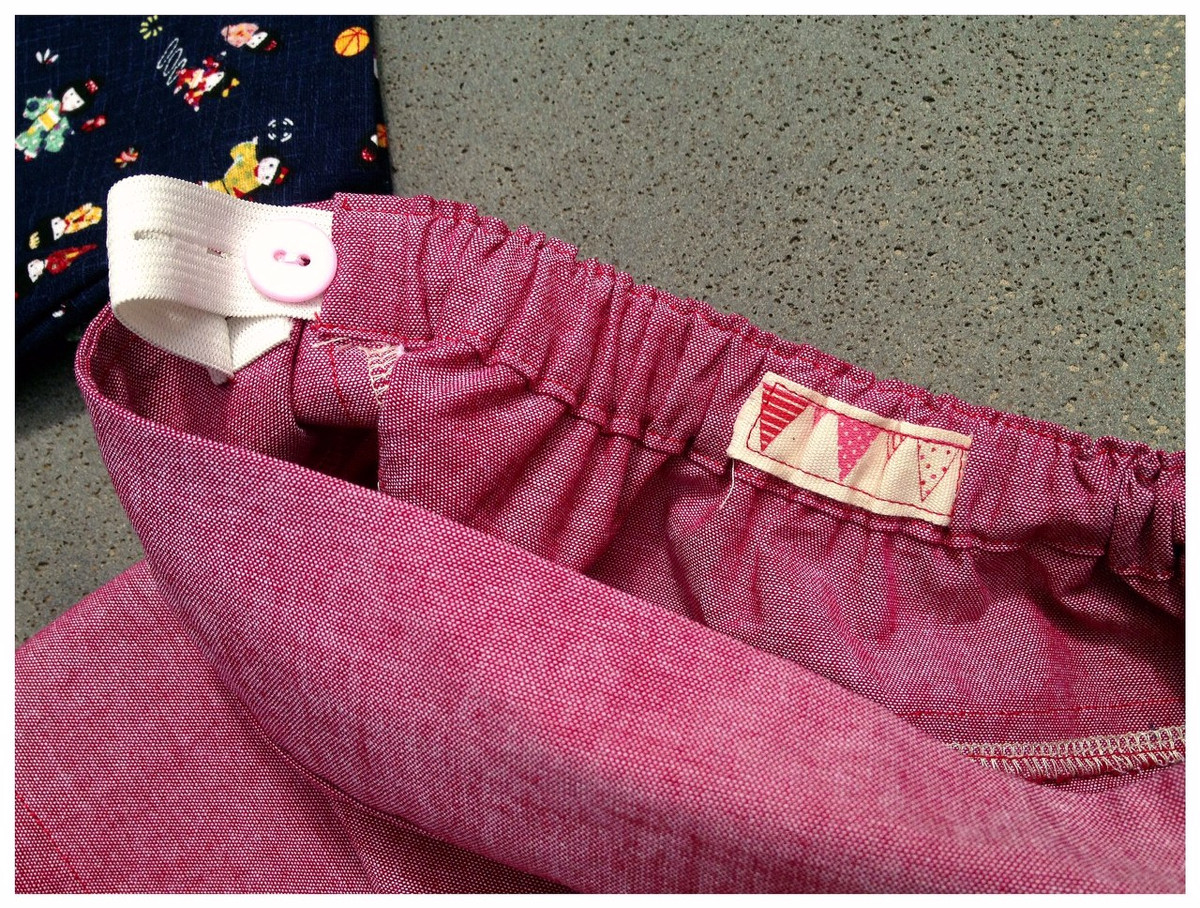
 Sailboat skirt by Audrey.
It’s really very easy to do. When you get to the part where you insert the elastic into the back waistband, insert buttonhole elastic instead of regular elastic. Don’t sew the openings closed; instead leave the buttonhole elastic sticking out. Sew a button right next to the elastic hole opening and button the elastic to the button. Voilà, you’re done!
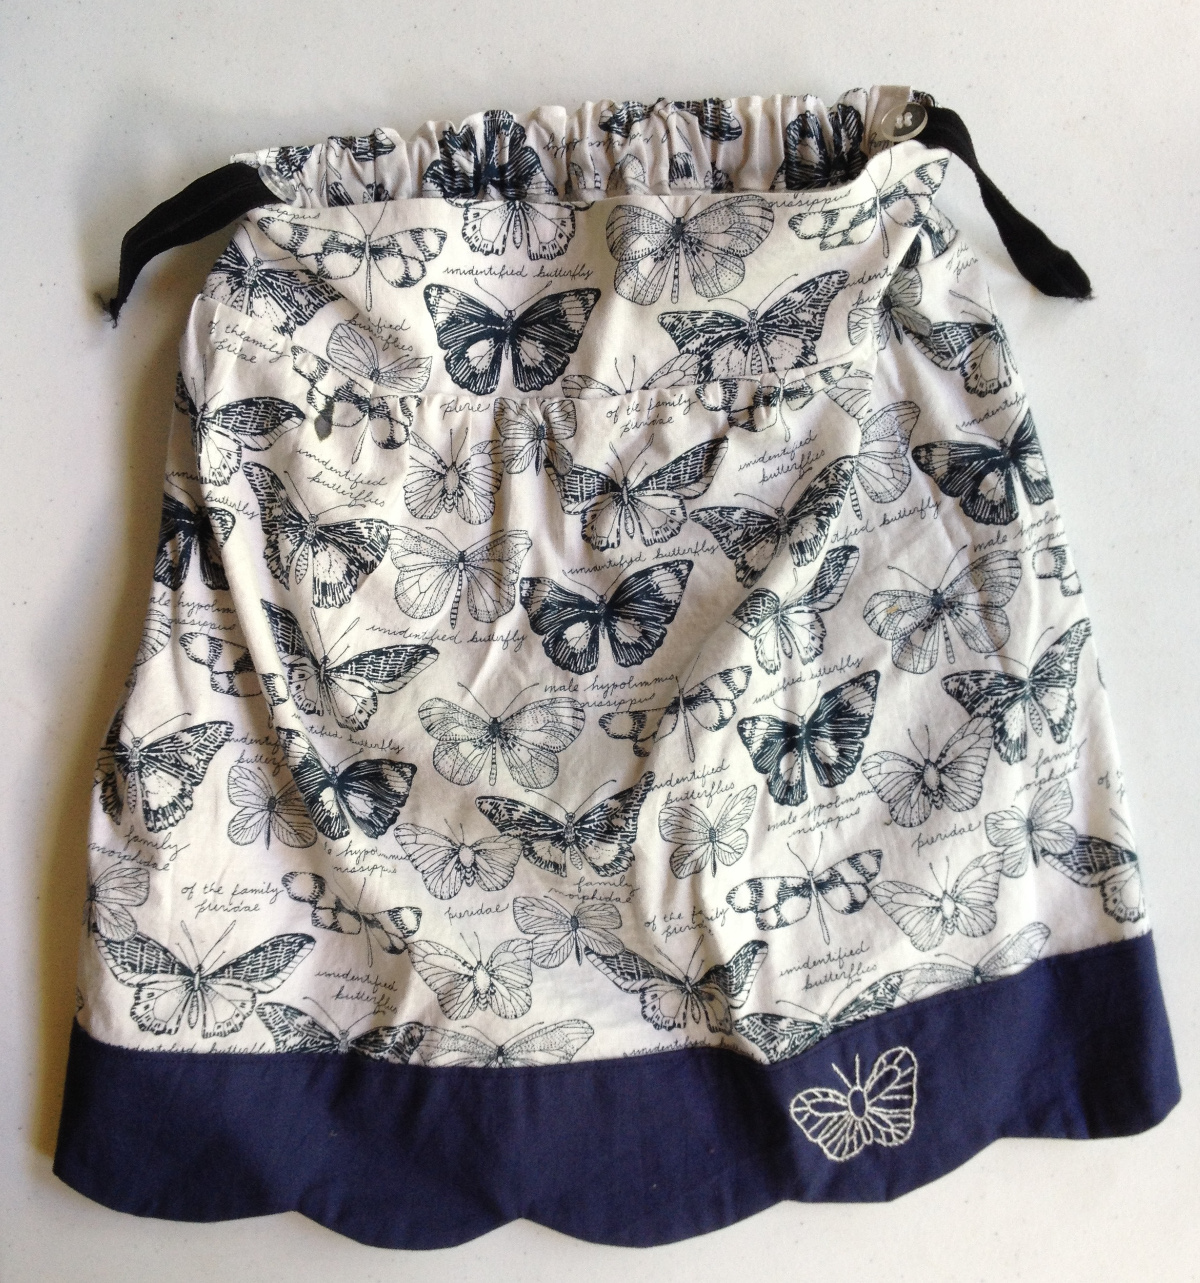
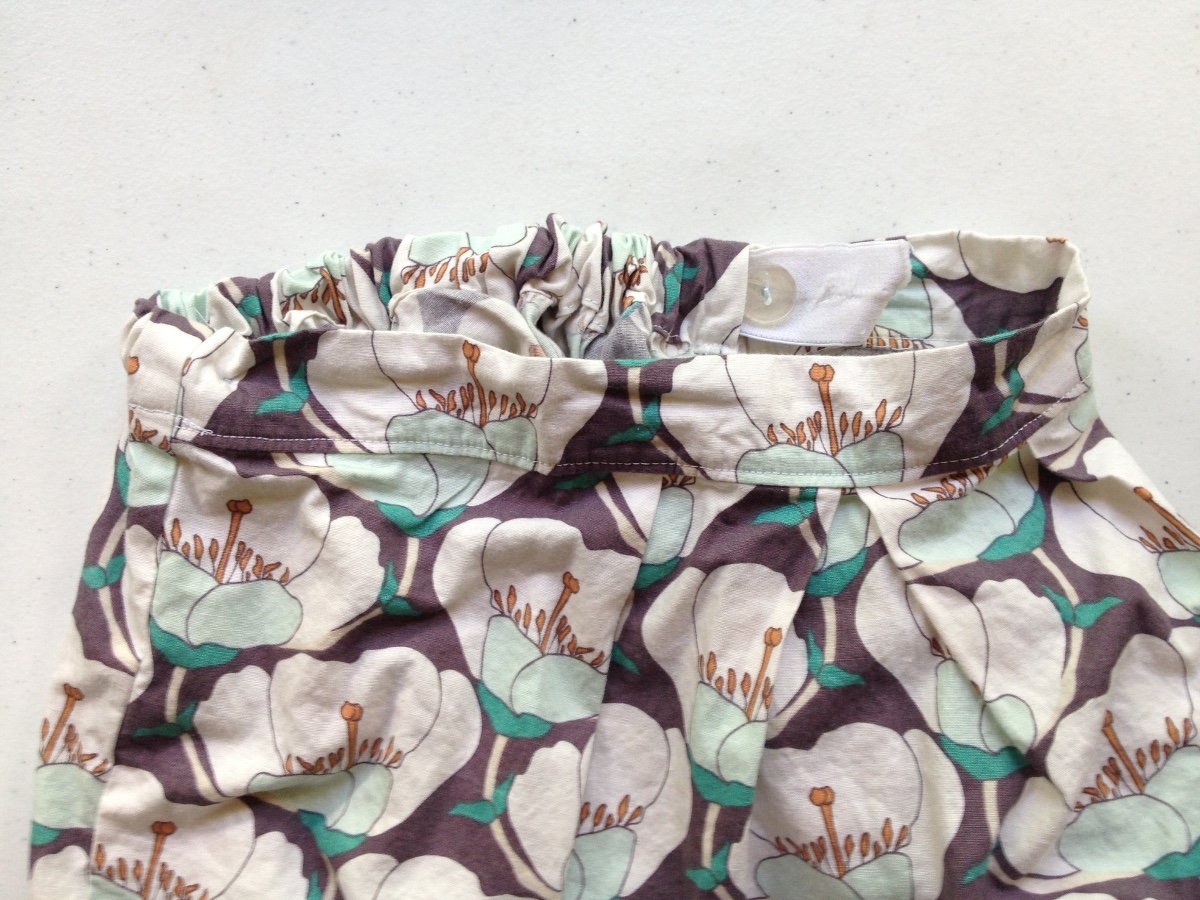 Butterfly skirt by Audrey.
Maybe you’ve sewn adjustable elastic into the back waistband of an Oliver + S pattern that wasn’t showcased here. If so, please let us know in the comments section below.
I do buttonhole elastic on all my kids’ uniform bottoms! The sketchbook shorts adapt well to this, as well as the sailboat skirt for dd. I actually come up a little bit to the front by making the waistband in two unequal pieces, longer in back and shorter in front, so the adjustment is distributed to the sides too.
Buttonhole elastic (extra length, reinforced knees) and a zip-fly for ds mean his uniform (as well as regular) pants are better than store-bought because they’ll last.
Could you sew another button a little further to the fornt to secure any excess elastic? You could even fold a greater excess over before buttoning (through two holes) on this extra button, to keep the excess neat. Has anyone done this?
You can also add a buttonhole that’s about 1/8″ larger than the width of the elastic for pants where there is a one piece waistband (no side seams) or if you want the elastic to extend past the side seam to the front (like the art museum pants, if I recall correctly).
I adjusted the Puppet Show to use it for my girls. It is also helpful for two kids in the same household;) https://flic.kr/p/cWWCUy
I’ve sewn a piece of buttonhole elastic to normal elastic to achieve this. I prefer the stability provided by the normal elastic but can still use the ends to attach to the buttons and make the garment adjustable.
I have made the field trip cargo pants several times for my nephew. I sew two button holes into the waistband facing a bit before and after where the front beltloops are placed, assemble the trousers, sew buttons on behind the beltloops, thread the elastic through and sew each end down.
Where do you buy this? I can’t find any here in the UK