Sew Alongs
Group Admins
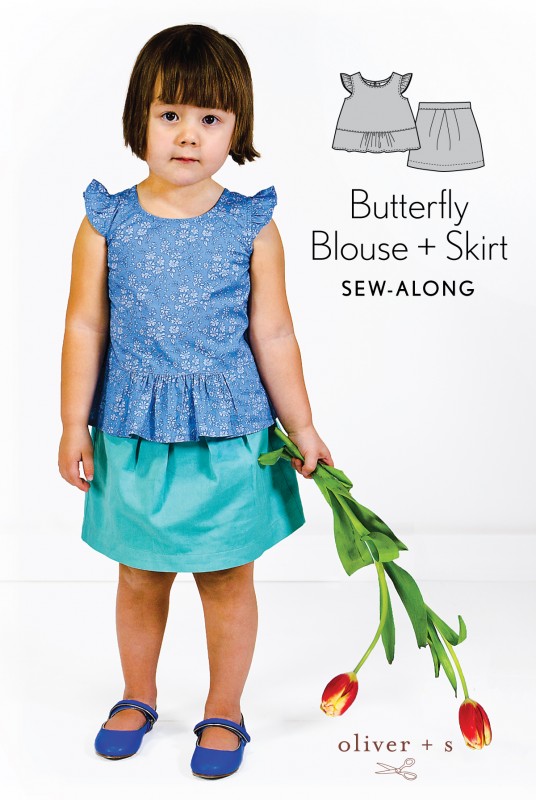
Join us as we sew through some of your favorite Oliver + S, Liesl + Co., and Lisette patterns in the Sew Alongs group.
Butterfly Skirt Sew Along
-
11 years ago LINK
 Rachel Le Grand
@nestfullofeggs
Rachel Le Grand
@nestfullofeggs
Are you ready to sew an adorable pleated skirt? We’re so glad you’re joining us for the sew-along.
Here is the daily plan for this week’s Butterfly Skirt sew-along:
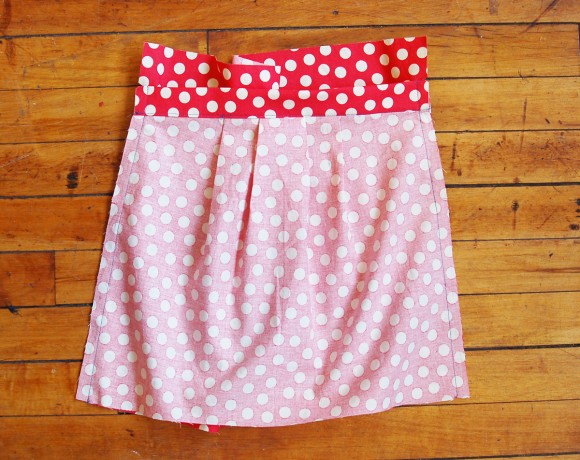
Day 1 (today): make the pleats
Day 2: attach the waistband
Day 3: attach the skirt back
Day 4: make the back waistband casing
Day 5: finish the skirtLet’s get started, shall we?
Day 1
Make the pleats
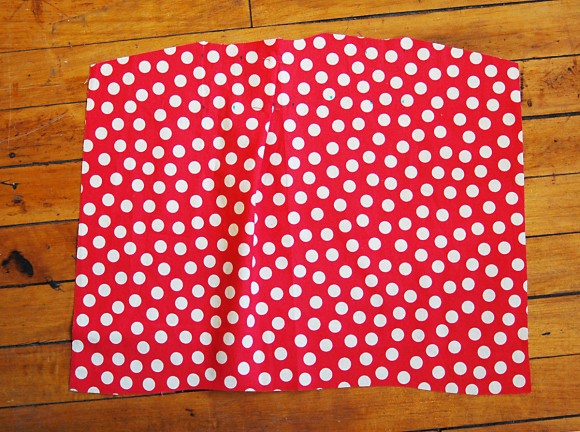
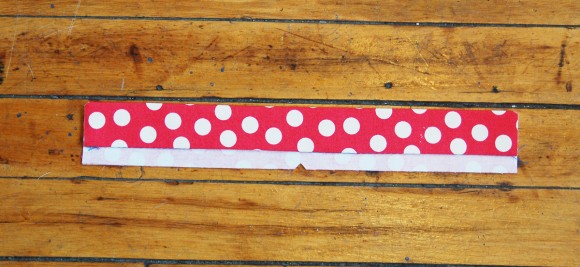
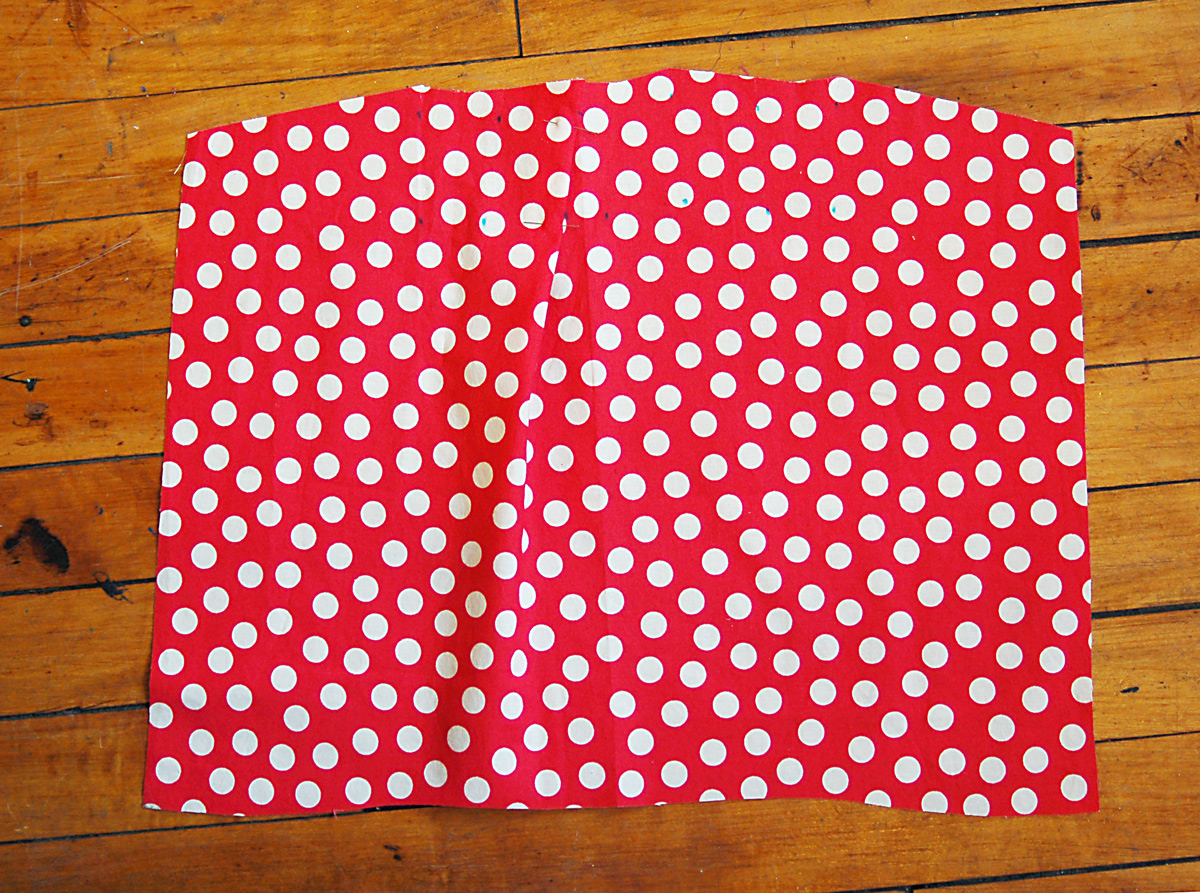
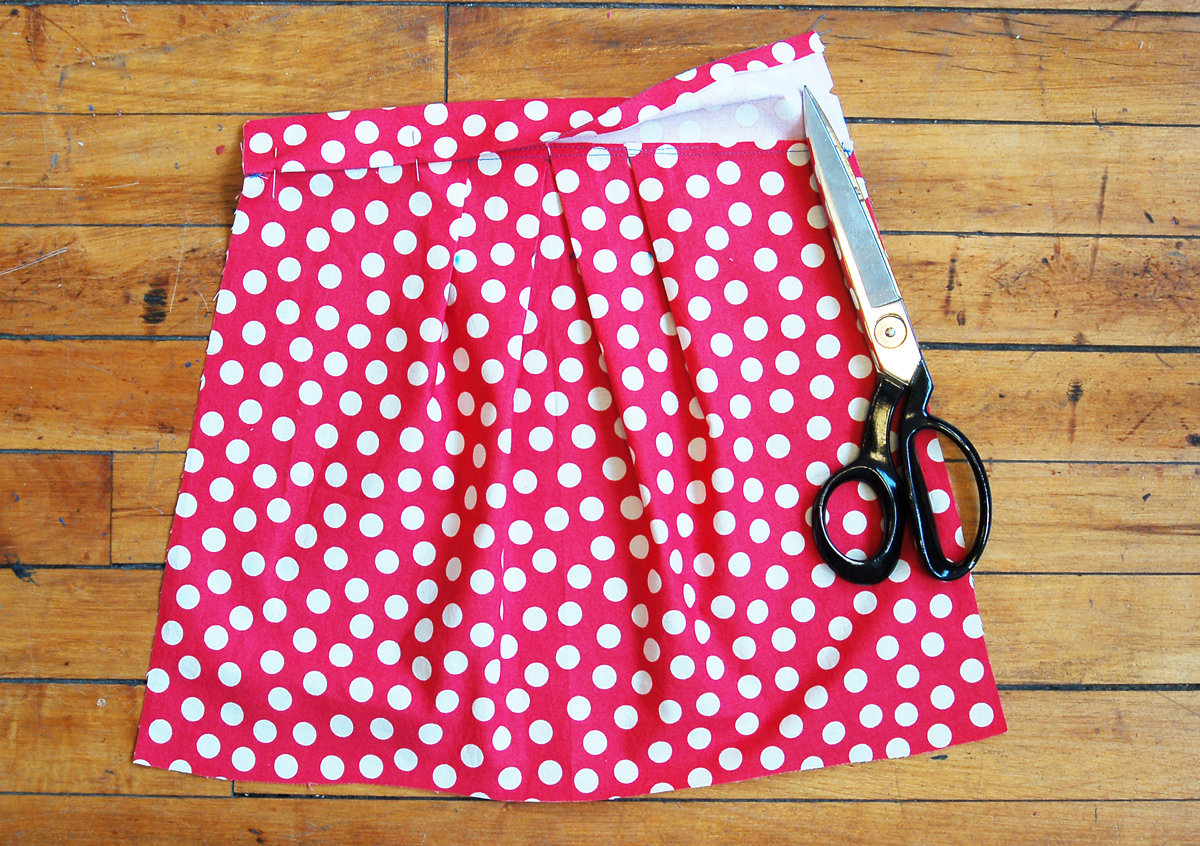
1. Using tailor’s chalk or a water-soluble fabric-marking pen transfer the dots and fold lines from the skirt-front pattern piece to the right side of the cut fabric piece.
Hint: To transfer the dots, poke a pin through each dot on the pattern piece while the pattern is still pinned to the fabric. One dot at a time, gently pull open the fabric layers along the pin’s shank; and mark the fabric at the pin to transfer the dot to the right side of the fabric on both halves of the skirt front. Remove the pin and pattern piece and use a ruler and a water-soluble fabric-marking pen or tailor’s chalk to connect the marked dots, referring to the pattern piece as a guide.
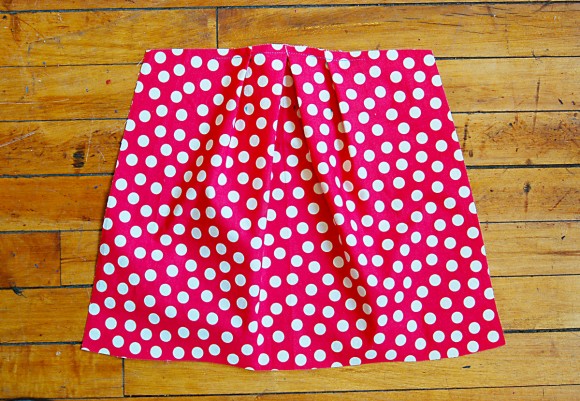
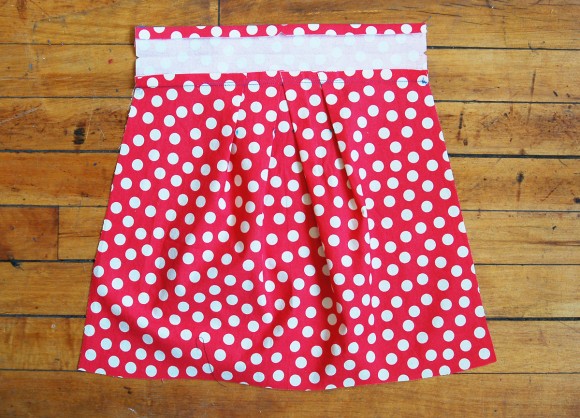
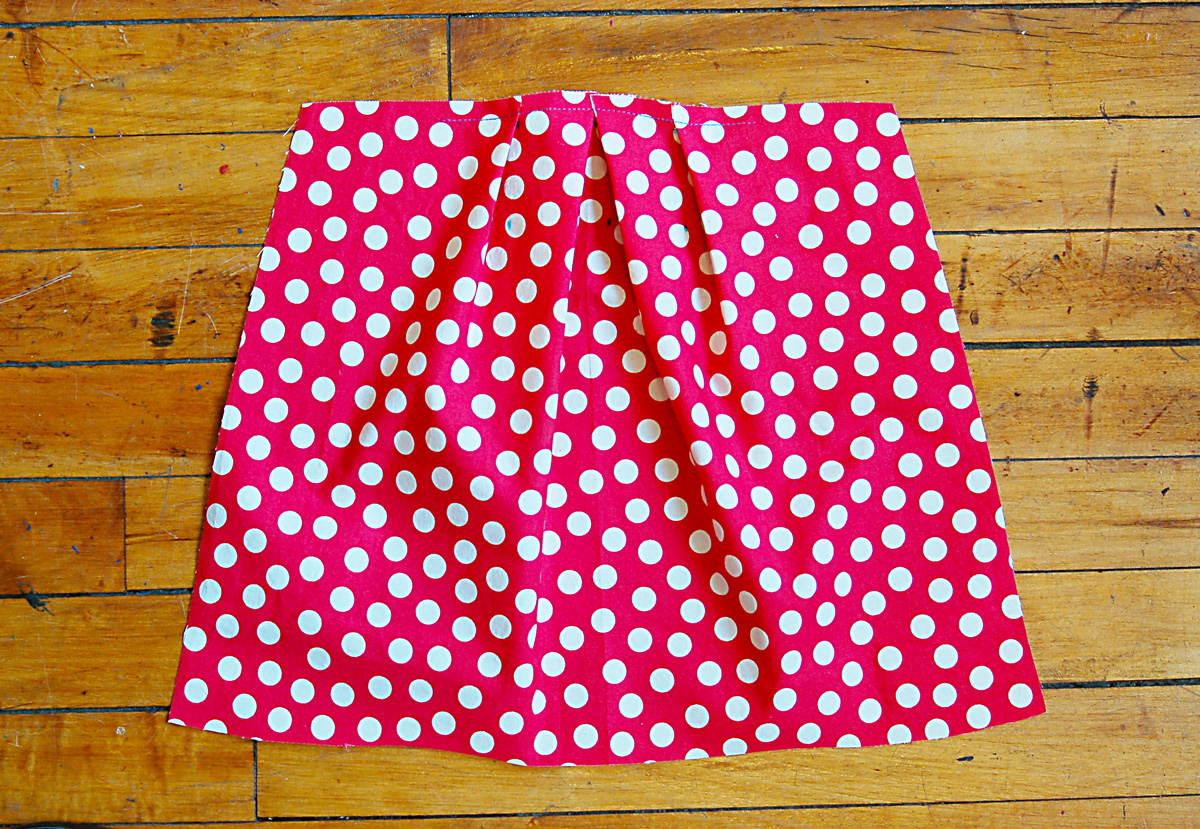
2. To make the pleats, crease the skirt front along the first pleat line with wrong sides of the fabric together, then fold the crease toward the second pleat line, working in the direction of the arrow. (The two sides of the skirt will mirror each other.) Pin the resulting pleat, continuing with each pleat in the same manner. After pinning all the pleats this way, baste the pleats along the top edge of the skirt panel with a 3/8” seam to hold them in place.
3. Once all the pleats are pinned and pressed, baste the top of the skirt 3/8” from the raw edge to hold the pleats in place temporarily.
Tomorrow we’ll be attaching the waistband, see you then.
Day 2
Good morning sew-alongers! Well, here we are at day two of the sew-along where we’ll be attaching the waistband. Let’s dive right in!
Attach the waistband
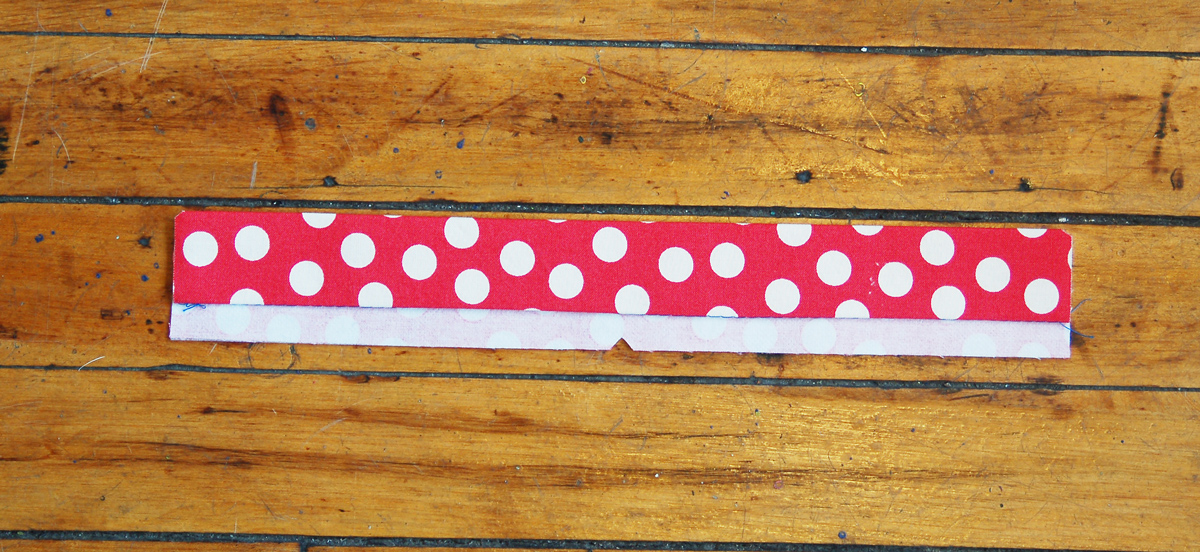
1. If you haven’t done so already, follow the interfacing manufacturer’s instructions to fuse the interfacing to the skirt front waistband’s wrong side. Fold and press the waistband in half lengthwise with wrong sides together, then unfold the waistband.
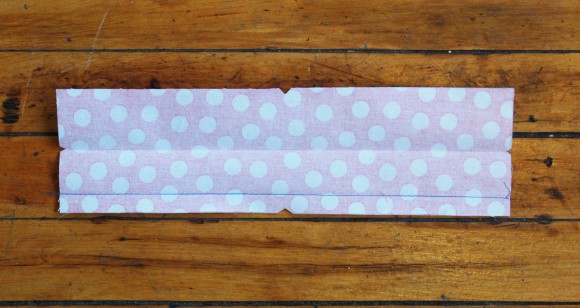
2. Sew a row of basting stitches 1/2” from one long edge of the waistband. Using this line of basting stitches as a folding guide, fold and press the long edge to the wrong side by 1/2”.
3. Pin the wrong side of the skirt front to the right side of the waistband along the long, unfolded edge, matching the center notches. Stitch the waistband to the skirt front with a 1/2” seam, backstitching or lockstitching at both ends.
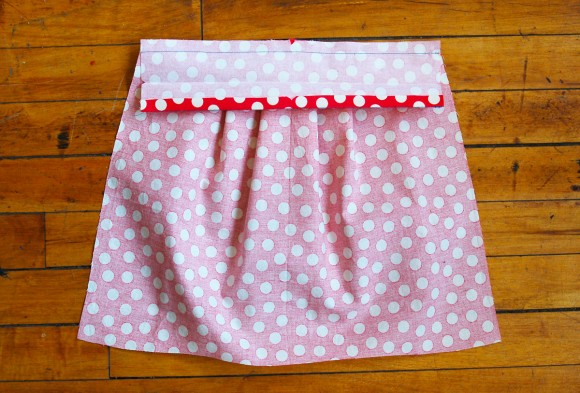
4. Press the waistband and the seam allowance away from the skirt and trim the stitched seam allowances to 1/4”.
5. Fold the waistband around the seam allowances to the right side of the skirt, and pin the folded edge of the waistband to cover the stitching line. Edgestitch the folded edge to finish the waistband neatly. Remove any visible basting stitches.
All OK so far? Come back tomorrow when we’ll be attaching the skirt back.
Day 3
Hello again. These steps won’t take you very long at all. Ready?
Attach the skirt back
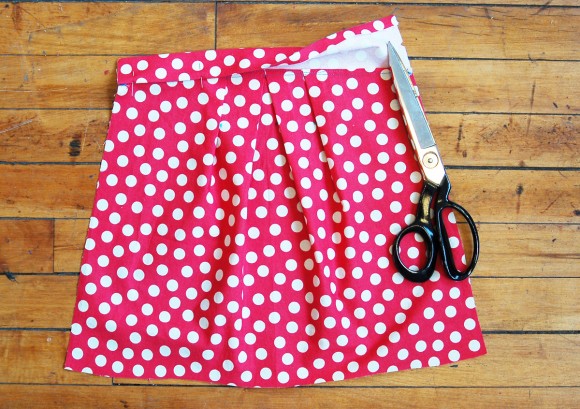
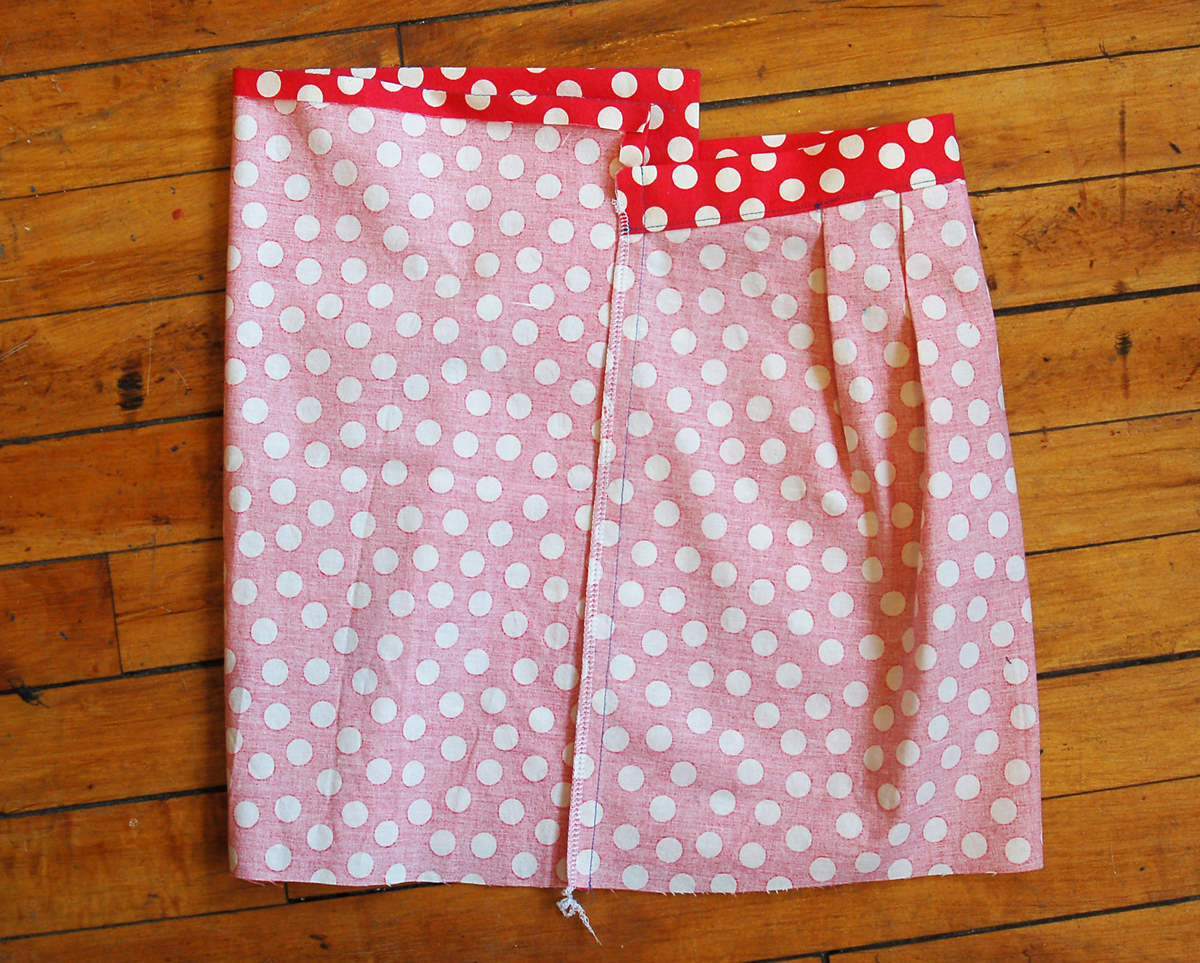
1. Pin one side of the skirt back to the skirt front along one side seam, with right sides together, matching the bottom edges, and aligning the top of the finished waistband to the notch near the top of the back panel. (If the skirt front is a little different in length from the back, don’t worry about it. Sometimes the waistband changes the length a little bit. For now, match the top edge of the waistband to the notches on the skirt back and trim a little from the bottom edge later, if you need to.) The excess length of fabric at the top of the back panel will become the elastic casing at the back waistband. Stitch the side seams together with a 1/2” seam, backstitching or lockstitching at both ends. Repeat to sew the opposite side seam.
2. Finish the stitched side-seam allowances together using your preferred method, and press the seam allowances toward the back panel. Fold and press the remaining skirt back’s side-seam allowances (the fabric extending above the front waistband) toward the wrong side by 1/2”. (Use a basting stitch as a folding guide if it helps.)
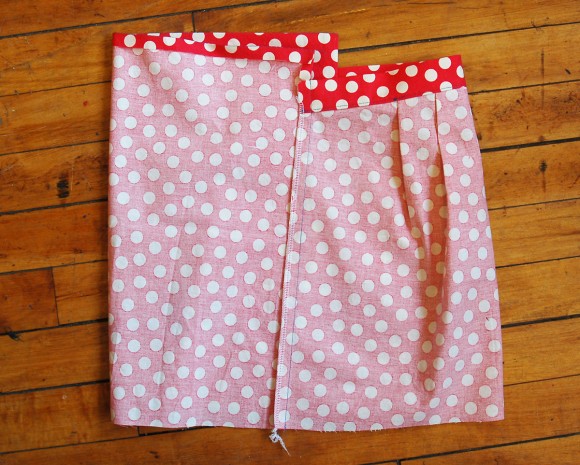
Hint: If the skirt looks really wide at this point, don’t worry! Once the elastic is inserted the skirt will fit just fine.
And that’s it for today. See you right back here tomorrow!
Day 4
Welcome back! This part is really easy and quick. Here we go.
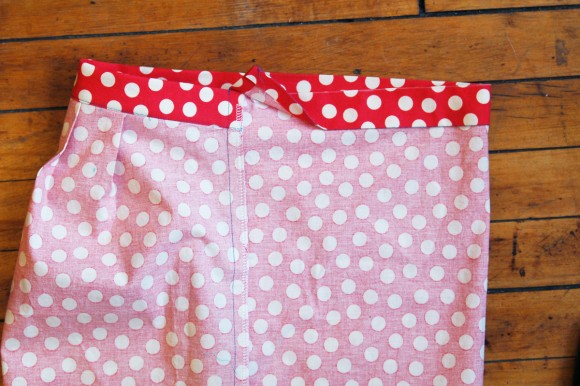
Make the back waistband casing
1. To make the elastic casing for the back waistband, fold and press the folded top edge of the back panel to the wrong side by 1”, matching the front-panel waistband’s finished edge. Edgestitch the innermost fold, backstitching or lockstitching at both ends. As you position your fabric under the needle to begin edgestitching, try to match the edgestitching on the skirt front waistband to produce a continuous line of stitching.
We’re almost done. Come back tomorrow when we’ll be finishing the skirt.
Day 5
Let’s sew this one up! Don’t forget to show us your finished skirt to be entered in the contest. See the very end for details.
Finish the skirt
1. Cut a piece of 3/4”-wide elastic to approximately half of the child’s full waist measurement. Attach a bodkin or safety pin to one end of the elastic and feed it through the back waistband casing on the inside side of the waistband. Adjust the elastic to fit (you may shorten it quite a bit at this point) until the skirt fits the child’s waist. Pin each end of the elastic along the seams to hold it. Then stitch the elastic vertically to the skirt through all the layers, just inside the edge of the casing (about 1/4” from the casing’s opening) to secure it. Use either two rows of vertical stitching about 1/4” apart, or stitch a long rectangle along the casing opening. Trim the excess length from the ends of the elastic.
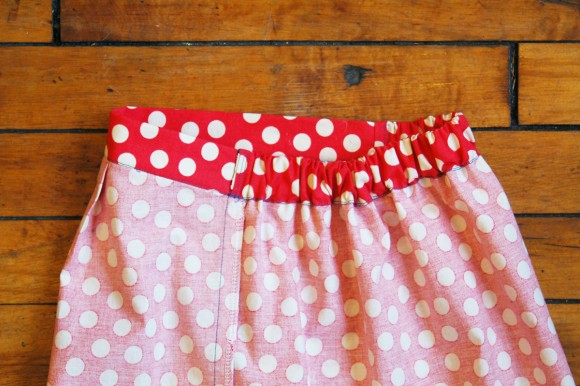
Hint: To trim the ends of the elastic, stretch it while you cut near the opening of the casing. Once you’ve trimmed the elastic, it will bounce back inside the casing, hiding the cut edges.
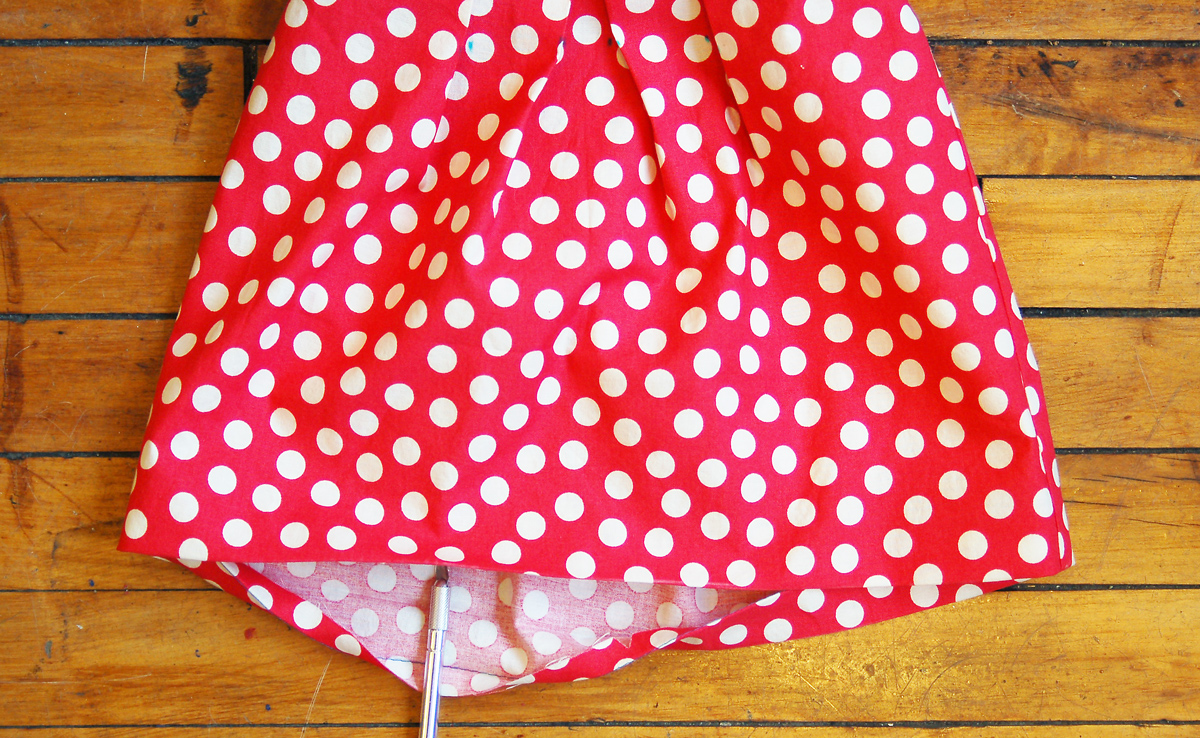
2. To hem the skirt, stitch a row of gathering stitches 1/2” from the hem’s raw edge, leaving thread tails several inches long for pulling. Fold and press the hem edge to the wrong side of the fabric, using the gathering stitches as your guide. Fold and press the edge again 1” to the wrong side to make a nicely finished hem. Pull on the thread tails of the gathering stitches to ease in the extra fullness at the curved sections of the hem. Remove any visible gathering stitches from the skirt and you’re finished!

I can hardly wait to see how your skirts turned out!
Enter to win a prize of two Oliver + S PDF patterns! When you have completed your Butterfly Skirt, post a photo in the comments down below. All Butterfly Skirts made can be entered. One will be chosen at random. All entries must be submitted by Friday June 26th at 9:00 AM ET.
-
This topic was modified 11 years ago by
 Rachel Le Grand.
-
This topic was modified 11 years ago by Rachel Le Grand.
-
This topic was modified 11 years ago by Rachel Le Grand.
-
This topic was modified 11 years ago by Rachel Le Grand.
-
This topic was modified 11 years ago by Rachel Le Grand.
11 years ago LINKRachel Le Grand
@nestfullofeggs
Happy Tuesday! For those of you who are sewing along with us this week, day two is now up!
11 years ago LINKRachel Le Grand
@nestfullofeggs
Good morning sew-alongers! Day three has now been added.
11 years ago LINKRachel Le Grand
@nestfullofeggs
Day four is now up 🙂
11 years ago LINKRachel Le Grand
@nestfullofeggs
How did your skirt turn out? Please start sharing photos of your finished skirts here to be entered in the contest (all skirts can be entered).
11 years ago LINK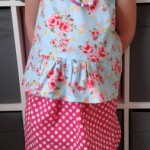 Jennie
@Jennieg
Jennie
@Jennieg
This is my very first Oliver and S make, I’m really pleased with it and so is daughter number 3. Thank you for your lovely pattern and great sew along.
11 years ago LINKJennie
@Jennieg
Worn with her butterfly top.
11 years ago LINKMalgosia @MySweetSabina
11 years ago LINK dubhels2003
@dubhels2003
dubhels2003
@dubhels2003
Finally I sewed along! Love the skirt, the pleats are so simple but really classy. E started potty training last week so this is perfect for her to get on and off. Sewn in spotty fabric to match her chicken pox 😉
For some reason the picture hasn’t uploaded? Thought I did it right…will try again…

-
This reply was modified 11 years ago by
 dubhels2003. Reason: Picture not uploaded
11 years ago LINK Mama_Knowles
@Mama_Knowles
Mama_Knowles
@Mama_Knowles
Just finished mine today! I love this pattern! So quick and easy to sew and it looks awesome with the perfect pleats. It wouldn’t add a photo so I am linking it to the flicker one. https://www.flickr.com/photos/mama_knowles03/19098452415/in/pool-oliverands
-
This reply was modified 11 years ago by
 Mama_Knowles.
11 years ago LINKBianca @bianca
Here’s mine! Nice easy make in a beautiful Japanese quilting cotton, purchased a couple of years before my 4 year old was born (oops…)
Made size 5 which was a bit big, but shortening the length and elastic worked a treat.11 years ago LINK Tamara
@justsewit
Tamara
@justsewit
Just spent an hour whipping this little number up! Gorgeous little skirt and such a fun sew!
-
This reply was modified 11 years ago by
 Tamara.
11 years ago LINKTamara
@justsewit
Grr! It seems the phot is too big? Here’s a link. https://www.flickr.com/photos/justsewit_tk/18526545563/in/dateposted-public/
-
This reply was modified 11 years ago by Tamara.
11 years ago LINKSeems photo uploading is not working so here’s a pinterest link to my skirt https://www.pinterest.com/pin/484488872391411071/
11 years ago LINKJennie
@Jennieg
-
This topic was modified 11 years ago by


You must be logged in to reply to this topic.
copyright
Unless otherwise credited, all work on this blog is © Liesl + Co., Inc, 2008-2026. You are welcome to link to this blog, but please ask permission before using any text or images.