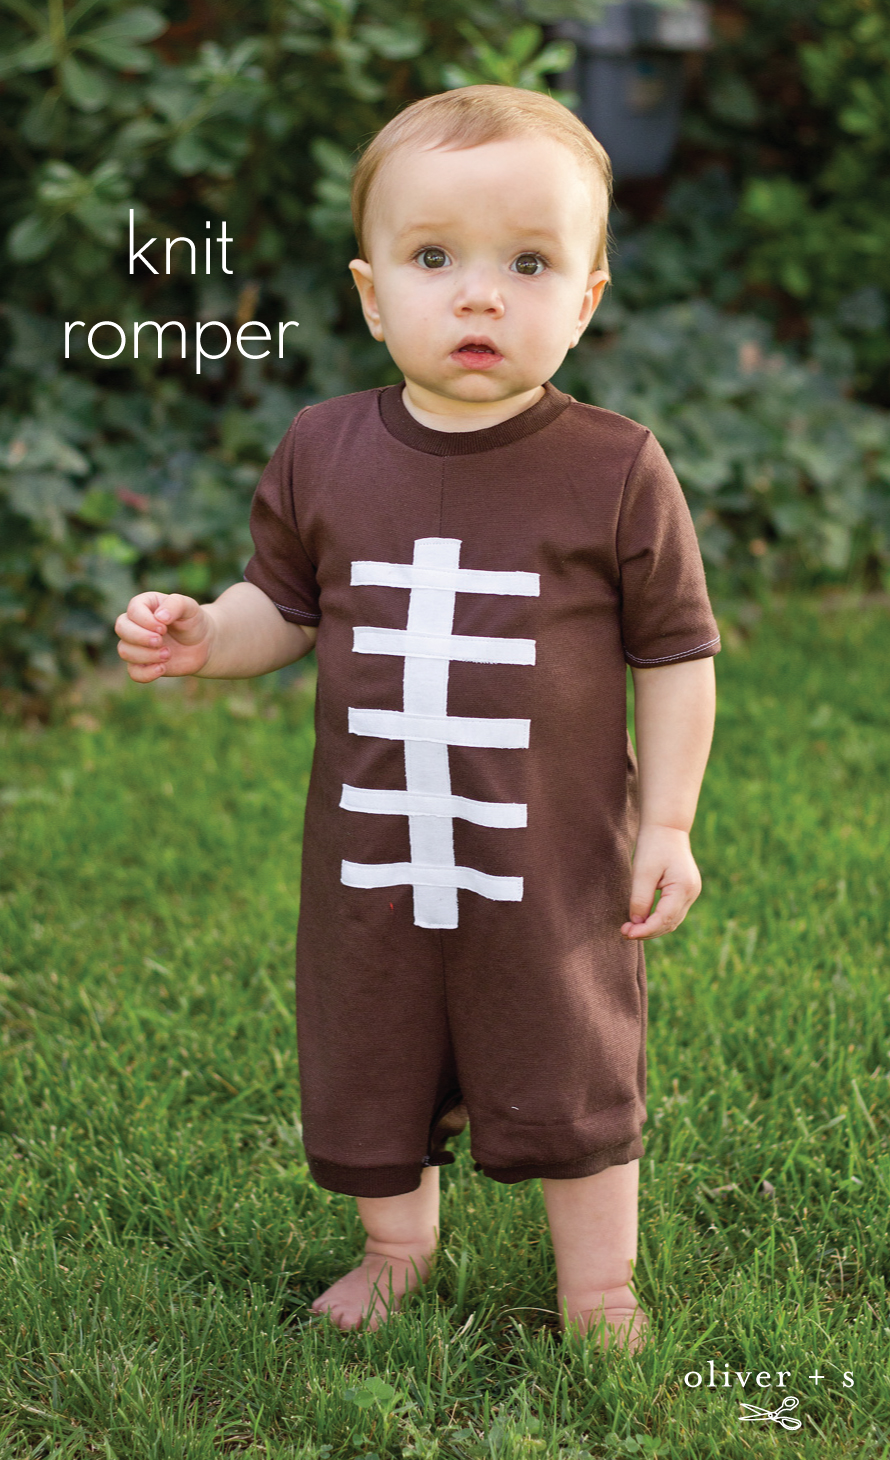
Brittney has stopped by in the past with her Fox Playtime dress and Rapunzel Fairy Tale dress. Now she has taken a couple of Oliver + S patterns and mixed them together to create this adorable knit romper. Why didn’t I think of that? Here is her tutorial. Enjoy!
Today I am going to show you how to combine the School Bus T-shirt and the Tea Party Playsuit to make a knit romper. It works just as well with the Field Trip Raglan, and you will use the same method to make the pattern pieces.
First, decide if you want a baggy fit or a tighter fit. For a baggier fit, use the same size for the Playsuit as the Tee. For a slimmer fit, use a size smaller for the Playsuit and the size your child measures into for the tee. For example, I used the 18 month size for both of my pattern pieces as that’s what my son measures into.
Let’s dive right in, shall we?
Prepare your pattern pieces. Here I have an 18 month School Bus and an 18 month Tea Party (both front pattern pieces). Line up the outer edge of your Tea Party Playsuit bodice and shorts, overlap where the bodice and shorts meet by 1/2″.
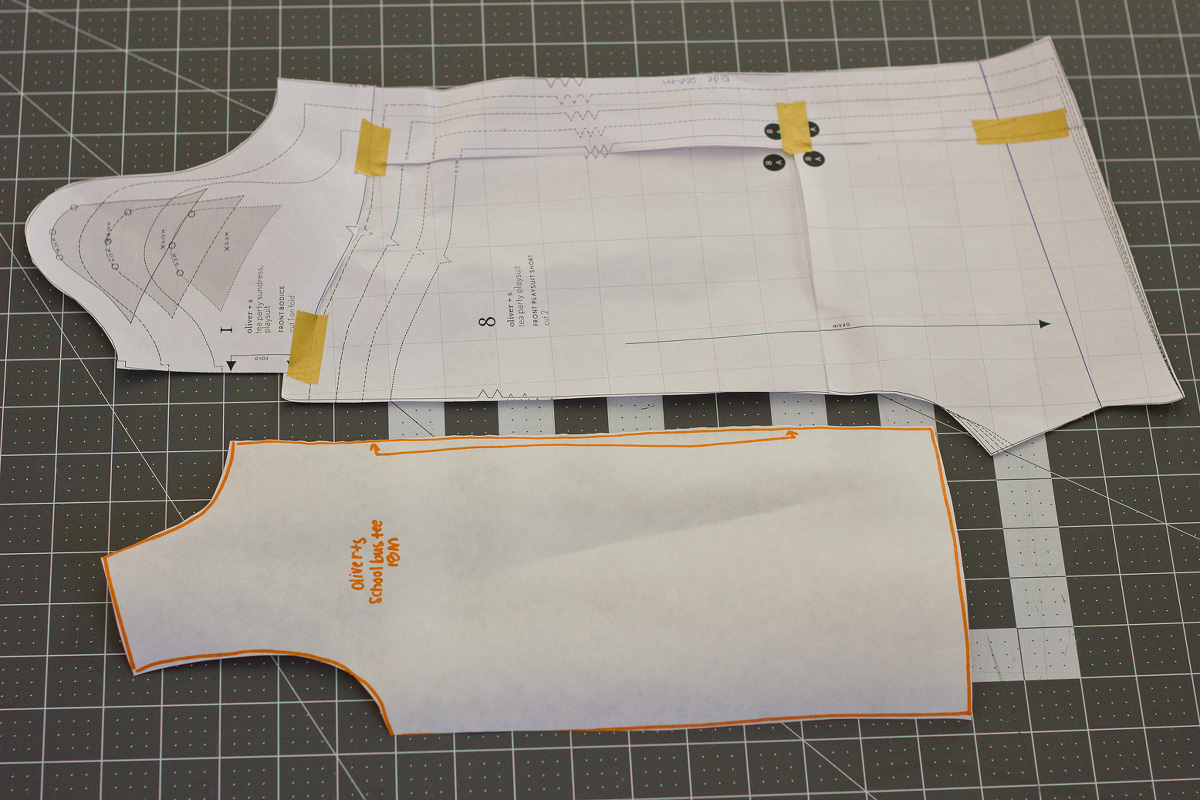
I like to tape the two pattern pieces together, then trace onto freezer paper. Lay your School Bus pattern approximately 1/4″ from the center front of the Tea Party, lining up the two points at the bottom of the armhole.

Trace the pattern pieces, you only need to trace just a little of the School Bus.

I have used black to show the final shape. Connect the neckline with the front of the Playsuit and the bottom of the armhole to the hem of the Playsuit. Draw a line 1 1/2″ from the hem of the shorts, because there will be a binding on the leg there will be no need for the extra length for a hem.
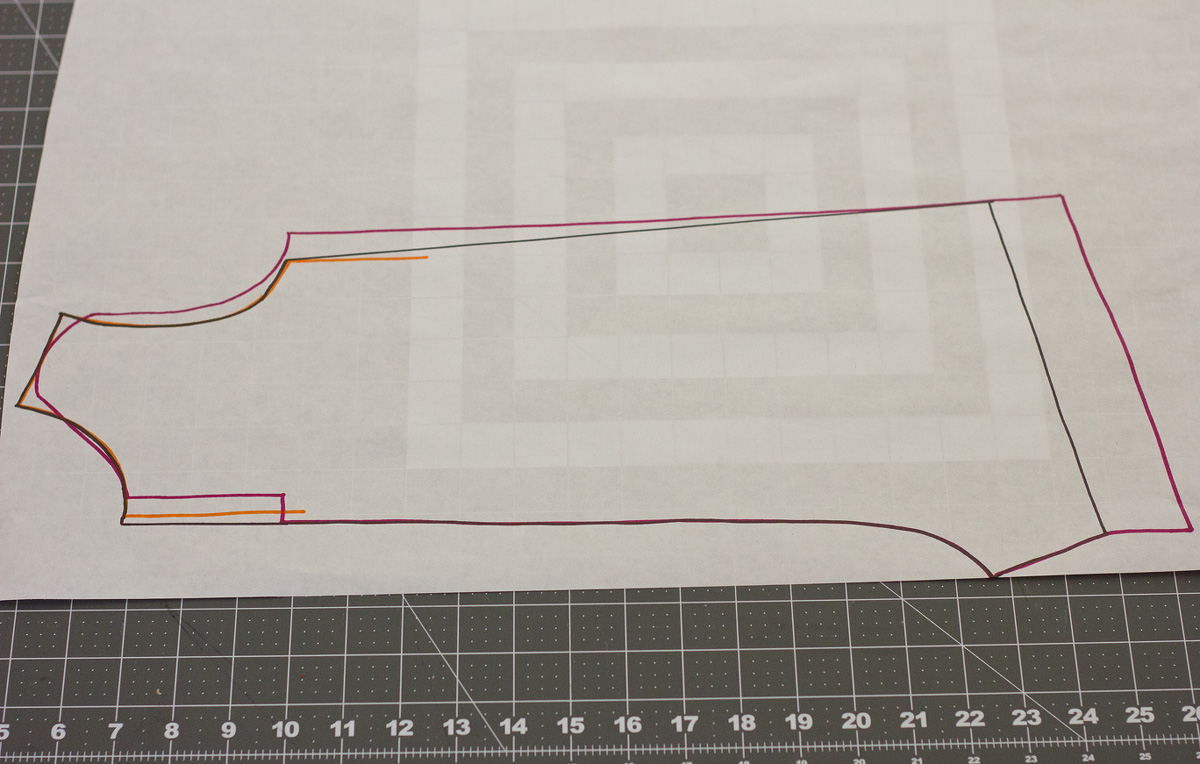
This is what your final front pattern piece should look like, use the same steps to create the back pattern piece.
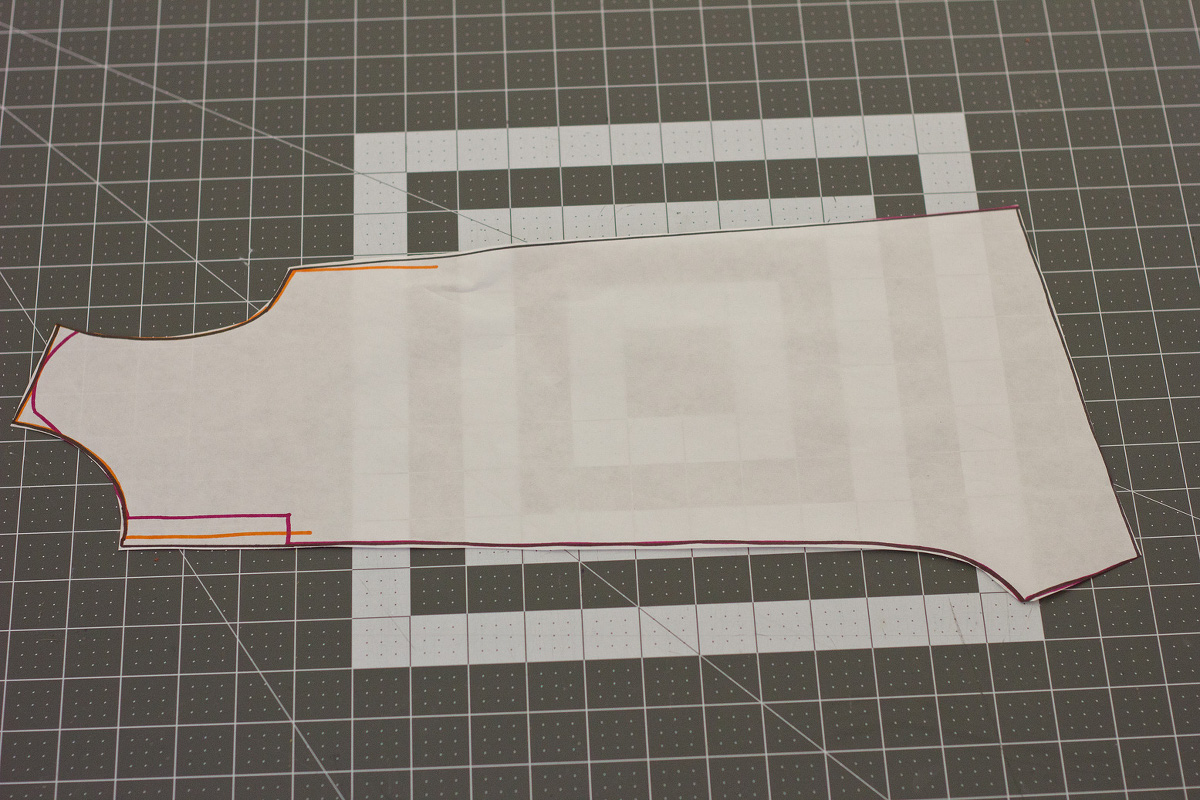
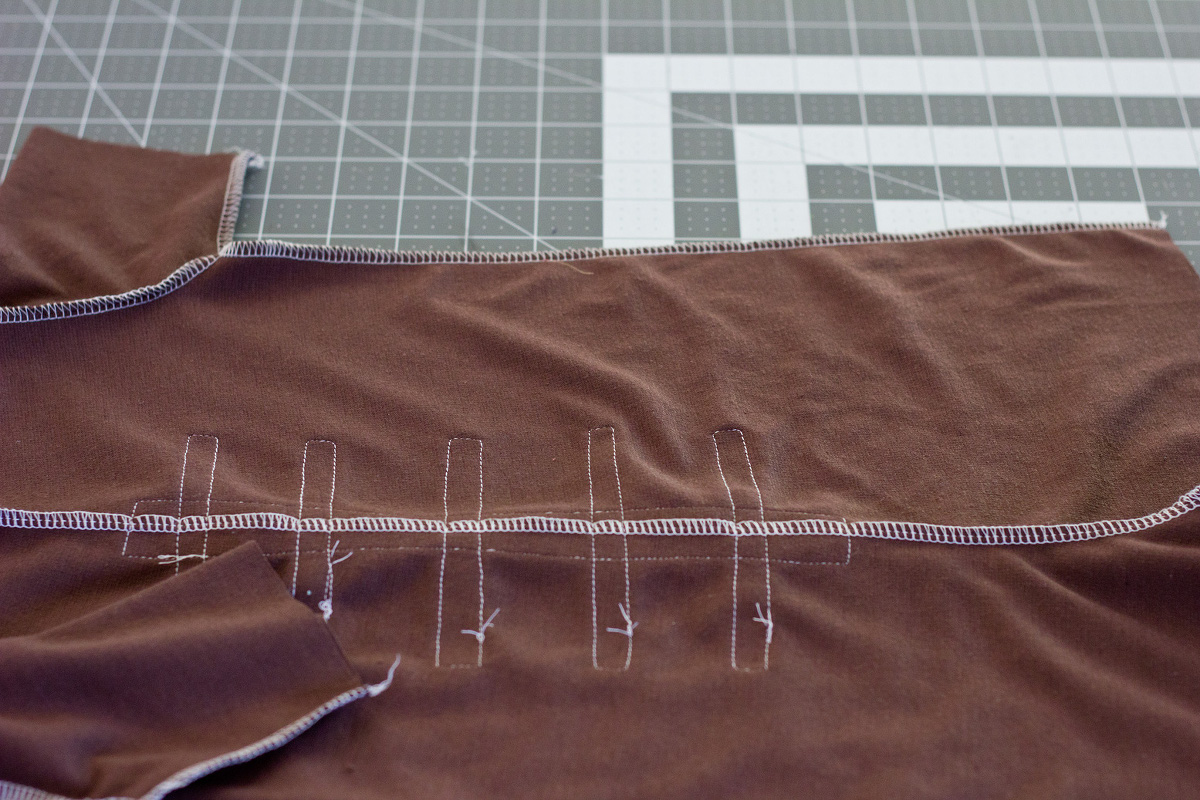
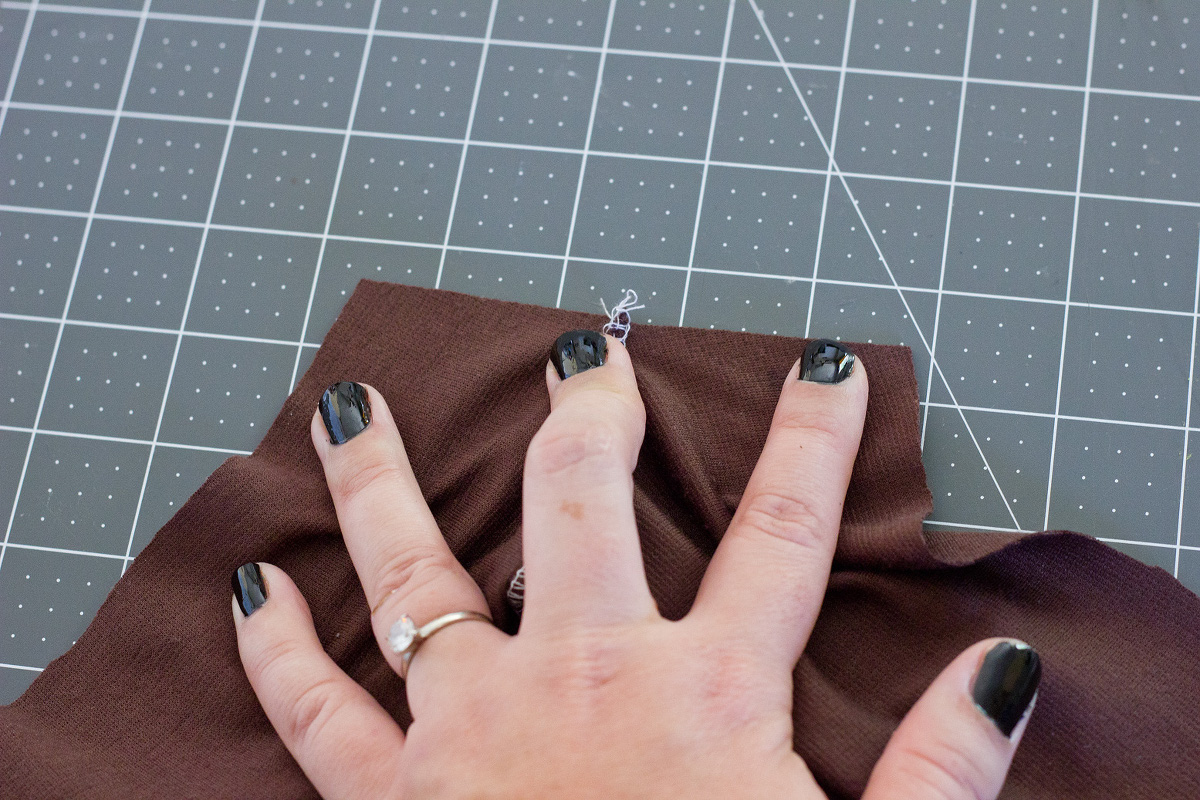
Cut two fronts, two backs. Use the existing School Bus sleeve and neckband pattern pieces. There will also be two pieces for leg binding and three snap plackets, but I will explain how to measure for later on.

Right sides together, sew or serge with 1/4″ seam allowance the center front and center back.
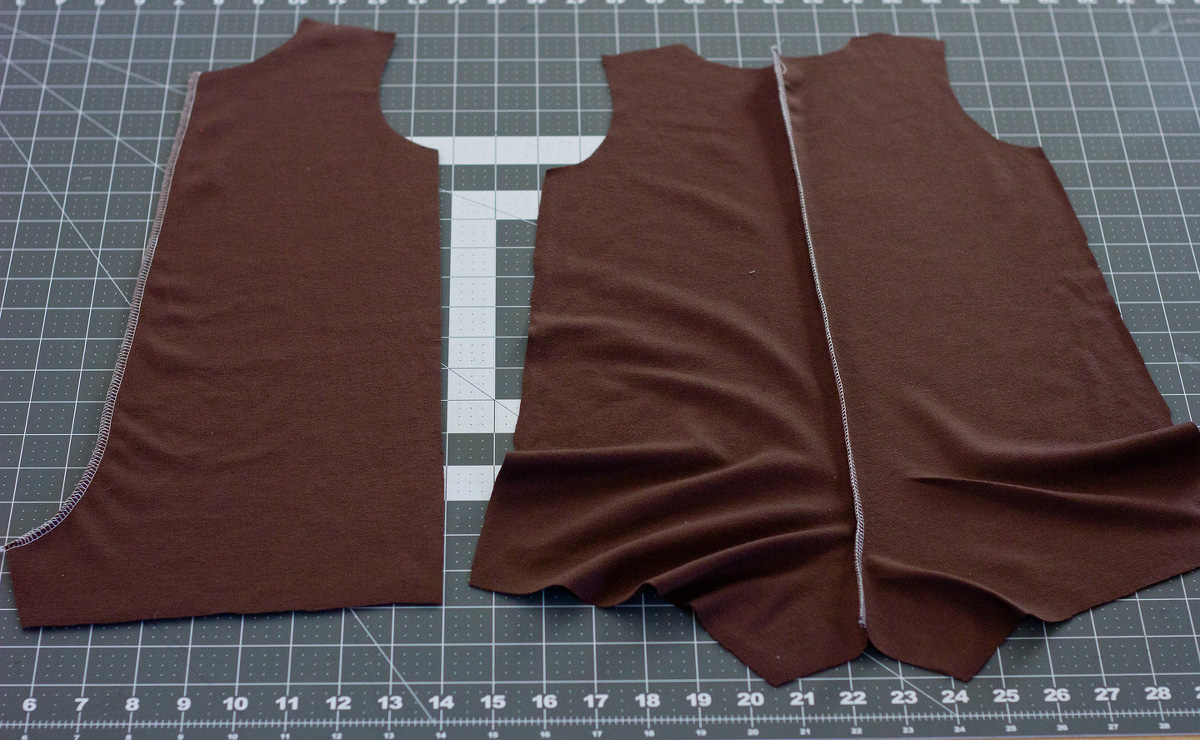
Right sides together, sew the shoulder seams.
Right sides together, sew the sleeves.

Right sides together, sew the side seams.
To measure for the leg binding, open one leg and measure the length. Make a pattern piece 2″ x your leg measurement minus 2″. For example, my 18 month leg measured 18″, so my pattern piece is 2″ x 16″.
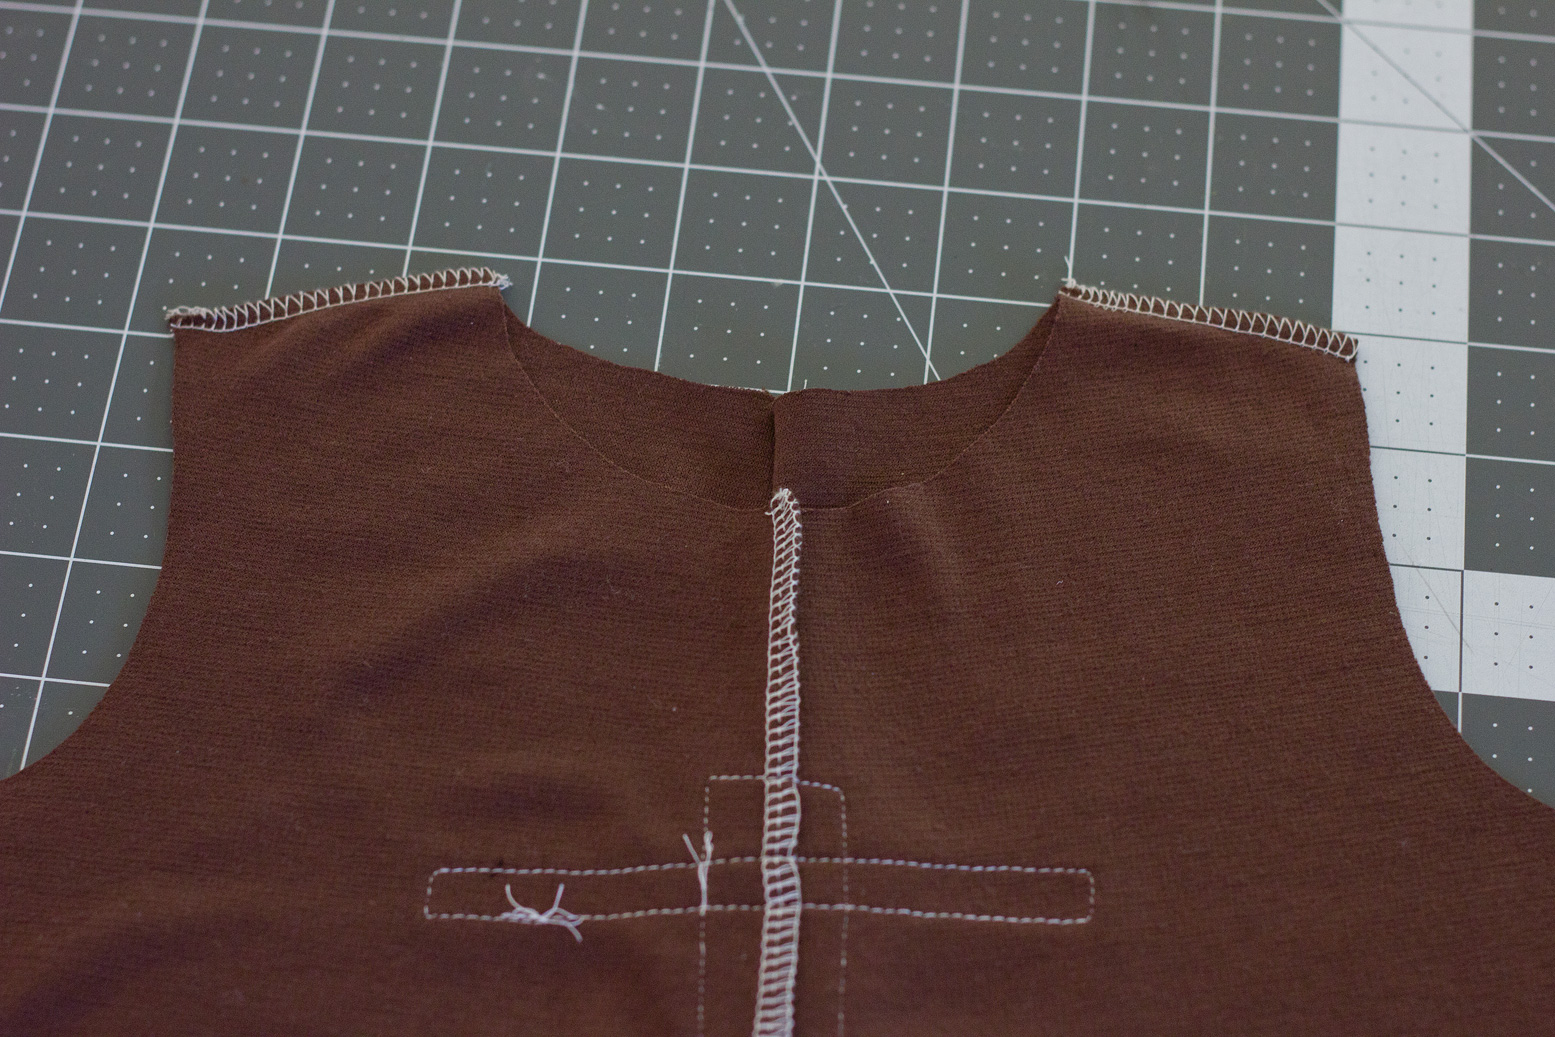
For the snap plackets, open the crotch and measure the length. Make a pattern piece 1″ x the measurement.
Cut out 3 of these. Iron on a piece of interfacing to the wrong side of one of the snap plackets. Sew the interfaced snap placket and one non-interfaced snap placket with right sides together.
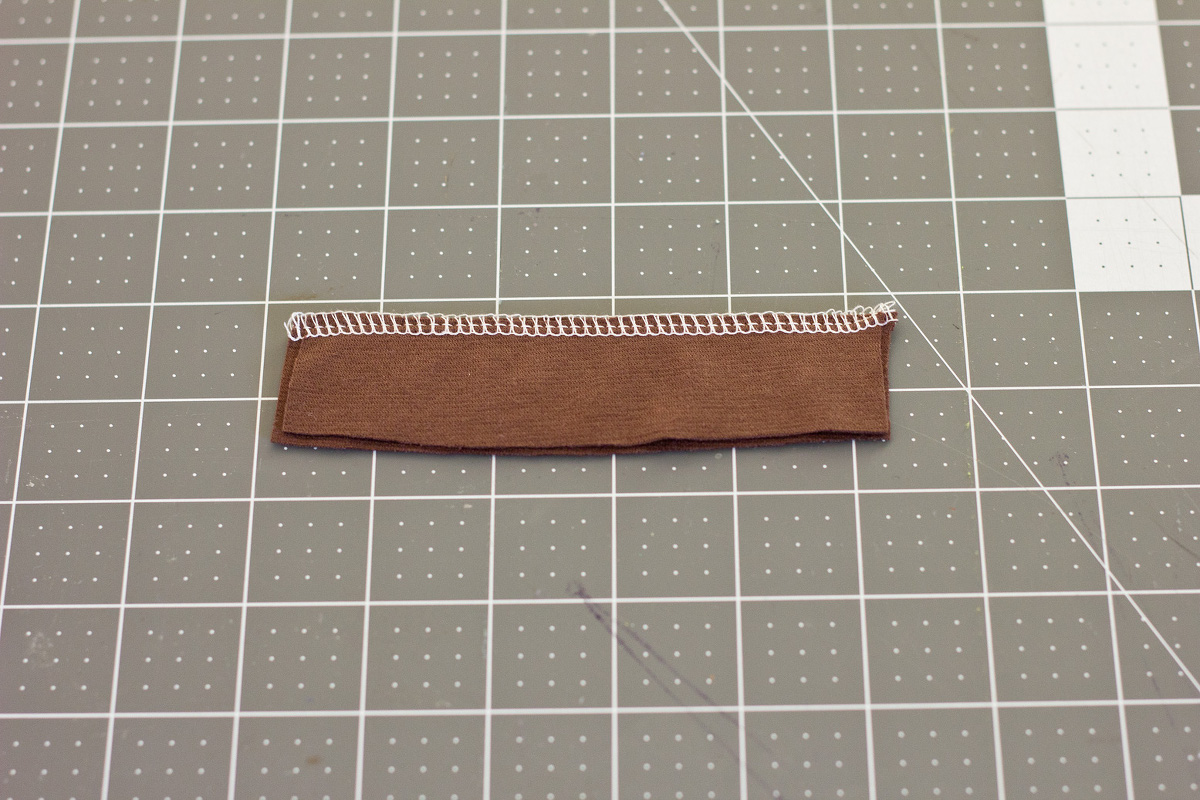
Turn the snap placket right side out and press.

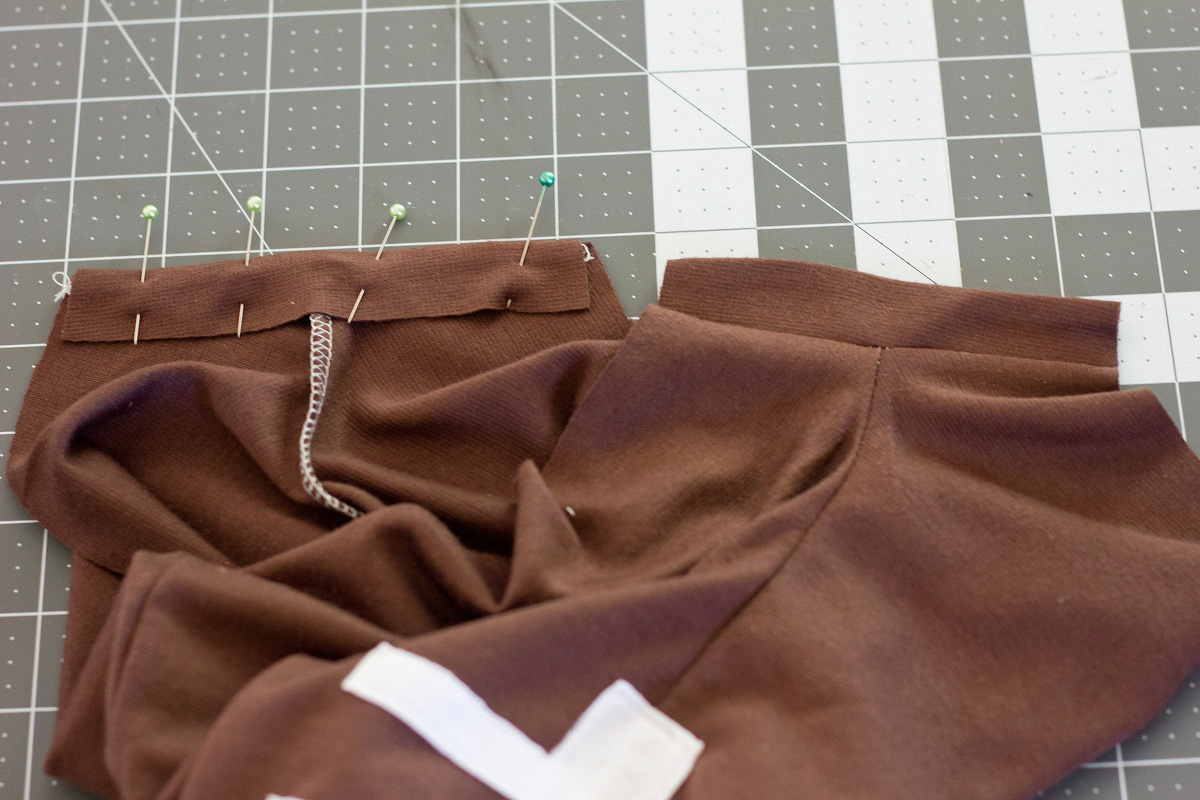
Sew the last non-interfaced snap placket piece to the back of the romper with right sides together, turn to the inside of the romper and press.
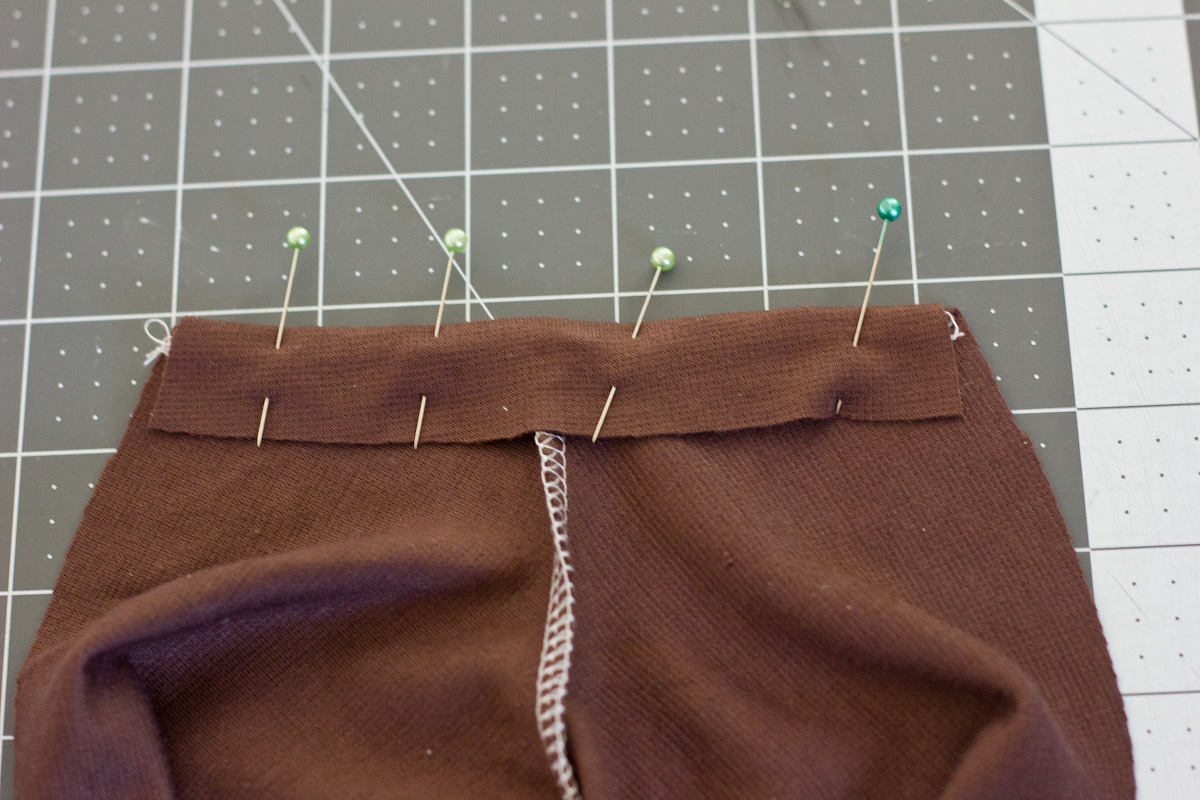
Sew the sewn snap placket to the front of the romper.
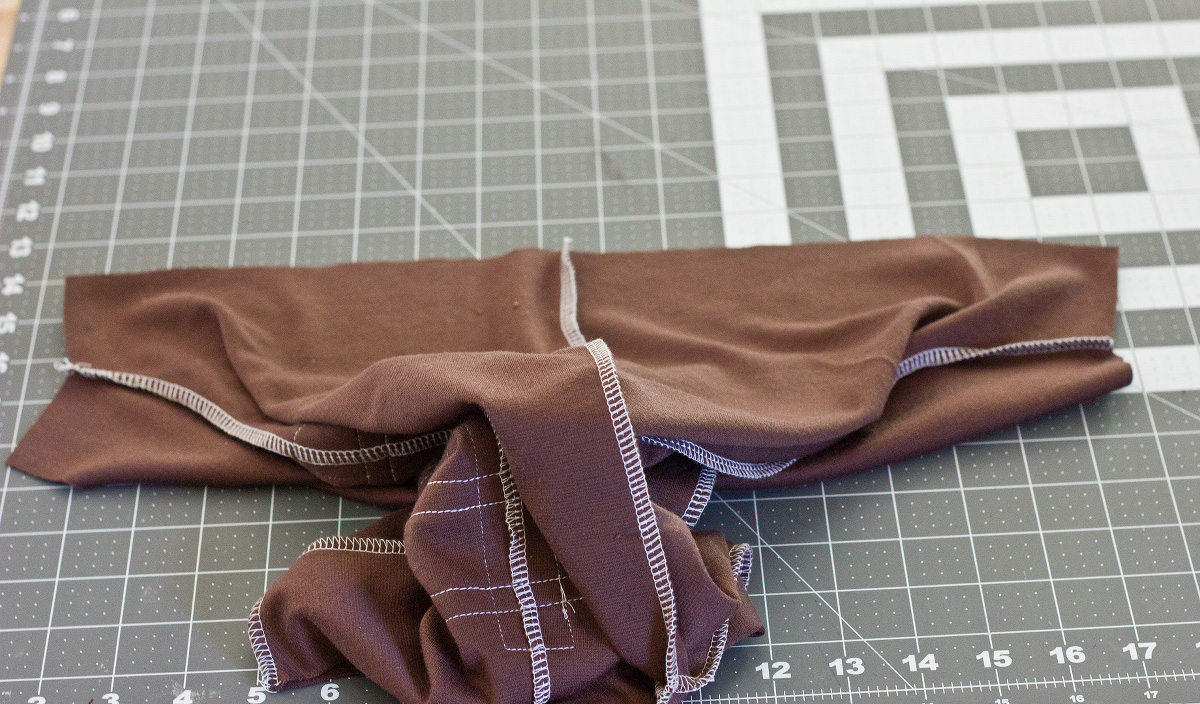
With right sides together, sew the short ends of the leg binding. Turn right side out and press.
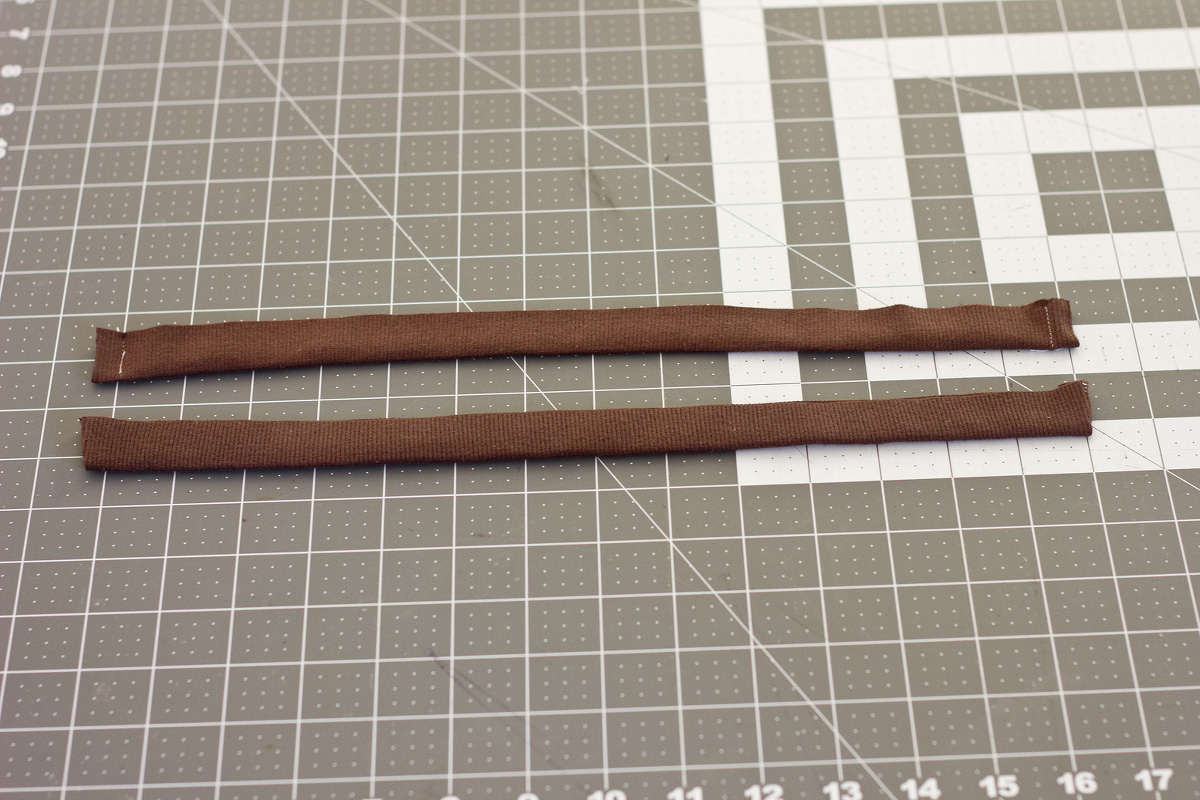
Slightly stretching the binding, pin and sew to the right side of the romper leg.

Turn the binding down and press.

Sew the neckband according to the School Bus Tee instructions.
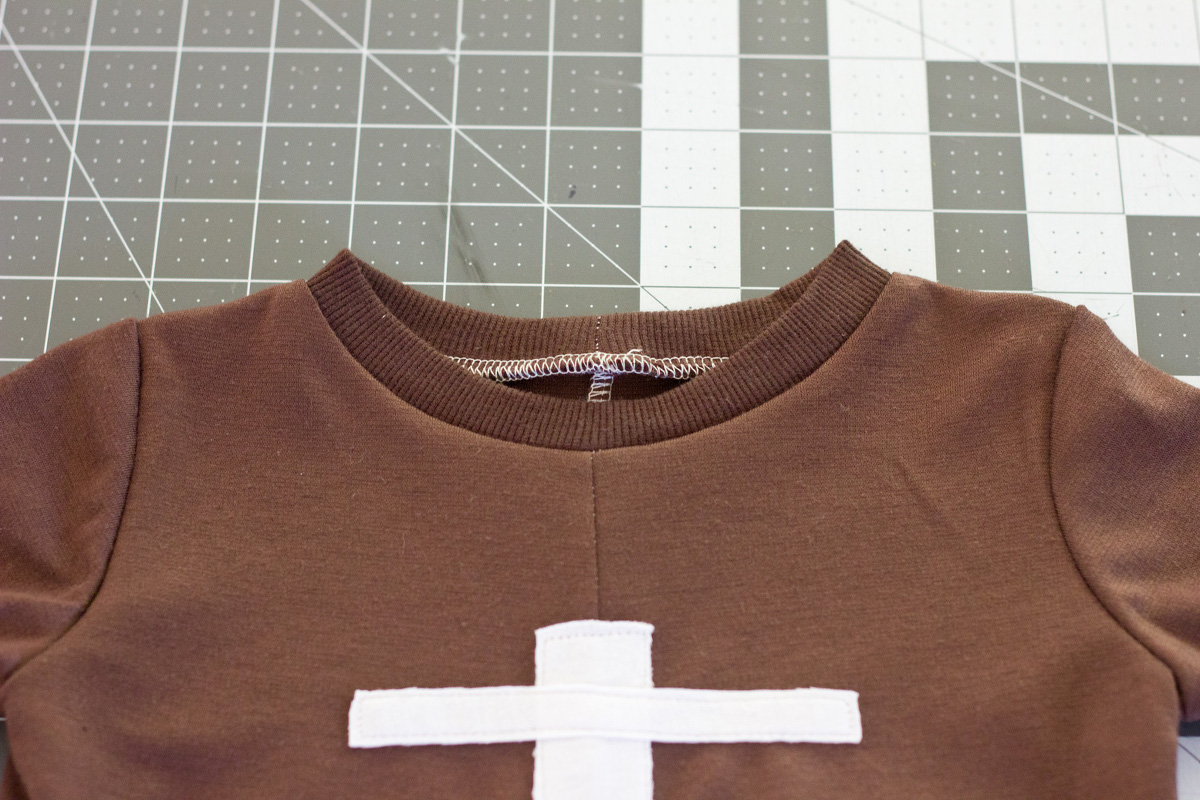
Hem the sleeves and attach three snaps to the snap plackets. I love the metal snaps offered through the Oliver + S website, and there is a fantastic tutorial on how to use them on the blog.
And you are done!
Such a good idea!
Awesome Britt!!
This is so great Brittney. Right, hands up who has a romper sized baby, I want to make one of these!! 🙂
Seriously Lighting, I know. So cute. Wish I thought of this when I had my wee ones.
Quick question… is that knit neckline cut from the same fabric or is it a different fabric?
Cybele,
I used ribbing for this neckline as I was using a ponte for the romper. I have used self fabric, though, if it is stretchy enough.
Thanks. It is super adorable!
Dear Brittany; such a wonderful idea, and such an adorable wide-eyed stare from your little boy. From your experience, how long does the T-party dress fit? I realise that’s a lot like “how long is a piece of string?” I cut out an 18-24mths T-party dress in linen which I didn’t get to in time for the intended child but I have a ‘just-turned’ 2 yrs old that I can make it up for so that she can wear for the last month or so of an American summer. She seems pretty average for her age, and pretty sturdy- as far as can tell from pics – do you think it is worth the risk? I’ve made the playshorts a few times but never the dress, and I’d hate it to be too tight.
Any advice/experience gratefully received. Needlewoman2
Fiona,
I don’t have much experience with the dress and fitting, it is one that I always forget to make! I did make it once in a 6 month for my twins and they outgrew the length before the chest, we got at least a year wear. Sorry I couldn’t be more help.
But thinking more about it, the bodice is the same for the playsuit and dress, so I’d imagine it would be okay.
Thanks Brittany, that seems to be the consensus. I’m going to make it, and see what happens – could be good experience for bigger sizes in future.