Today is Day 1 of the Parachute Sweatpants Sew Along. We’re hosting this sew along (and our next three, as well) in the new Sew Alongs group in the discussion forums. You can jump over there and join the group to sew these sweatpants with Rachel. As you’re starting your project, I thought I would provide you with a tutorial for a fun little customization for this pattern.
Have you ever noticed that the apparel industry likes to re-name clothing? We used to wear lingerie; now we wear intimates. When we went to bed at night we worn pajamas and nightgowns; now we wear loungewear or sometimes sleepwear. And pants like these were once called sweatpants. Now they’re called joggers.
Whatever you call them, sometimes it’s nice to have pockets in your clothes. So here’s a tutorial to help you add them to the Parachute Sweatpants or the Butterfly Skirt and probably lots of our other patterns.
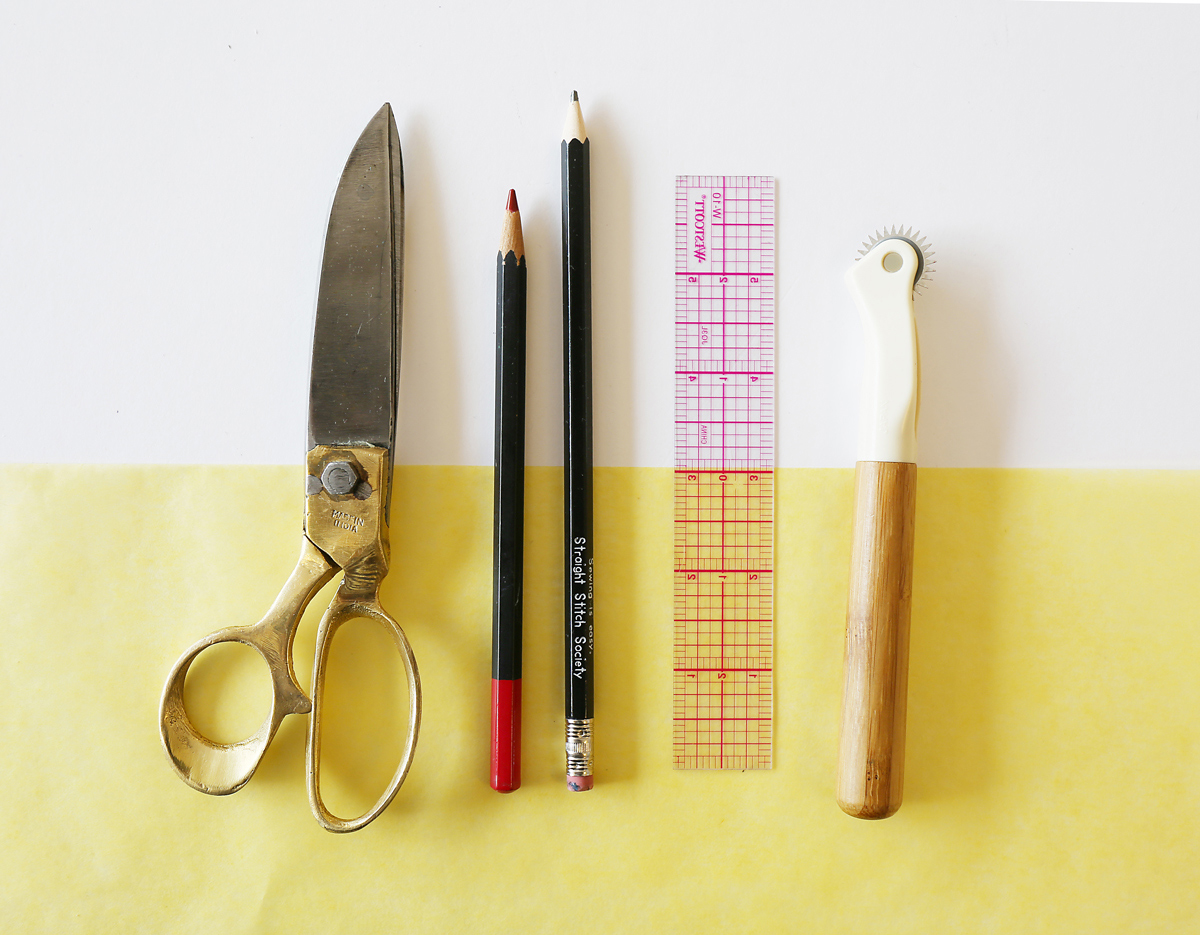
We’ll start out with a traced pants front pattern piece in your chosen size. You’ll also need a couple sheets of regular paper or tracing paper, a ruler, a pencil, and scissors. A serrated tracing wheel will also be useful. (By the way, the bamboo tracing wheels we sell in the shop are no longer being manufactured, so grab one before they run out! I’m searching madly for an acceptable substitute, I love these so much.)
Making the pocket pattern pieces
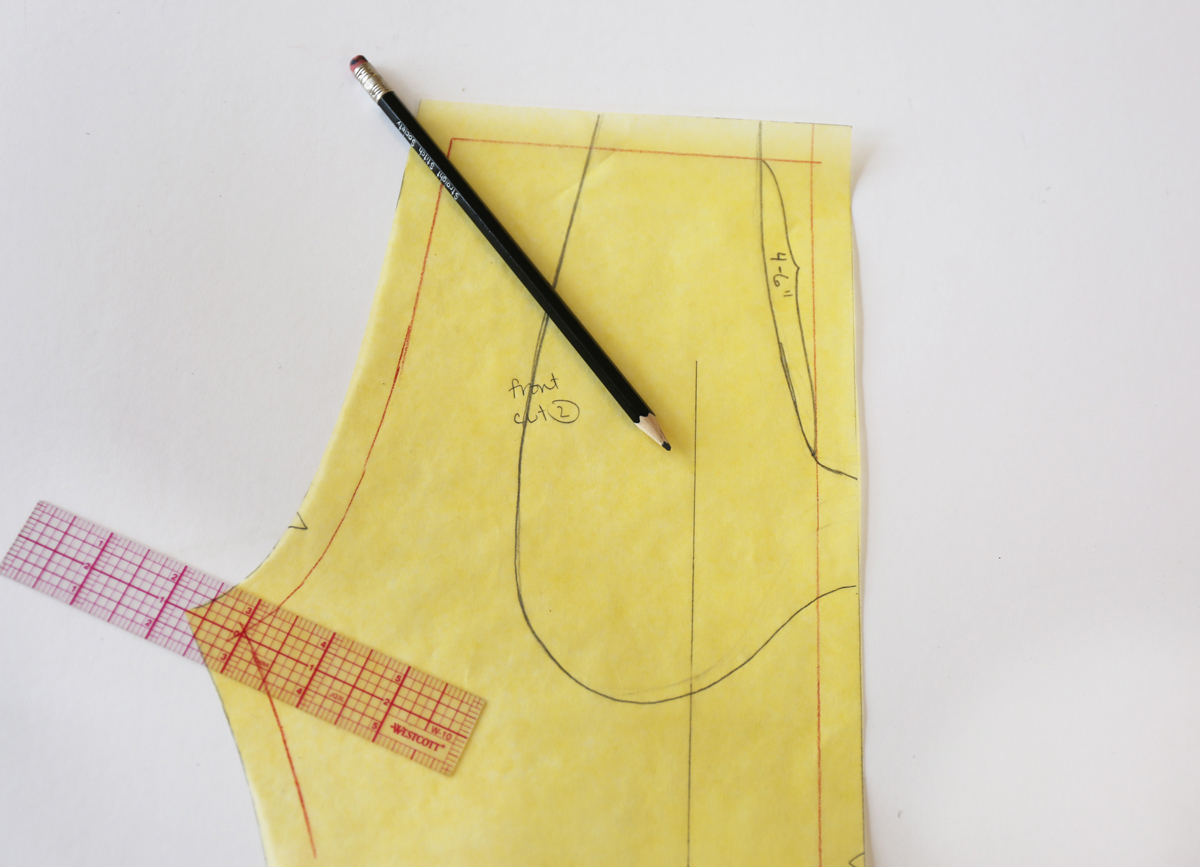
1. Begin by drawing in the 1/4″ seam lines (or 1/2″ if you’re using one of our woven patterns with 1/2″ seamlines) onto the pants front piece. You’ll want these in place so you’ll have an accurate sense for how big the pocket really is.

2. Then draw the shape of the pocket opening and pocket bag directly onto the pants front. As you draw, it’s important to keep the child’s hand size in mind here. The opening needs to be large enough for a hand to comfortably reach into the pocket, and the pocket bag should be deep enough to accommodate a hand or whatever else will go into it. If in doubt, you can always use another of our pattern pockets as a guide. In general, I find that an opening of 4-6″ works well for children, depending on their age and size.
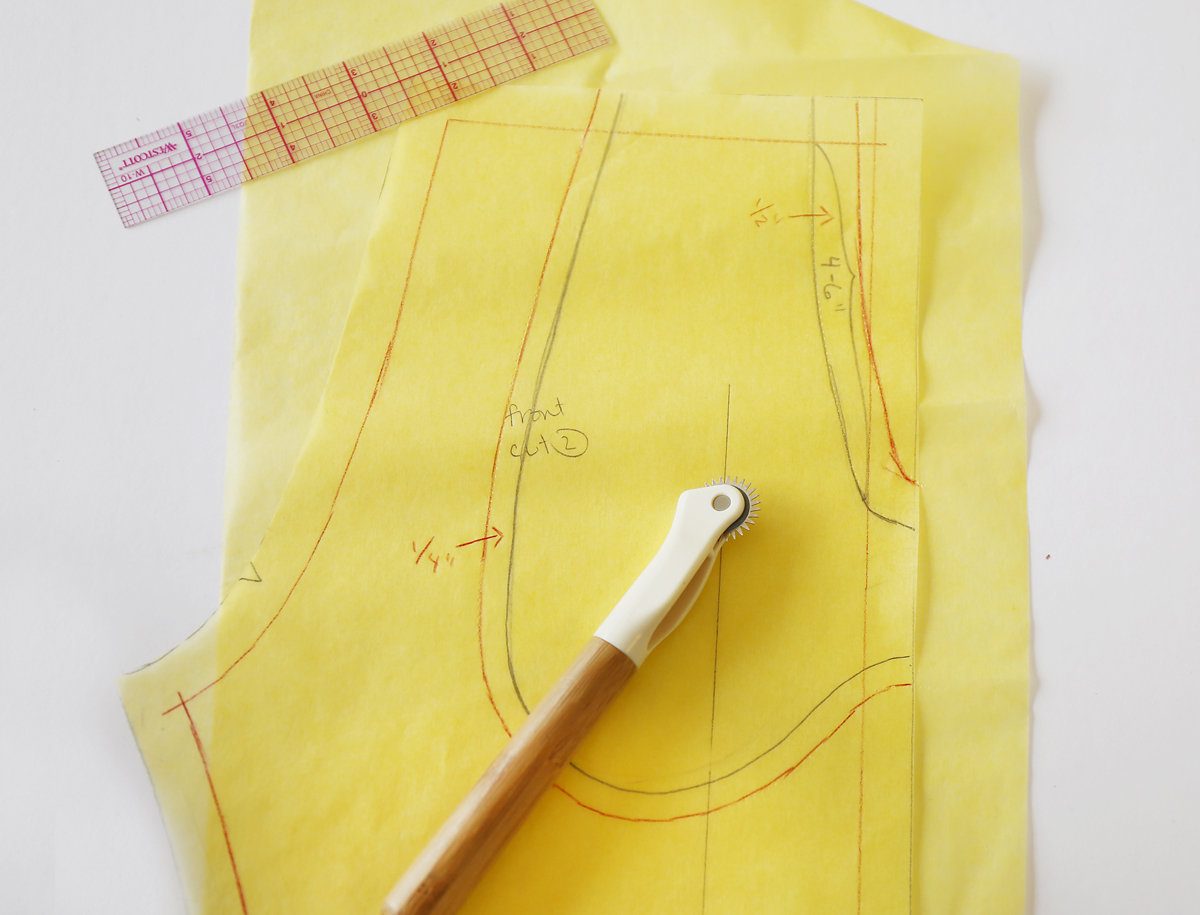
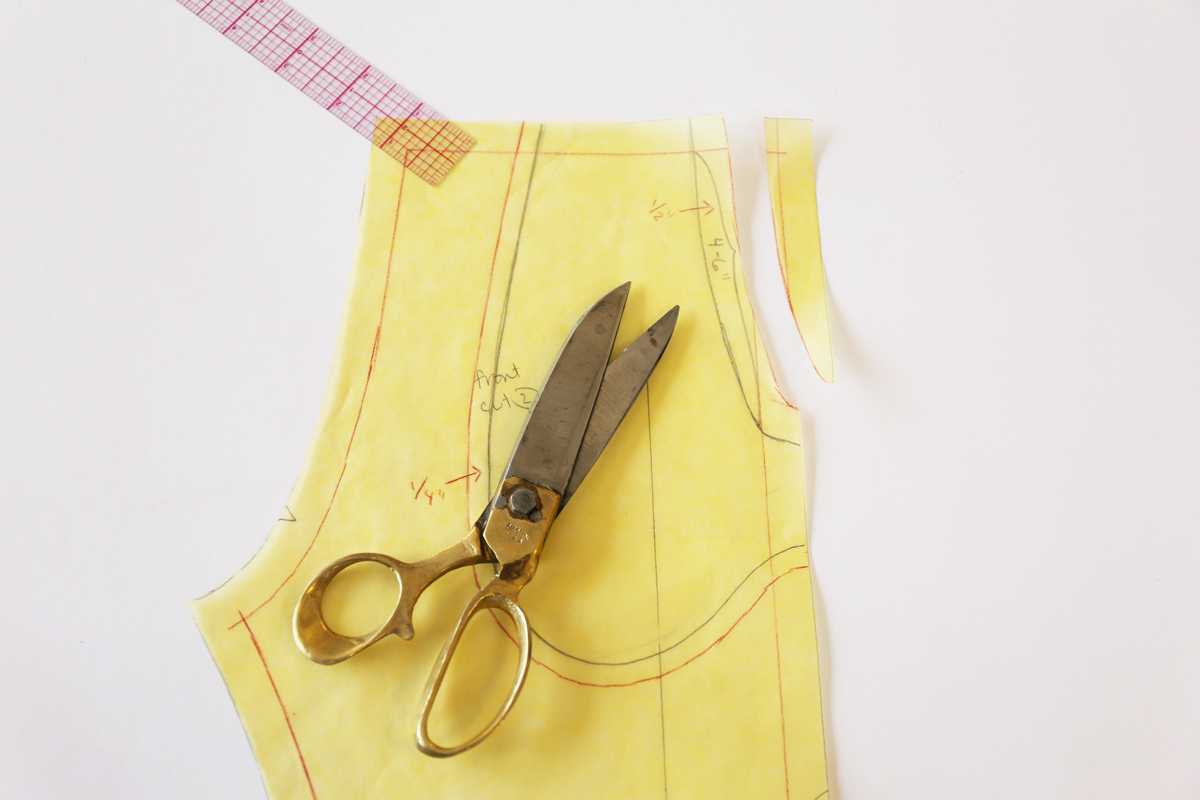
3. Once you have a shape you like, add a 1/4″ seam allowance to the curved outside edge of the pocket, and add a 1/4″ or 1/2″ seam allowance to the pocket opening. You can see my added seam allowances in red pencil below.

4. Trace the shape of the pocket to another sheet of paper two times. One tracing will use the original side seam of the pants. We’ll name this piece the pocket. The second tracing will use the new pocket opening edge with seam allowances. We’ll call this the pocket facing. Both pieces will have the same grainline as the original pants front pattern piece, so don’t forget to add that, too.
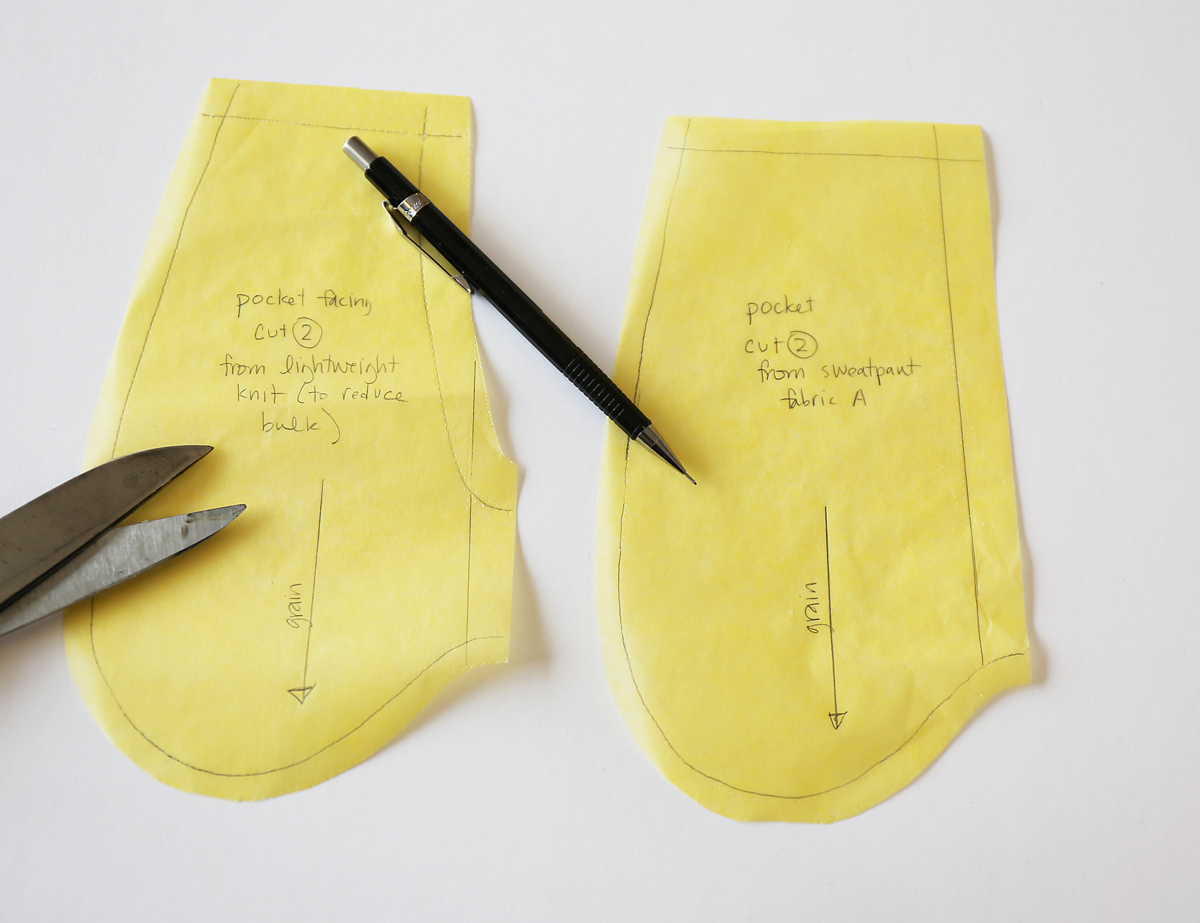
5. Here are the two new pattern pieces, one with the new pocket opening and seam allowances and the other with the original side seam. Otherwise, these two pieces are identical.
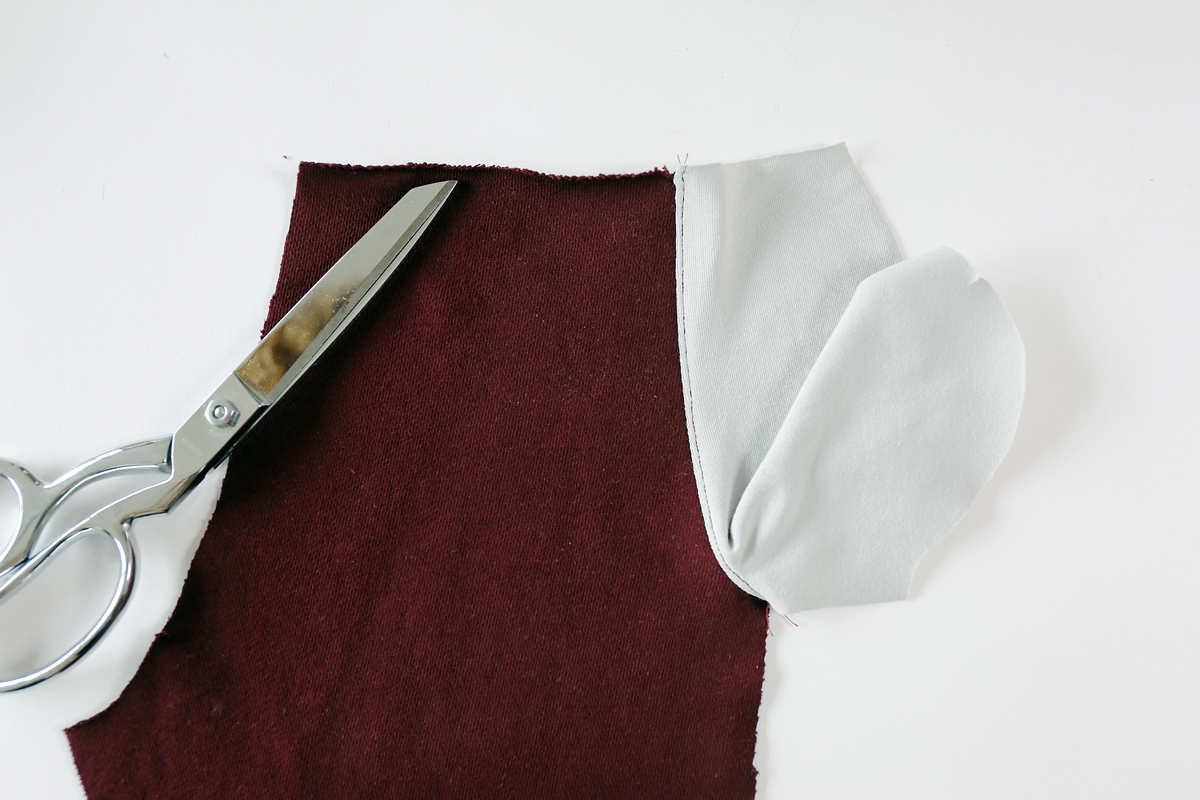
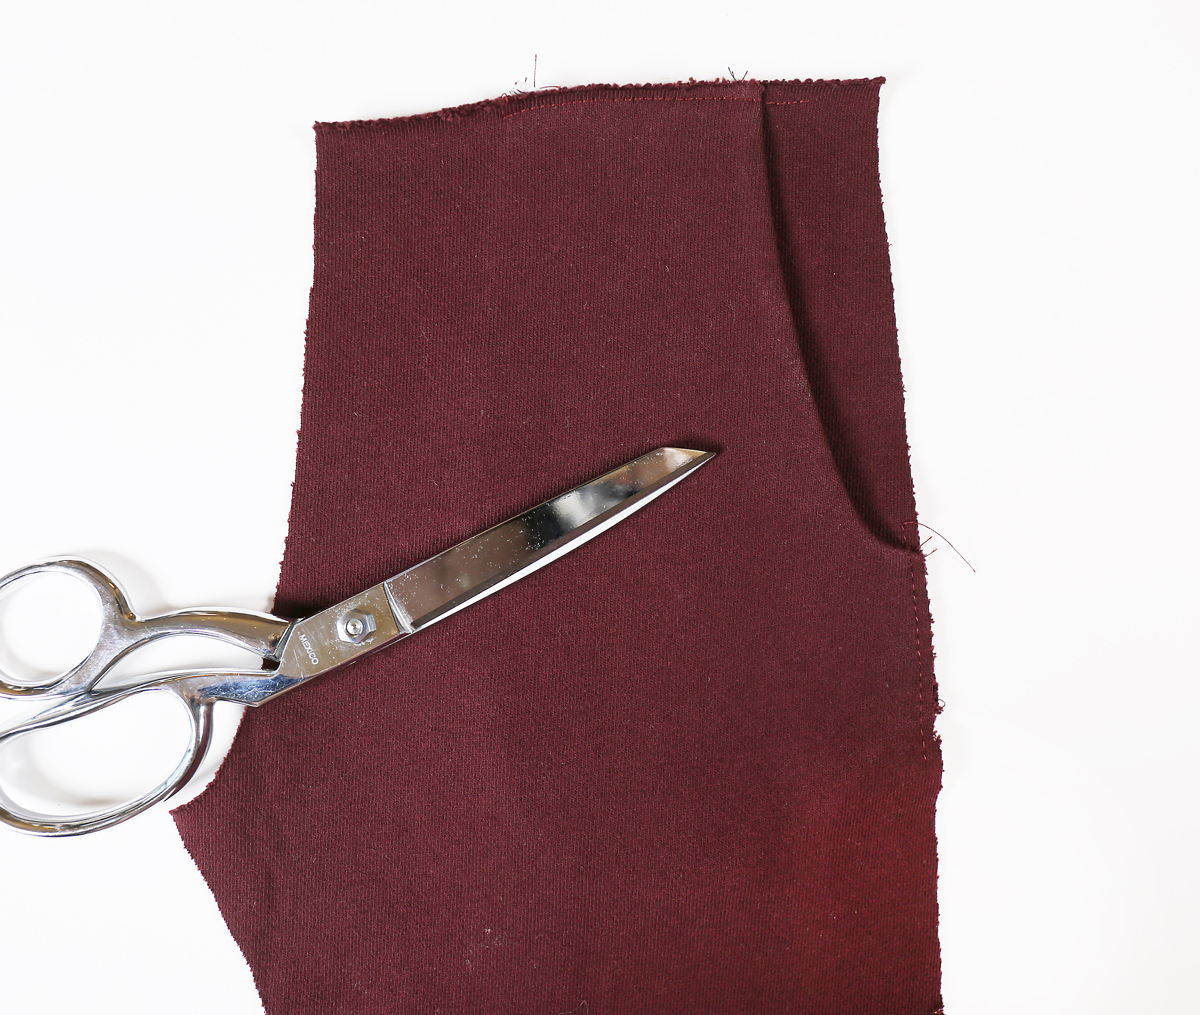
6. One last step to finish: We need to trim the original pants front to the new pocket seam allowances, like this:
And that’s all there is to it! When you cut out your fabric, you’ll also cut the pocket from Fabric A. To reduce bulk in S’s sweatpants I cut the pocket facing from regular lightweight jersey, but if your fabric is lightweight you can use it to cut the pocket and the pocket facing. The pocket facing won’t really be visible on the finished garment, so it doesn’t have to match exactly.
How to sew the pocket
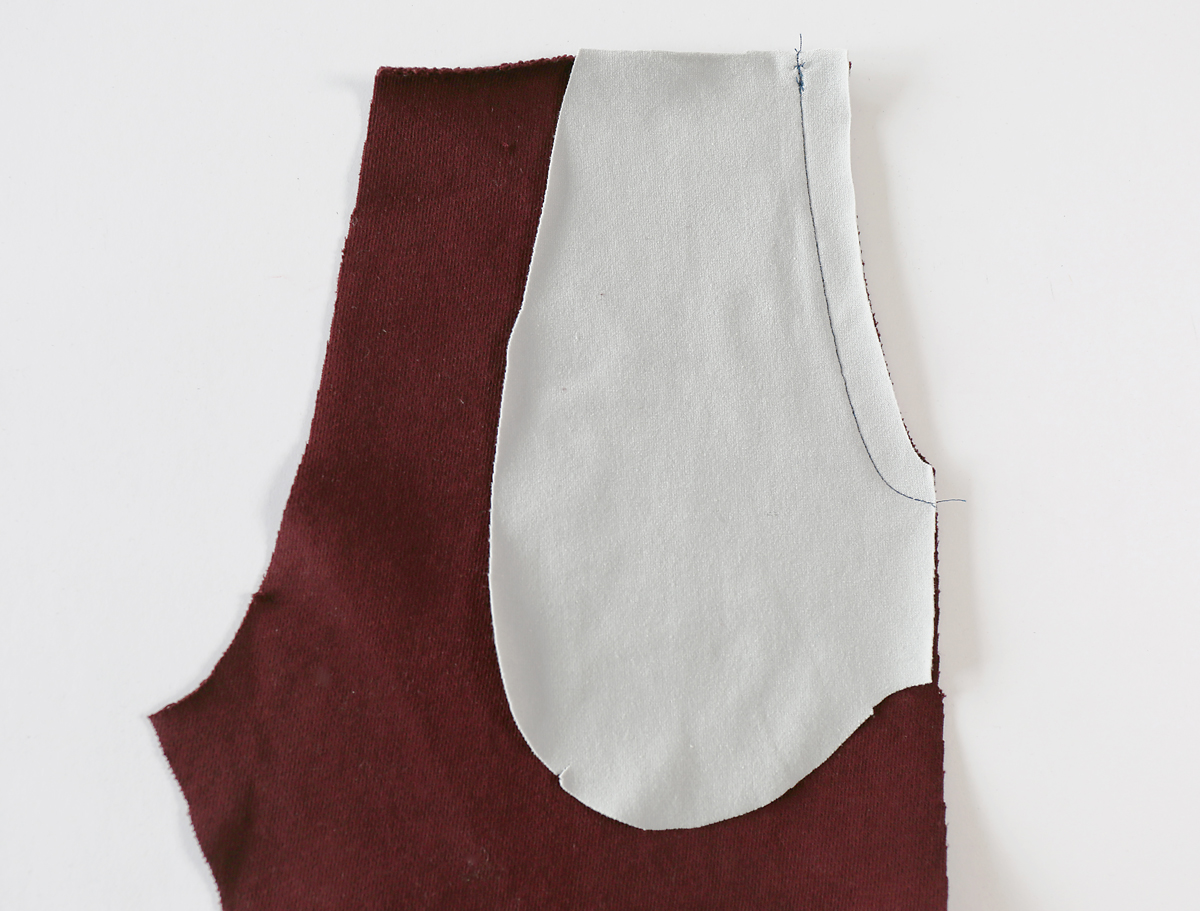
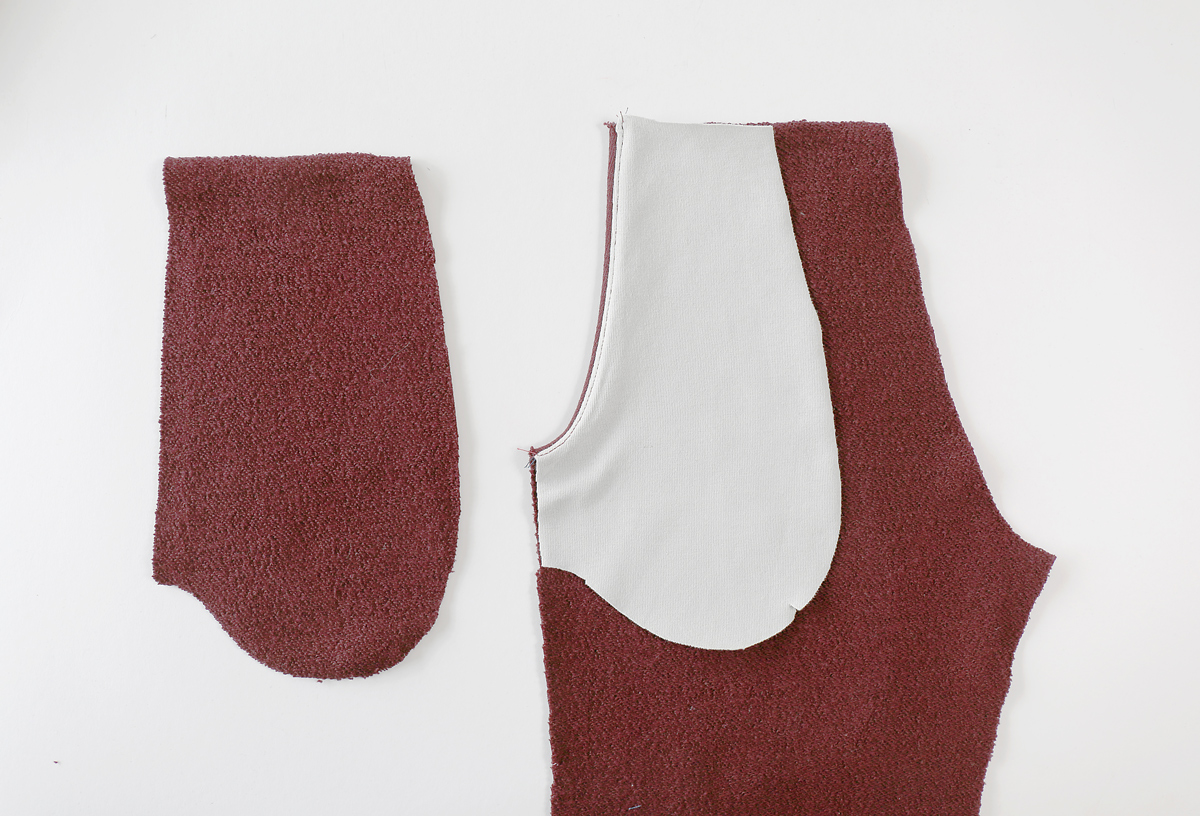
1. Pin a pocket-facing piece to its corresponding pants-front piece, with right sides together and the raw edges aligned. Stitch the pocket opening with a 1/4″ seam (or 1/2″ seam, depending on the seam allowances you added in step 2, above).
2. Trim the seam allowances to approximately 1/8″.
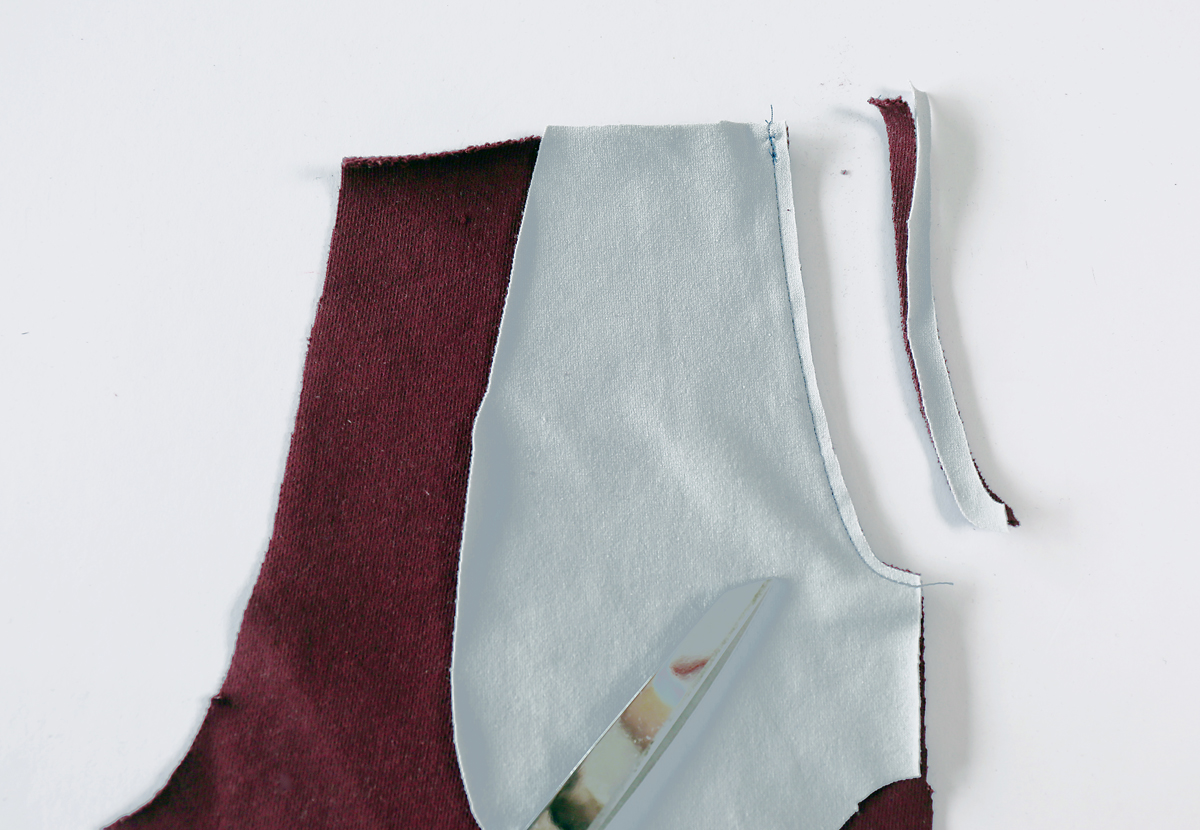
3. Press the pocket facing away from the front panel and understitch the seam, stitching the seam allowances to the pocket facing in the process.
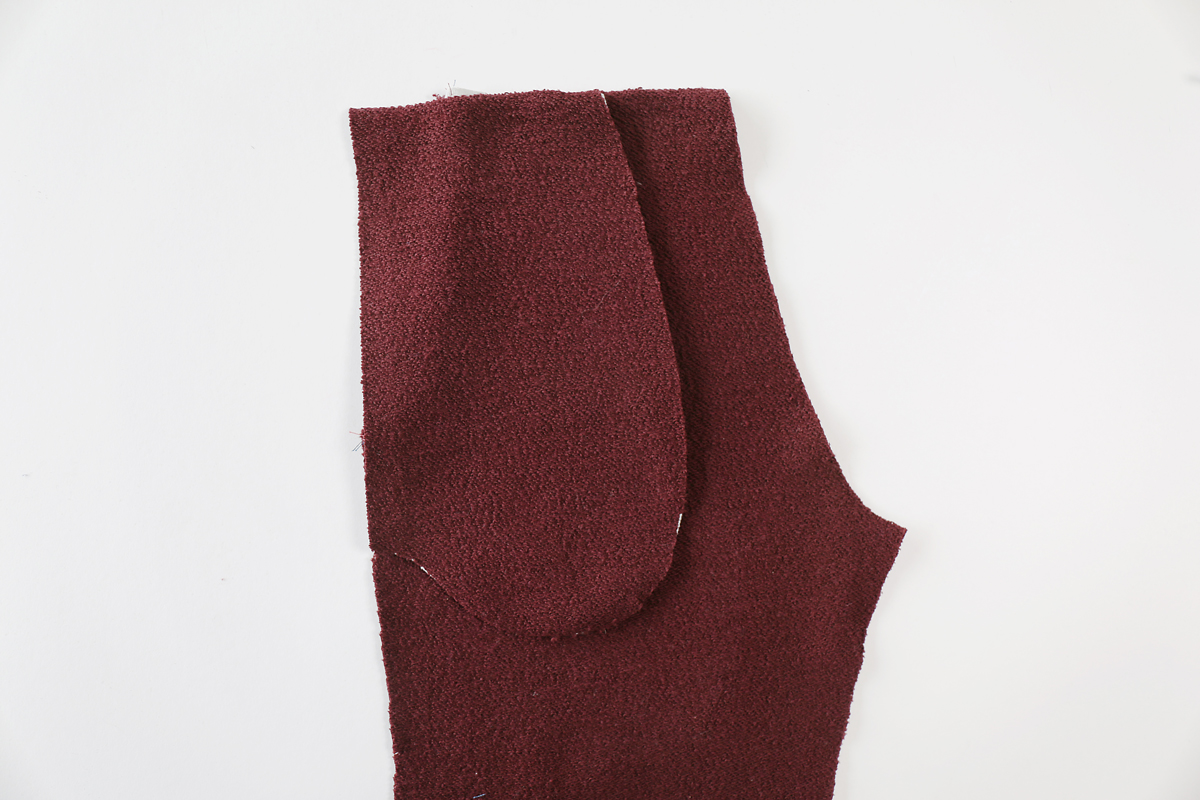
4. Fold the pocket facing to the wrong side of the pants front and press it, rolling the seam slightly toward the wrong side of the fabric so the seam won’t show when the pants are finished. If you want, you can edgestitch the pocket opening instead of understitching, which will really ensure that the pocket stays tucked away and stays in place.

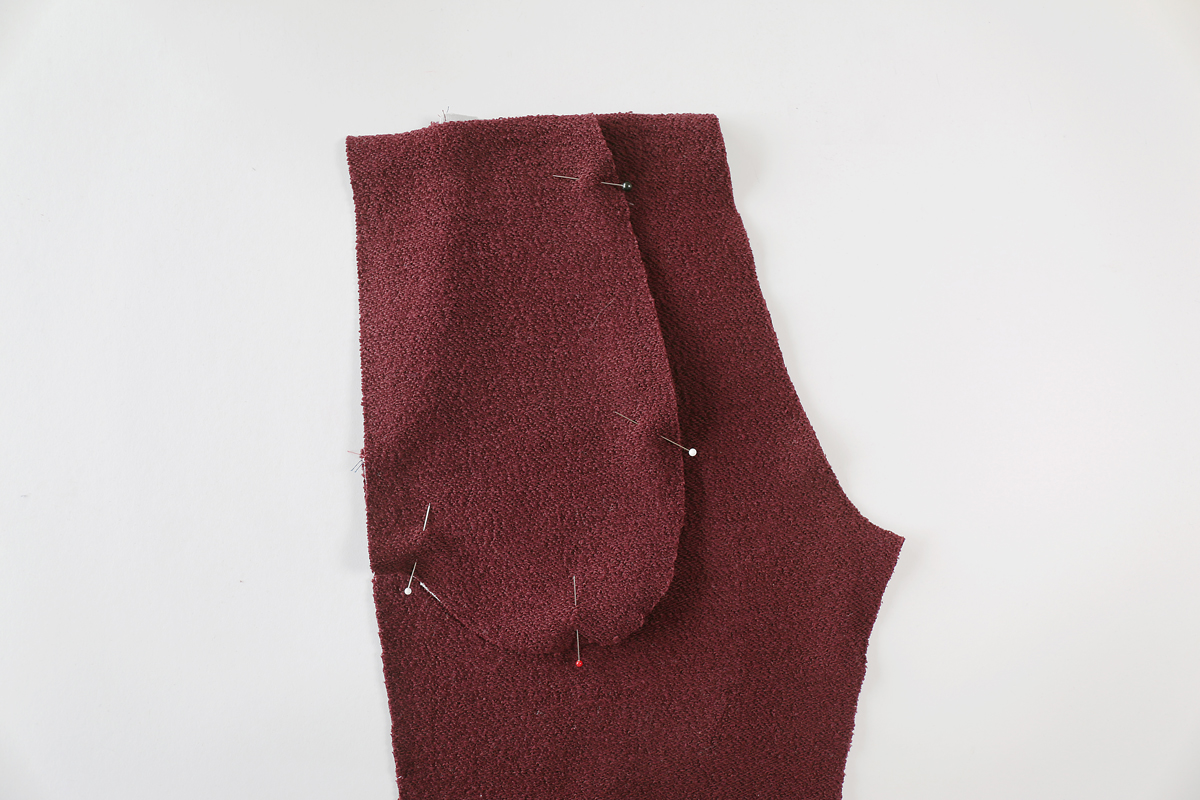
5. Turn the pants front to the wrong side, and lay the pocket on top of the pocket facing, with right sides of the pocket facing and pocket together, aligning the curved edges and matching the notch on each pocket to the corresponding pocket opening’s sewn edge. Pin the two pocket edges together.
6. Separate the pocket and pocket lining from the pants front and stitch the curved edge of the pocket and the pocket lining together with a 1/4″ seam to make the pocket bag. Finish the seam allowances together using your preferred method.
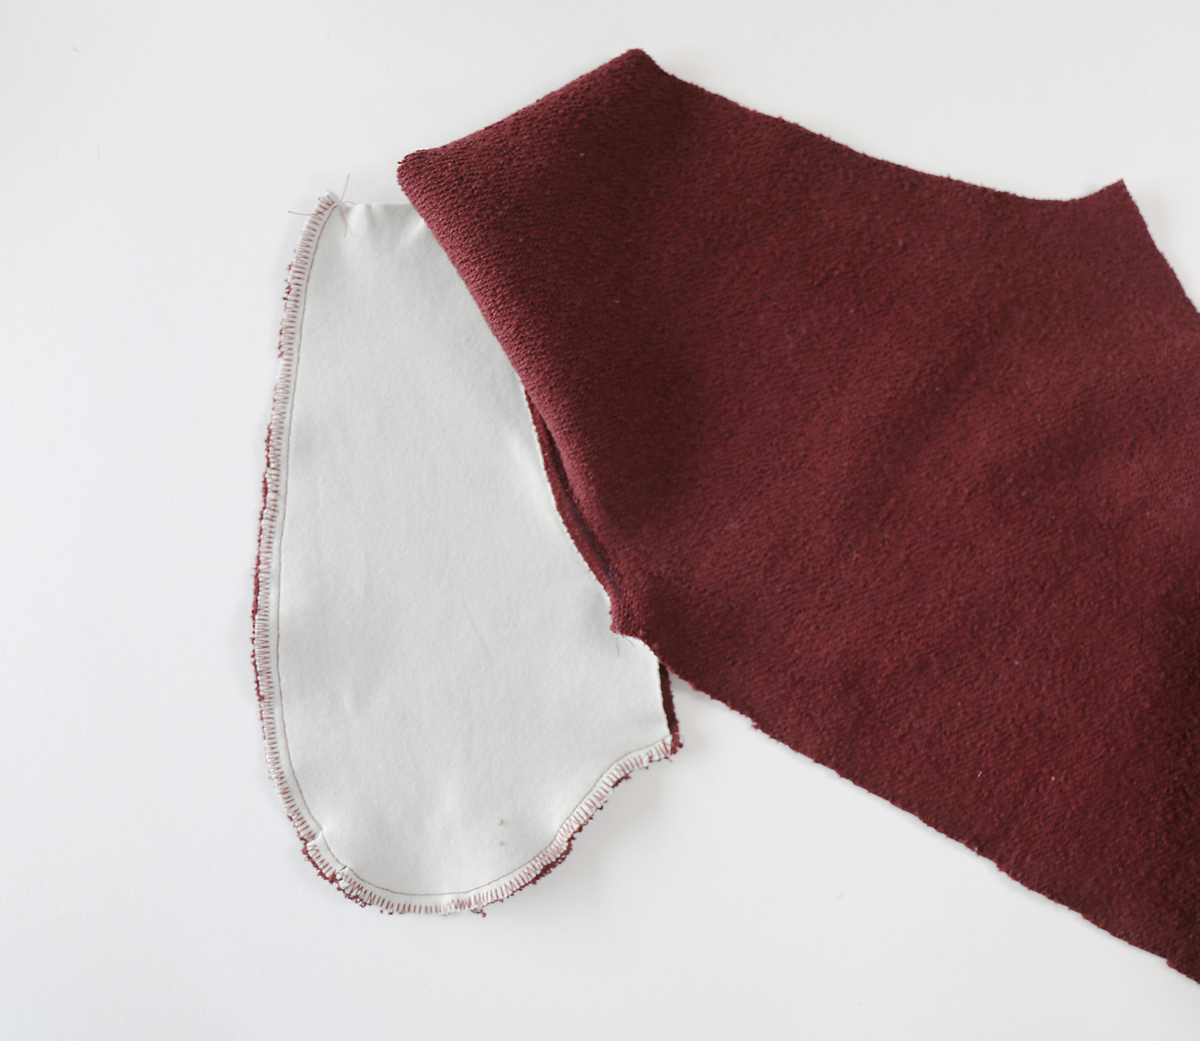

7. Baste the finished pocket to the pants front at the waist and just below the pocket opening (at the side) with a scant 1/4″ seam so it won’t show when you stitch the side seam. Can you see my basting at the top and right edges in this photo?
8. Repeat steps 1-7 to sew the other pocket-lining and pocket-piece to the second pants front. And that’s it! From here you’ll just follow the regular instructions for the sweatpants.
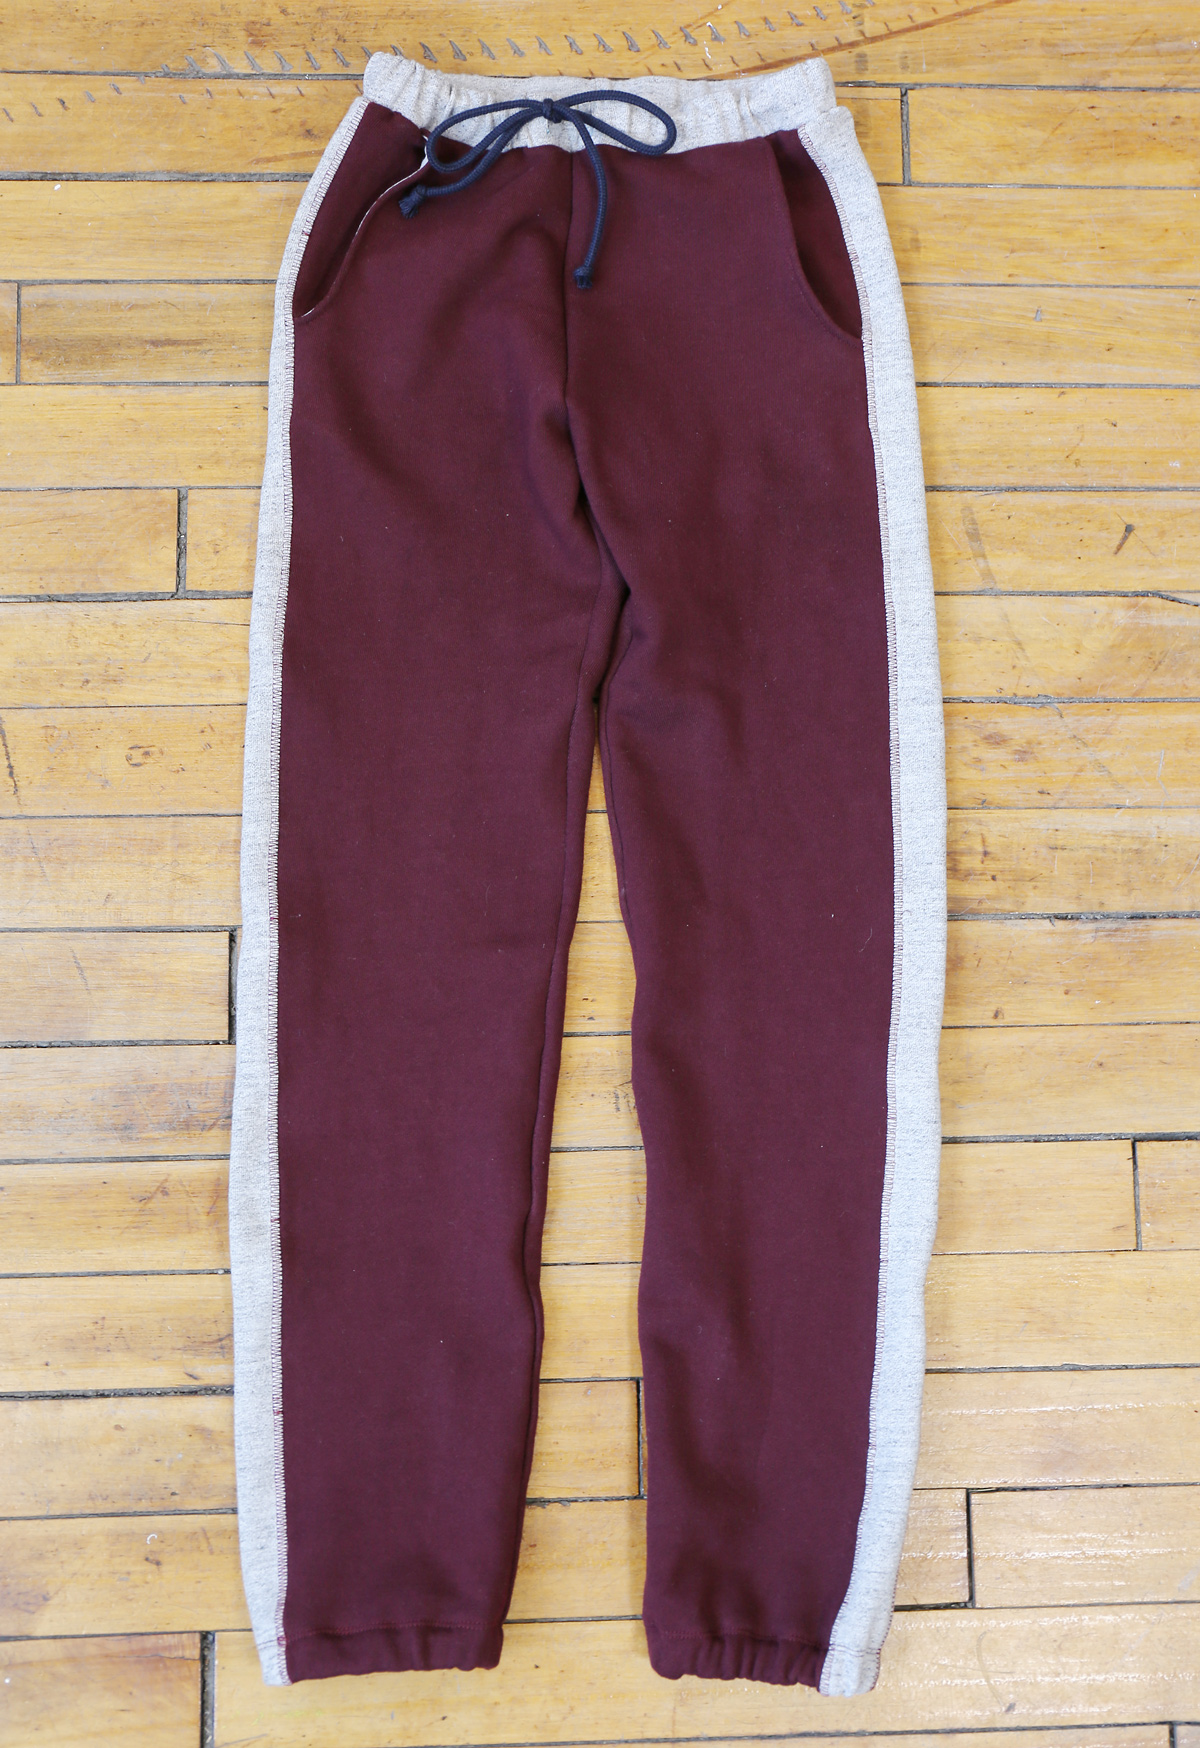
That was easy, right? And now, with their new pockets, these sweatpants will be so fancy perhaps we should call them joggers instead!
Head on over to the sew along now to join Rachel as she dives in and walks you through making the pants.
yay my kids love pockets… thank you for this simple tutorial, just in time for spring/warm weather wear. soon I’ll just have to insist they fish out their own “treasures” before laundry day!
I am trying to get a pattern for the travel quilt. Could someone help me with this, please.
Gigi, that pattern is available in the book Oliver + S Little Things to Sew which is available here: http://oliverands.com/books/OLV-OS026LIT.html
Thank you, thank you! My 6yo loves him some pockets, and these are on the list for him.
Thank you, Todd. I was hoping I could get just that pattern because I don’t think I will make the other items in the book.
Exellent Tutorial. Ease to follow and precise. With this tutorial I finally attempted a pocket; and it worked!