This project was such a huge hit on Flickr and Pinterest with so many views, faves, and repins I just had to ask Carrie if she would please share it with us. She is going to show how to add an embroidered cat to a pocket, so now we can all make one, too. It’s incredibly adorable. Cats are so cute and maybe that is why they are so popular on the internet? Thank you so much for this fantastic tutorial Carrie!
Hi! I’m Carrie, and I’m so happy to be here with my fellow Oliver + S fans today! I don’t have my own blog, but you can find me as “thesimpson5” in the Oliver + S discussion forums and as Carrie S12345 in the Flickr group. I have three daughters; Olivia is 15, Kate is 11, and Ellie is 9. I only started sewing three years ago, and only started sewing garments for my girls two years ago. Discovering Oliver + S patterns truly made all the difference in advancing my sewing skills, and there’s not much that compares to the feeling you get when your kids love something you’ve made for them.
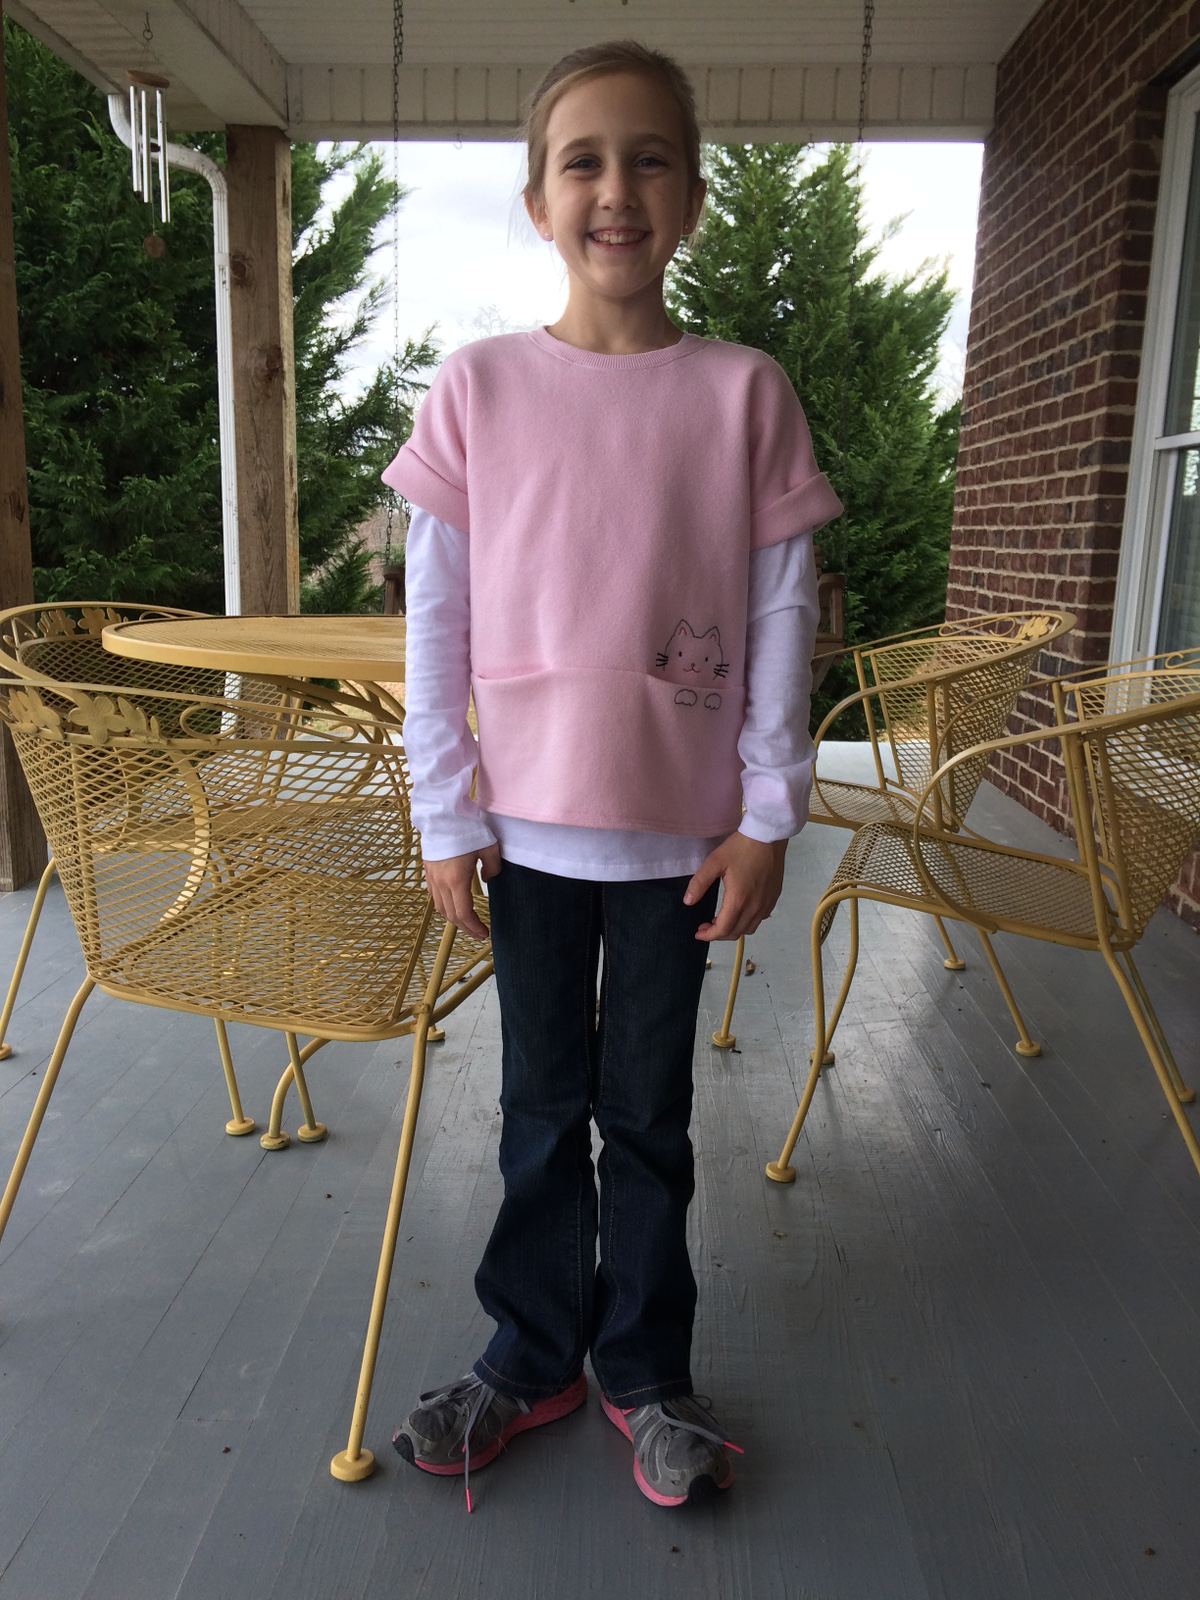
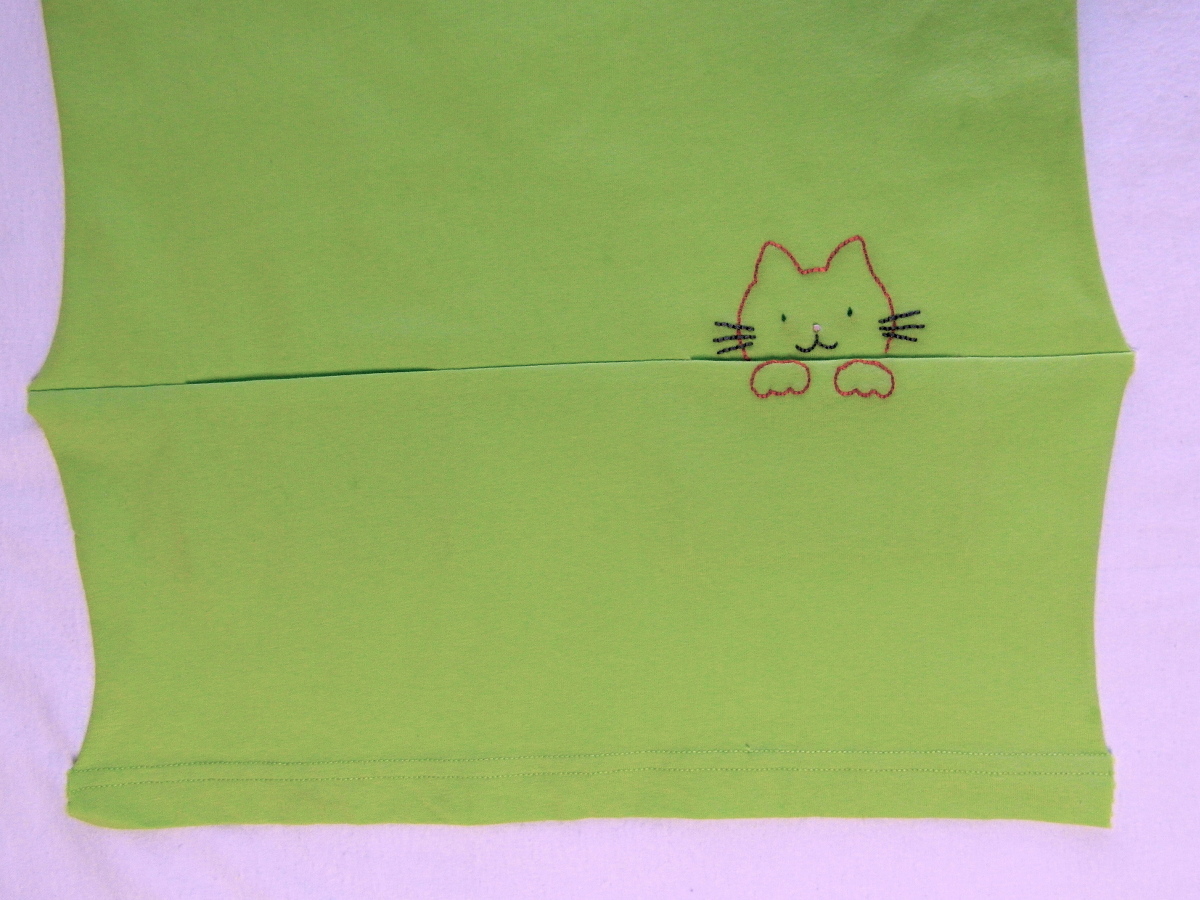
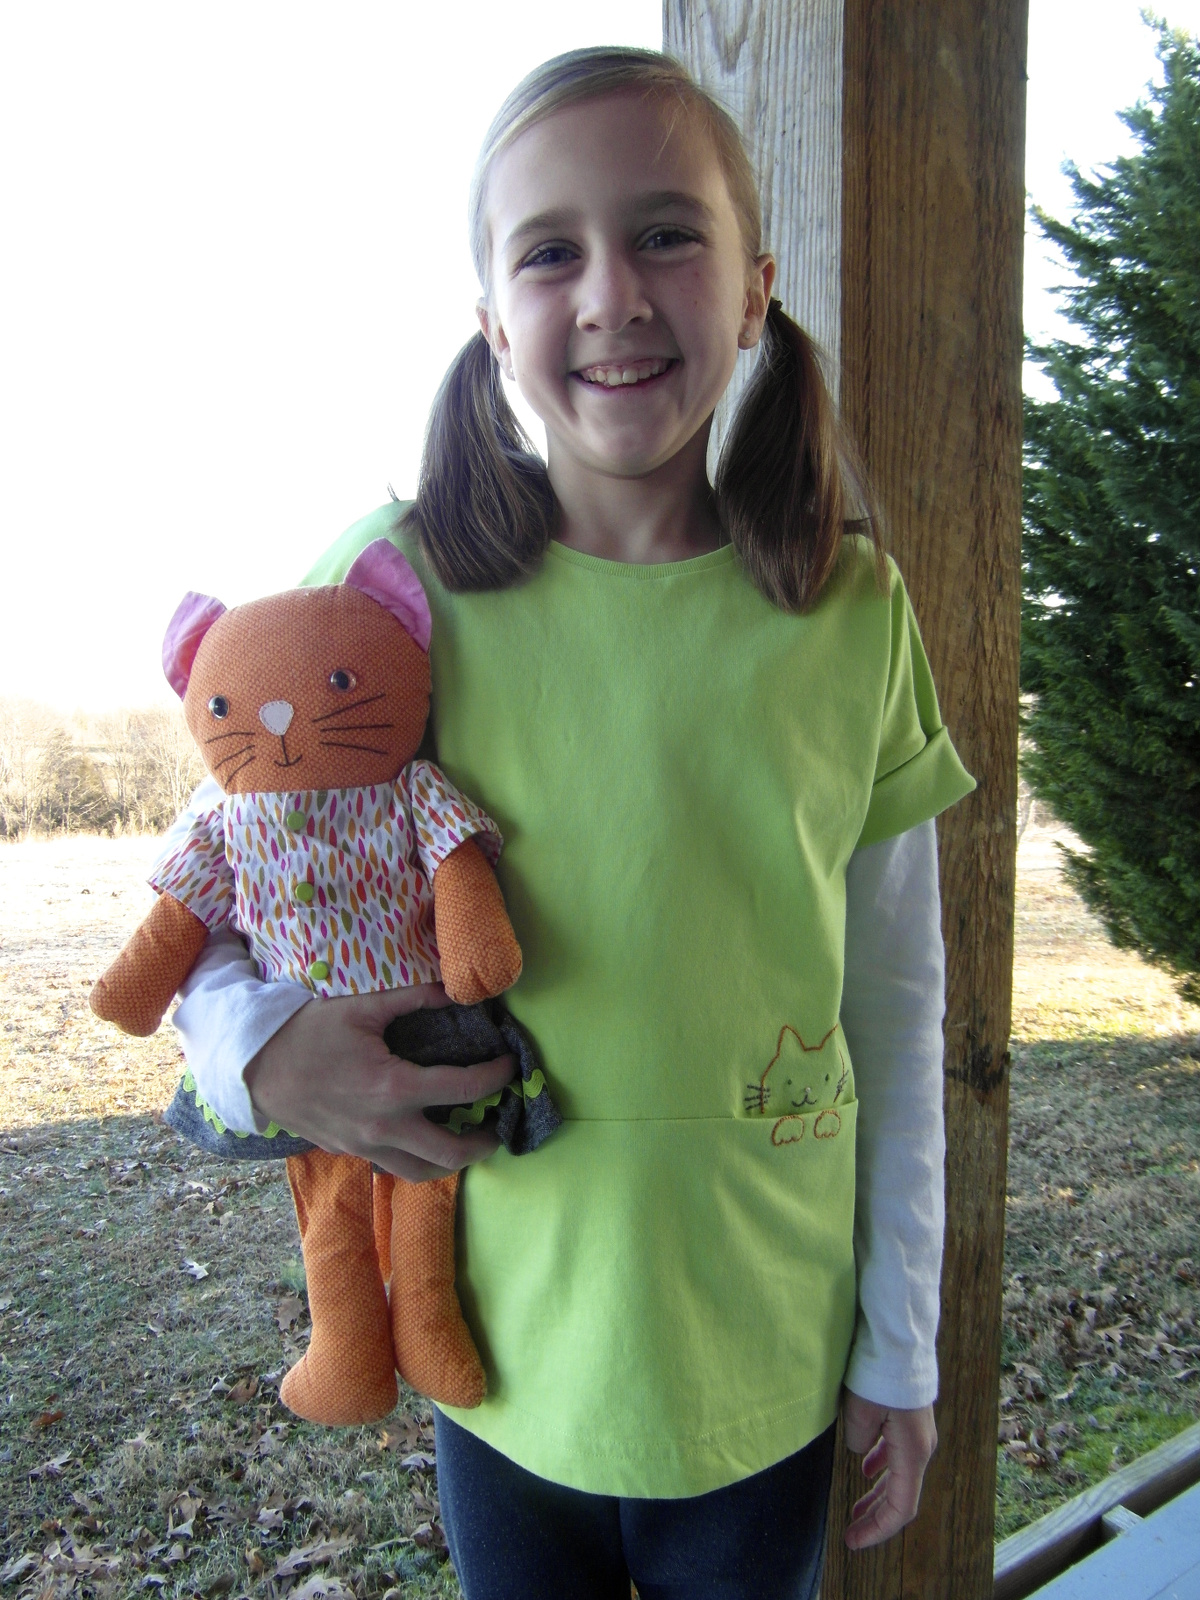
That’s exactly what happened when I made the Lunch Box Tee and embroidered on it for my youngest daughter, Ellie, for Christmas this past year. It’s a fabulous pattern (of course), and I finished sewing it about the time that I saw Johanna’s guest post about customizing the Lunch Box Tee by adding a pocket toy. How clever was that! My Ellie is a little old for a pocket toy, but it got me thinking on what I could add to the pocket of hers to make it special for her. Ellie loves cats, but is very allergic to them. So, I thought it would be cute to have a little embroidered kitty peeking out of the pocket of her Lunch Box Tee. I basically sat down and Googled something like “cat peeking out of a pocket embroidery,” and after a little searching I stumbled upon the Kollabora website where I found the free pattern that I ended up using. It was simple with very little detail, which is exactly what I was going for as it was only a few days away from Christmas at this point!

Typically on a project like this, I would embroider before sewing the tee together. However, this was an afterthought, and it wasn’t hard at all to do the embroidery after sewing the shirt together. I used a medium weight sweatshirt fleece (recycled from a $2.75 XL men’s sweatshirt from last season’s clearance rack!) for Ellie’s tee. It has a little stretch, but not as much as jersey. I wasn’t able to embroider using a hoop due to the pocket layers, so the thicker, less stretchy fleece helped. I’m going to show you how to do this project in the right order, embroidering before you construct the tee, with the use of a stabilizer and a hoop. I’ll be using some cotton jersey (another recycled XL men’s tee shirt). Just know that if you’ve already made one and want to add this embroidery, you can still totally do that!
Let’s get started!
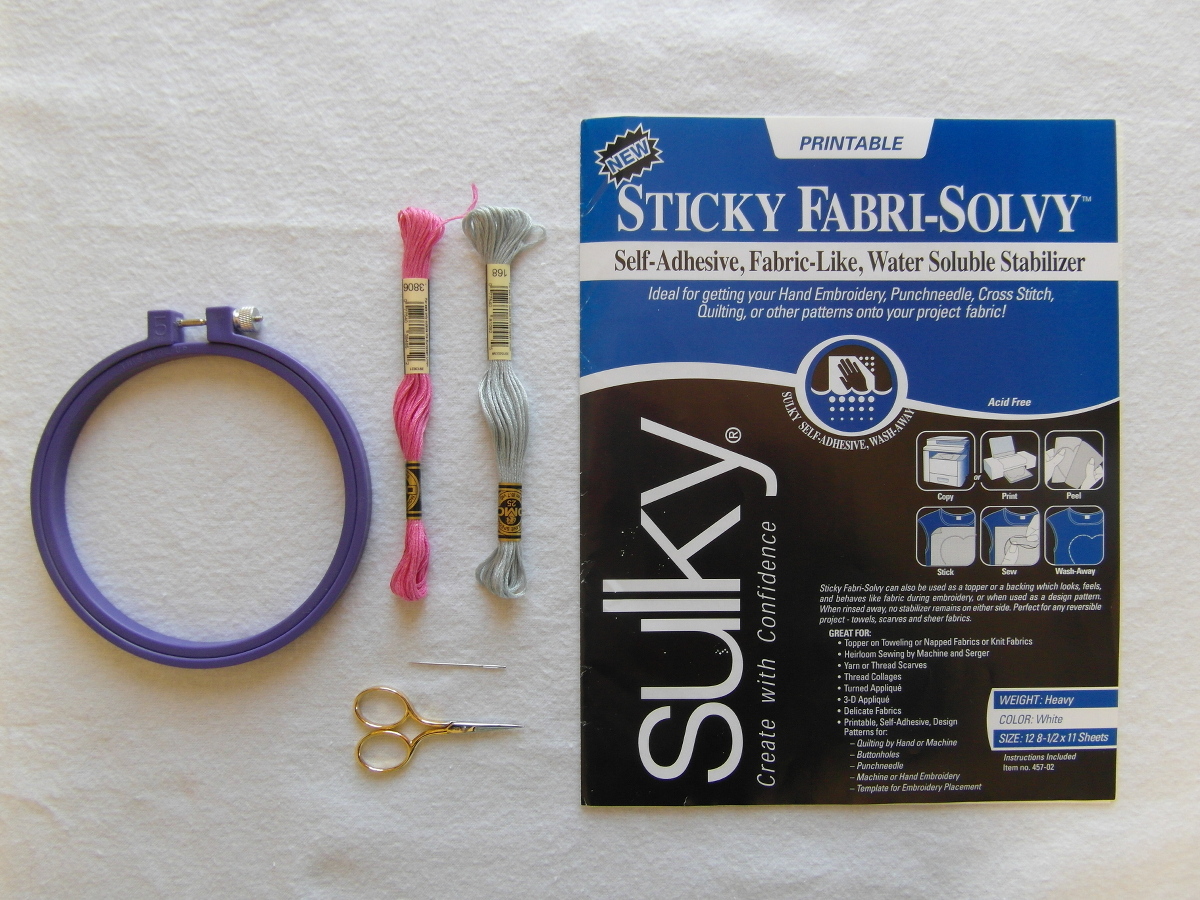
First, gather your embroidery supplies. You will need a 5” embroidery hoop, an embroidery needle, embroidery thread in the colors of your choice, small scissors, and stabilizer. The fabric stabilizer I use exclusively for my embroidery projects is made by Sulky and called Sticky Fabri-Solvy. If you embroider and have never used this product before, it will change your world! I discovered it through Wendi Gratz and her website called Shiny Happy World. Definitely visit her site if you’re interested in great tips and instructional videos about embroidery. She sells the Sticky Fabri-Solvy in her shop and also has a great video showing in detail how to use it. I’ve also found it online at Wal-Mart and Amazon. I’ve never seen it in any of my local fabric or hobby stores.
Next, you will need the embroidery pattern and your Lunch Box Tee pattern. Go to the Kollabora website and download the free kitty pattern. I think I had to create an account before I could download the pattern. Once you download the pattern, print it out on copy paper. Now get your Lunch Box Tee pattern. You will need pattern piece 1, the shirt front, and pattern piece 3, the lower front panel.
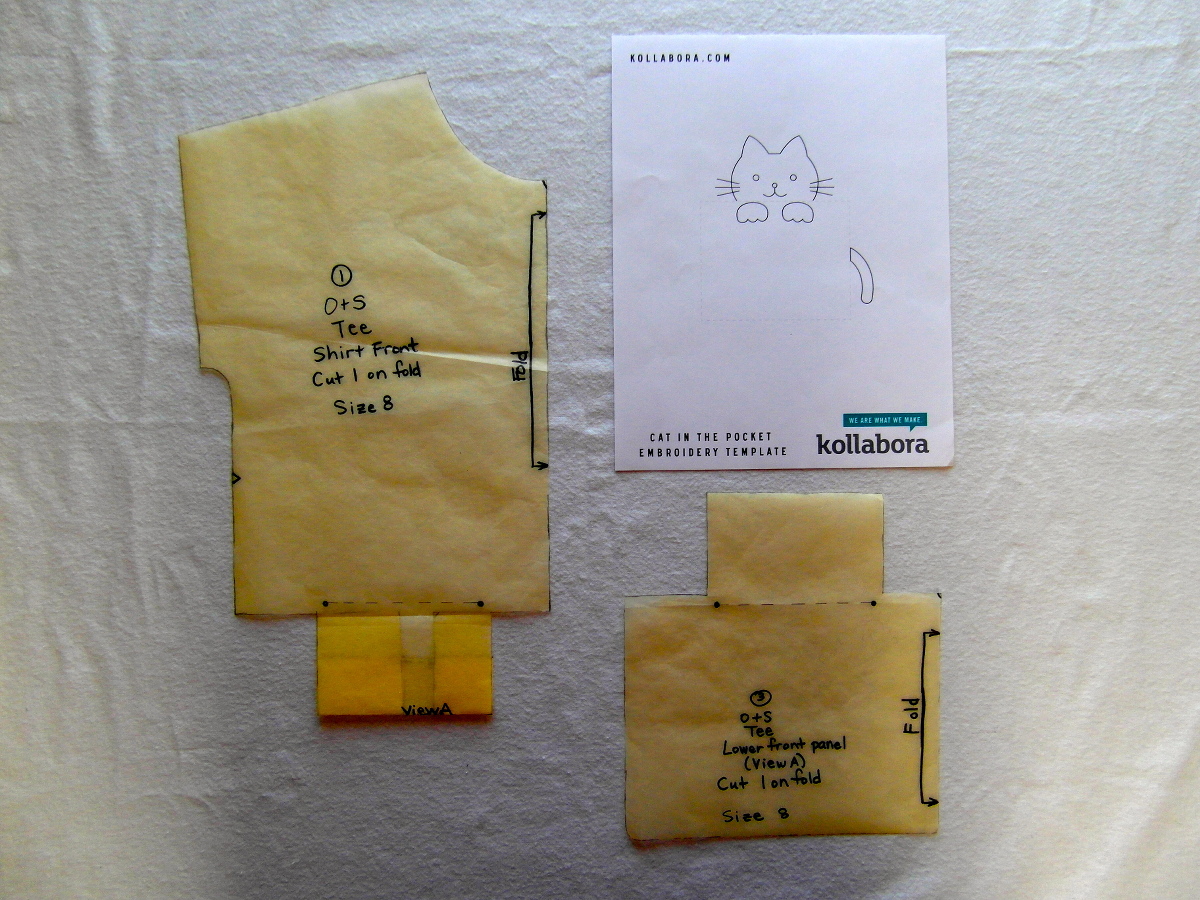
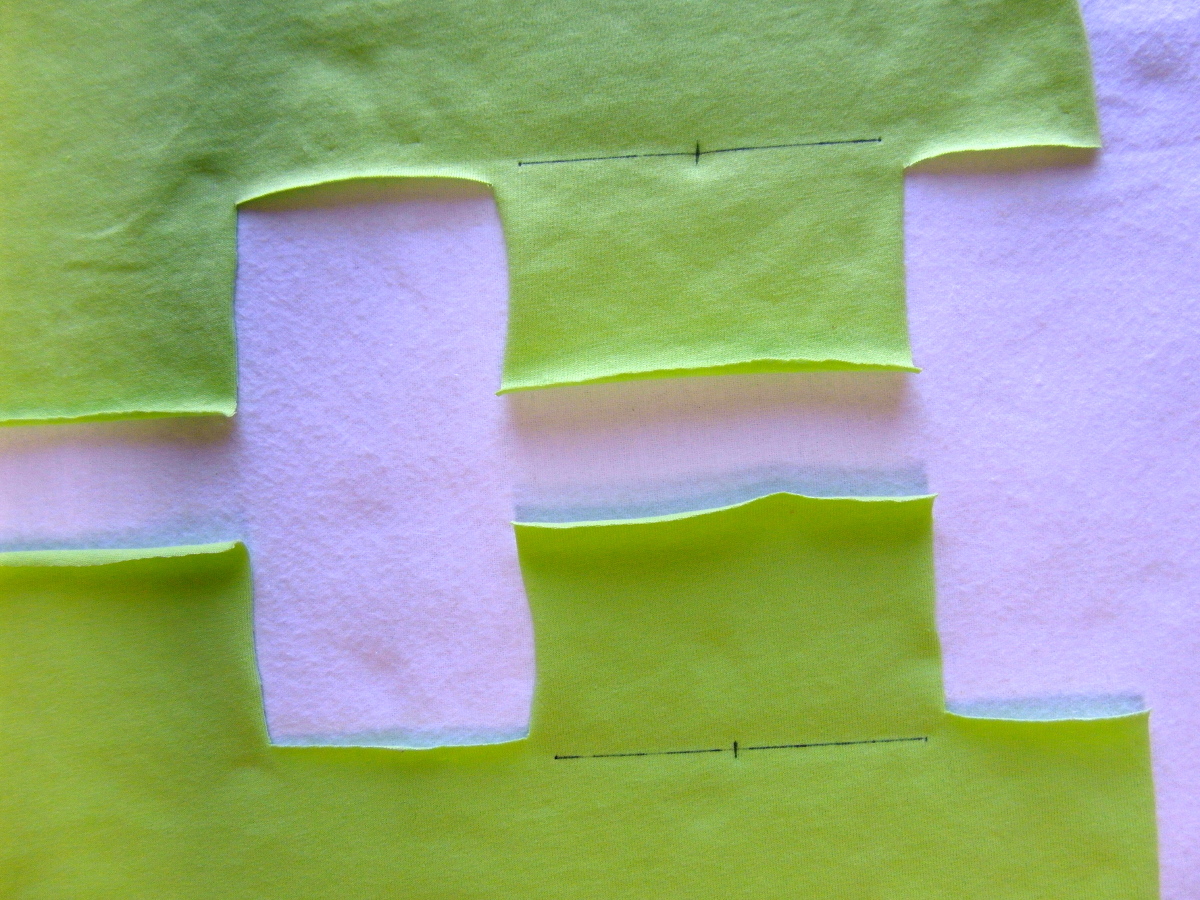
Notice on your print of the kitty pattern that there is a faint gray line that represents the pocket outline. This line is not to be embroidered, only to be used as a guide to line up the kitty and paws with the top edge of the pocket. Depending on the size tee you are making, you may want to scale the kitty embroidery pattern up or down. To decide this, draw a dashed line on your Lunch Box Tee pattern pieces between the two dots used to line up the pockets. Measure the line you just drew and then compare it to the length of the faint gray line right above the kitty paws on your embroidery pattern. If the line on your Lunch Box Tee pattern measures a lot more or less than the line on the embroidery pattern, you may want to scale your embroidery pattern up or down accordingly. My printer is also a copier, so I used that feature to scale my kitty pattern up just a bit and make a copy. This is really just personal preference on your part.
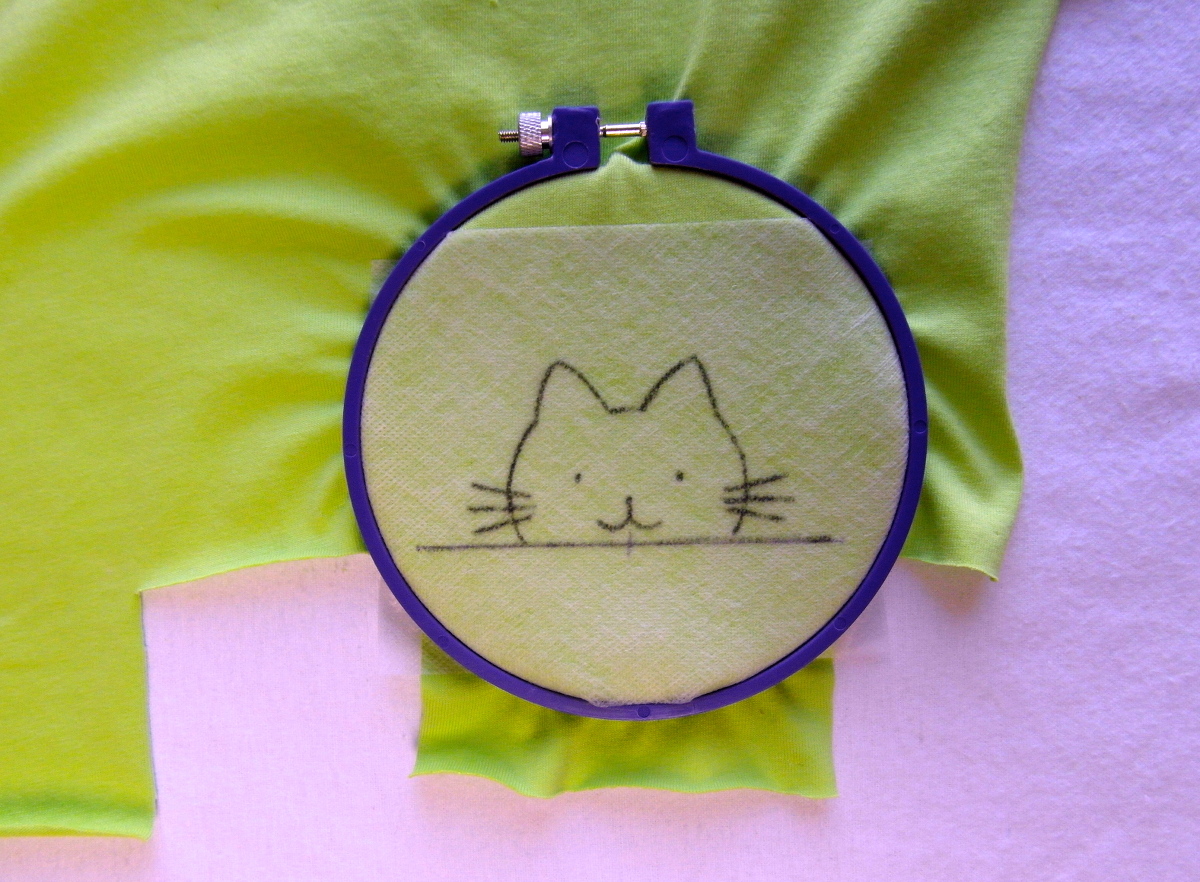
Once you have your kitty pattern the size you want, you are ready to transfer it to the Sulky stabilizer. One awesome feature of this stabilizer is that it comes in 8 1/2” x 11” sheets. One side has a rough feel and the other side is smooth paper that peels away. The side that feels rough is where you want to transfer the pattern. You can put it in an ink jet printer and print directly to it, or you can use a copier to copy to it instead of copy paper (I’ve never tried it with a laser printer). Or, for a small project like this, you can choose to simply trace onto it with a pencil. I trace directly to it quite often because I usually embroider smaller patterns, and I don’t want to waste the stabilizer paper by printing something in the middle of it when I could trace over to one side instead. If you want to trace and don’t have a light box, simply tape your pattern on a window, tape the stabilizer paper over the pattern, and then trace the pattern onto the stabilizer. Trace the kitty head as a separate piece from the paws, with a couple inches of extra stabilizer around each piece. Go ahead and trace that faint gray line between the head and paws onto each piece also (you won’t be embroidering this line).

Now, use your Lunch Box Tee pattern pieces to cut out your fabric. Transfer the two dots used to line up the pockets to the right side of your fabric with a fabric safe pen (I used a Frixion pen). Draw a line on your fabric between the dots and make a small mark in the center of the line.
Peel away the Sticky Fabri-Solvy from the smooth paper backing on the piece with the kitty head you traced. Use the line on your embroidery pattern and the line on your fabric piece to help you position the kitty onto your fabric. You will be able to see through the Fabri-Solvy paper just enough to line up the two lines. Use the center mark you made on your fabric to help you center the kitty head along the pocket top. Once you are lined up, stick the Fabri-Solvy paper to the fabric and rub on it just a bit to make sure it holds. Next, do the same for the paws pattern.

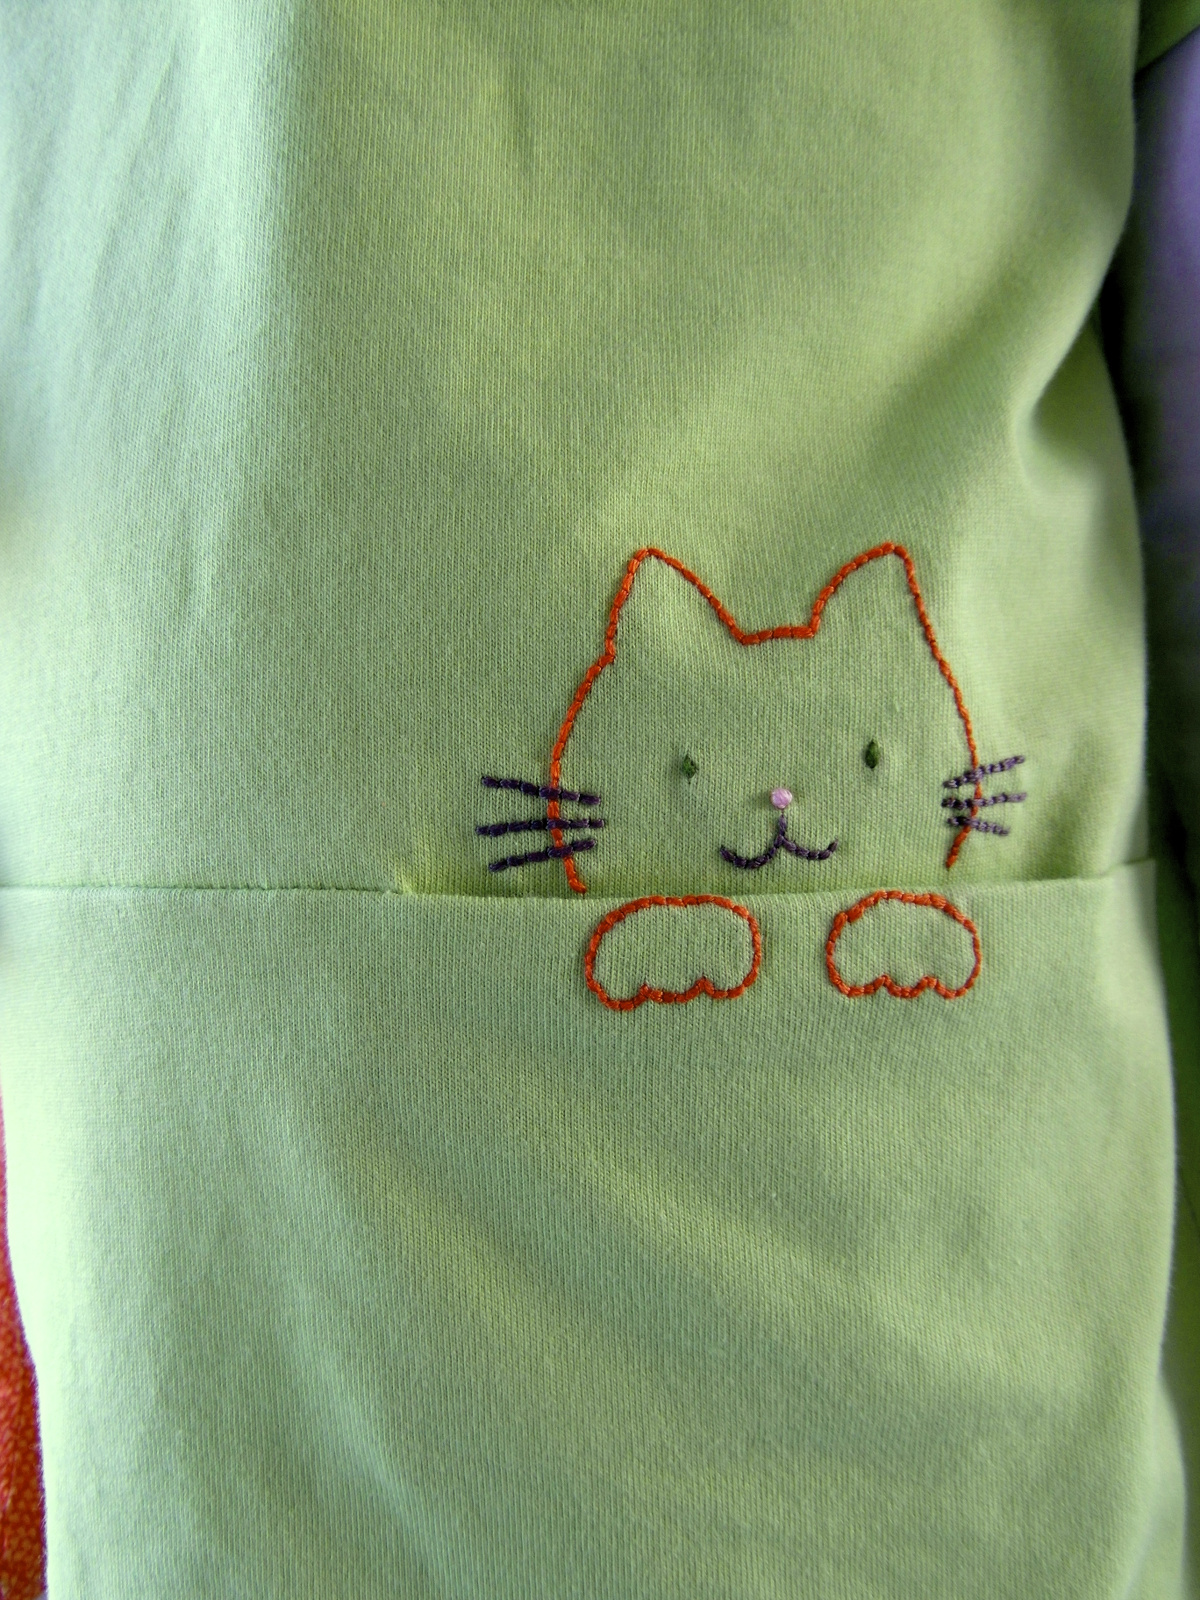
Now you’re ready to start embroidering! Place your fabric with the pattern stuck to it in the hoop and tighten it up. Don’t pull it real tight, the stabilizer will hold the tension you need. Again, I’d recommend going to the Shiny Happy World website if you’ve never embroidered before. Wendi has videos for all kinds of stitches, including one for tying the knot to get started. I used a simple back stitch for the kitty head, whiskers, mouth, and paws and a french knot for the nose. The eyes were done with a little stitch I learned watching one of Wendi’s videos; I’m not sure that it has a name! Once you finish embroidering the kitty head, go ahead and hoop the paws and embroider those too.
When you’ve finished embroidering both pieces, remove the hoop and get ready for some magic!
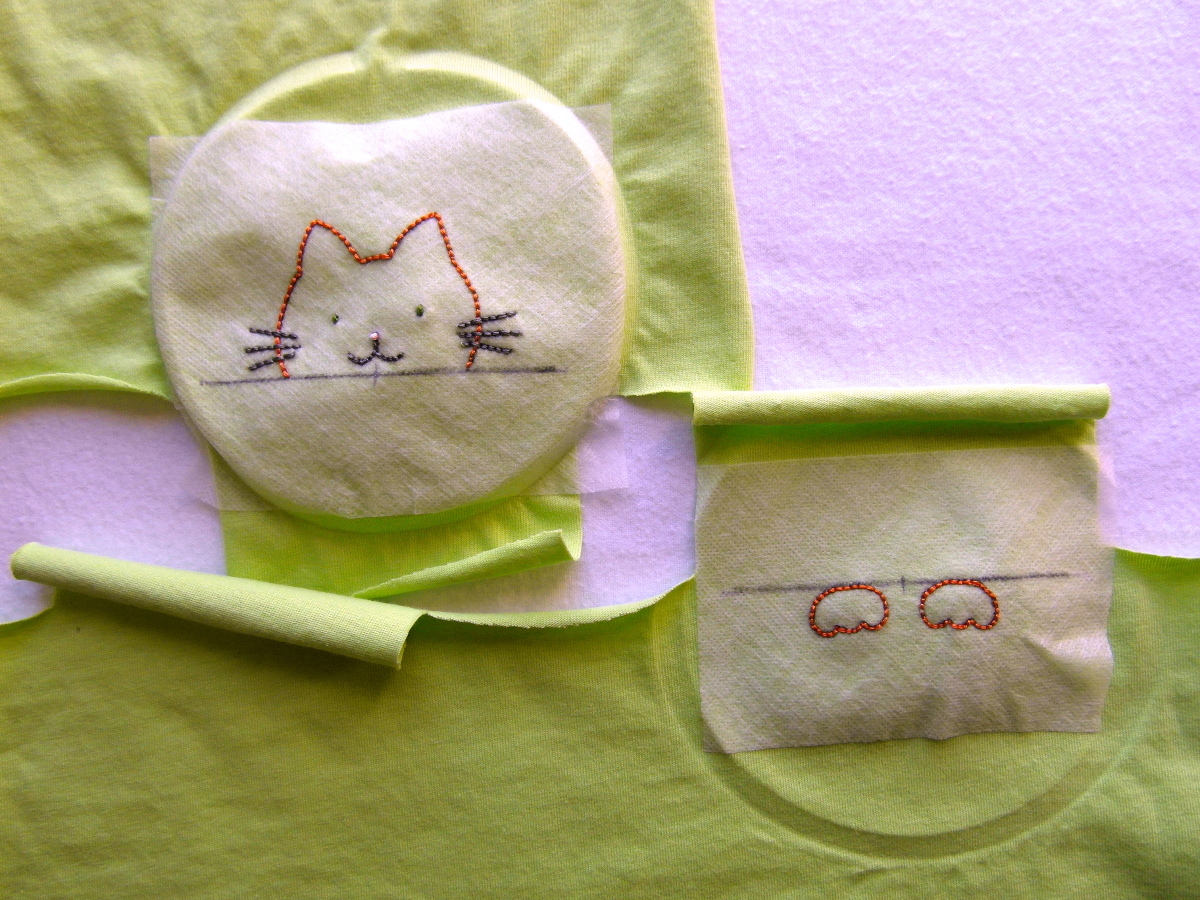
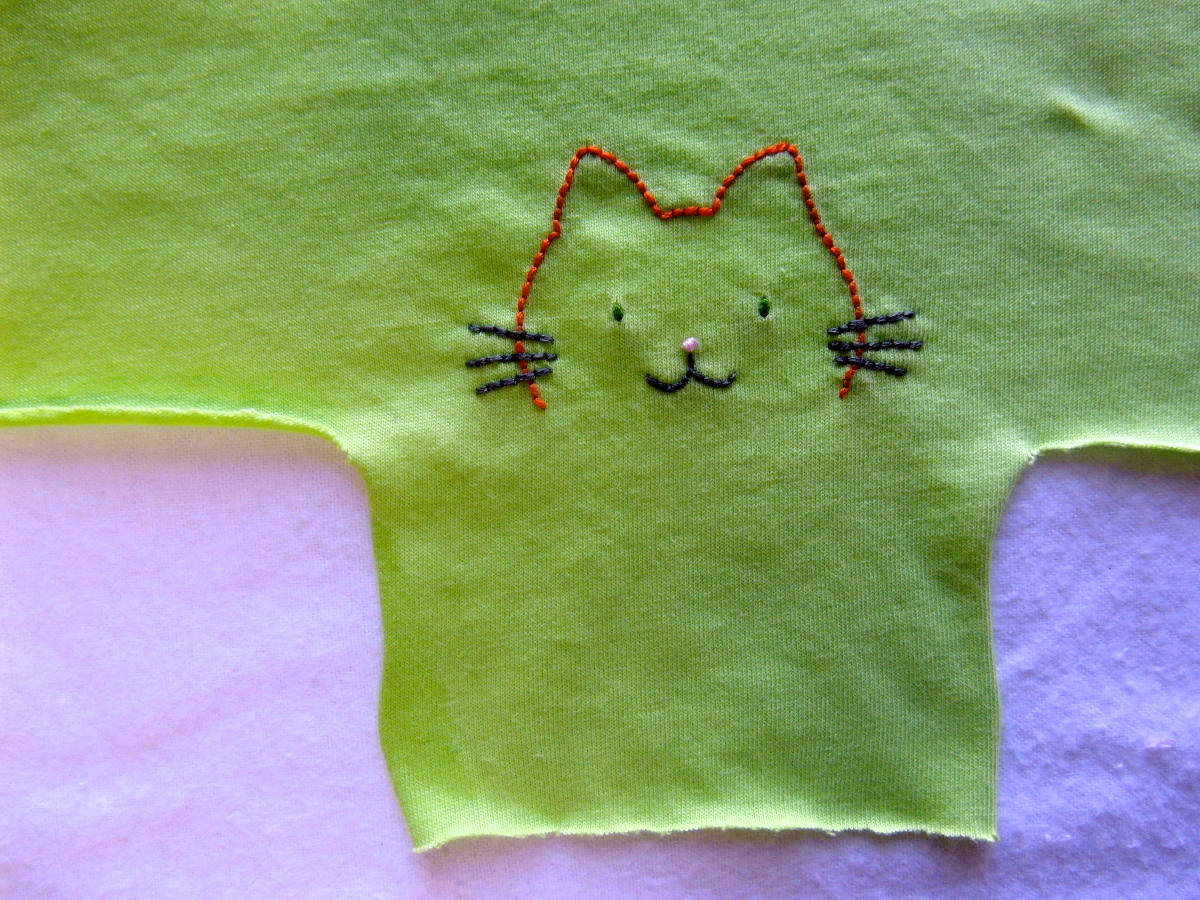
You’ll need a bowl of water, just room temperature is fine. One at a time, dunk the embroidered fabric pieces in the water and gently swish around. You’ll begin to see the Fabri-Solvy paper basically disintegrate. Once most of the paper is off of the fabric, I usually give the fabric a rinse under running water to get what little paper might be left around my stitches. Use a fresh bowl of water to do the same thing for the piece of fabric with the embroidered paws.

Gently squeeze the water out of the fabric and either lay flat to dry, or toss them in the dryer for a few minutes. Once dry, press the fabric, avoiding touching the iron to the front of the embroidery as best you can.
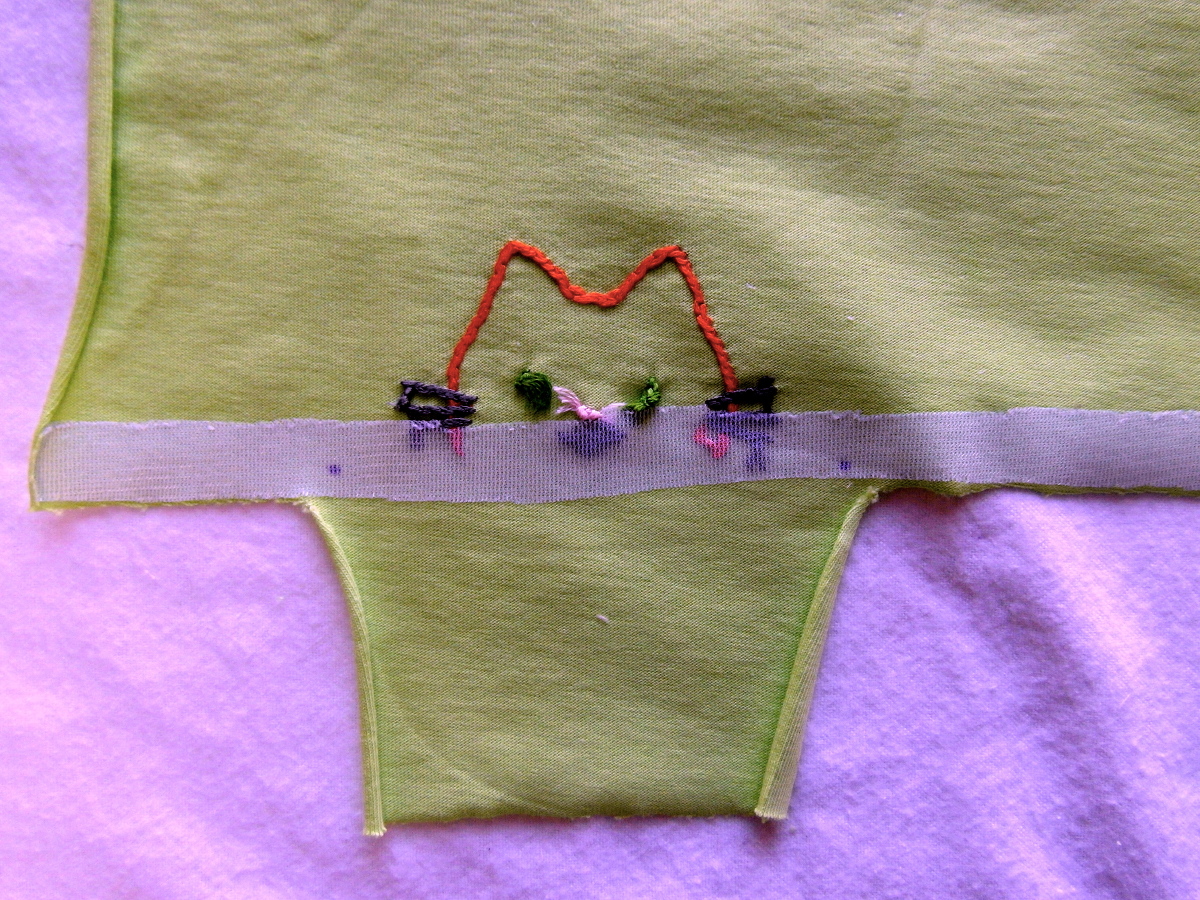
Now you can go ahead and finish sewing up your embroidered Lunch Box Tee! You’ll need to make your pattern markings onto the back of your fabric. This was a little difficult for me at this point because the jersey was rolling up badly on the edges. I just took my time and held the pattern down tightly against my fabric and made the marks. In case you’re wondering, I didn’t have any trouble applying the knit interfacing to the back of my embroidered pieces. I ironed it on like I would normally, and it seems to be sticking to the embroidery thread just fine.
I hope you’ve enjoyed this little tutorial, and that it helps you to make your own embroidered tee. I can’t wait to see what else you all come up with! I’m already thinking of puppies, flowers, or maybe some baby kittens in the other pocket? Have fun!
This is a darling way to create a cute shirt with a child! Love it
You did a great job. Such a sweet detail. Can’t wait to try it!
Totally adorable, and I love that another tutorial sparked the idea. It’s so great to see all unique twists people put on things to make them their own!
Sooooo very cute. I love it.
well, I sure sound like a broken record, but the first words that came to my mouth were, “that’s really cute!!!!”.
thank you.
I want me some of that fabri-solvy stuff! That beats my transfer pencils for marking embroidery hands down.
Liesl, can you stock it?!
Great tutorial and super cute kitty.