Yesterday the new Onstage Tutu Skirt free project was introduced. Today and tomorrow we are going to be sewing it according to the step-by-step instructions with lots of photographs for those of you who like to work visually.

Let’s get started.
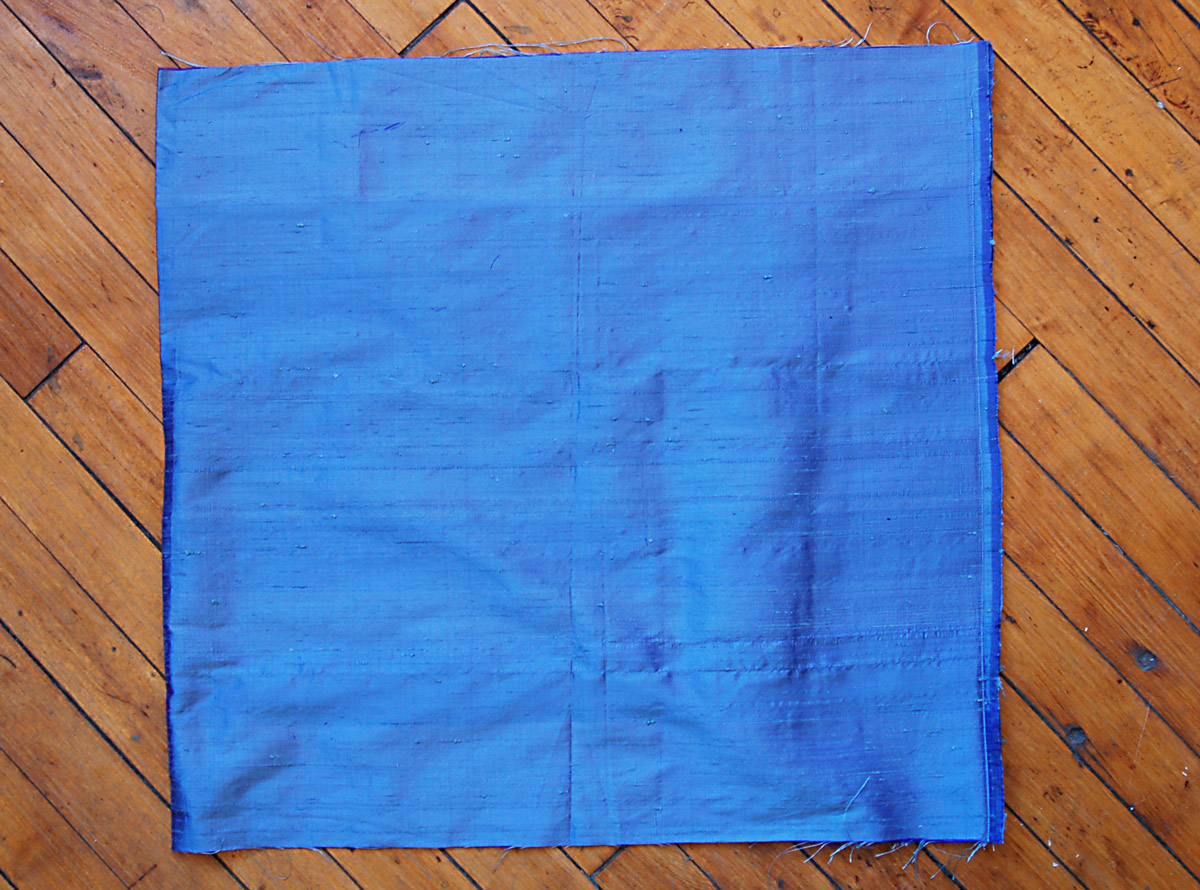
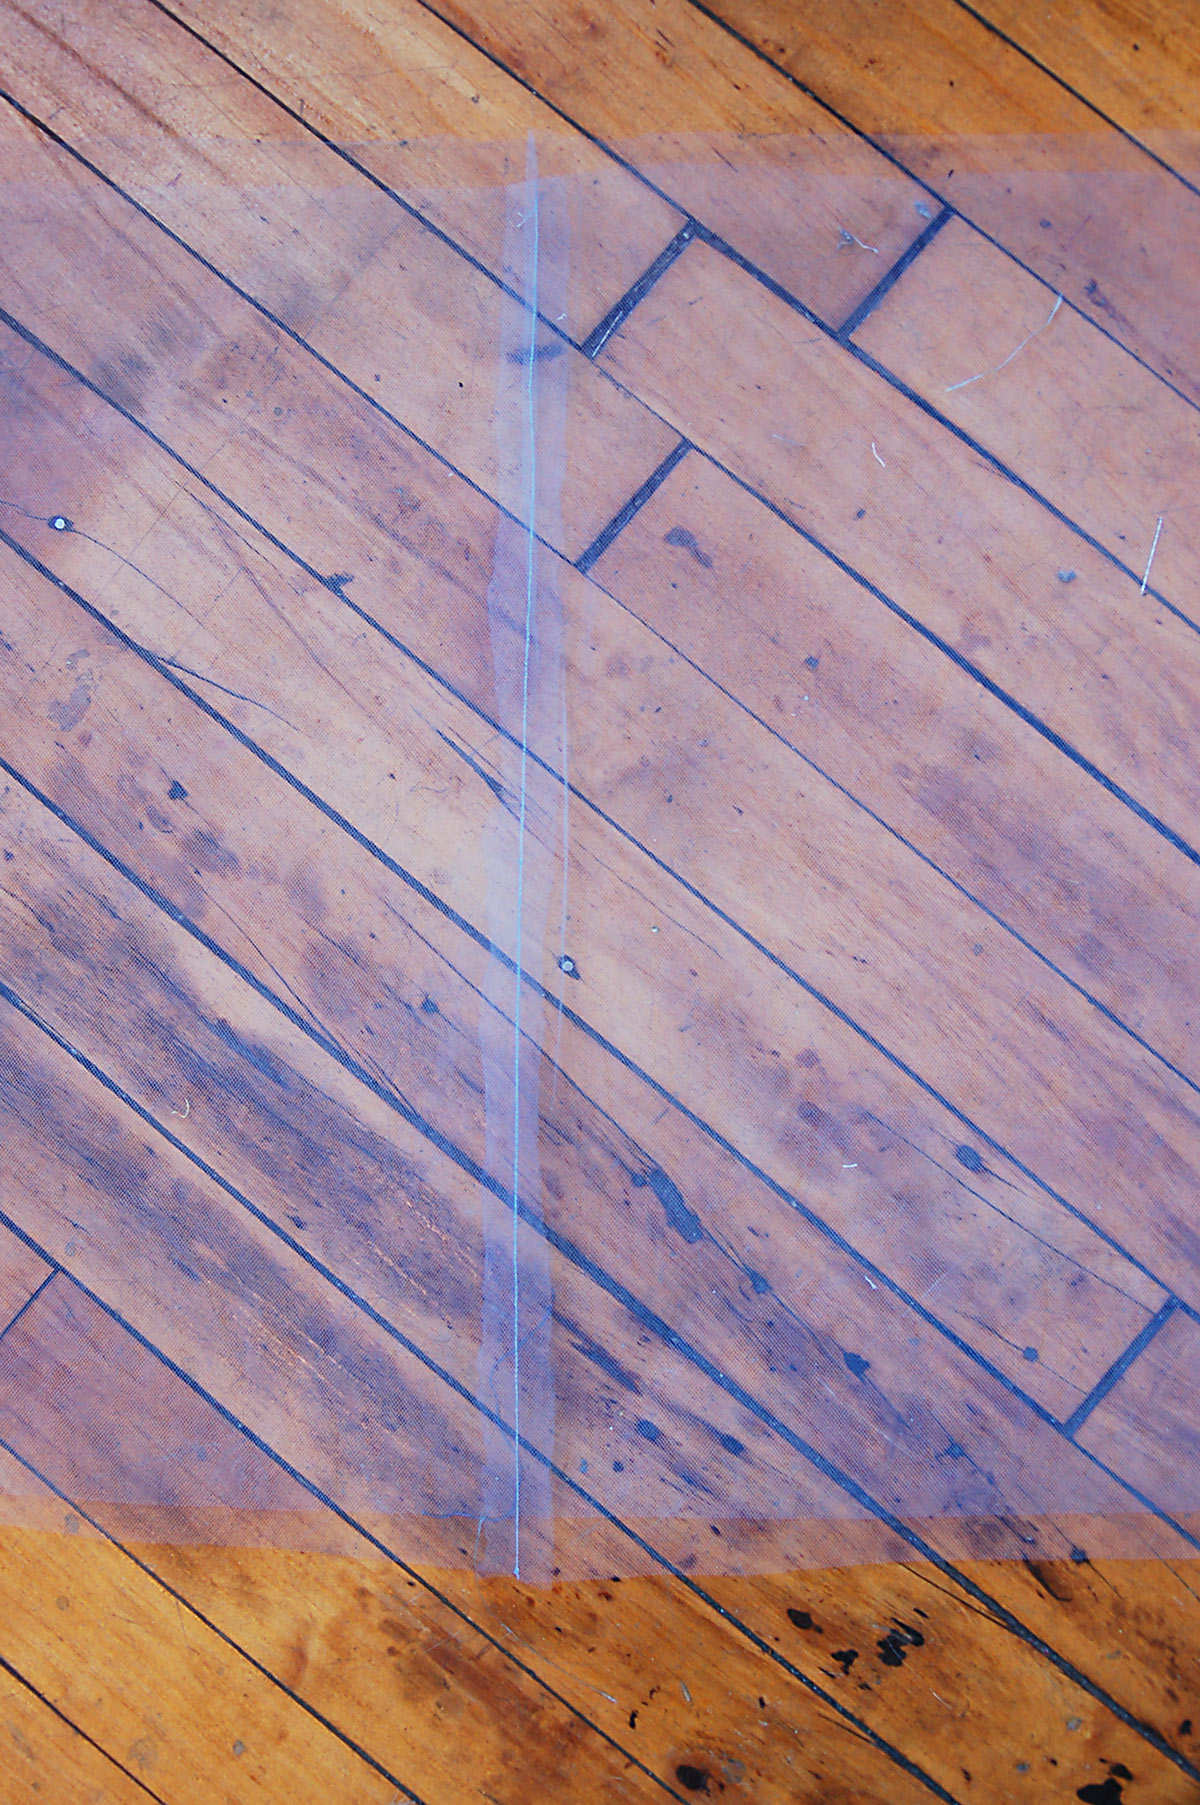
Measure and Cut your Fabric
Refer to the Onstage Tutu Skirt instructions and gather the amount of fabric and tulle you need for the size you’re sewing. You will also need 1 yard of 3/4″ elastic (for the doll skirt you will need 11″ of 1/4″ elastic) and some coordinating thread.
Prepare the Solid Skirt
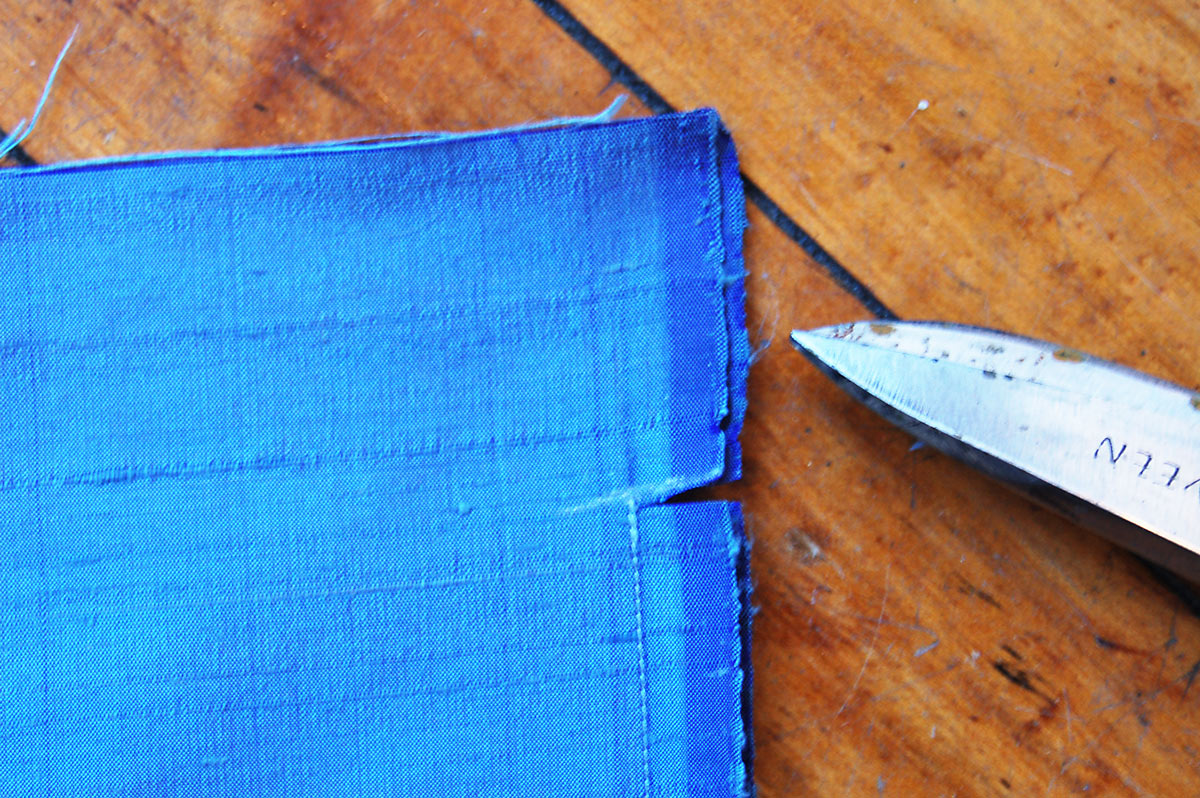
1. Pin the two side edges of the skirt fabric with “right” sides together (since there isn’t really a right and wrong side to your fabric, choose one side to be the right side) and make a mark 2″ from the top edge of the fabric near the side seam. (For the doll skirt, make this mark 1 1/4″ from the top edge.) Begin sewing the fabric edges together at this marking, using a 1/2″ seam and stitching all the way to the bottom edge, backstitching or lockstitching at both ends.
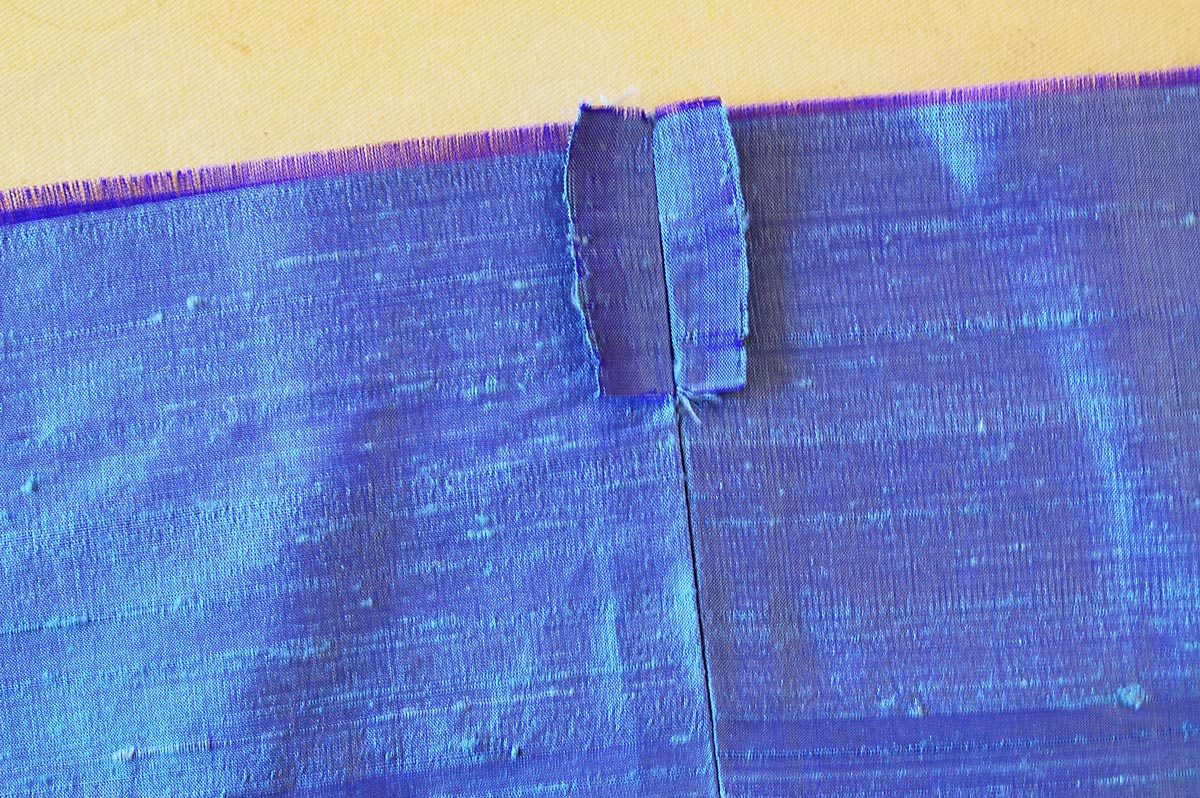
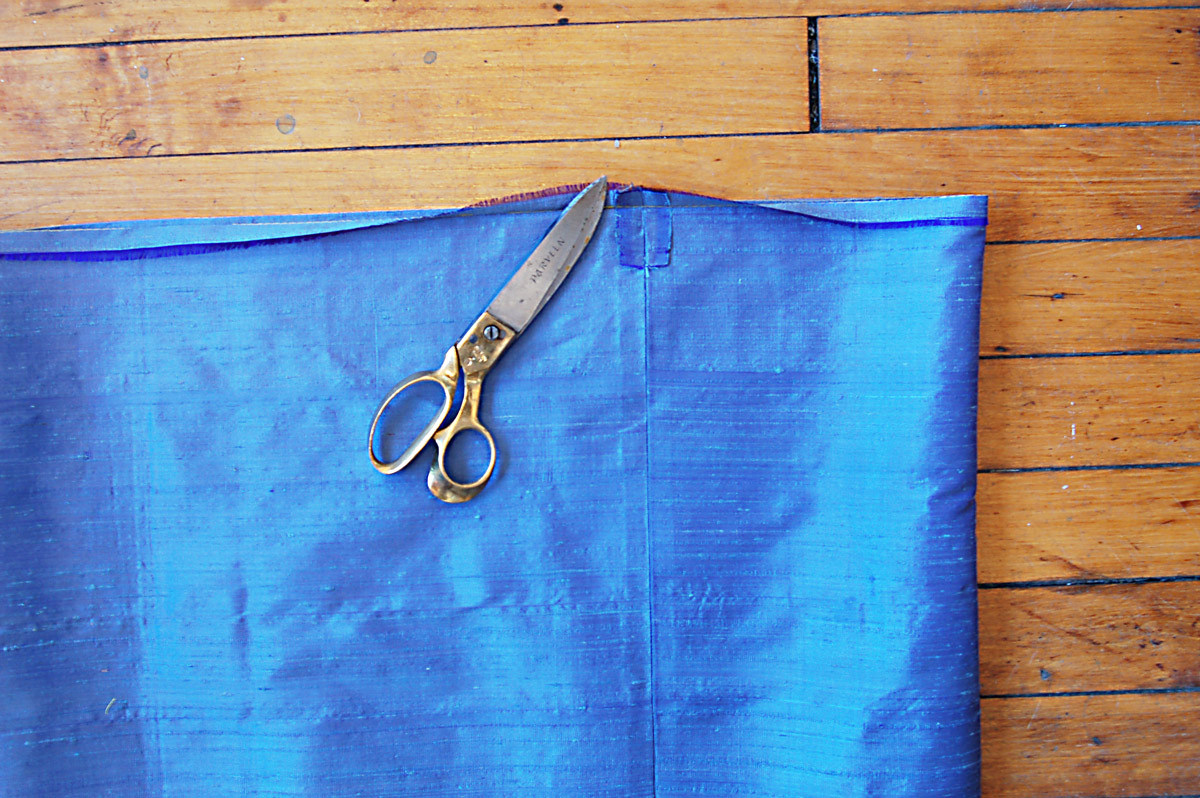
2. Carefully clip into the seam allowances at the marking, clipping all the way to the end of the stitching but being careful not to cut into the stitching itself.

Then turn the skirt right side out and pin the remaining unstitched part of the side seam with wrong sides together. Stitch the rest of the side seam, above the marking, backstitching or lockstitching at both ends of the seam. If your side seam isn’t perfect, don’t worry; the clipped portion will be covered by the waistband and it won’t show. (The reversed seam allowance above the marking will give the waistband a clean finish.)

3. Press the seam allowances open and finish the seam allowances below the marking using your preferred method. (Note that if you’re using the full width of the fabric you don’t need to finish your seam allowances because the selvedges won’t ravel.) There’s no need to finish the seam allowances showing on the right side of the skirt since they’ll be covered by the waistband.
Stitch a row of basting stitches 1/2″ from the top edge of the skirt. Using the basting stitches as a folding guide, fold and press the seam allowances to the right side of the skirt.
4. Using tailor’s chalk or a water-soluble fabric-marking pen, draw a line on the wrong side of the skirt 1″ below the top folded edge. (For the doll skirt, make this line 1/2″ from the folded edge or use a basting stitch instead.)

Using this line as a folding guide, fold and press the fabric to the right side of the skirt.

5. Unfold the 1″ crease from Step 4, above, and on the right side of the fabric, draw a line 1/2″ below the 1″ crease. You’ll use this line to match the top edge of the tulle in the next steps. (You won’t need this line for the doll skirt.)

Tomorrow we will be finishing the skirt. If you have any questions on any of the steps so far, please ask them in the comment section.
Here we go with day two of the Onstage Tutu Skirt Sew-along. Yesterday we prepared the solid skirt. Today we will finish the skirt.
Prepare the Tulle and Assemble the Skirt
1. Pin the two side edges of the tulle together and stitch them with a 1/2” seam, backstitching or lockstitching at both ends.
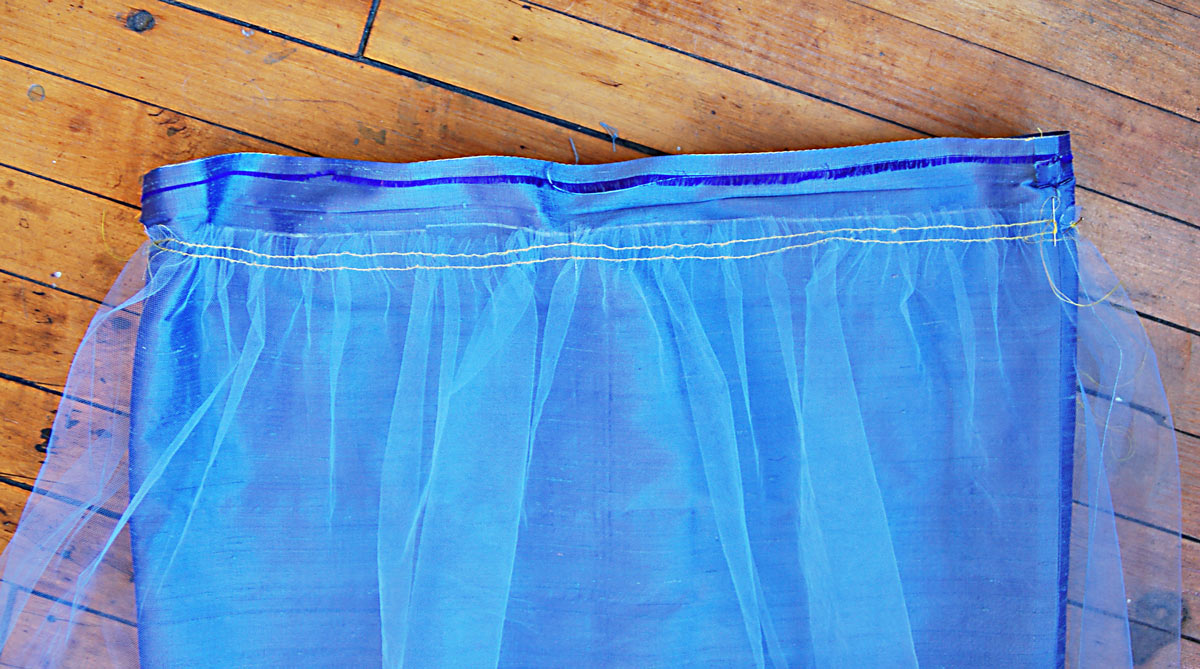
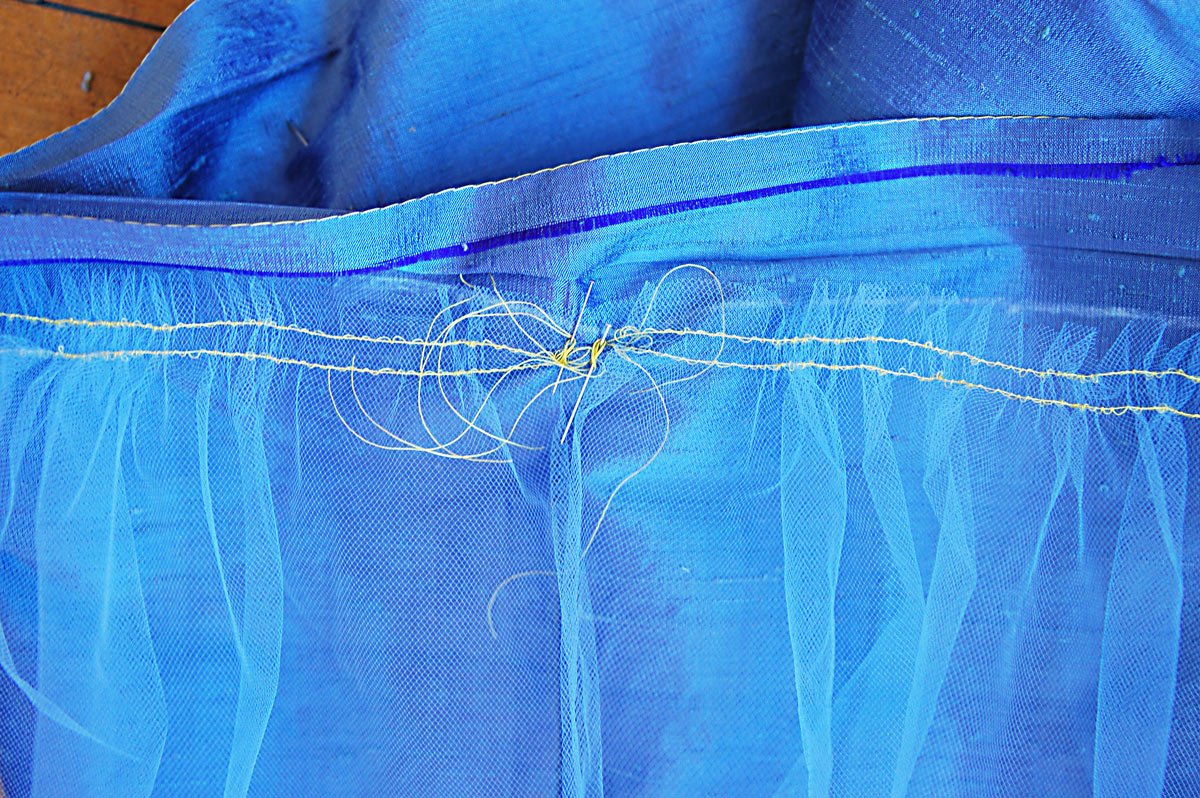
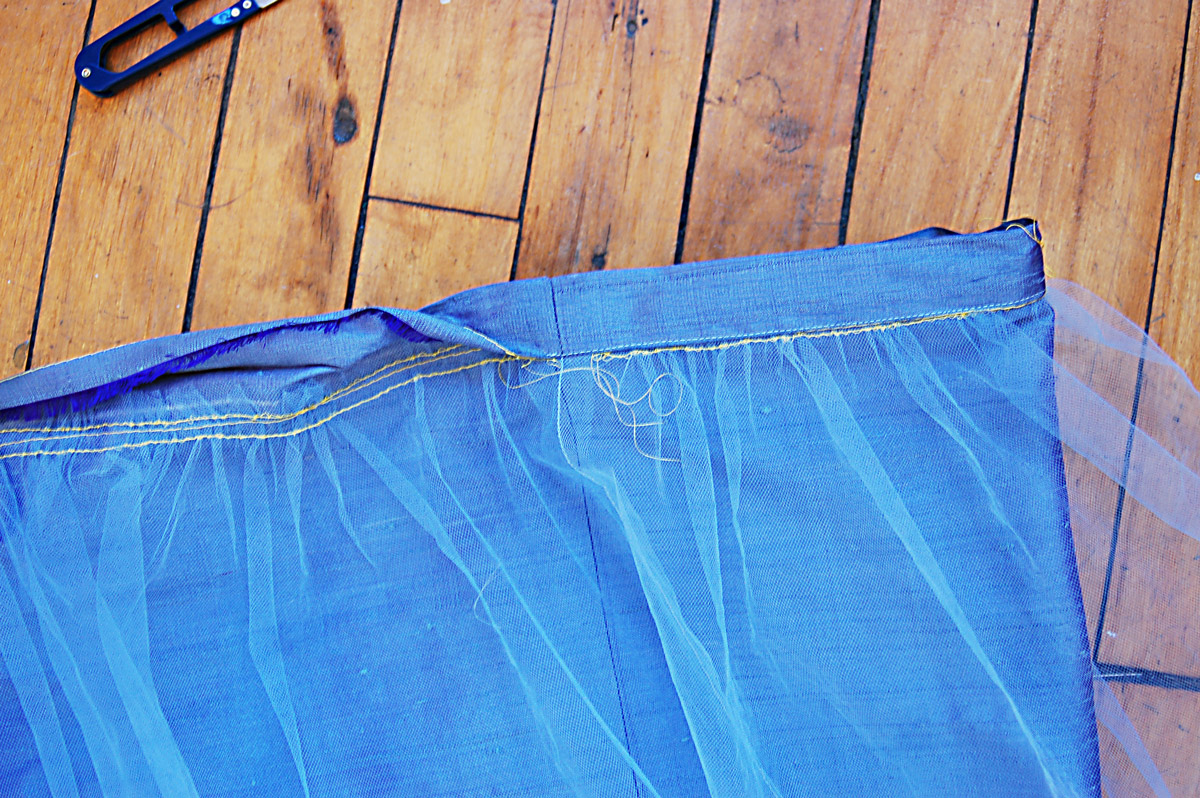
2. Press the seam allowances open with a warm iron. (Take care that the iron isn’t too hot, since it can melt the tulle!) Stitch one row of gathering (basting) stitches along the top of the tulle 3/8” from the raw edge and leaving thread tails several inches long on both sides of the basting stitches for pulling. Then sew a second row of gathering stitches 1/4” below the first row (5/8” from the raw edge), again leaving long thread tails.

HINT: Stop and start your basting stitches at the side seam and the center of the tulle so each set of basting stitches reaches only half-way around the tulle (rather than using one continuous row of stitching that goes all the way around the tulle); this will make it easier to manage gathering the tulle.
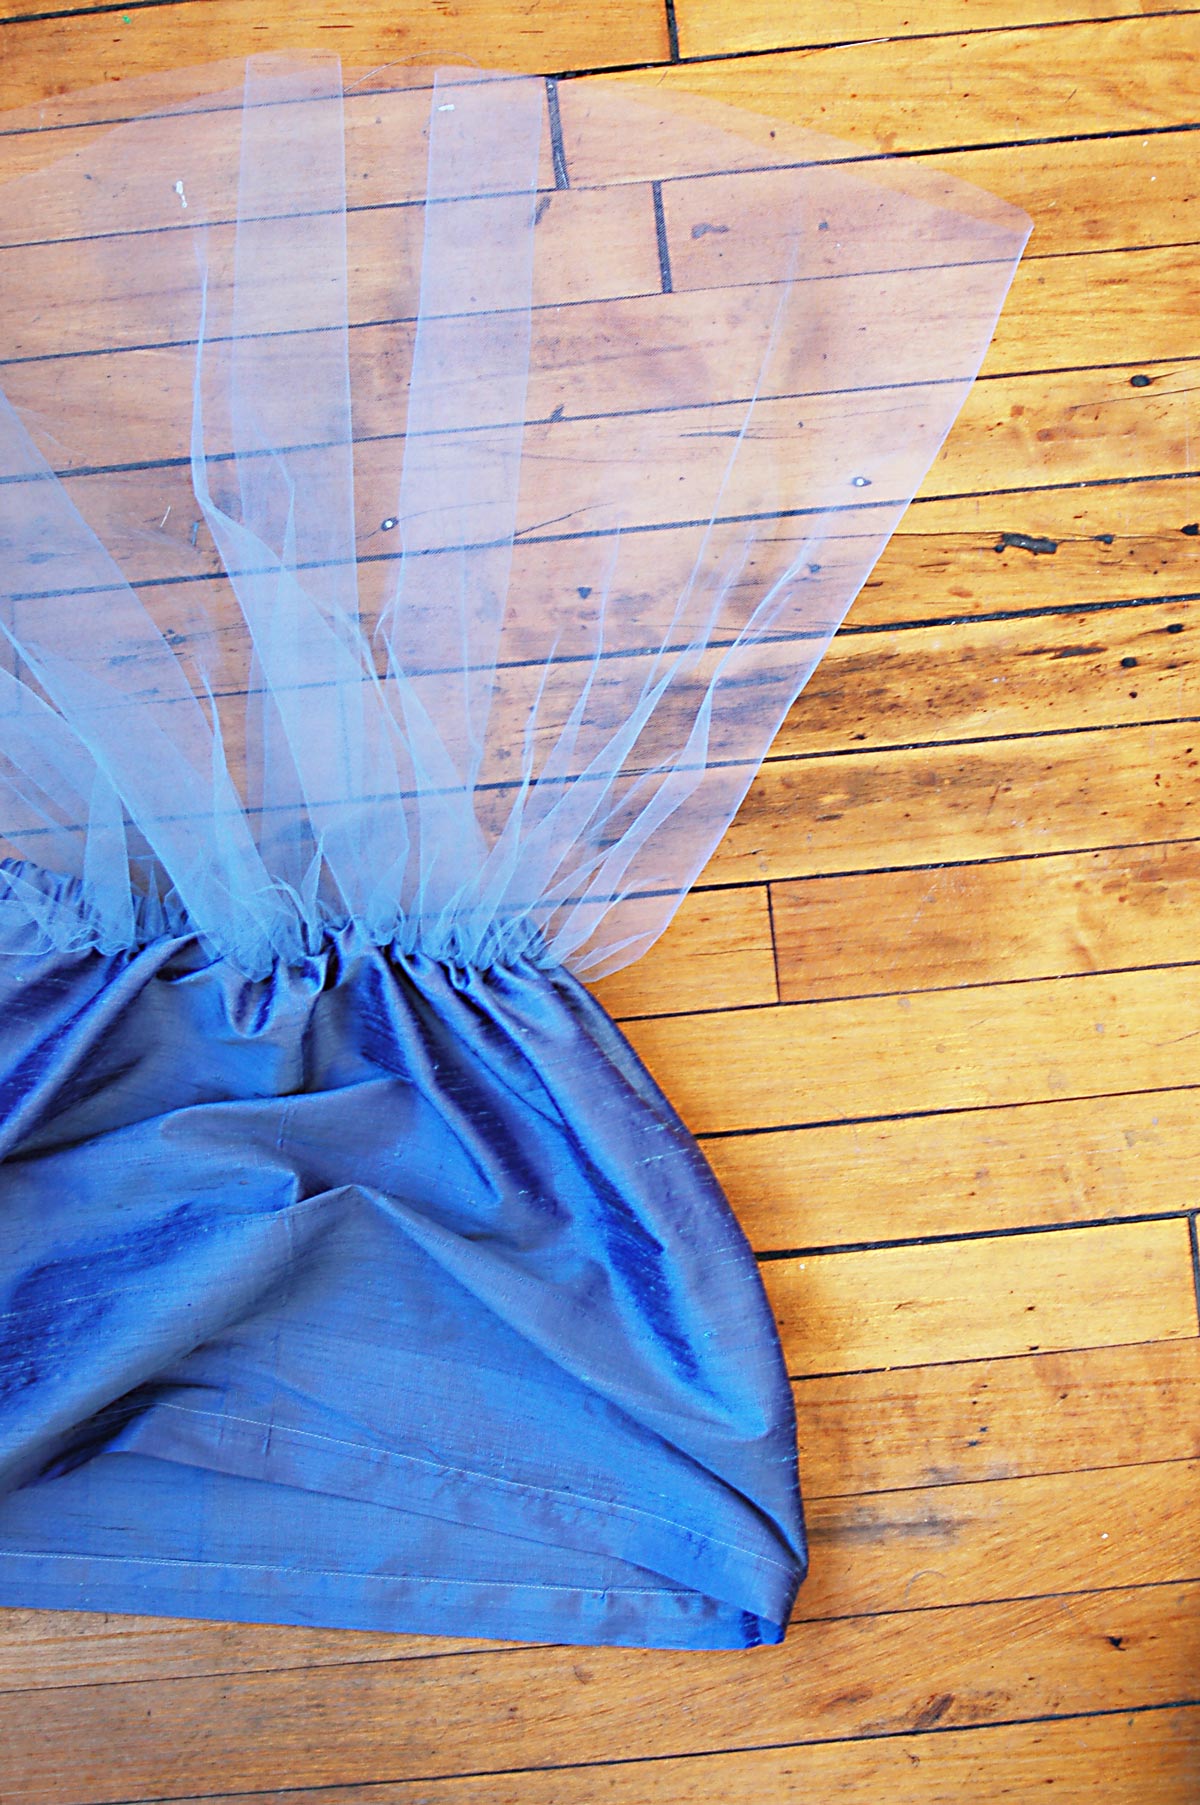
3. Working from the right side of the fabric, find and mark the four quadrants on both the solid skirt and the tulle skirt. You can do this by folding each tube of fabric in half and then in half again, marking each of the points with a pin or chalk. These markings will help you keep the gathers even when the tulle is sewn to the solid skirt in the next steps.
4. With both skirts right side out, slip the tulle skirt over the solid skirt.

Pin the side seams together, matching the top of the tulle to the marked line on the solid skirt.
Then pull up on the gathering stitches of the tulle until the width of the tulle matches the width of the solid skirt.
Using your quadrant markings as a guide, adjust the gathers of the tulle until they’re even across the solid skirt and continue pinning.
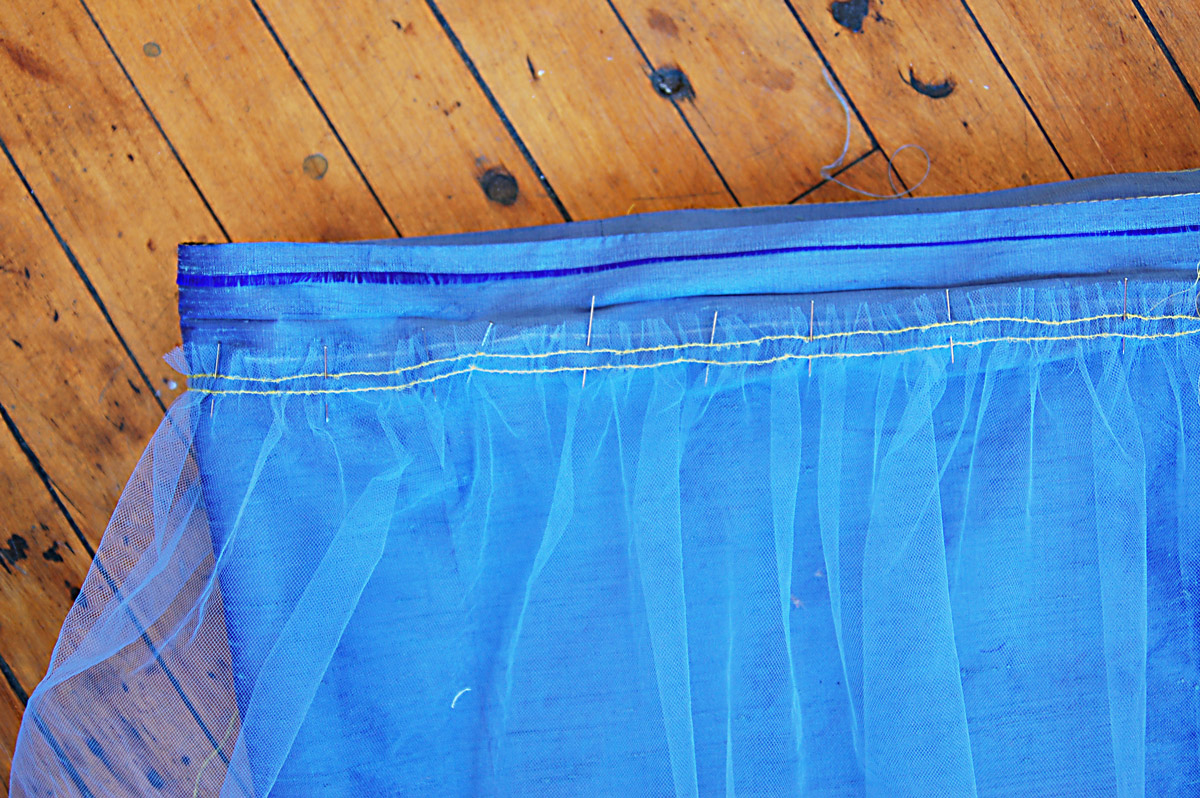
Baste the tulle to the solid skirt, stitching between the two rows of gathering stitches on the tulle. (For the doll skirt, pin the top of the tulle to match the crease in the waistband. The waistband is so narrow that it’s easiest to use that line instead of the drawn line used for the full-size skirt.)

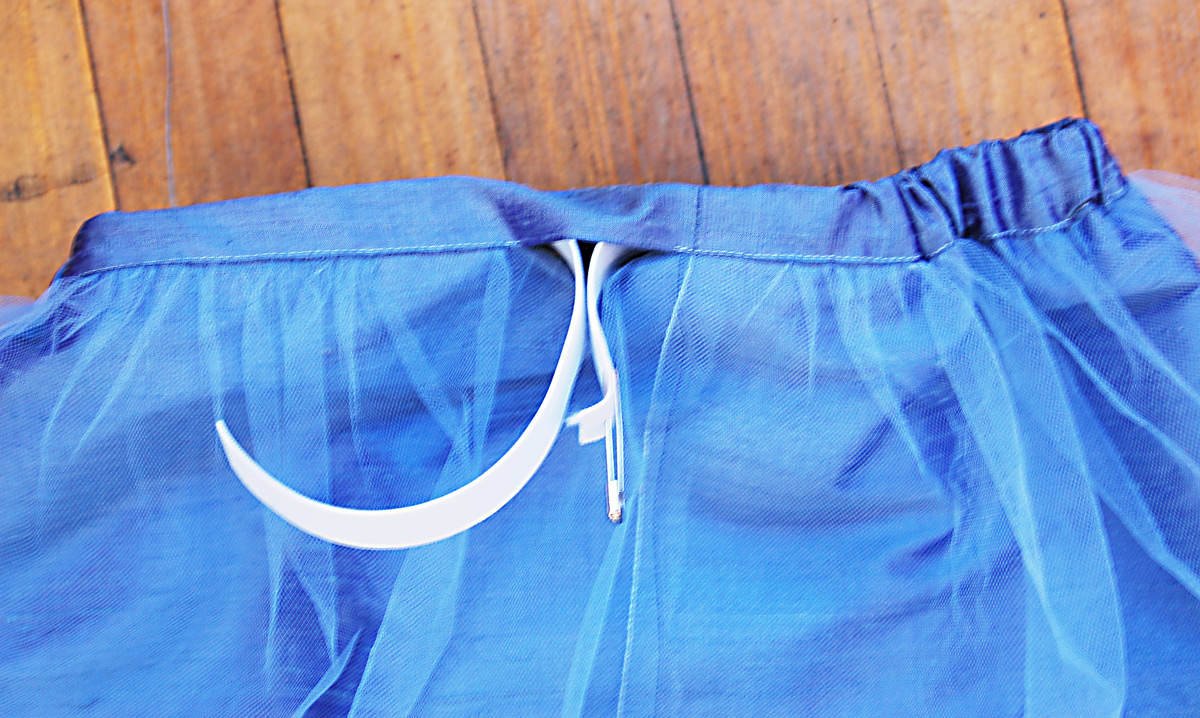
5. Refold the top edge of the skirt along the 1” crease and pin the folded edge of the solid skirt so it covers the basting stitches from Step 4, above. This will create a casing for the elastic. Working on the right side (the outside) of the skirt, edgestitch the folded edge of the waistband, leaving about 2” unsewn to make an opening through which to feed the waistband elastic.
6. Attach a safety pin or bodkin to one end of the elastic, and feed the elastic through the waistband casing. Adjust the elastic to fit the wearer’s waist, and trim the elastic to the desired length. Next overlap the two ends of the elastic by about 3/4”, and pin them together. Then sew the pinned ends together by stitching a small rectangle on the overlapped edges, removing the pin as you sew and lockstitching at the beginning and end of the rectangle.
NOTE: Elastic can vary a great deal in the amount of stretch it has, depending on its quality. If you’re unsure of the length to cut the elastic, start by cutting it 1” smaller than the child’s waist measurement, and then shorten the elastic as necessary.
7. Finish edgestitching the waistband’s opening to close it, backstitching or lockstitching at both ends of your stitching. Remove the visible row of gathering stitches from the tulle.
Hem the Skirt
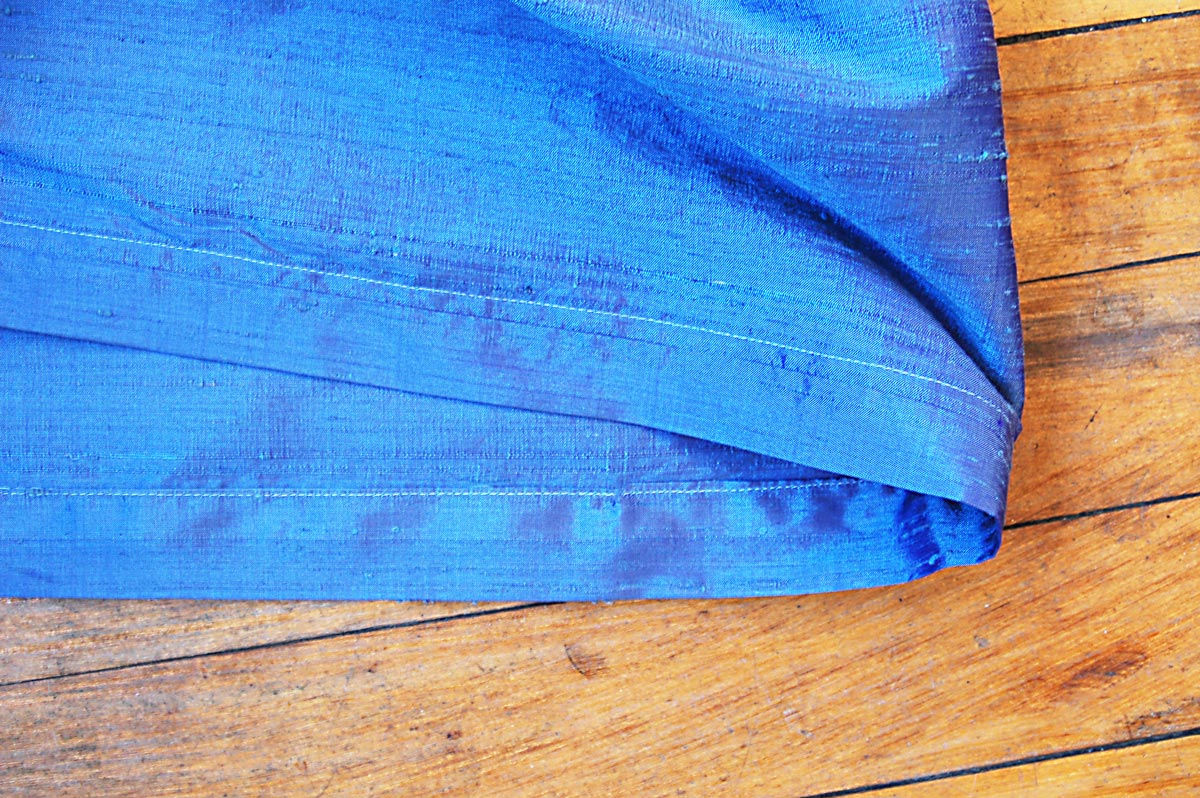
1. Check the hem length of the skirt and trim the fabric to the desired length if necessary, leaving 1 1/2” from the hem itself. To hem the skirt, sew a row of basting stitches 1/2” from the bottom edge of the solid fabric and, on the right side of the fabric, use tailor’s chalk or a water-soluble fabric-marking pen to mark a line 1 1/2” from the fabric’s bottom edge. Fold and press the fabric once to the wrong side along the line of basting stitches, then fold and press the fabric again to the wrong side along the drawn line.
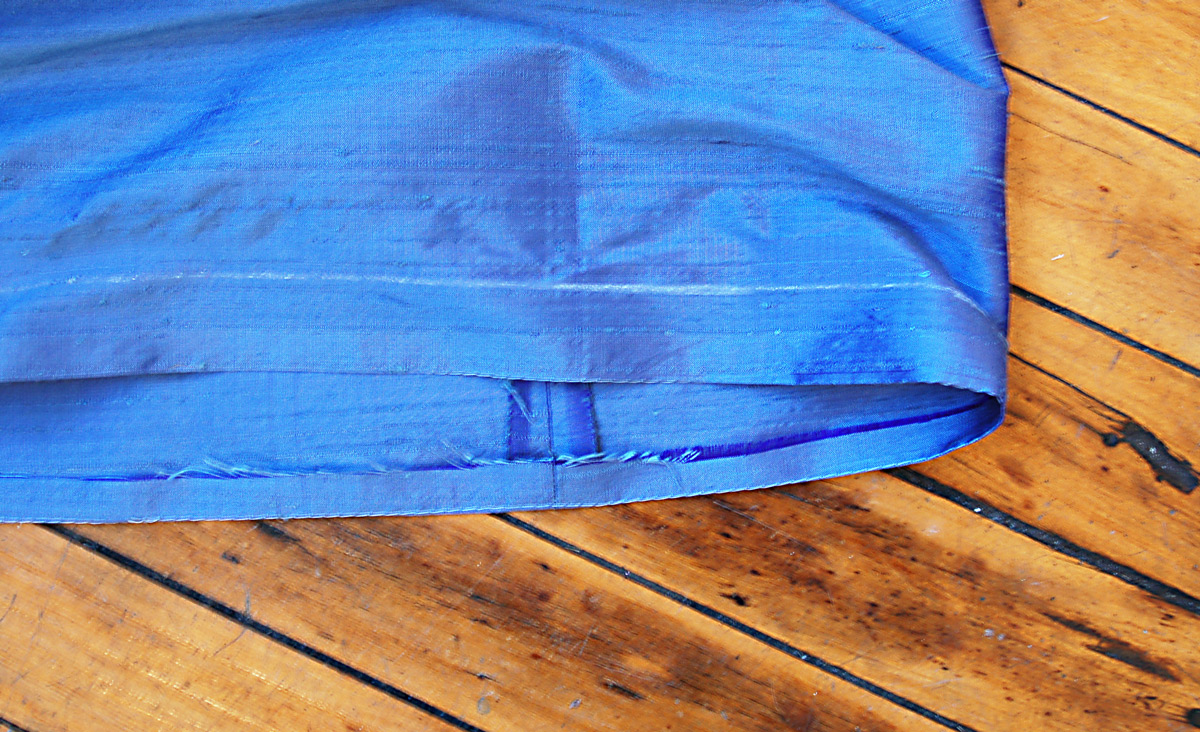
Edgestitch the innermost fold to finish the hem, and press the hem again to finish it.
2. Trim the tulle to the same length or 1/2” longer than the finished skirt. Your tutu is complete!
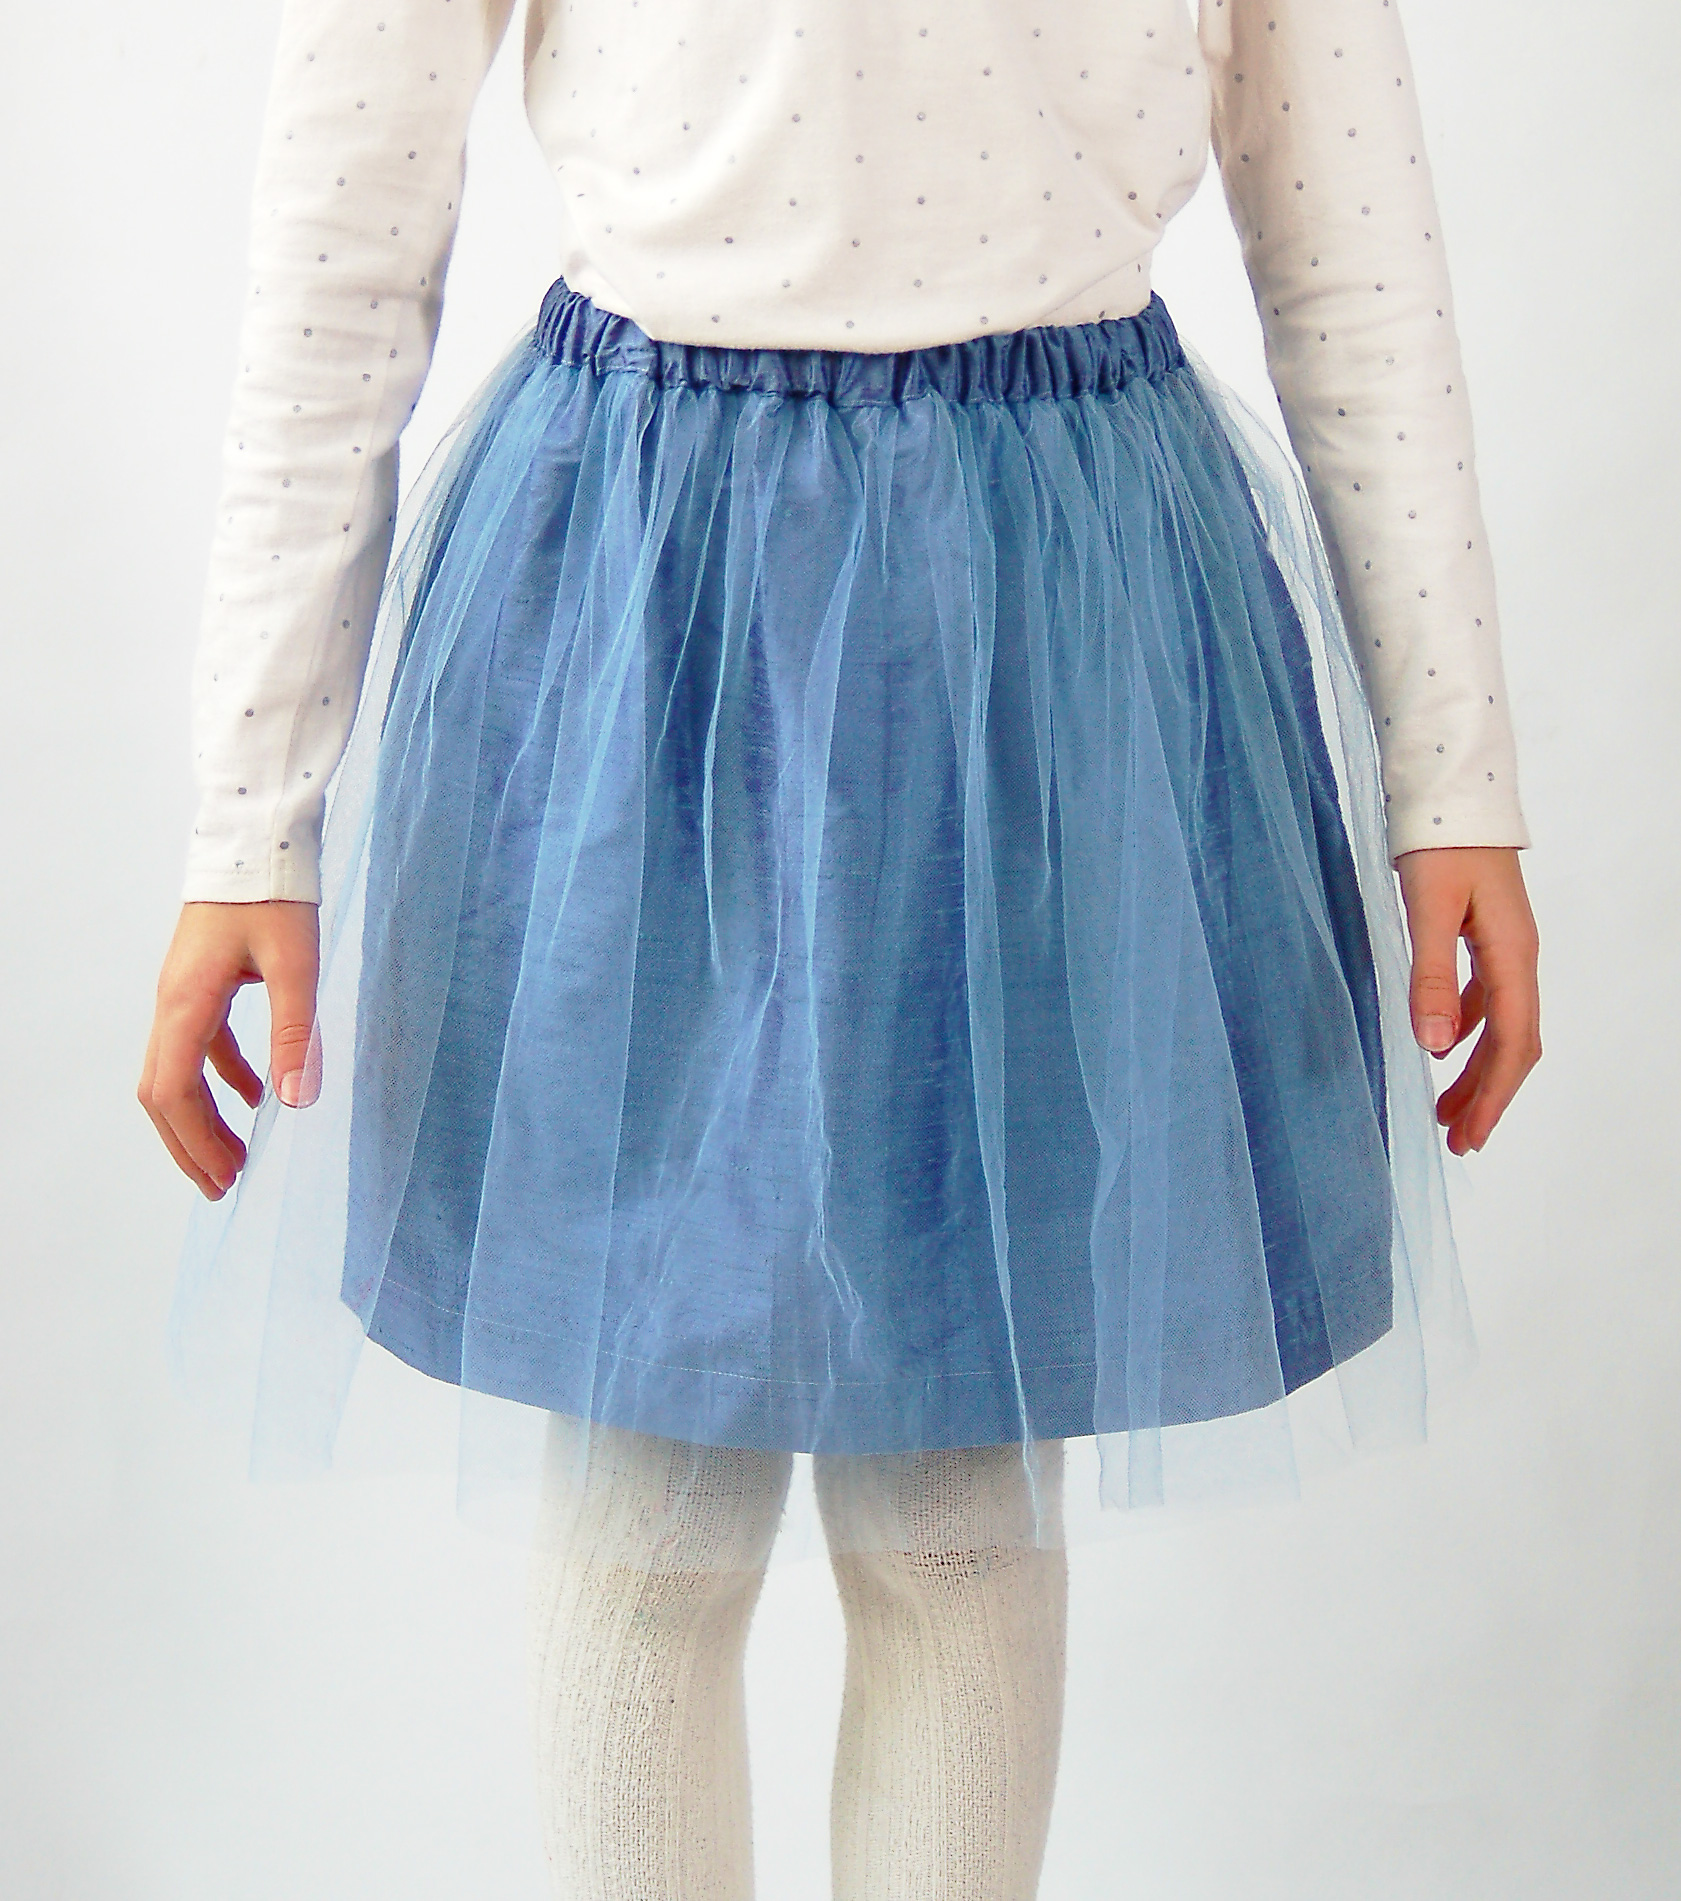
We hope you will share your fantastic Onstage Tutu Skirt in the Flickr group when you are finished.
Loving this….thanks so very much to all of you!
What fabric did you use in the example?