There was already a smocked dress round-up not too long ago, but it seemed a bit crowded if I would have added these honeycomb smocked garments, so here they are today. I cannot wait to share them so let’s dive right in, shall we?
First up, Jane used chambray to make this Garden Party Dress. It was her first time trying honeycomb smocking.

Another Garden Party Dress, but this time by Julie who made one in white for a special occasion.

This Badminton Top was sewn by Jennifer for the 4th of July.

Ana Sofia put together a Honeycomb Smocking Tutorial after she made this Ice Cream Blouse.

And she sewed up another one in Liberty.

Lastly, an Ice Cream Dress sewn by Erin.

I used Ana Sofia’s Honeycomb Smocking Tutorial and applied it to the center panel on the Hide-and-Seek Tunic using green gingham. I paired it with some cream Playtime Leggings and the outfit was complete.
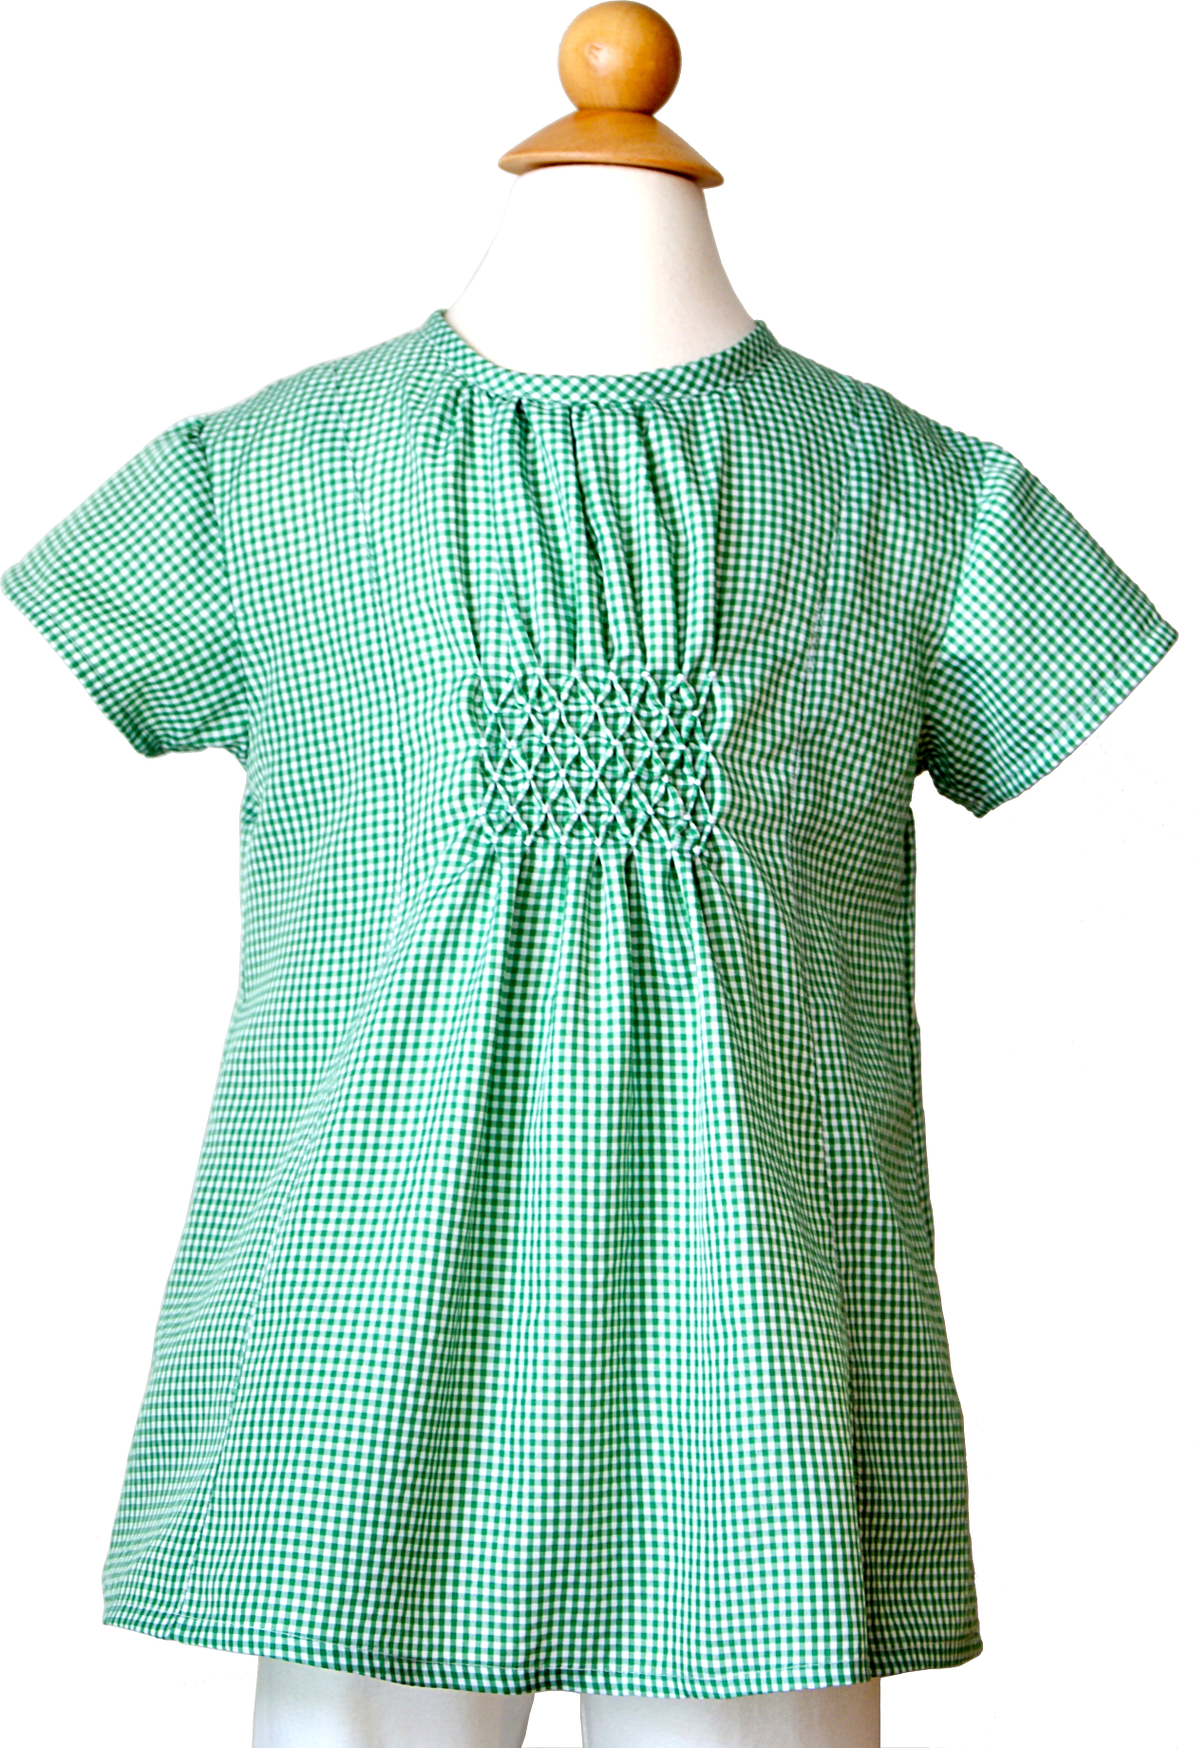
This was my first time I ever tried smocking and although my tunic didn’t turn out perfectly, I do think the Hide-and-Seek pattern lends itself well to smocking.
I did the honeycomb smocking just like in the tutorial which was six by sixteen dots, but if you’d like the smocking to go all the way across the center panel, add more dots. And I’m sure other types of smocking would look lovely as well.
Here’s a really quick run-down on how I did this. First of all, I didn’t line the front center panel. I placed the smocking at where the bottom of the front yoke would be. I did the smocking on the fabric first then cut out the pattern. I made these modifications: I eliminated the V-notch neckline and the seam allowance on the neckline of the front yoke (as well as the back yoke), I reduced the width of the tunic center panel to match the width of the bottom of the front yoke. To finish the neckline I used bias binding.

There are many different types of smocking, but honeycomb seems perfect for someone who is just testing the waters. Whatever type of smocking that you add to any Oliver + S patterns, we hope you will share a photo of your creation in the Flickr group.
I think Honeycomb smocking is beautiful and the examples in the photos are just lovely. I am exoerienced when it comes to smocking but I have never used the honeycomb technique. I would imagine it is very similar to the old counterchange method which is mostly ised on gingham and check fabric.
Another excellent post Rachel.
Love, love, love the “honeycomb technique”!!! Such exquisite garments highlighted….
Thank you for featuring me (my blouses, that is) Rachel!
I actually can’t smock (it’s been a slow learning process) but the honeycomb technique is so simple, you really can’t fail 🙂
Of course, now I’m itching to make a chambray version (great for displaying all those beautiful smocks).