Today we are excited to introduce a new series on the blog called Outdoor Ready. Let me introduce you to its creator, Ashley. She is a mother of two and an outdoor enthusiast living in Northern California (home to some of the most spectacular outdoor adventures on earth). She is kicking off the series with hiking shirts. Take it away Ashley.
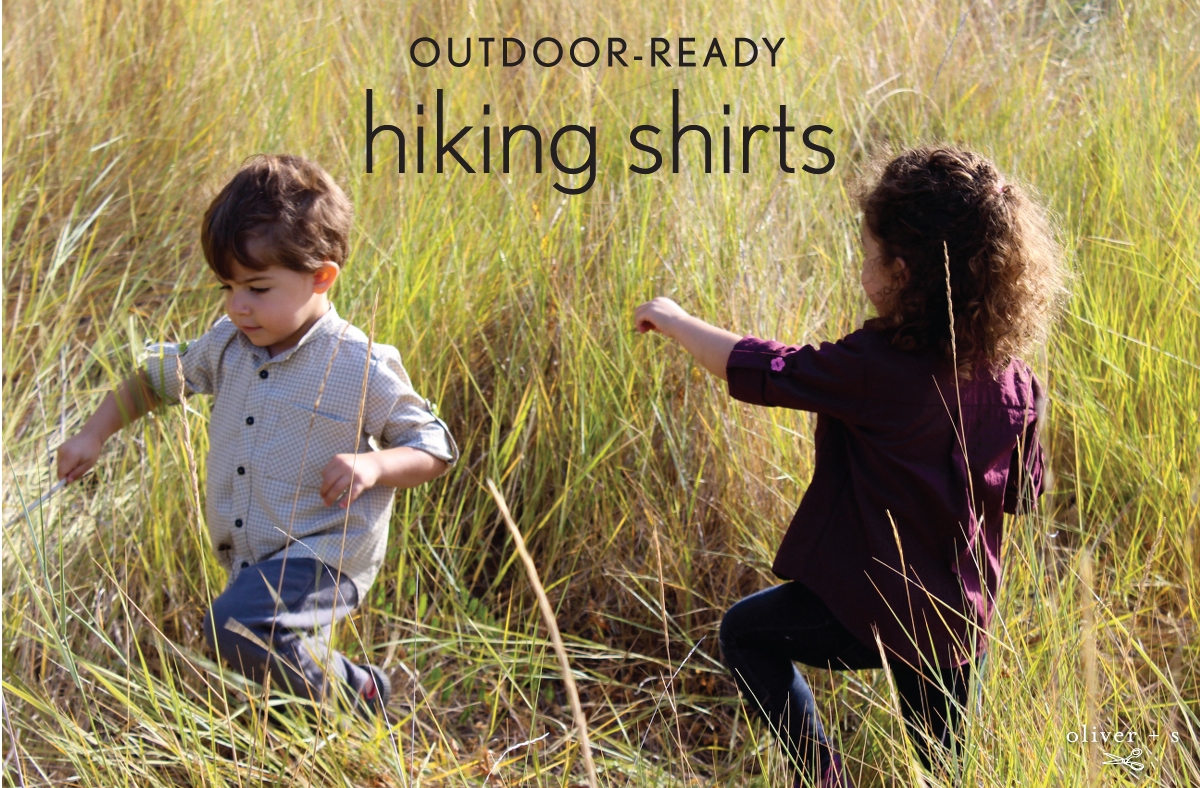
Hello everyone! We are more than halfway through summer vacation, which means that camping, hiking, boating, and all sorts of other outdoor activities are well underway. Just this spring, my own kids turned three and four, and after some backyard camp outs, the time had come for the real deal. Our first hiking/camping venture included a fair sampling of the great outdoors: poison oak, stinging nettle, mosquitoes, flies, dirt, mud, sand, rocks, thorns, salt and fresh water. In short, a raging success, but one that required no fewer than four complete wardrobe changes per child, just for an overnight trip! Every last article of clothing came back filthy, damp, torn and stained. I was determined to somehow streamline our outdoor adventure packing checklist as well as keep everyone as comfortable as possible on future trips.
It initially did not occur to me to attempt to make performance wear for my kids because I had no familiarity with or access to the fabrics. However, I happened to be organizing my patterns one day, and I noticed that several Oliver + S patterns are actually quite well suited for outdoor gear. The superior construction of the garments can stand up to all the great outdoors has to offer, if only created in the correct materials. After some research, field trips, and enlightening conversations, I’m happy to report that constructing your own active wear for your kids is fully within reach, and much easier than you might think. I want to share all the tips and tricks I’ve collected so you too can get your little ones outdoor ready!
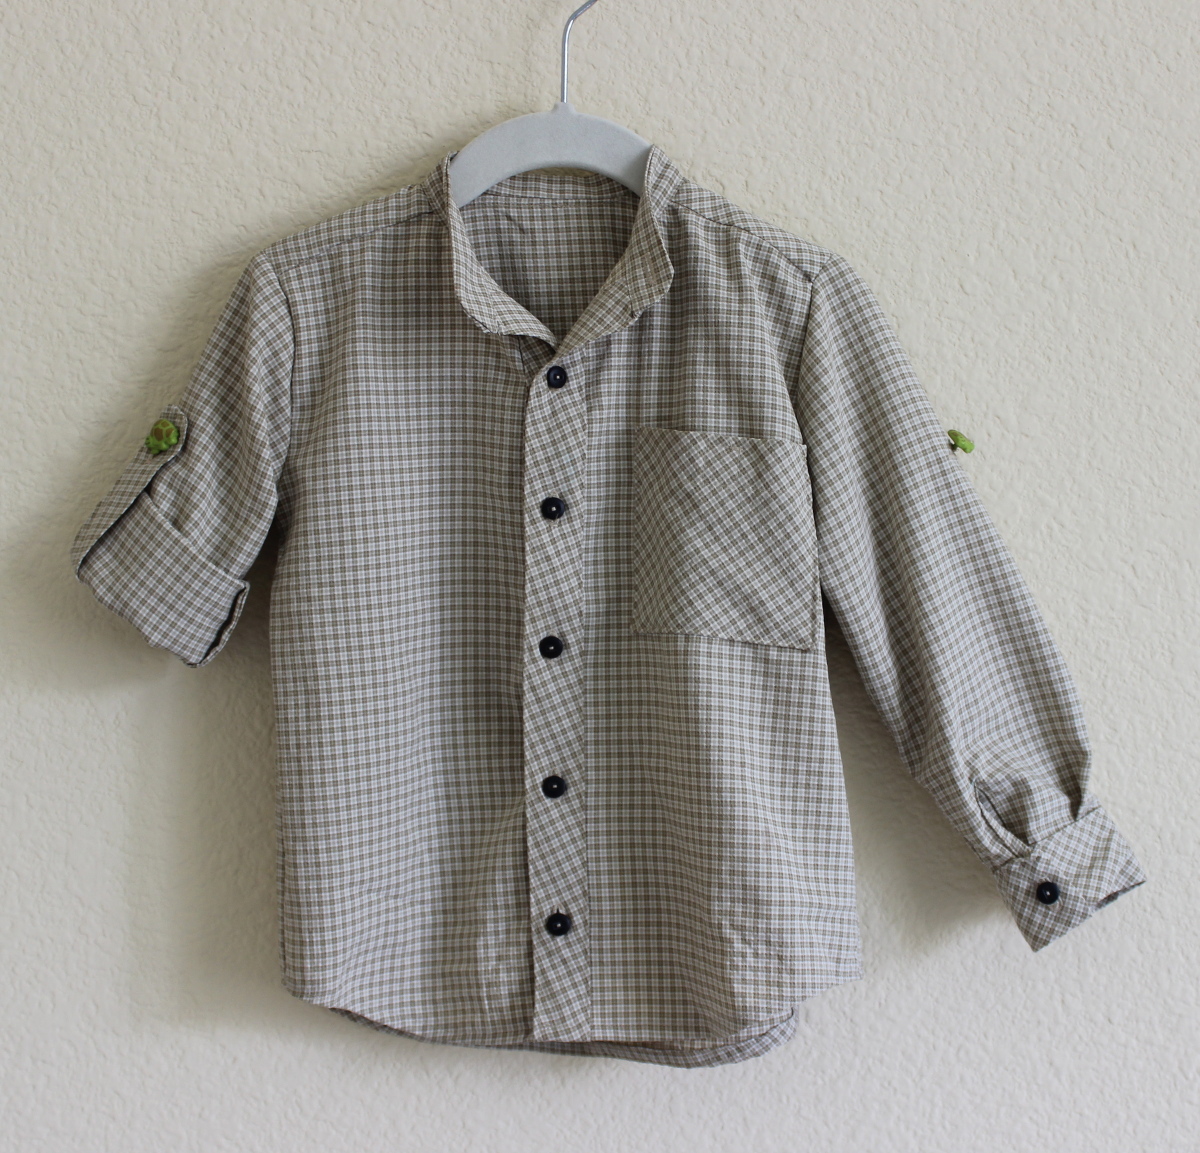
First up, Sketchbook Shirts, hiking edition!
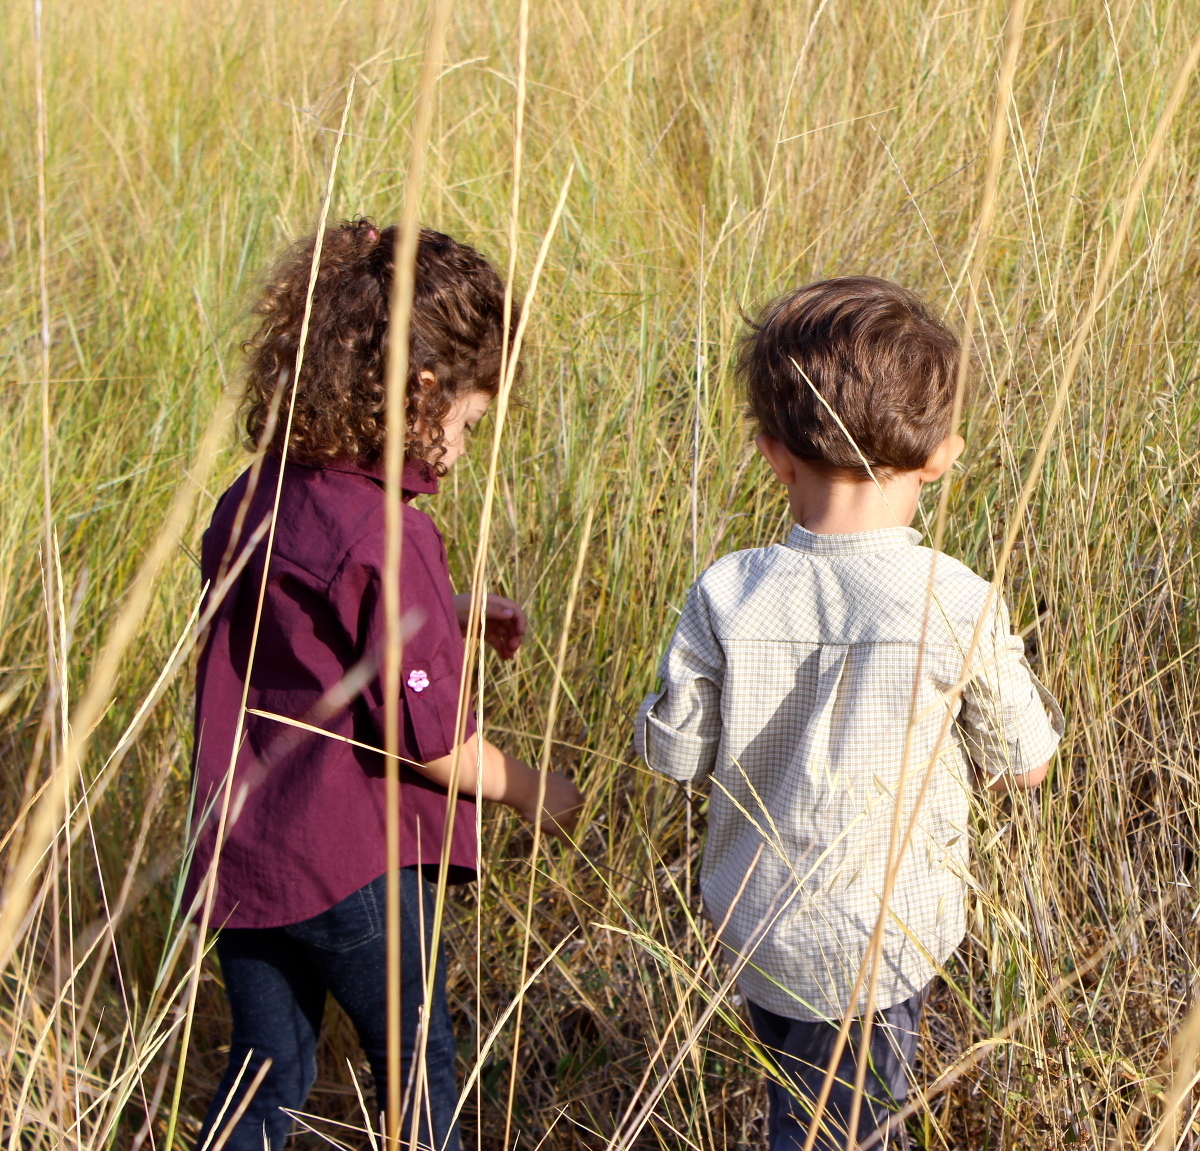
Now that you’re looking at this old favorite through a new lens, it’s remarkable how much the pattern resembles the typical long sleeved, button down hiking shirt, right? I made slightly different versions for each child to experiment with my ideal combination of features, and I will discuss all of them below. But first, selecting appropriate fabric is far more than half the battle to transforming this into the perfect hiking top. For these shirts, I used wicking supplex, a synthetic fabric permeable to both air and water, which draws moisture away from the skin so that it can evaporate efficiently (think, quick dry). It is a woven fabric with little to no stretch, exactly what the pattern calls for. This fabric is precisely what you think of when you imagine a stereotypical button down hiking shirt from an outdoor clothing brand. If you have the good fortune of a local fabric store that carries performance/outdoor fabrics, check out their selection of supplex in person, as the hand can vary depending on the content of the fibers. If you, like me, must rely on the internet, you can order the beige plaid fabric (unfortunately, the lovely aubergine was the end of a hand dyed bolt) from Rose City Textiles in Portland, OR. You can always order swatches if you’re unsure.
Do not be intimidated. The wicking supplex sewed like a dream. Just a few key issues to keep in mind for success with this fabric:
- Use microtex needles in your sewing machine.
- Don’t be afraid to use pins.
- Use 100% polyester thread.
- Machine wash cool, line dry.
- Do not use heat to dry the fabrics as it may disrupt their performance properties.
- Iron on low heat.

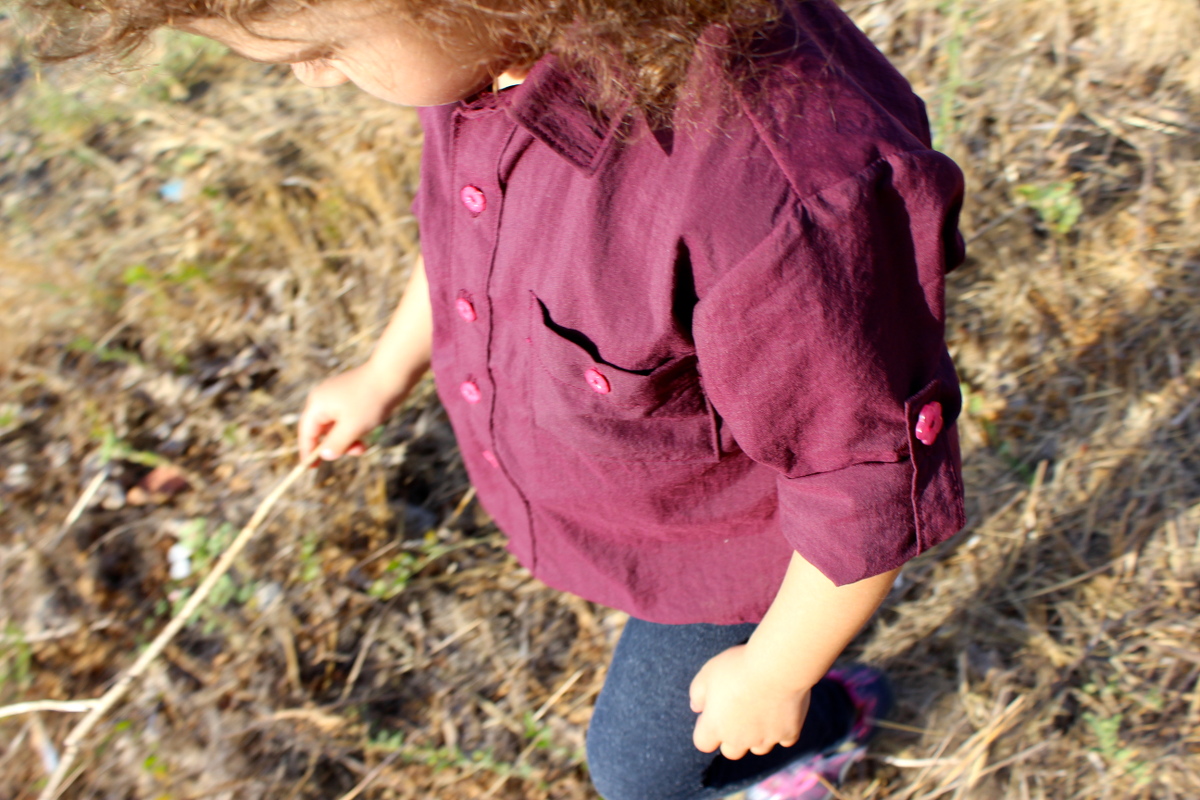
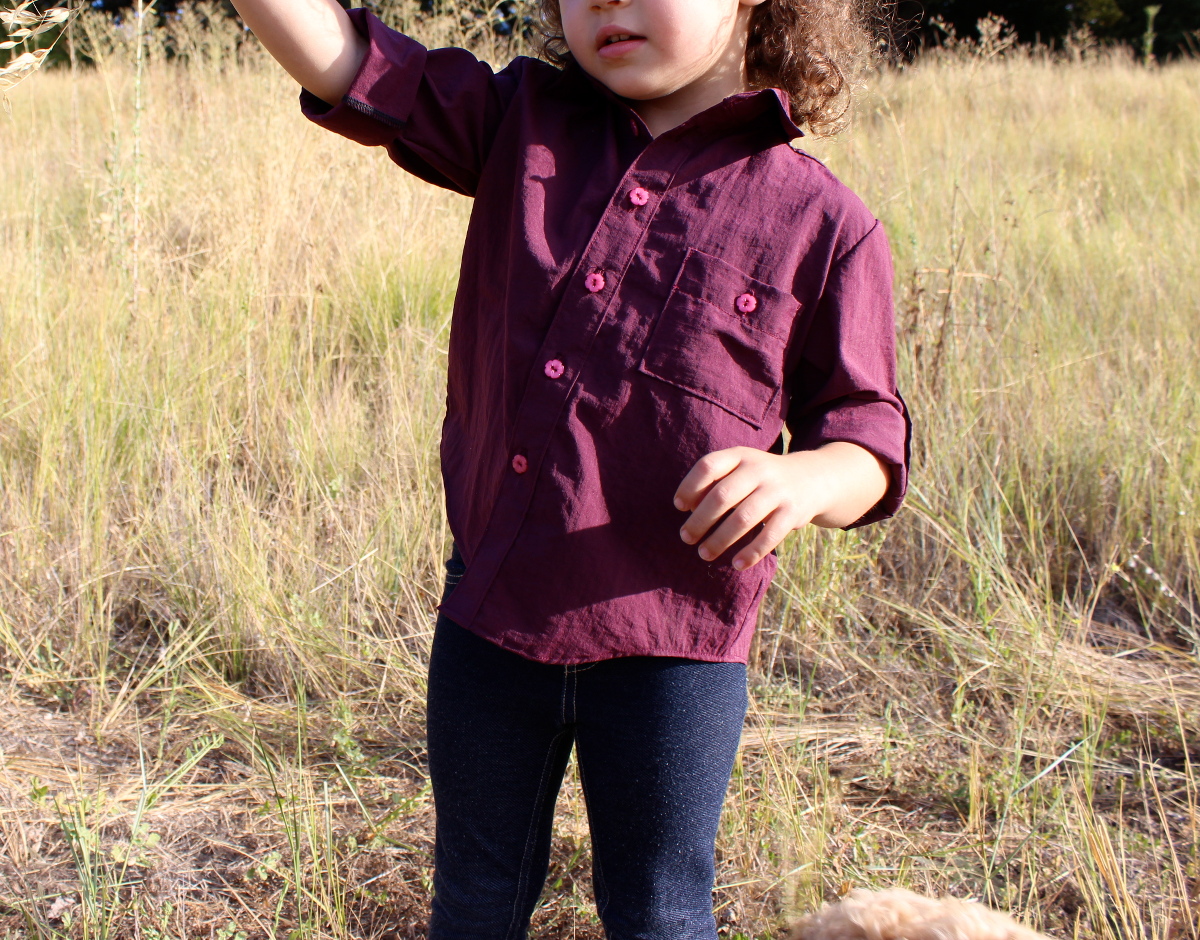
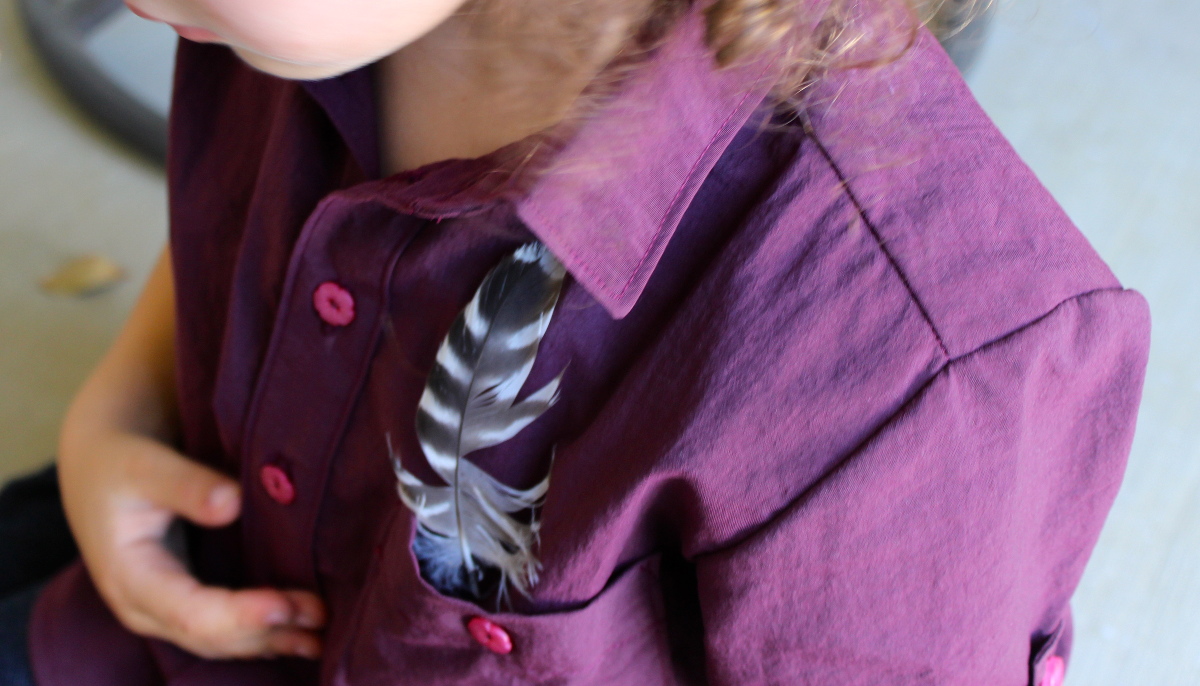
In addition to selecting an ideal fabric for this purpose, I added two minor tweaks to the pattern to increase versatility of the garment, and treasure storing ability, both of paramount importance to little hikers. The Sketchbook Shirt pattern already comes with a pocket, the obvious place to store pebbles, sea shells, leaves, and all manner of valuables. I wanted to add some extra security to keep those treasures safe during outdoor activities. On the purple shirt, I simply added a buttonhole to the center top of the pocket, and sewed a button on the shirt front in the appropriate place.
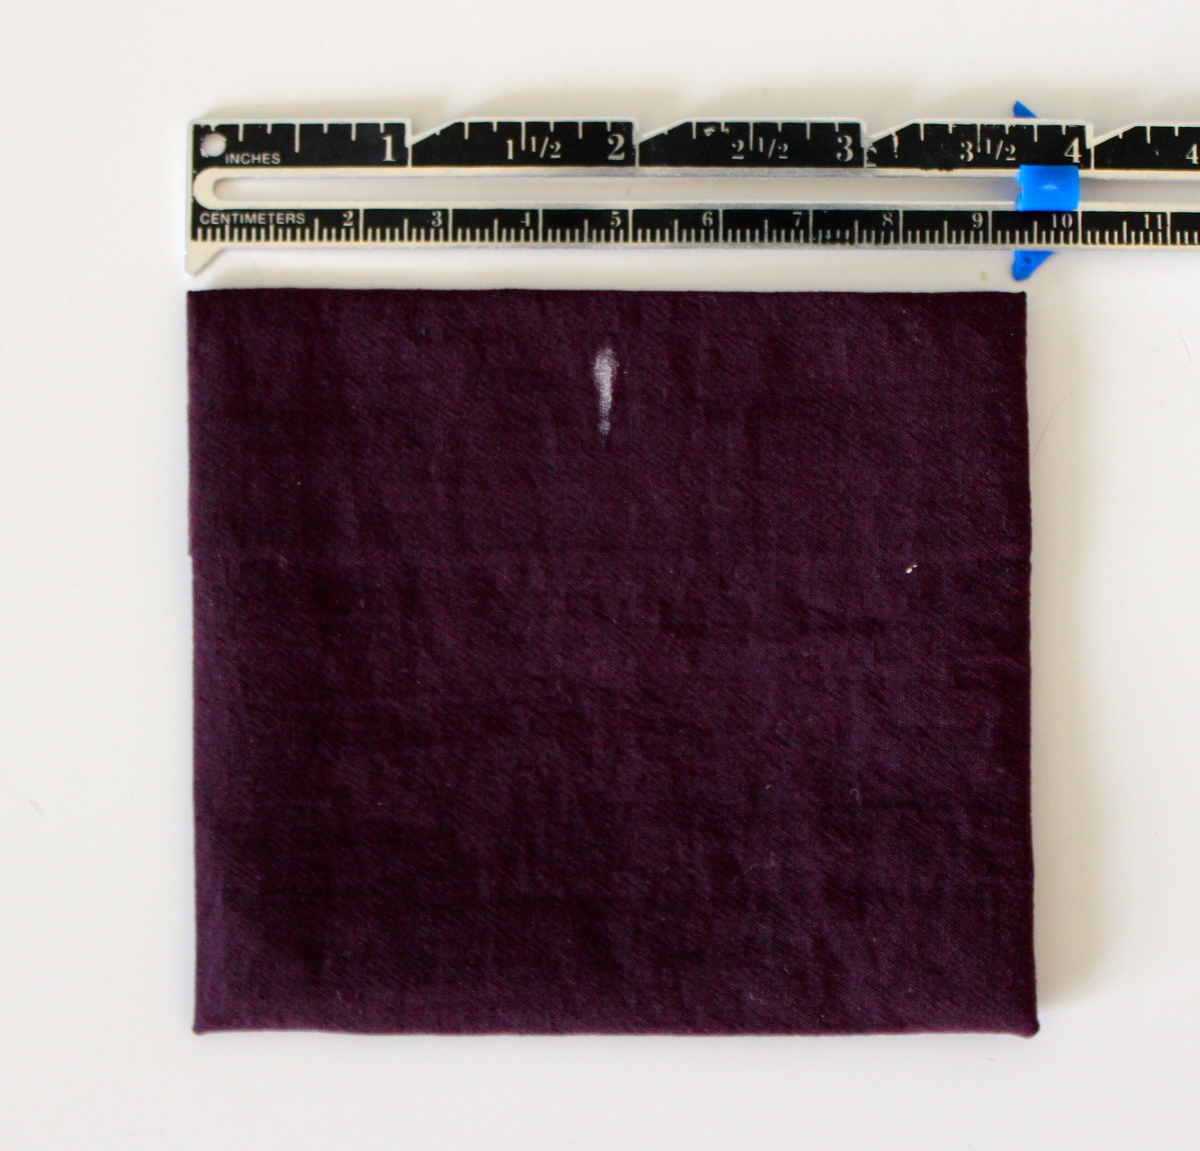
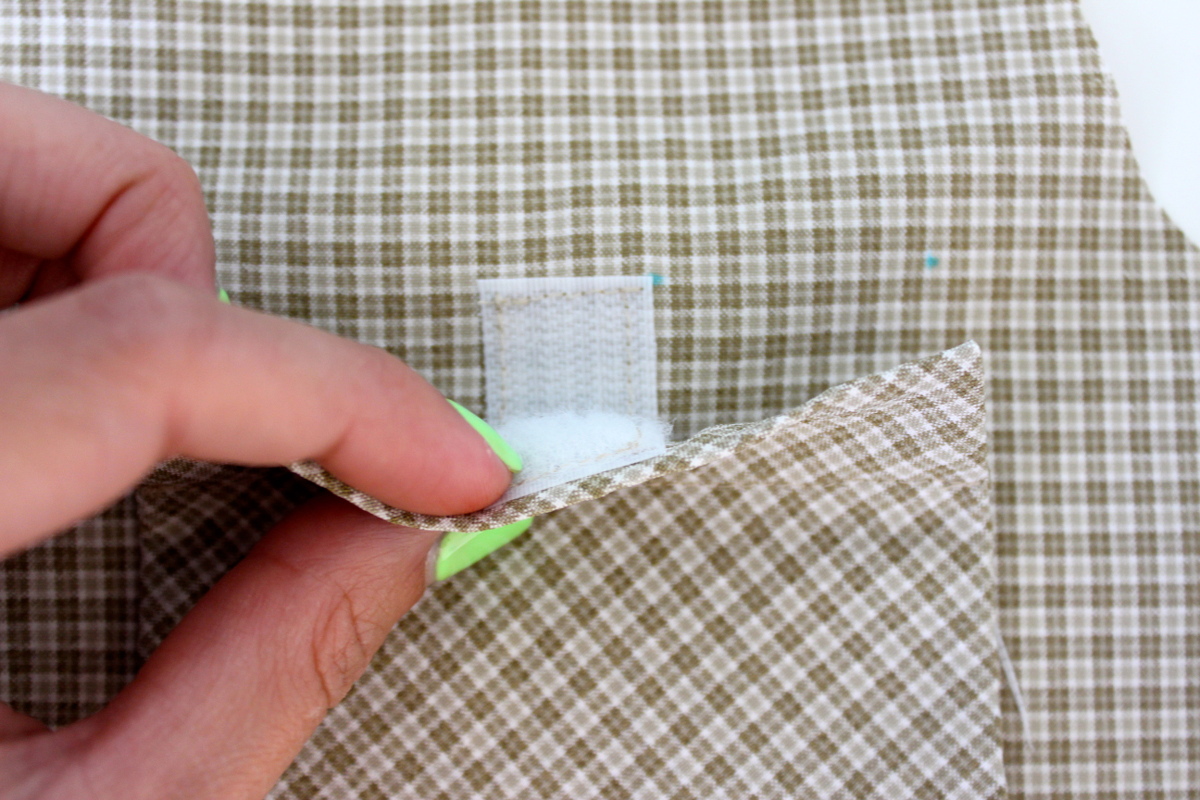
On the beige shirt, I chose to use Velcro, which I think I prefer as it allowed easier access for little hands that don’t always have time to fiddle with tiny buttons. The Velcro allowed swift opening and closing for storage and access. For this pocket, I added a small square of Velcro to the center top of the pocket itself.

Next, I aligned the pocket with the markings on the shirt front and added four extra markings to denote where the Velcro would fall.

Then, I affixed the other side of the Velcro to the shirt front and attached the pocket per the instructions.


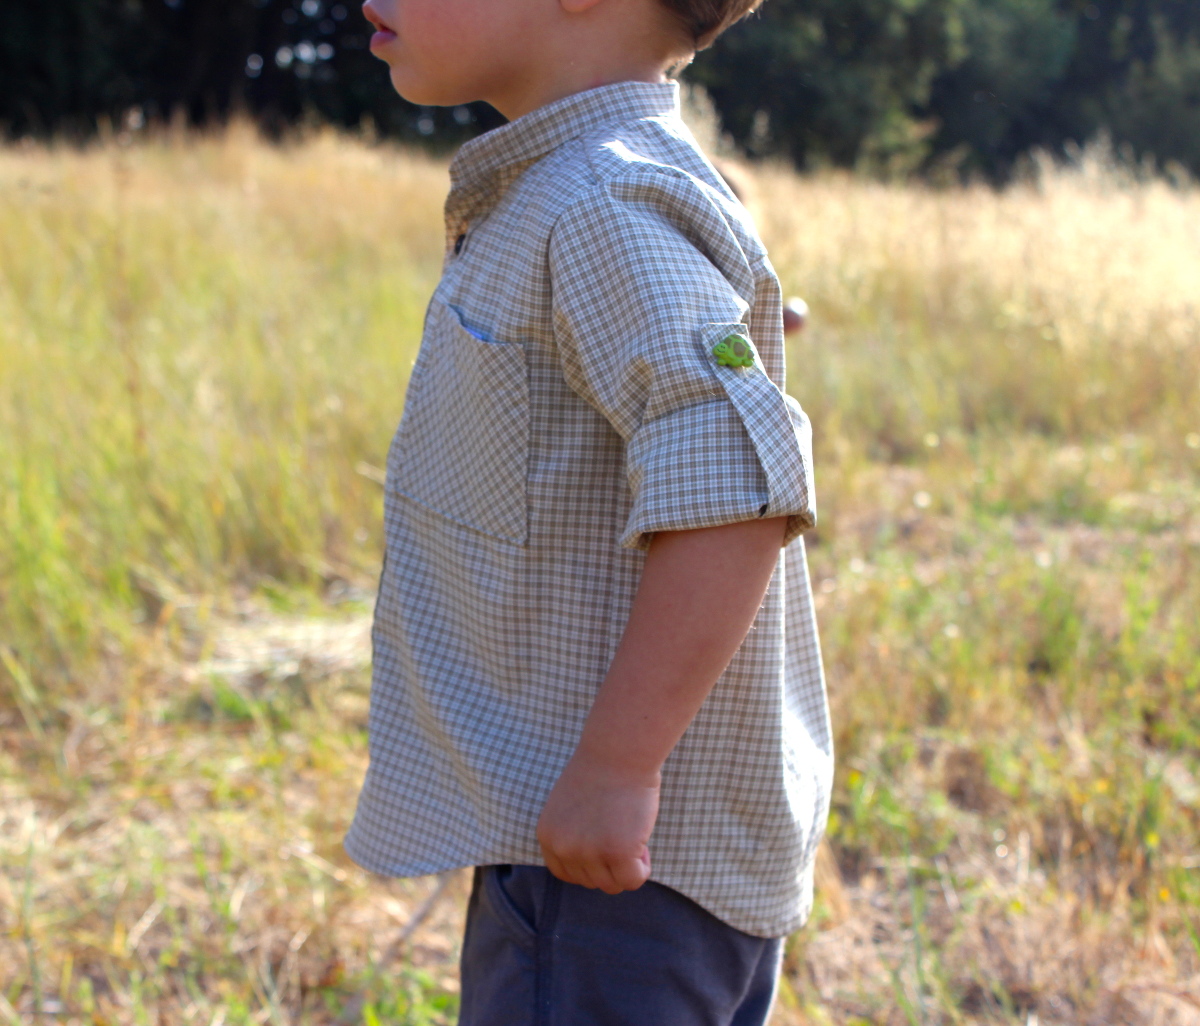
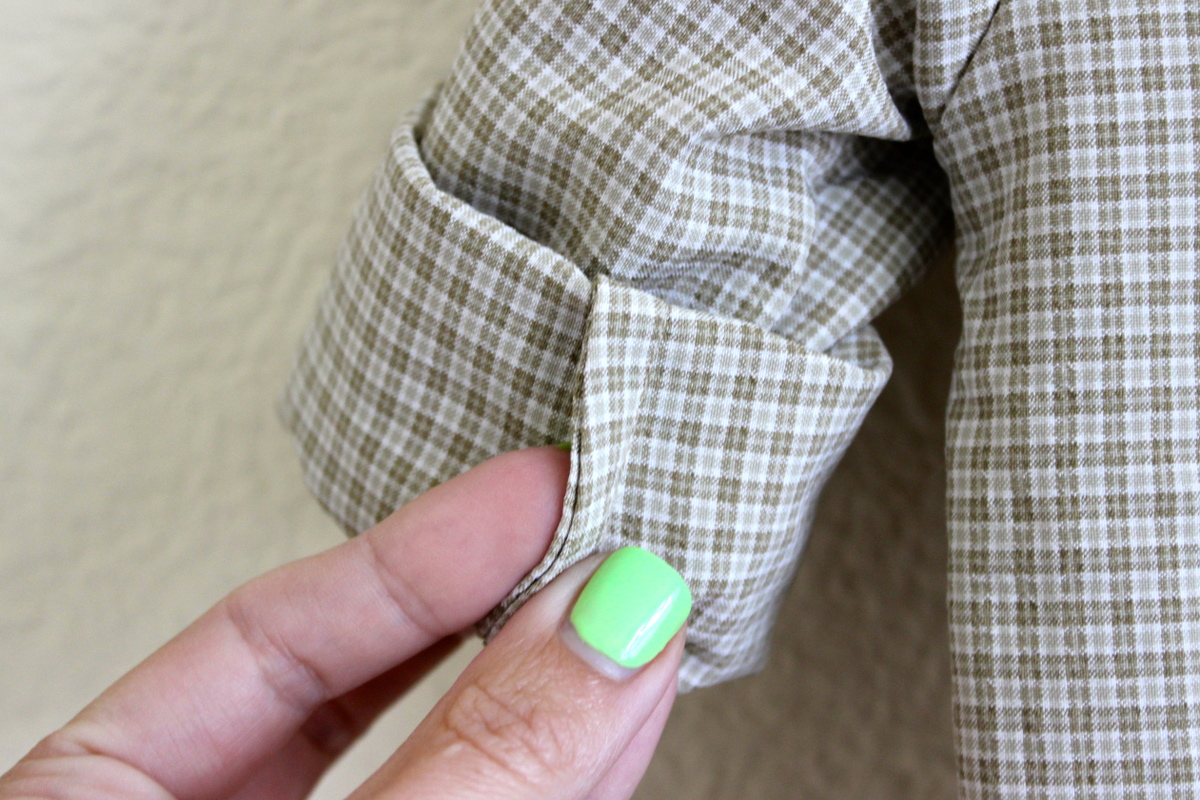
While the Sketchbook Shirt comes in both a long and short sleeved option, versatility is always desirable when it comes to dressing kids, particularly in the outdoors. A long sleeved shirt can always become short sleeved, but not the other way around! So, I made the long sleeved version of the pattern for both shirts, to protect from chills, UV rays (some supplex even has UV protection in it!), stinging bugs, and poisonous plants. However, I still wanted the option for short sleeved shirts, so I added a simple button tab to the insides of the sleeves, like so:
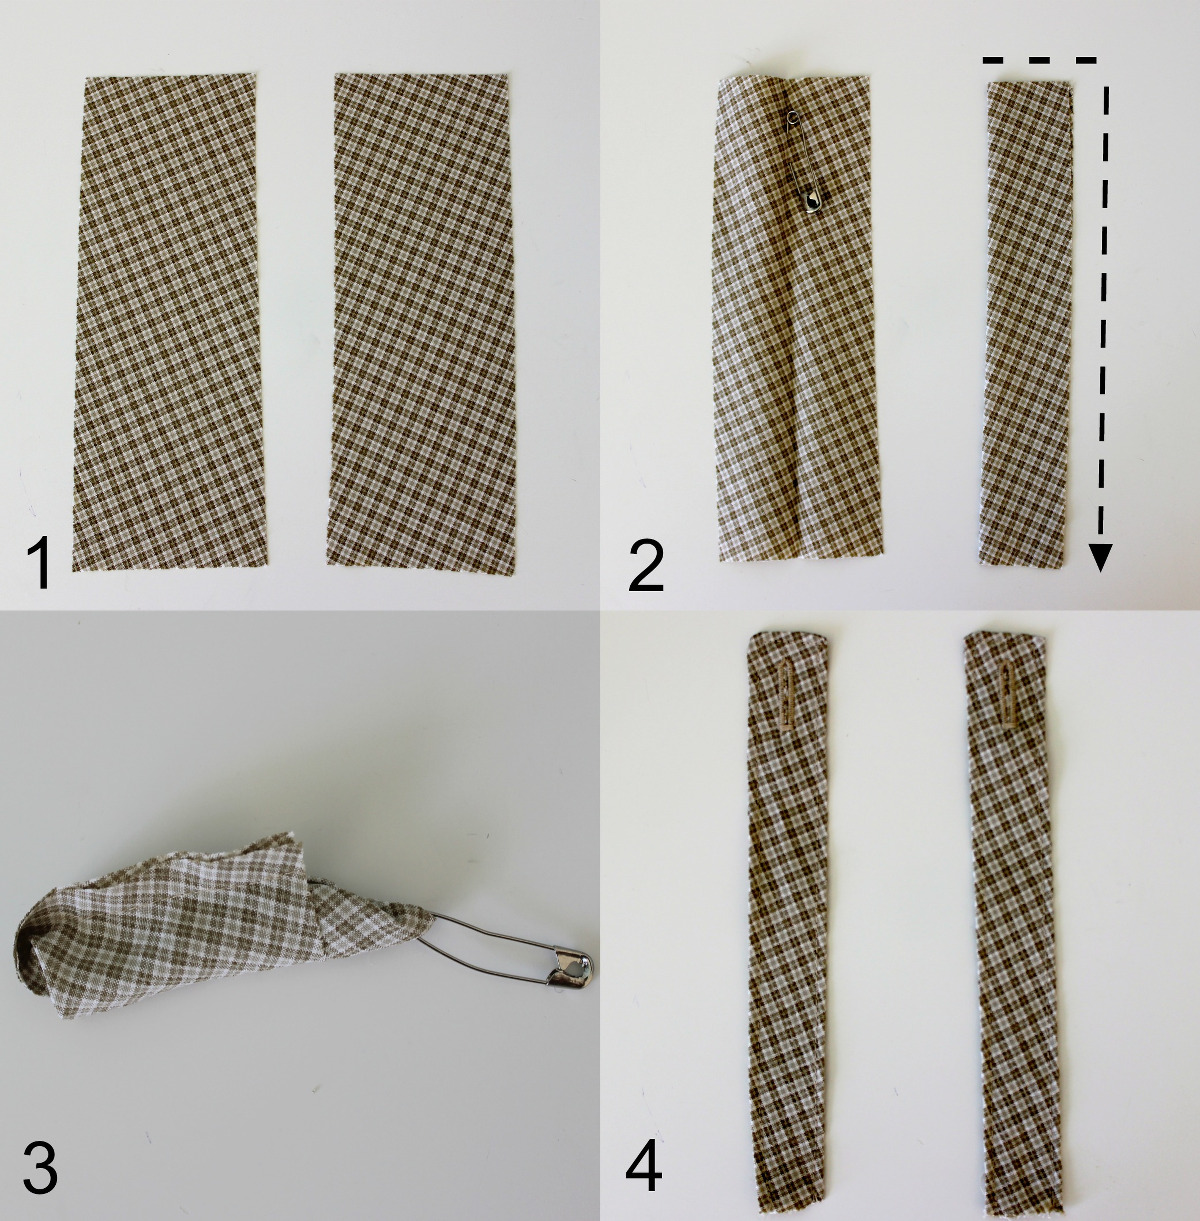
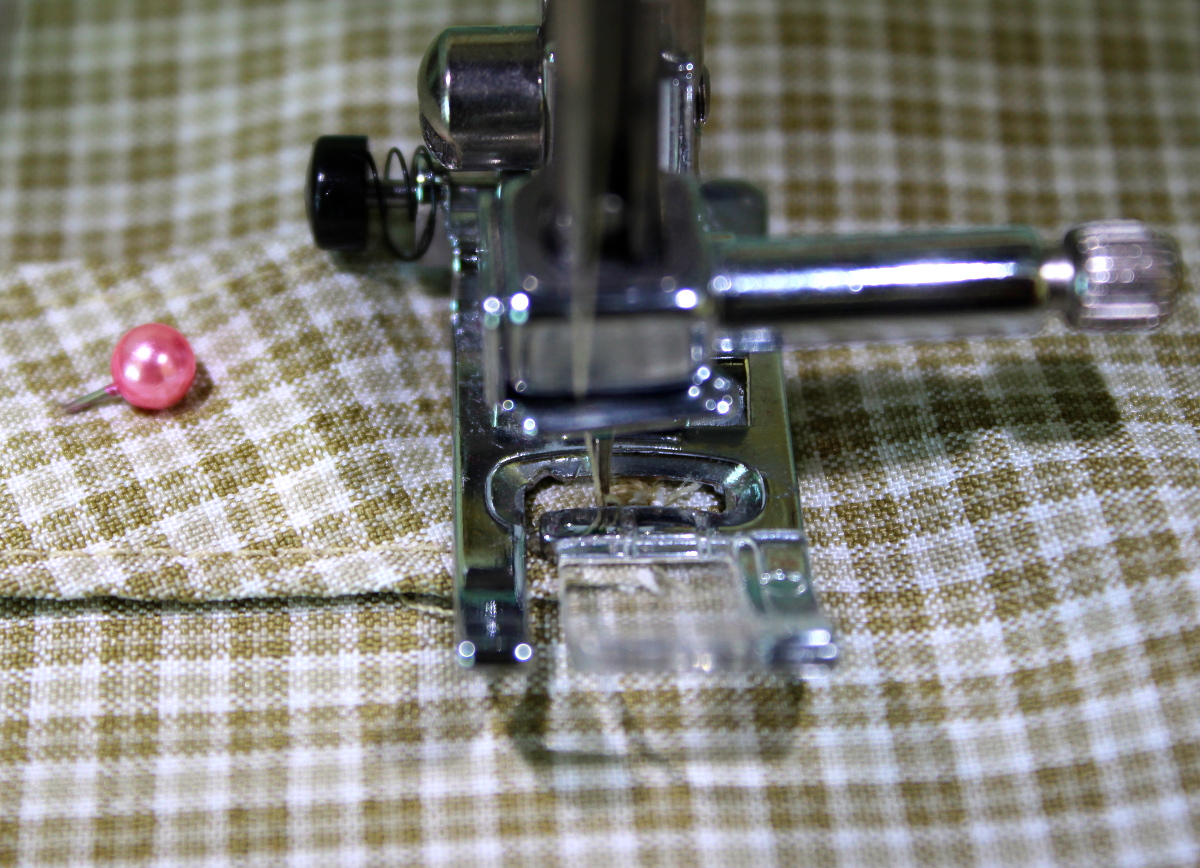
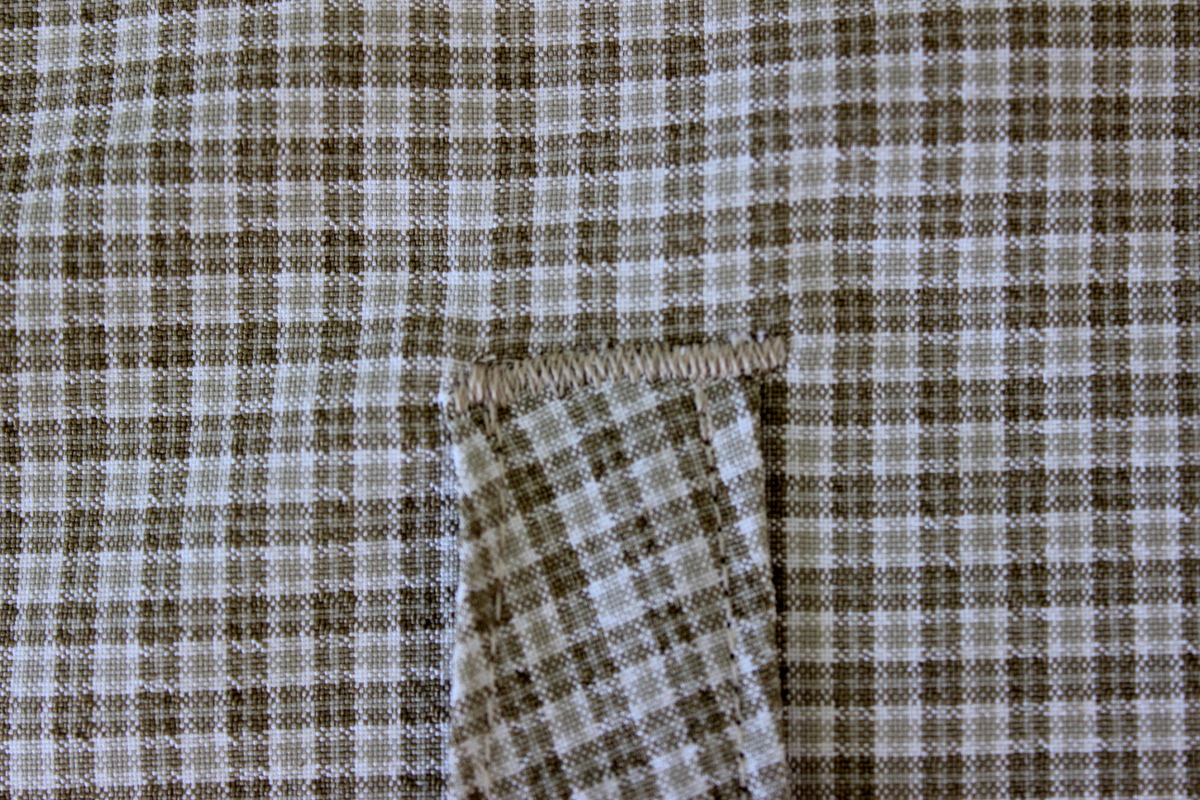
Now, place the strap on the wrong side of the sleeve, centering it on the width. I placed my strap so that the end falls about 1″ above the raw sleeve edge (without the cuff attached). You may need to alter this placement slightly depending on the length of your strap and sleeve. Pin in place.
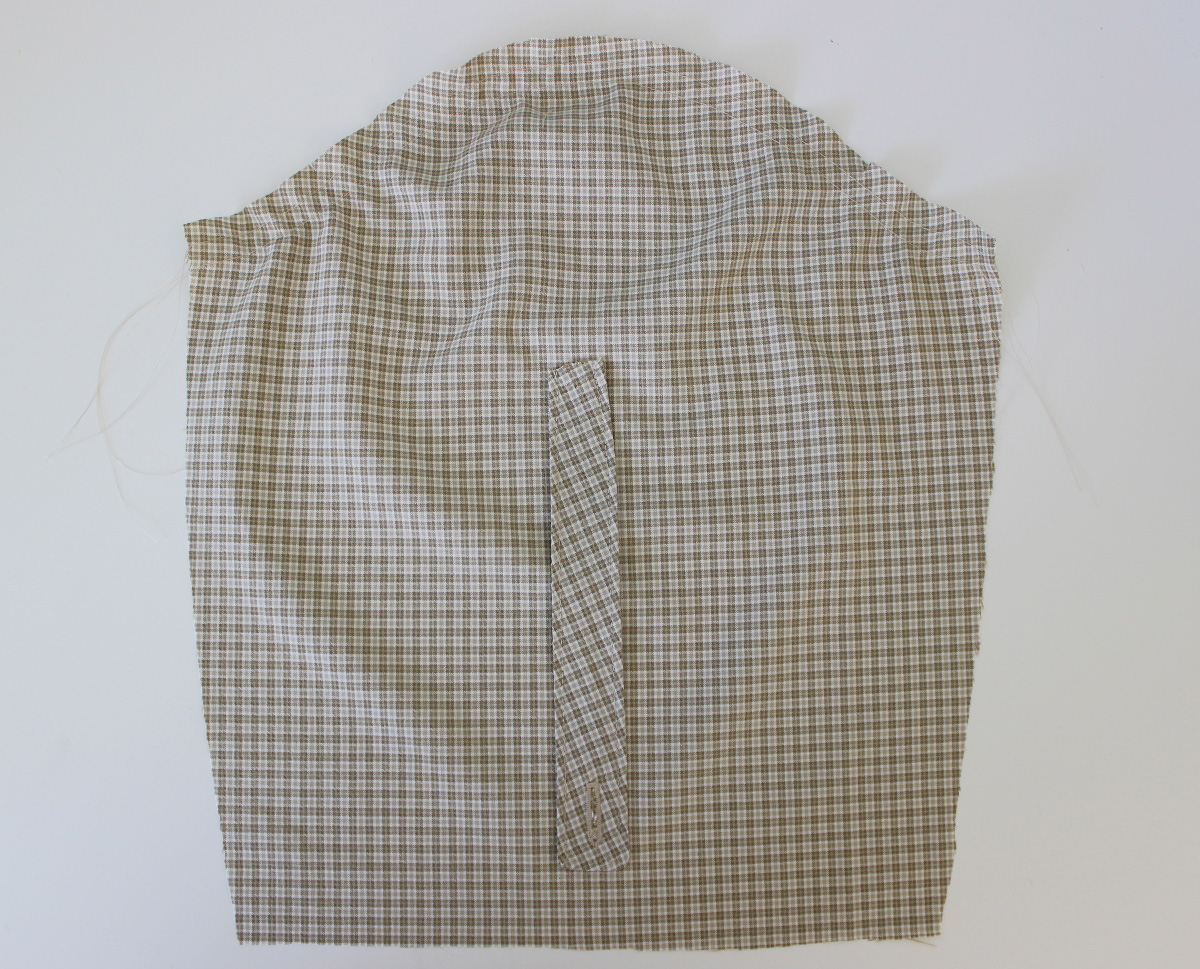
Set your machine to a tight, narrow zigzag stitch. I had mine set to 0.5 stitch length and 2.5 stitch width. You may want to manually check the needle placement before affixing the strap, as those tight little stitches are a pain to rip out! You want to overlap your stitches between the raw edge of the strap and the sleeve so that you both finish the edge of the strap and attach it in one step, like machine appliqué.
Because these sleeves may be worn rolled up, you might choose to finish the sleeve-side seam of the shirt with a french seam for a neater appearance when the inside of the sleeve is facing out.
Tweaks complete! Continue assembling the shirt as outlined in the pattern instructions. The only remaining adjustment I made was to leave off the top collar button. Because these will never be used as dress shirts or have a tie around the collar, I saw no reason to have them buttoned up all the way. I slightly adjusted the button placements on the placket so that the top button would allow for comfort without being too revealing.
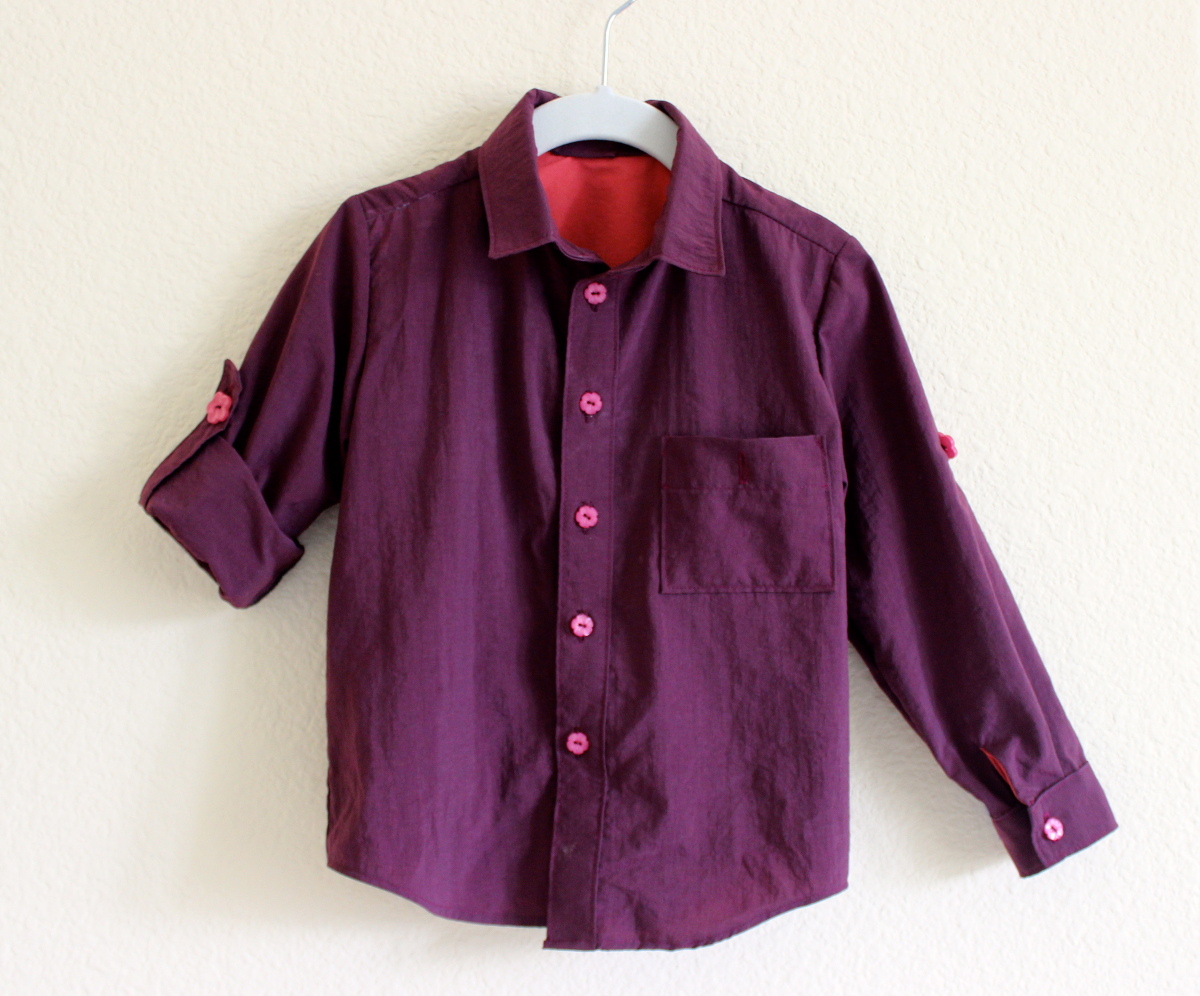
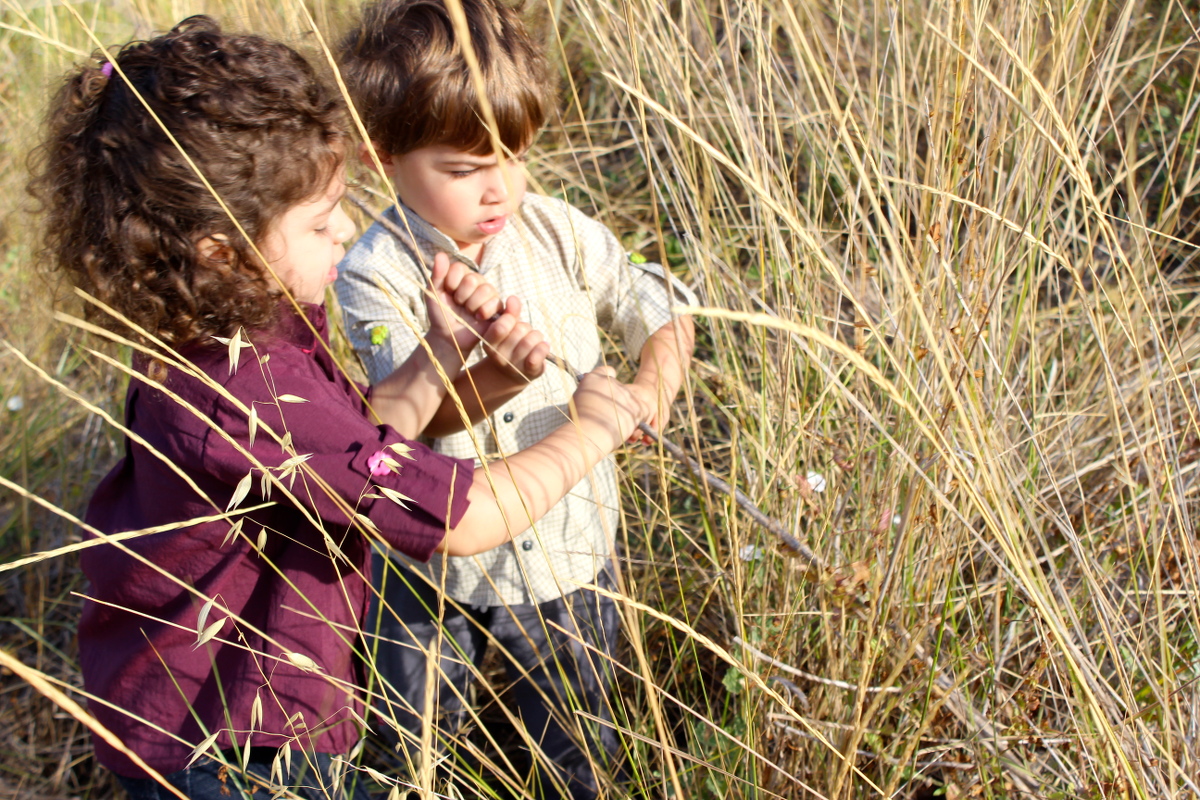
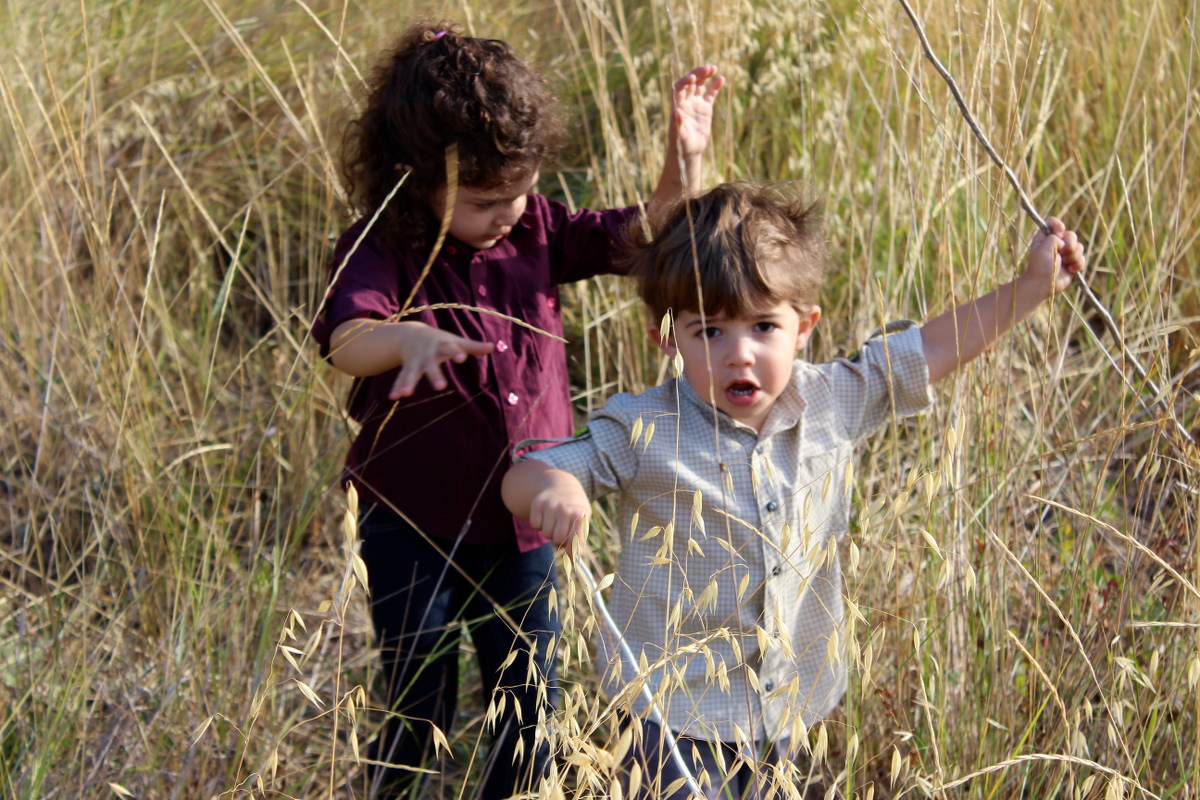
And there you have it, handmade outdoor apparel! I purposely waited to photograph the shirts off the children until after they had already been worn. What you see in these photos are shirts that survived breakfast, an early morning hike, wrestling with the puppy, a trip to the playground, a generous dusting of sidewalk chalk, lunch, a long car ride and a nap. Outdoor fabrics have many perks aside from moisture related properties that make them ideal for children–wrinkle and tear resistant, lightweight but sturdy and durable, and can be purchased affordably. Personally, I welcome any addition to my children’s wardrobe as low maintenance as these shirts turned out to be! I hope we have begun to demystify performance fabrics enough that you too will venture into this kid-perfect fabric genre, and get those budding naturalists out in the wild!
What a great post! Fascinating and such a clever idea. I would never have thought of that. I liked the bits about pockets closures and sleeve tabs as well. You often can’t get good activity wear for children unless it is expensive, so I think this is brilliant. No idea what duplex is or the needles you mentioned but will find out. I suppose you can also adapt adult patterns in the same way. I am up for that! Thank you. Linda
The shirts are wonderful! What a great idea! I’d seen some North Face pants online and had wanted to recreate them for my son, you’ve encouraged me to go for it!
Wow, Ashley, nicely done! Thanks so much for all your work on this post, too!
what a timely and thorough piece. Thanks! Chez Ami has the outdoor fabrics and (new) you can buy them in 1 yd pieces, although it is cheaper to order the 2 yd cuts. Also new is their website design (grrr). This old lady spent more time than usual to scout out the supplex. Most of their supplex colors are $6 for one yd, $10 for 2 and I have always received my orders incredibly fast.
What a cool idea! Those shirts are great!
thank you for your feedback, everyone! it was a really fun project, and there are more to come–pants included! linda, you can find the microtex needles at well stocked fabric stores, including joann fabric. just look for “microtex” on the case. http://www.seattlefabrics.com is another great source for outdoor fabrics if you are shopping online.
What a fantastic post. Thanks so much for all the detail and links to suppliers.
Fabulous post. Such a great idea!!
Yay for outdoor kids!
Great explanation and detail. Any chance of a zip off shorts/trousers field trip pants tute?
The photographs are really good! Brilliant idea to show pictures of the thread and needle box — I use Schmetz needles all the time and recently bought some — at first my reaction was “what’s microtex?” But then saw the photo and thought, ‘oh yes, I’ve seen those.” To anyone else wondering, go to Joann’s and just browse among all the Schmetz packages — very educational:)
Bought my fabric, printed off my patterns, tracing and cutting out tonight, tomorrow I buy needles and thread and get to sewing! Thank you again for these!