Today we welcome Sparrow from Pumpkin & Bunny with a tutorial on how to customize the Sunny Day Shorts by adding hexagon shaped patch pockets. Thanks for being here, Sparrow!
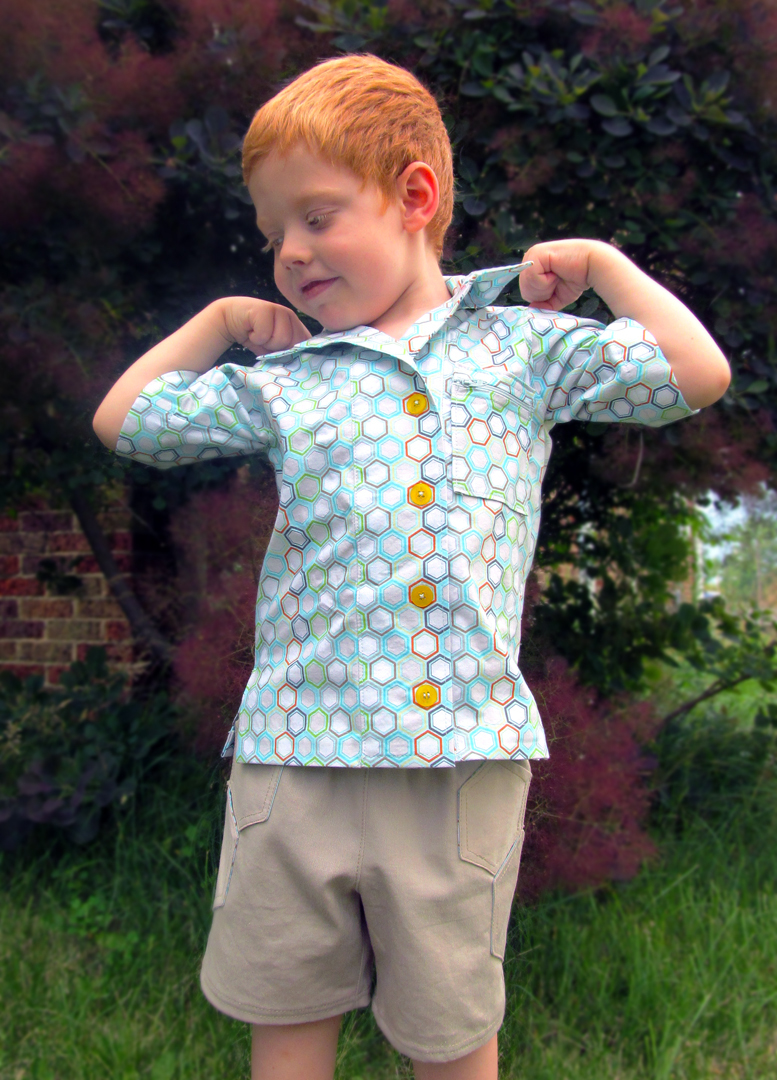
I have always been drawn to geometric designs, hexagons especially. There’s something so satisfying in the way hexagons fit together. It’s golden honeycombs and steel bolts; both organic and structured at the same time. When I saw this Riley Blake hexagon print fabric, from their Life In The Jungle collection, I knew immediately that my son, Pumpkin, needed a shirt out of it. I like to make complete outfits for my kids, so I chose the Sunny Day Shorts pattern to compliment the shirt. I love simple patterns like this because it really gives you the freedom to embellish and personalize easily. I wanted to make the outfit match, but still have him be able to wear the shorts with other outfits. With that in mind I came up with the idea of adding hexagon shaped pockets. It’s a subtle accent, but it really ties the outfit together, and creates interest on what’s an otherwise simple design.
It may look complicated, but this method of making patch pockets is really very easy. It’s one of my favorite ways to make pockets, and you can actually use this technique to make any shape pocket you want. But today I’m going to be showing you how to make these Honeycomb Shorts, using my hexagon pockets and the Sunny Day Shorts pattern.

First you will need to download the hexagon pocket. There are three sizes; 3, 4, and 4.5 inches wide. You will also need a lining fabric; I’m using some a print and a solid quilting weight cotton.
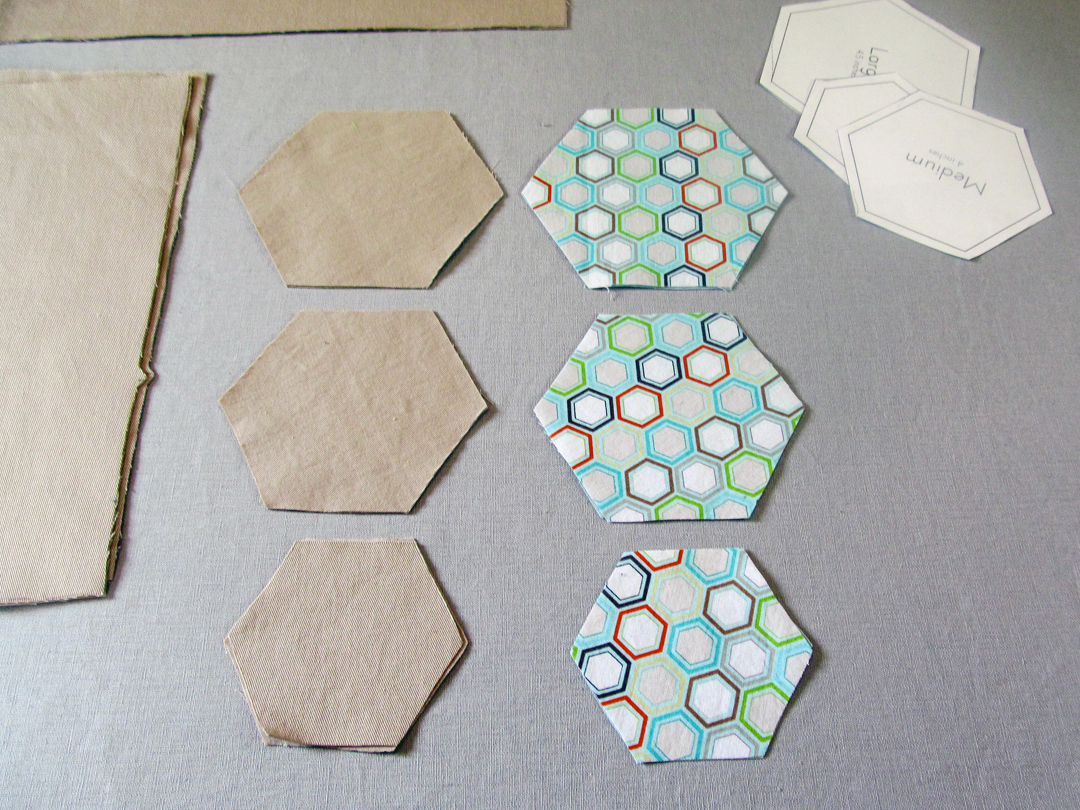
Cut one hexagon from your main fabric, and one from your lining for each pocket. You will need two pockets of each size, so six from your main and six from your lining.
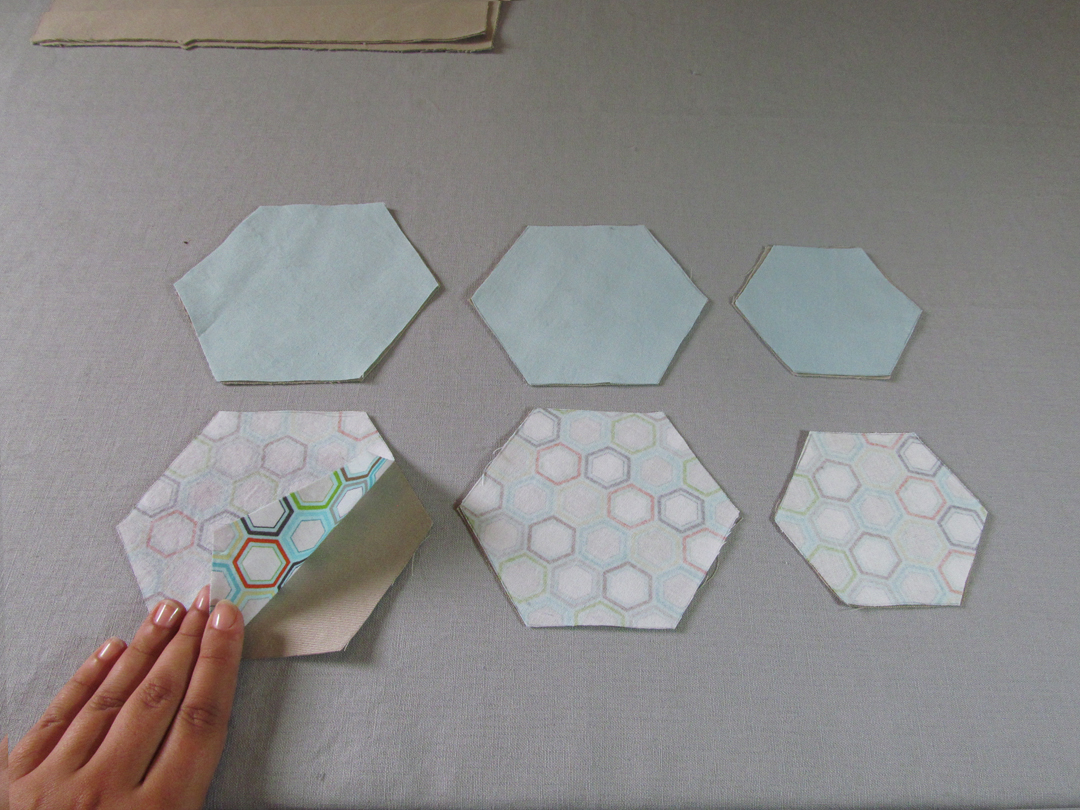
Place the two hexagons right sides together, and stitch ¼ inch from the edge. Leave one side of the hexagon open, and backstitch at the start and end.
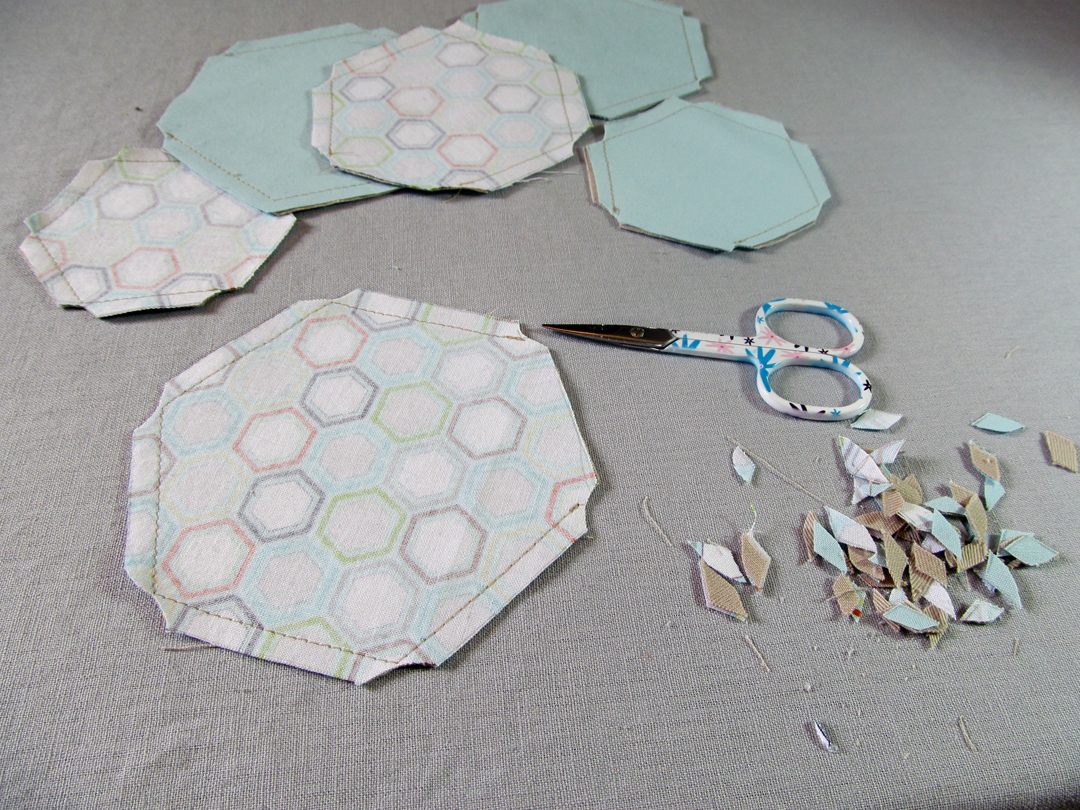
Clip notches at the corners, being careful not to clip through the stitching.
Turn your hexagon right side out through the opening, and press well. Make sure the edges of the opening are turned in.

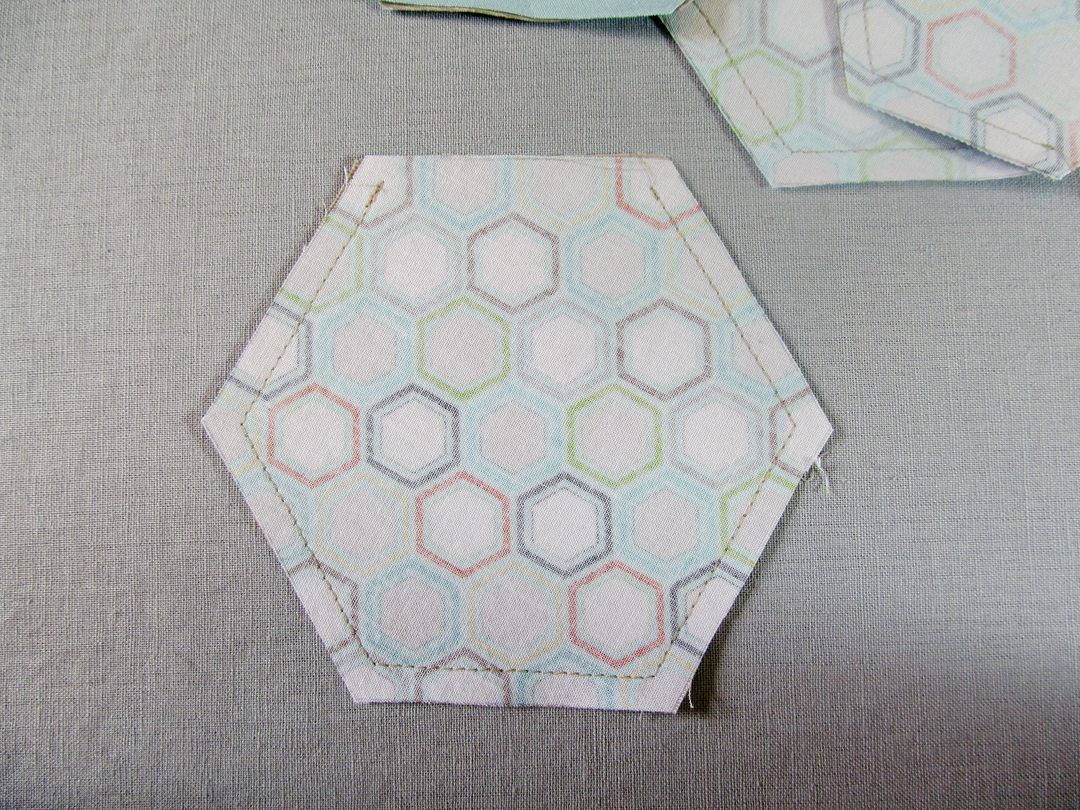
Topstitch around the pocket ¼ inch from the edge. I like to use two threads in my top needle when topstitching on heavier fabrics.
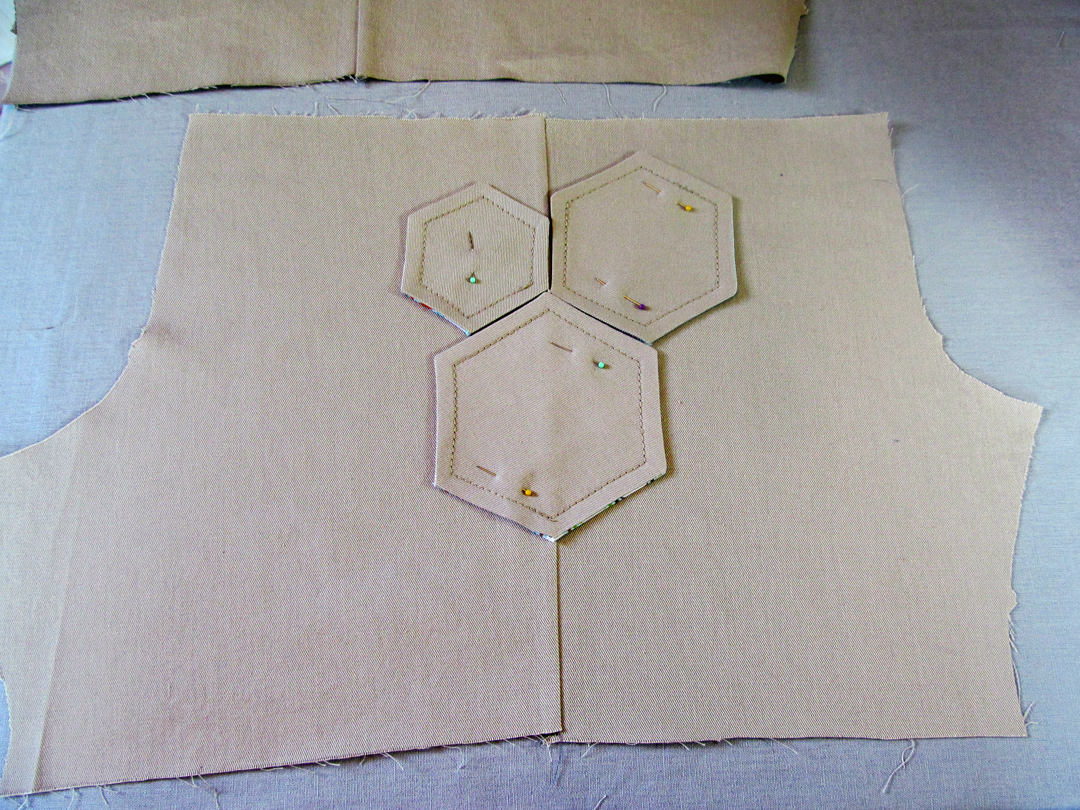
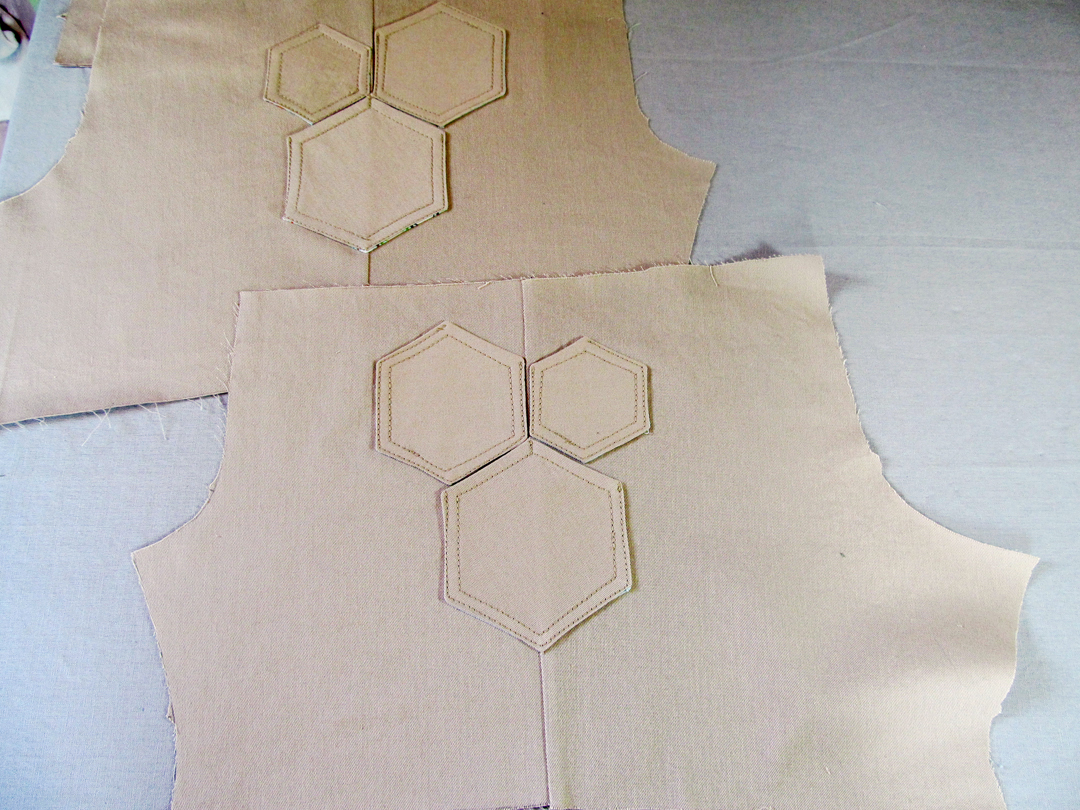
Since these pockets are going to be placed over the side seam of the shorts, we need to sew that first. Sew only the outer side seam on each leg of the shorts, leaving the center seam open. Arrange the pockets as shown, with the largest three inches from the bottom of the leg, and the medium and small directly above. I placed mine so that the medium hexagon was toward the front.
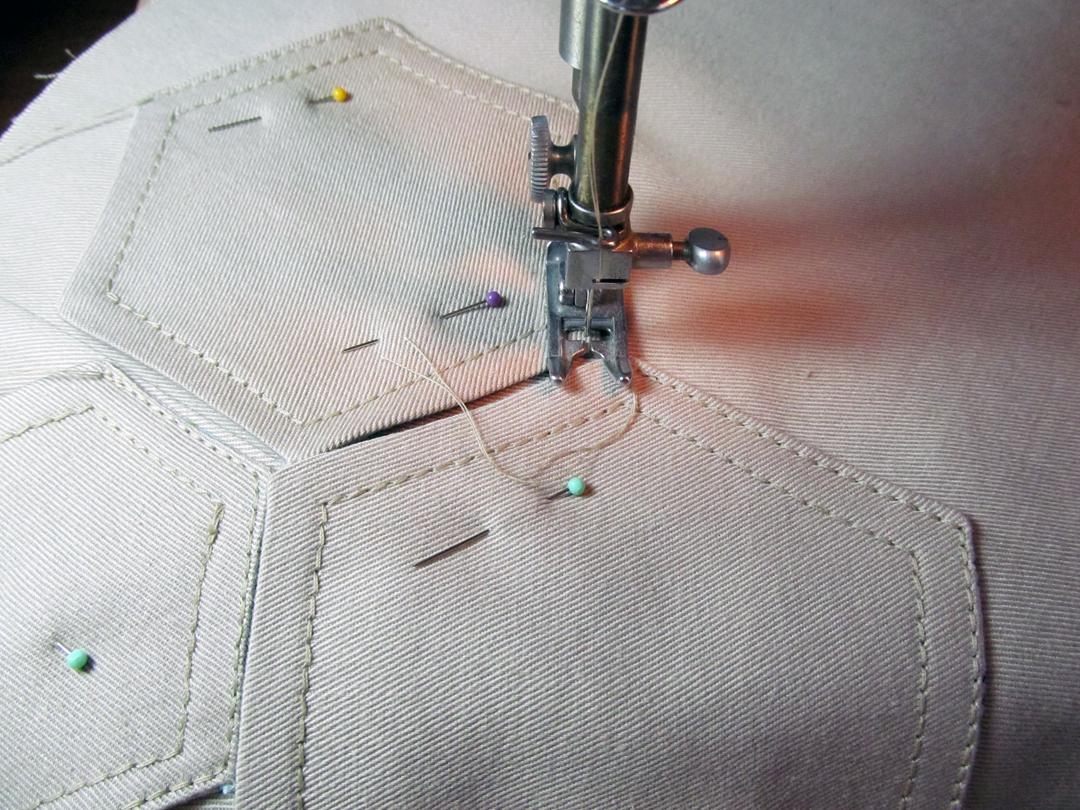

Topstitch the pockets on right along the edge, leaving one side open. On mine I left the edge facing the seam open on the small and medium hexagons. On the large hexagon I left two sides open, but tacked the topmost corner down to keep it from gaping open.
Finish sewing the shorts according to the instructions.
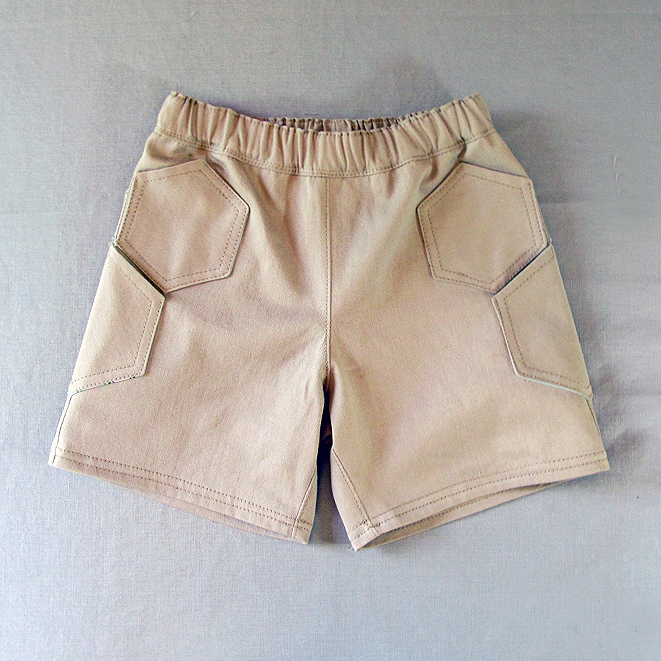
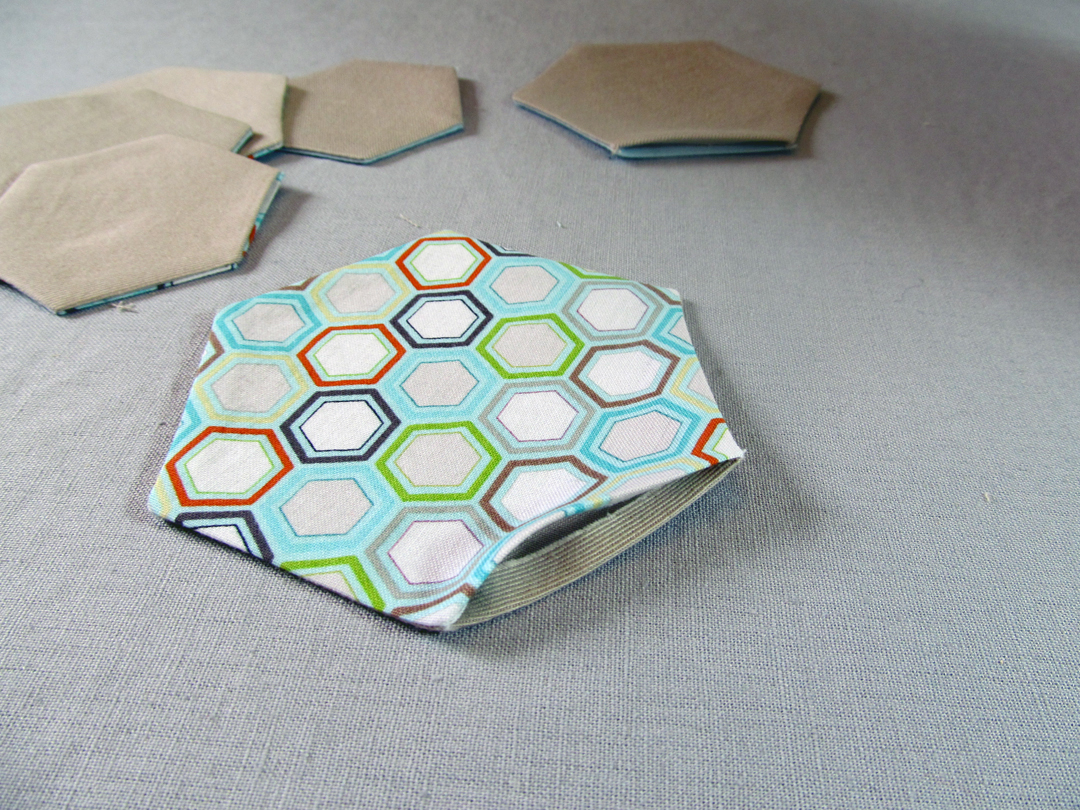
Admire your new hexagon pockets.
I hope you enjoyed this tutorial, and thanks so much for having me!
-Sparrow
That’s so clever! Never would have dreamed of making pockets that shape. And I really like how they subtly echo fabric design.
Thanks for this tutorial…I LOVE this idea! I would never have thought about putting hexagons on boys’ shorts, but they look just great and fun. You are so clever! Thanks again.
What a clever idea! I can see them on skirts, tops, and tote bags, too.
So, is each hexagon a separate little pocket? So very cute!
MS, yes each hexagon is it’s own pocket. I’m sure you could find a way to make them one larger pocket, but I like how each one is it’s own secret pouch for hiding treasures! 🙂
How super fun to add to an outfit for science camp! Thanks for this tute.
So cute! I’ve made 6 pair of these shorts recently, and they sew up so quick. I may have to try some pockets on the next pair. My boys love hiding their treasures!
oops, page not found to download the pocket. Can this link please be fixed. I love this idea. I want to embroider tools- screwdriver, wrench, etc.- on each pocket.
You can find free printable hexagon shapes online here: http://www.datemplate.com/post_single-hexagon-printable_283004/
Or there are also tools you can buy like this: http://www.craftsy.com/supplies/ez-hexagon-shapes-cutting-template/15363
Hope that helps.